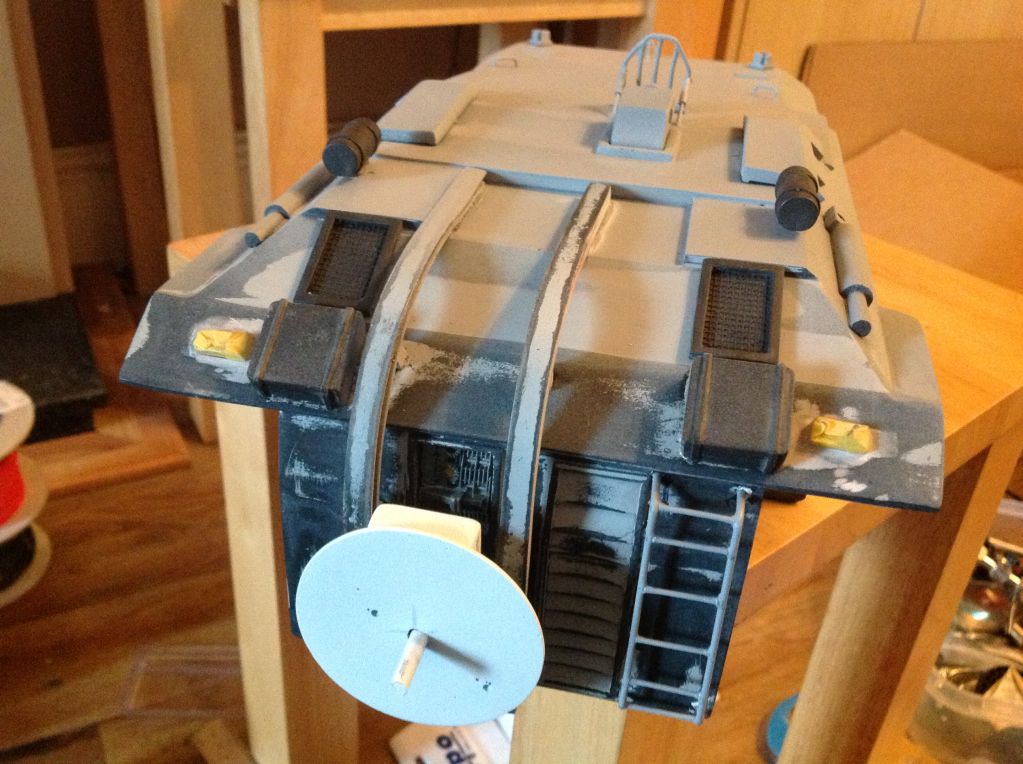
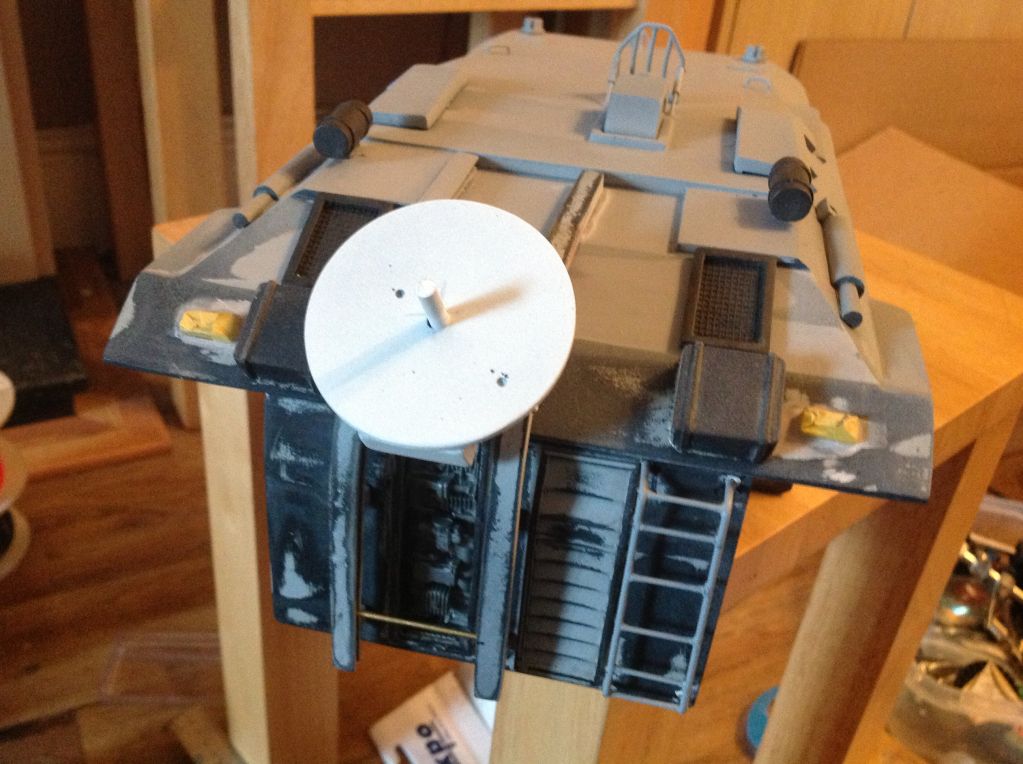
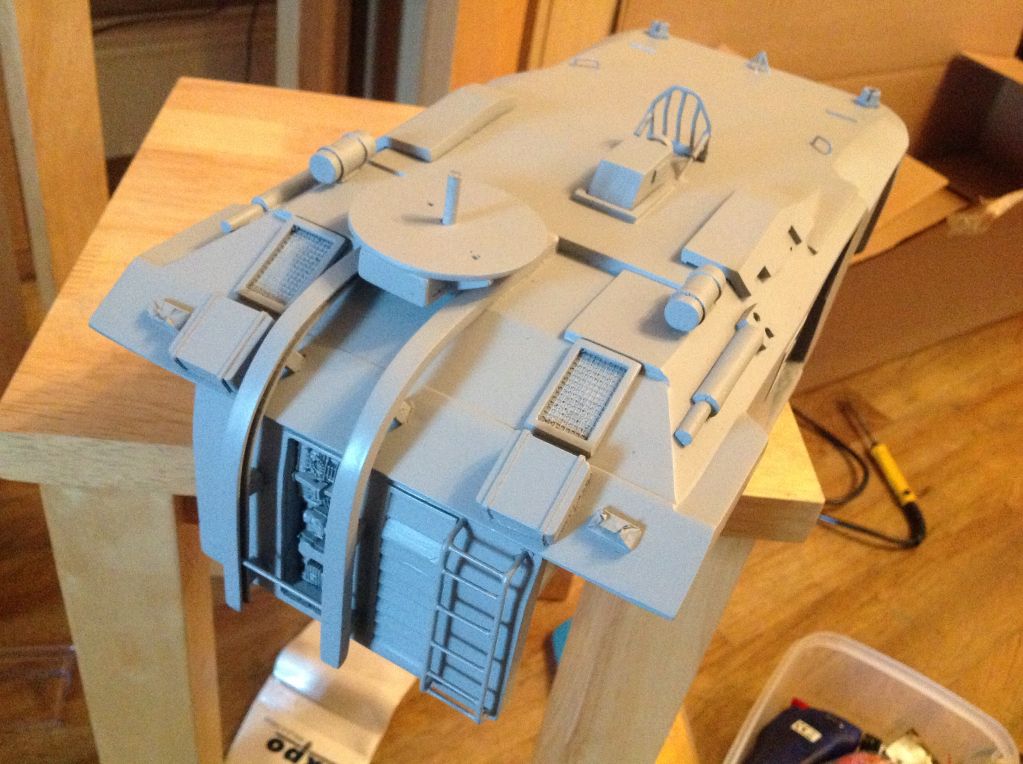
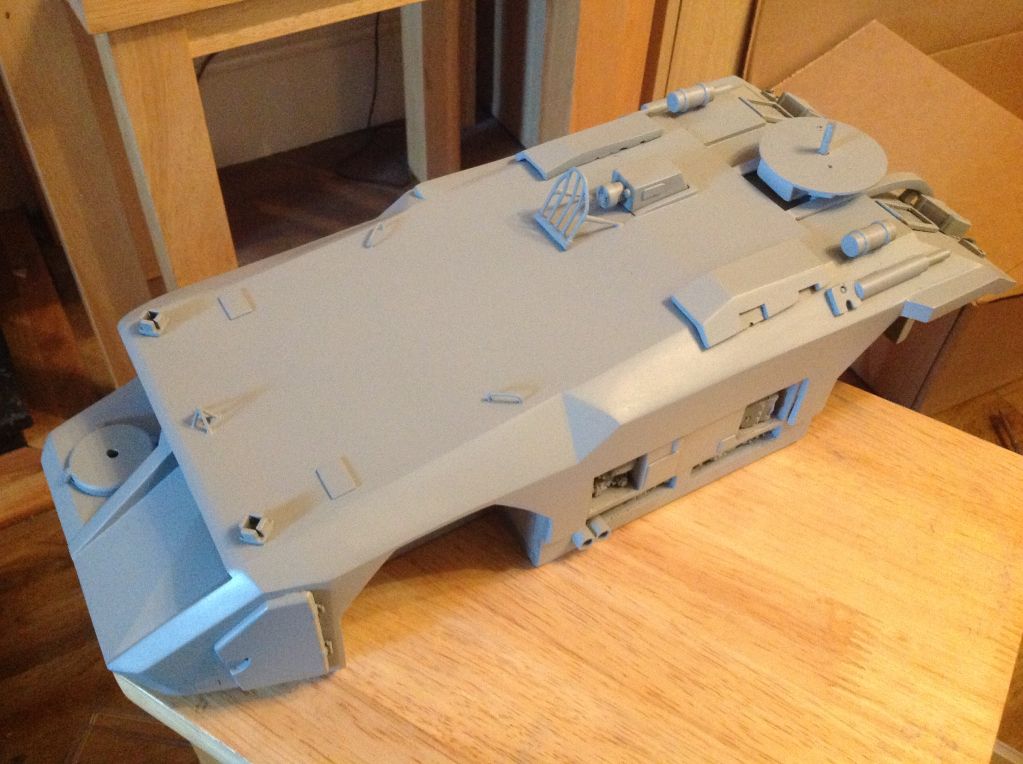
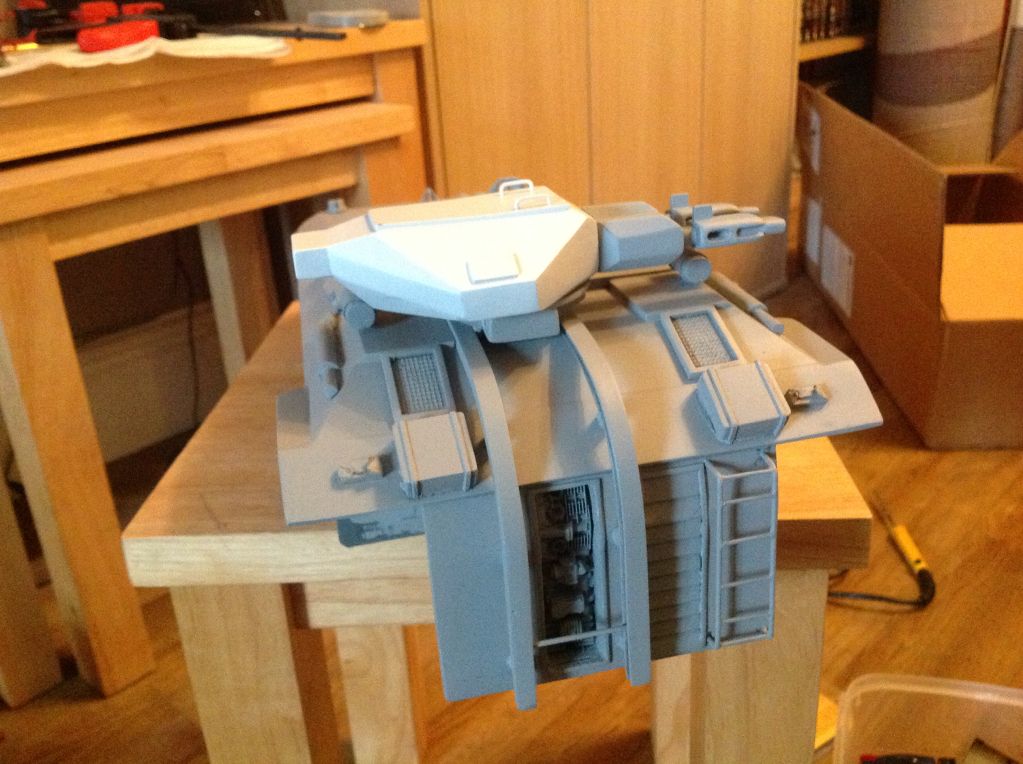
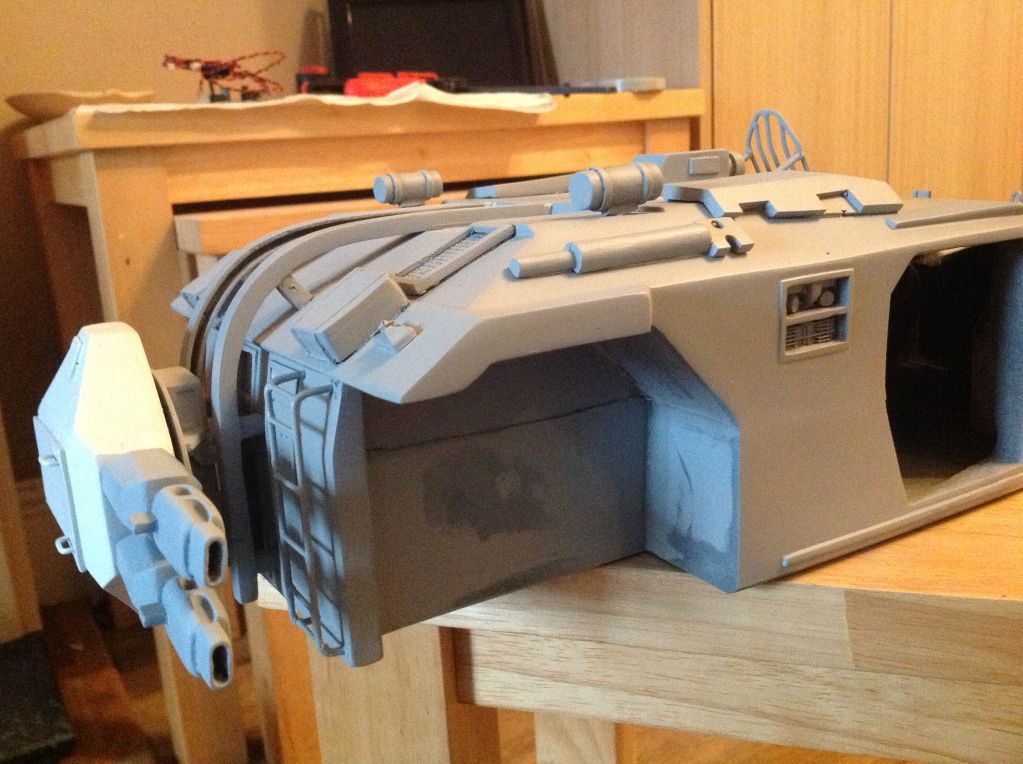
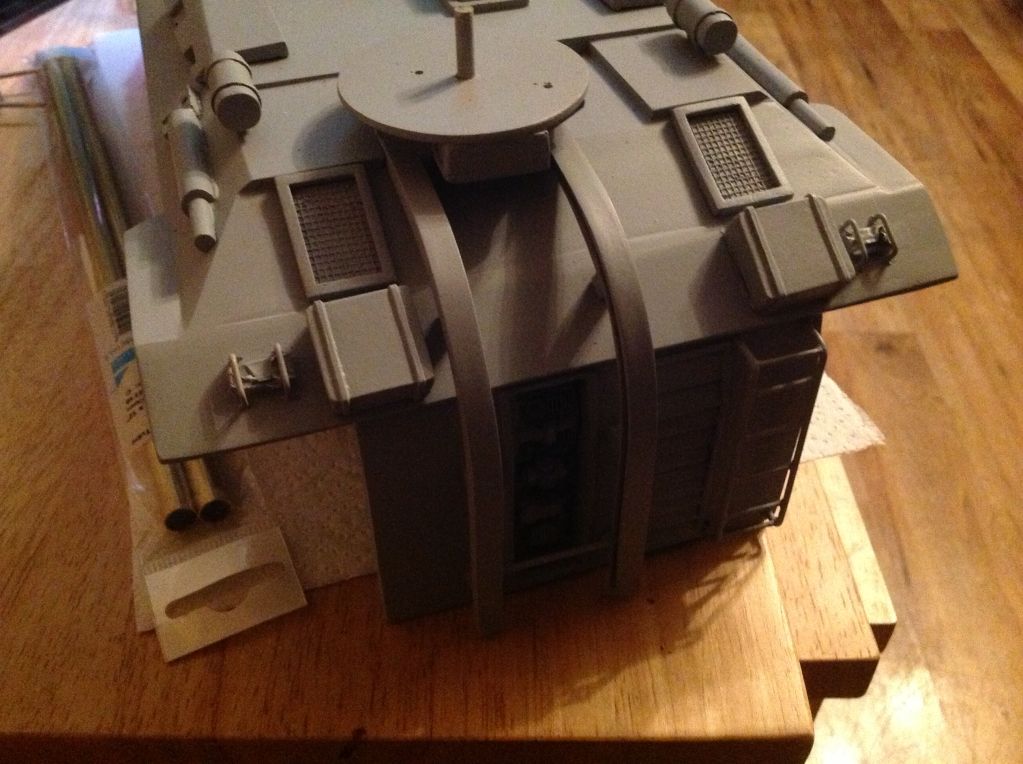
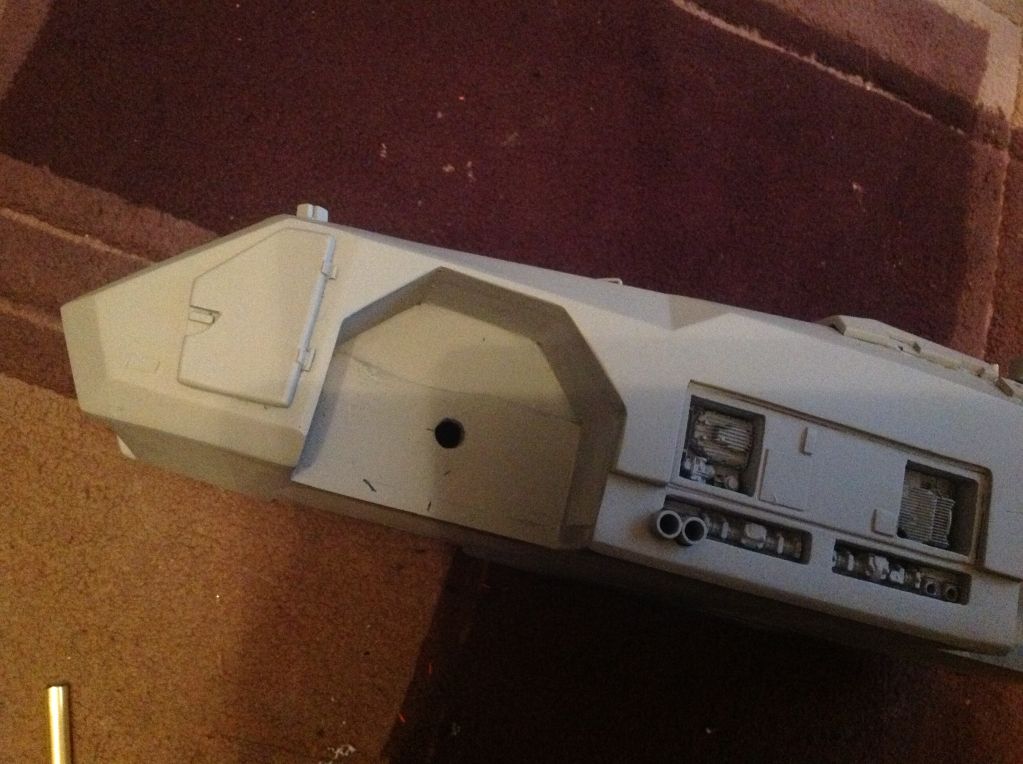
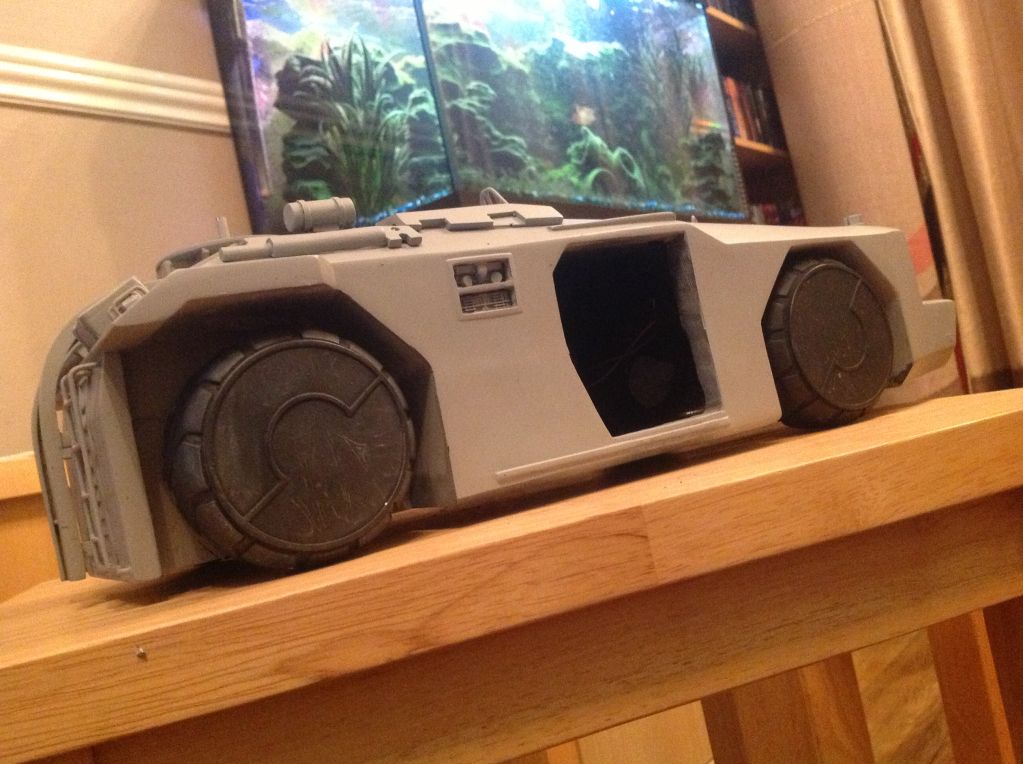
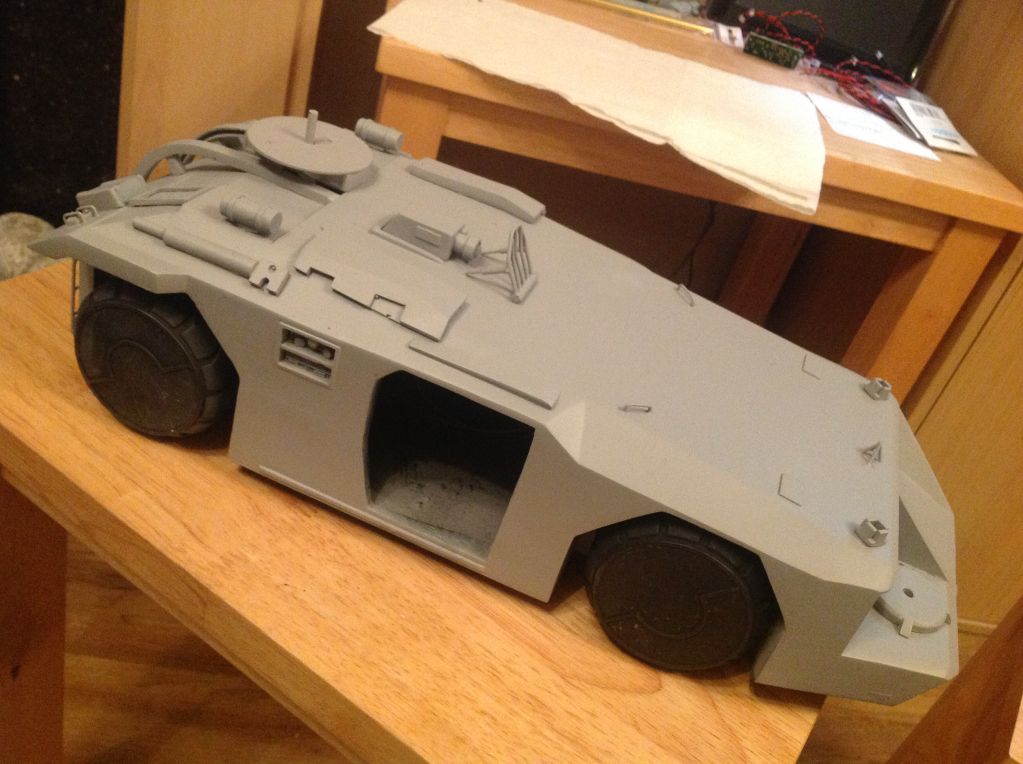
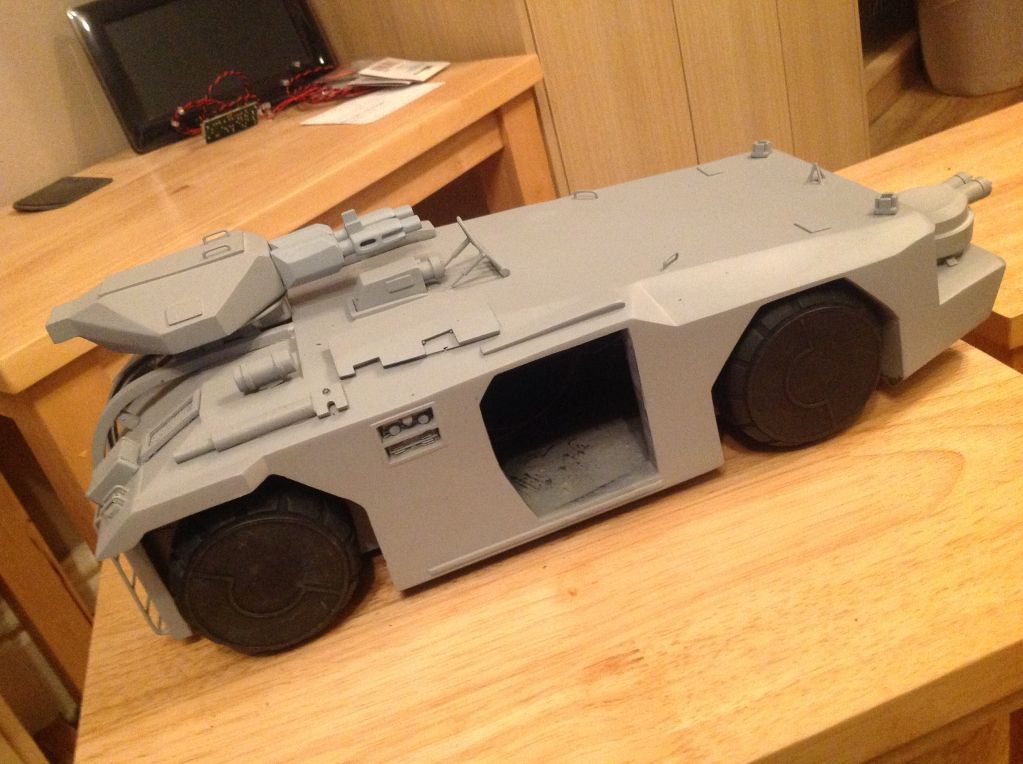
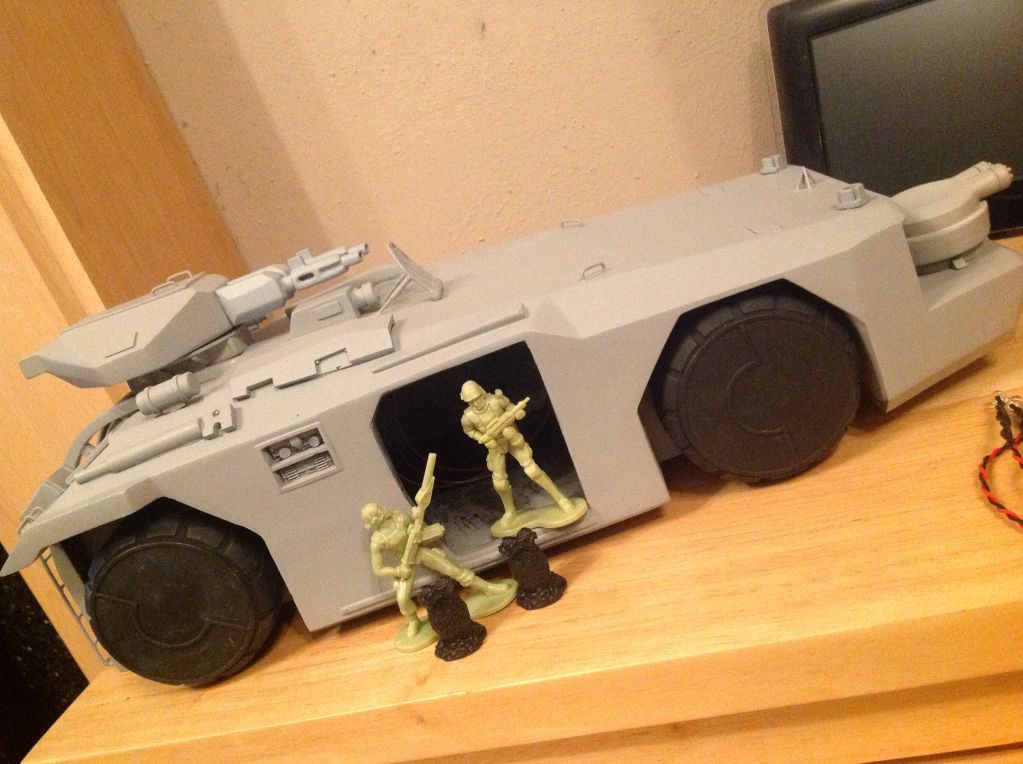
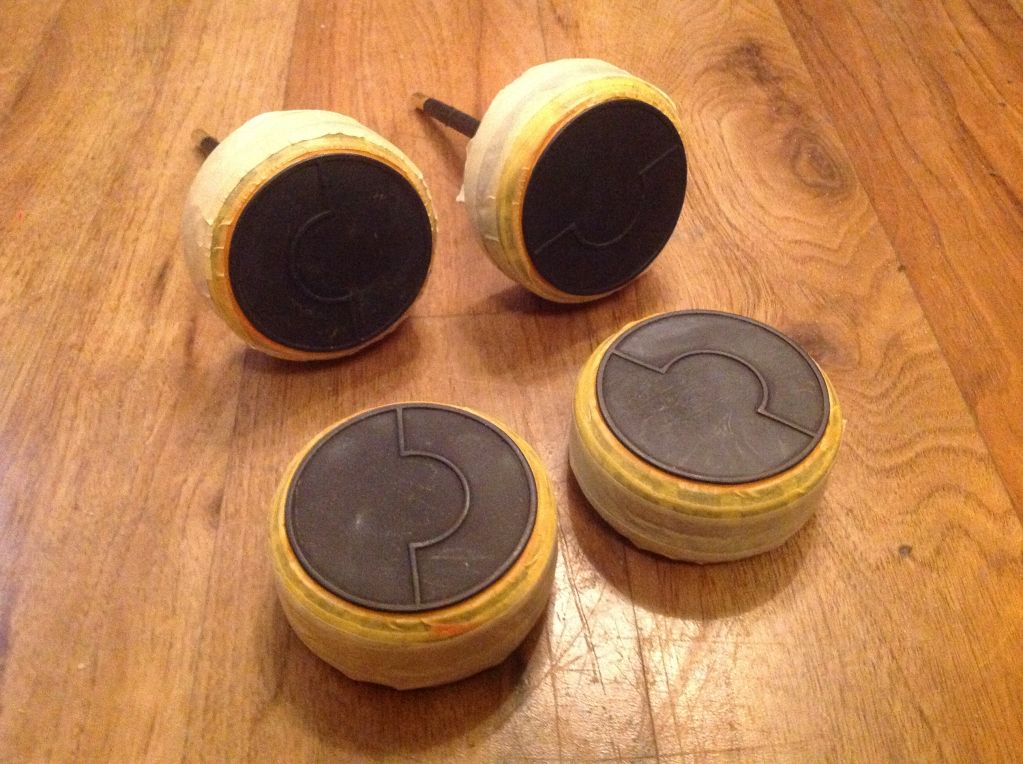
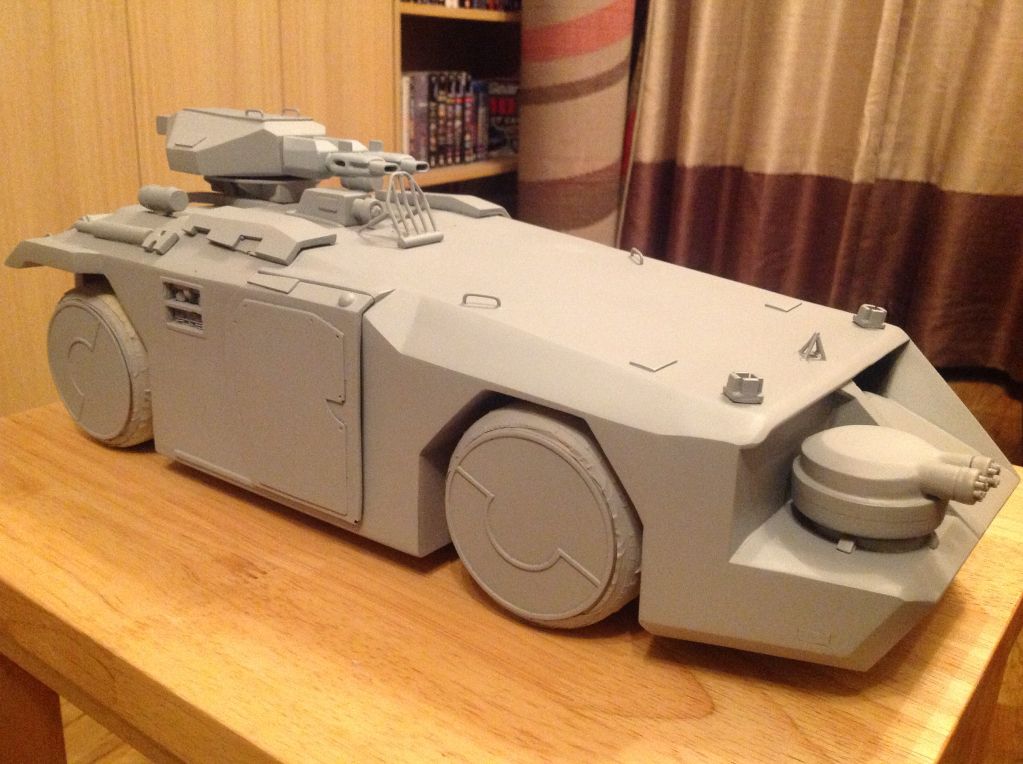
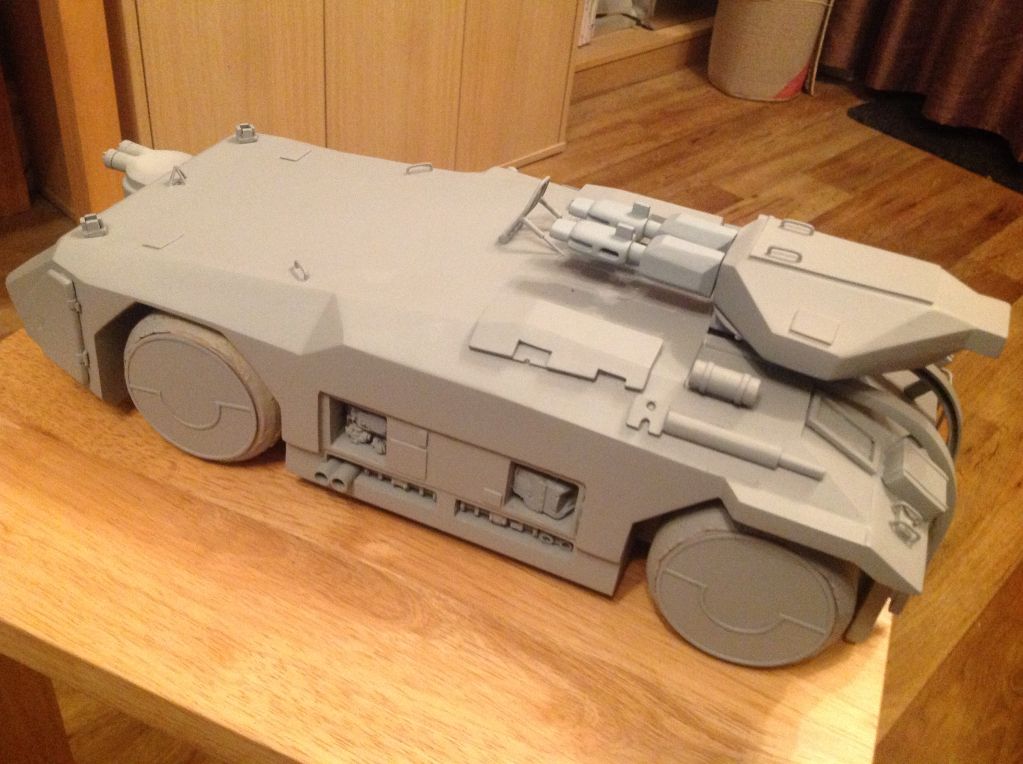
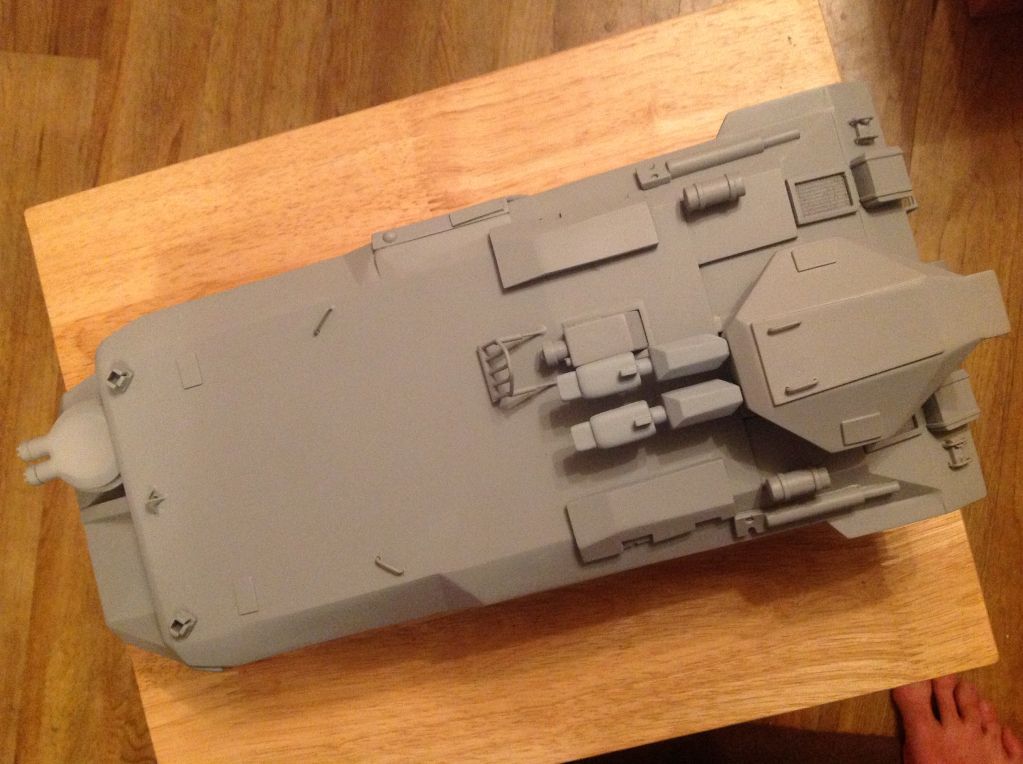
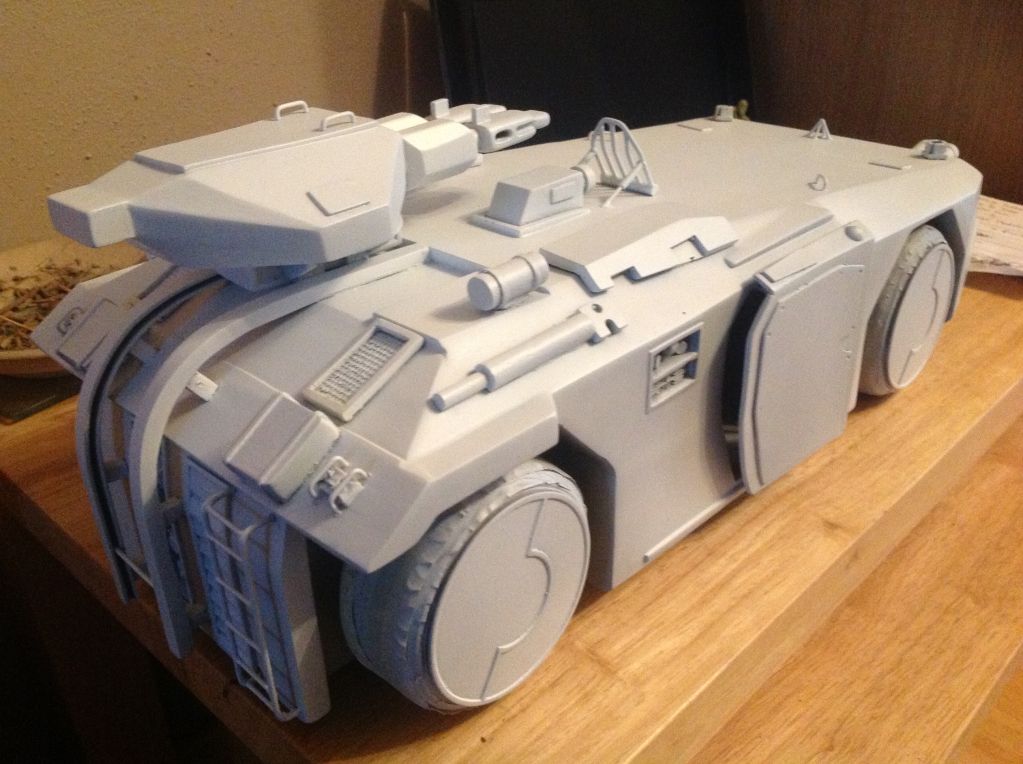
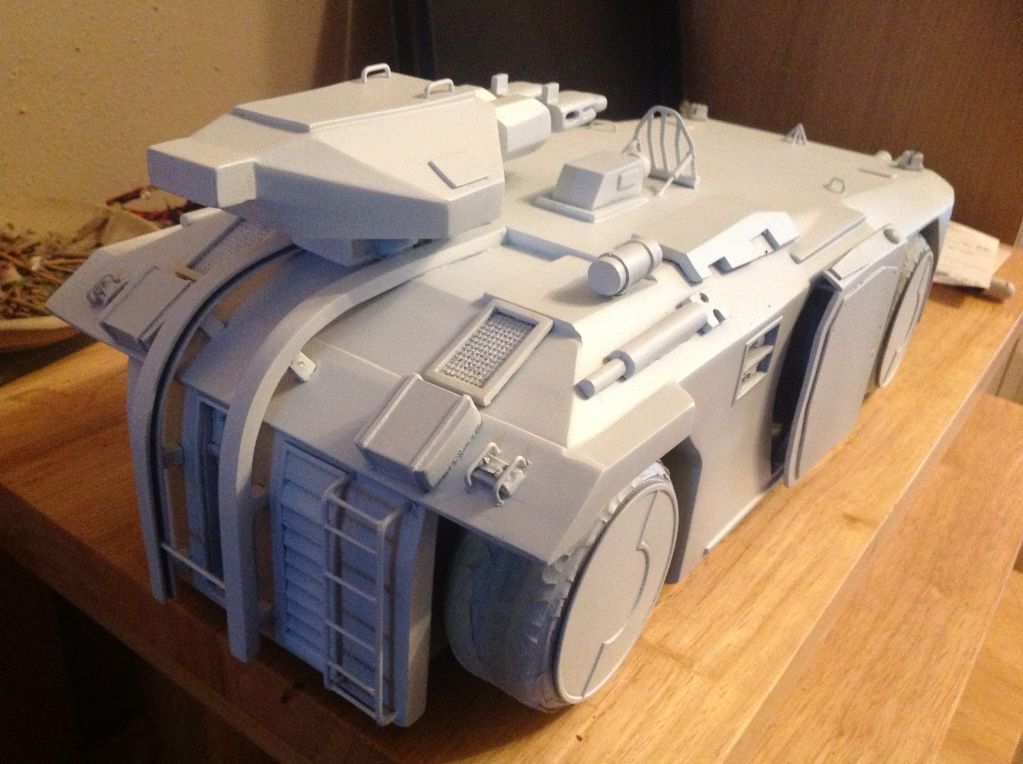
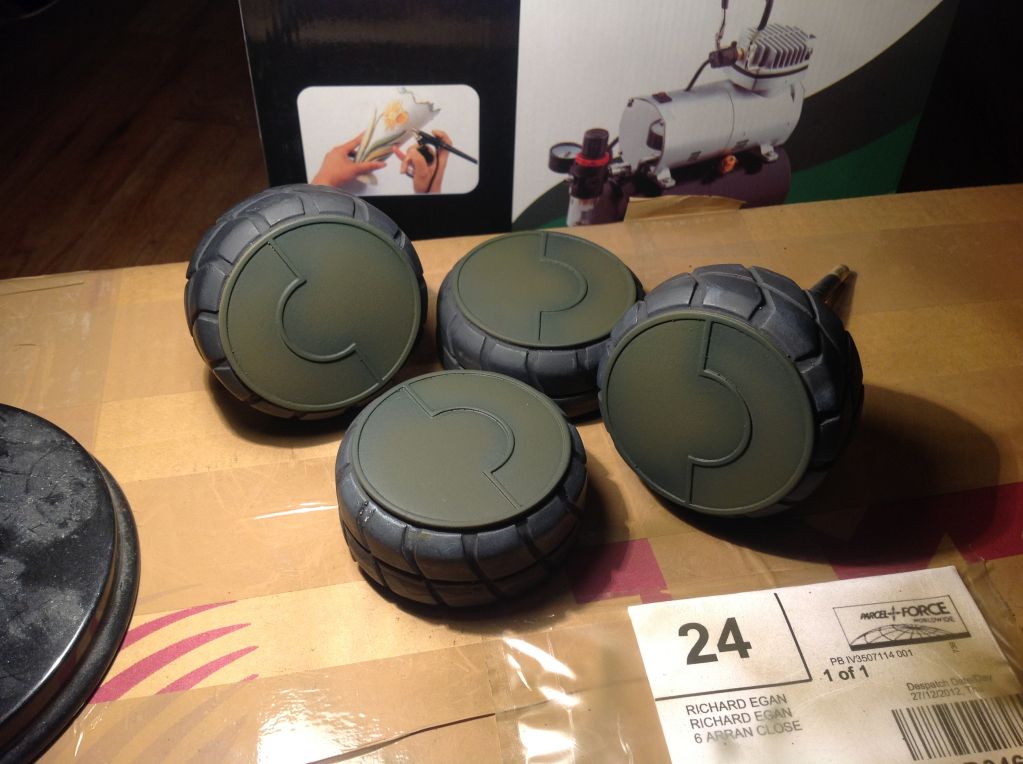
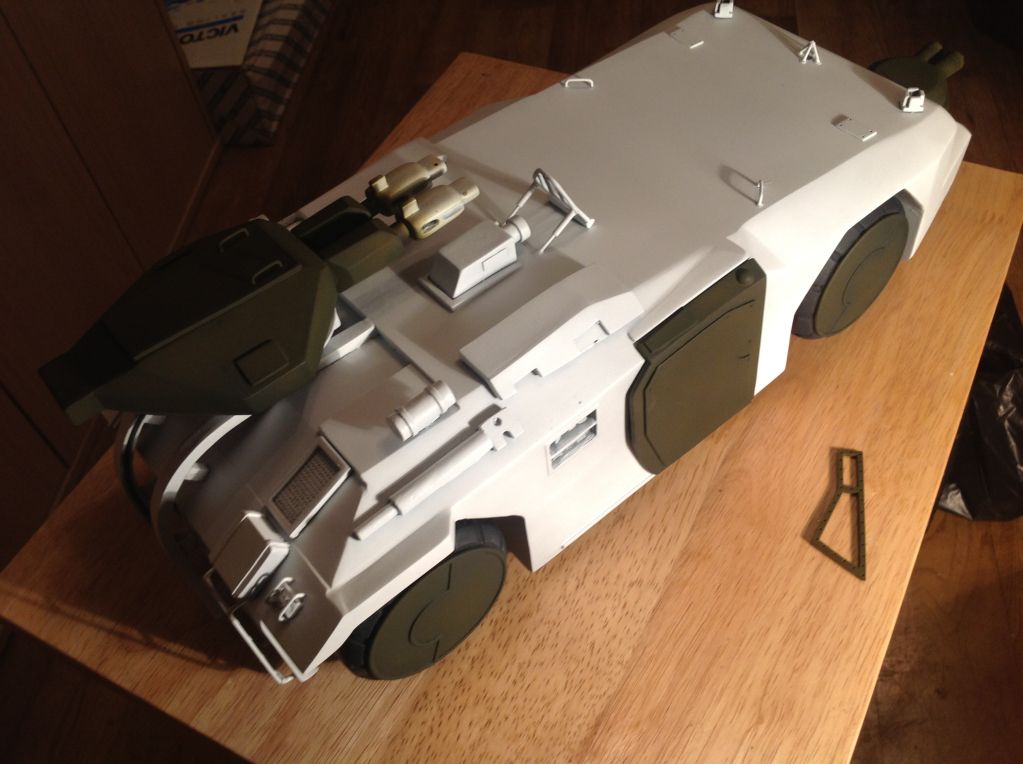
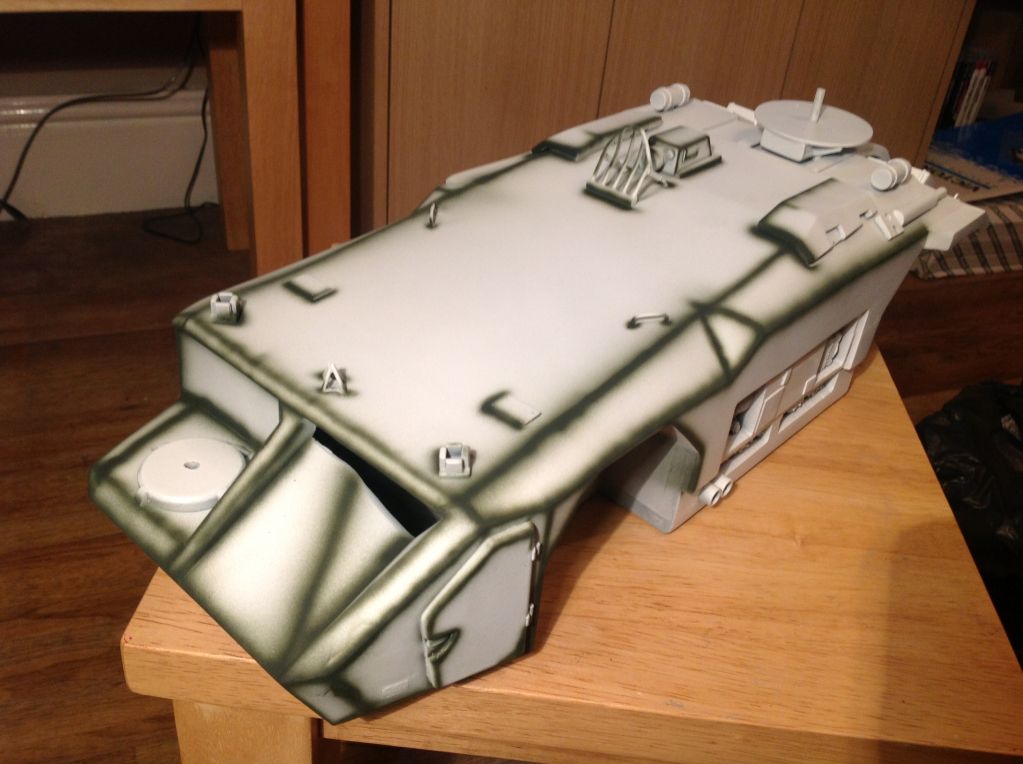
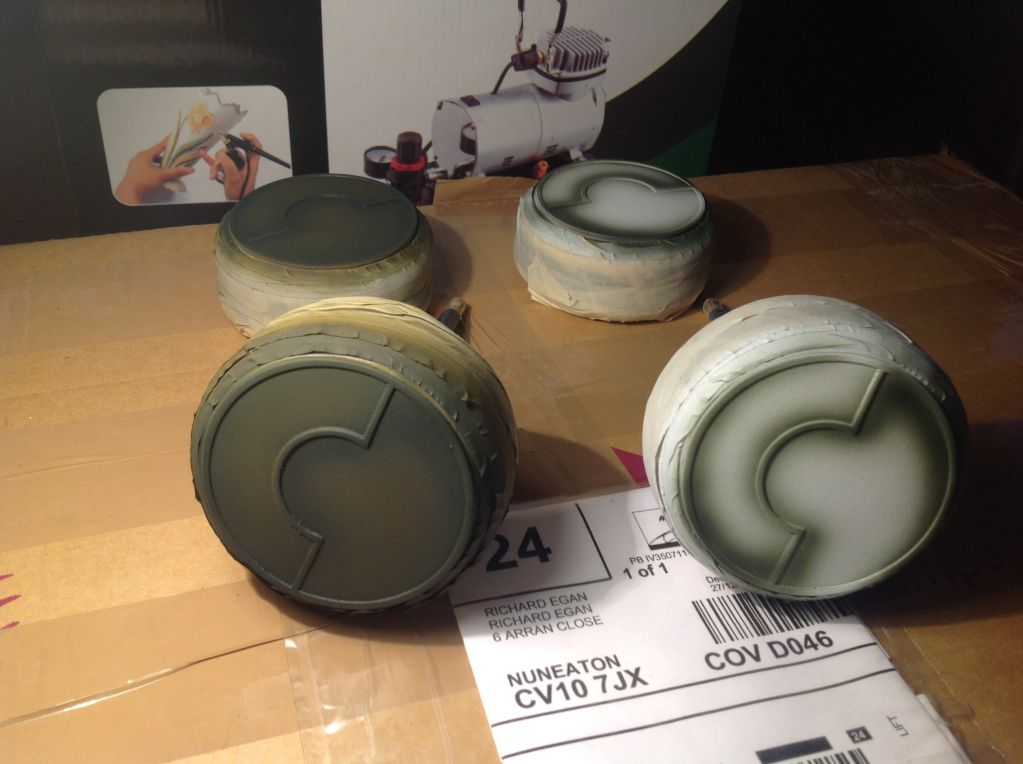
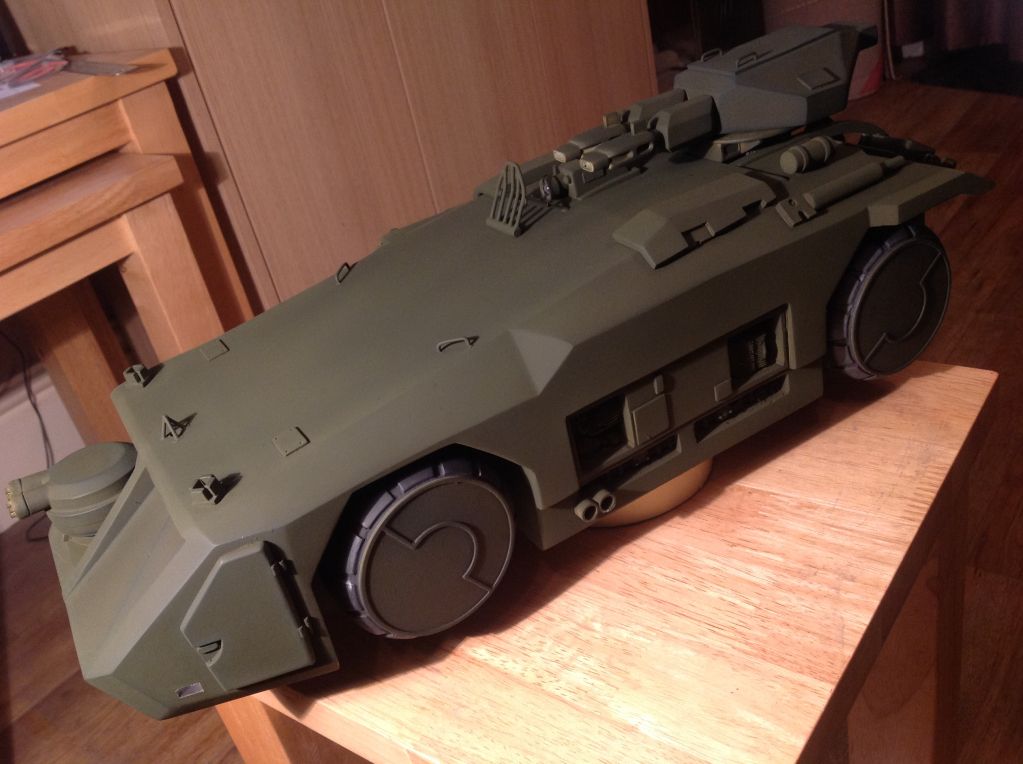
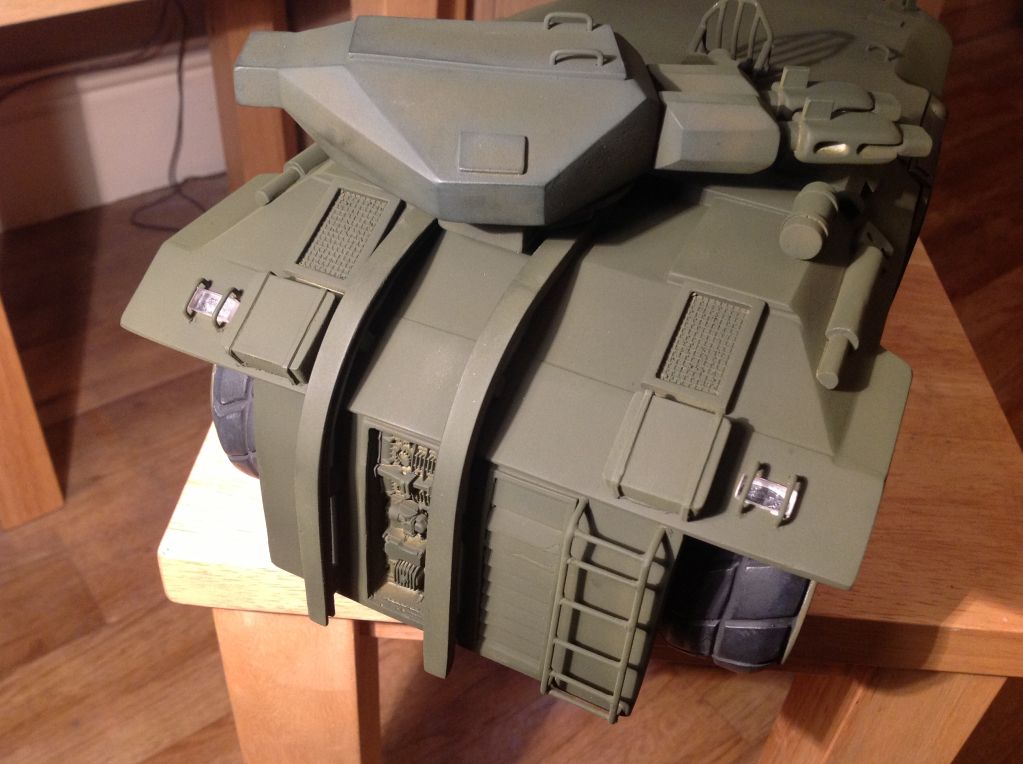
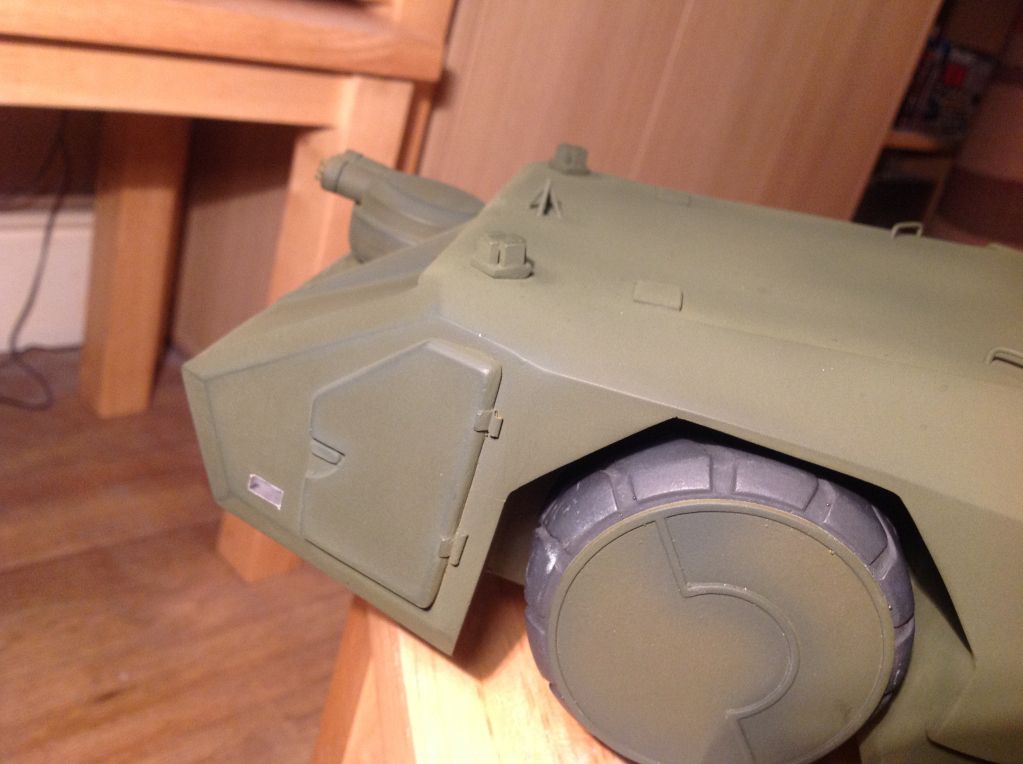
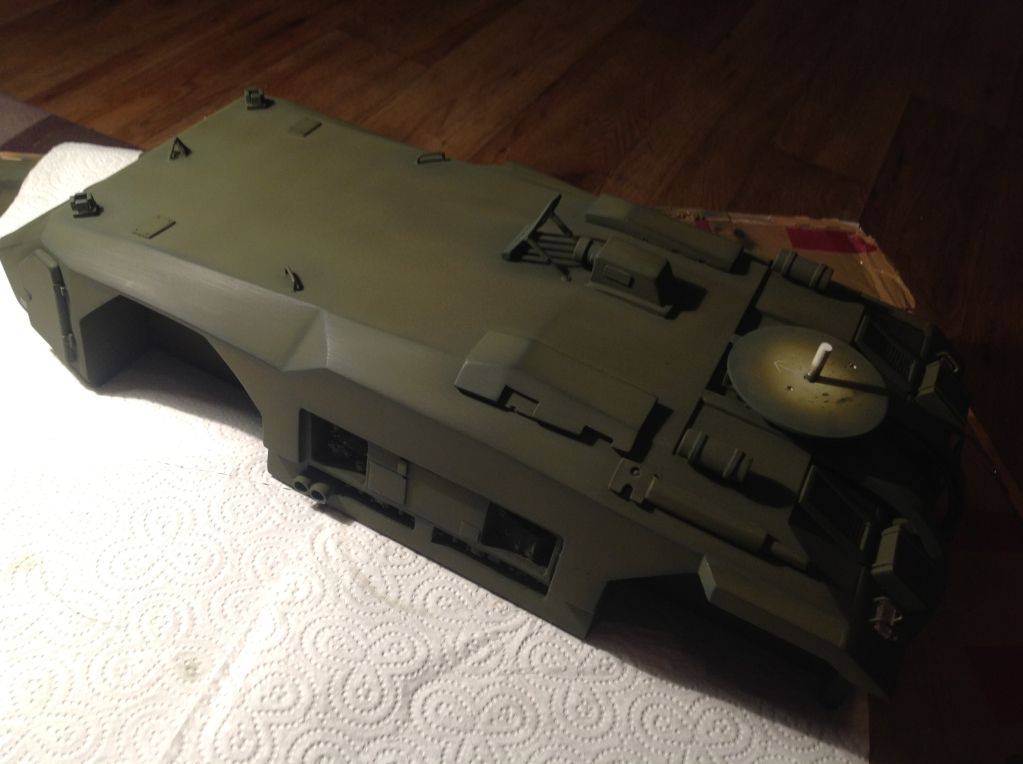
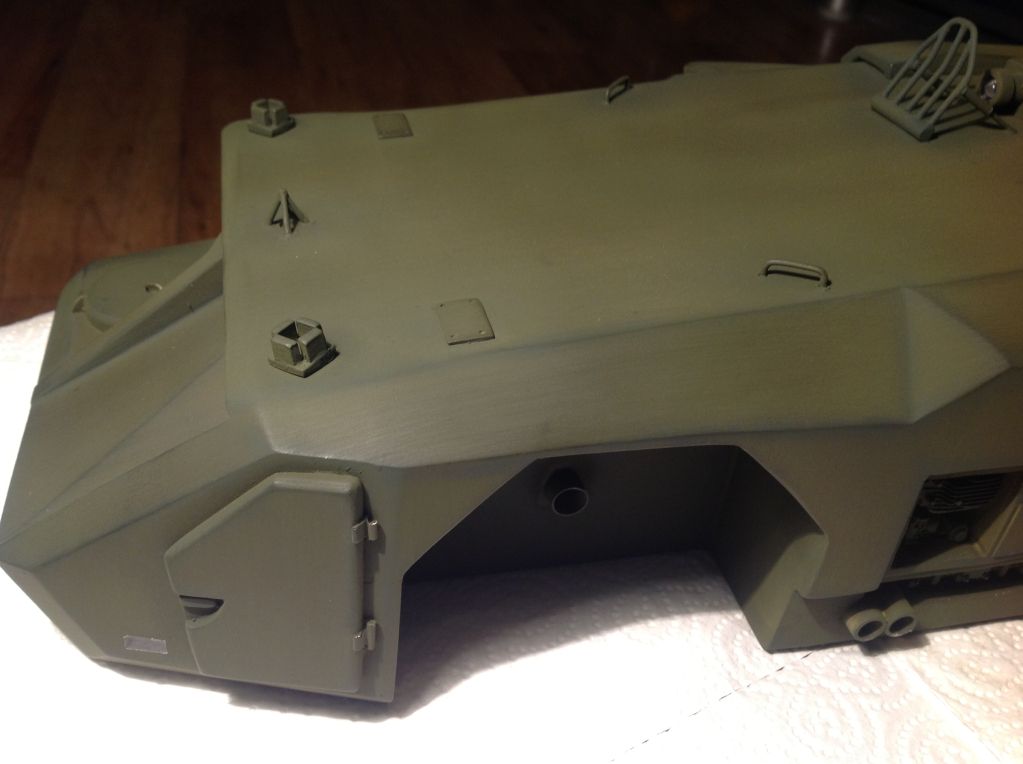
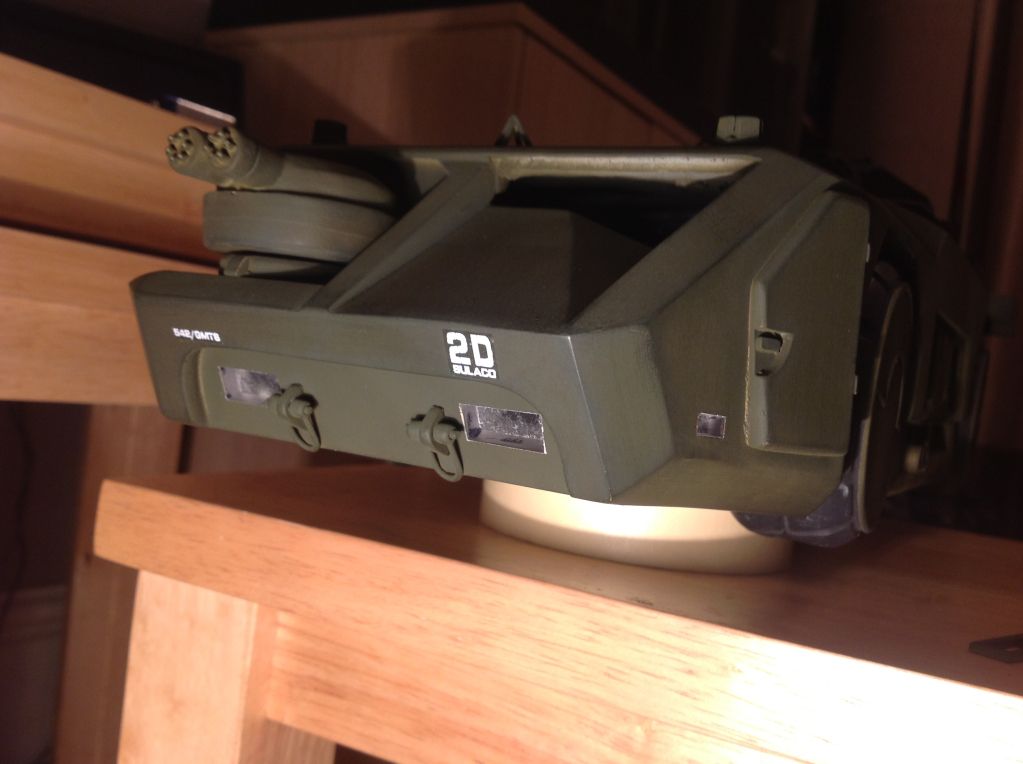
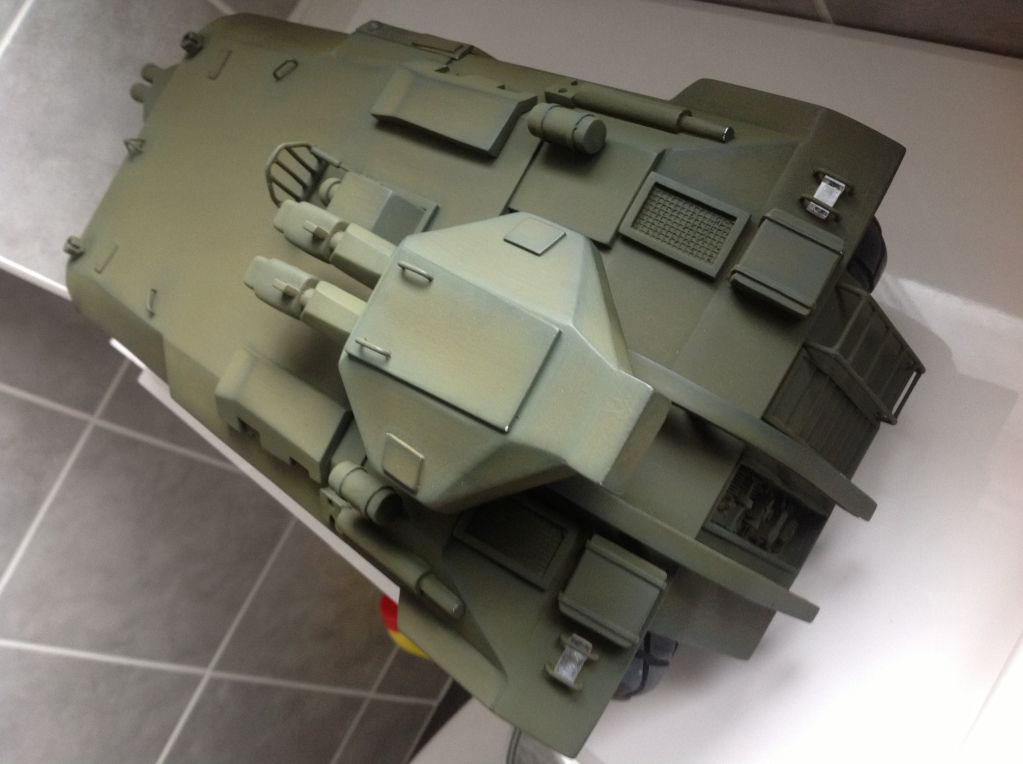
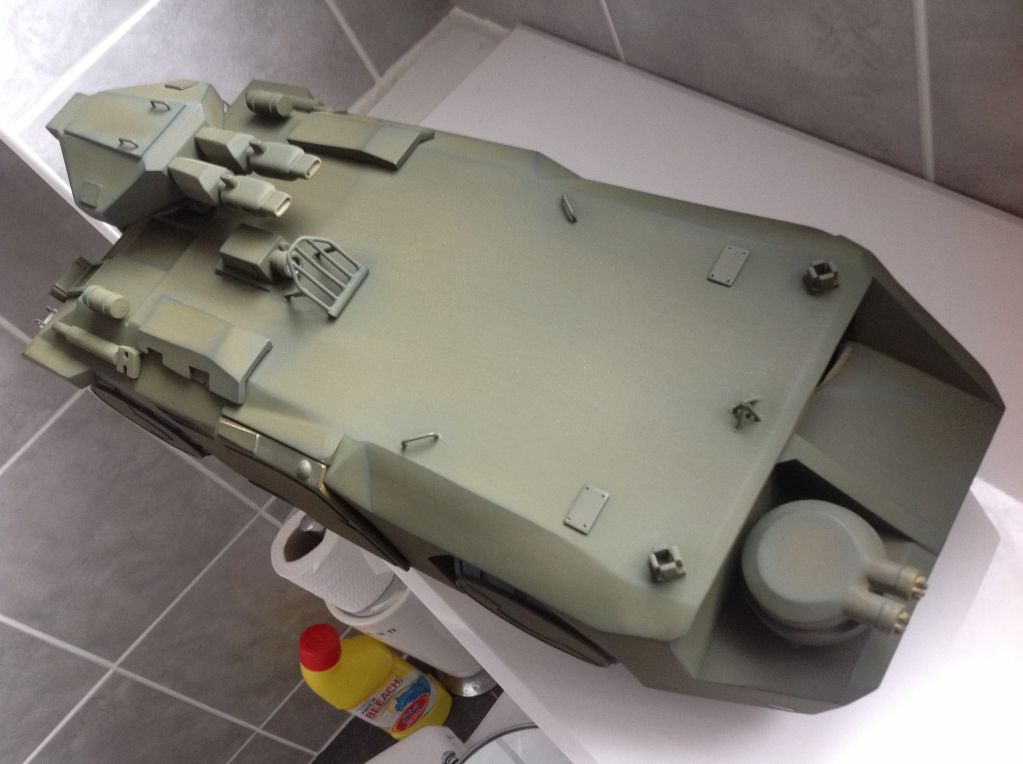
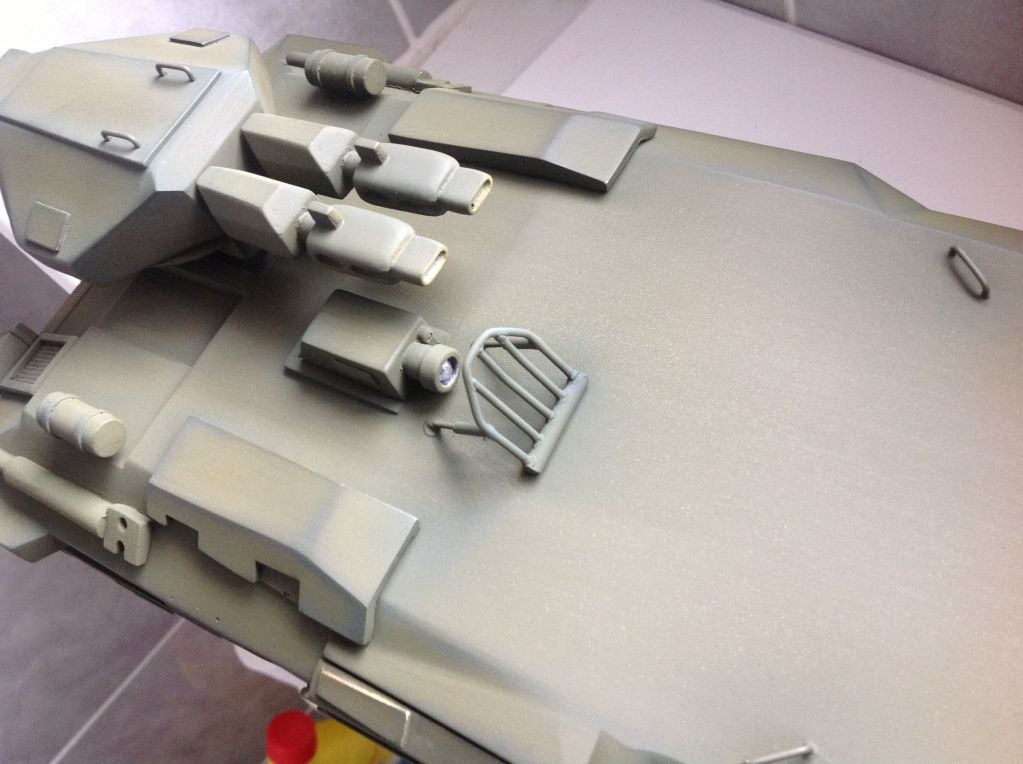
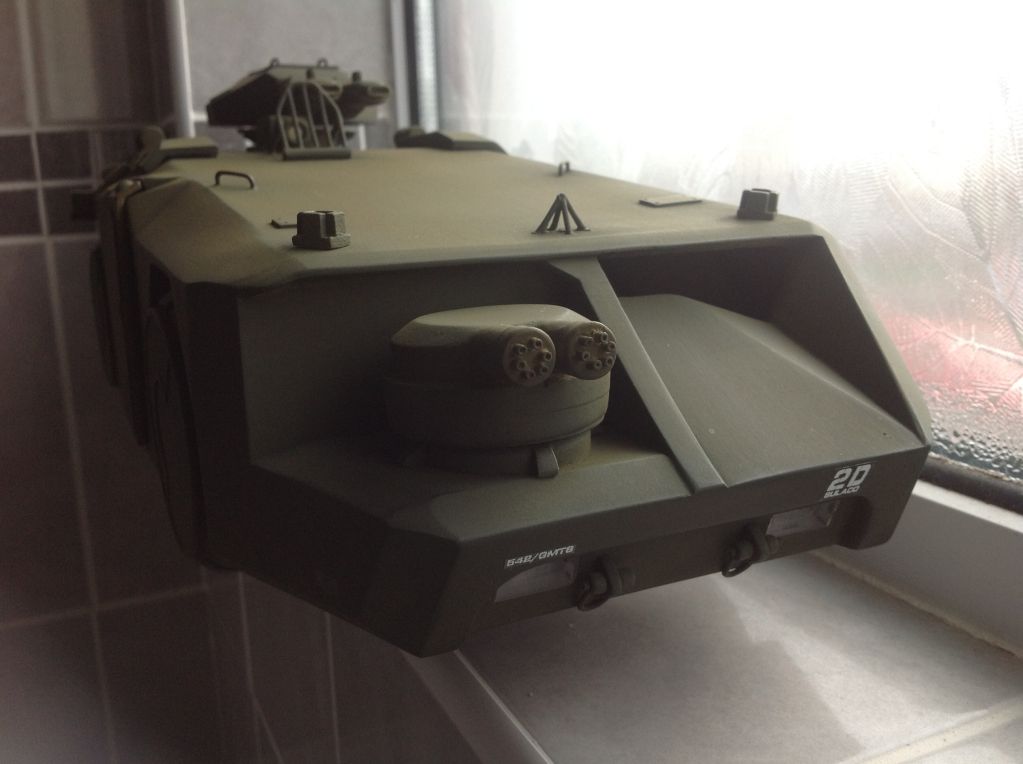
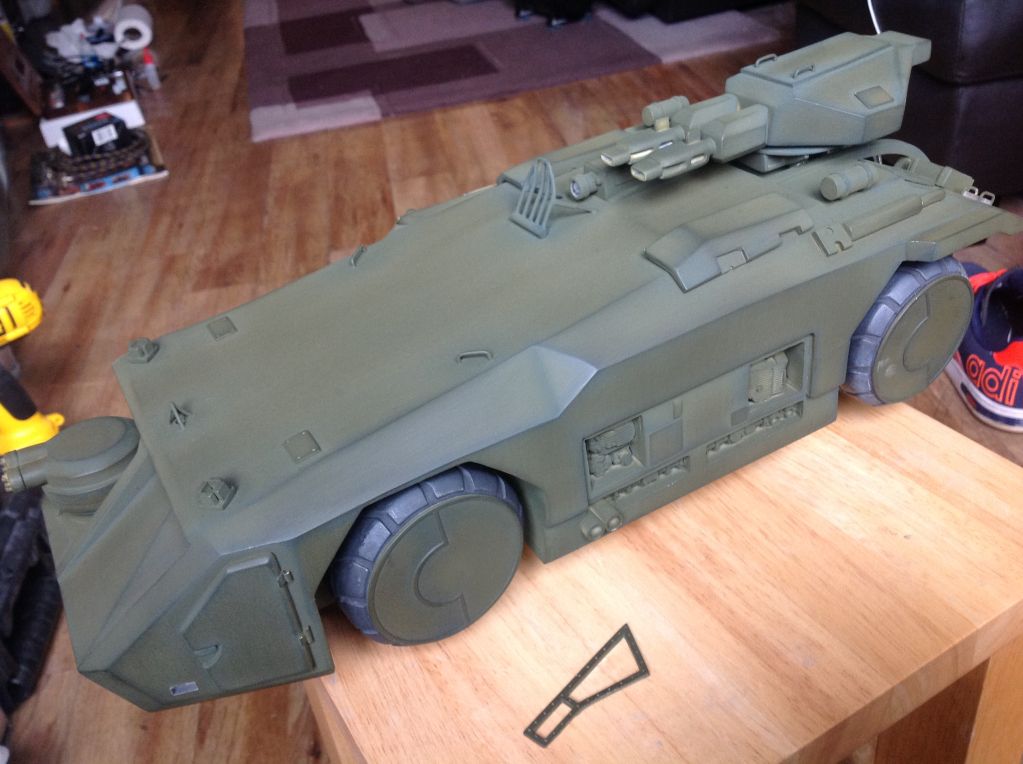
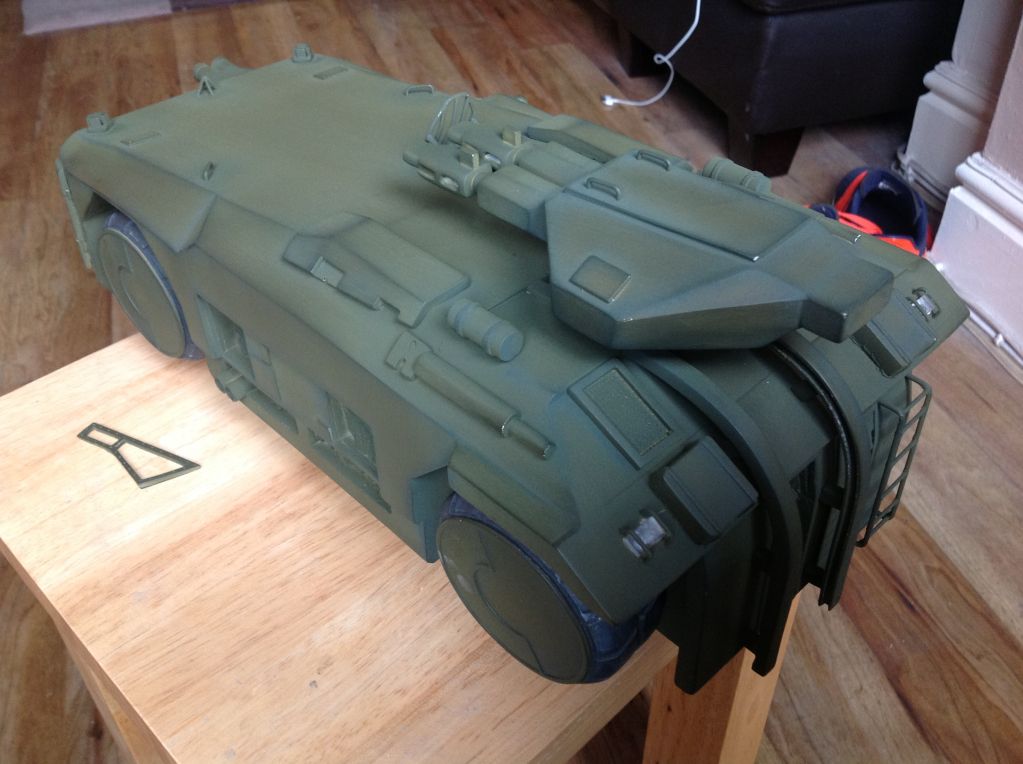
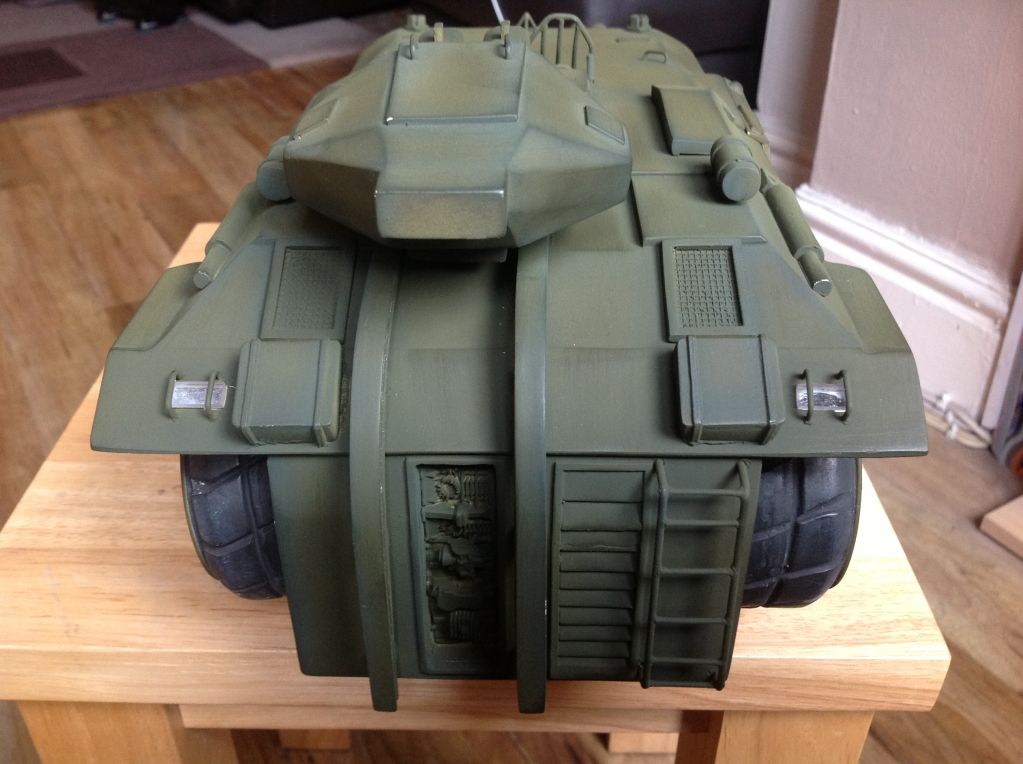
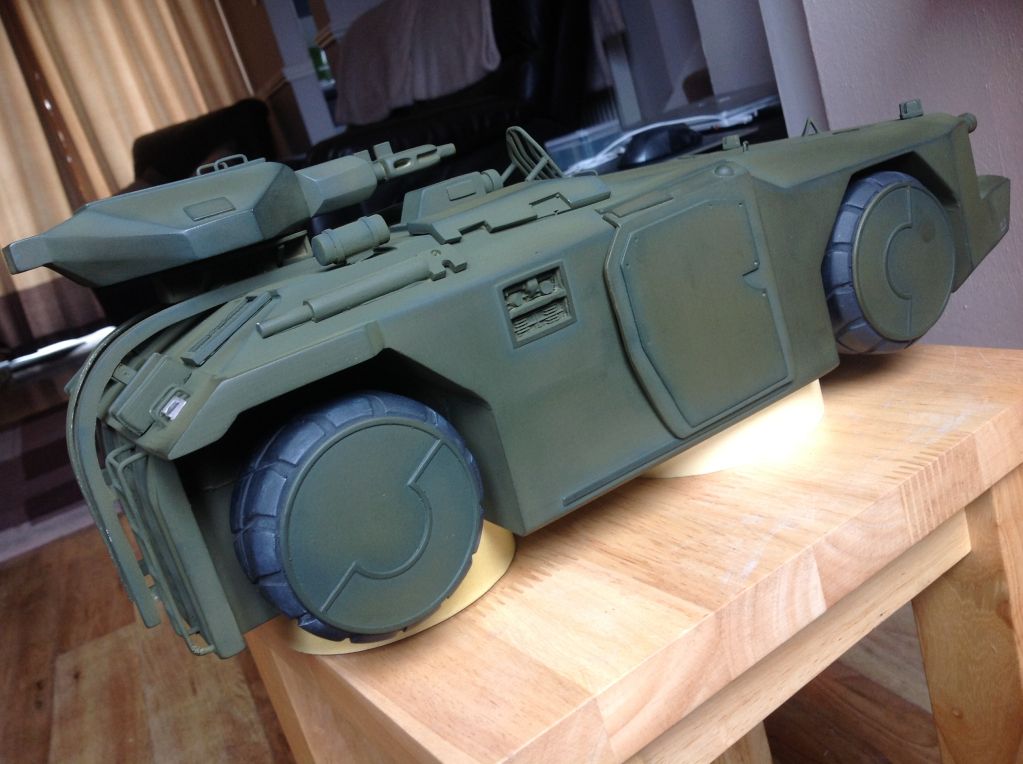
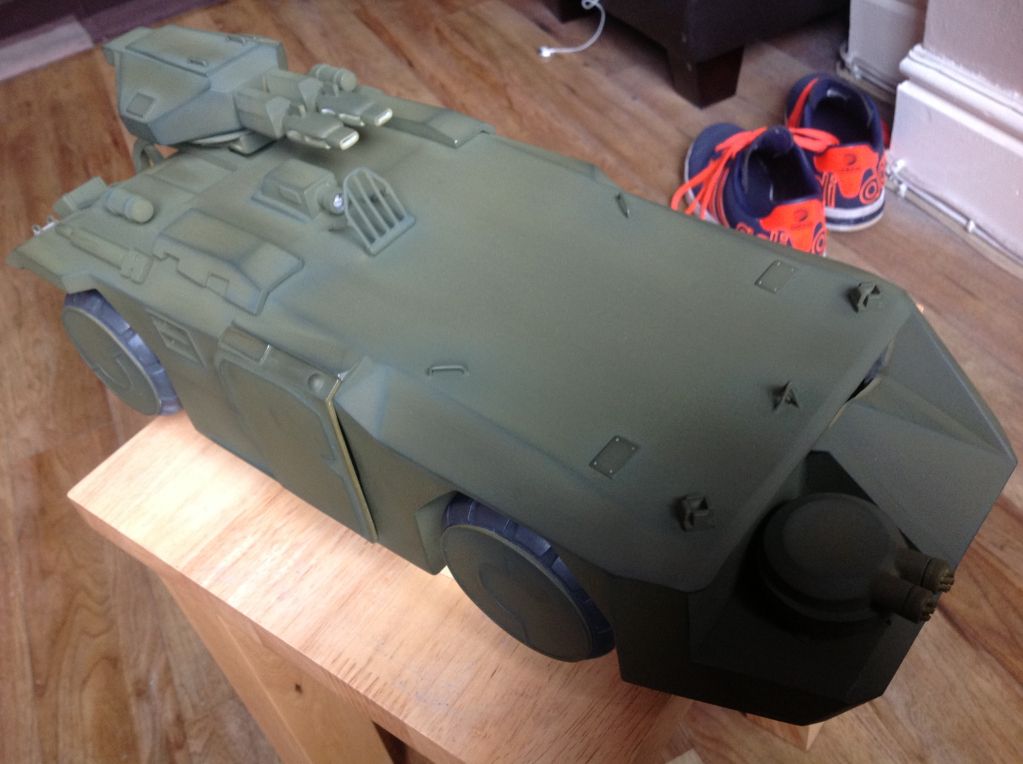
The follow up to my enterprise build, I have had this kit on the back burner until the enterprise was finished.
This was one of ray22's resin casts I picked up, or should I say had hand delivered by ray himself whilst I took a holiday in New York in August 2012.
Initial impressions were this looked a great resin kit online in his for sale thread, and upon closer inspection in real life I could see very minor work would be needed..... Rays done a great job in casting and prepping this to the buyer.
Now there is nothing wrong with how this kit was made by ray, but e dry keen modeller likes to make things there own and modify or decide to tinker with some parts..... And yes I tinkered some bits even tho I said to myself I wouldn't :facepalm
So lets begin, this kit is very much still being worked on.
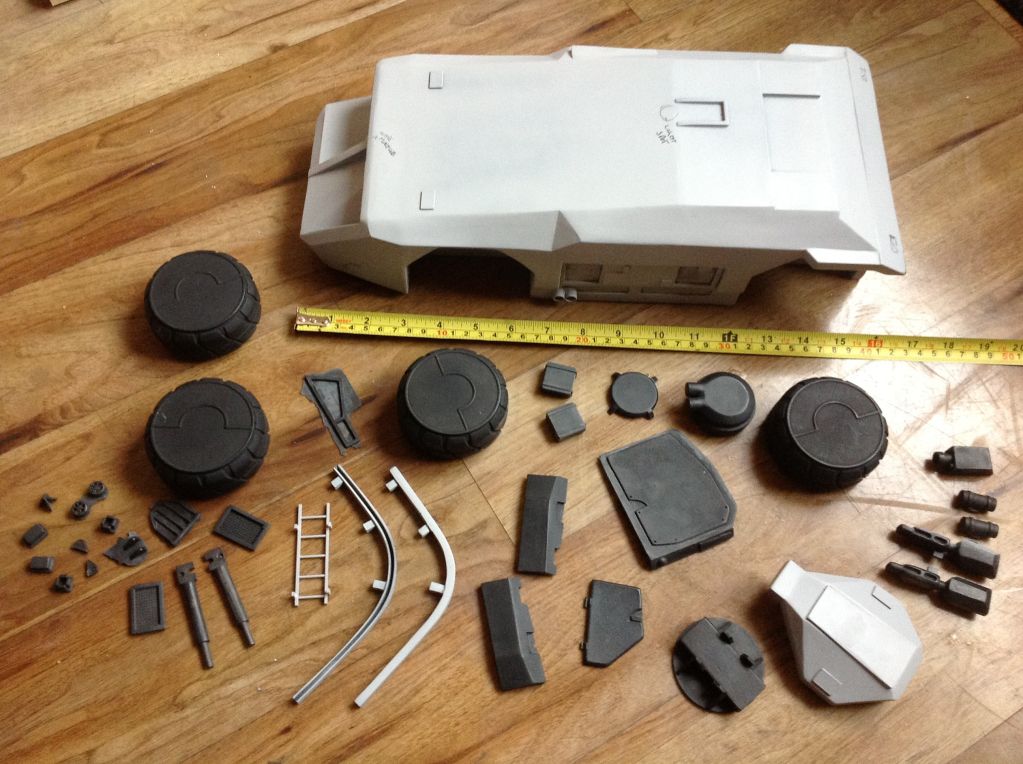
The kit in all its resin glory, as you can see ray provides a pretty much ready to assemble kit
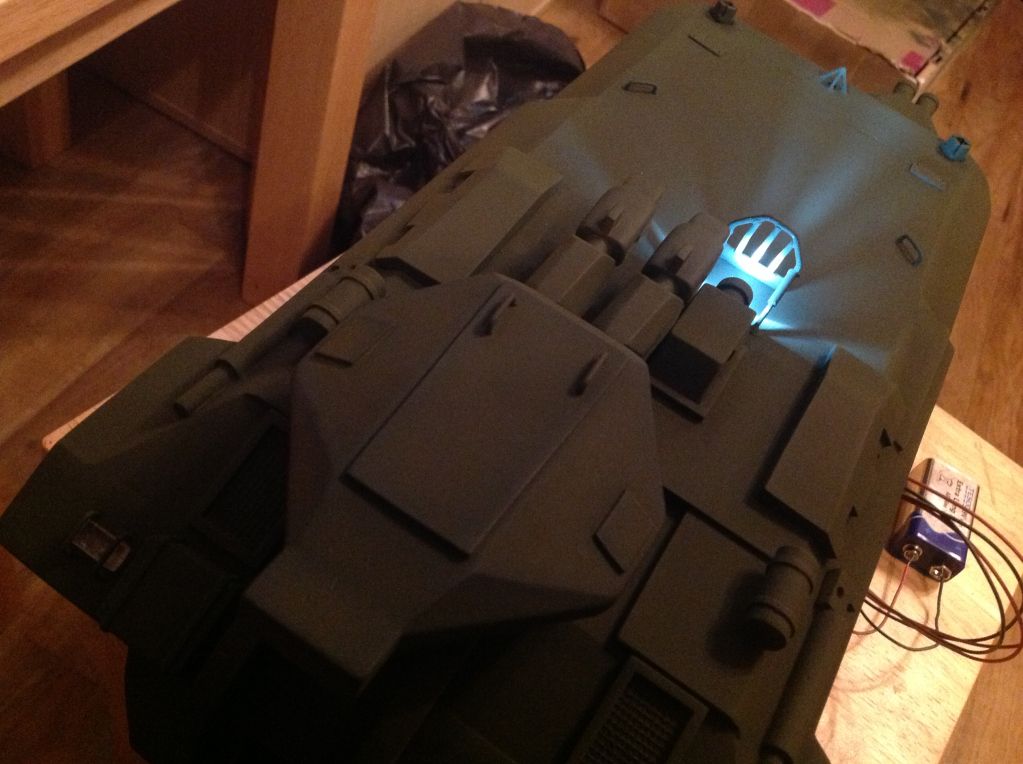
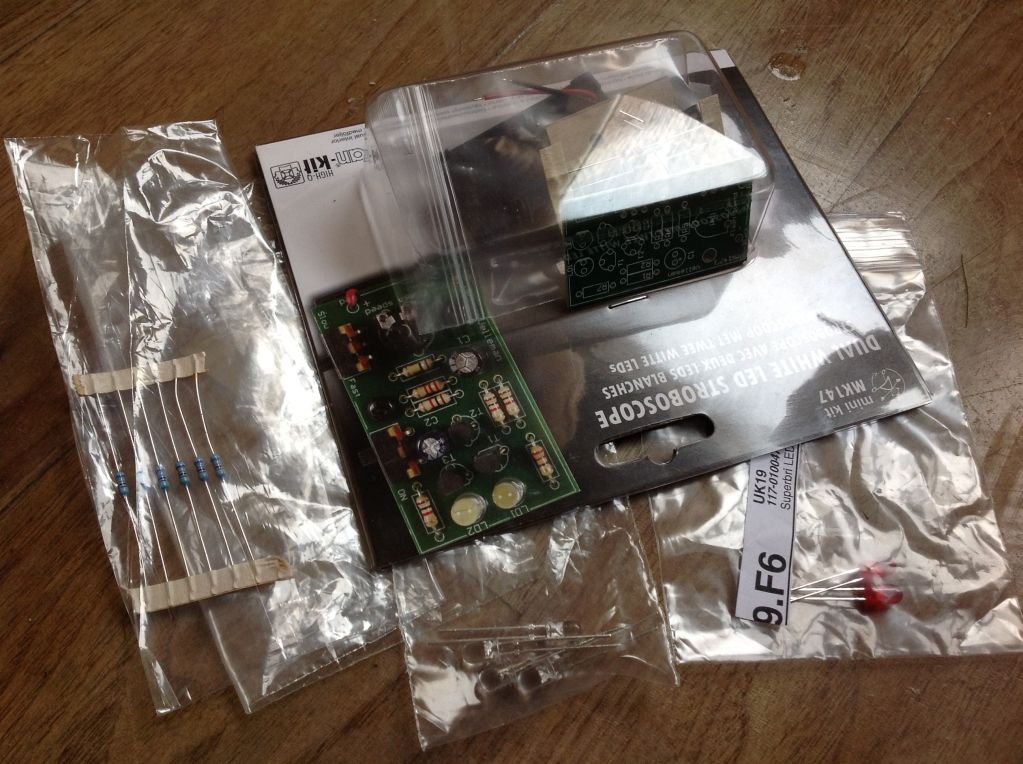
The electronics ill be using, a strobe kit, 4 white LEDs and 2 uv LEDs
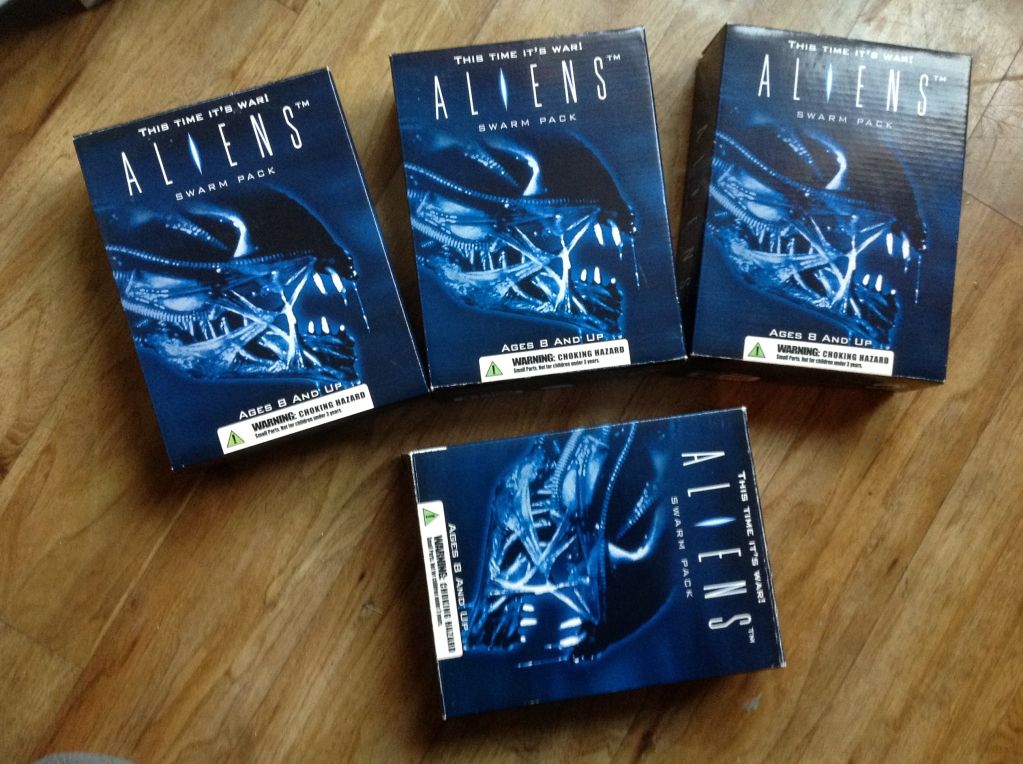
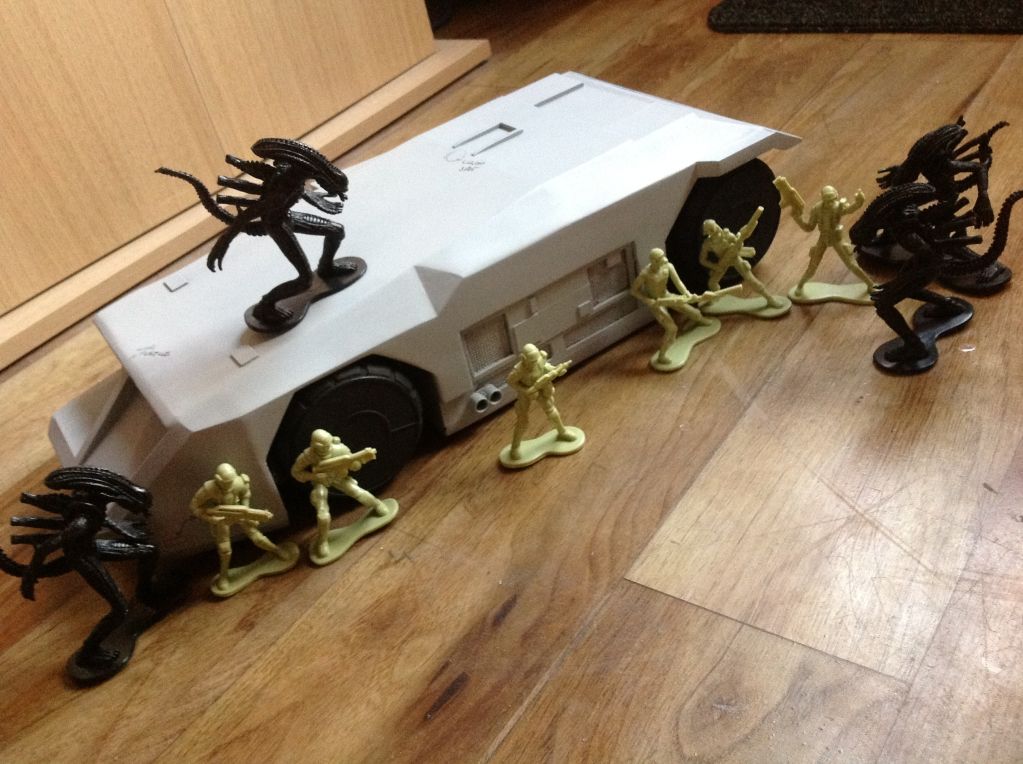
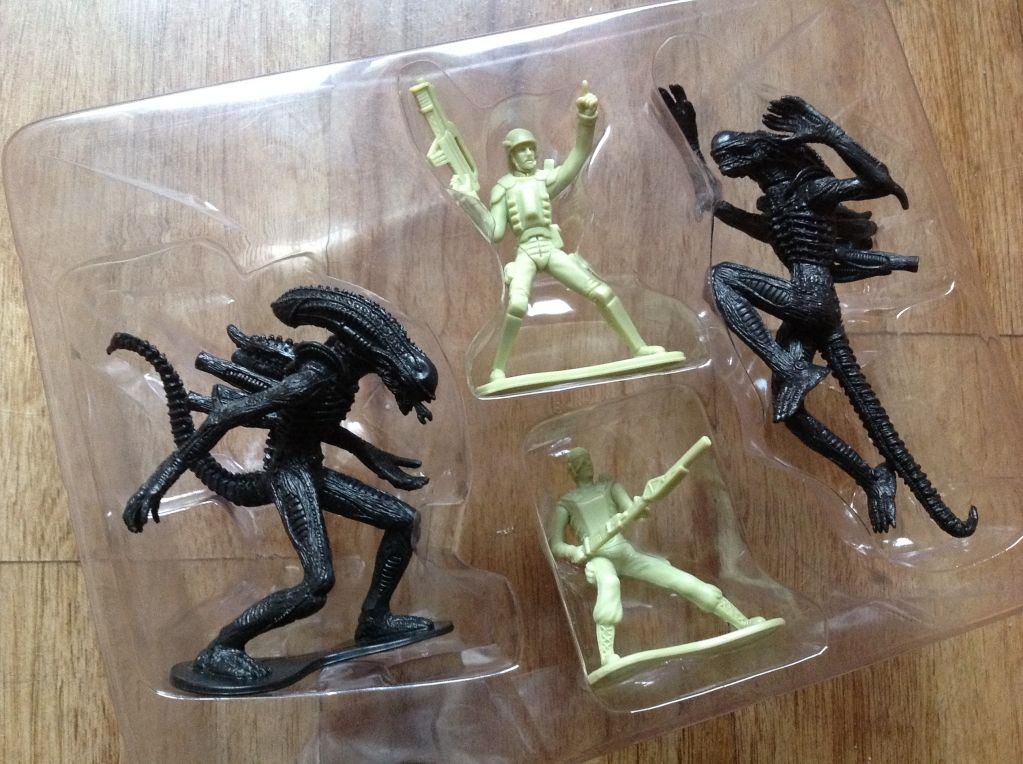
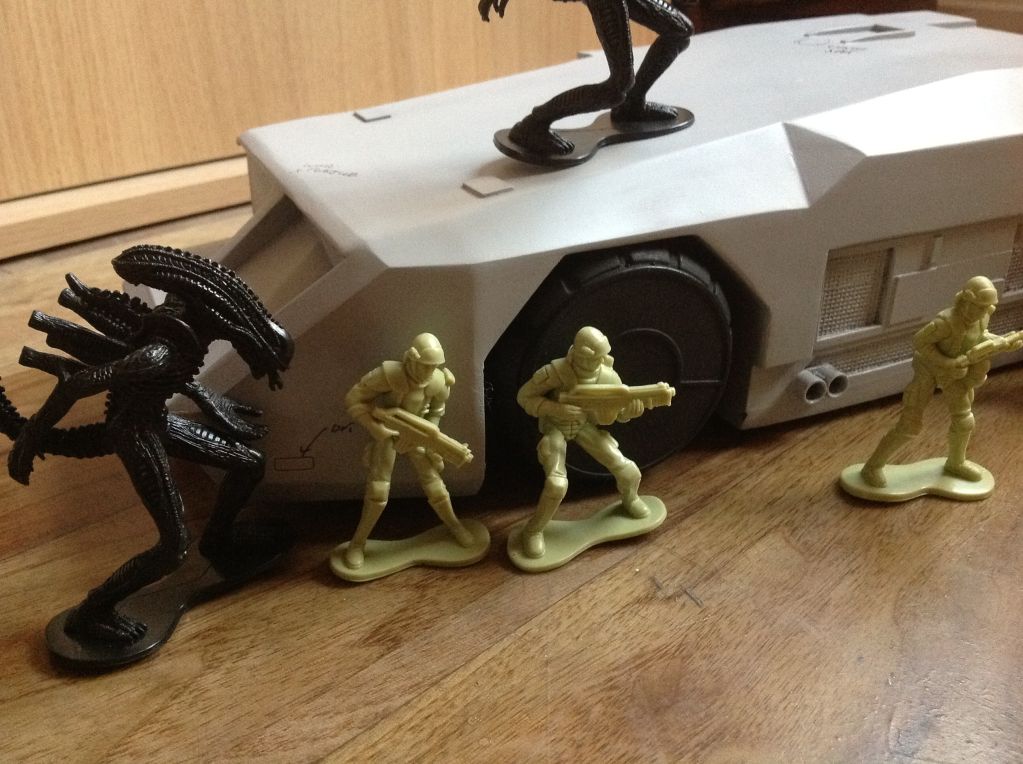
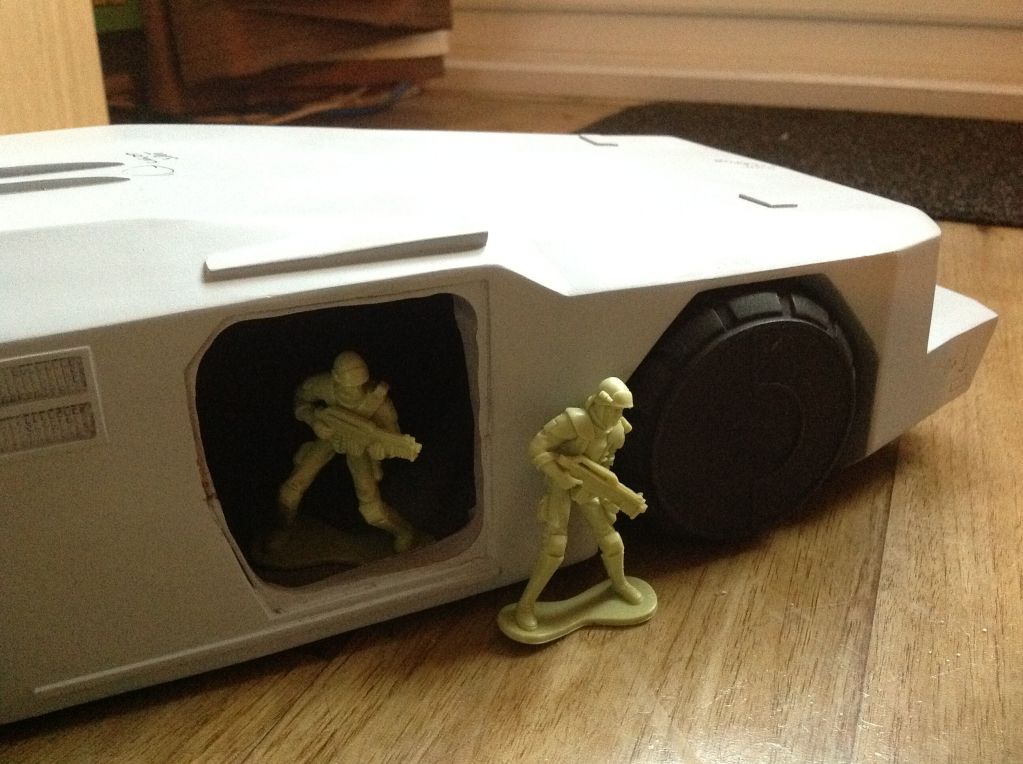
As I'm going for a diorama as well some aliens swarm figures for peanuts on eBay
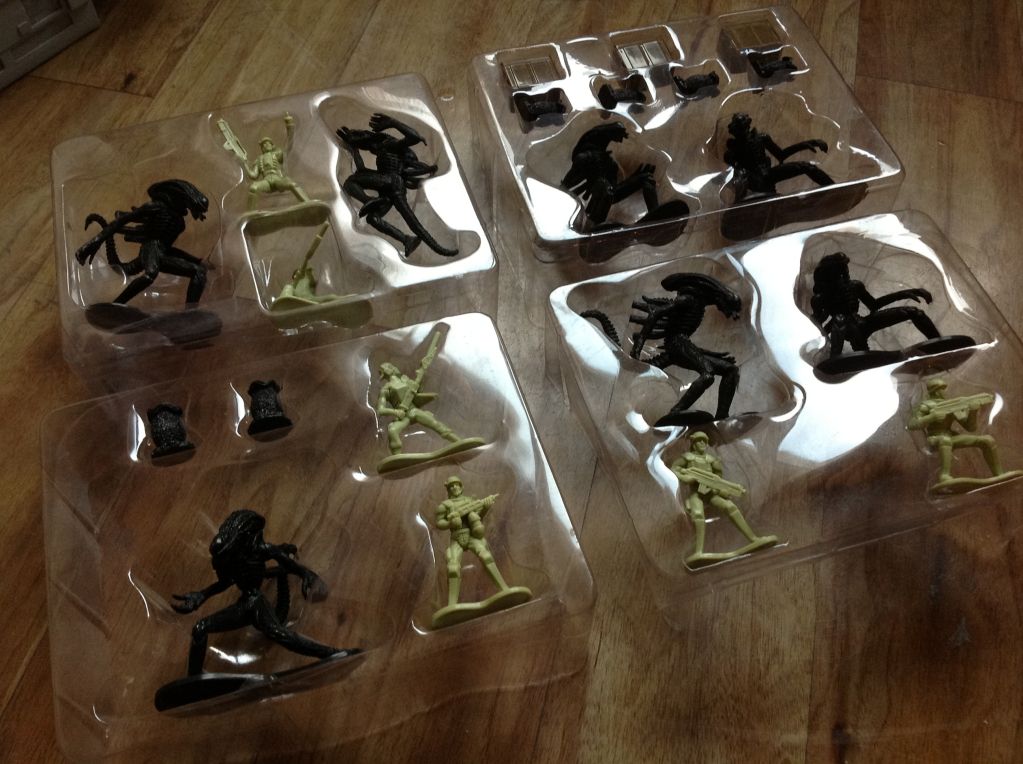
Some great detail on these figures
A purchase on eBay for a floor tile which scaled up to work, made a copy of it and decided to make myself multiples, I estimate near 100 will be required
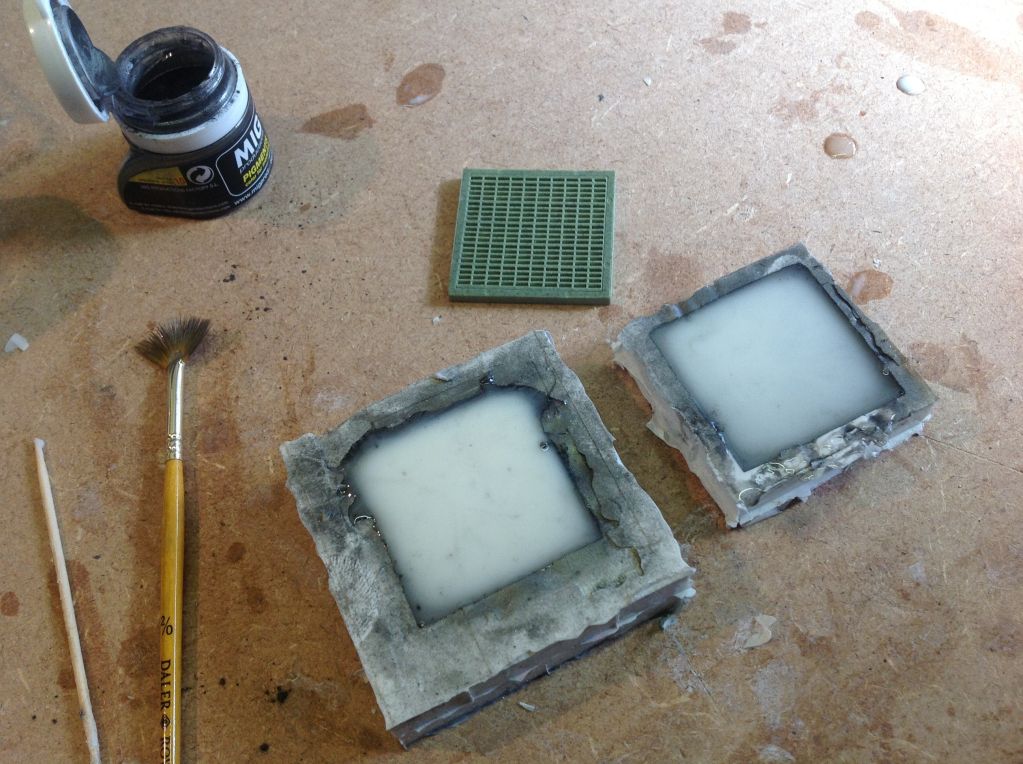
I brushed the mold with a pigment powder before pouring the white resin, the result is this
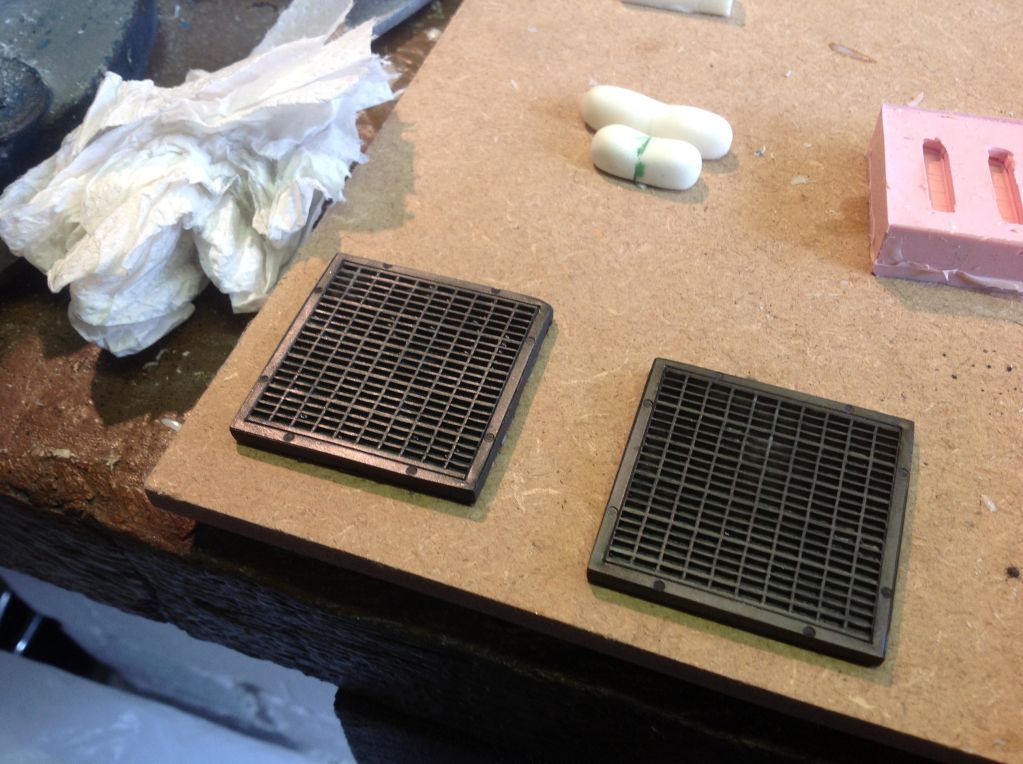
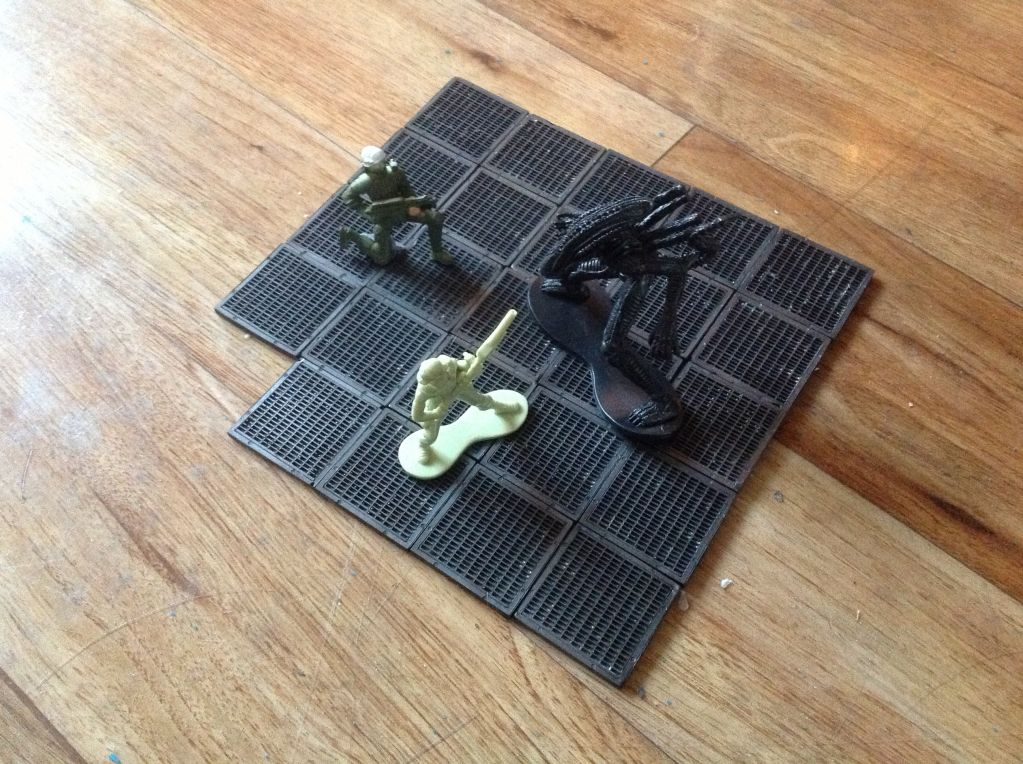
Added some alien related damage
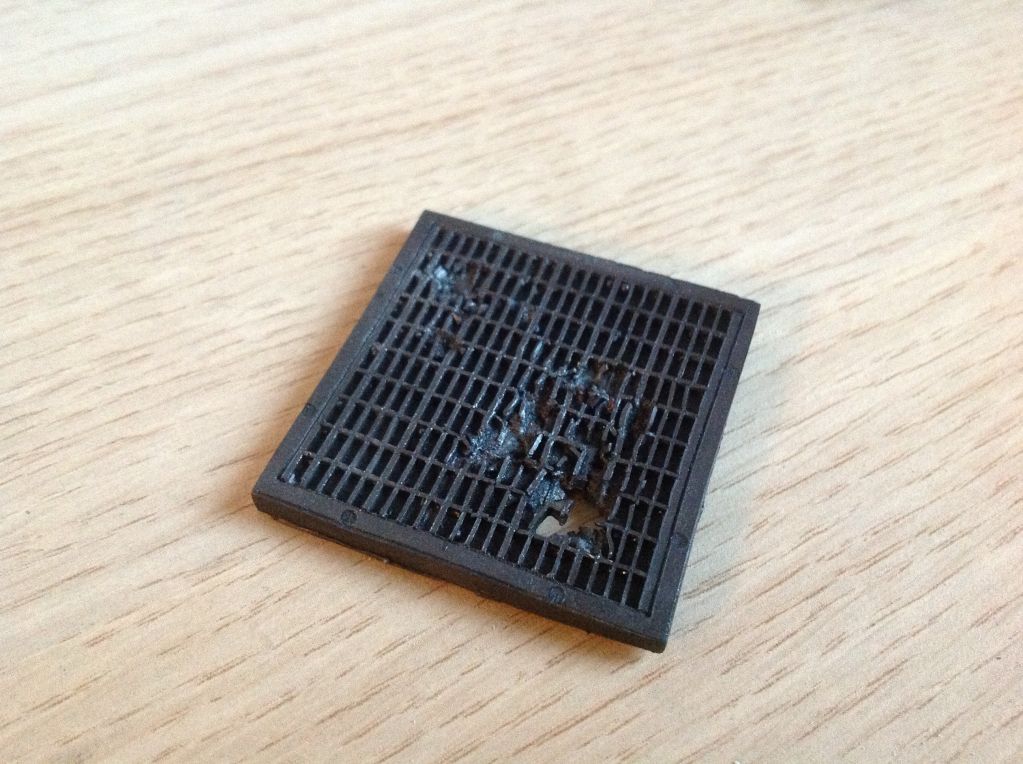
Soldering iron, epoxy glue mixed with yellow paint gave me this
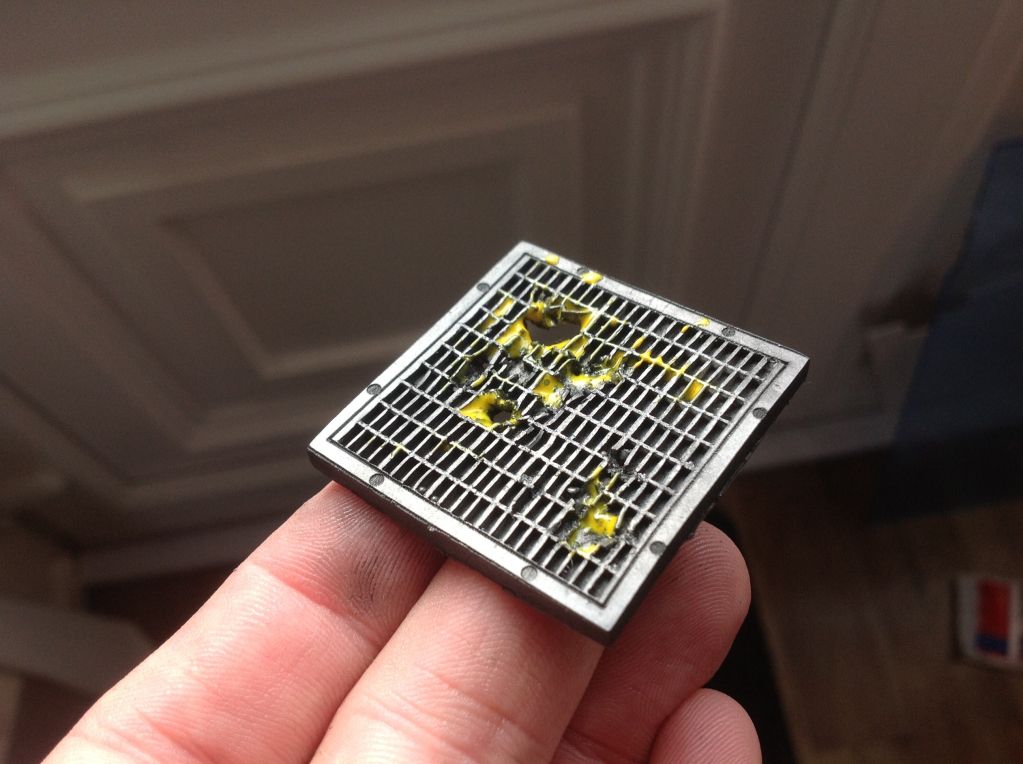
Not to happy with the gunmetal pigment, so airbrushed some humbrol metal coat gunmetal and polished it up......perfect
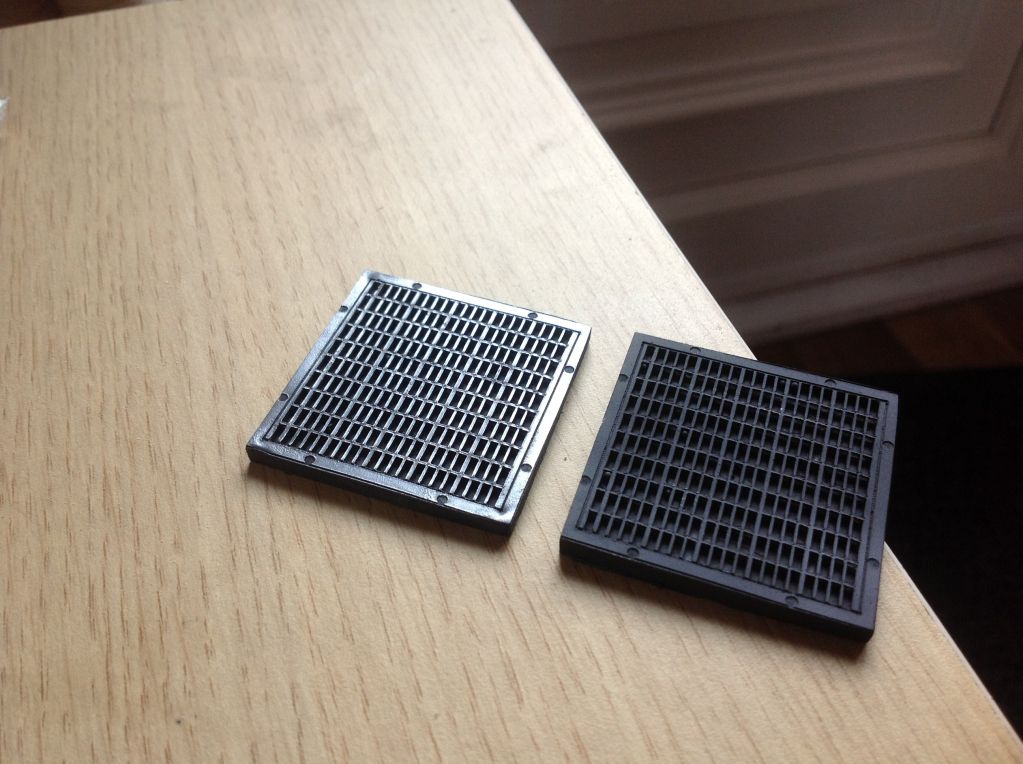
The tiles start to multiply
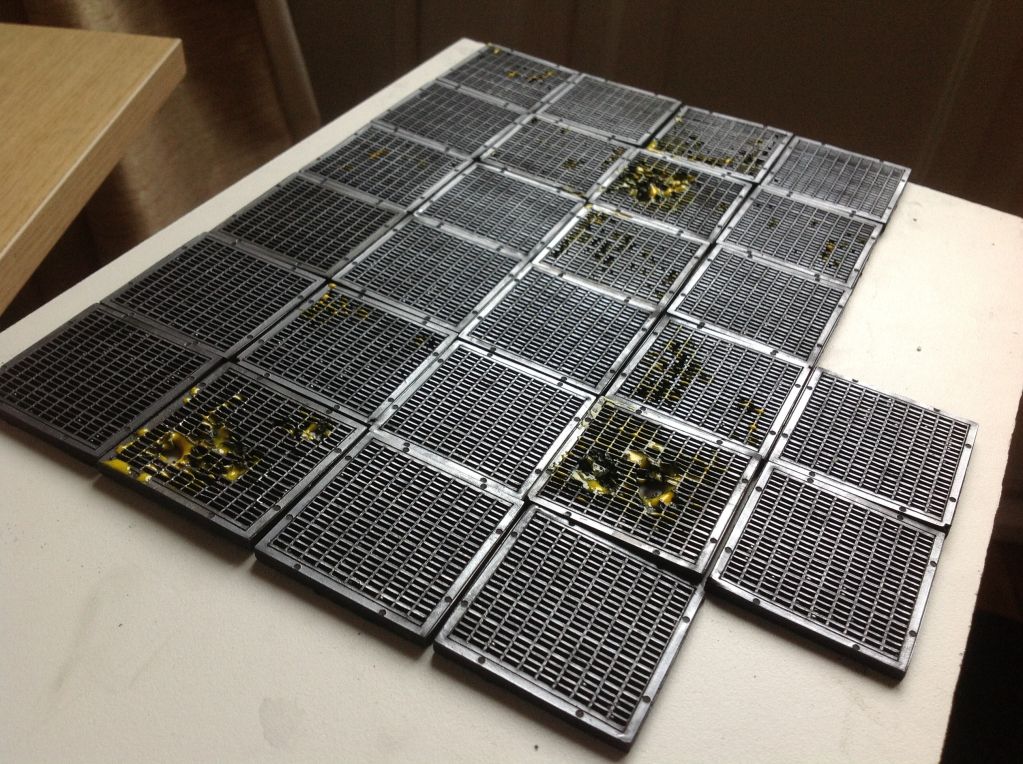
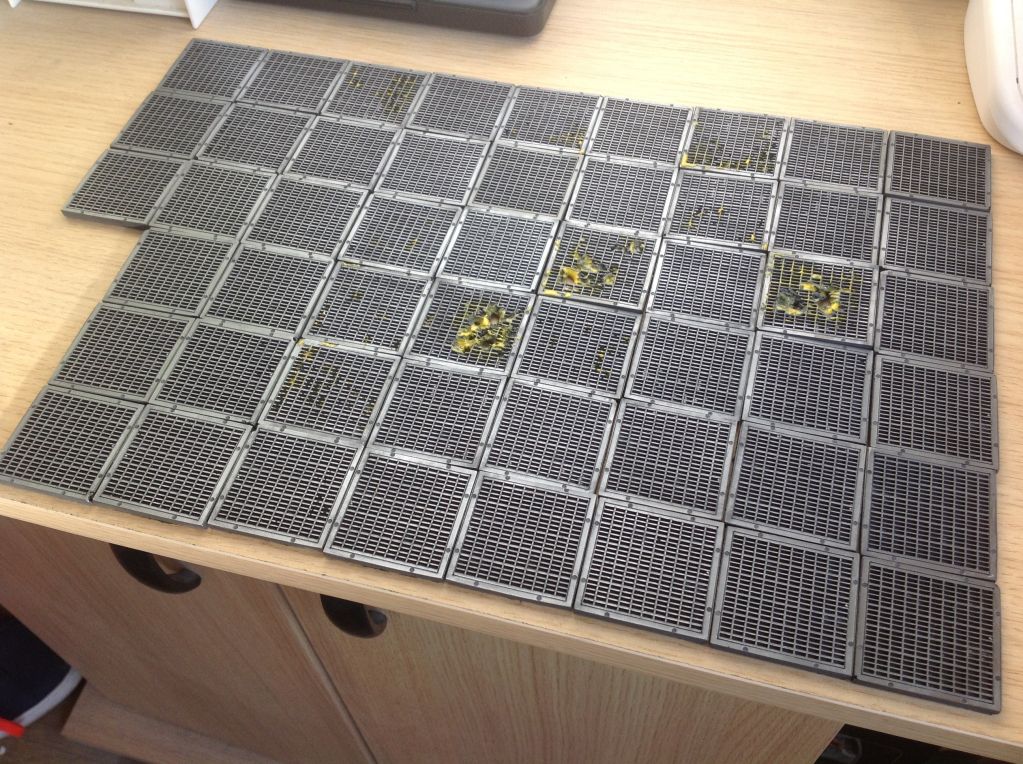
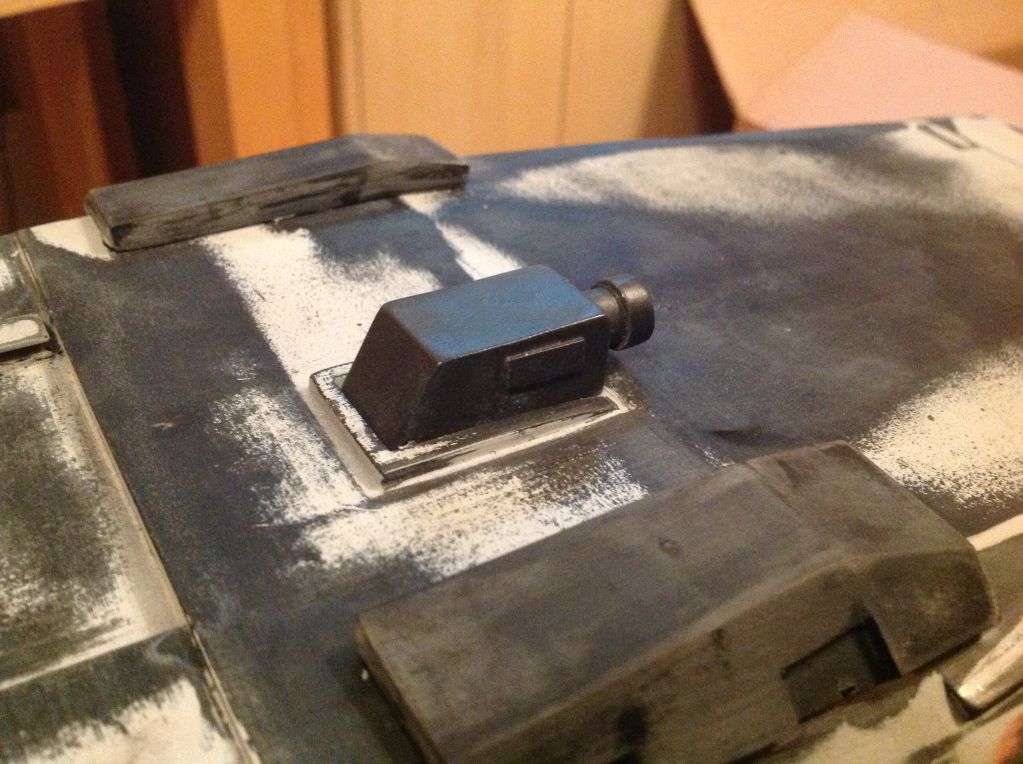
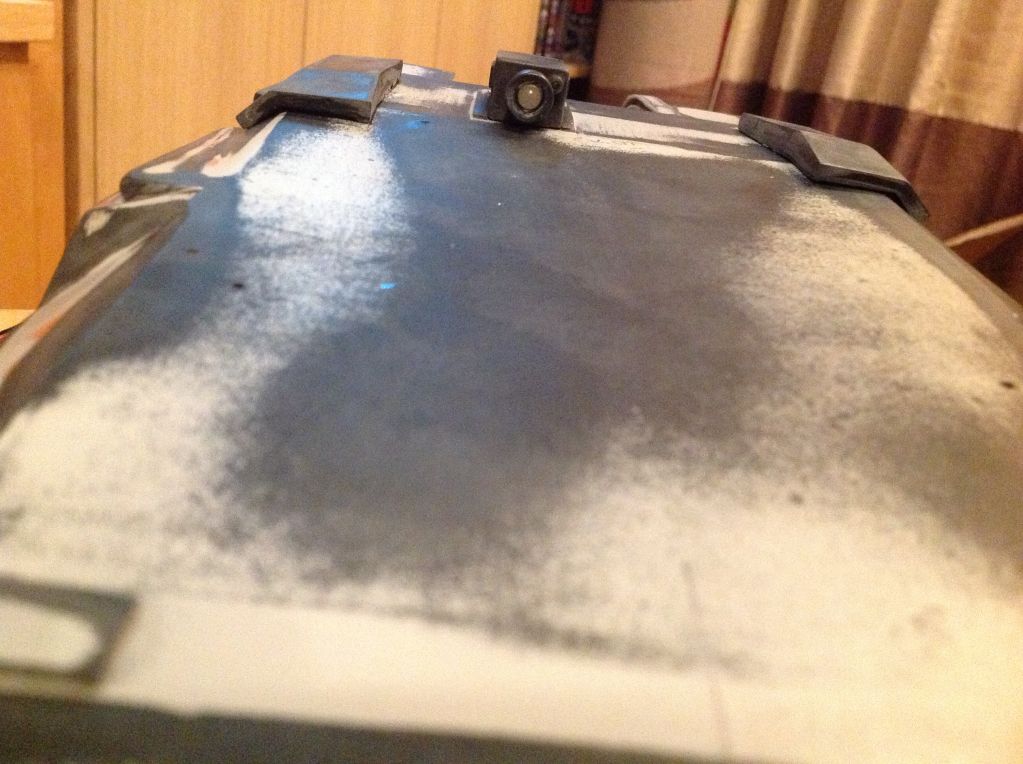
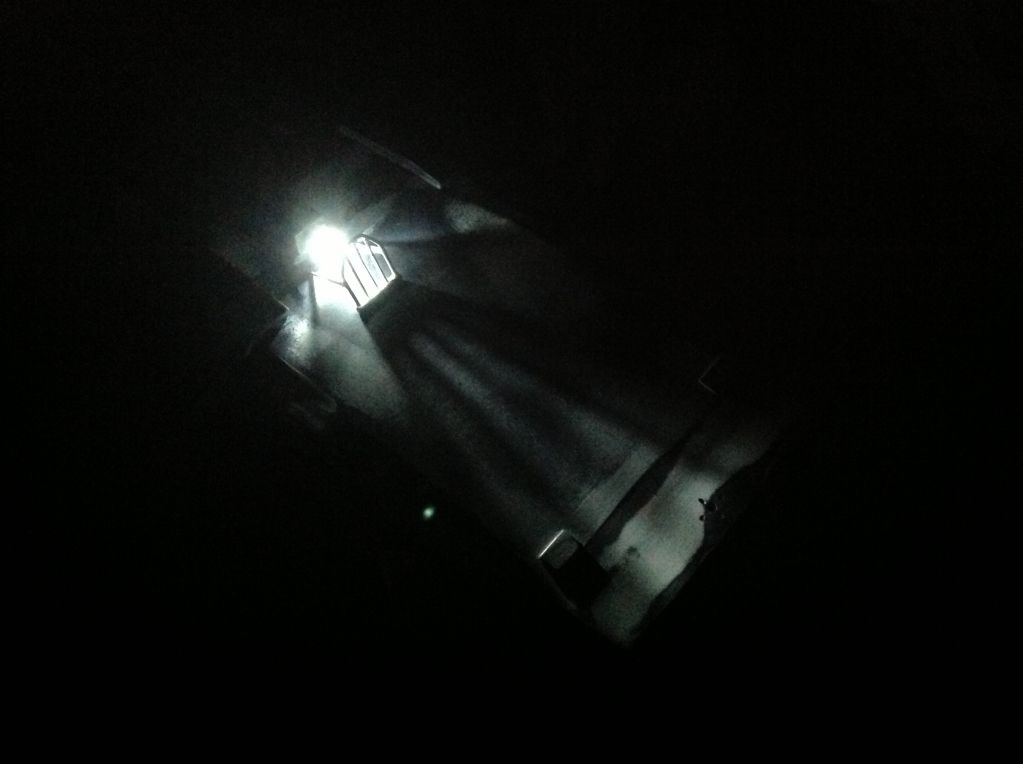
Deviated to the apc itself now, the spotlight I'm adding an led
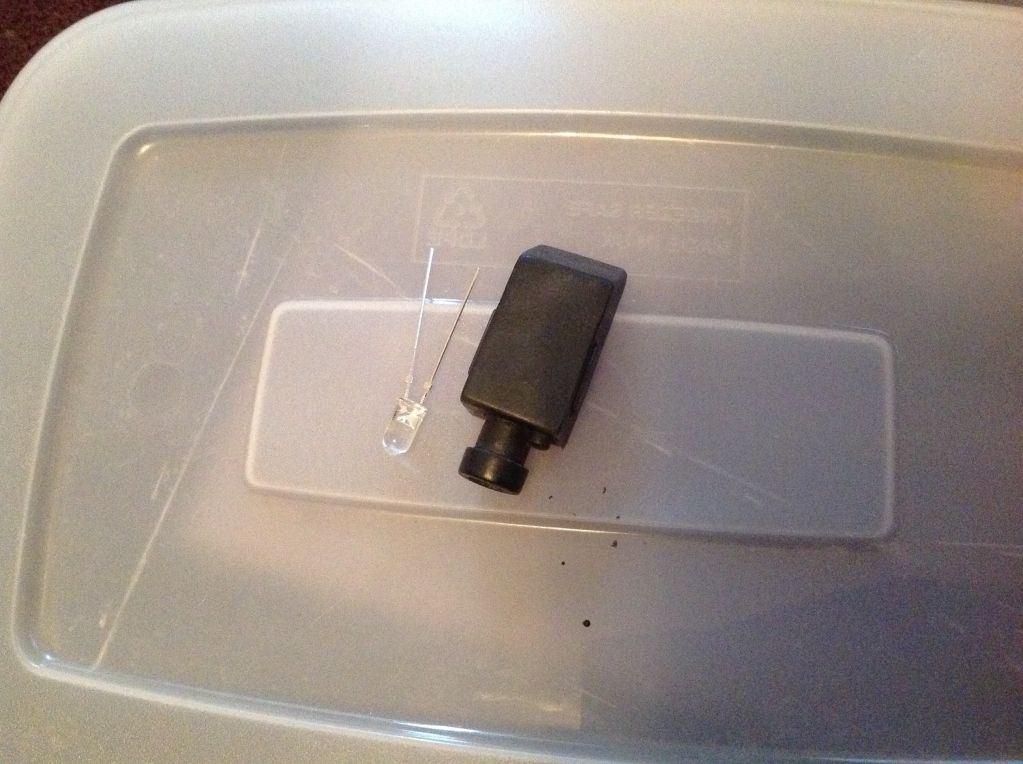
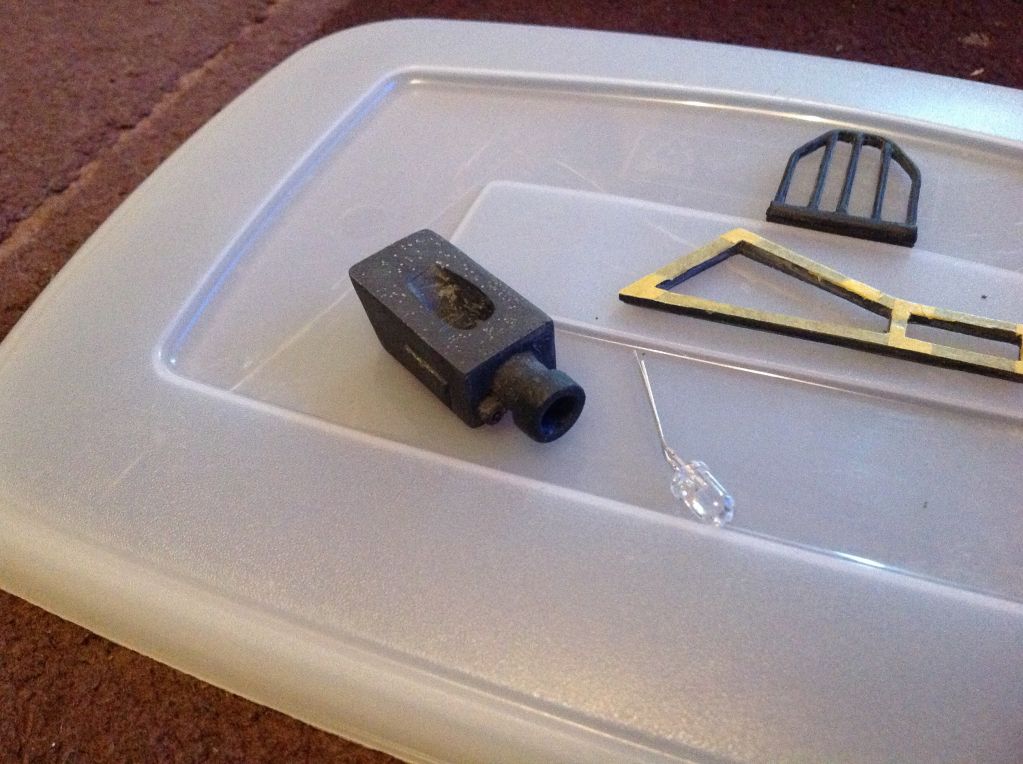
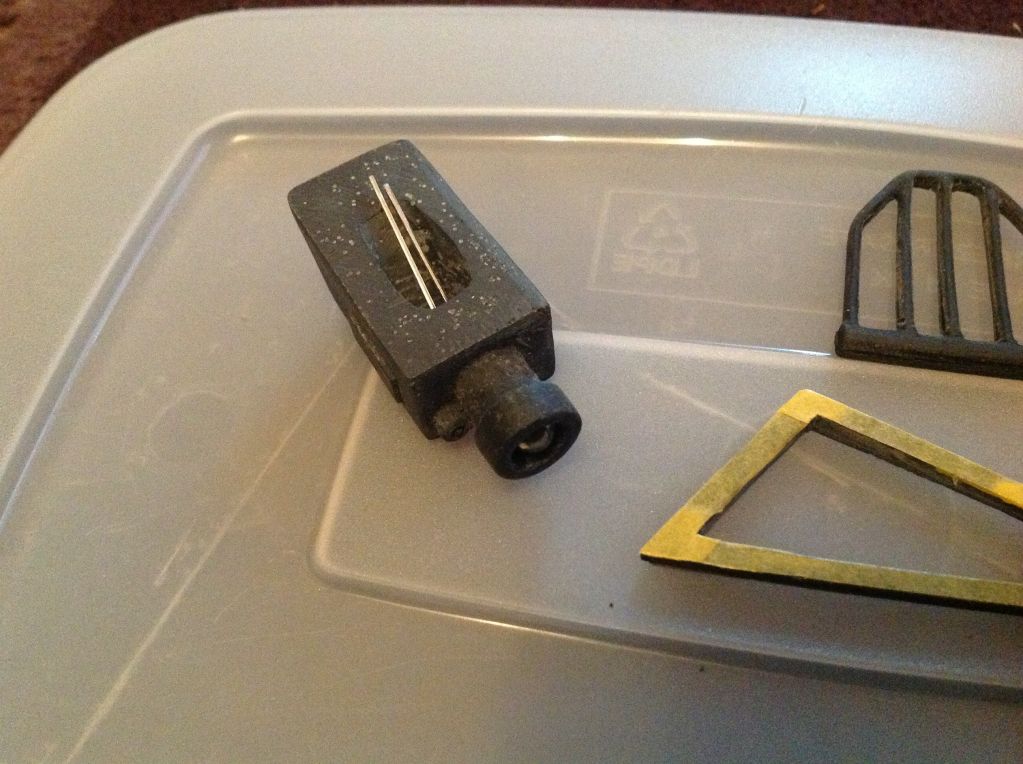
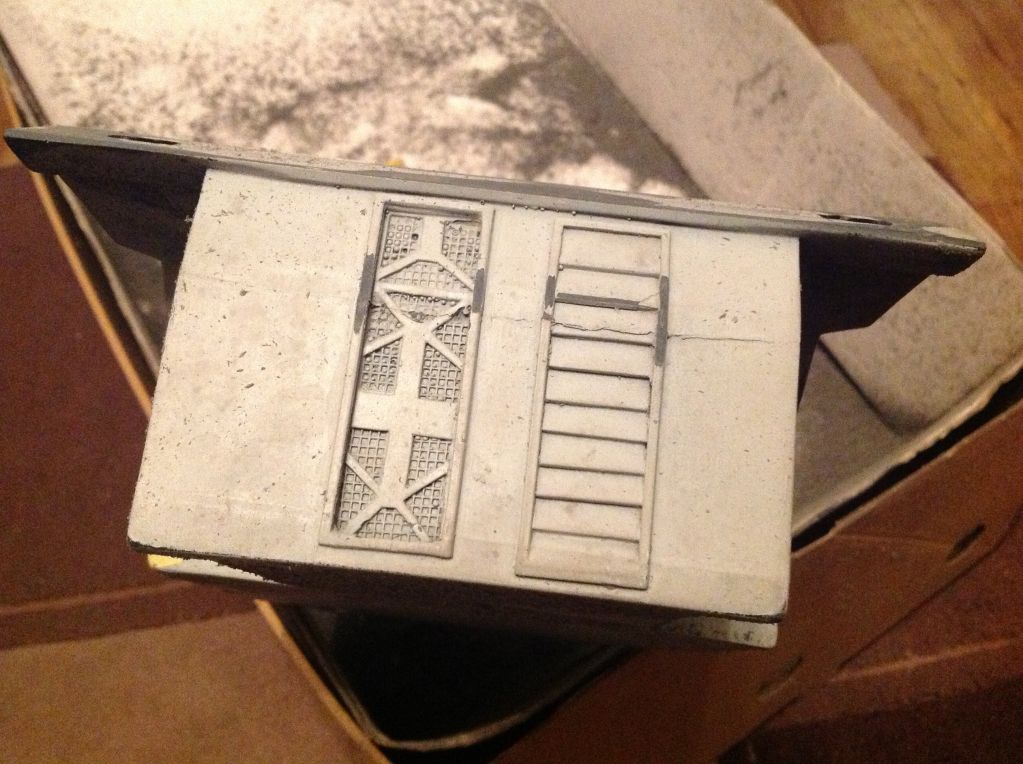
A test with the kit grille, took ages to dremel and file that bit
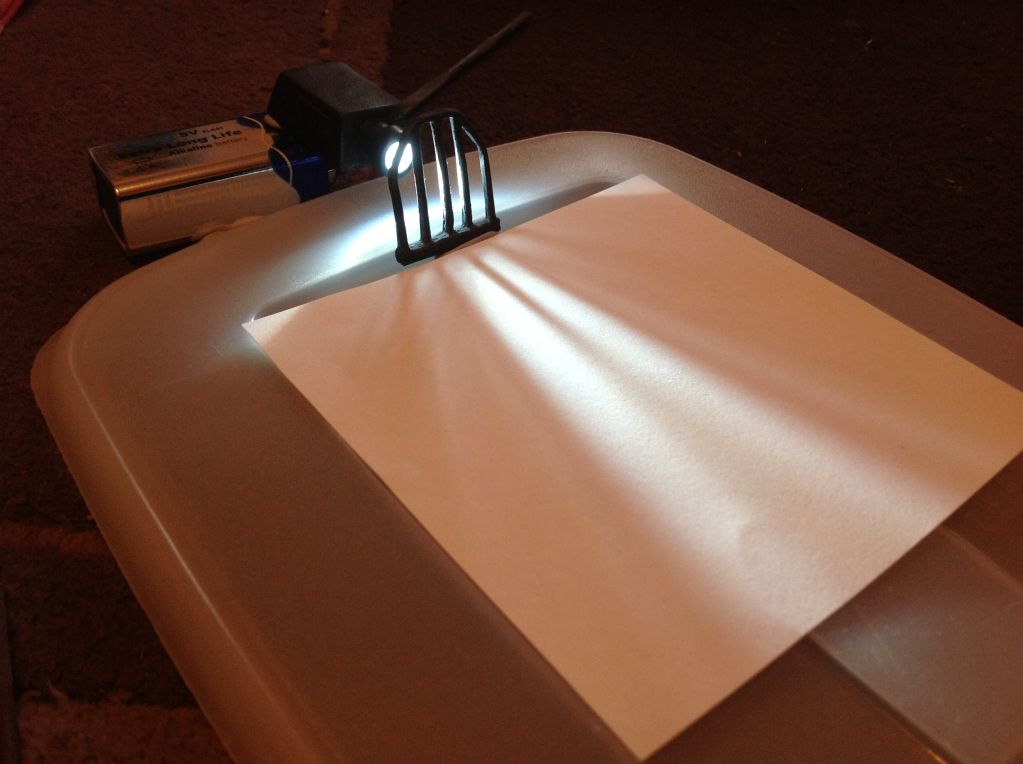
Window frame dremeled and filed and then rivets added with a 0.5mm drill bit
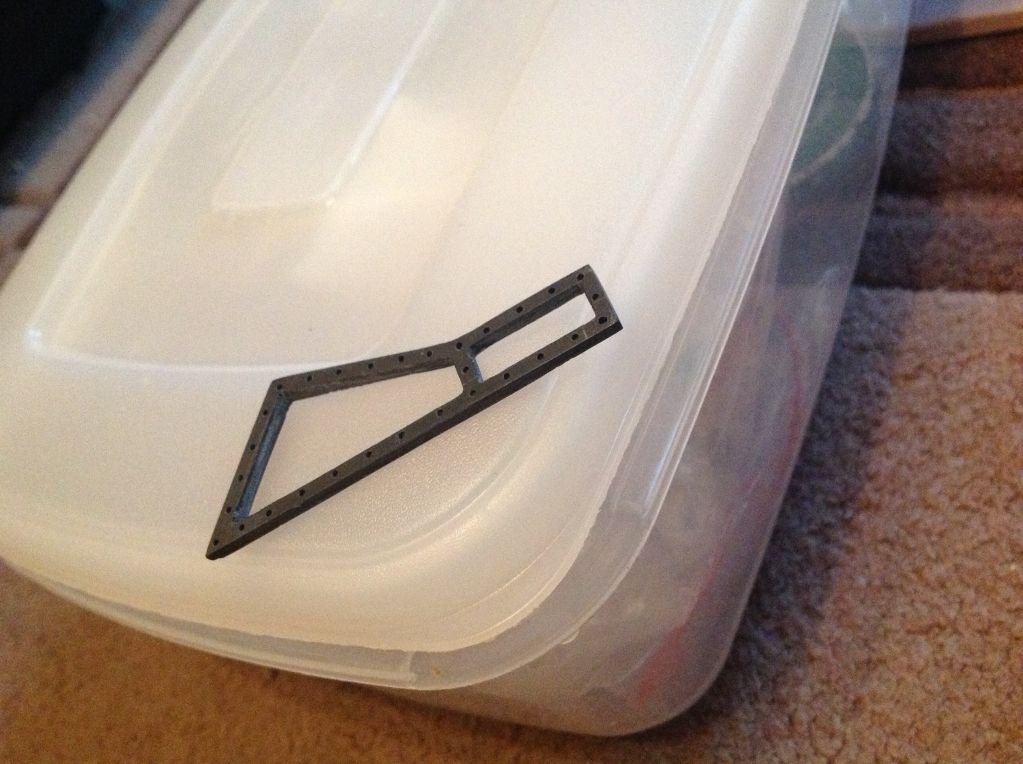
Window needs to come out now
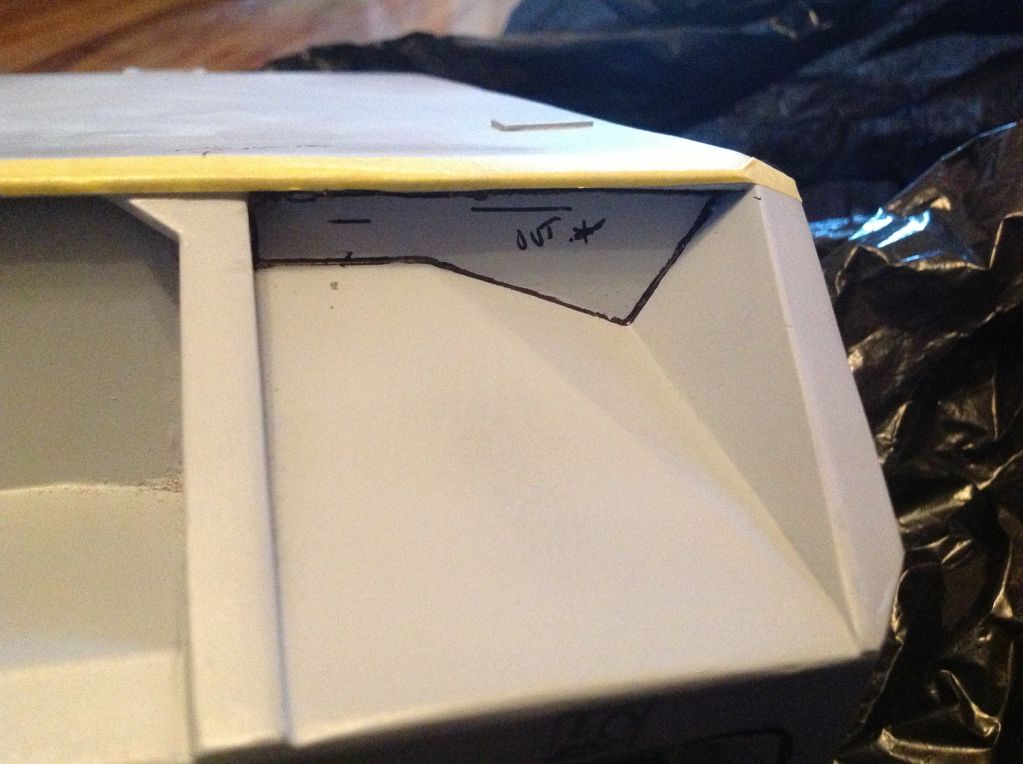
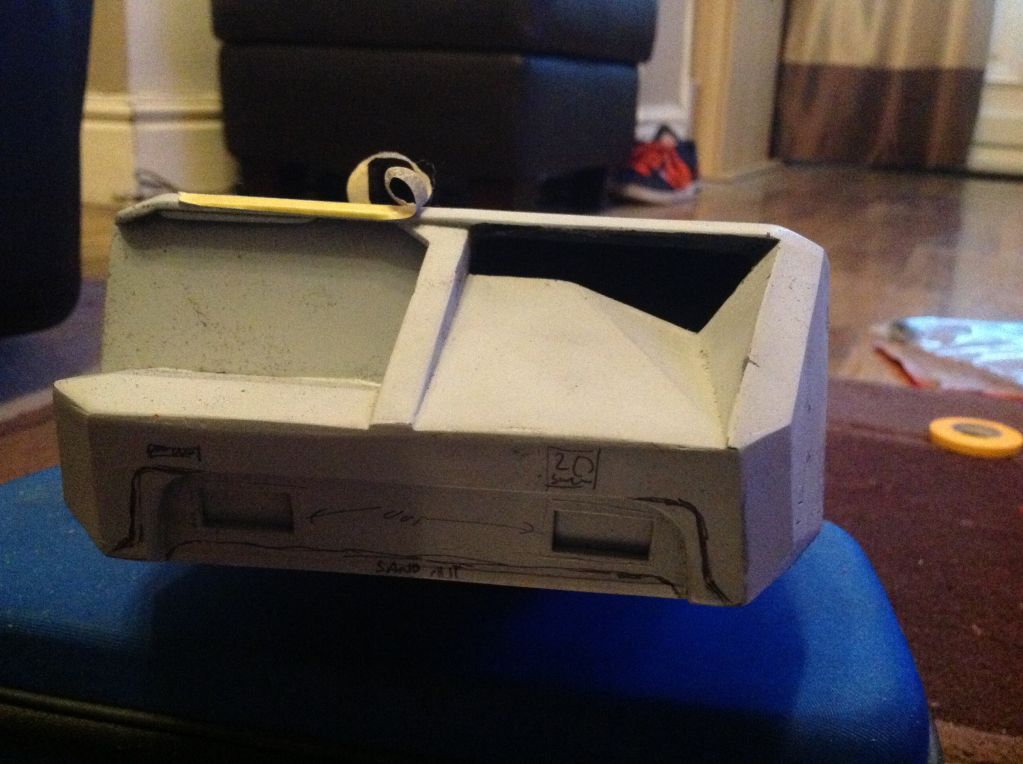
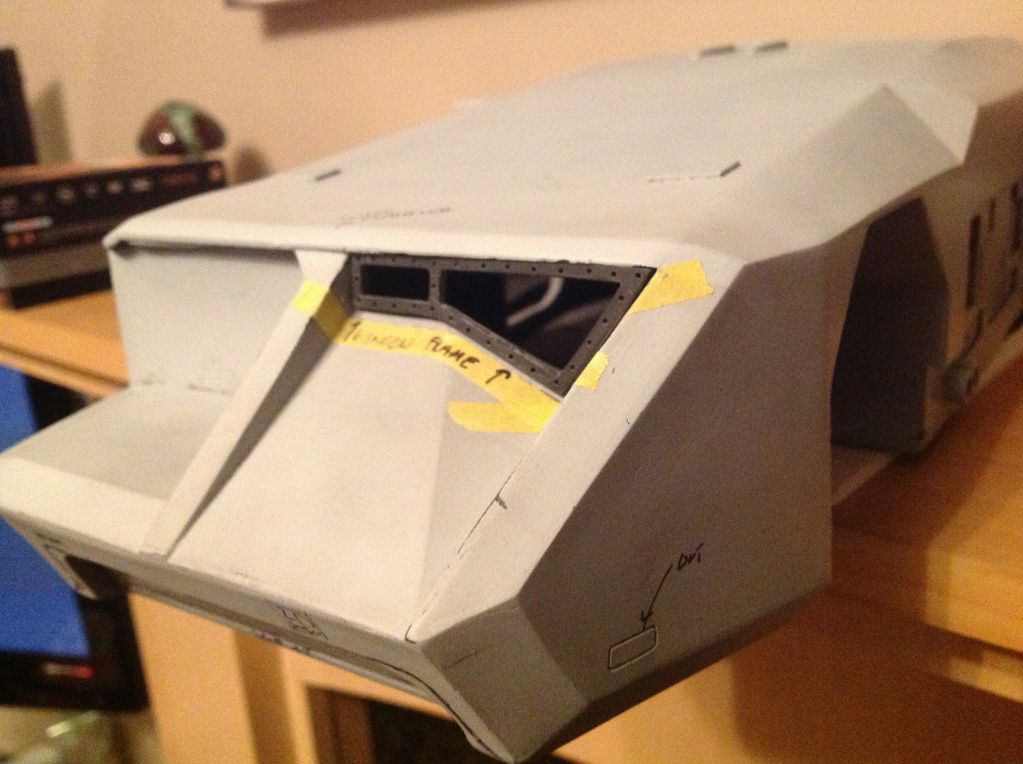
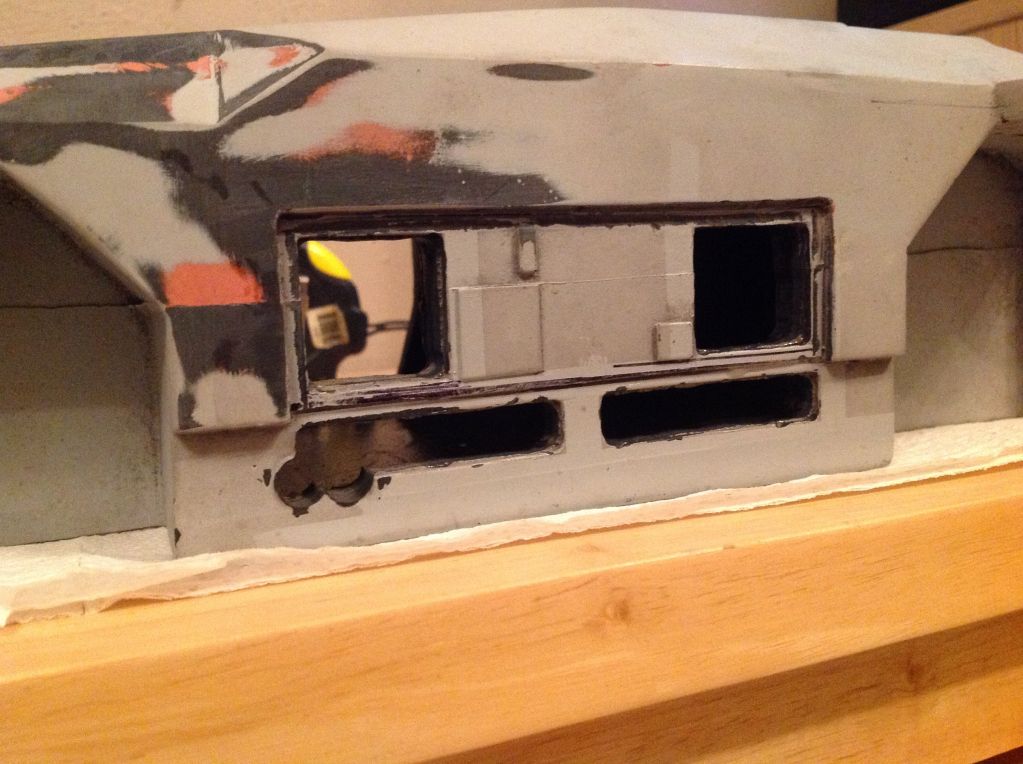
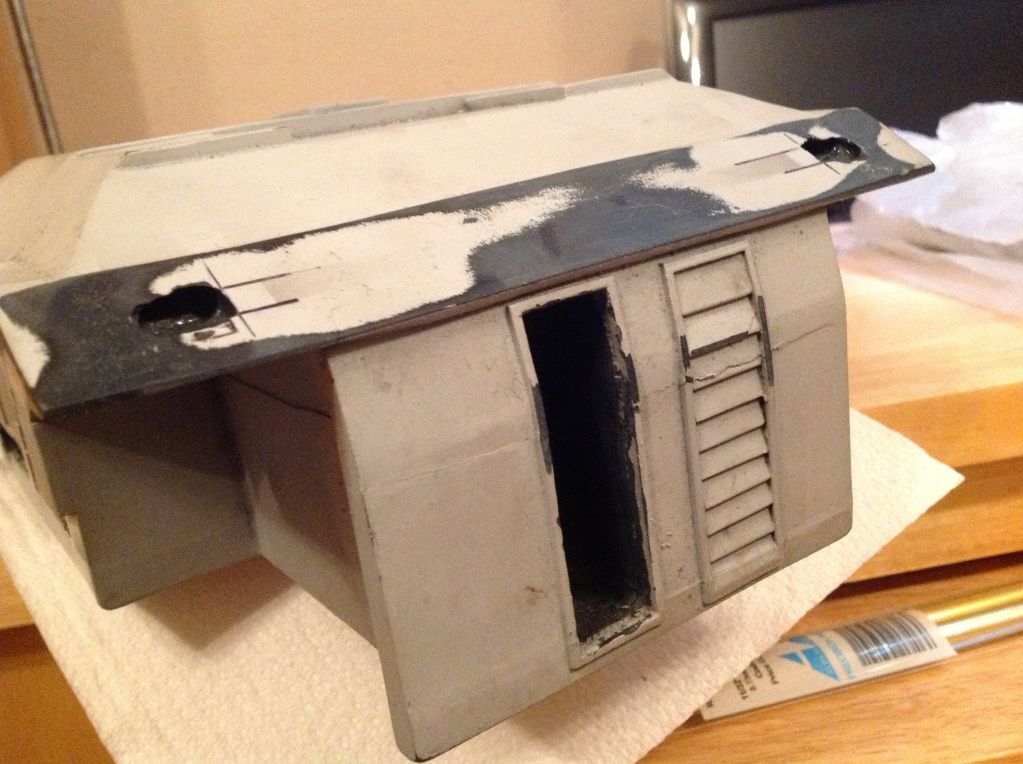
Now as I'm adding spotlights this is where the true quality of the lump of resin I bought really began to show, I dremeled out the relevant holes that was easily an inch thick in places........a real mission to do
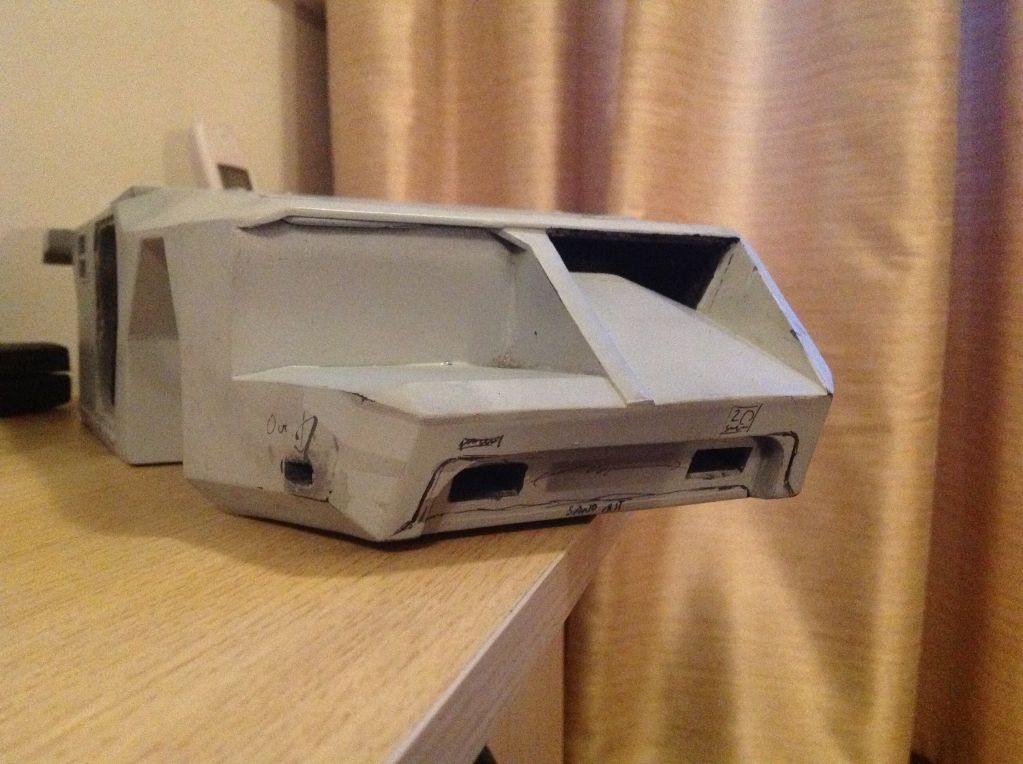
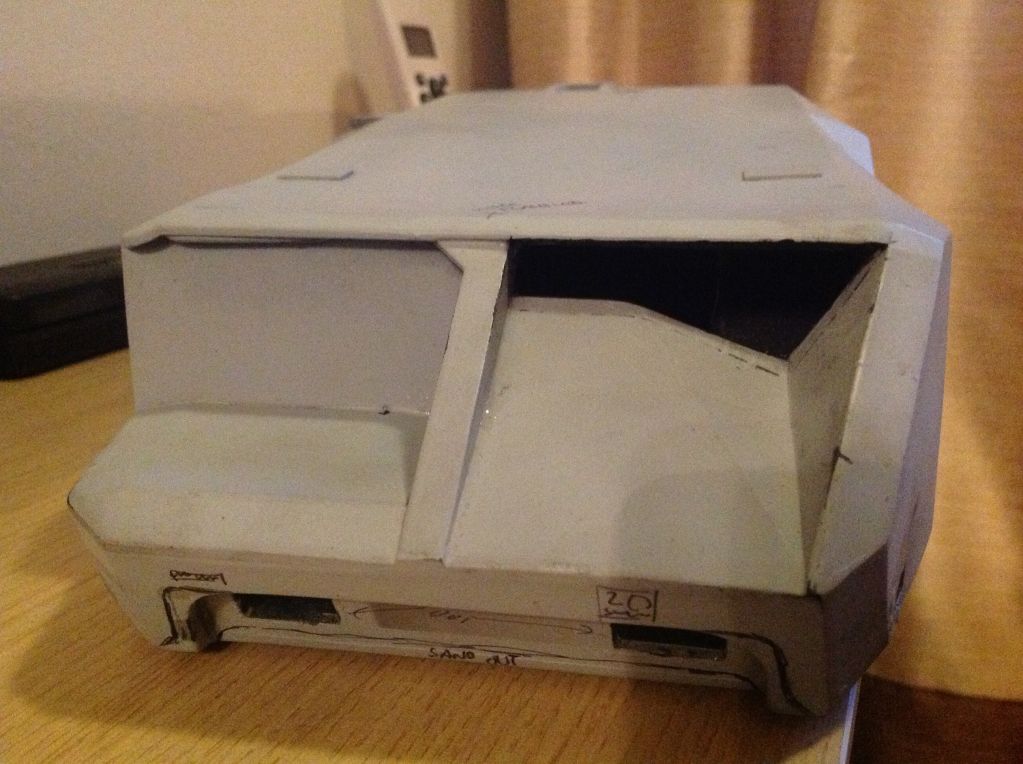
Here is how thick it was
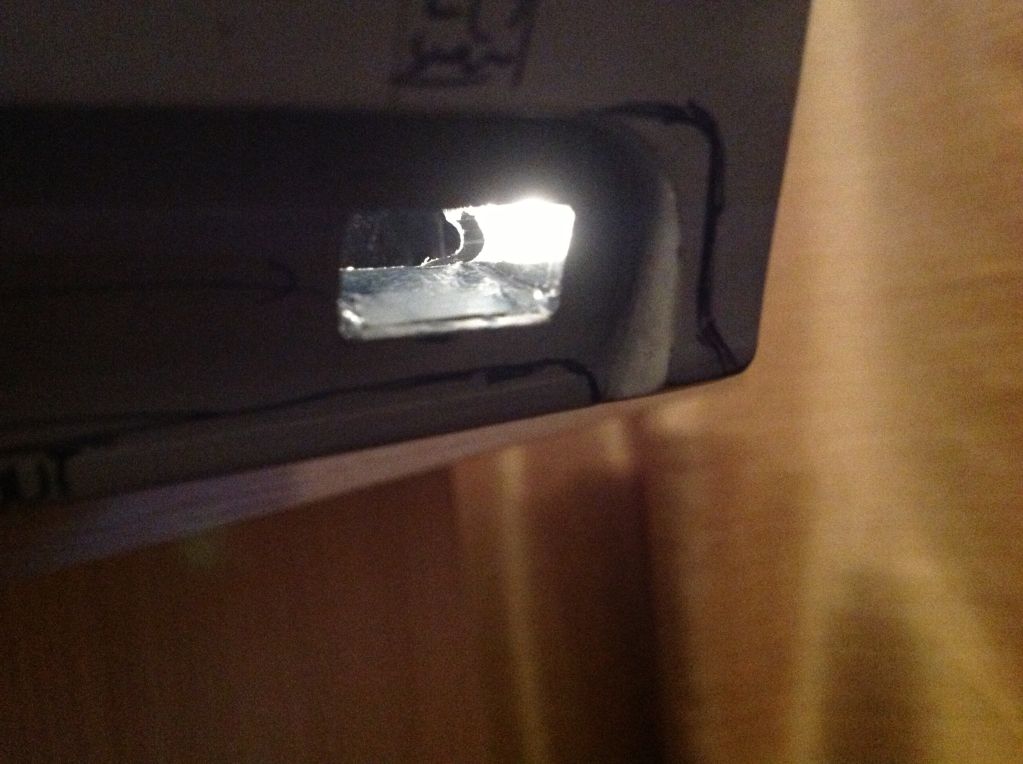
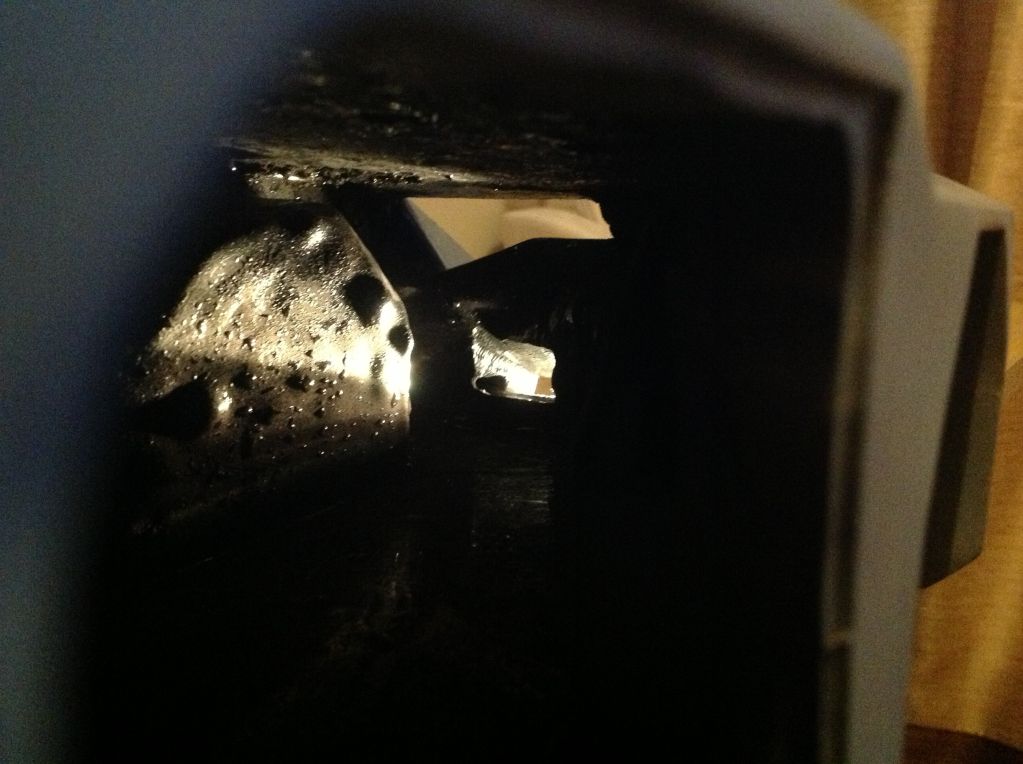
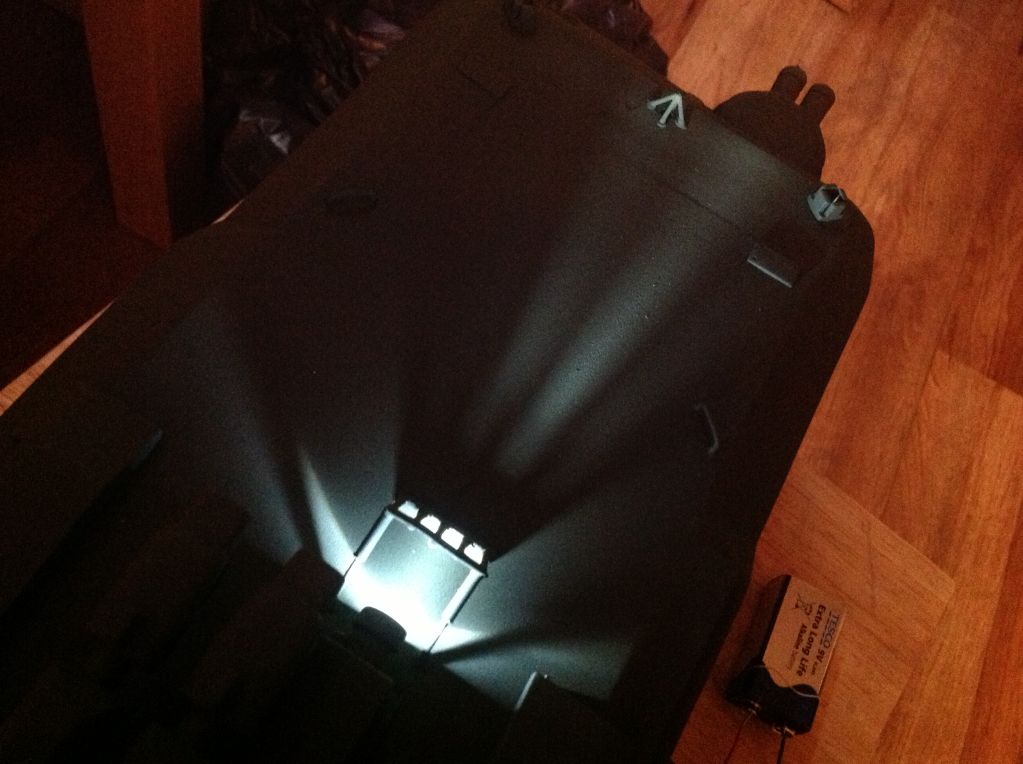
Rear lights dremeled, that's hard due to the lack of thickness in the model. Apart from drilling out the light shape I also need to dremel through the rsin so the light source gets through....this was a delicate operation
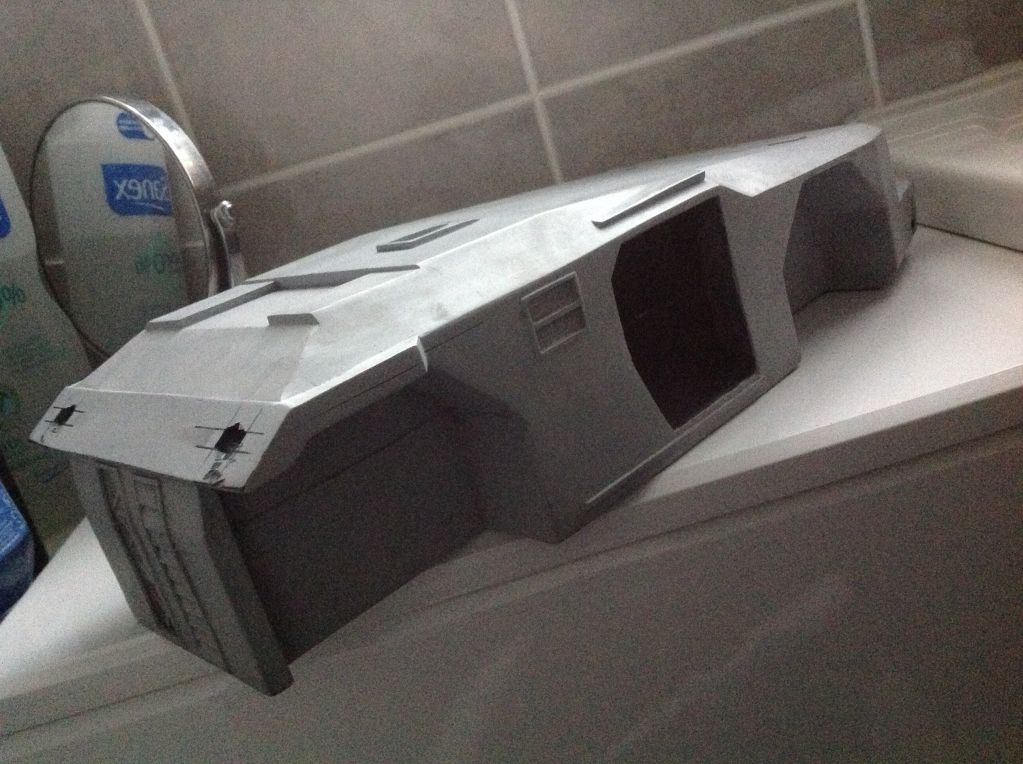
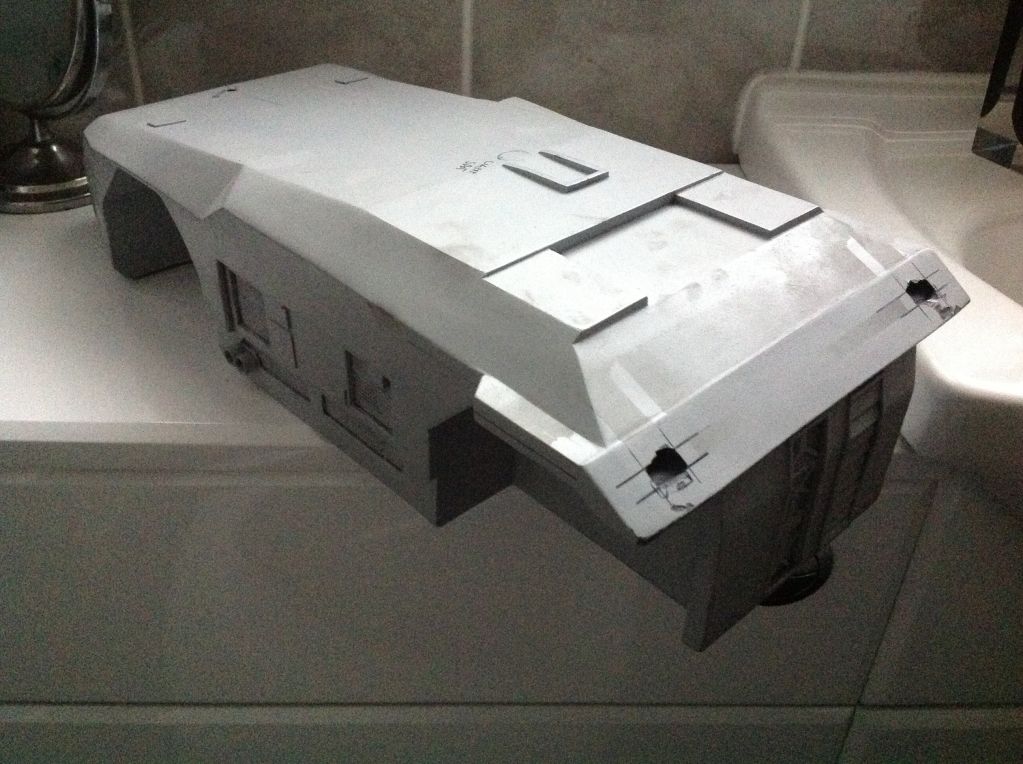
Took some small scale pipes and added some gun barrels
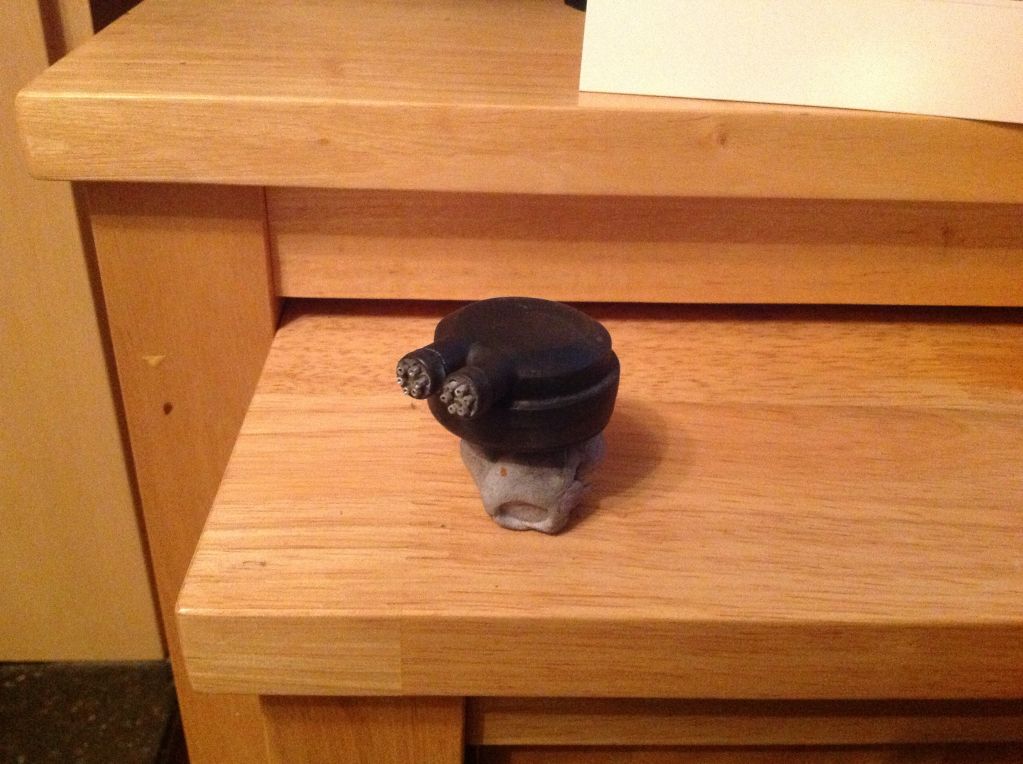
Also decided to pin most of this model together to ensure it stays bonded
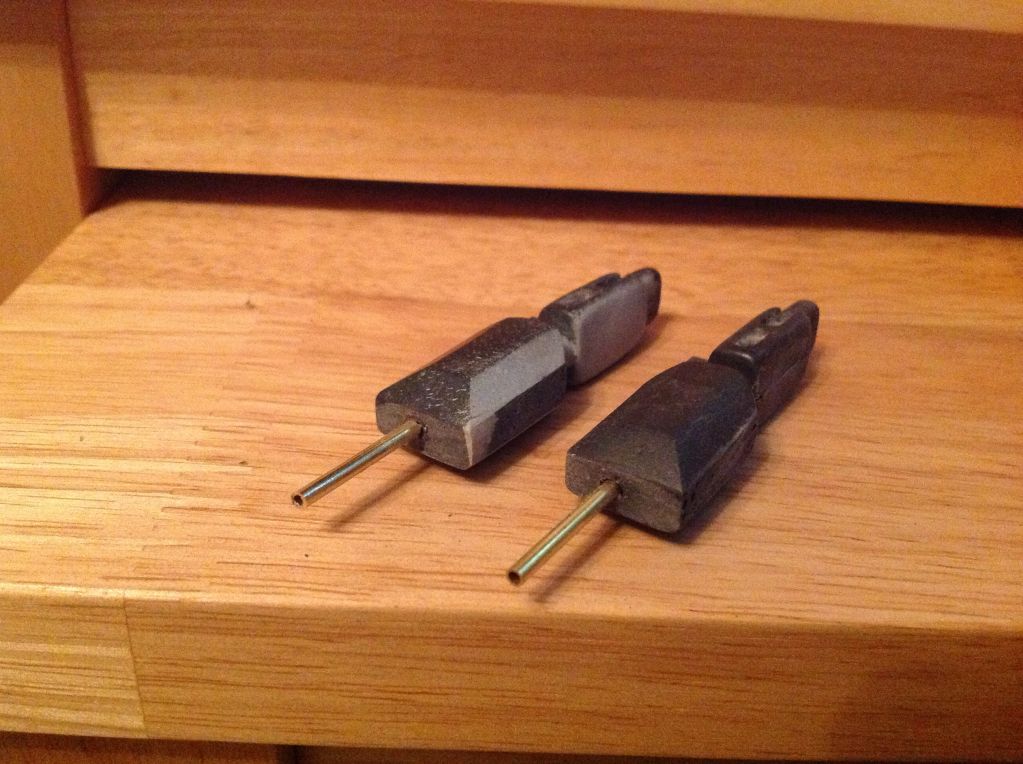
And opened up the gun a bit
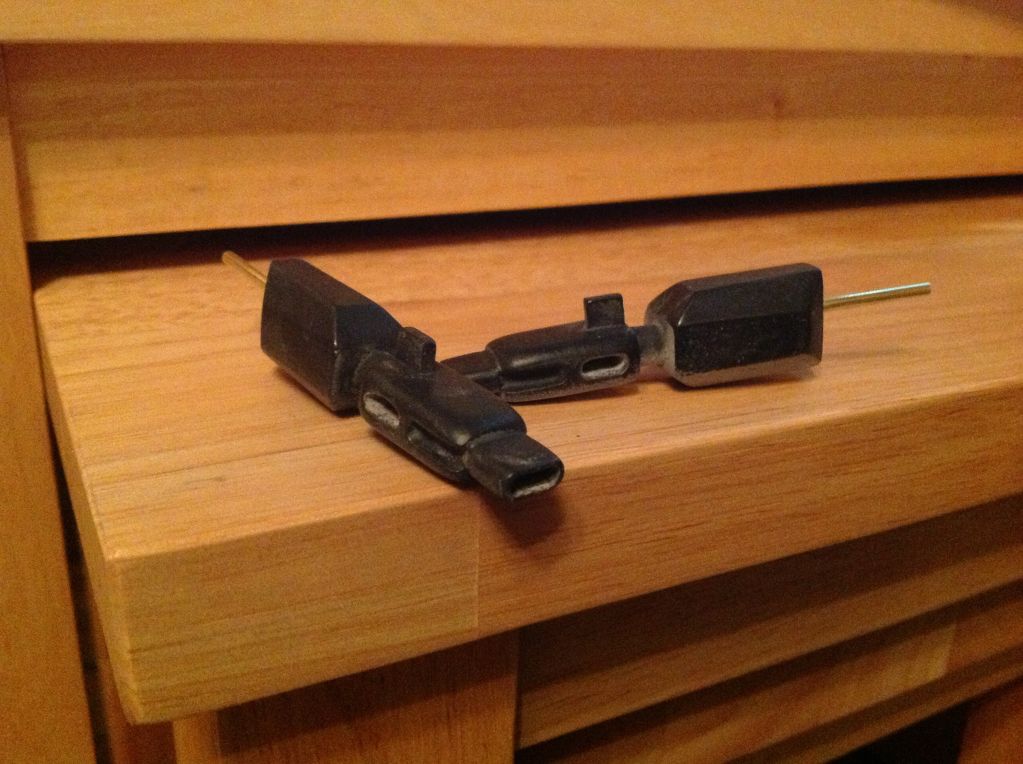
Test fit of the pinned bits
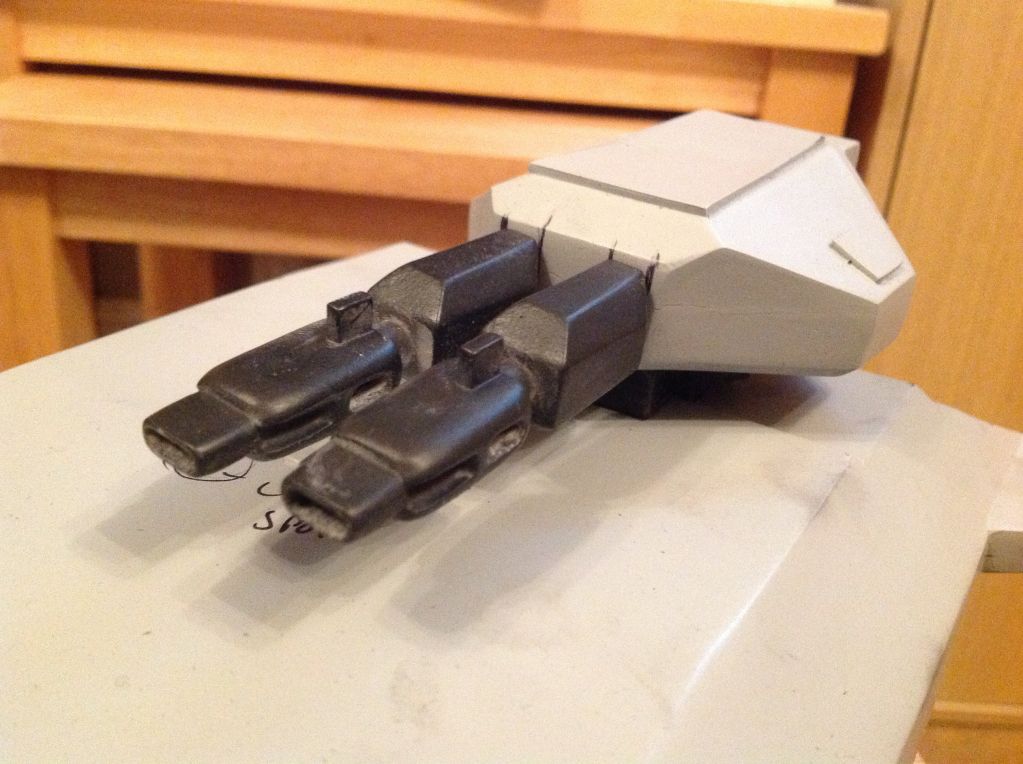
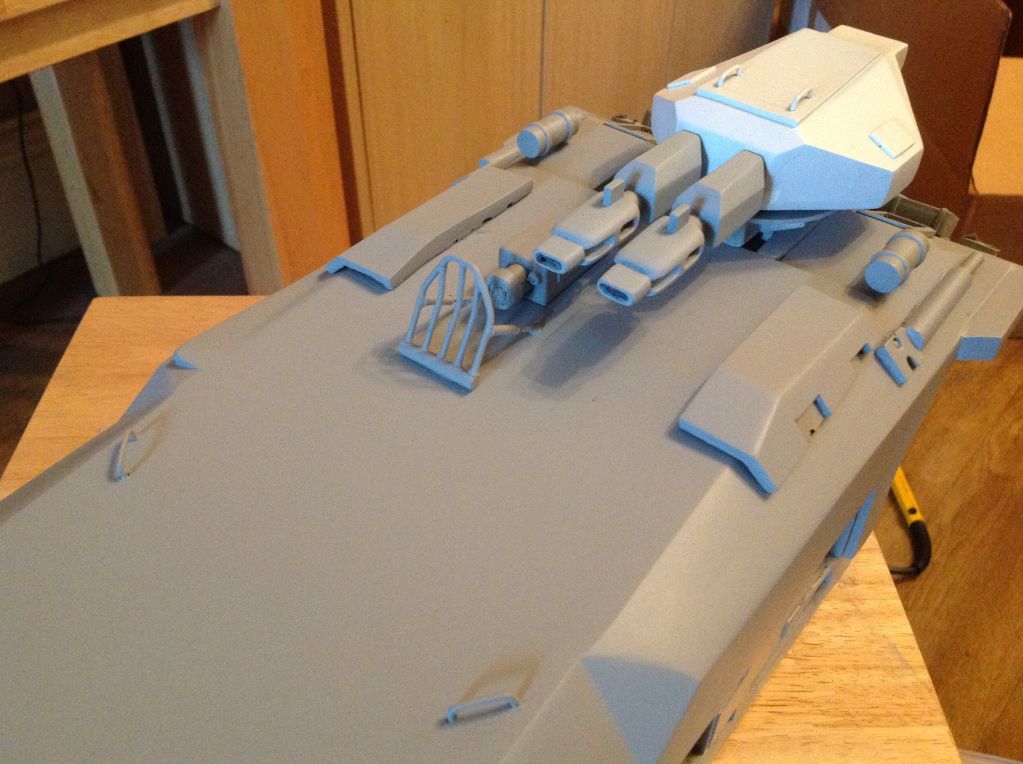
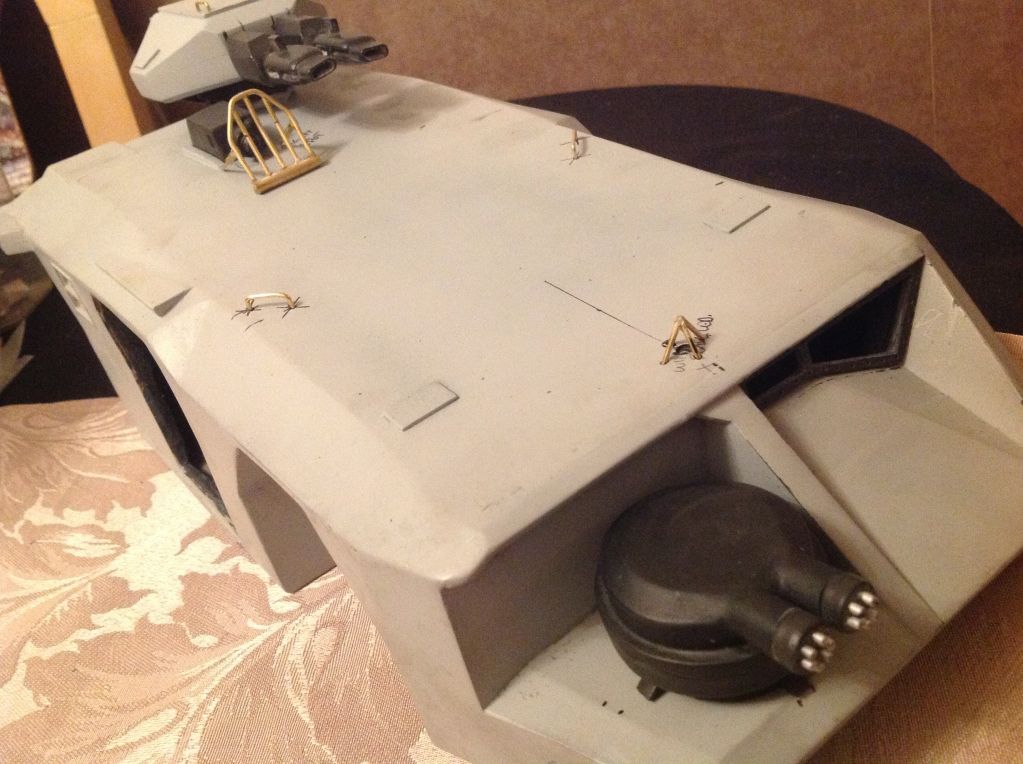
Added some grab handles
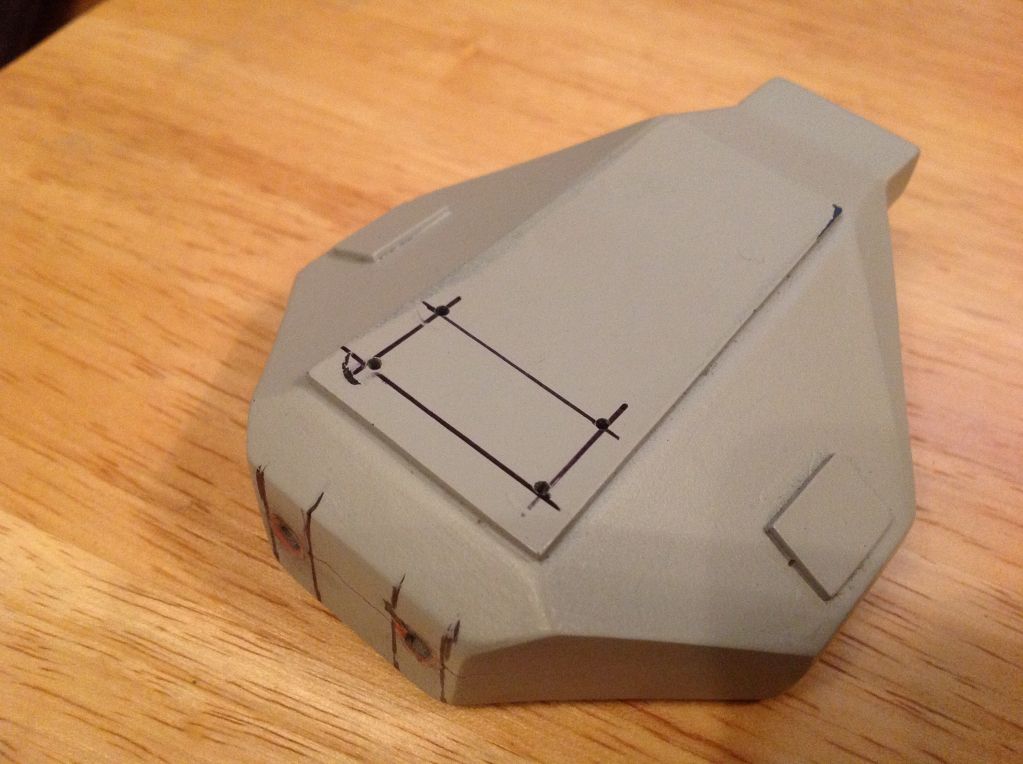
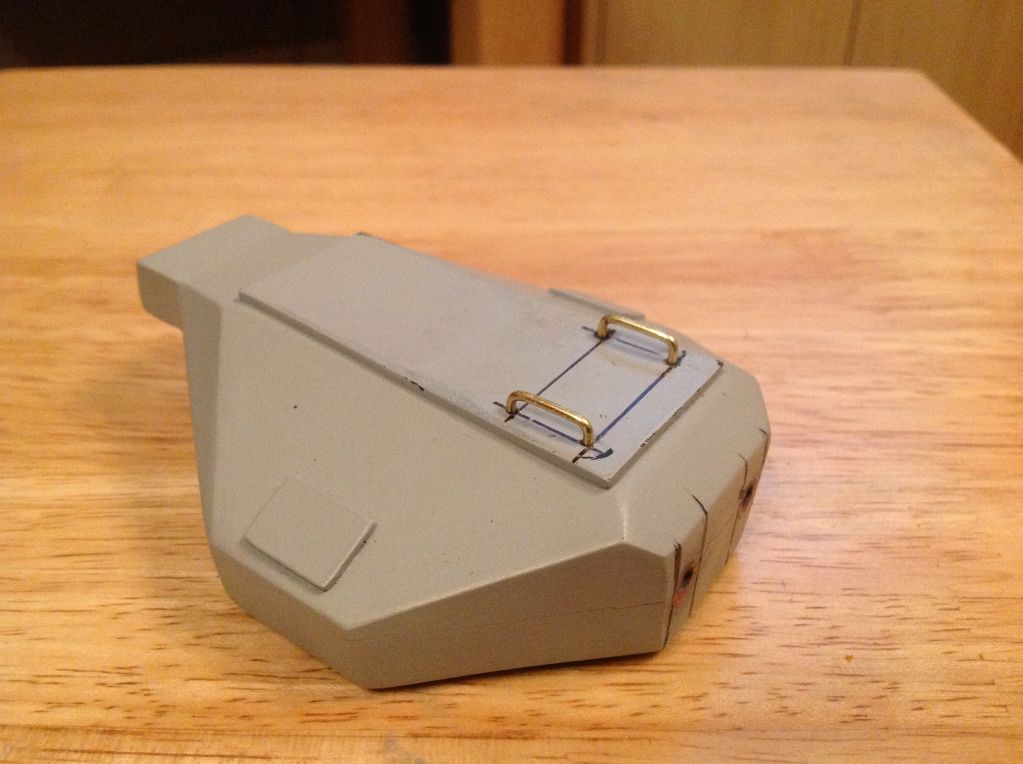
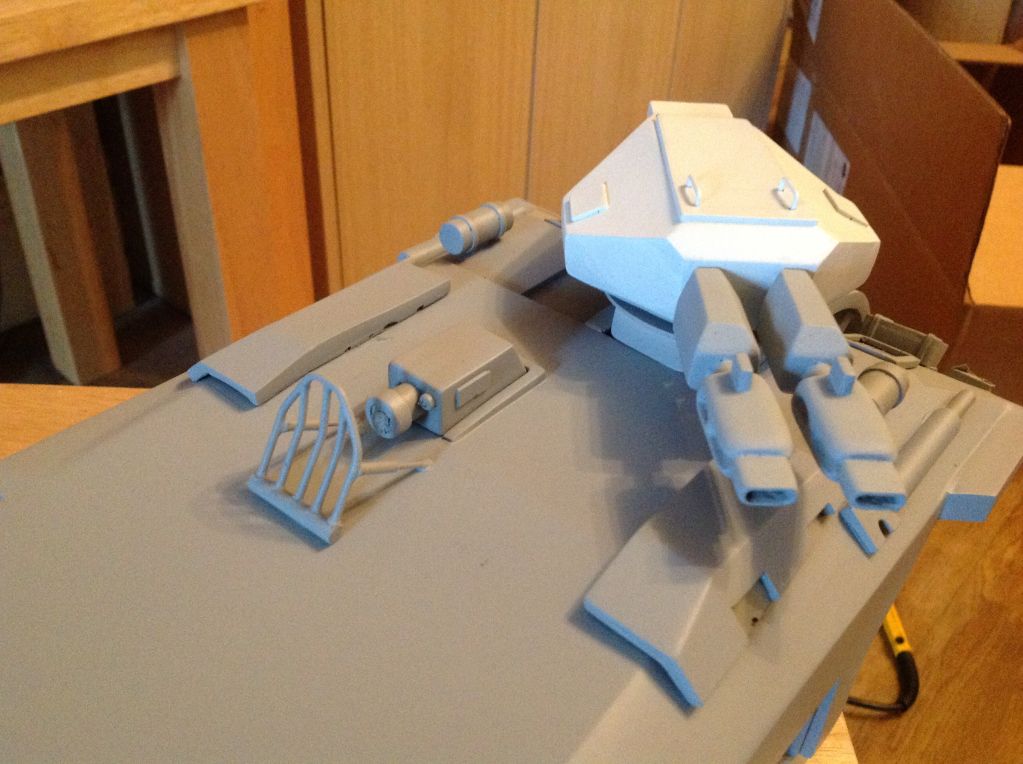
This is we're I got to change my mind on some parts, remakes the grille with pipe and super glue
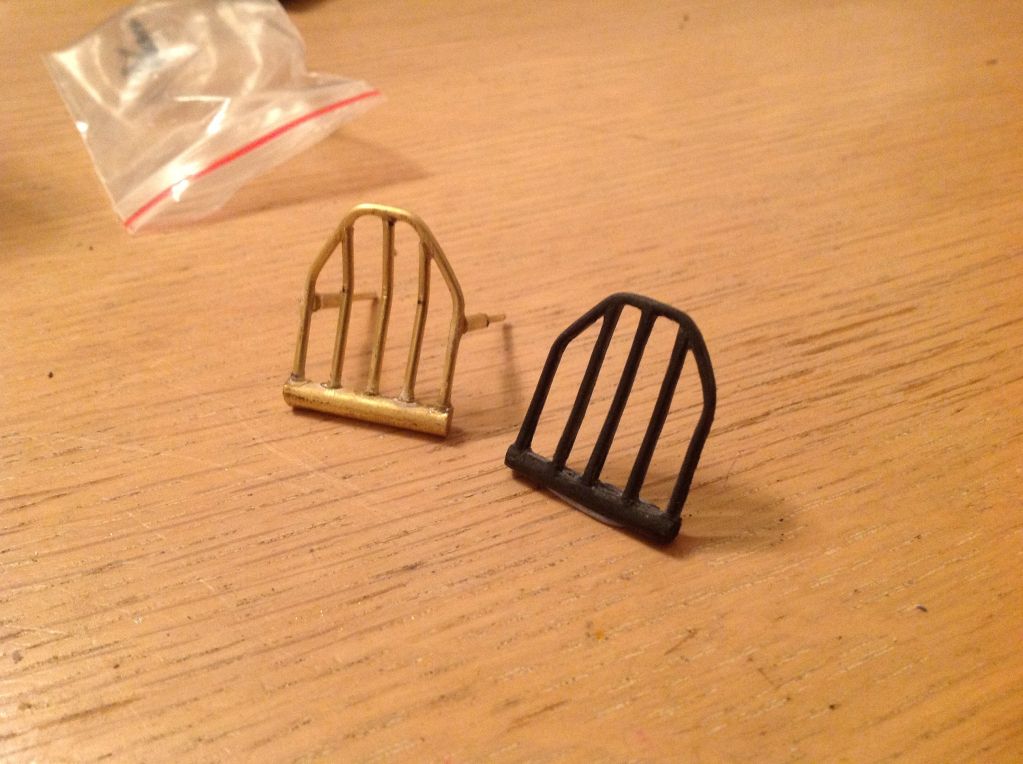
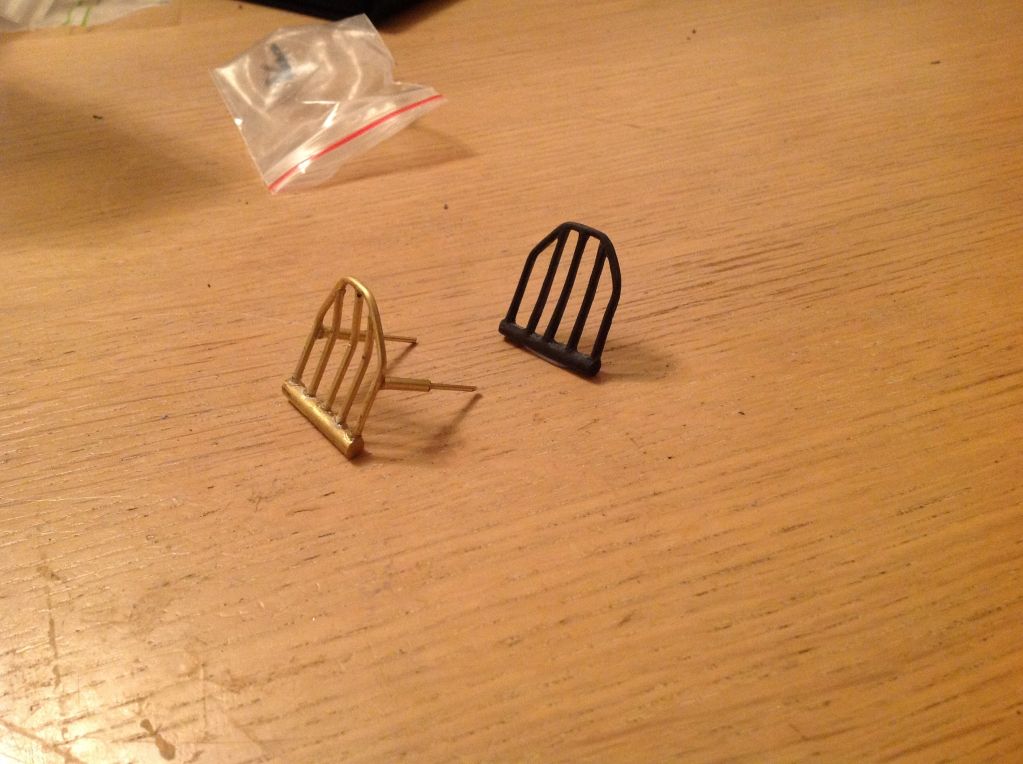
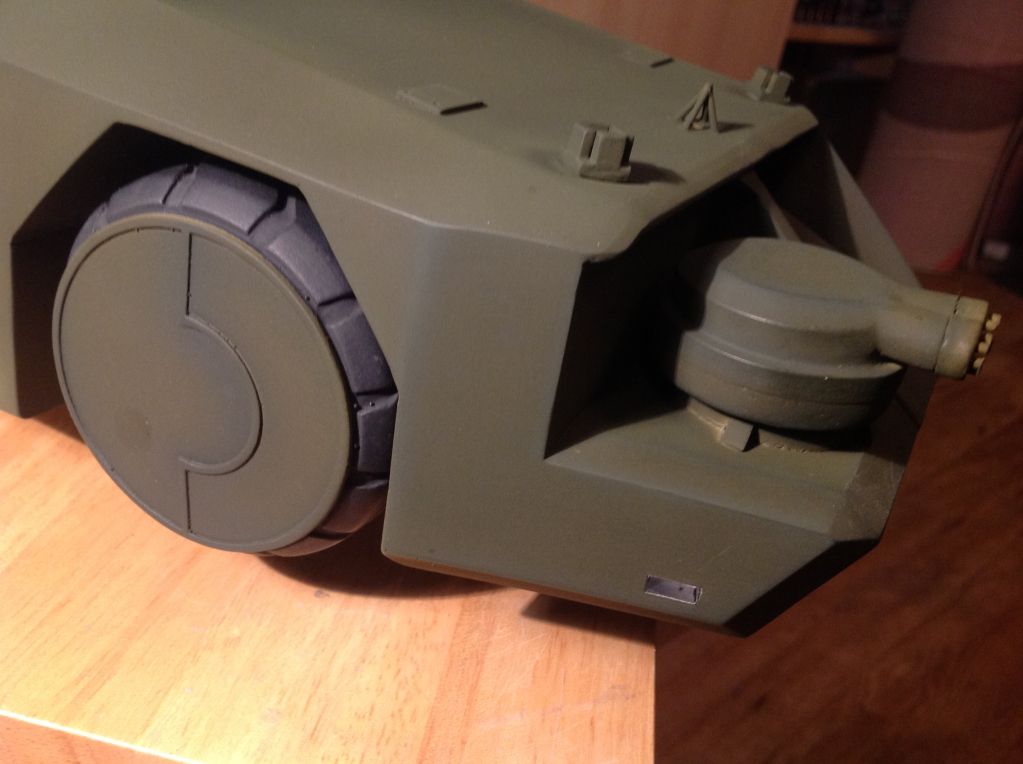
Also remade the front point
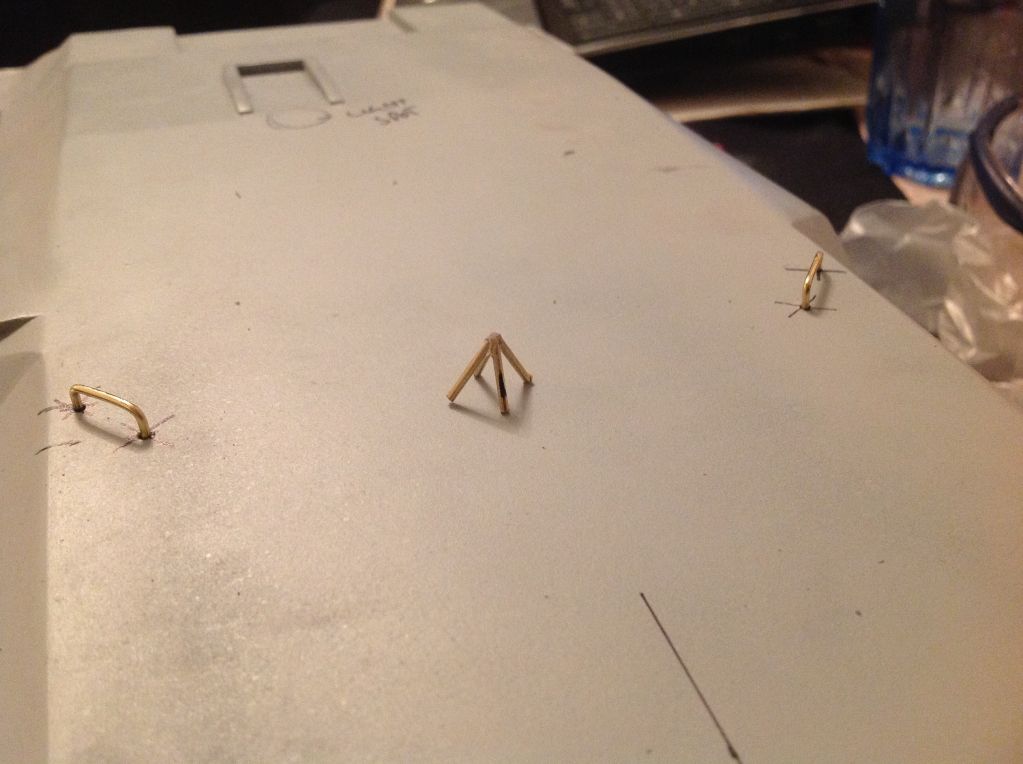
Added some towing clamps from necklace beads and pipe
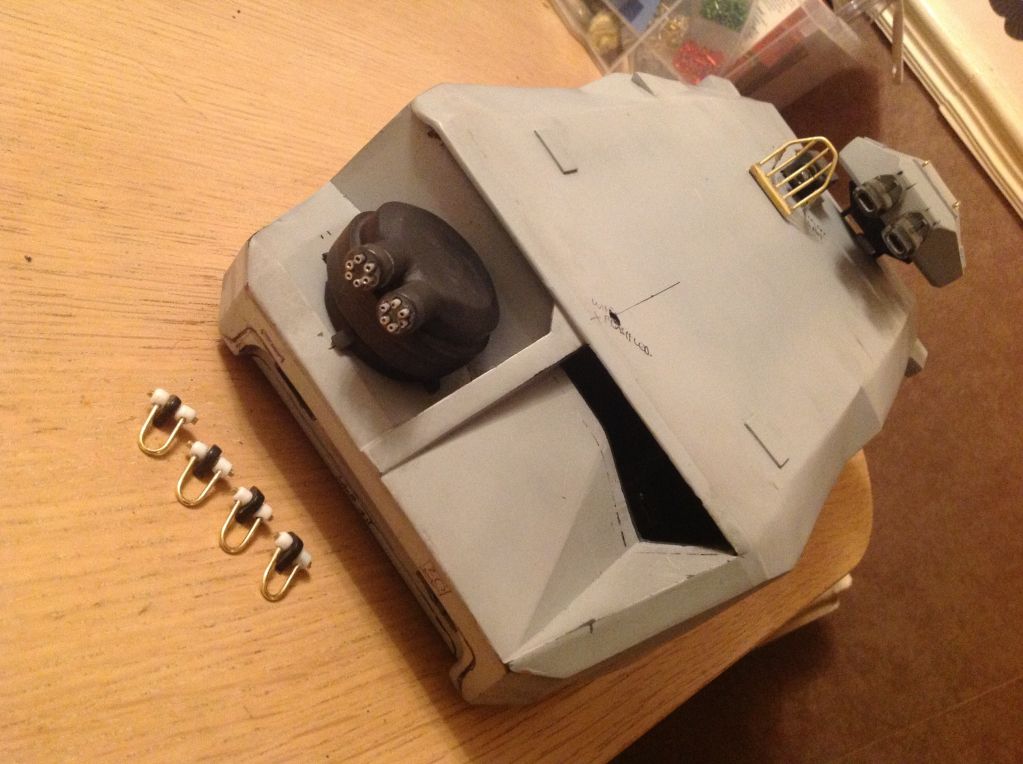
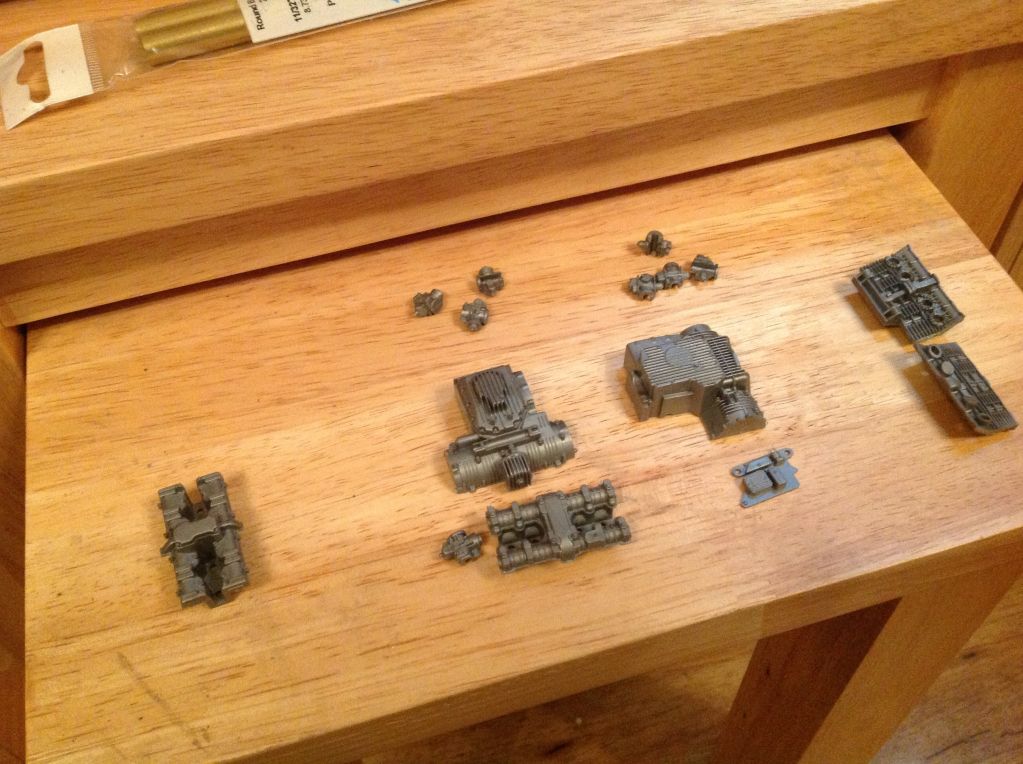
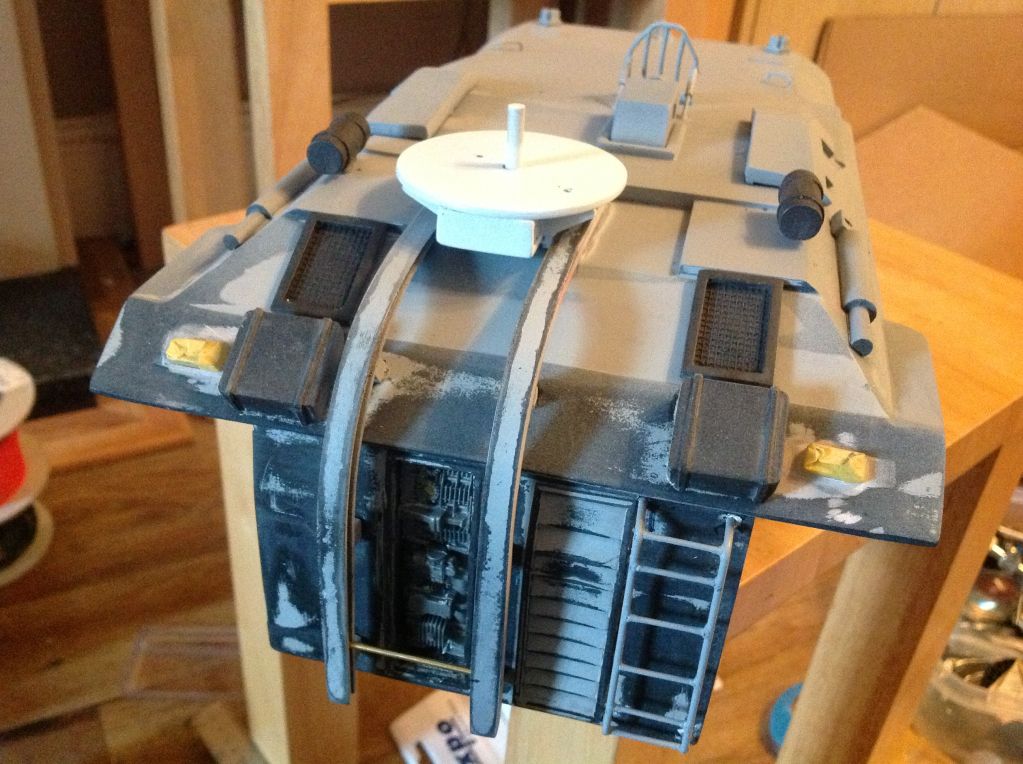
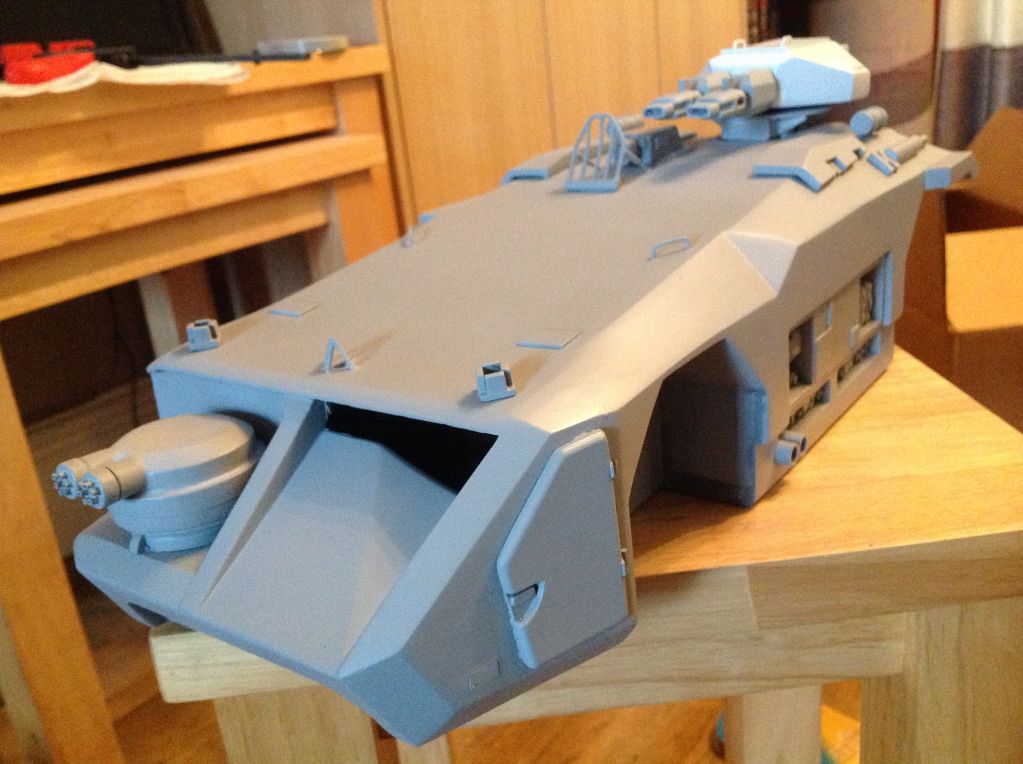
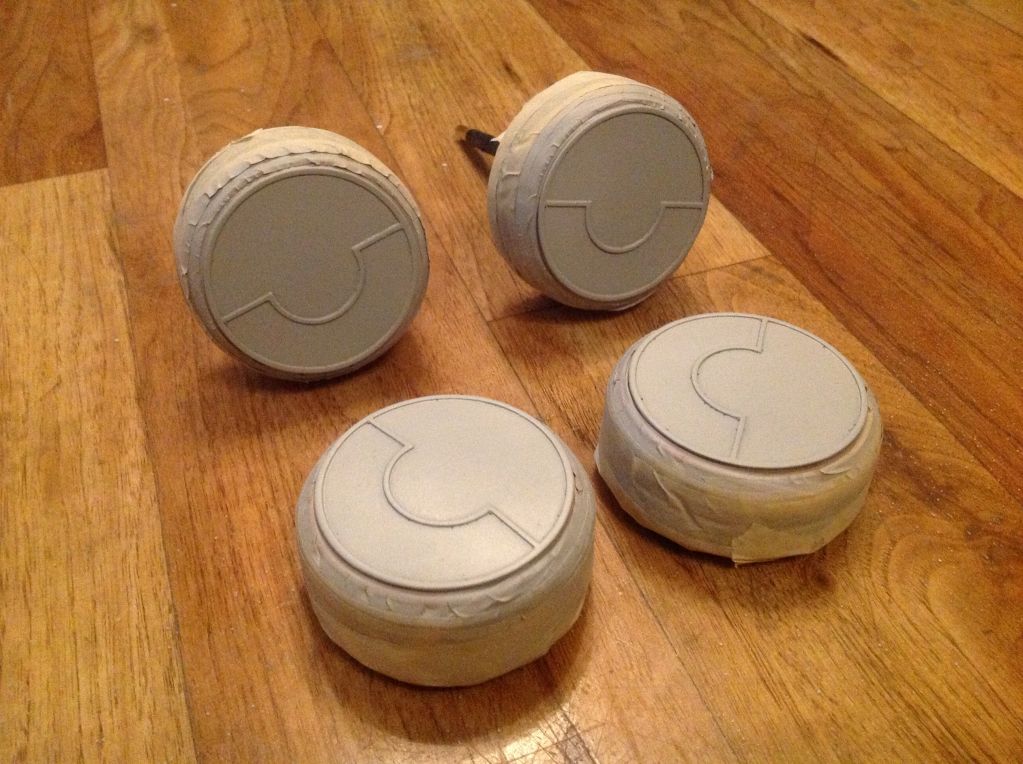
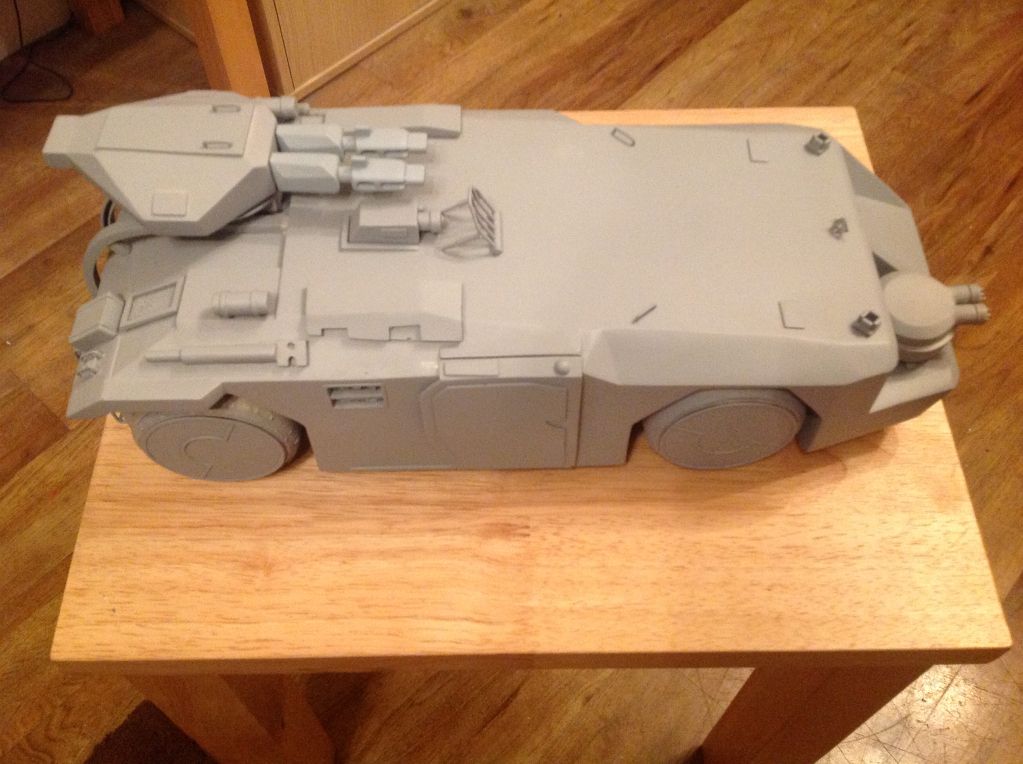
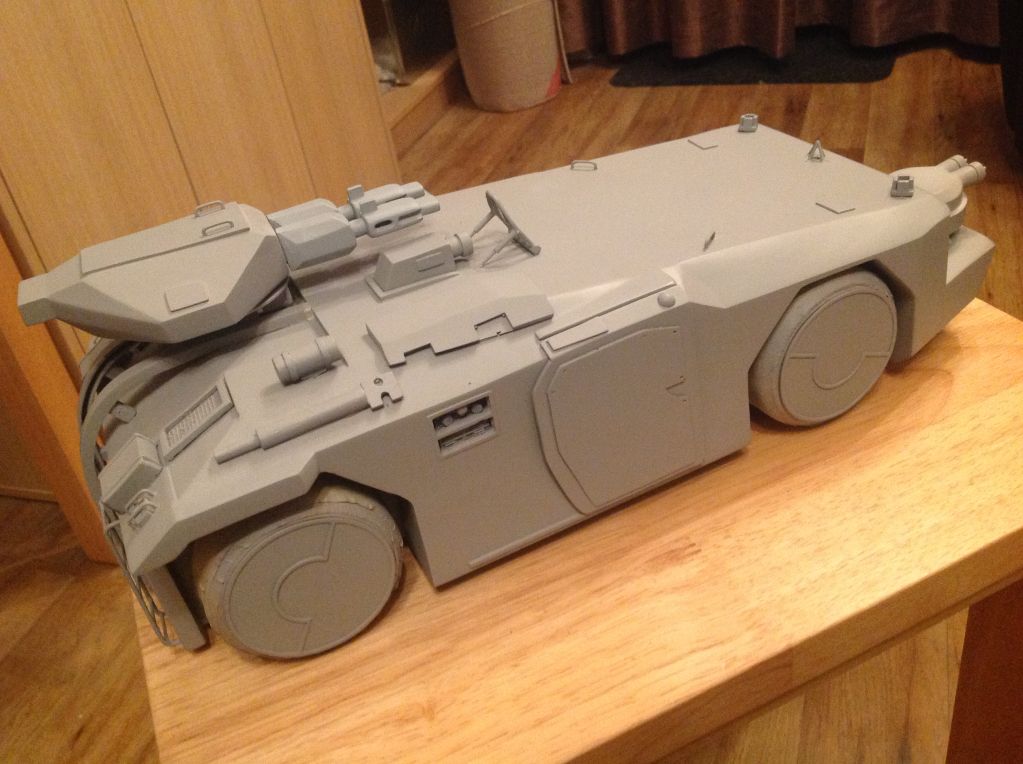
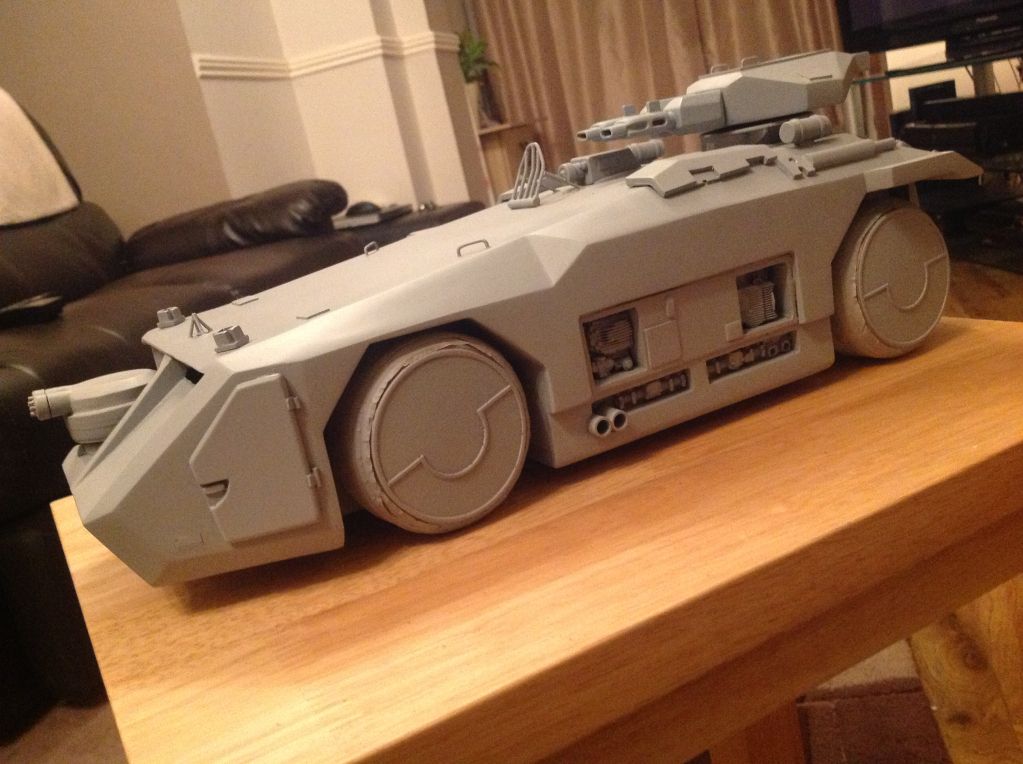
Components so far
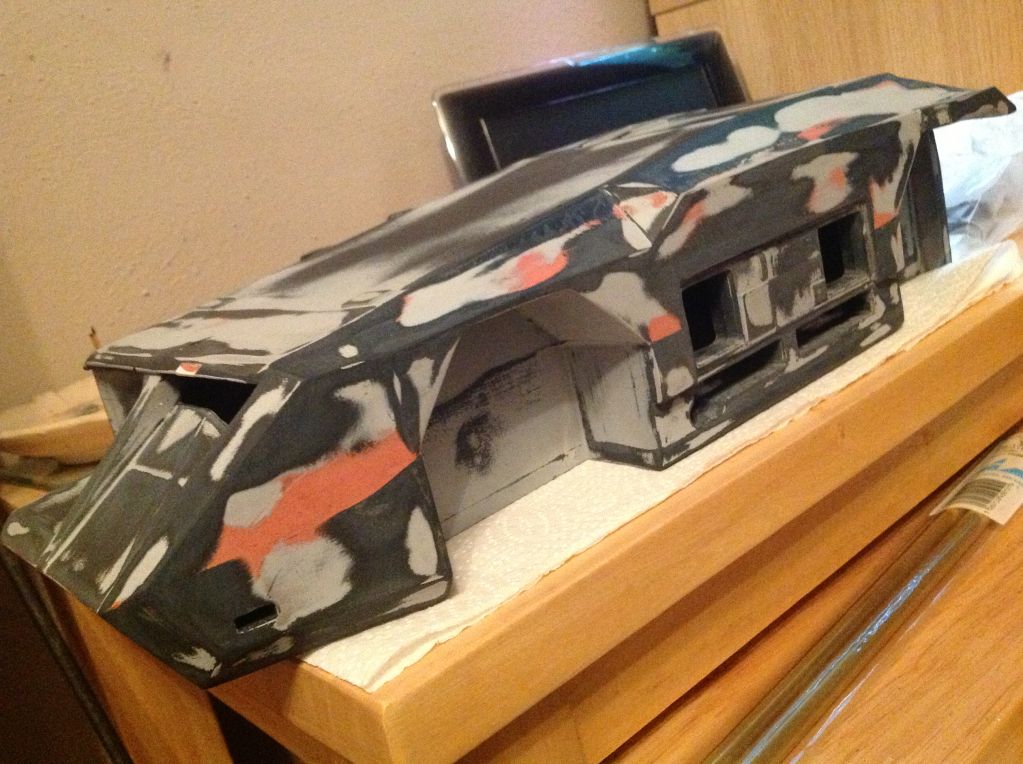
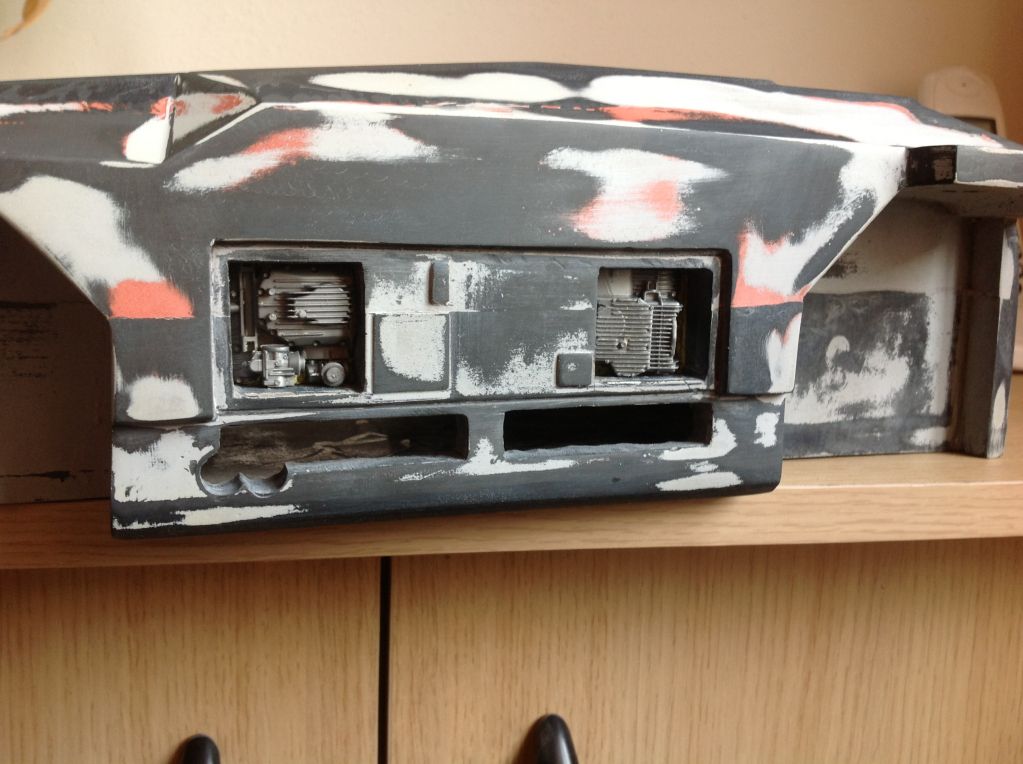
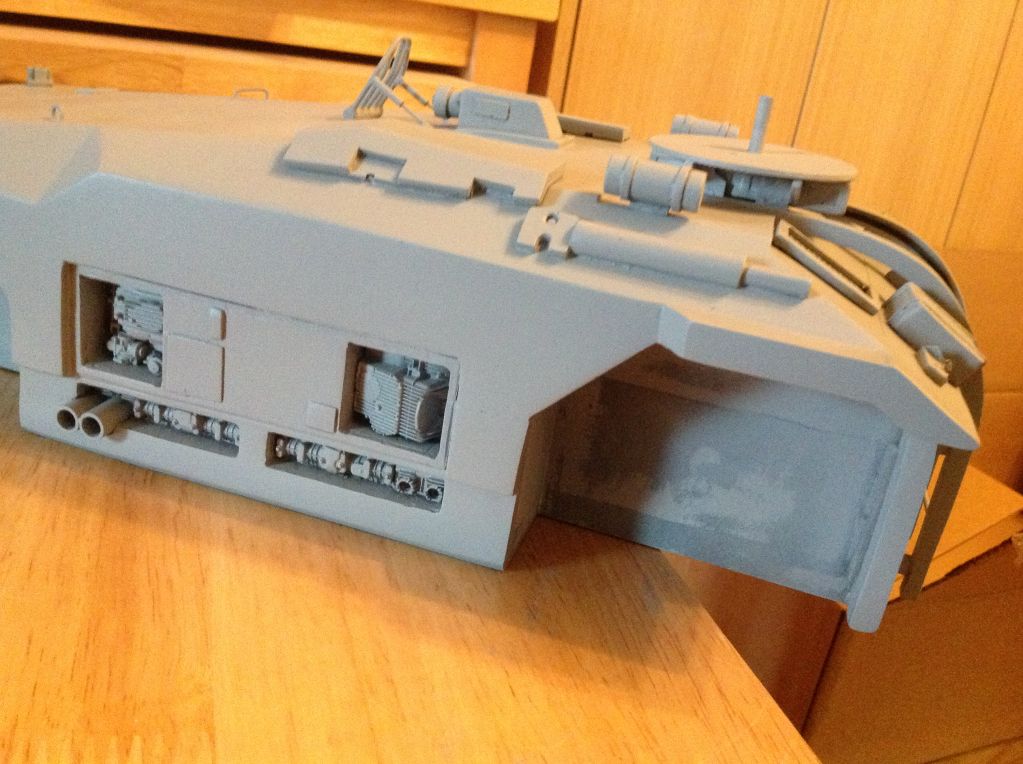
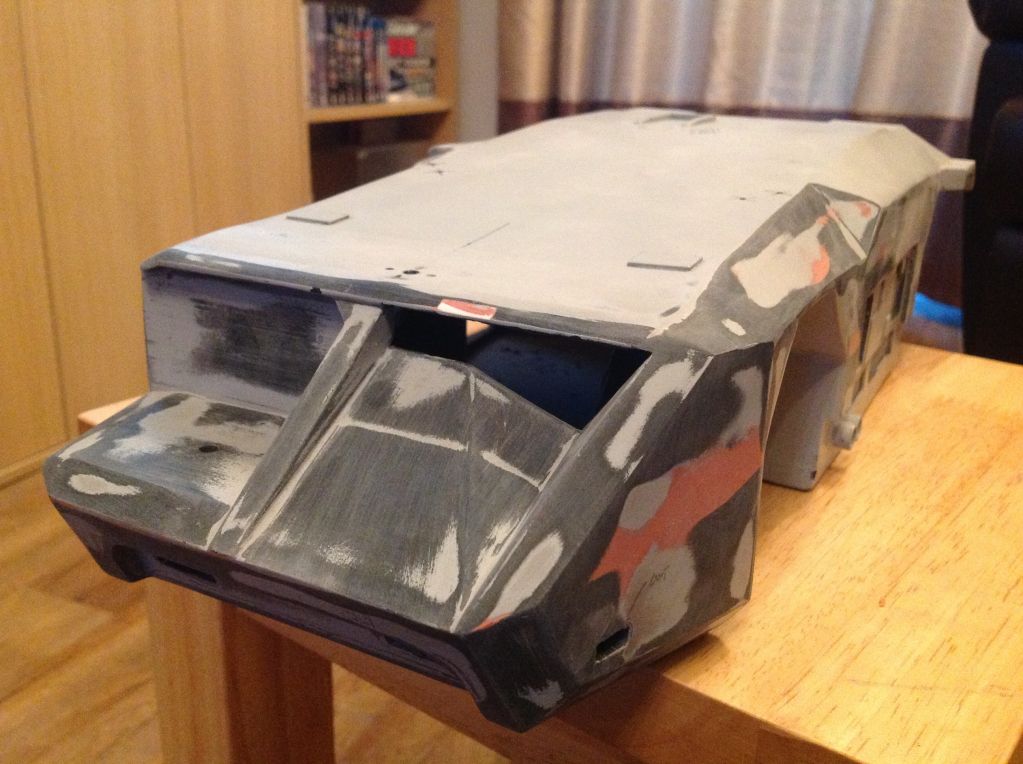
Now this is where rays prep work could really be seen, as I got smears, some glue spots I had to rub it down and decided to make the apc lines more defined......nothing wrong with rays stock model......I'm just being anal.
You can clearly see how much work ray himself had put into it as a base kit when you start sanding. Most people would simply supply a raw kit but ray obviously hadn't
This was one of ray22's resin casts I picked up, or should I say had hand delivered by ray himself whilst I took a holiday in New York in August 2012.
Initial impressions were this looked a great resin kit online in his for sale thread, and upon closer inspection in real life I could see very minor work would be needed..... Rays done a great job in casting and prepping this to the buyer.
Now there is nothing wrong with how this kit was made by ray, but e dry keen modeller likes to make things there own and modify or decide to tinker with some parts..... And yes I tinkered some bits even tho I said to myself I wouldn't :facepalm
So lets begin, this kit is very much still being worked on.
The kit in all its resin glory, as you can see ray provides a pretty much ready to assemble kit

The electronics ill be using, a strobe kit, 4 white LEDs and 2 uv LEDs

As I'm going for a diorama as well some aliens swarm figures for peanuts on eBay


Some great detail on these figures


A purchase on eBay for a floor tile which scaled up to work, made a copy of it and decided to make myself multiples, I estimate near 100 will be required

I brushed the mold with a pigment powder before pouring the white resin, the result is this


Added some alien related damage

Soldering iron, epoxy glue mixed with yellow paint gave me this

Not to happy with the gunmetal pigment, so airbrushed some humbrol metal coat gunmetal and polished it up......perfect

The tiles start to multiply


Deviated to the apc itself now, the spotlight I'm adding an led


A test with the kit grille, took ages to dremel and file that bit

Window frame dremeled and filed and then rivets added with a 0.5mm drill bit

Window needs to come out now


Now as I'm adding spotlights this is where the true quality of the lump of resin I bought really began to show, I dremeled out the relevant holes that was easily an inch thick in places........a real mission to do


Here is how thick it was


Rear lights dremeled, that's hard due to the lack of thickness in the model. Apart from drilling out the light shape I also need to dremel through the rsin so the light source gets through....this was a delicate operation


Took some small scale pipes and added some gun barrels

Also decided to pin most of this model together to ensure it stays bonded

And opened up the gun a bit

Test fit of the pinned bits

Added some grab handles


This is we're I got to change my mind on some parts, remakes the grille with pipe and super glue


Also remade the front point

Added some towing clamps from necklace beads and pipe

Components so far

Now this is where rays prep work could really be seen, as I got smears, some glue spots I had to rub it down and decided to make the apc lines more defined......nothing wrong with rays stock model......I'm just being anal.
You can clearly see how much work ray himself had put into it as a base kit when you start sanding. Most people would simply supply a raw kit but ray obviously hadn't


