I aquired one of these kits 6 months ago after researching it on here, was truley inspired by a few builds on here, and some internet builds by ian lawrence and helipilot - not sure if you guys reside here but thanks. also thanks to trekmodeler for supplying the lighting kit and a very considerate girlfriend whom allowed me to do this and respect my hobby ")
the aim: to be very anal as possible on this, taking the best parts of peoples builds and if possible doing it better in regards of build, paint etc etc.
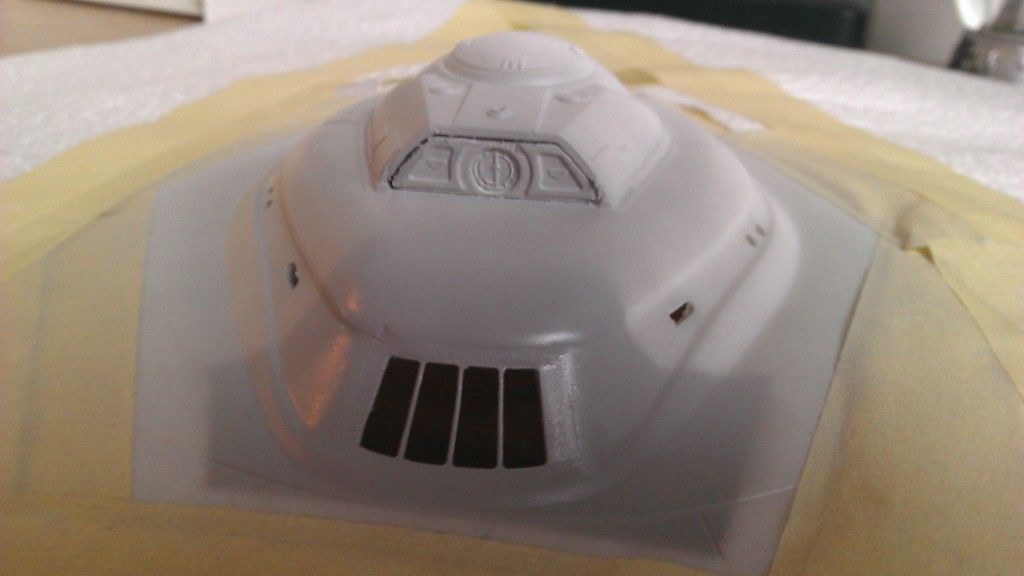
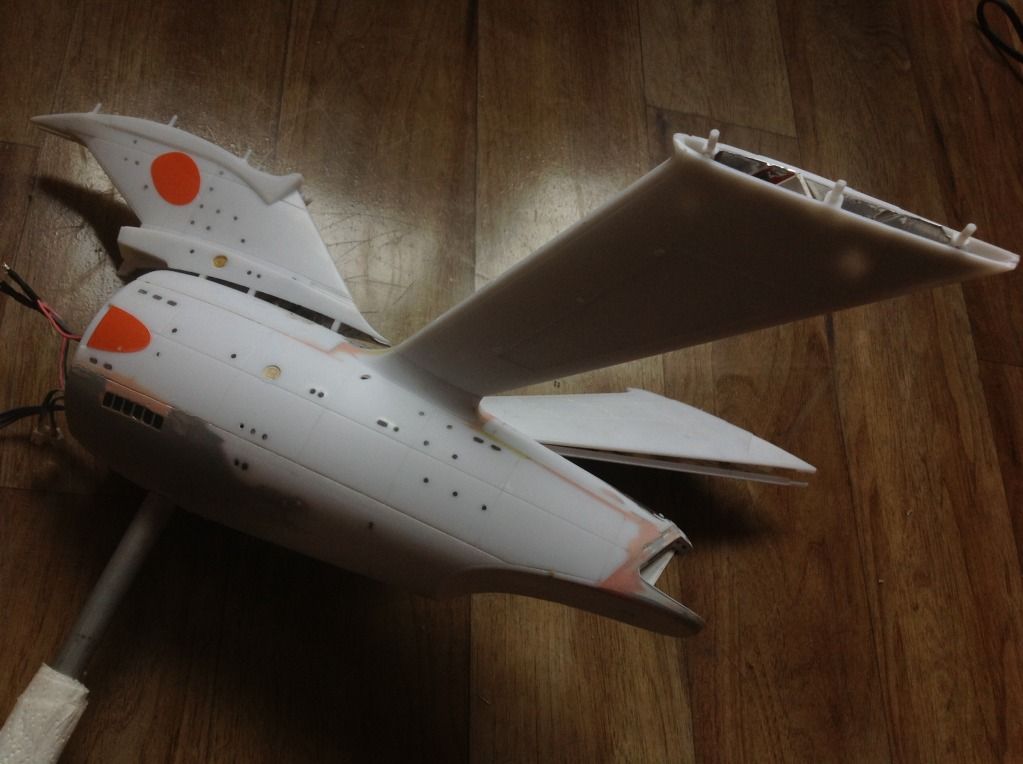
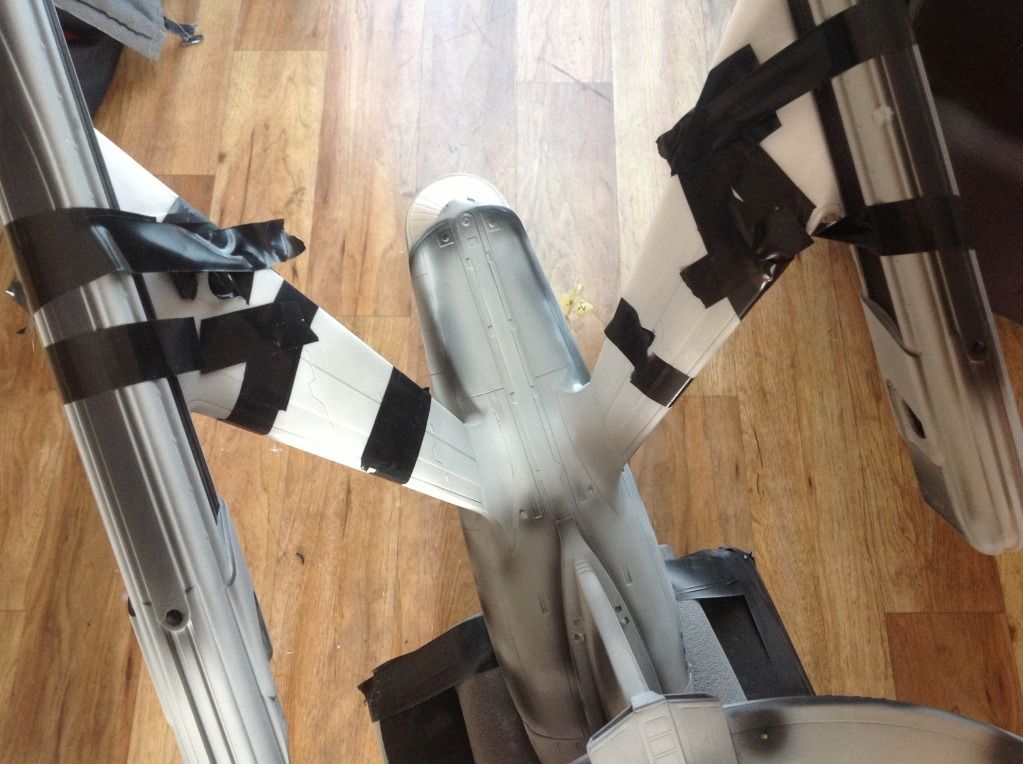
this is my first airfix type kit build in 25 years, its also the first time i have used airbrusing and masking, so here we go:
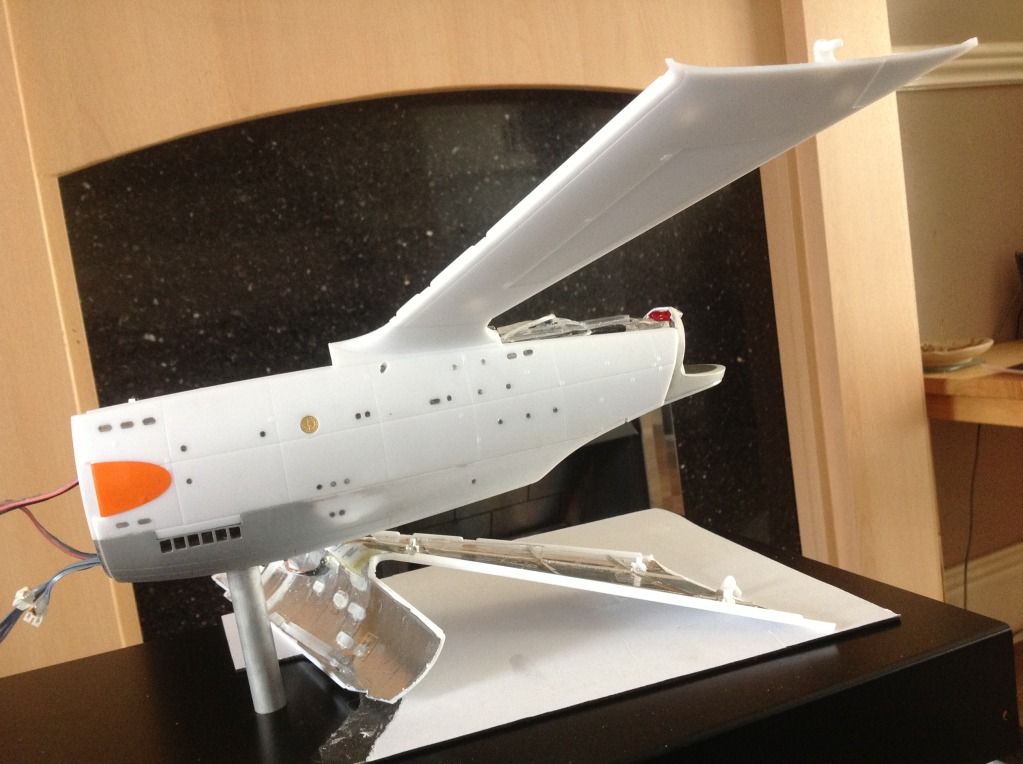
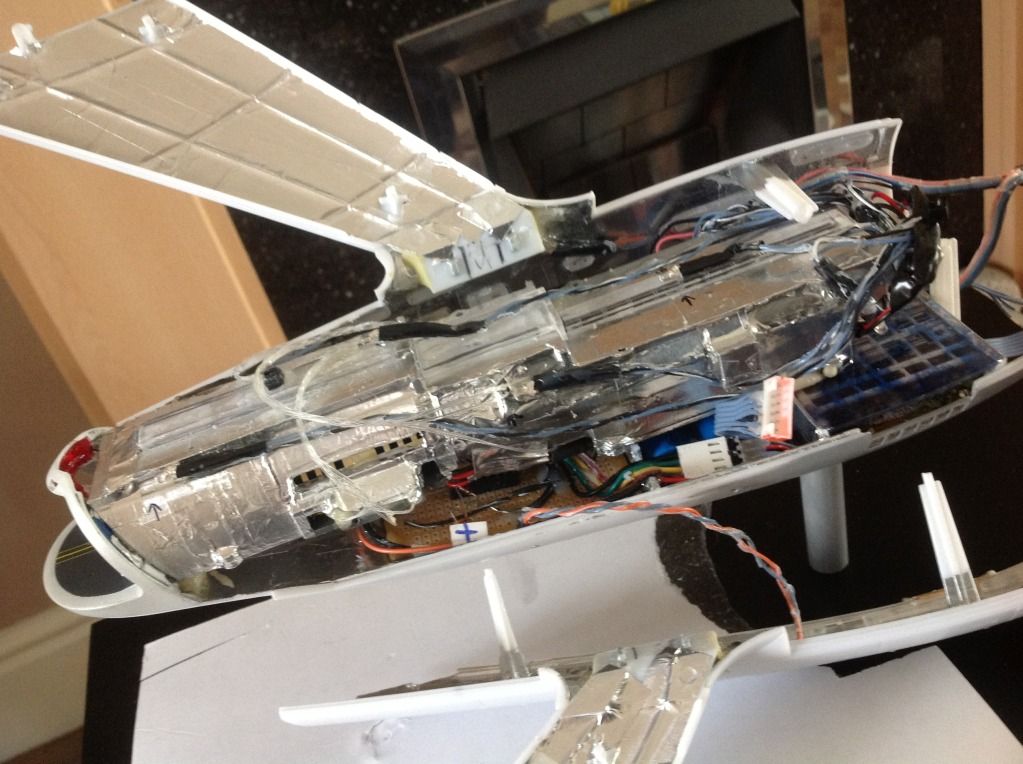
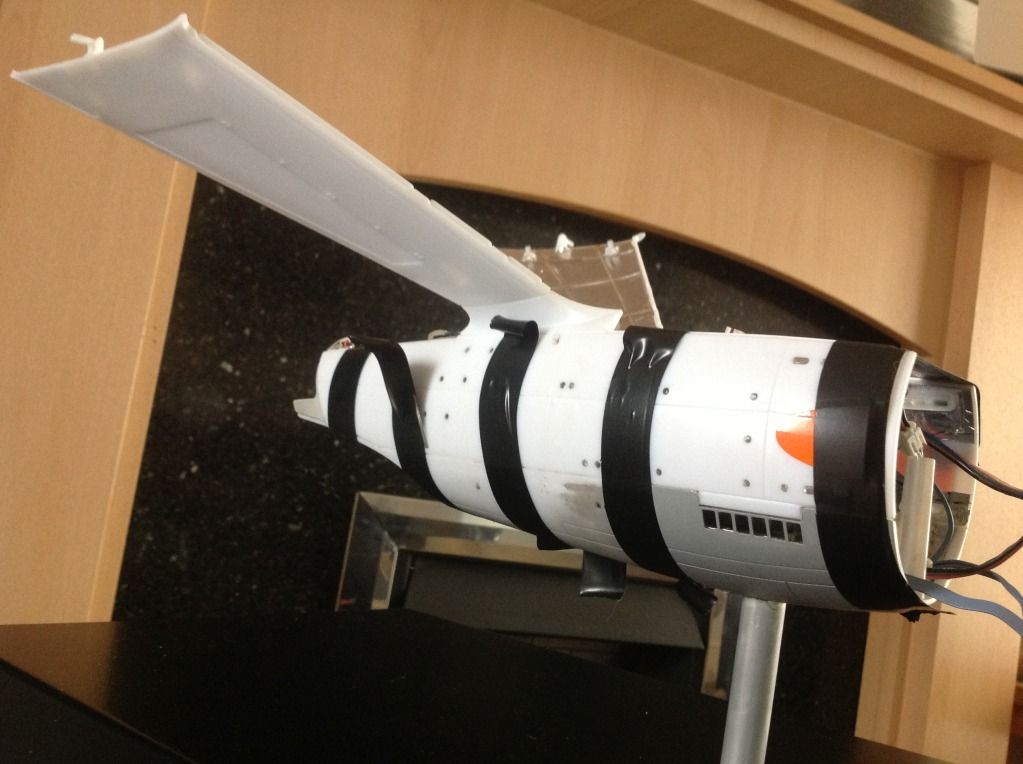
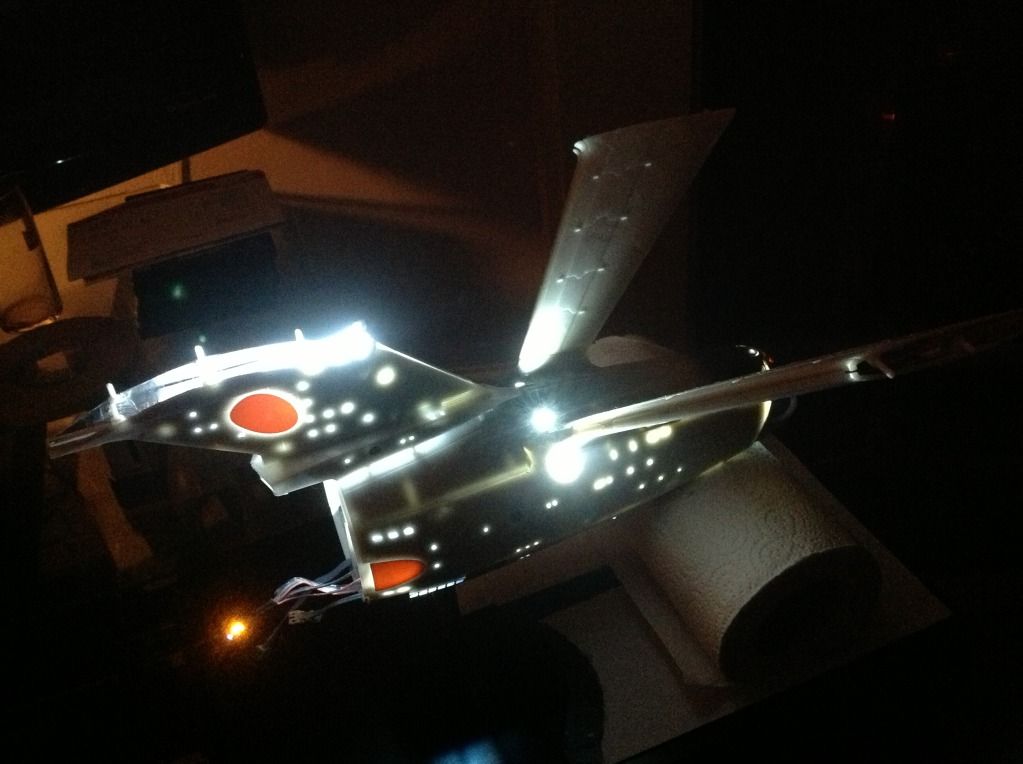
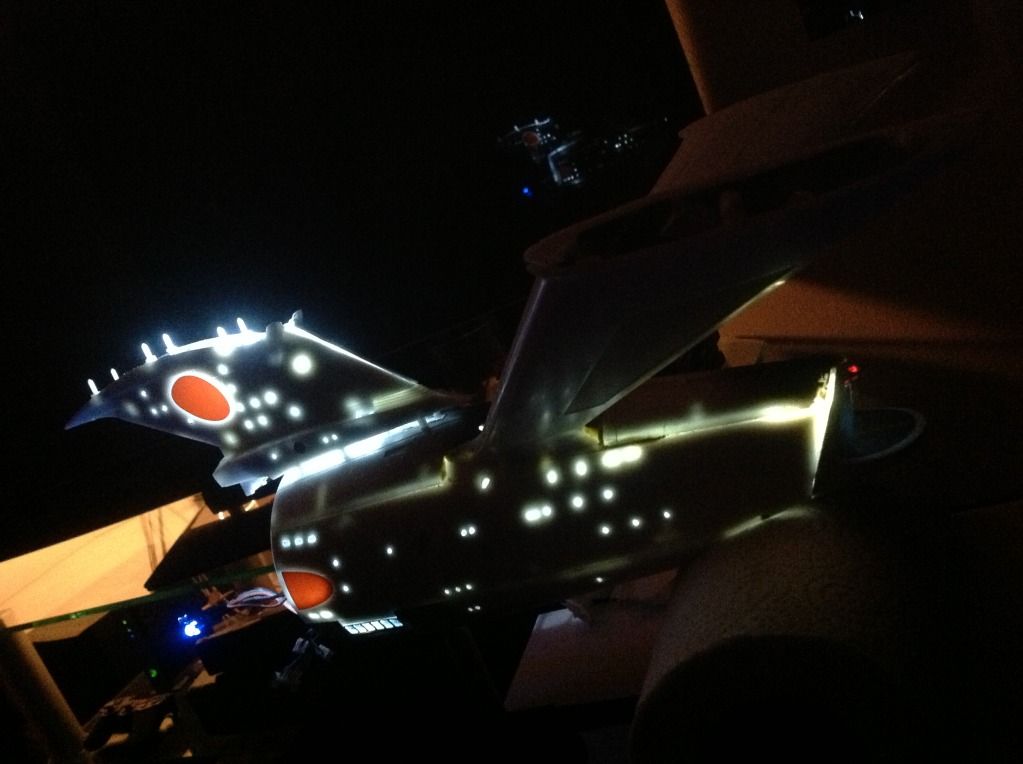
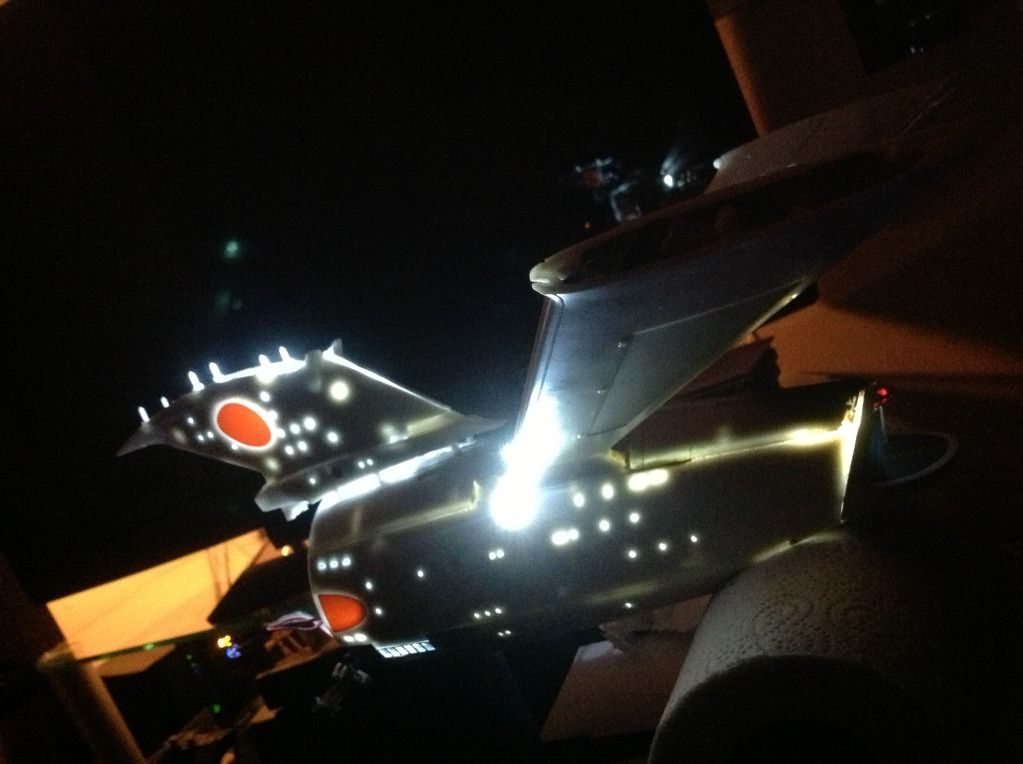
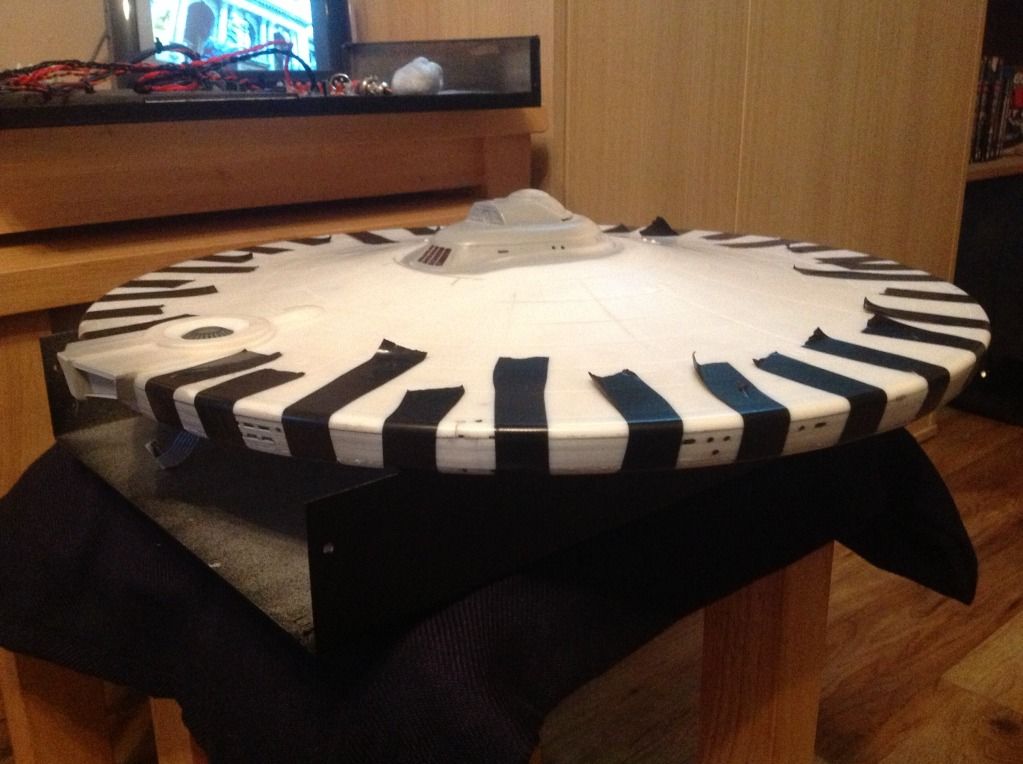
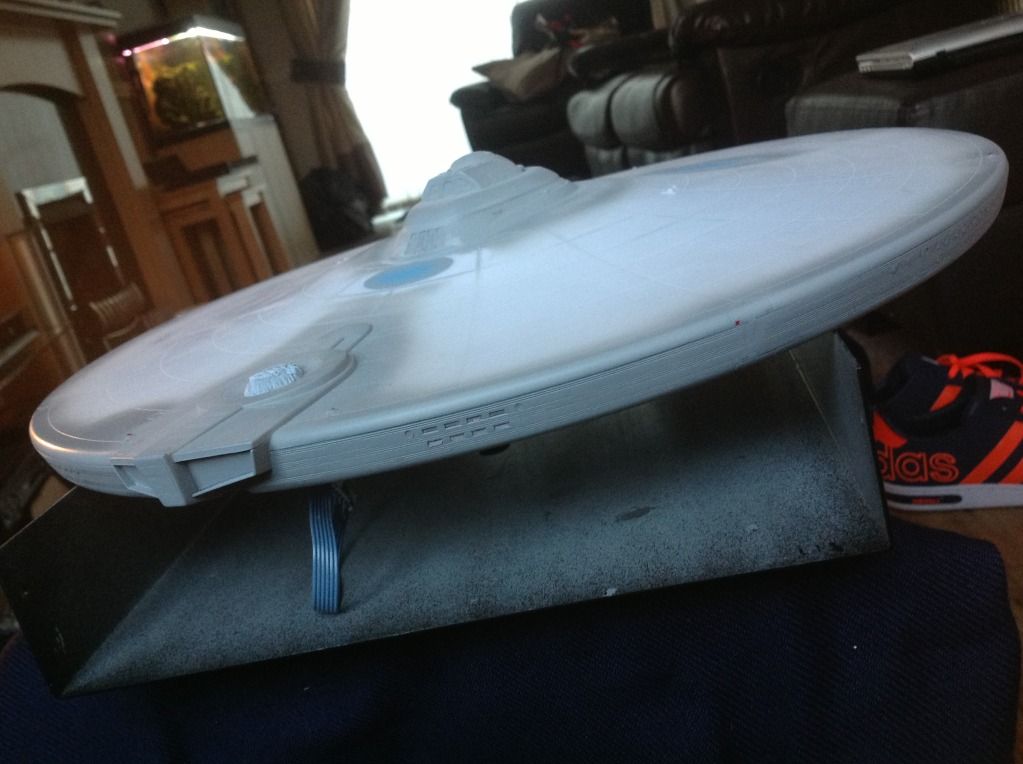
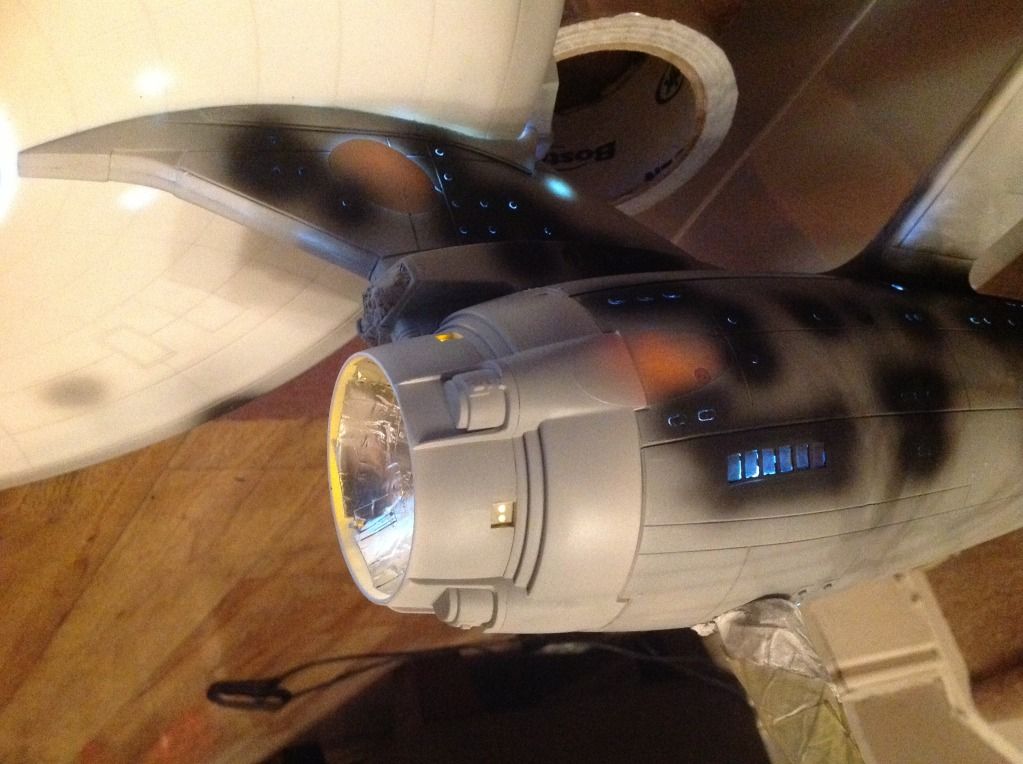
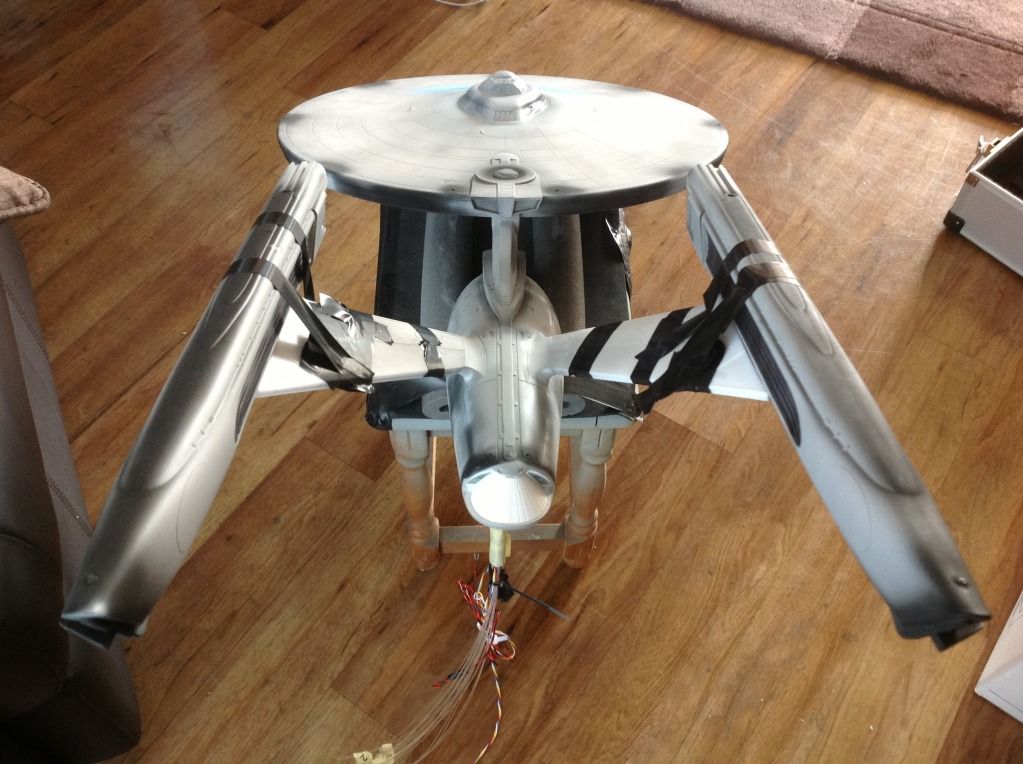
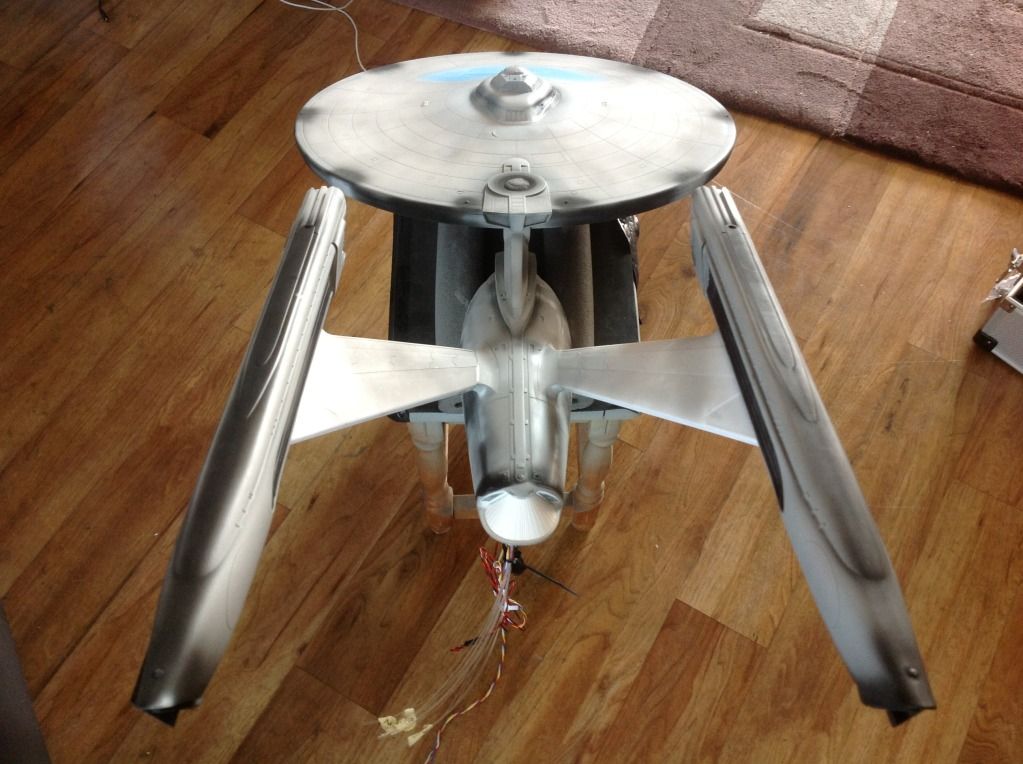
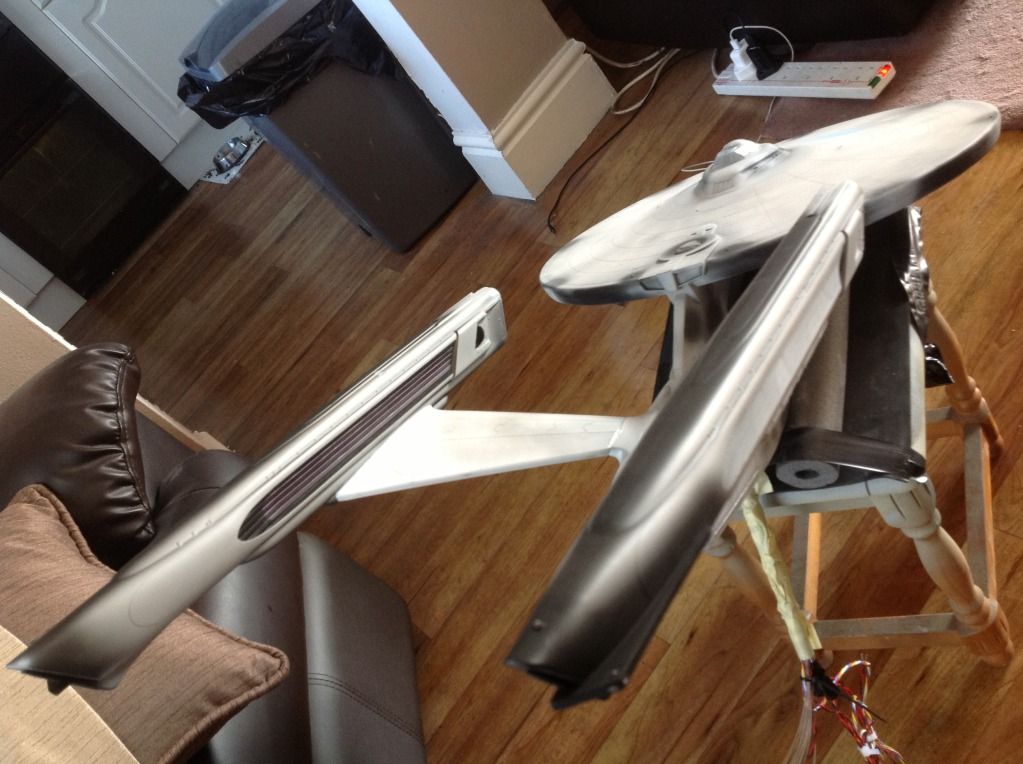
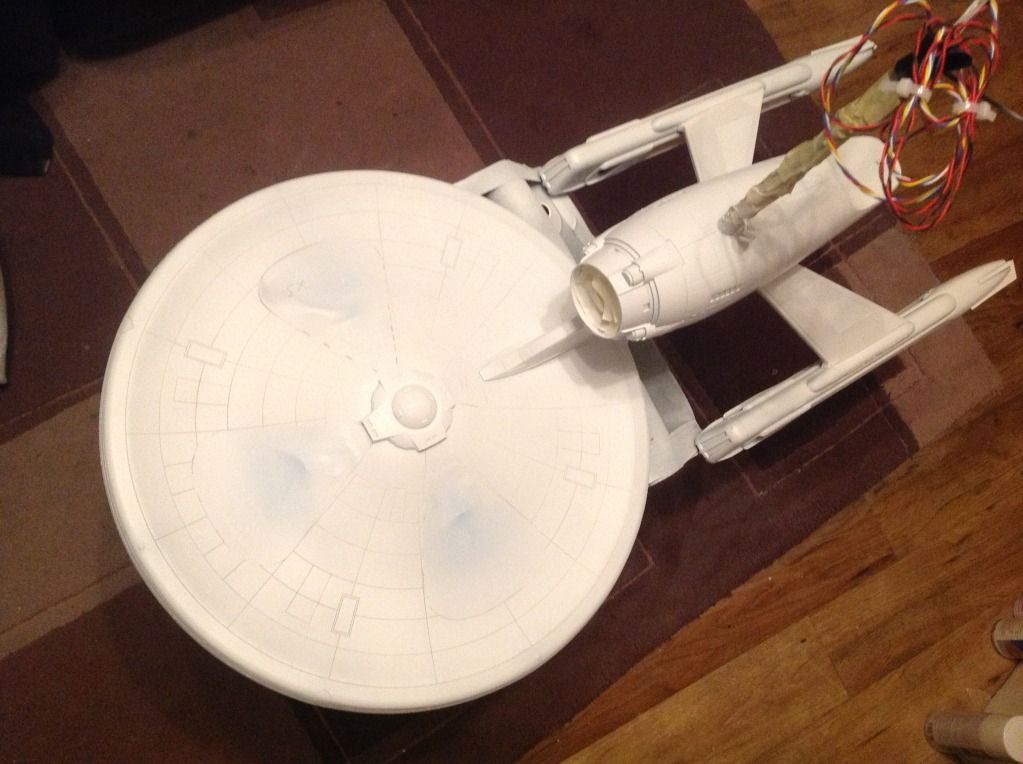
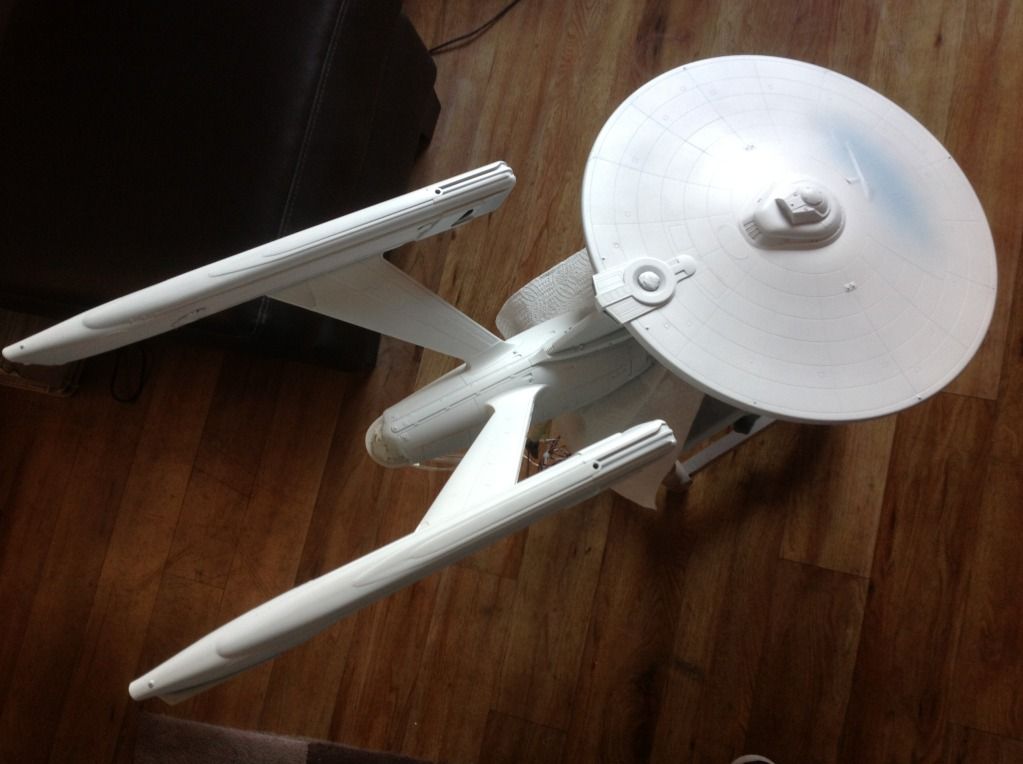
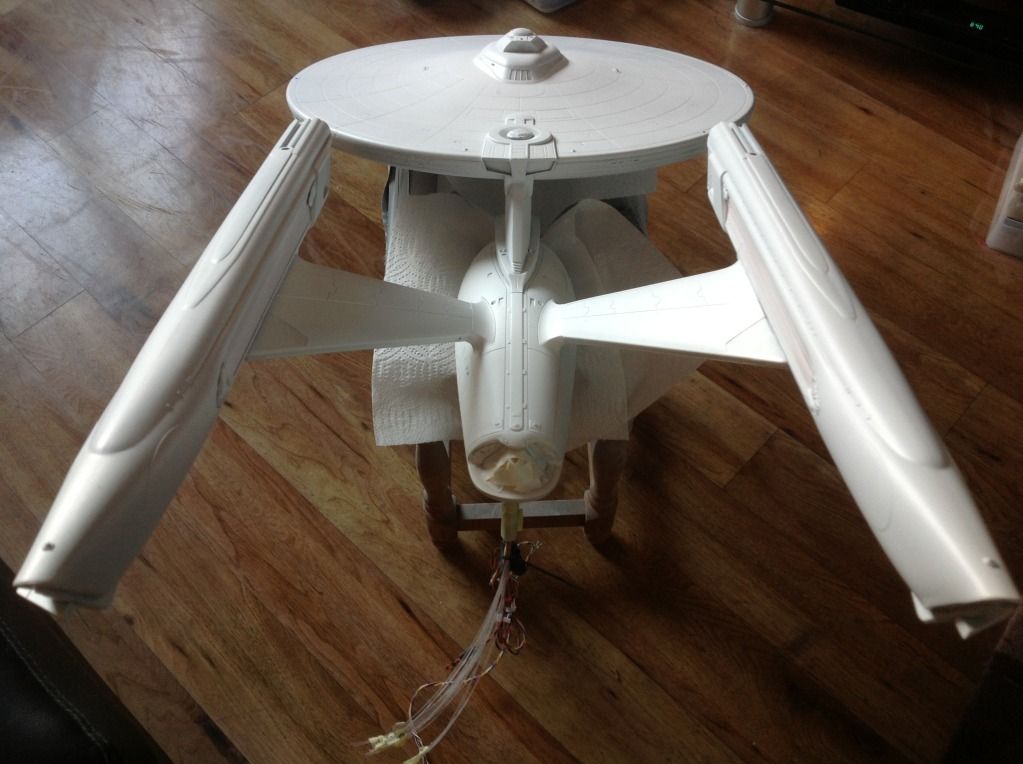
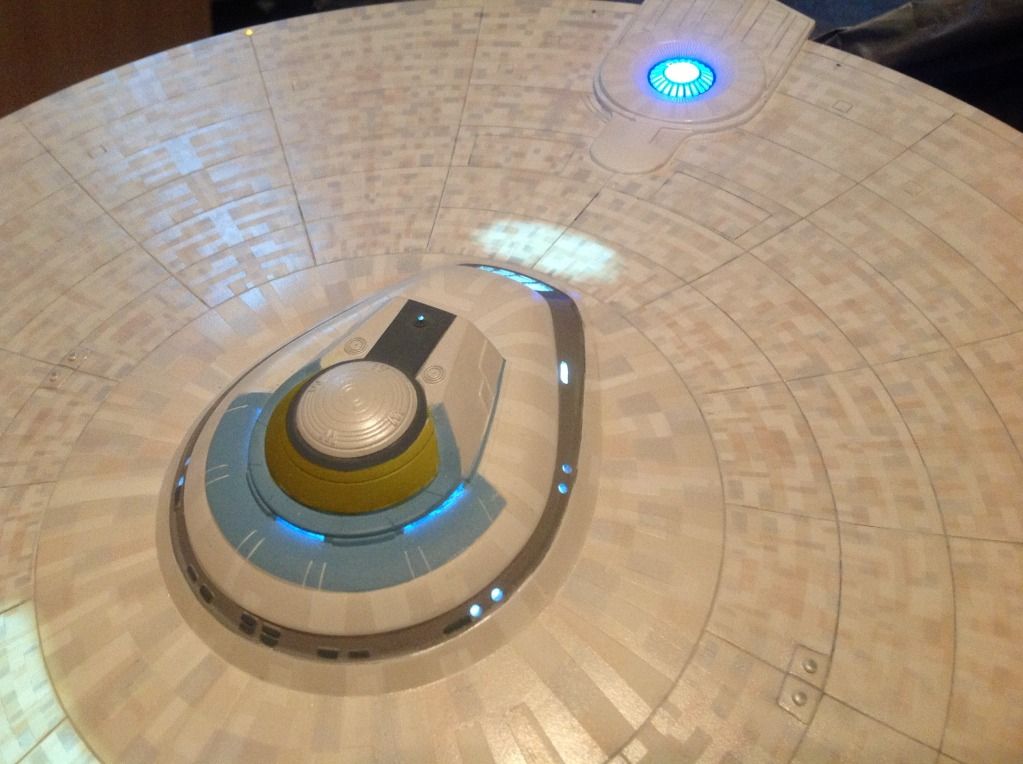
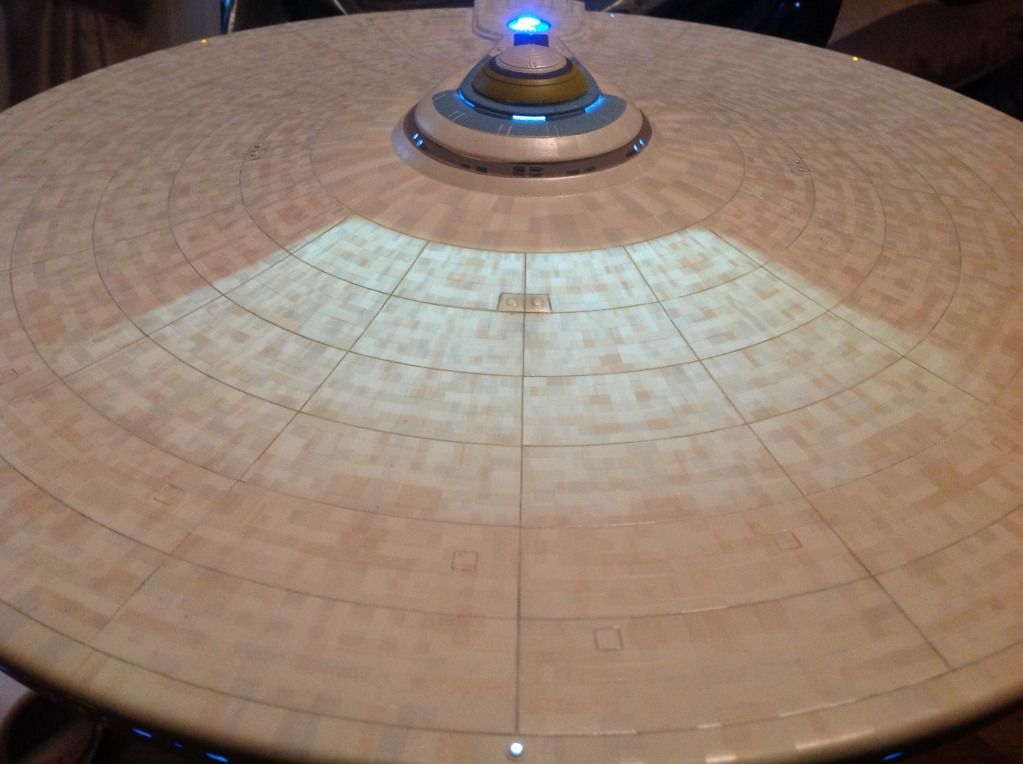
after 6 months at approx 6 hours per night, total of 1080 hours equalling around 45 solid days i present my build of the enterprise. the kit is now all built and on display so this is to help anyone else wanting to build one - this will end up to show pretty much step by step of what i did so it will be pic intensive - ill upload at various times during the day, night week as its quite pic heavy
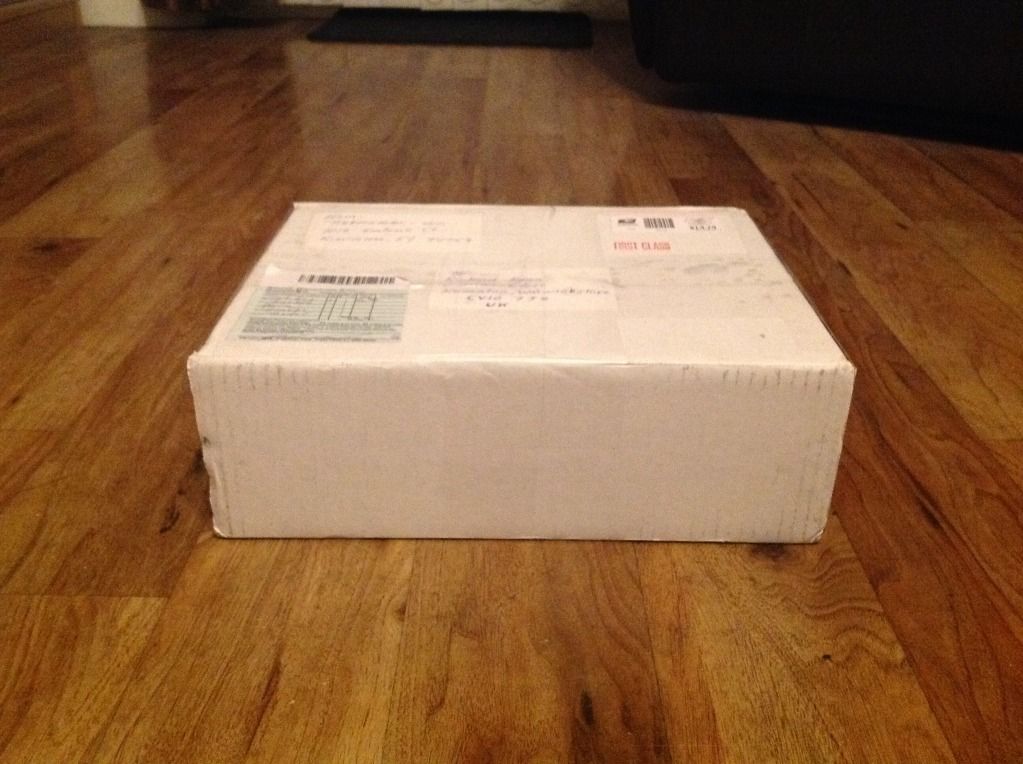
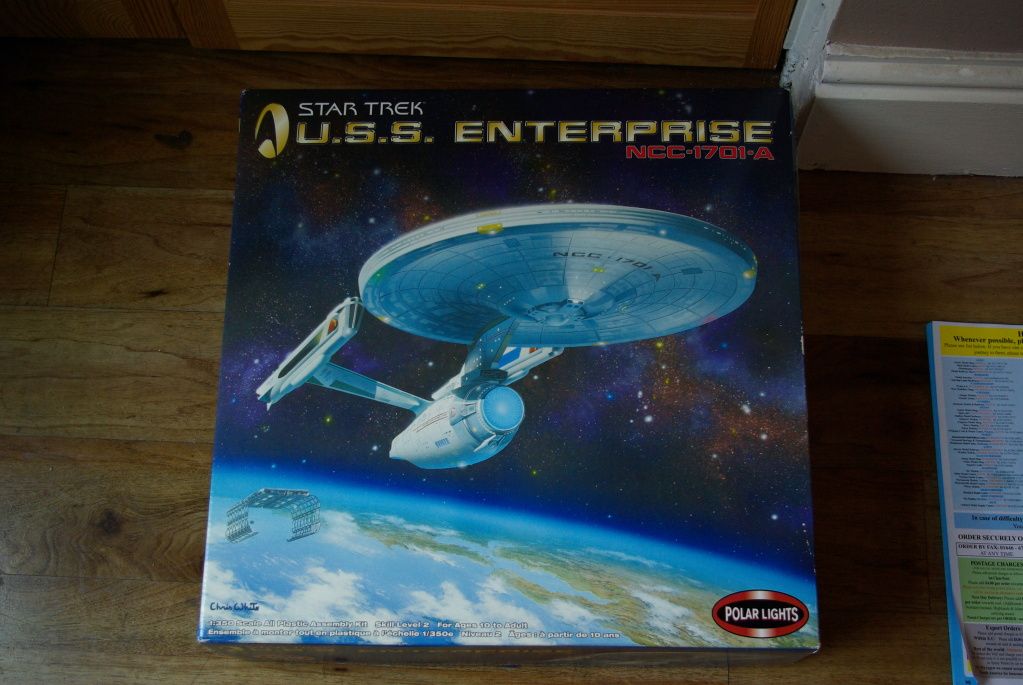
so here is the box
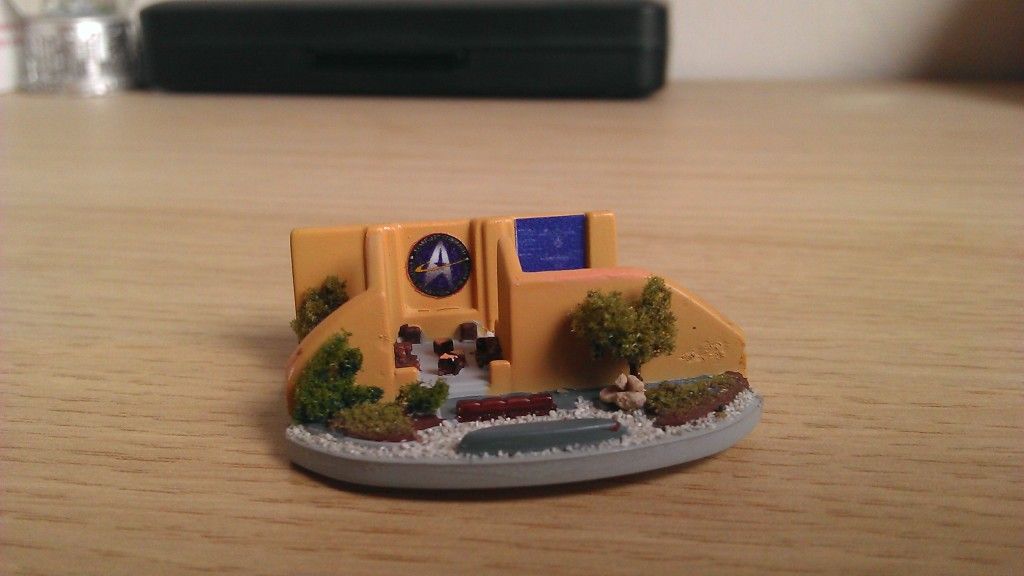
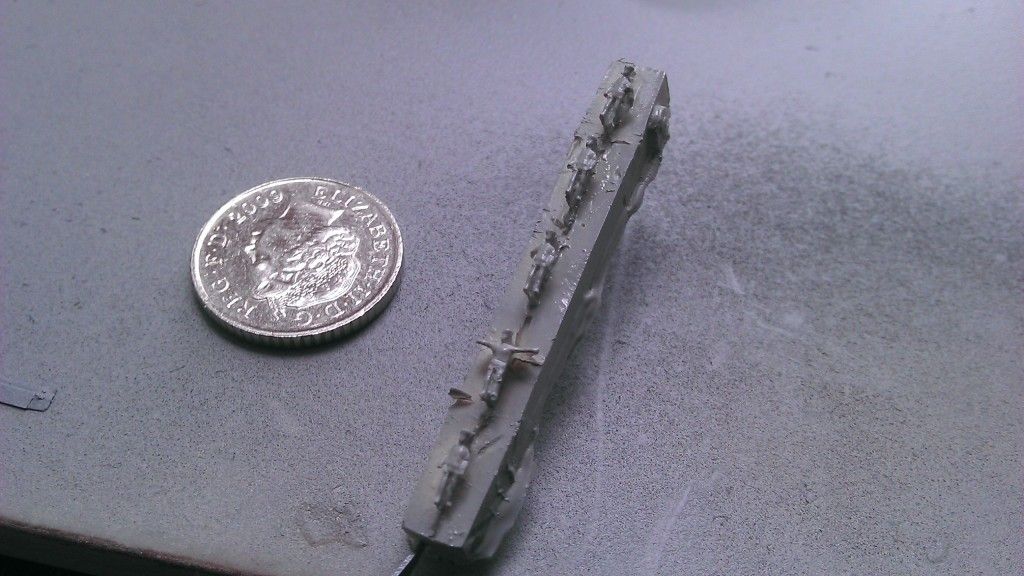
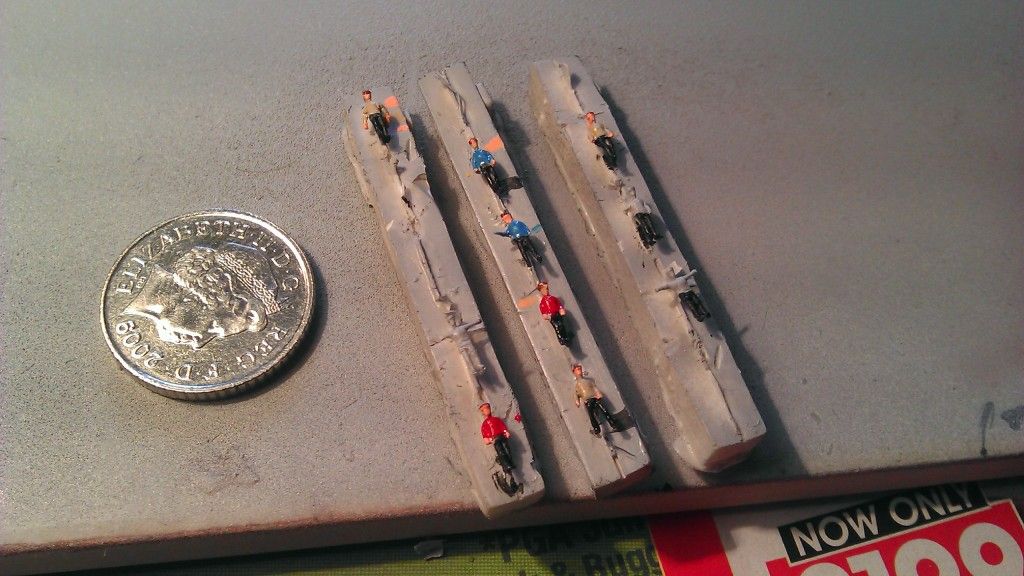
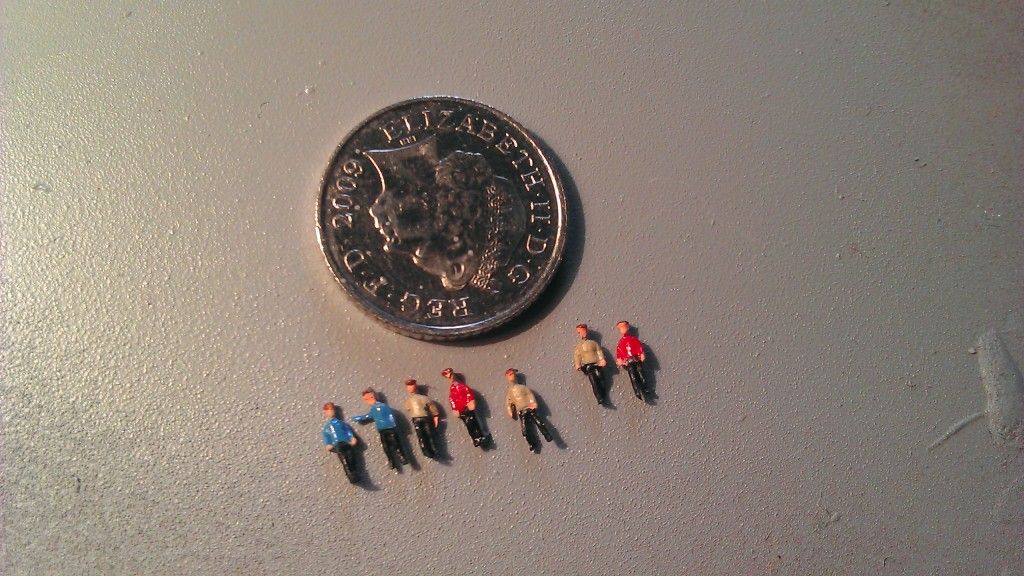
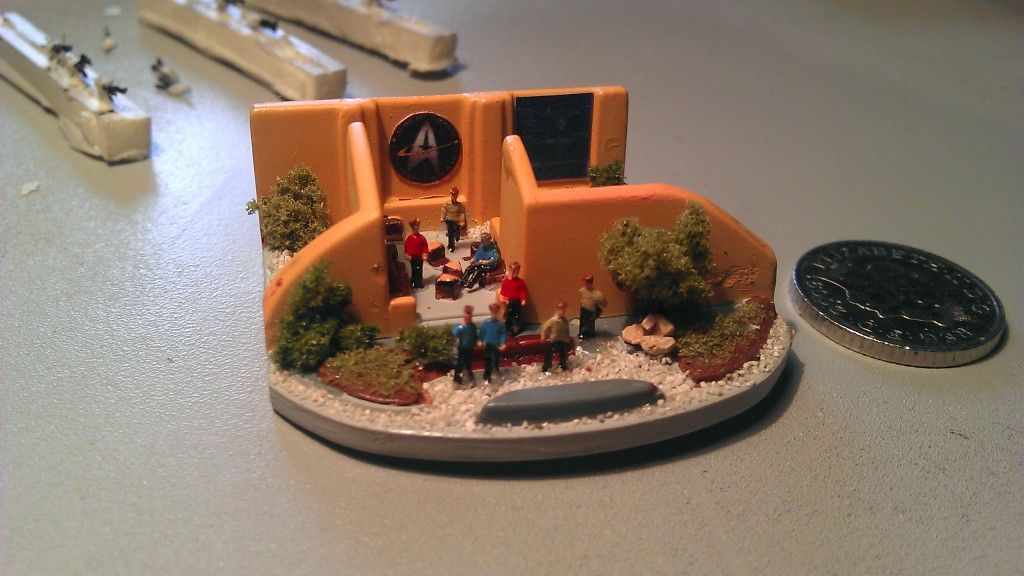
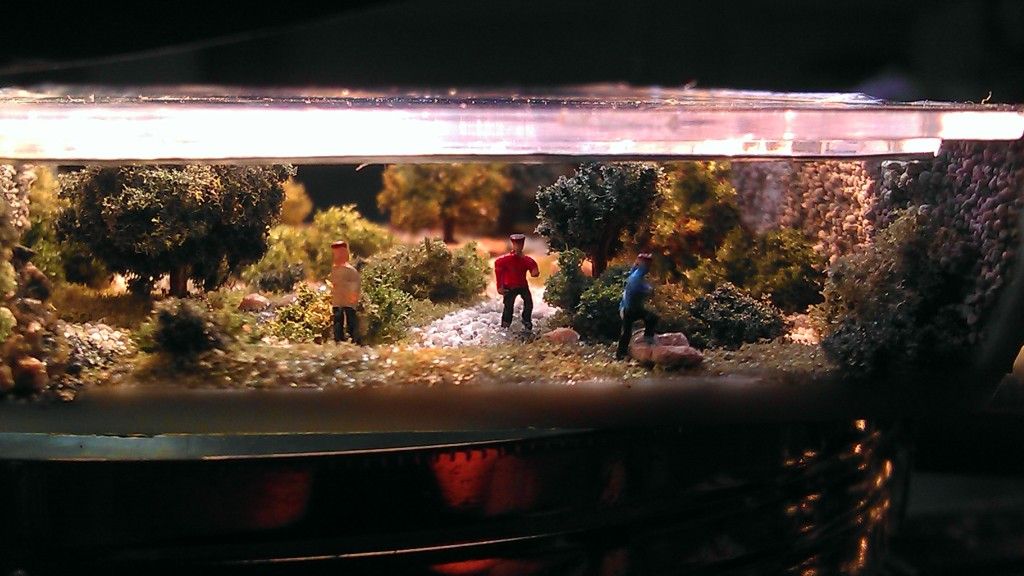
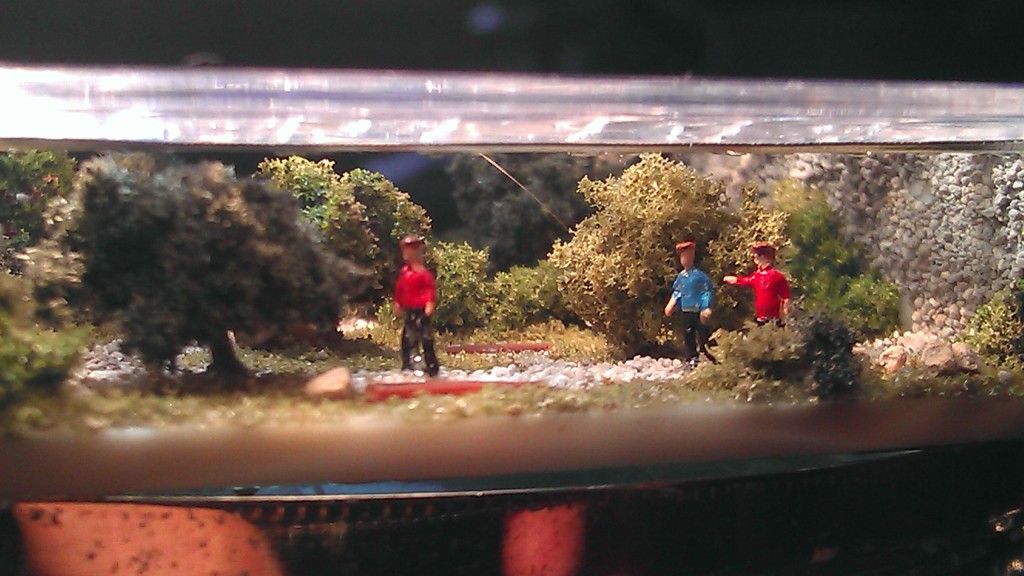
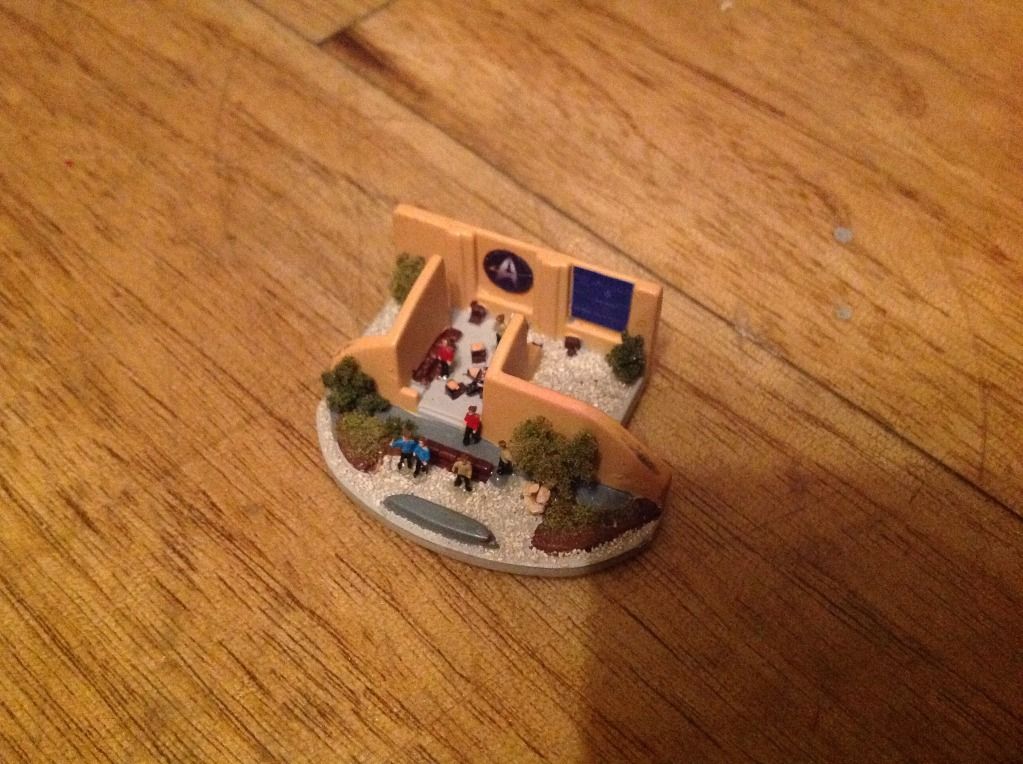
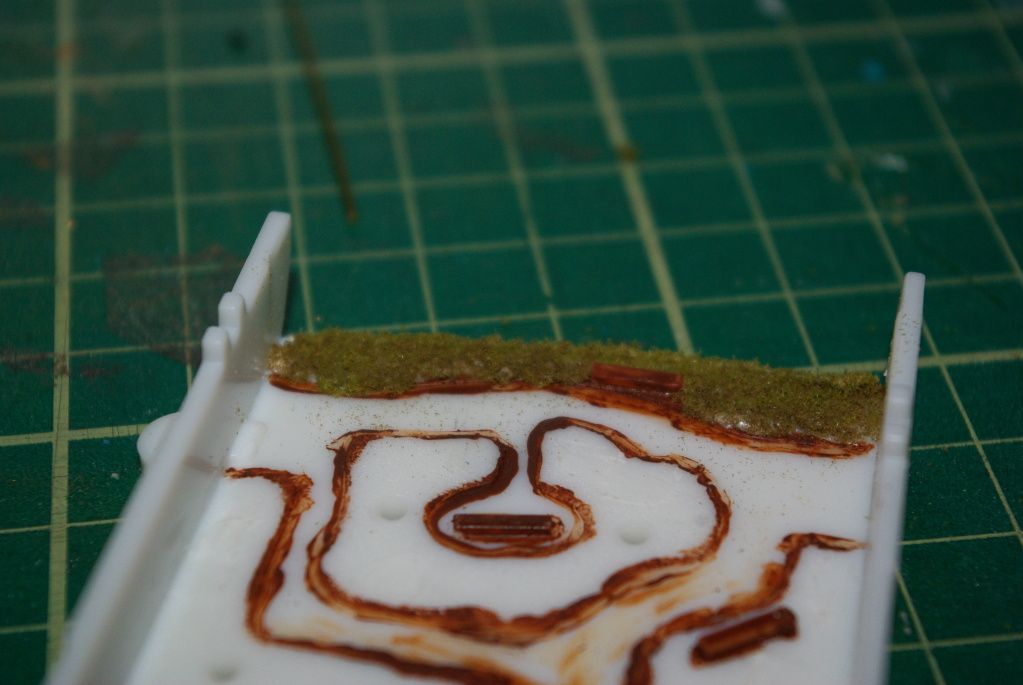
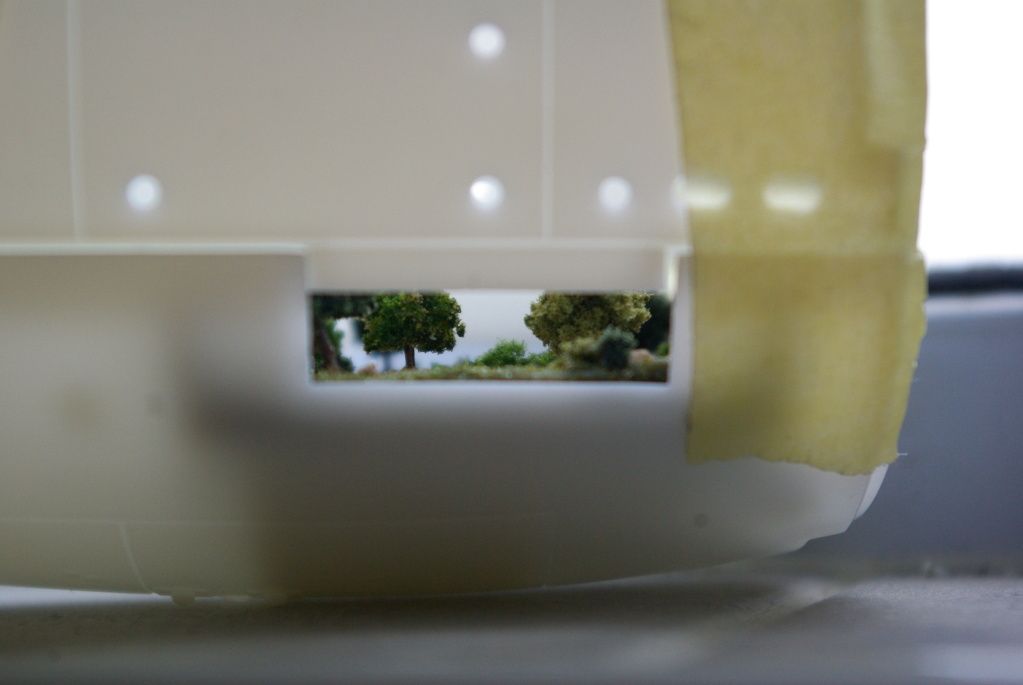
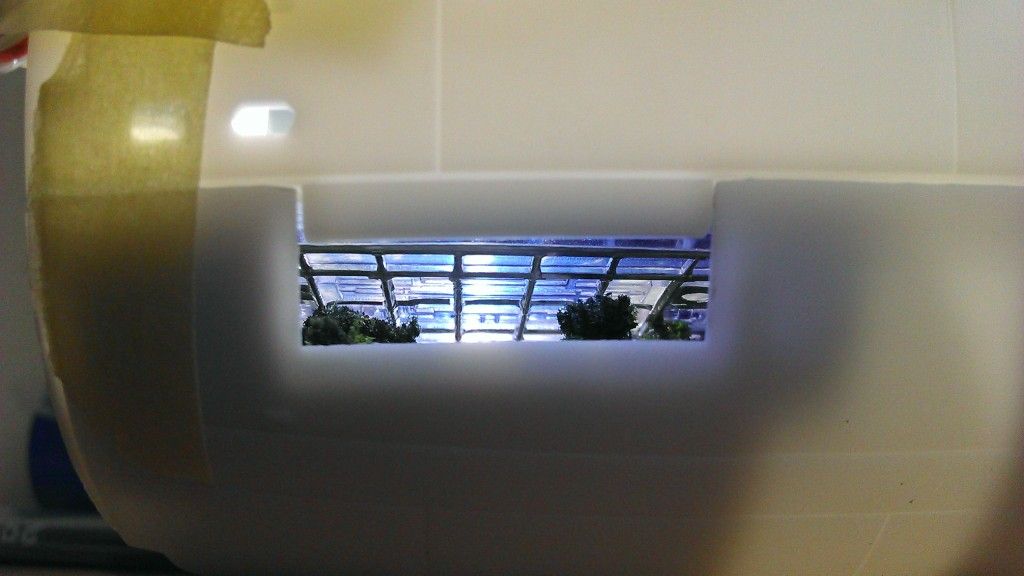
first start the garden - i did not prime this - i would advise you do to enable the bits to stick better - dremeled off the original poor excuse for trees
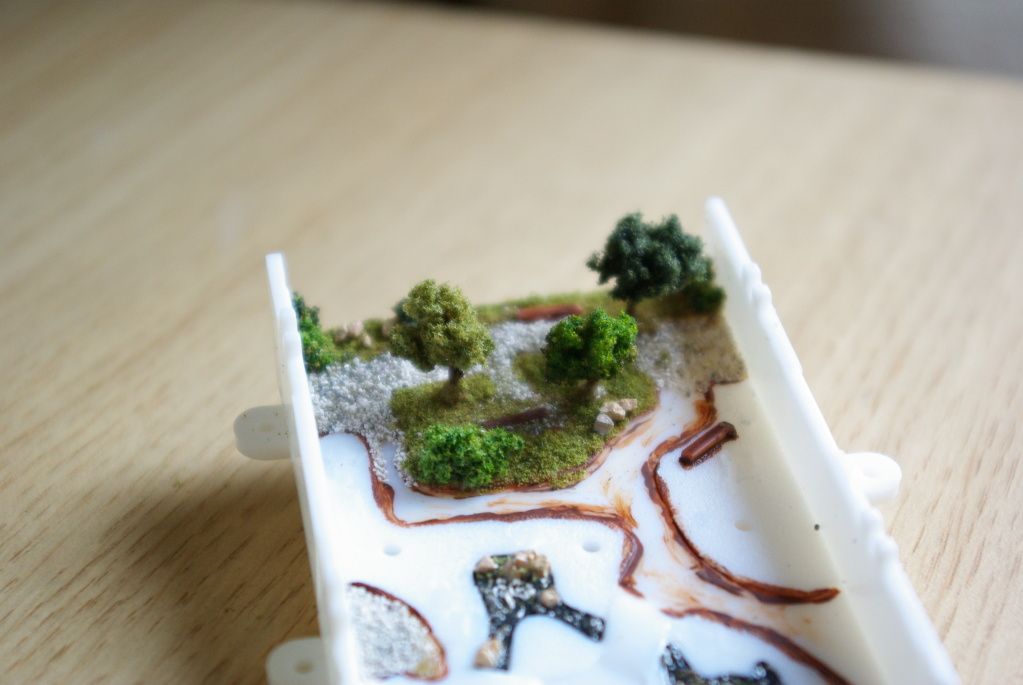
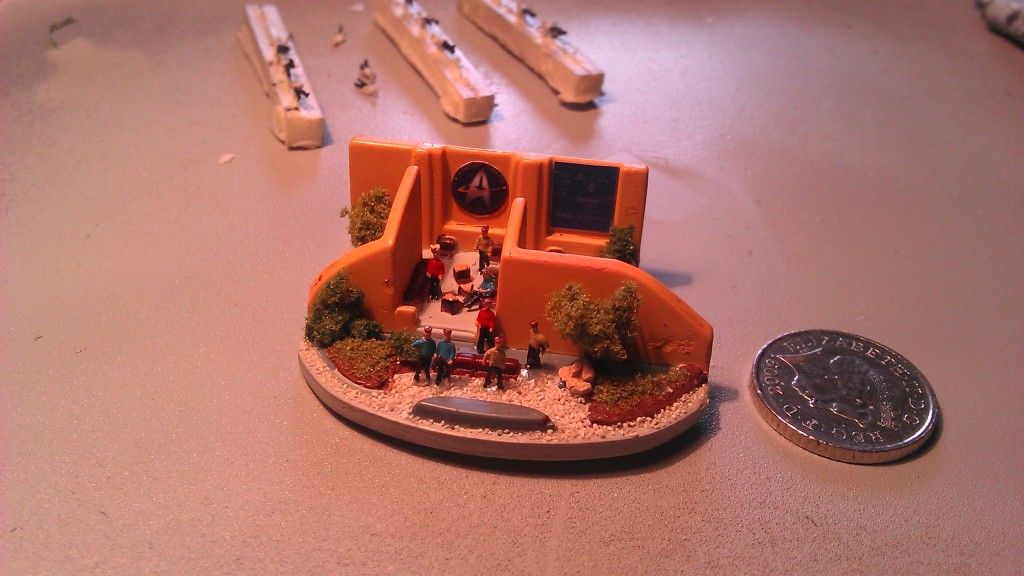
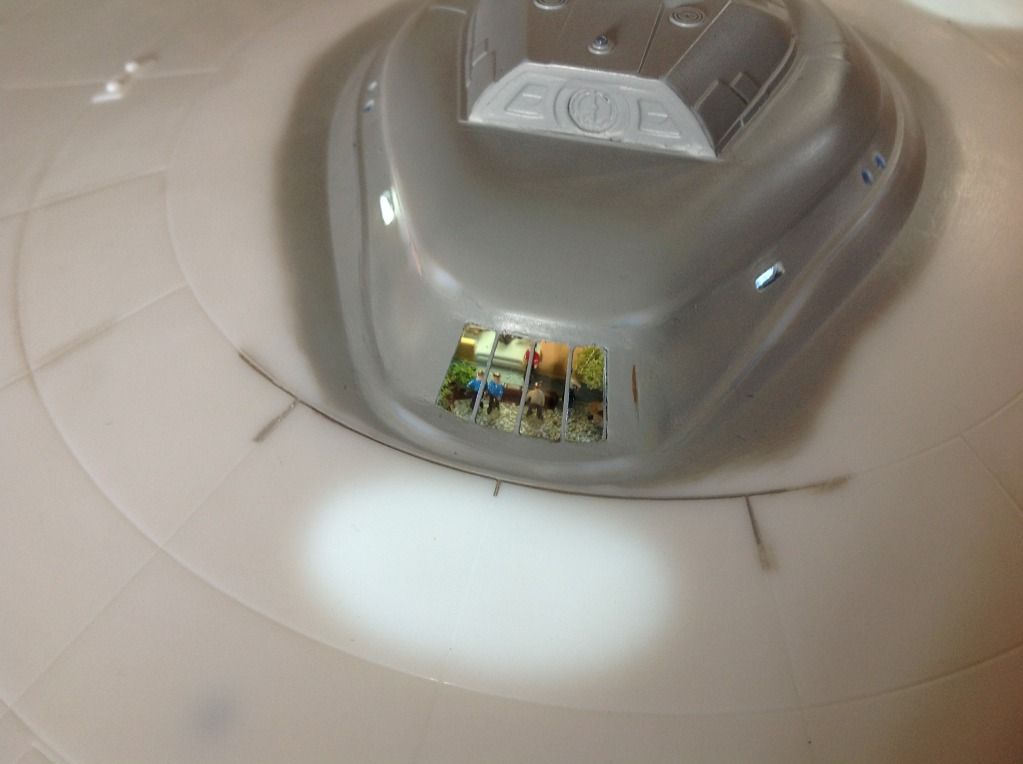
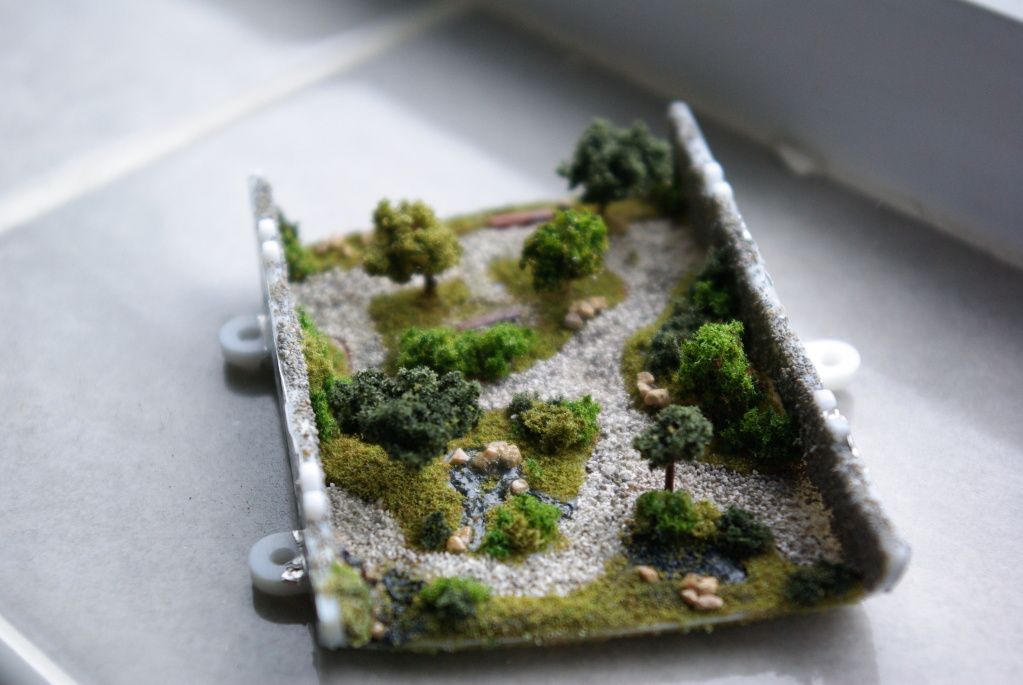
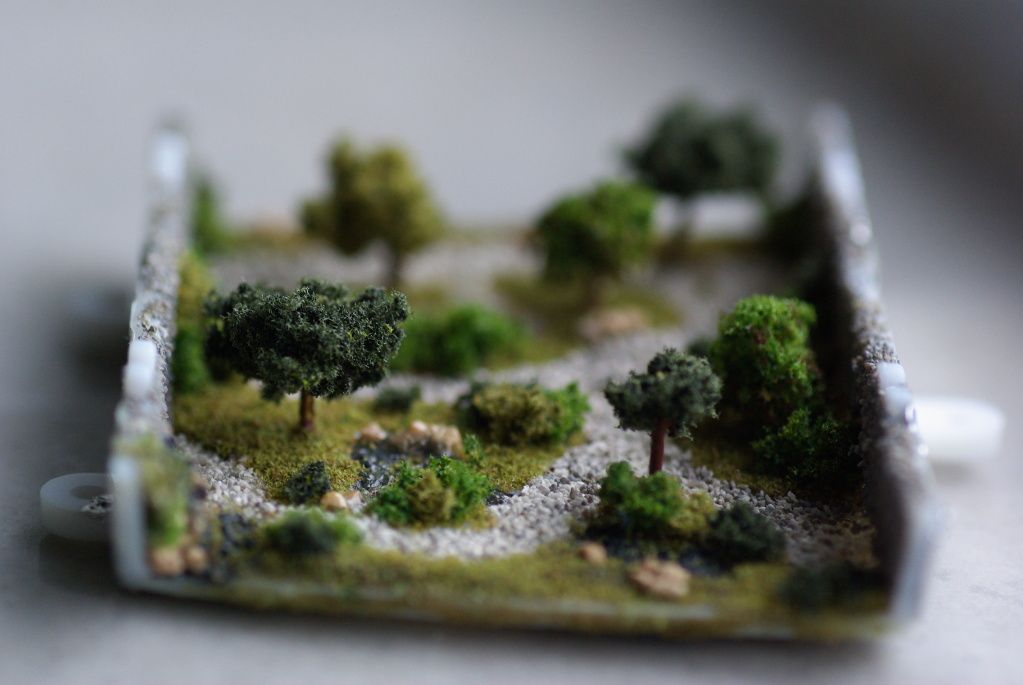
and all done - wire for the tree stems, grass clumps from railway greenery as was the pebbles
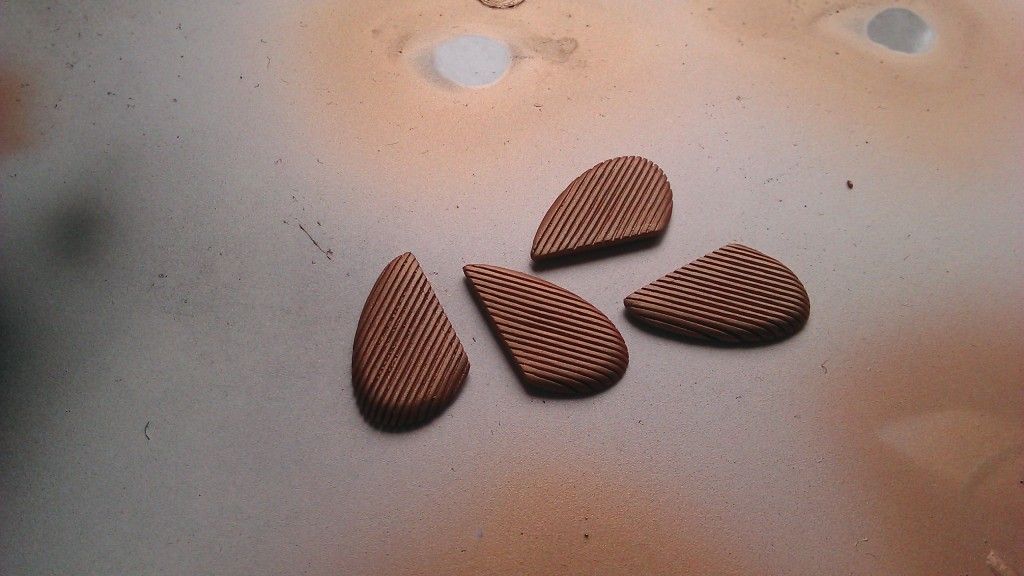
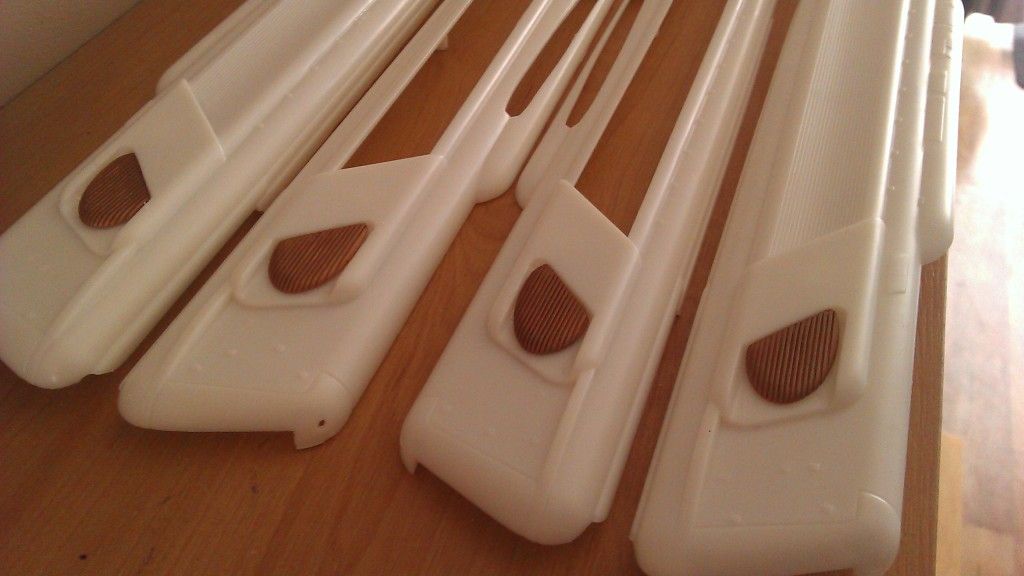
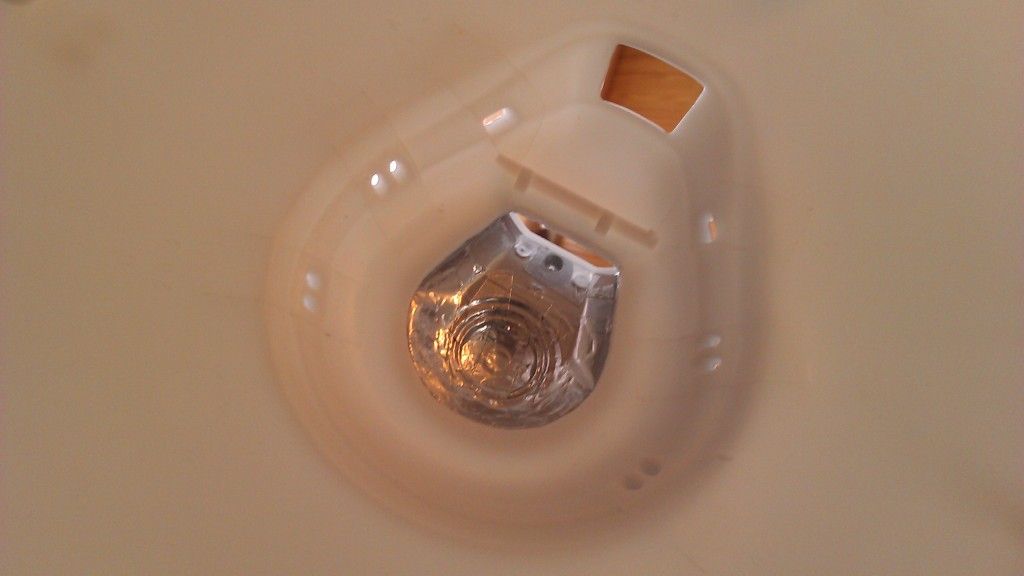
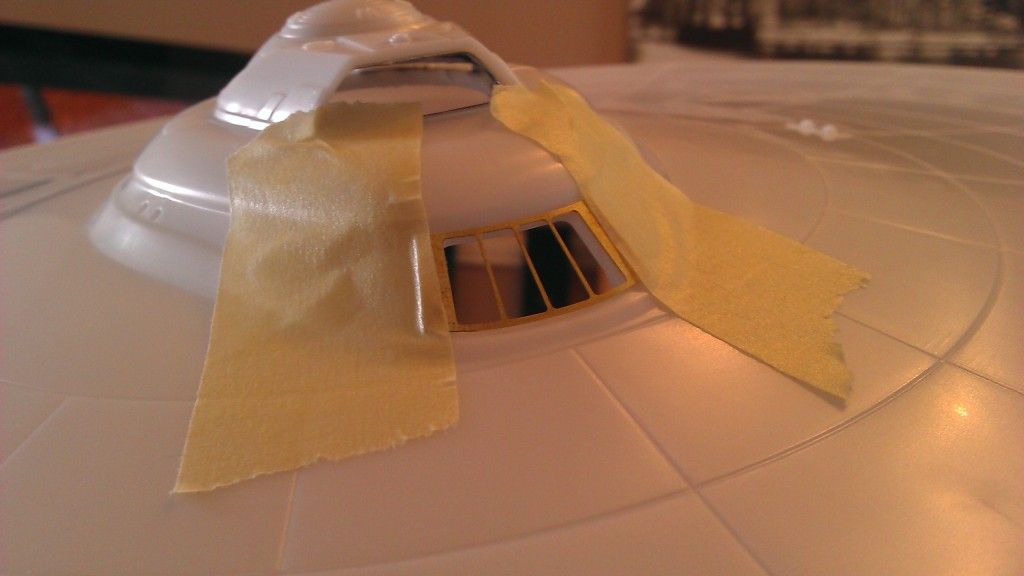
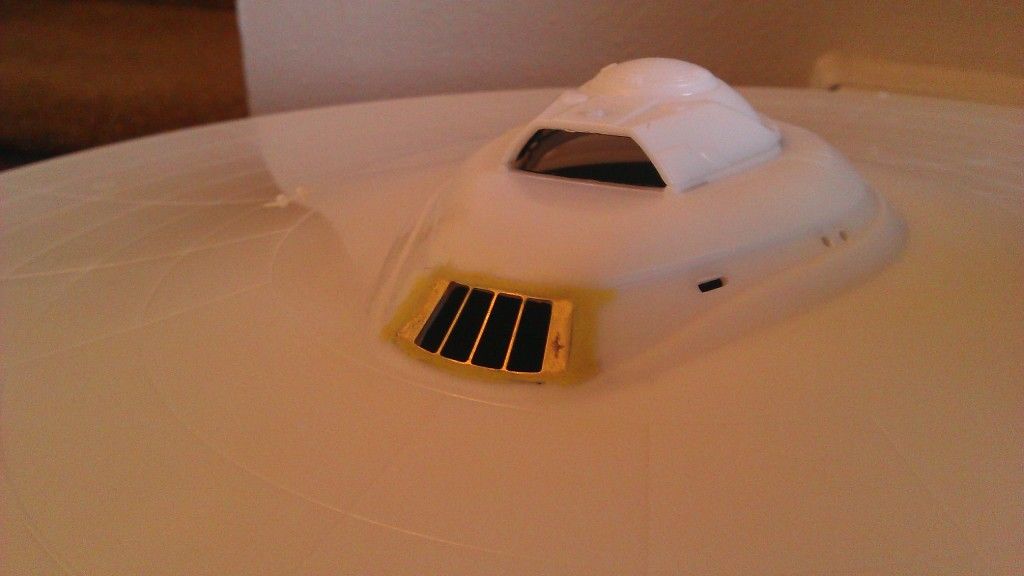
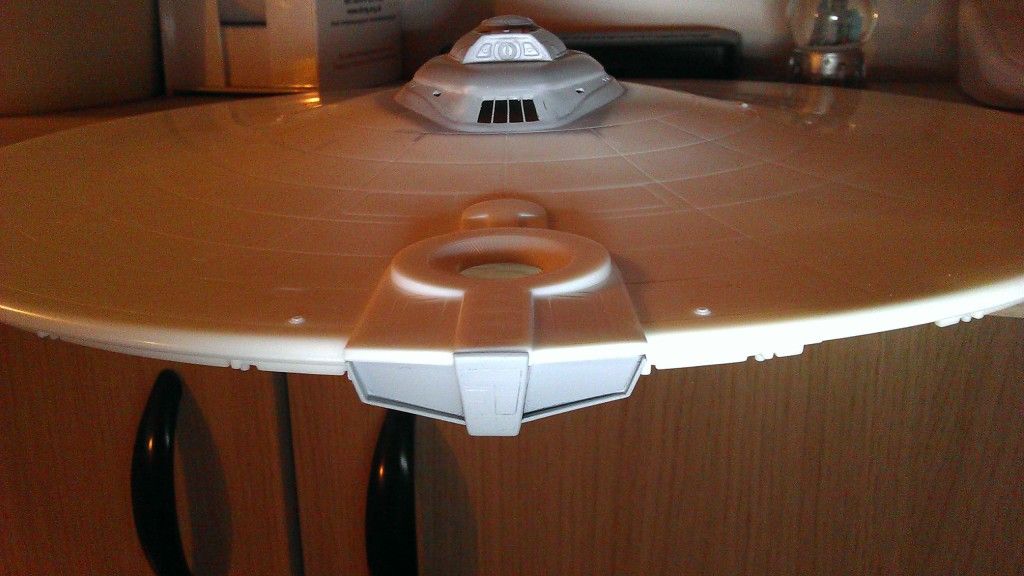
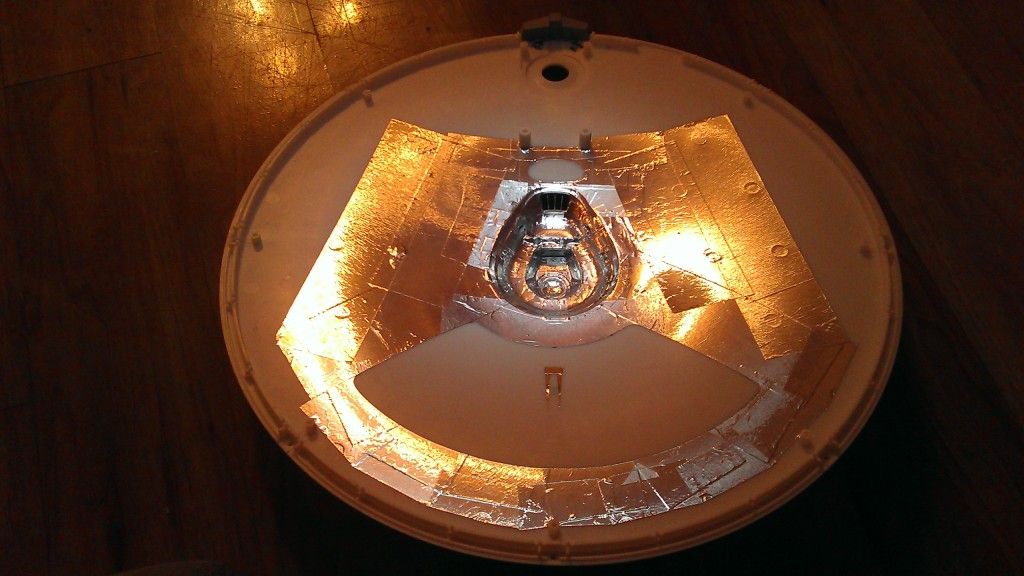
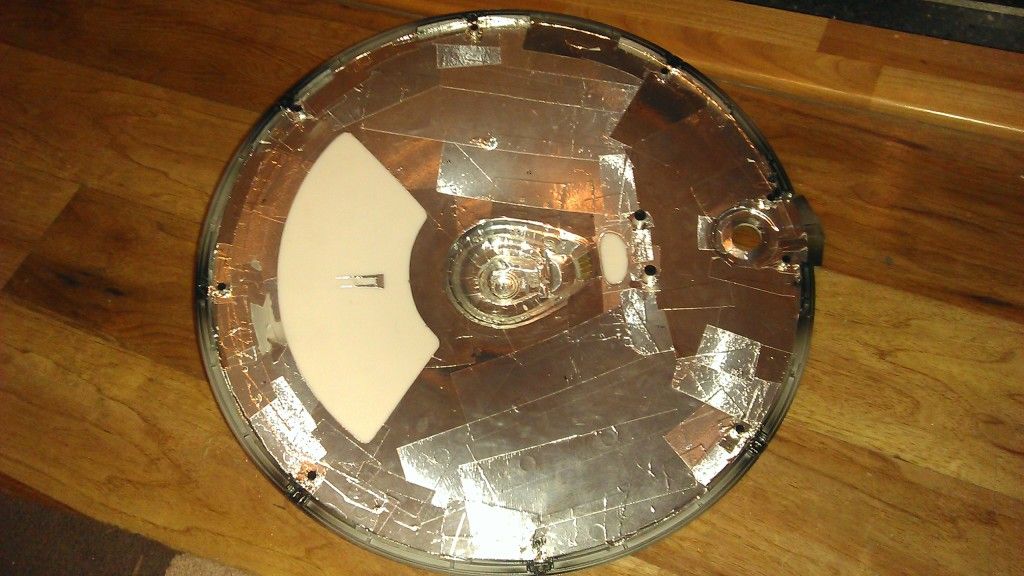
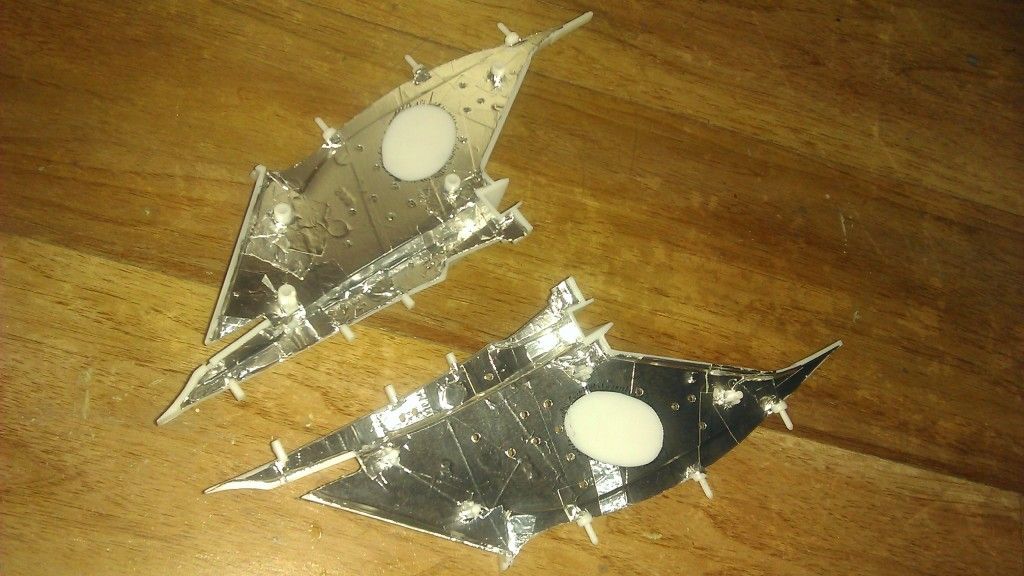
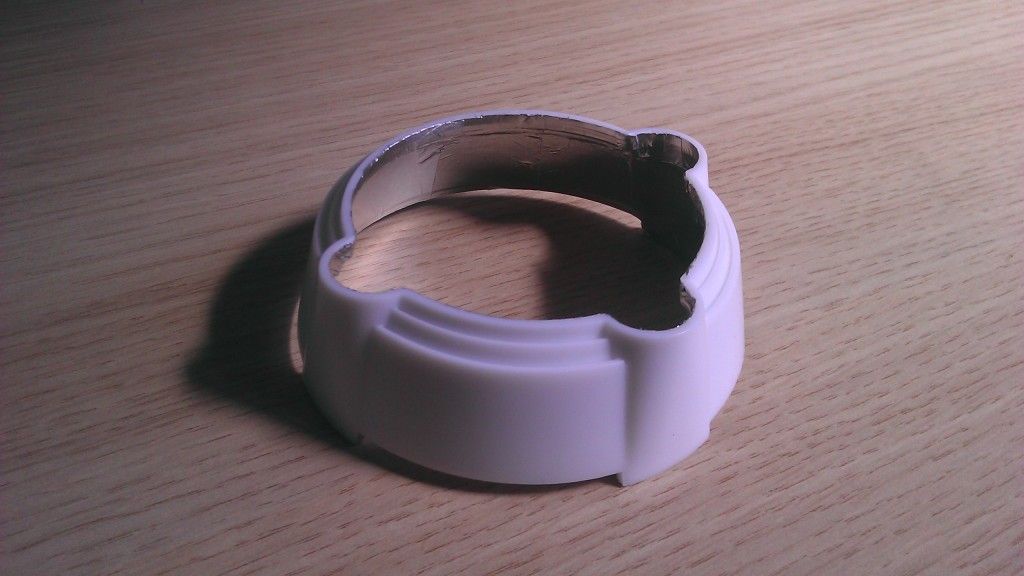
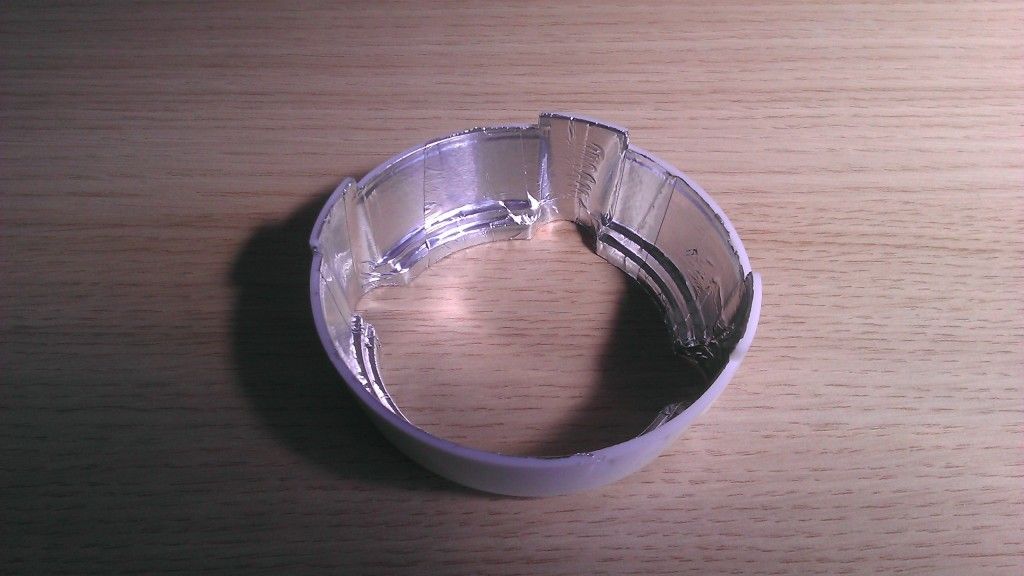
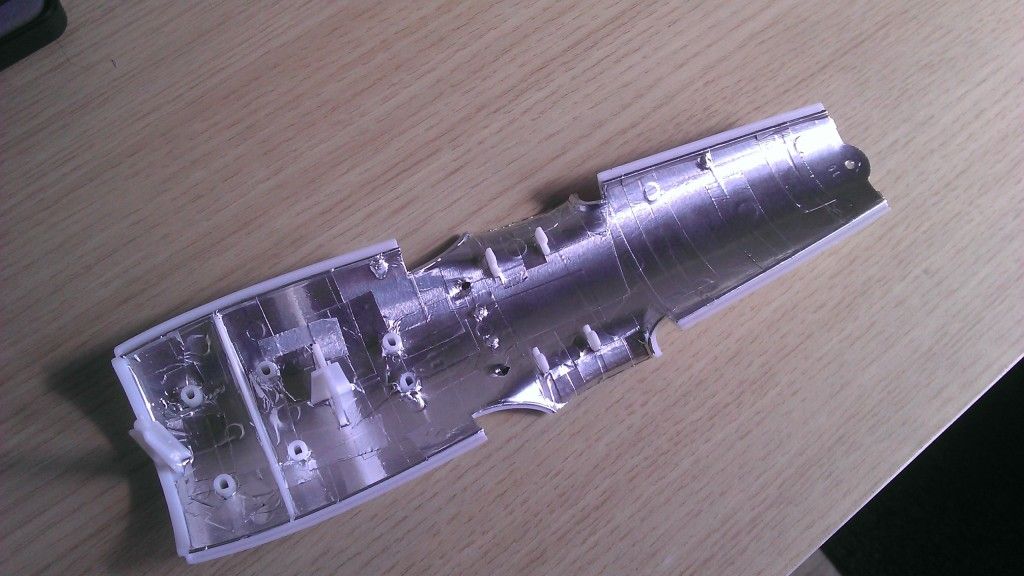
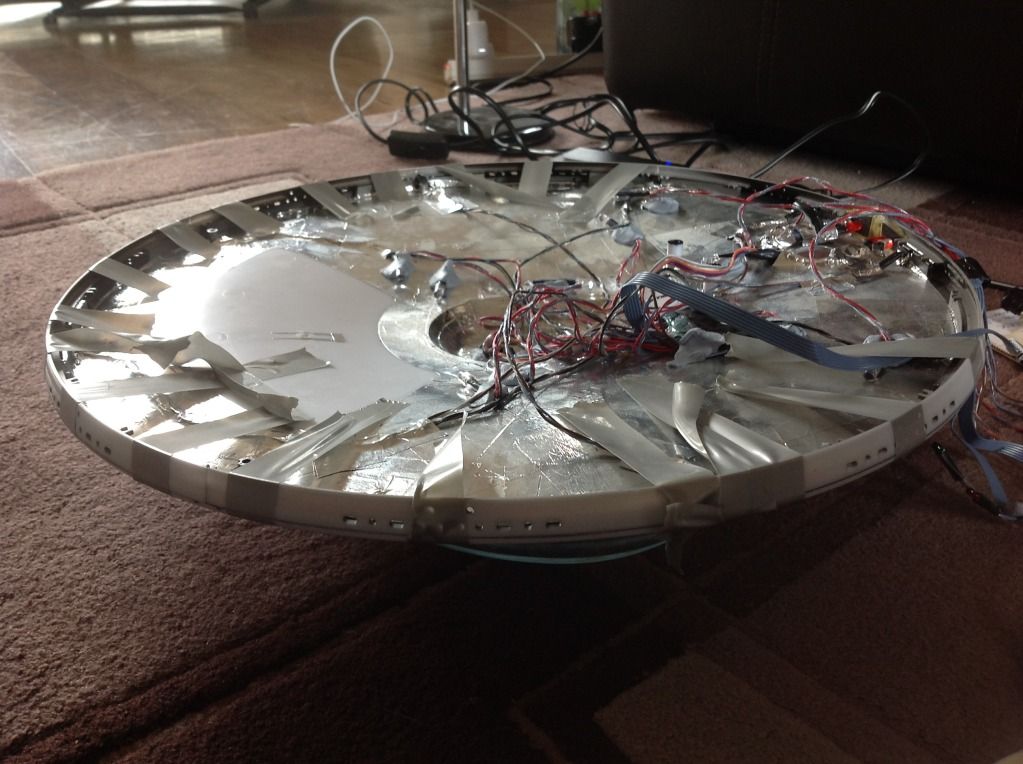
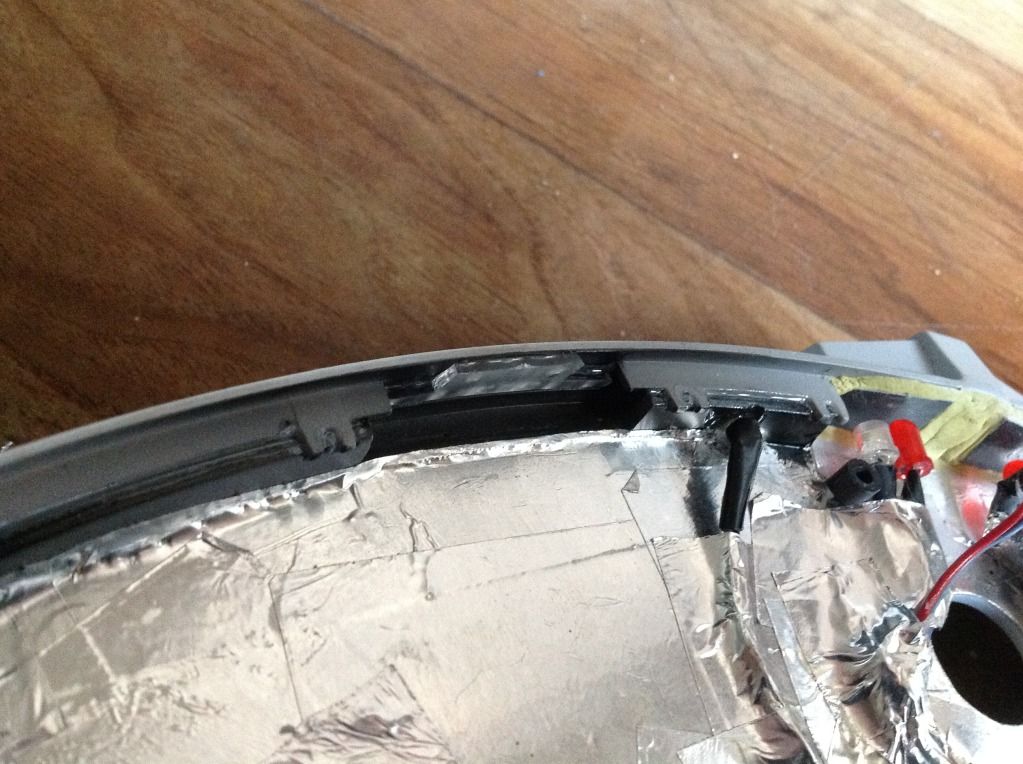
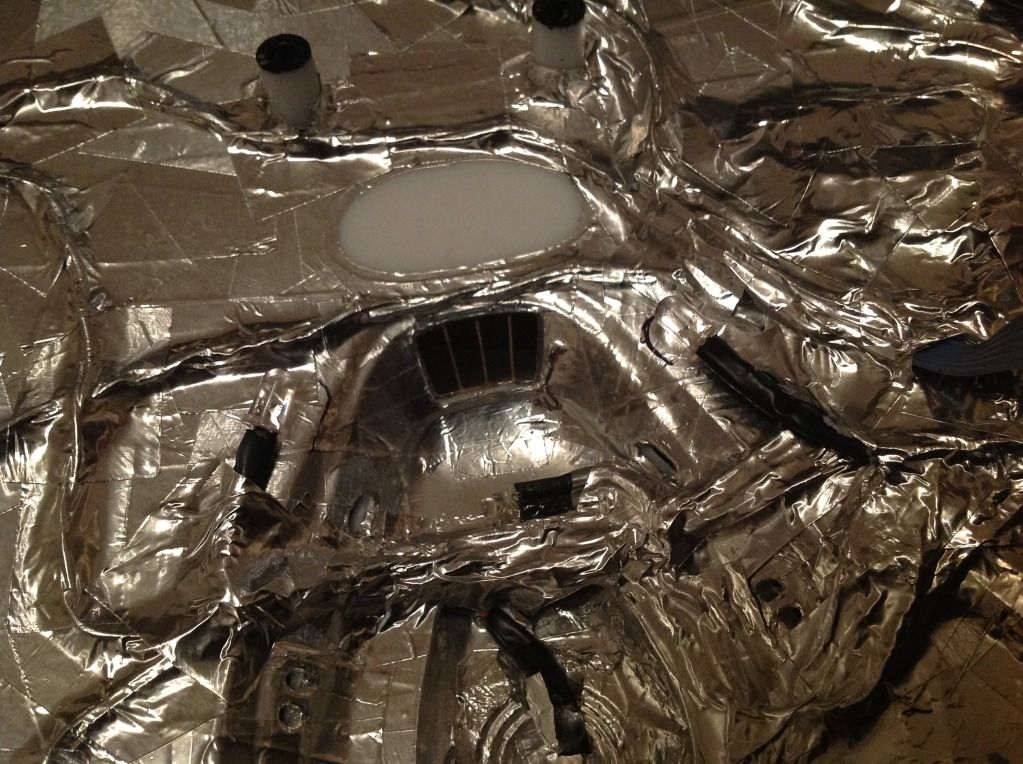
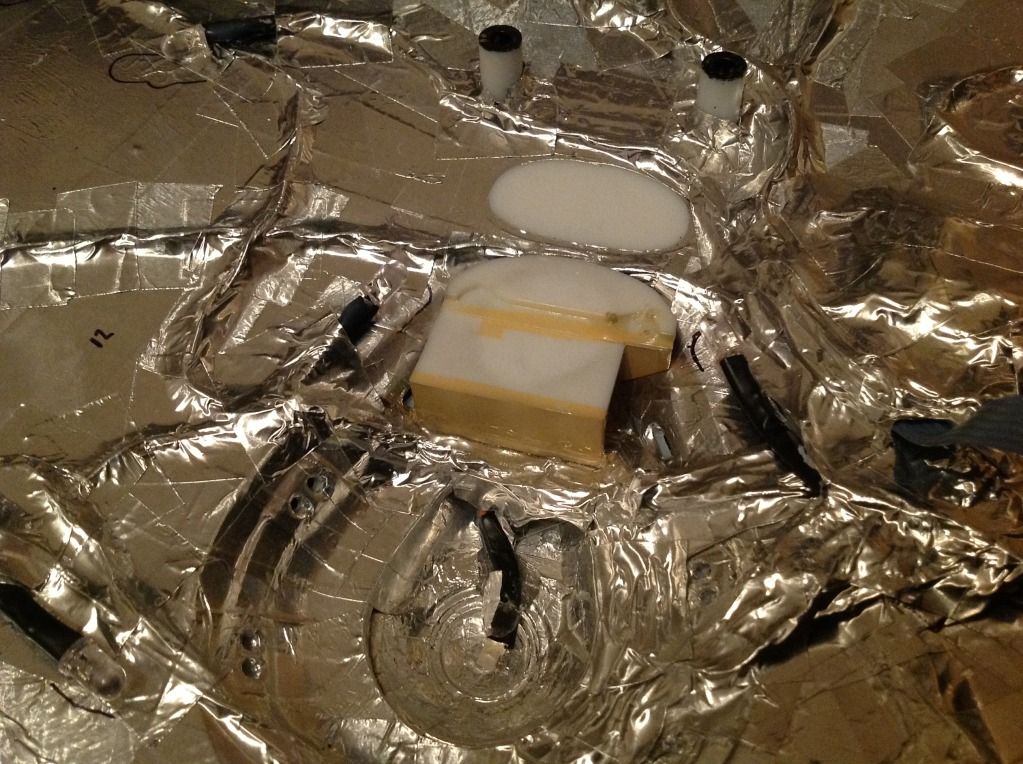
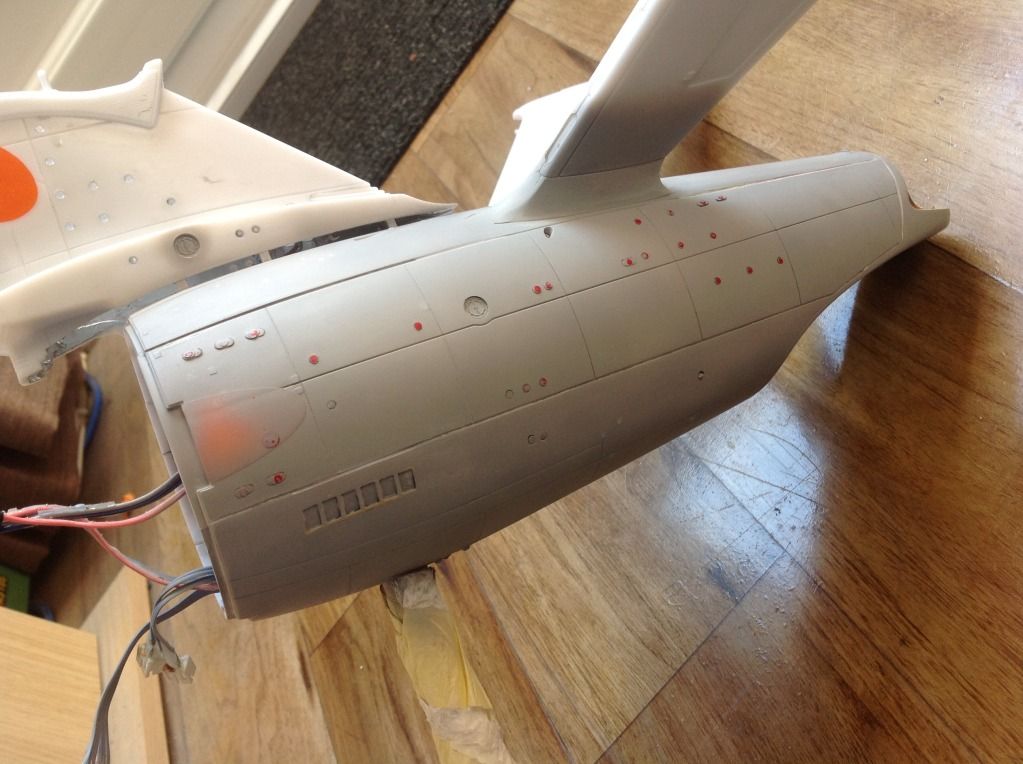
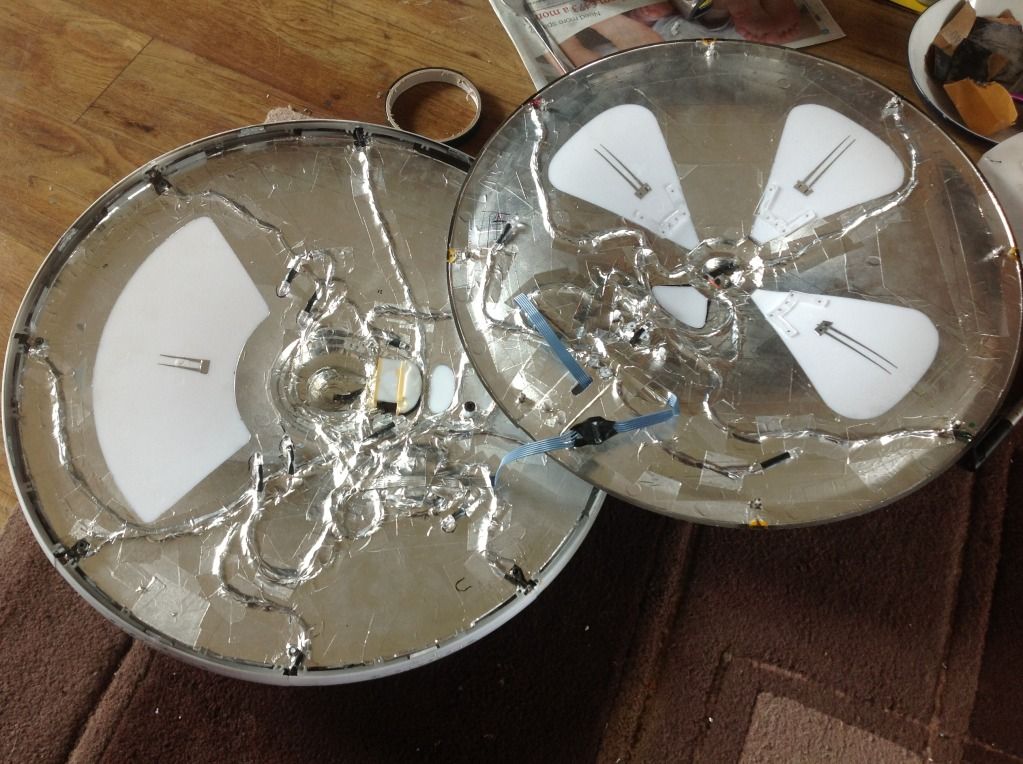
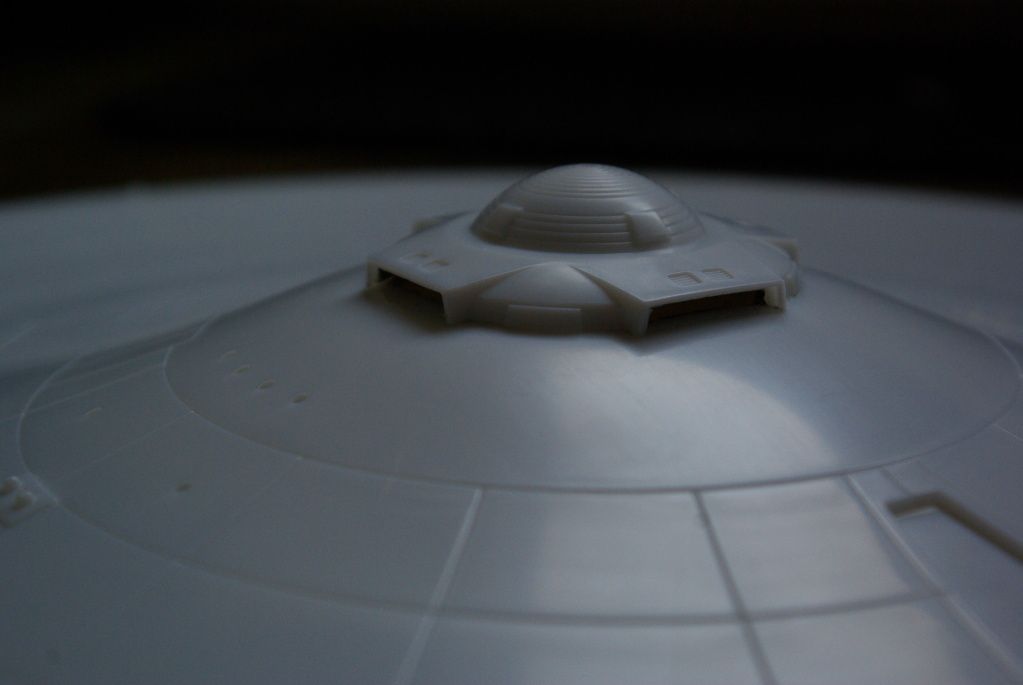
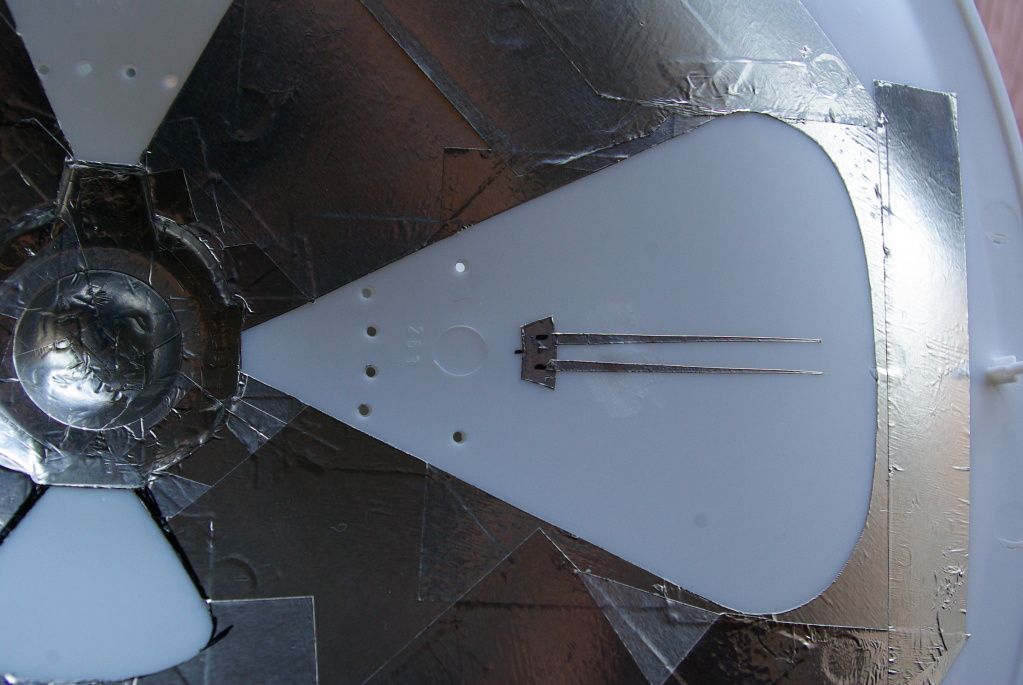
the roof area added some pipework with ali foil tape
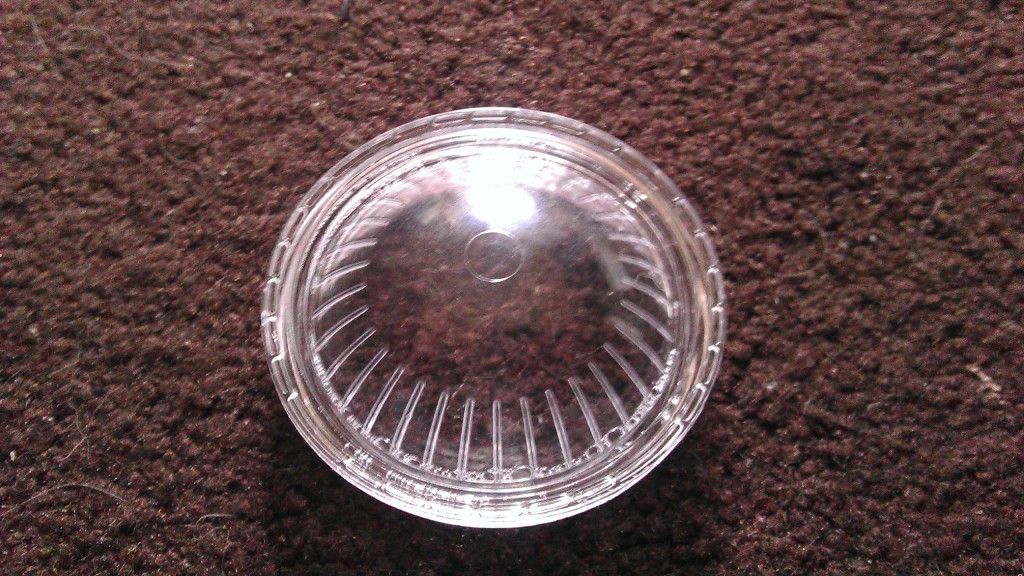
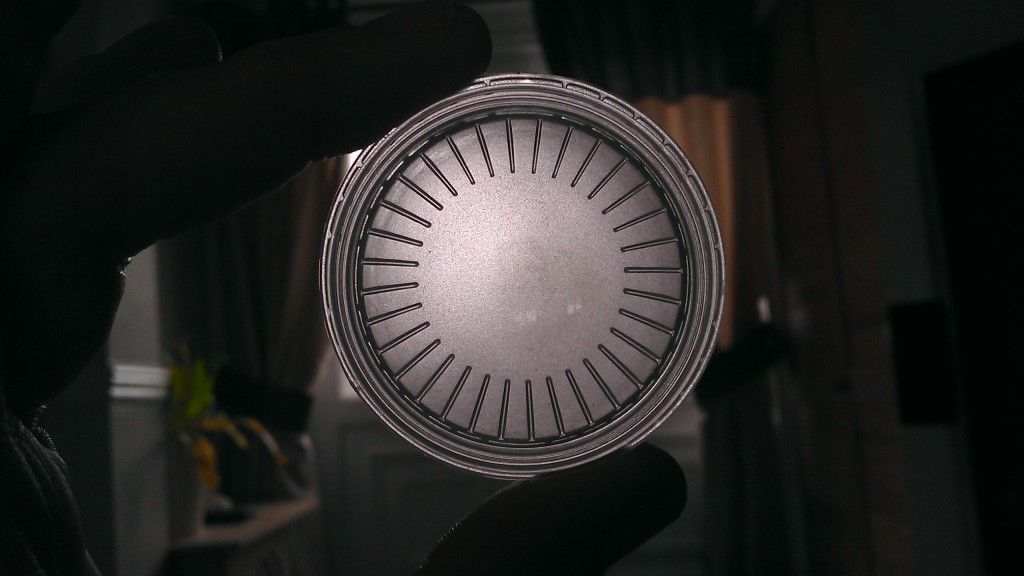
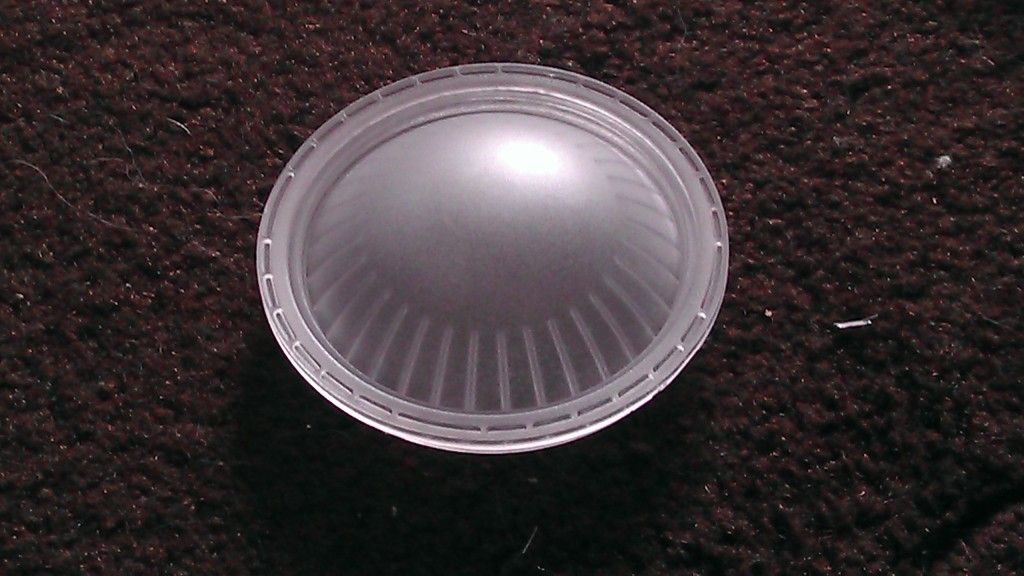
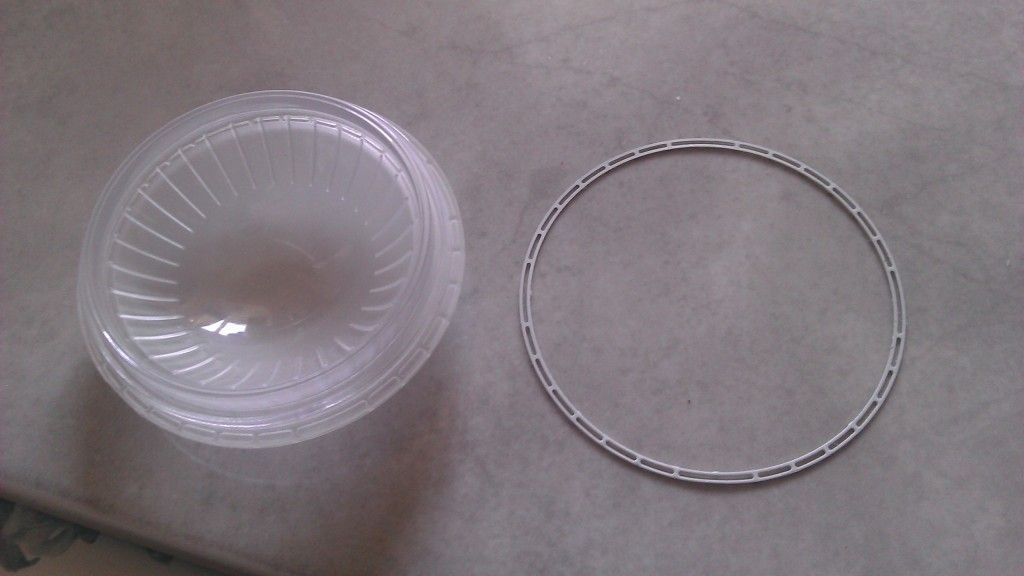
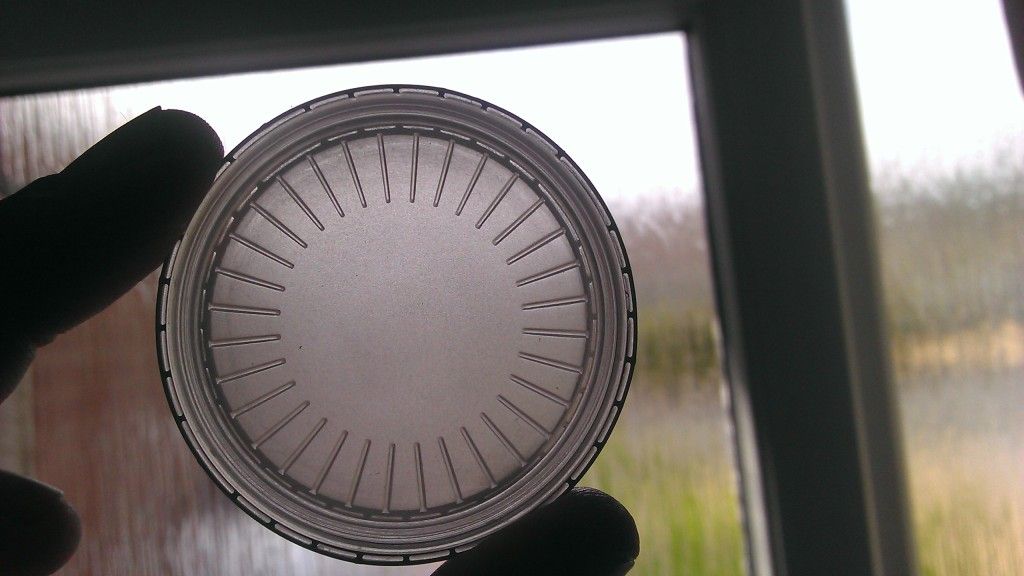
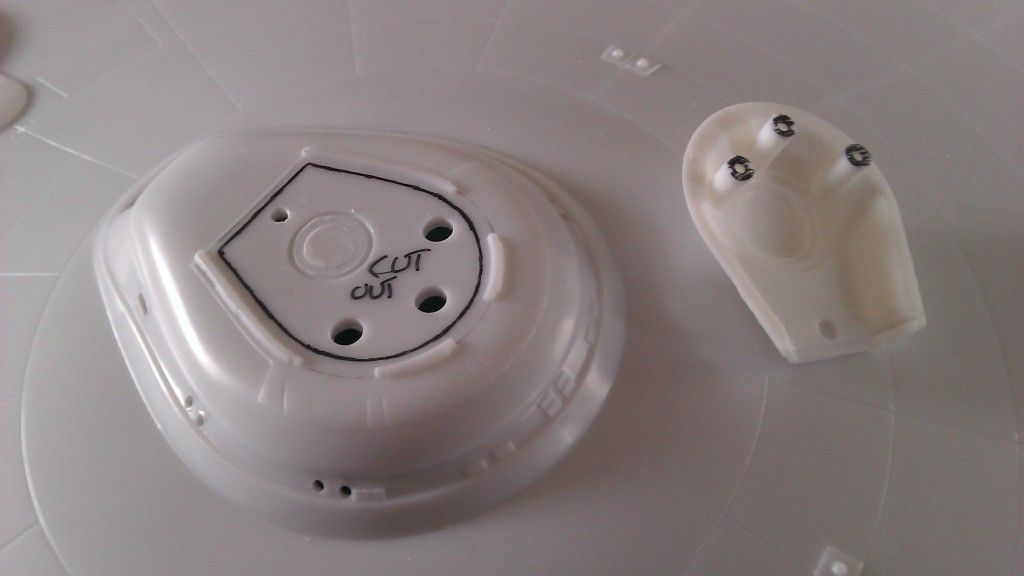
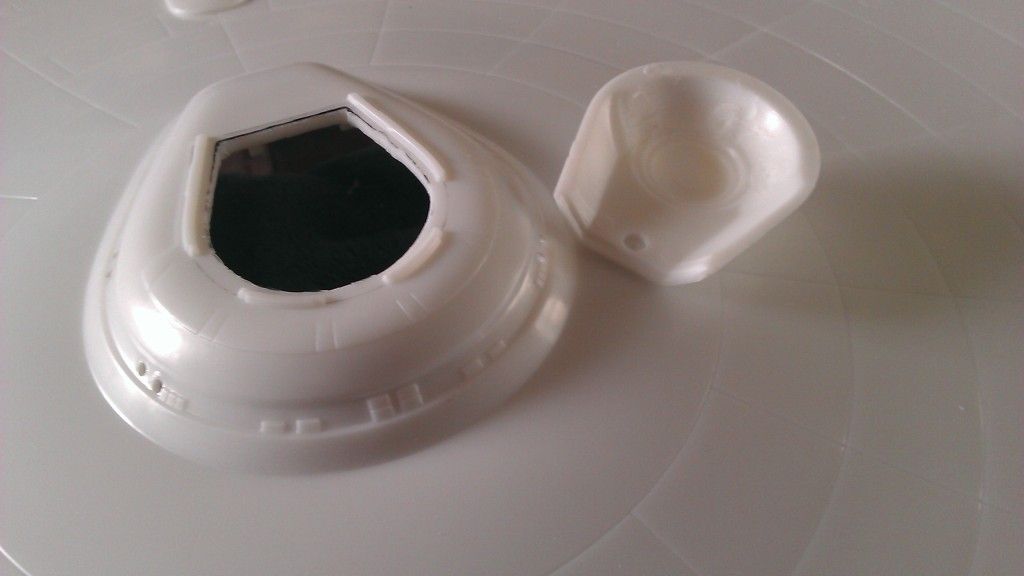
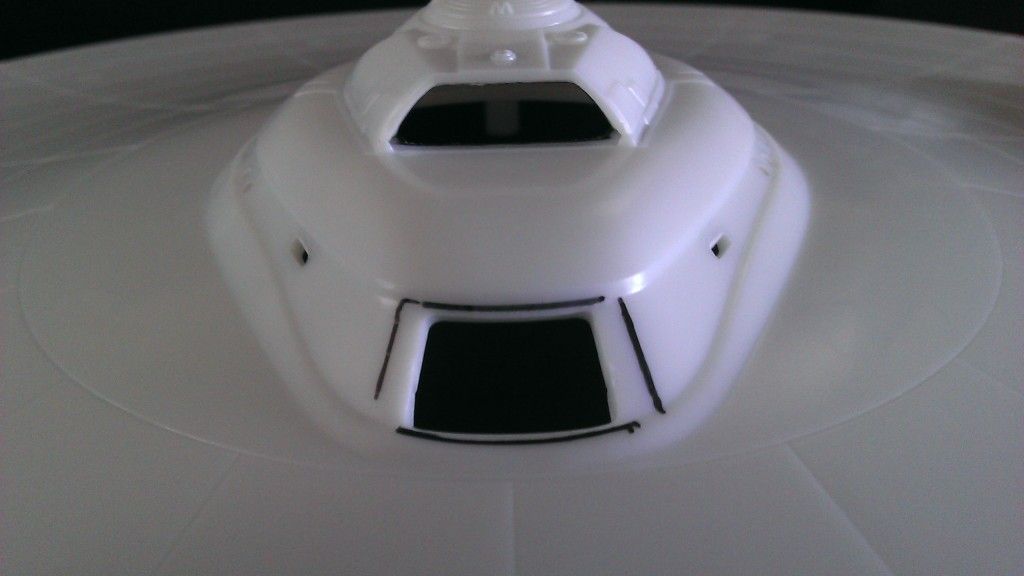
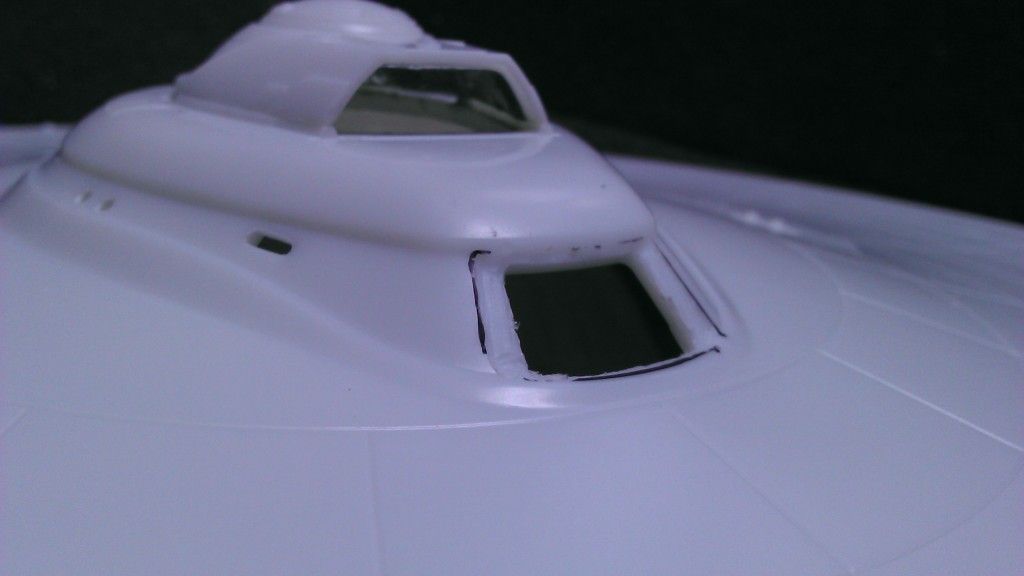
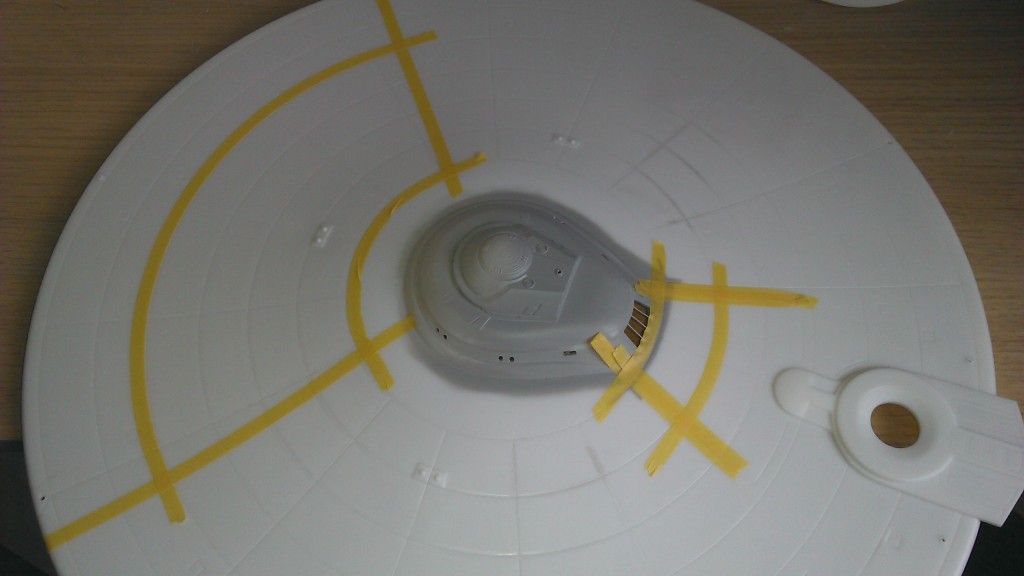
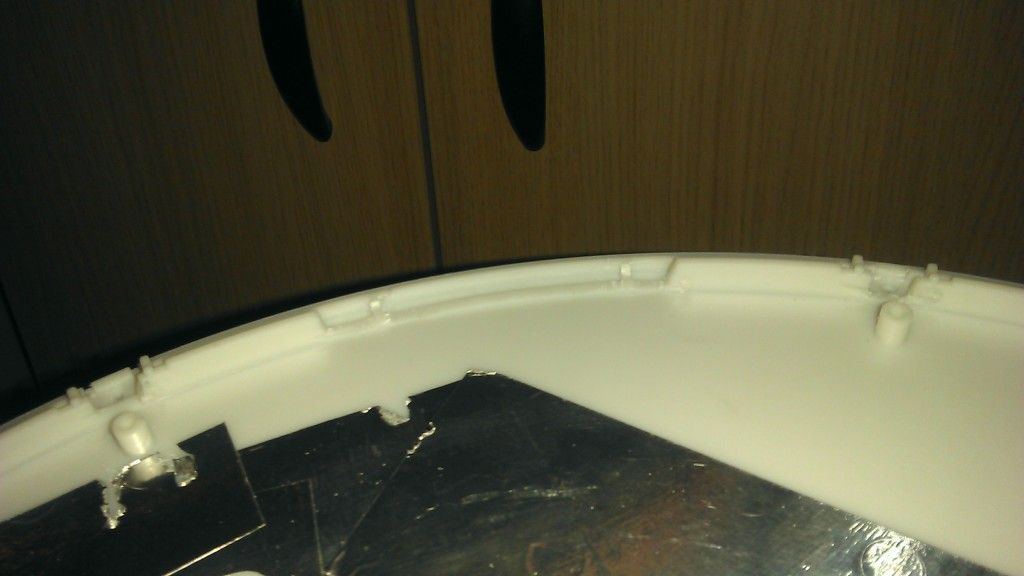
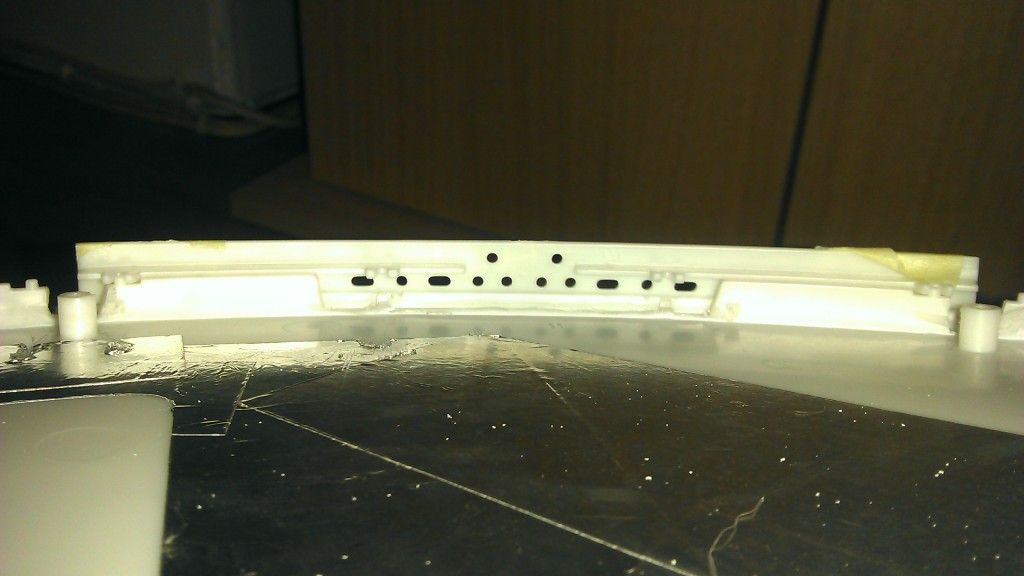
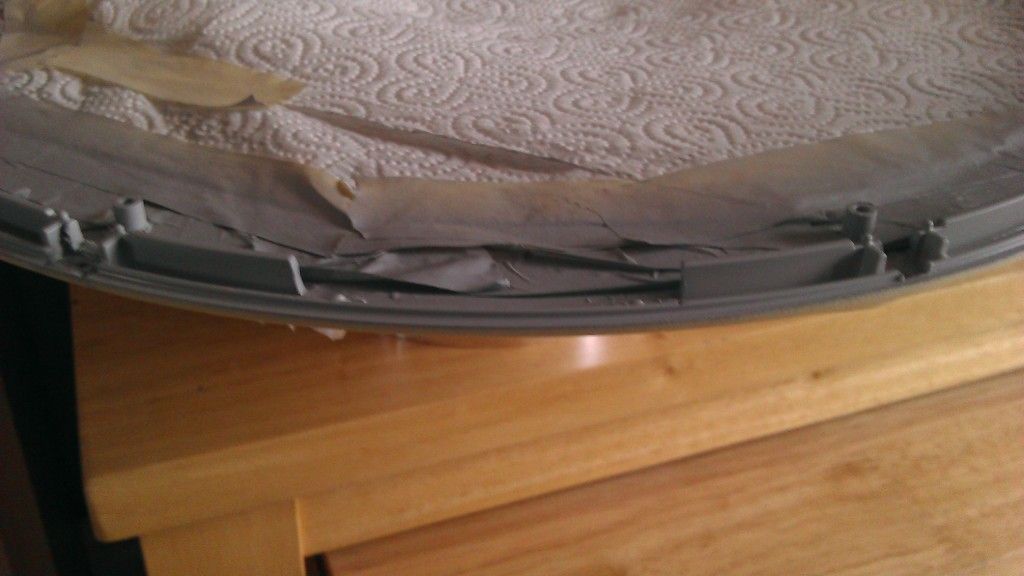
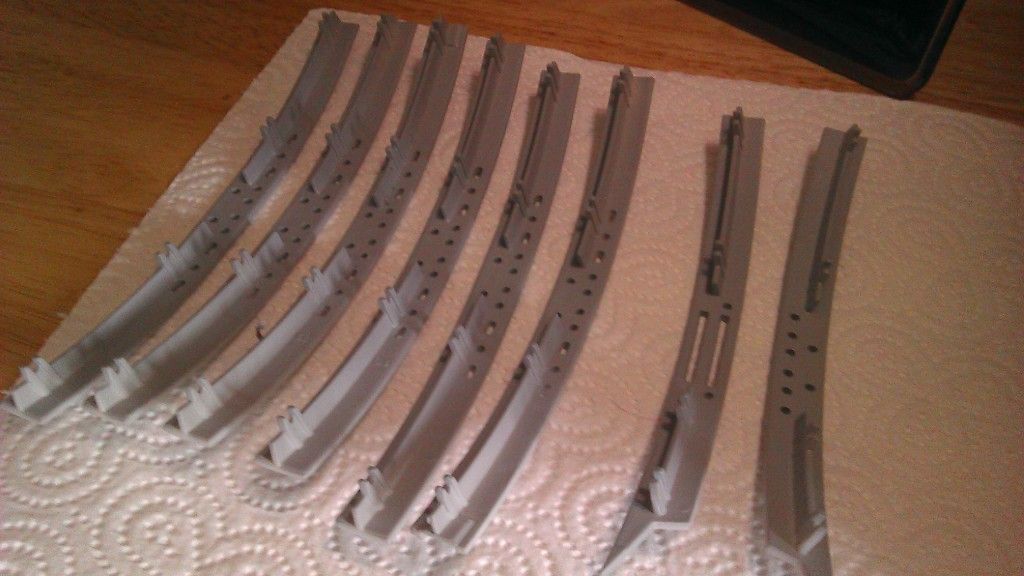
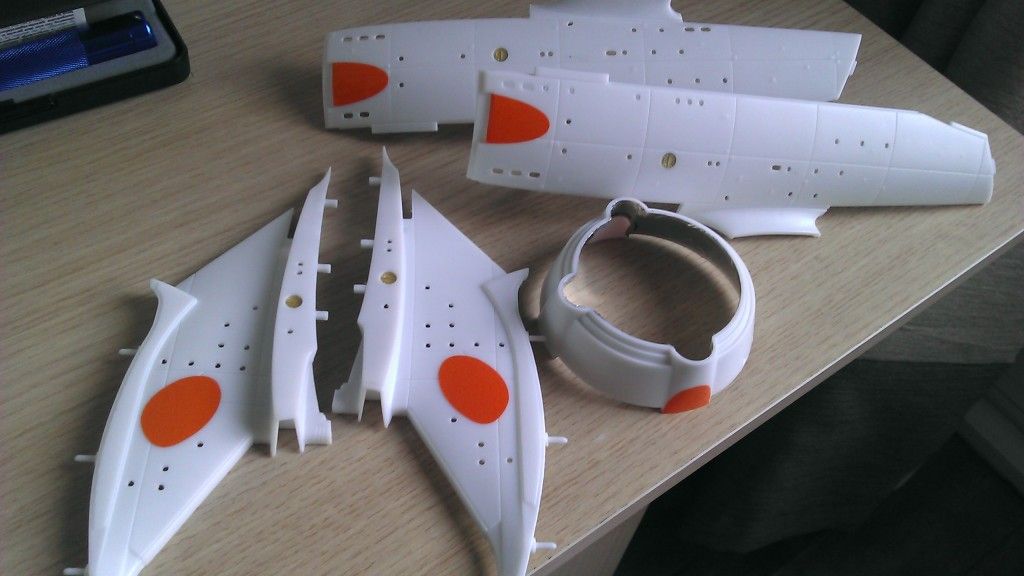
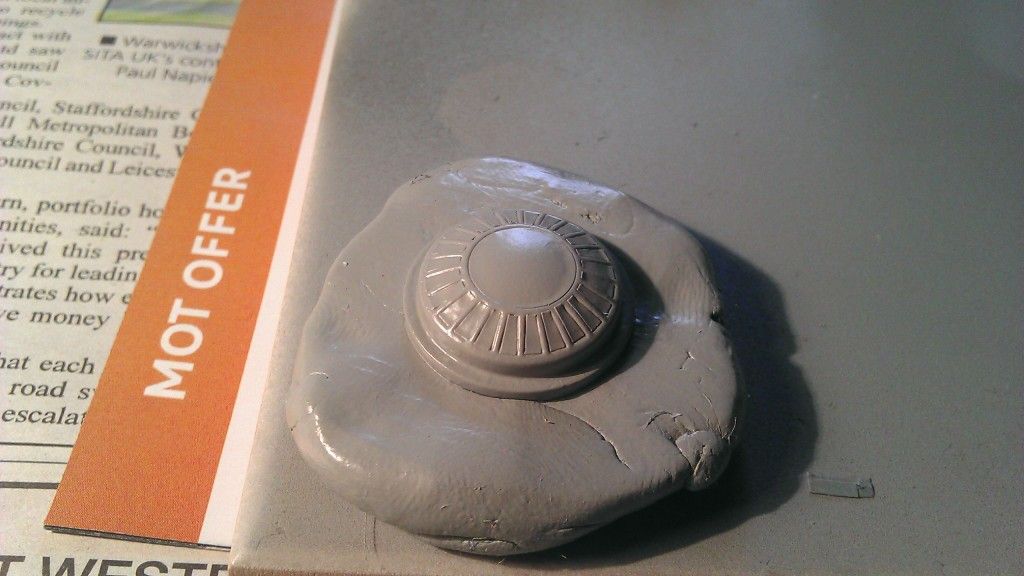
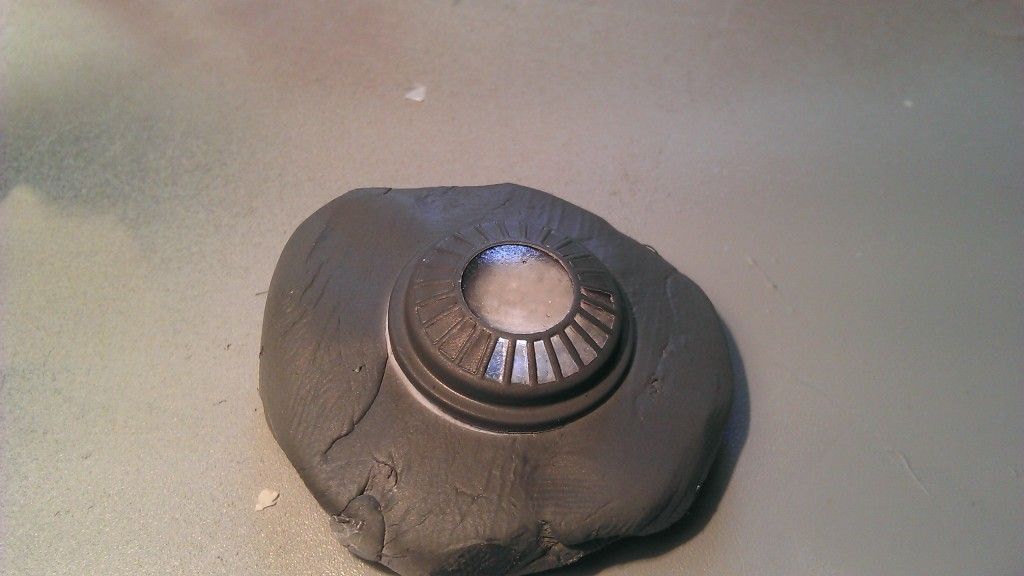
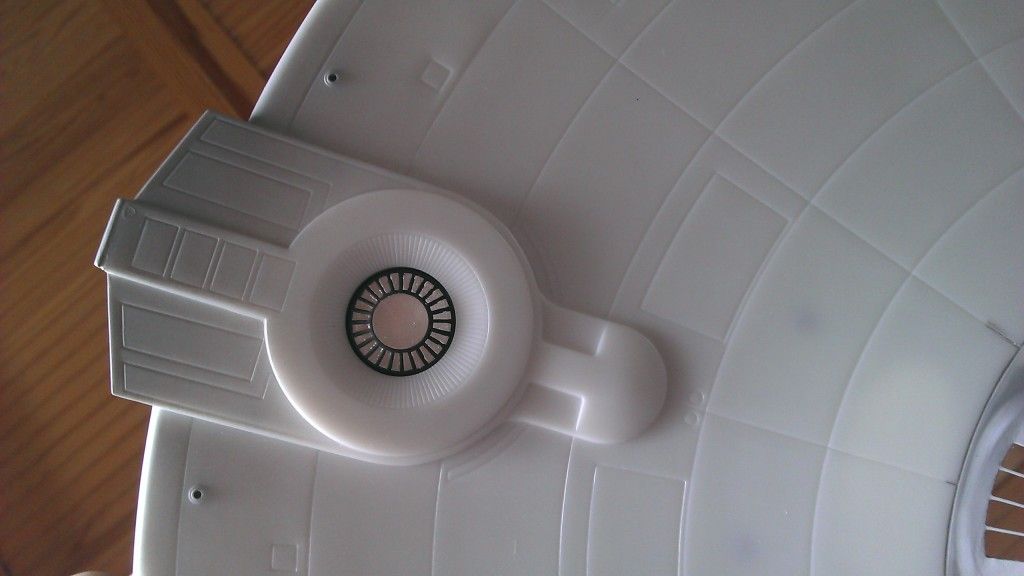
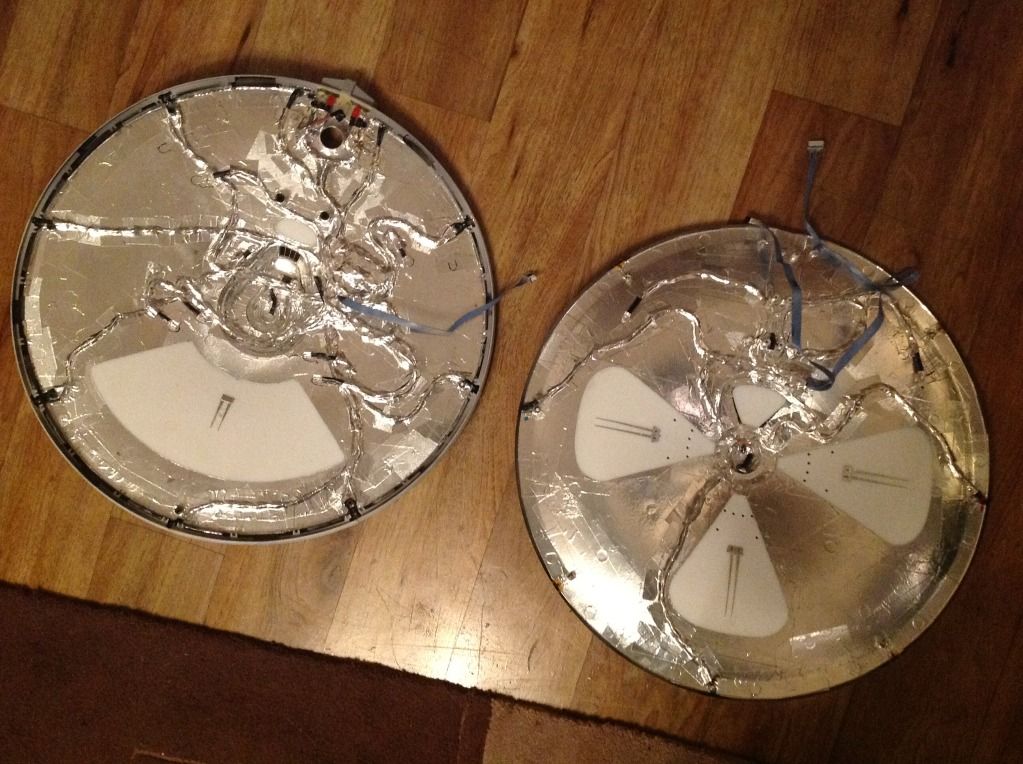
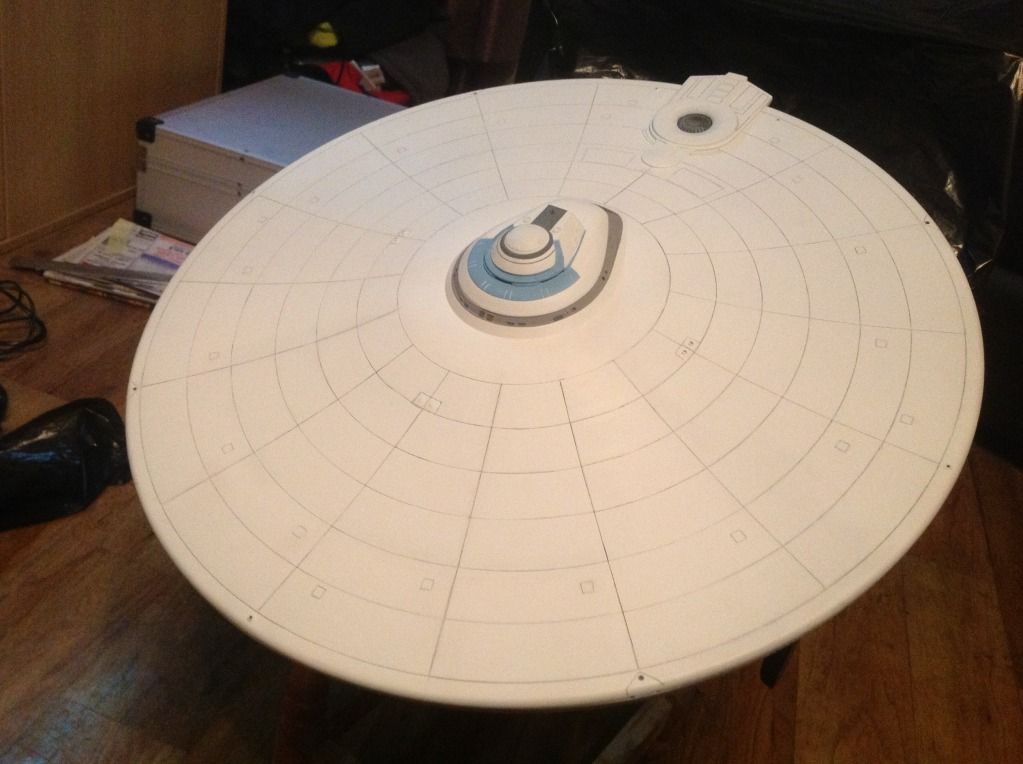
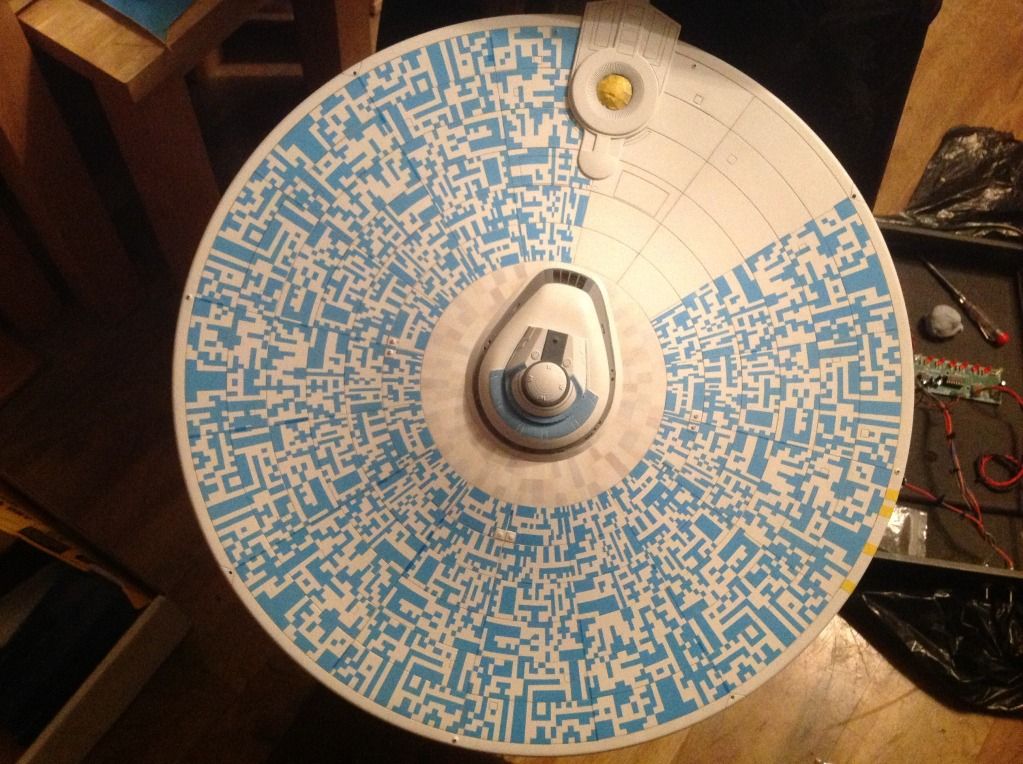
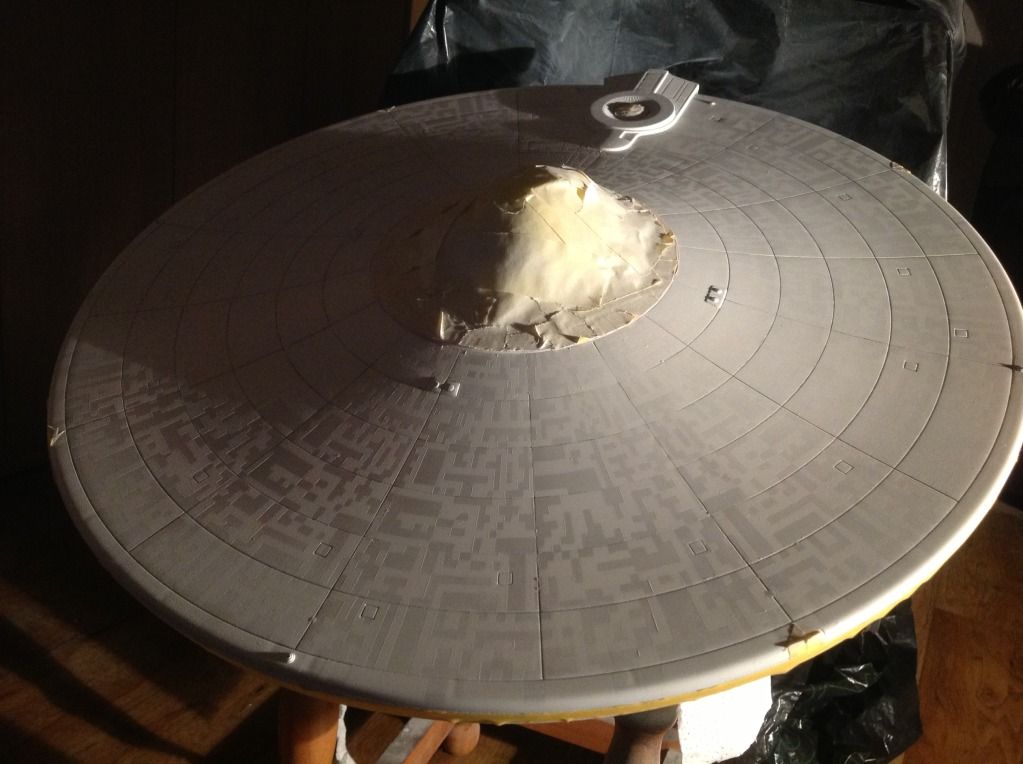
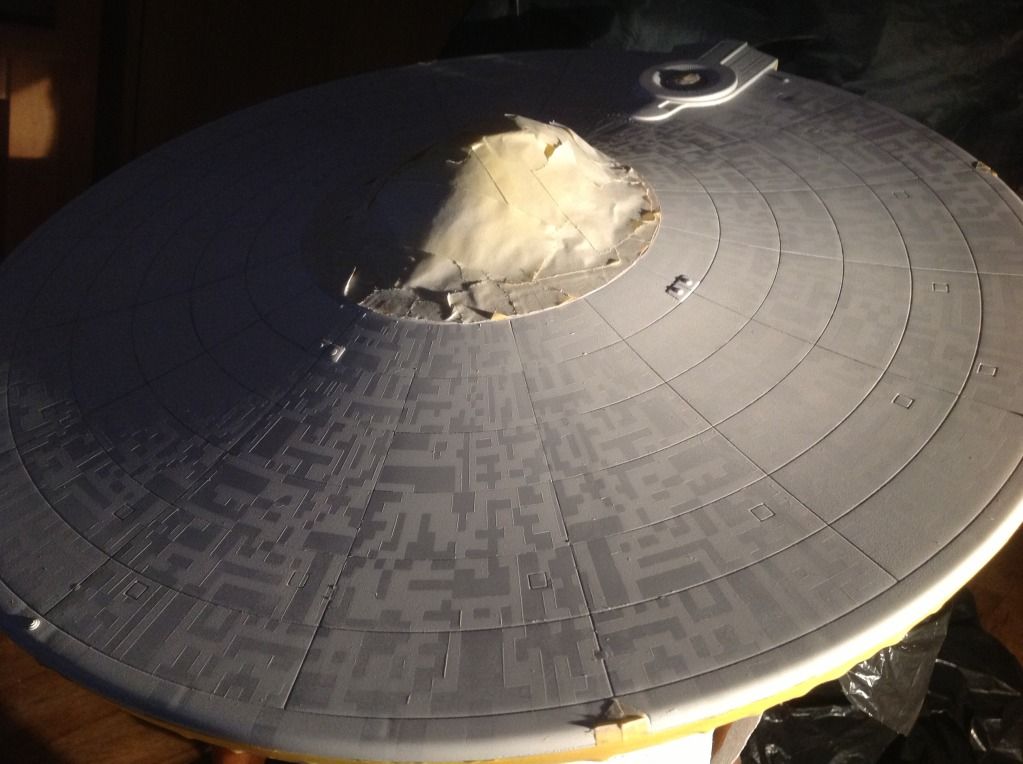
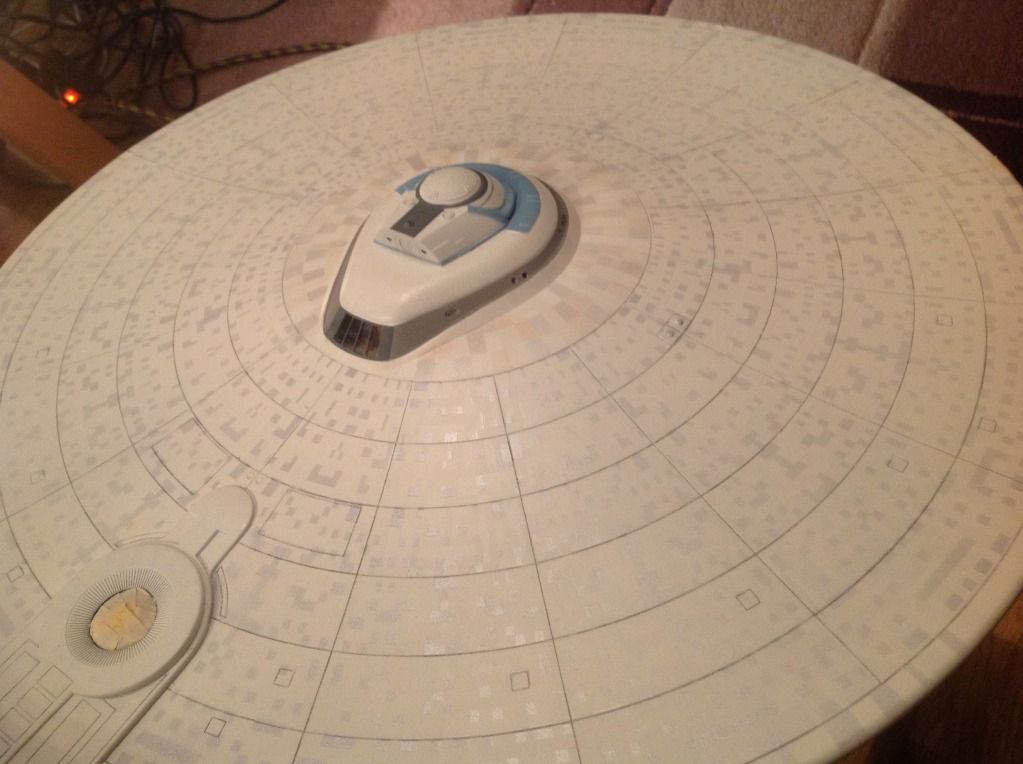
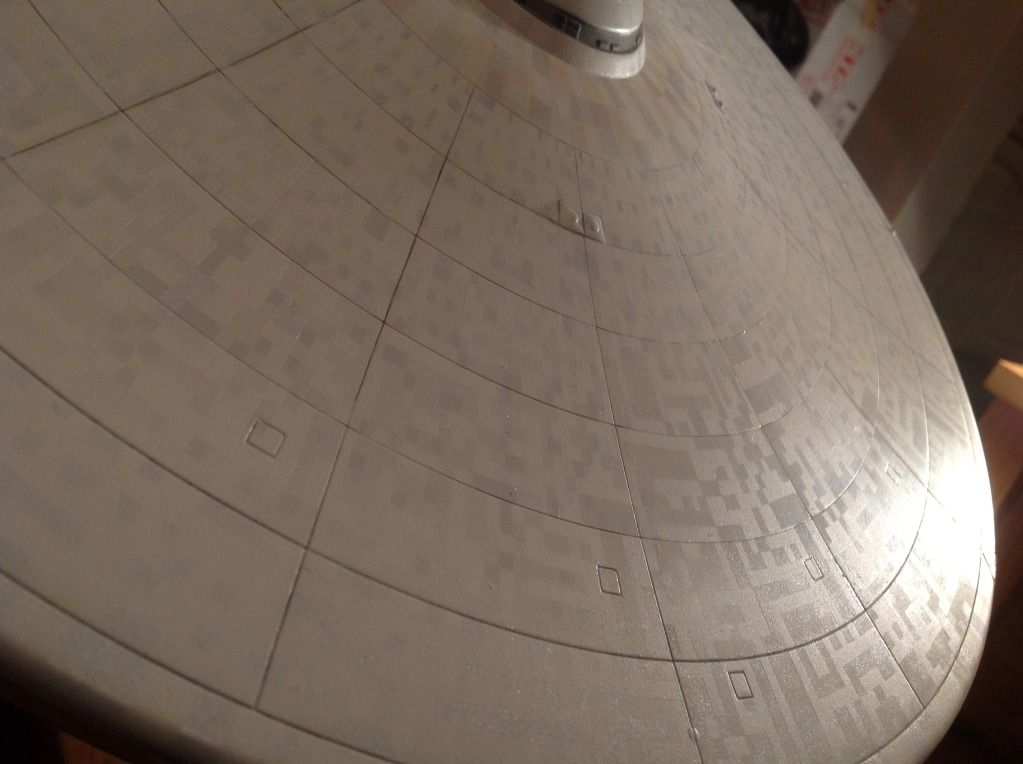
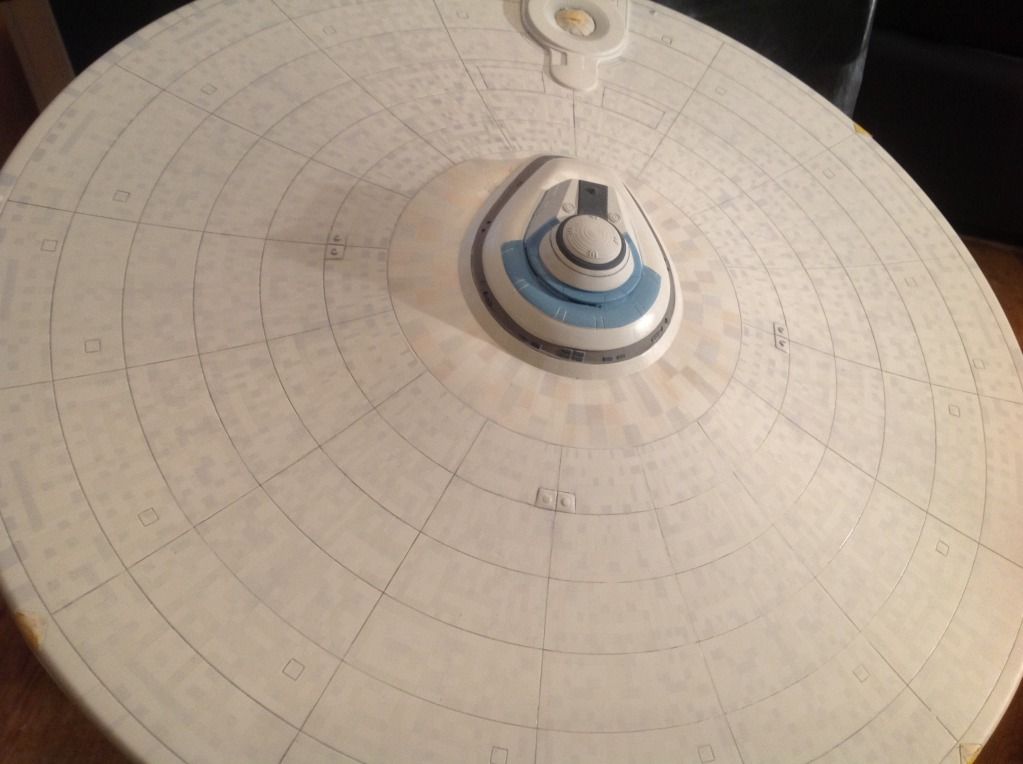
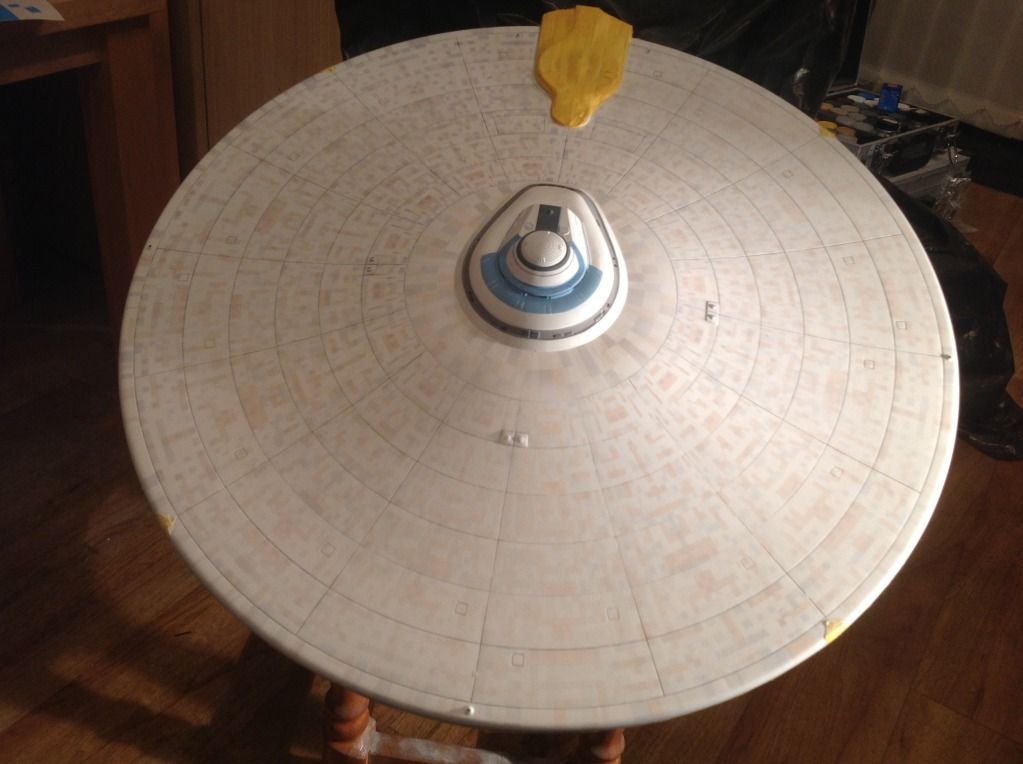
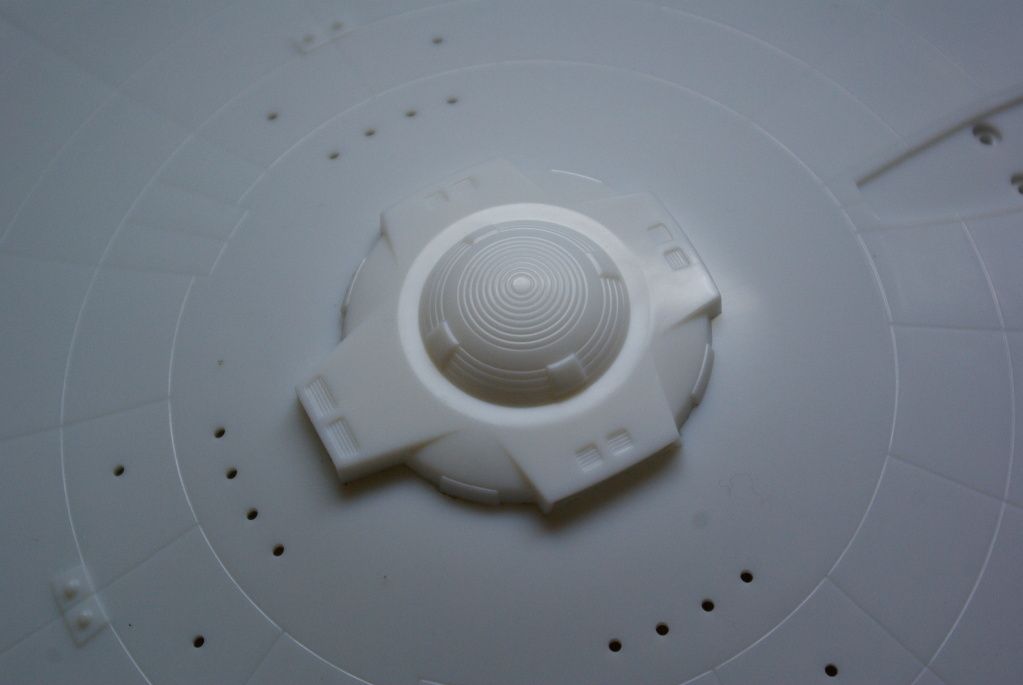
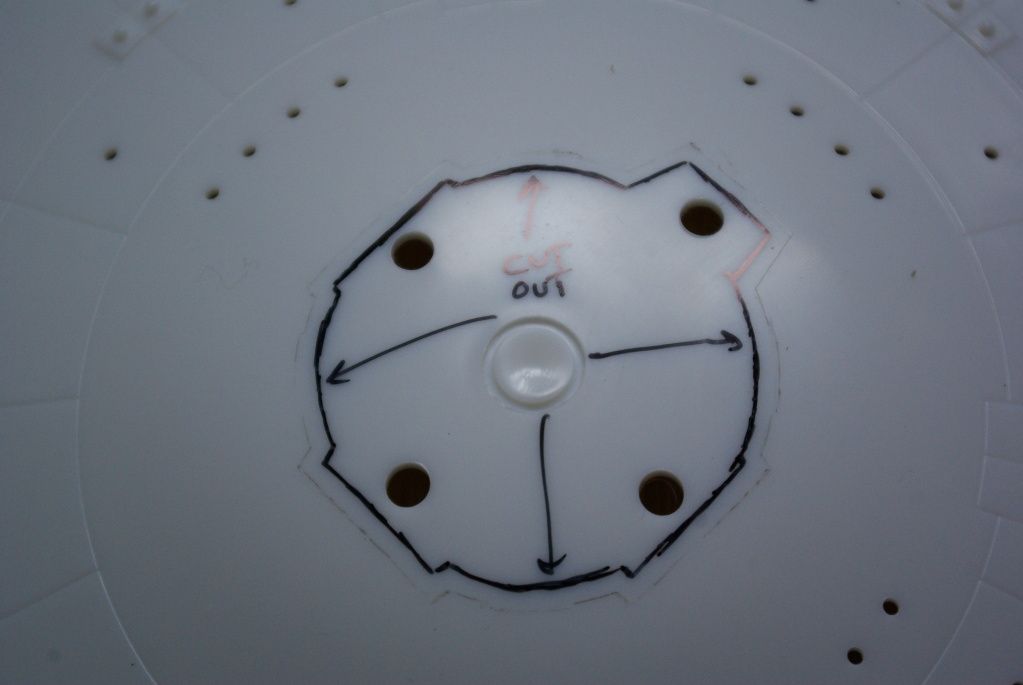
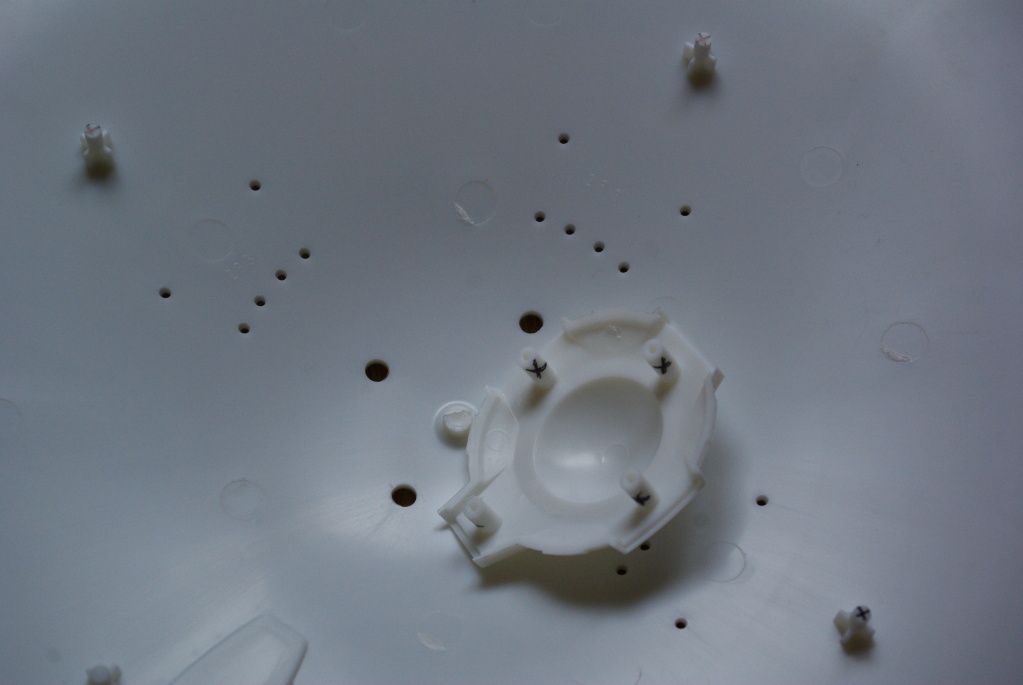
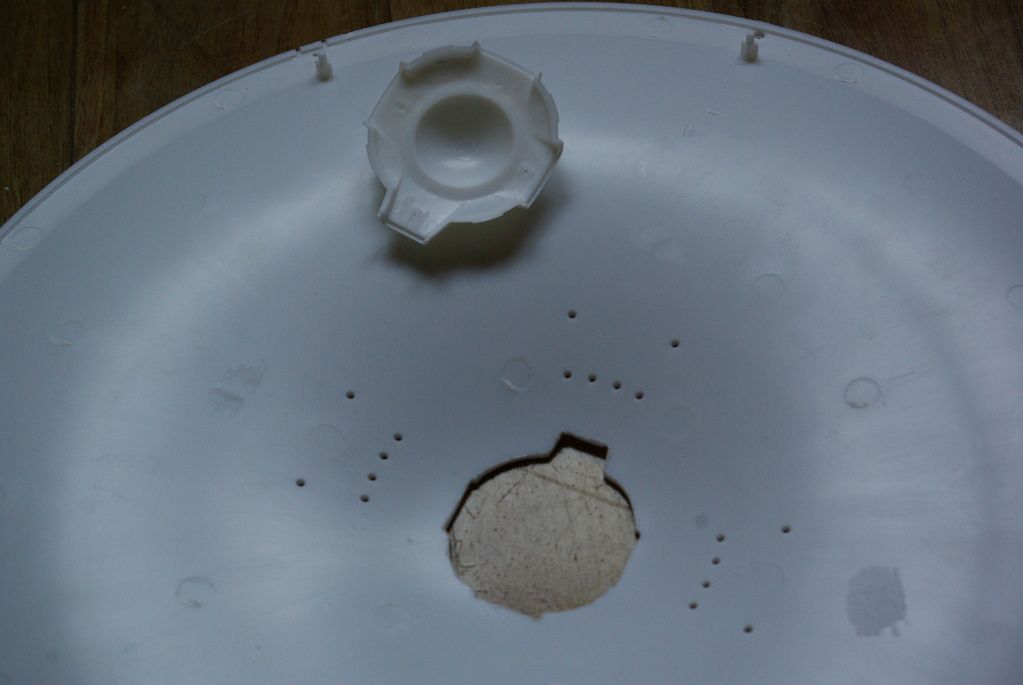
saucer work time, draw around and cut out and remove the lugs
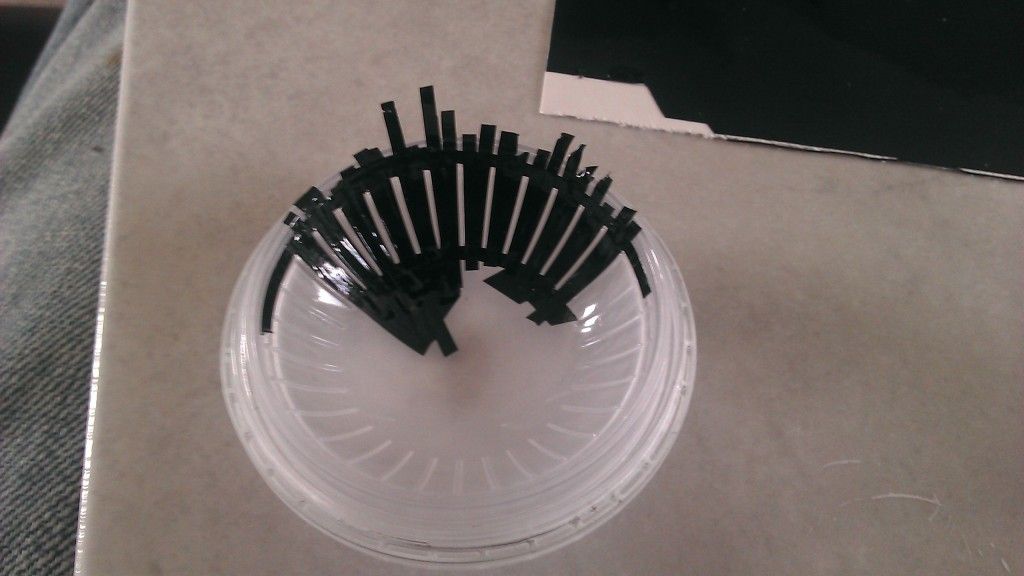
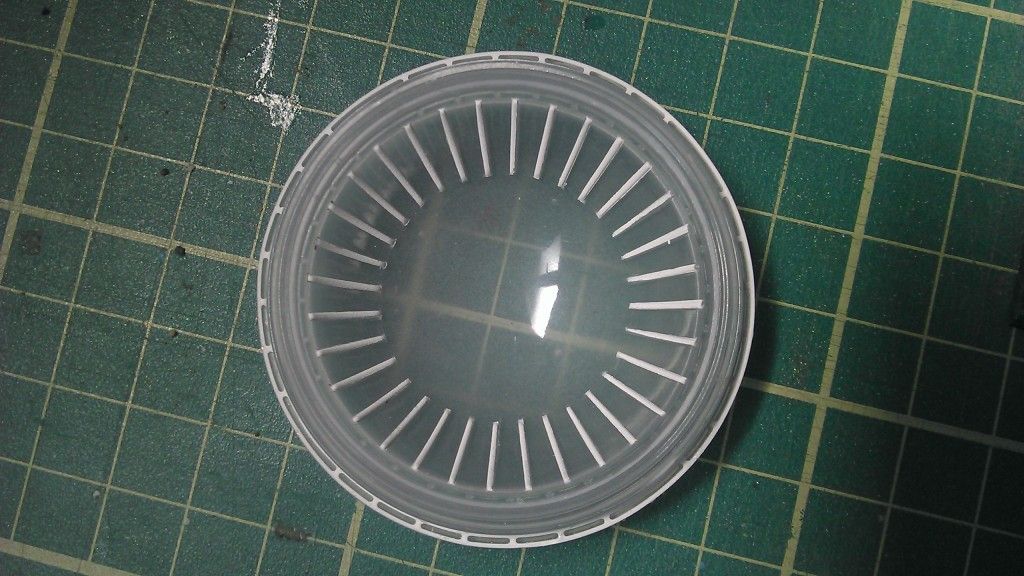
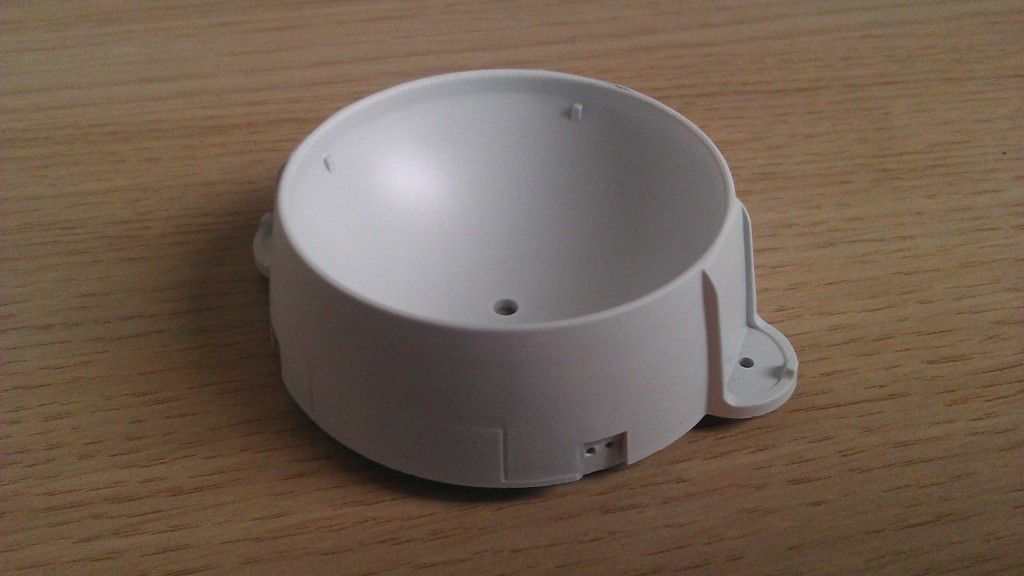
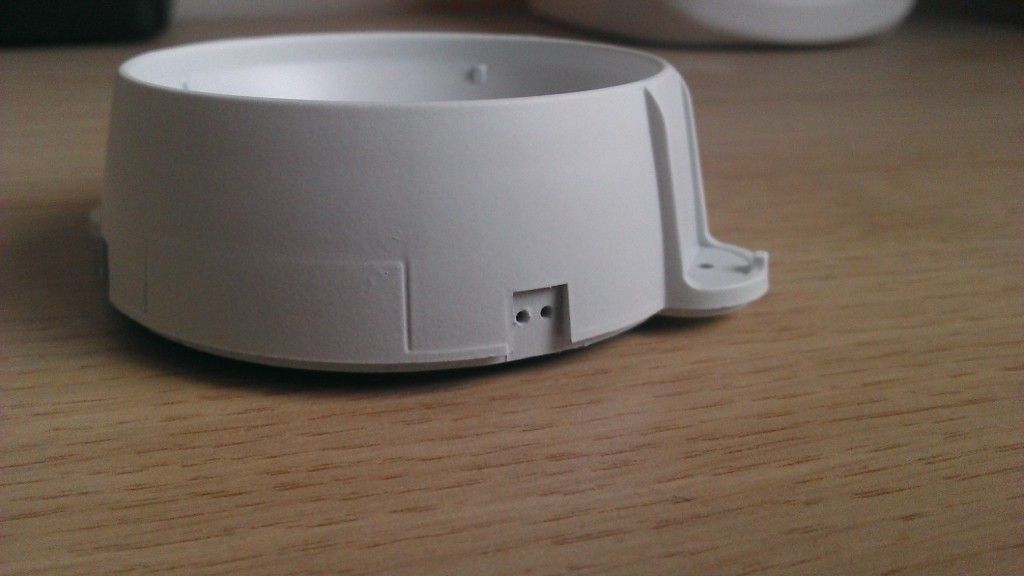
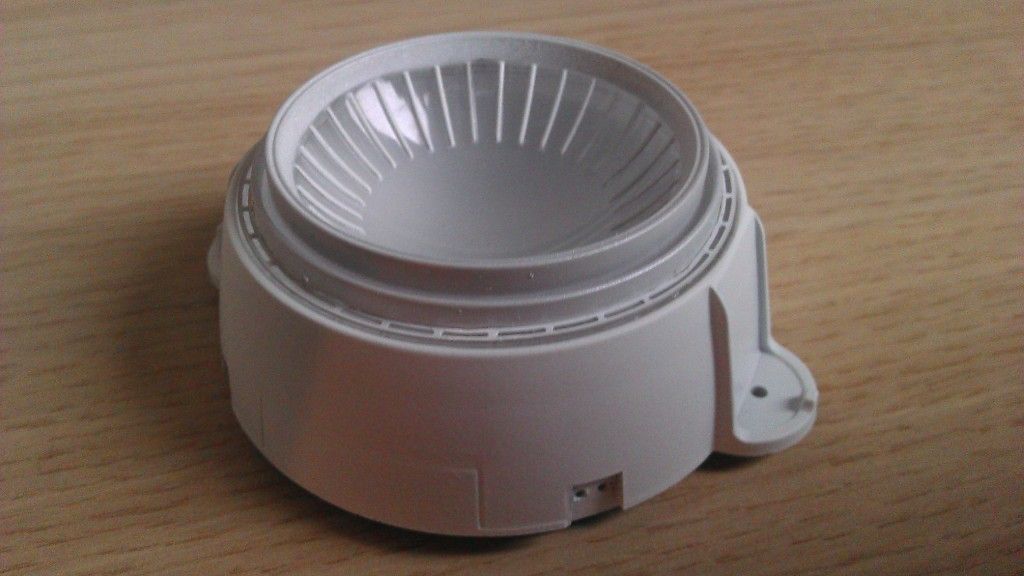
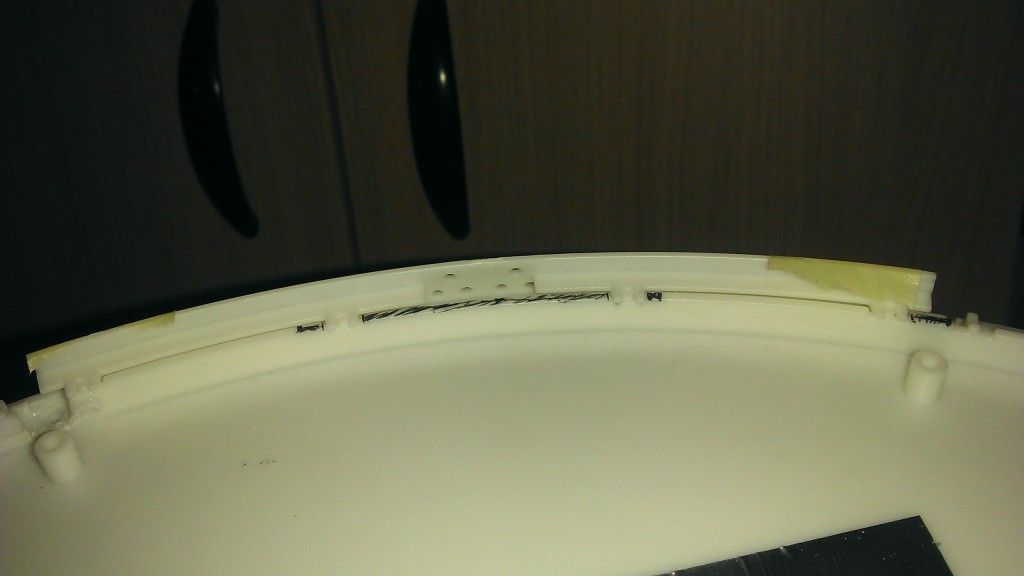
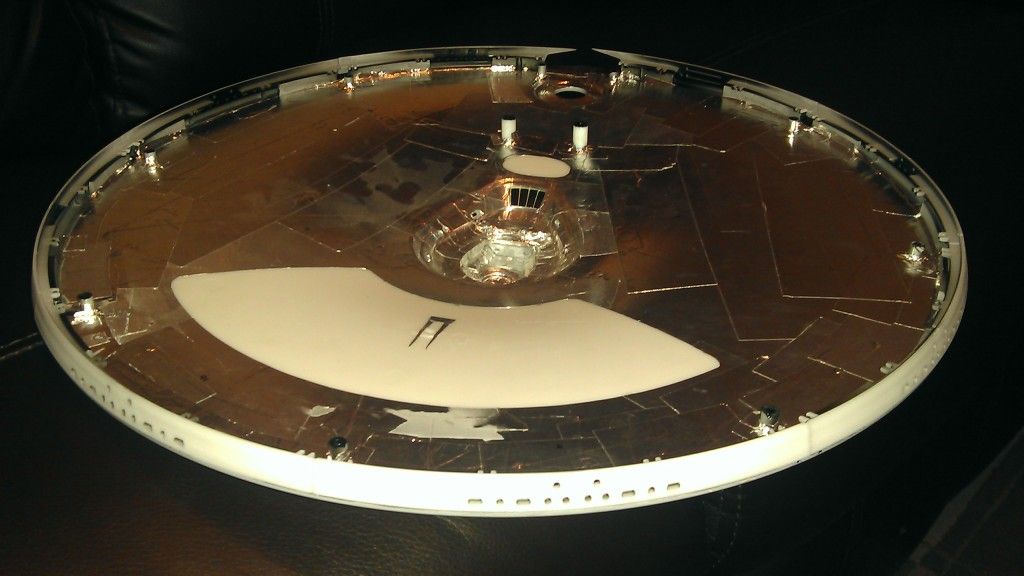
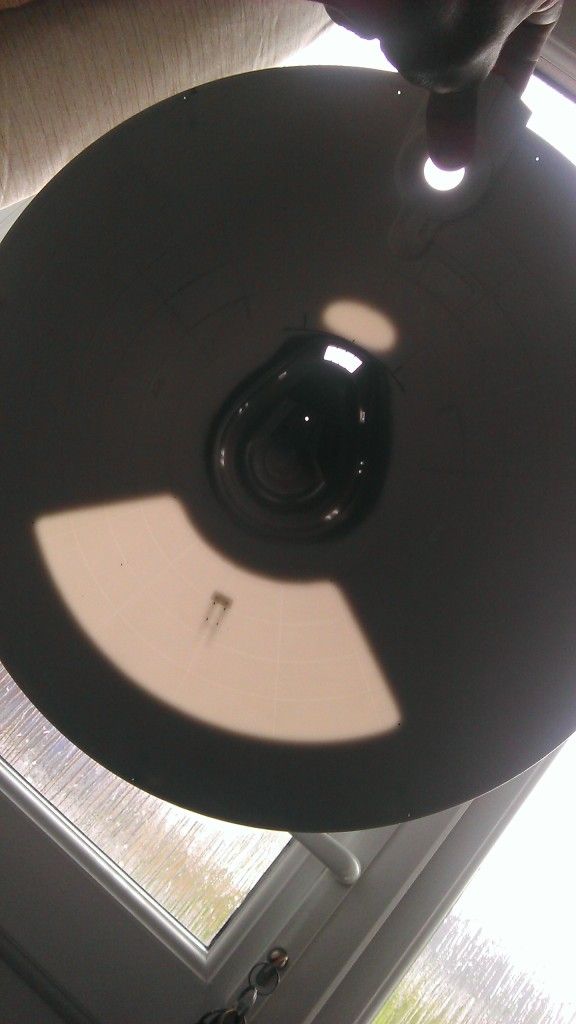
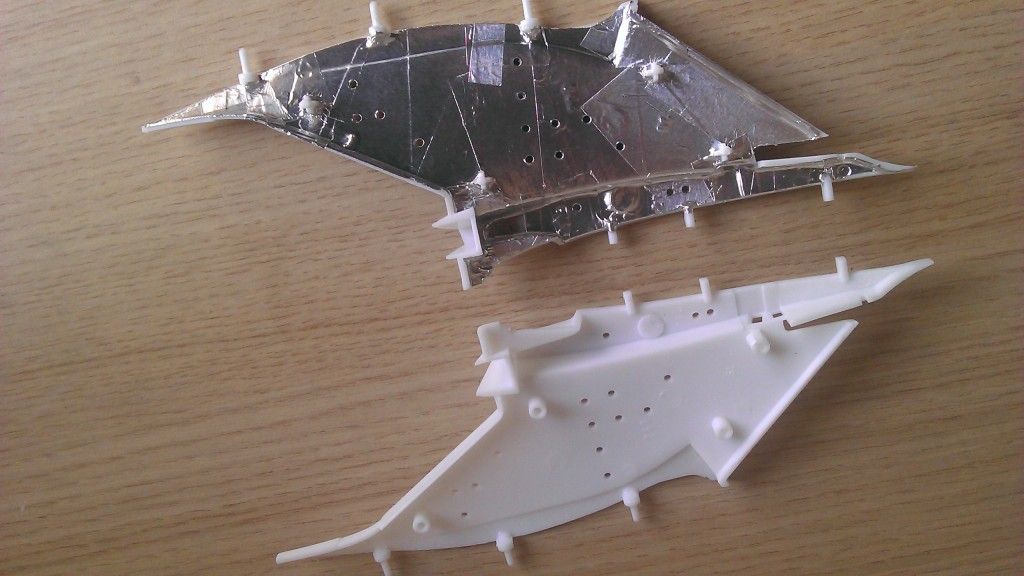
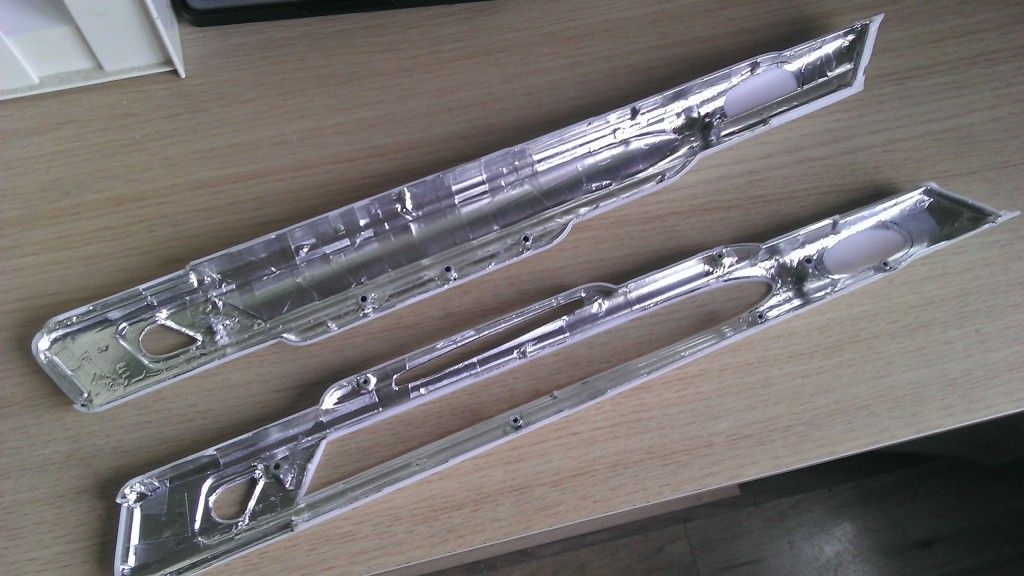
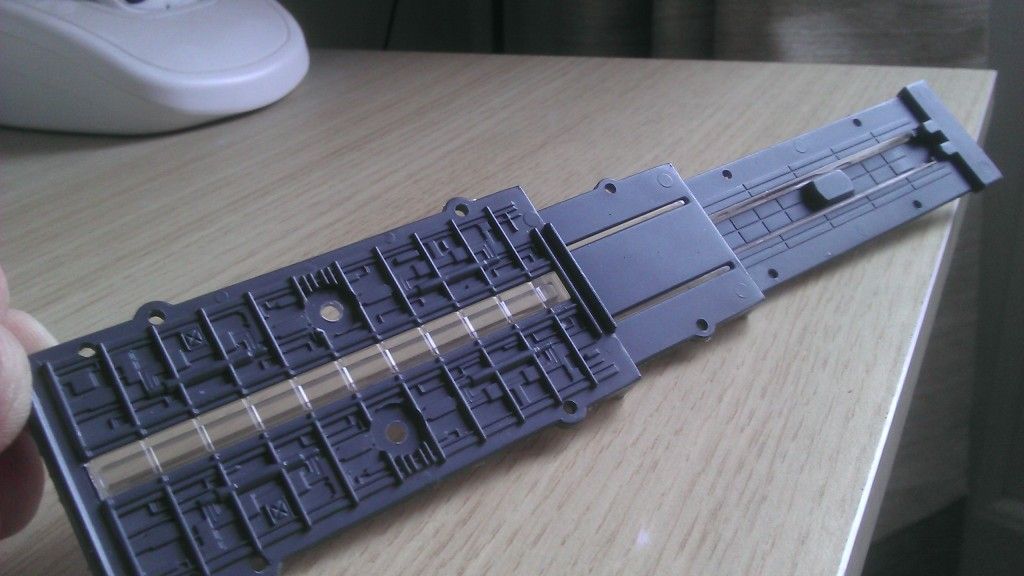
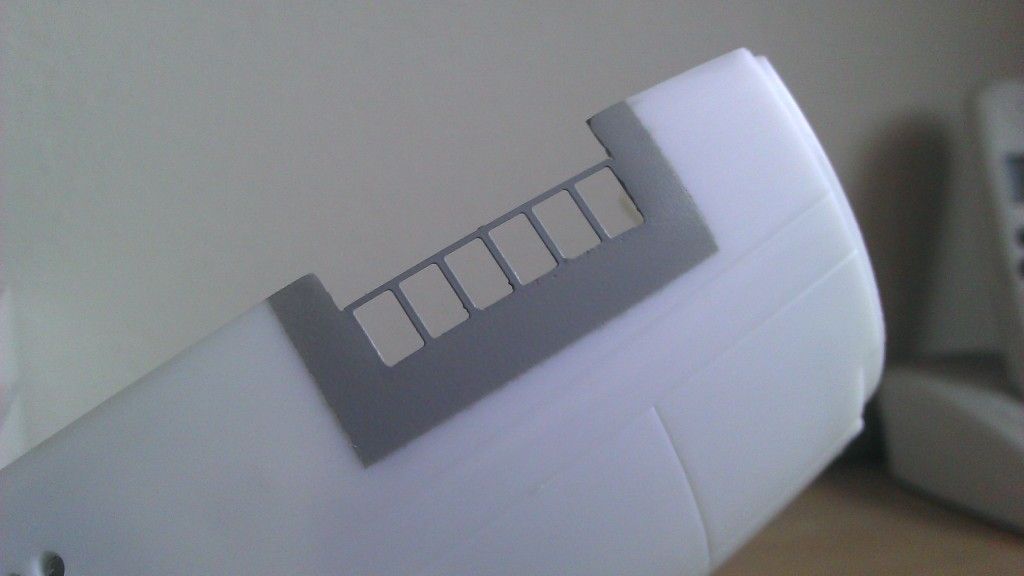
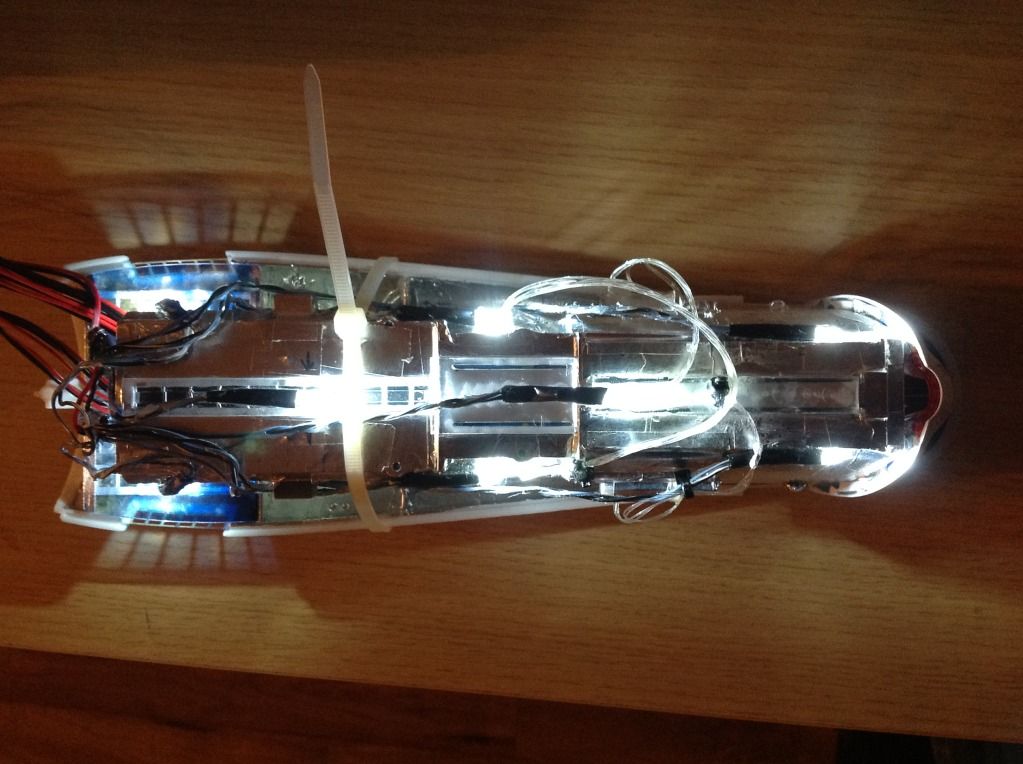
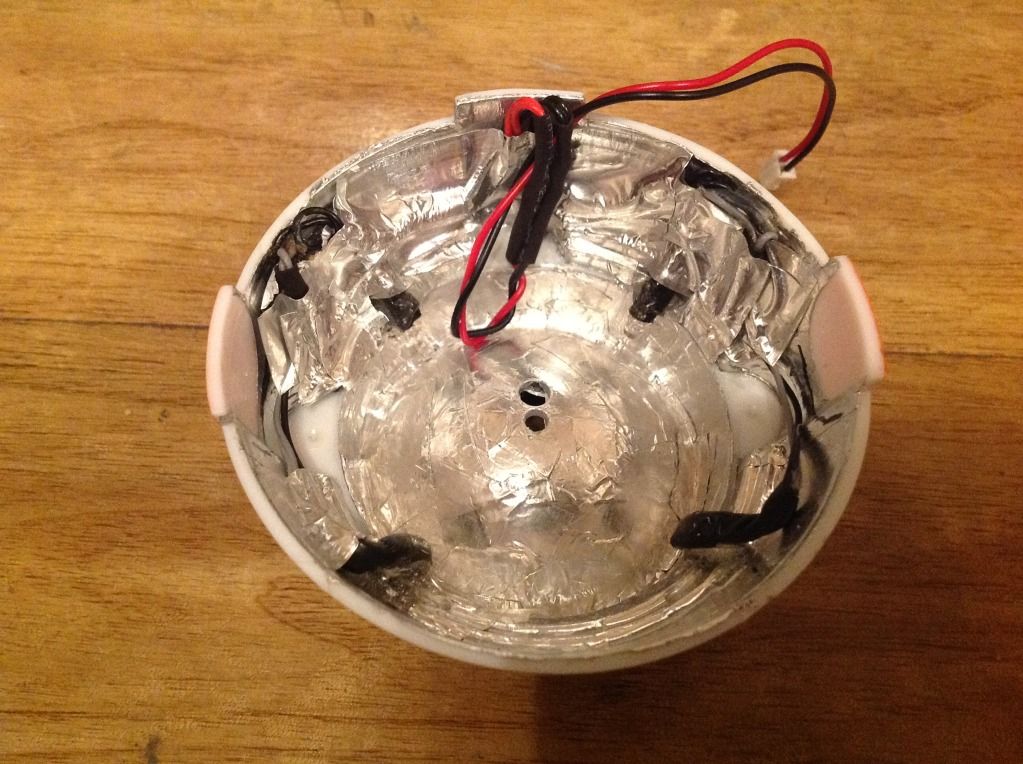
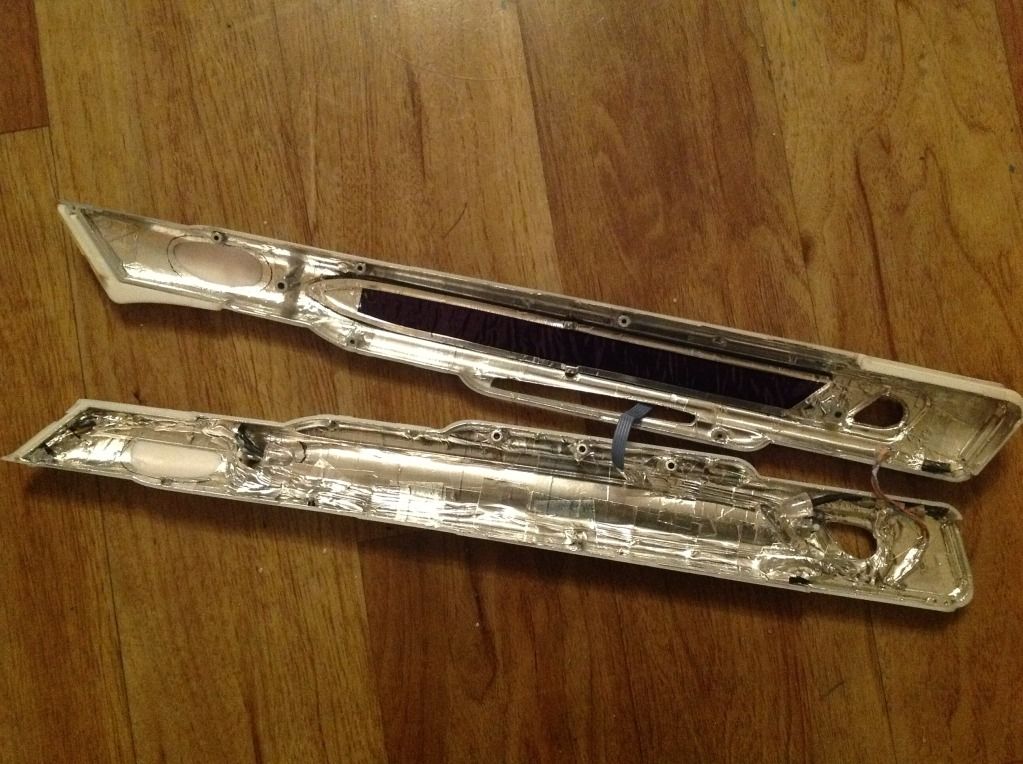
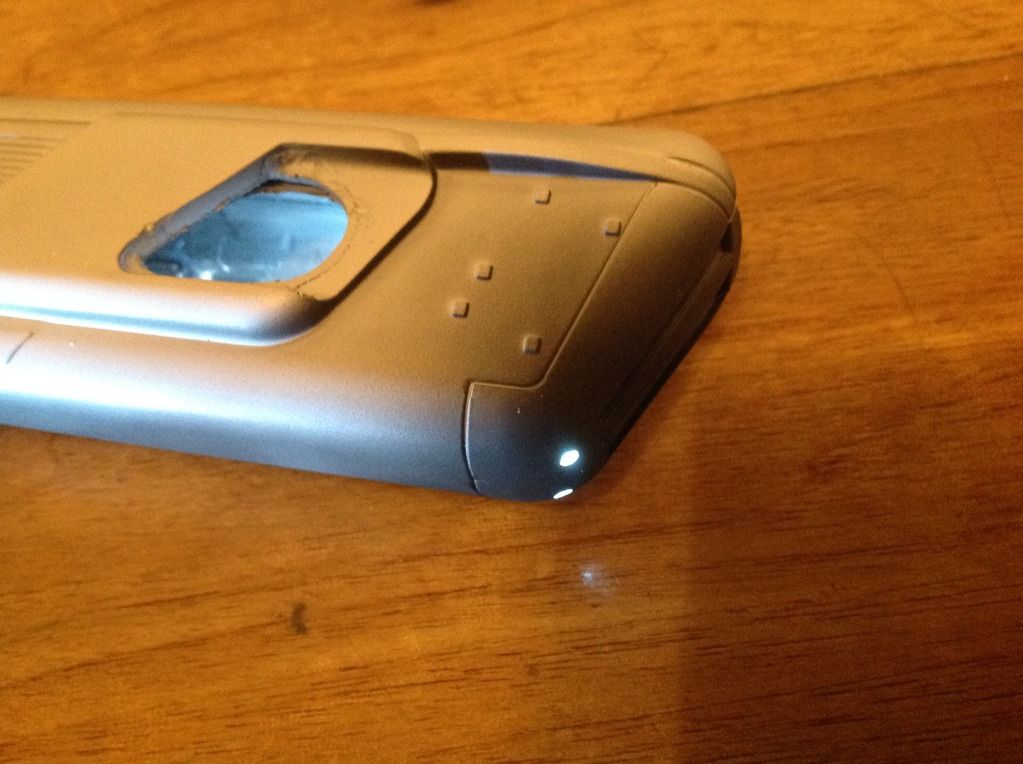
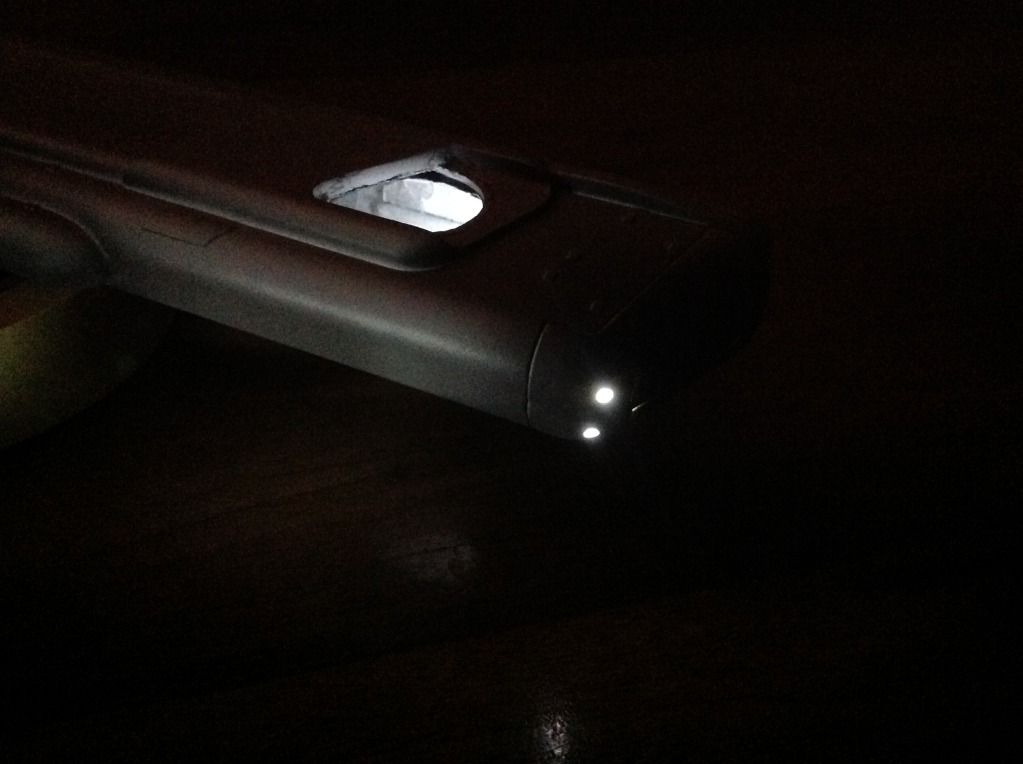
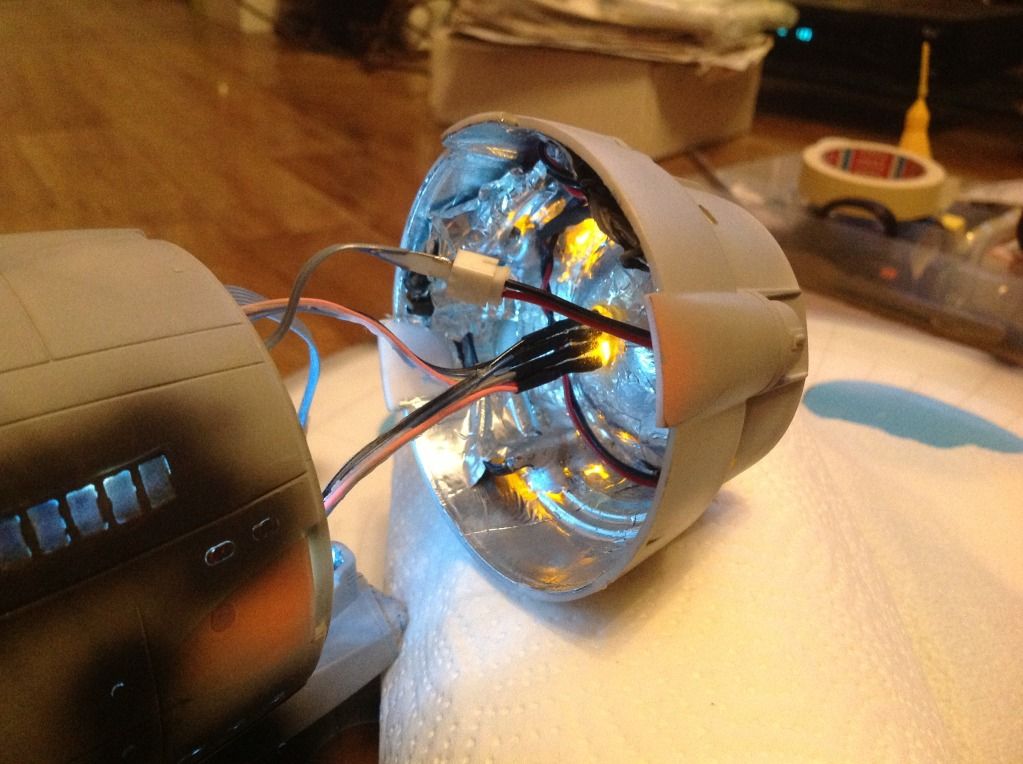
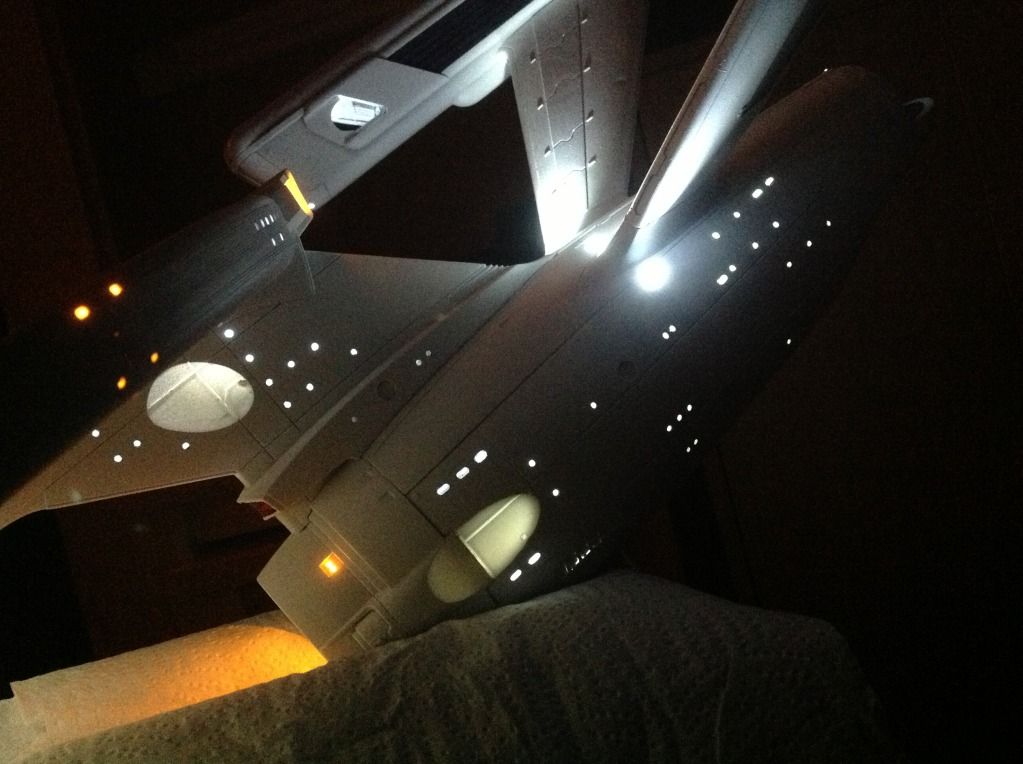
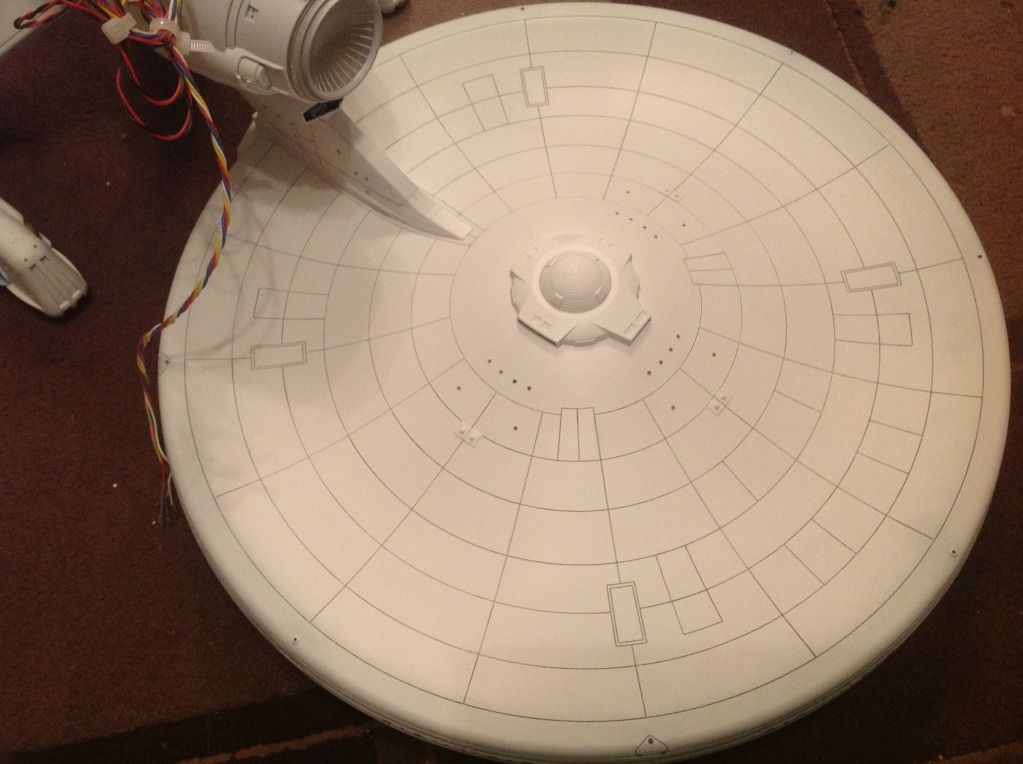
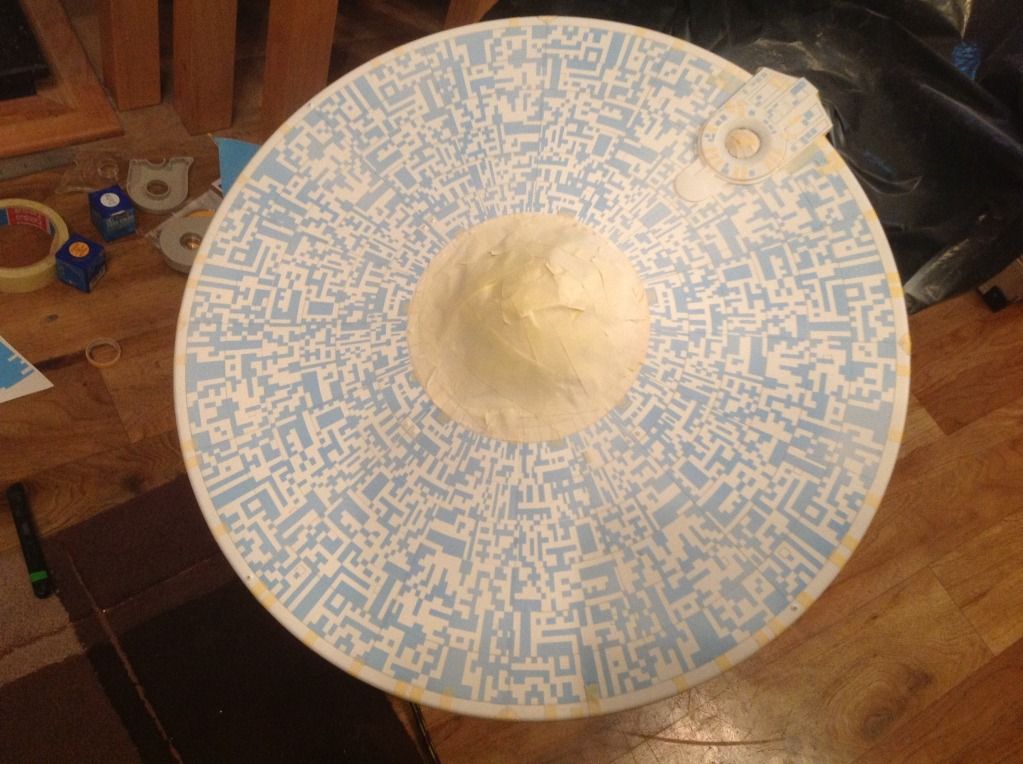
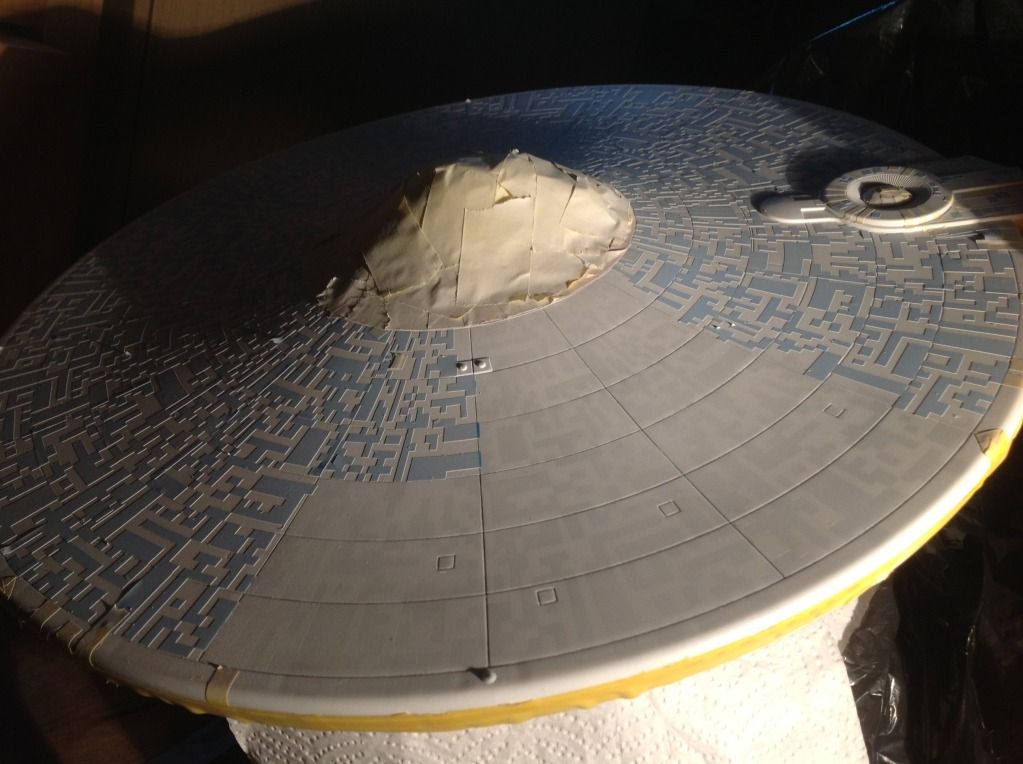
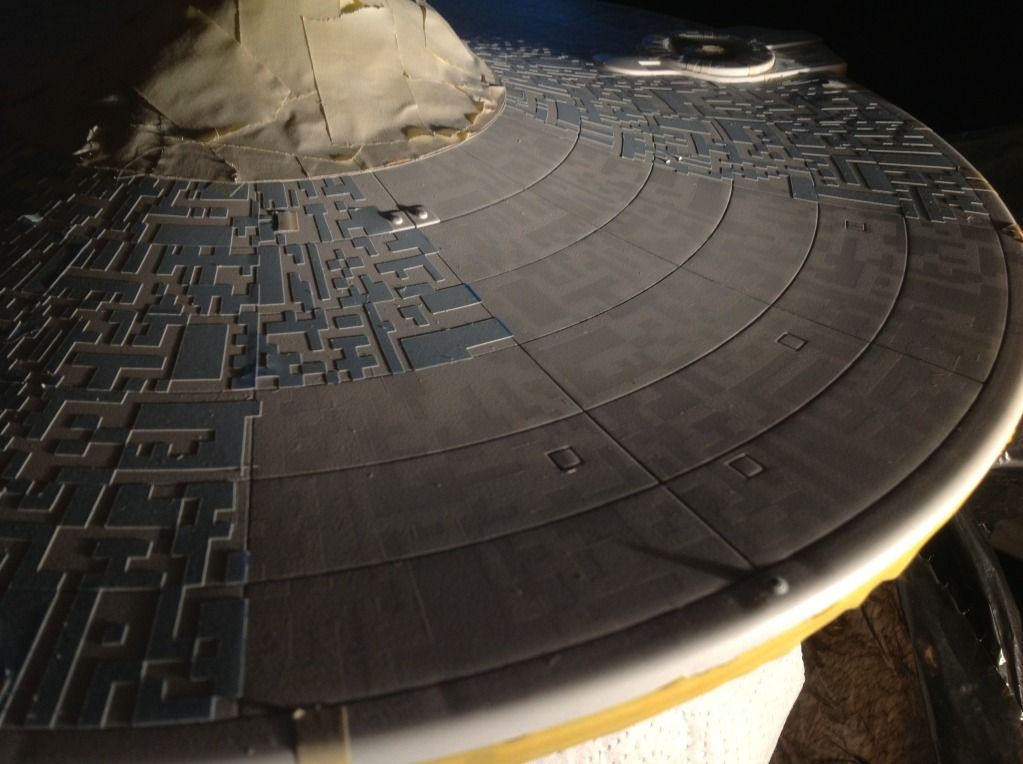
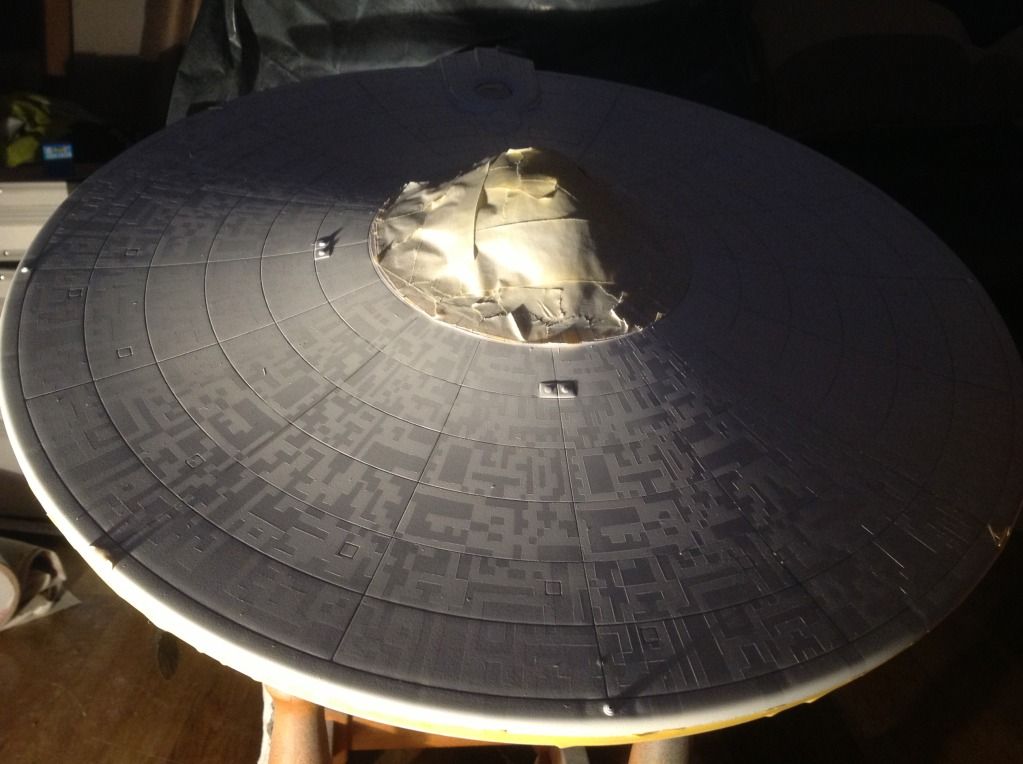
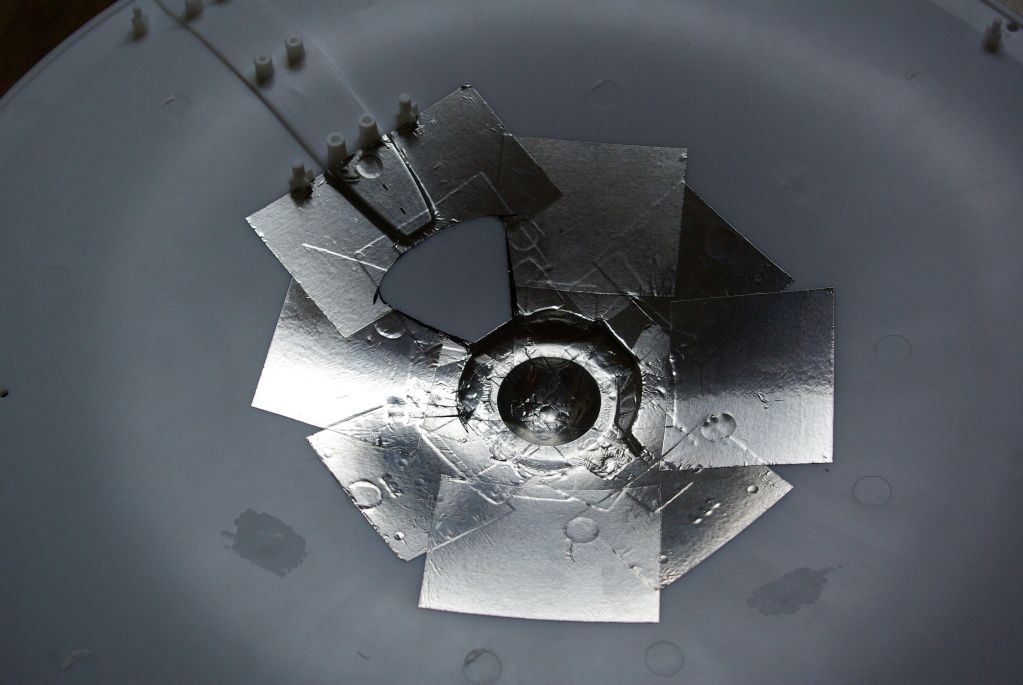
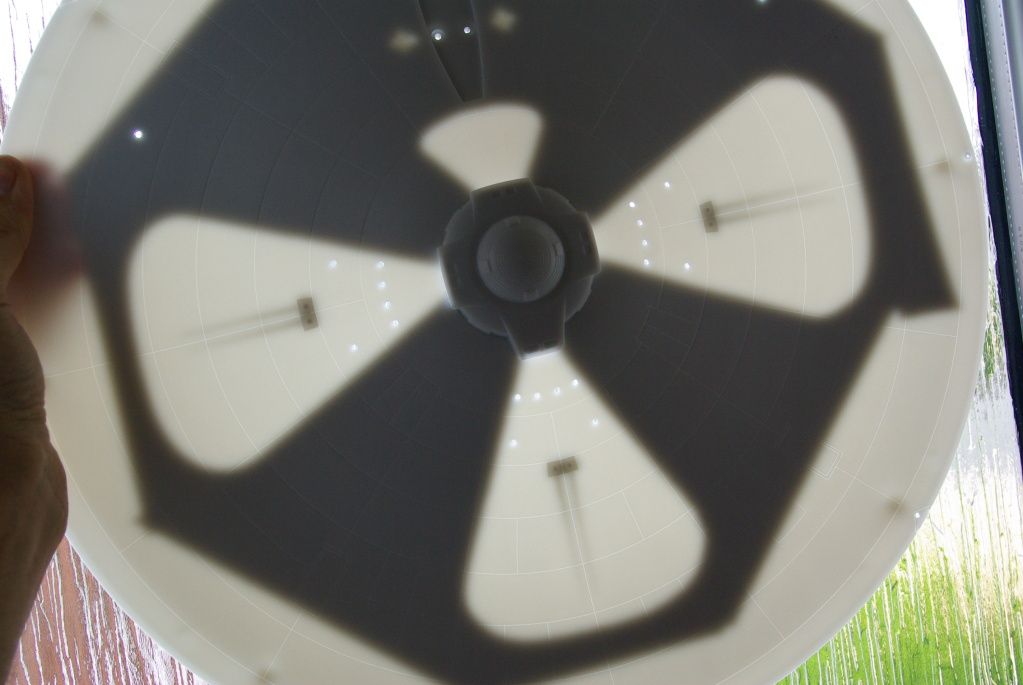
time for some light blocking
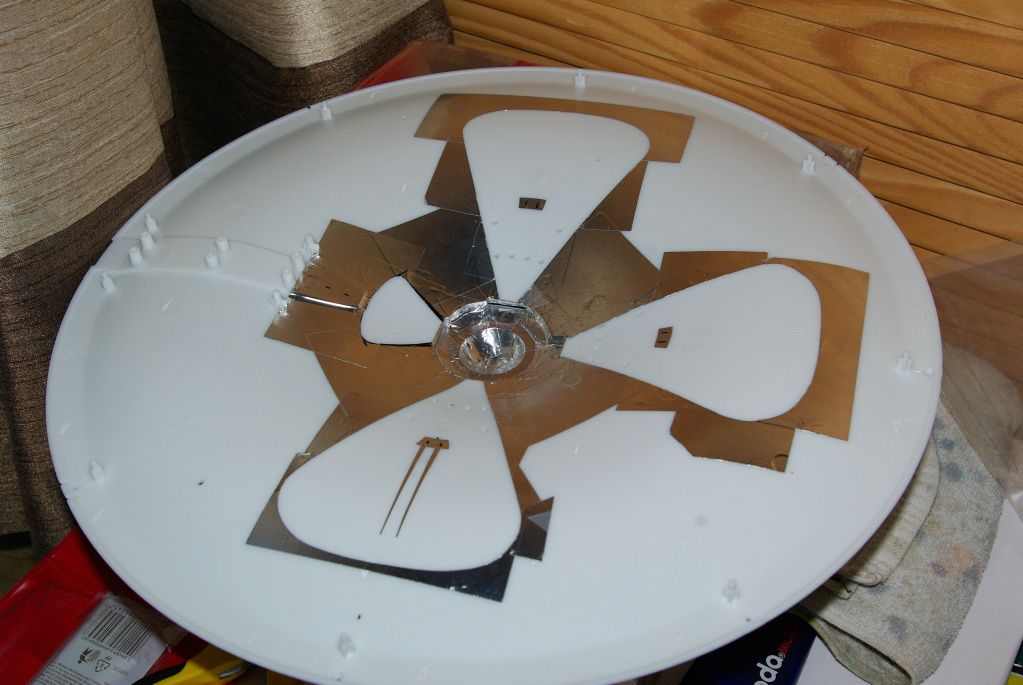
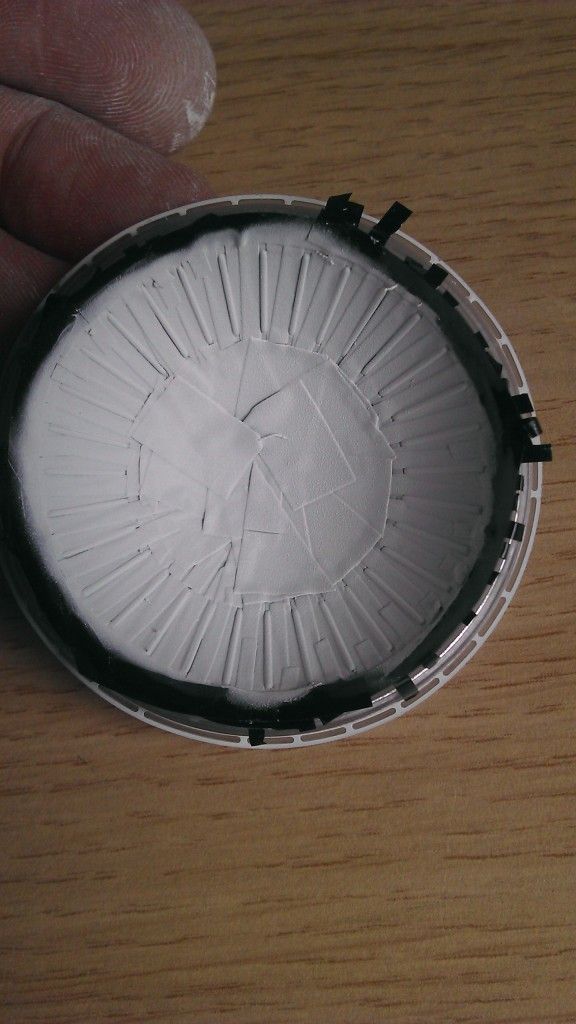
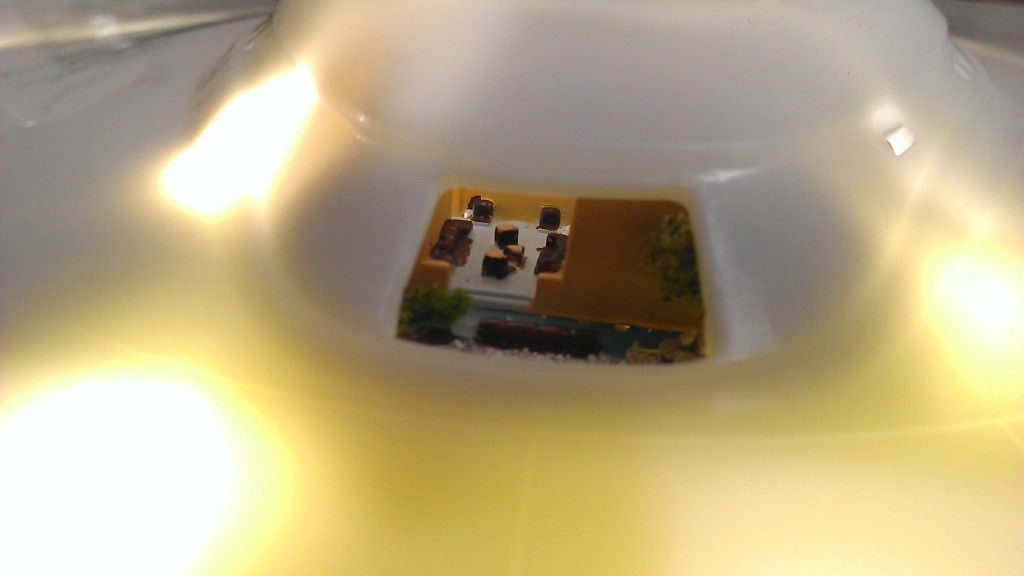
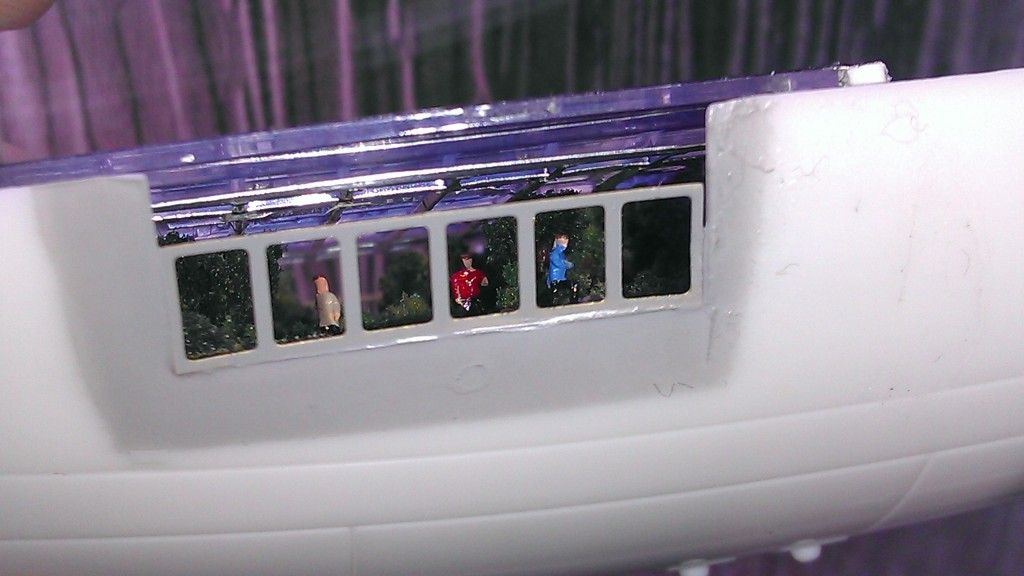
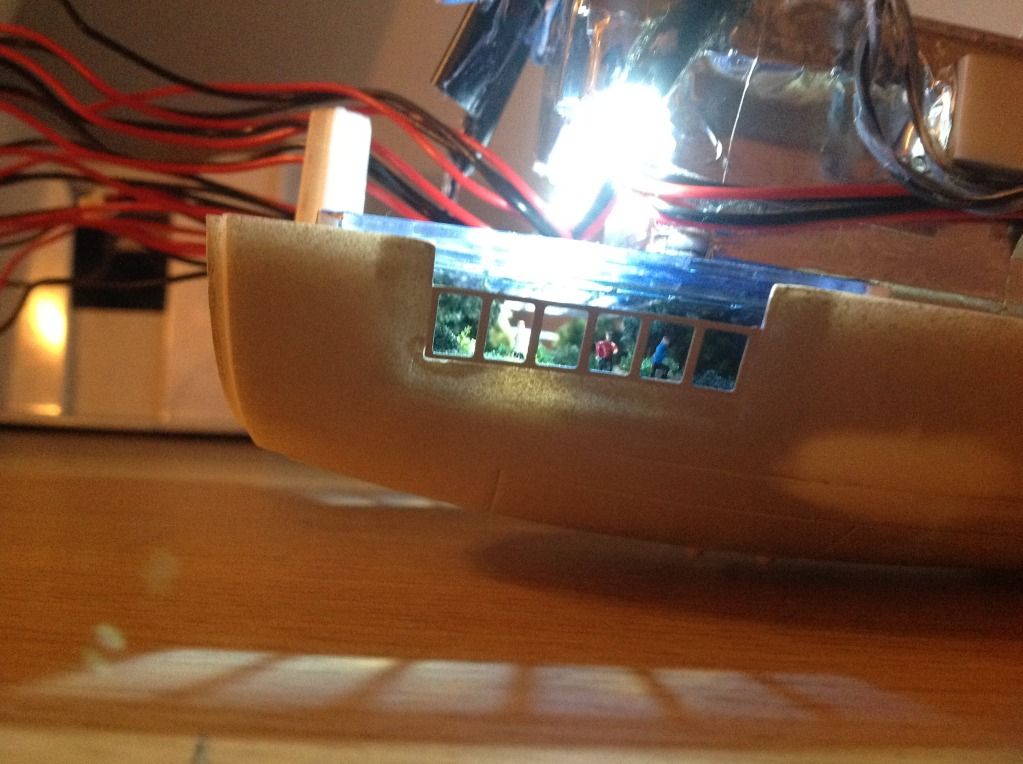
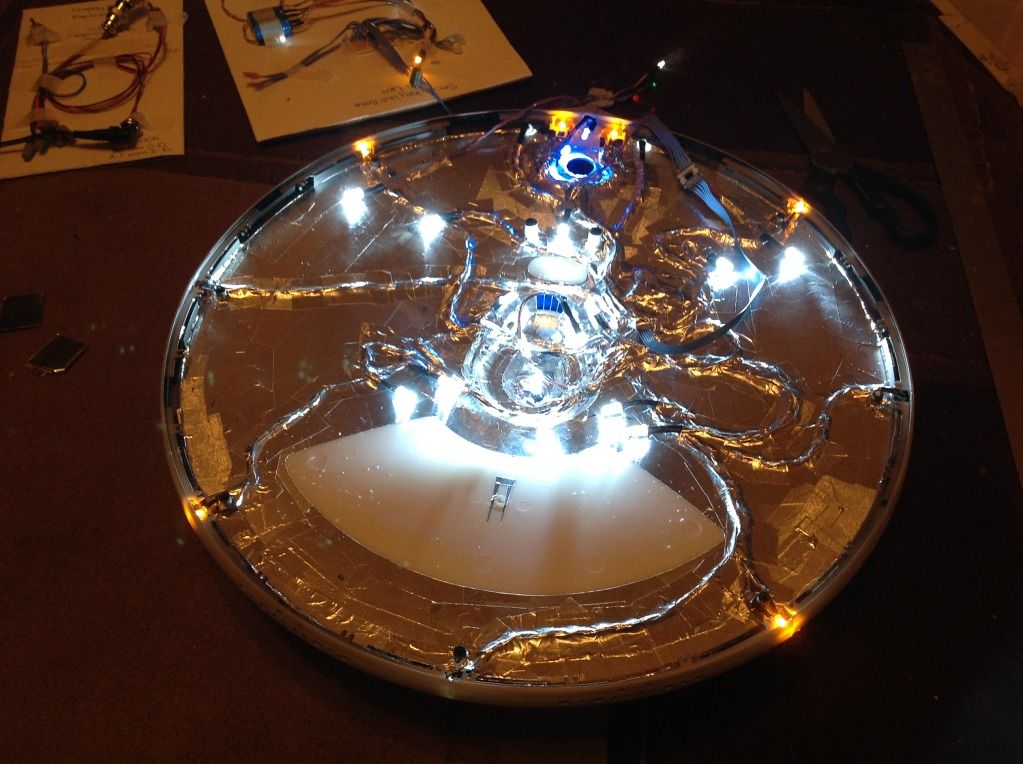
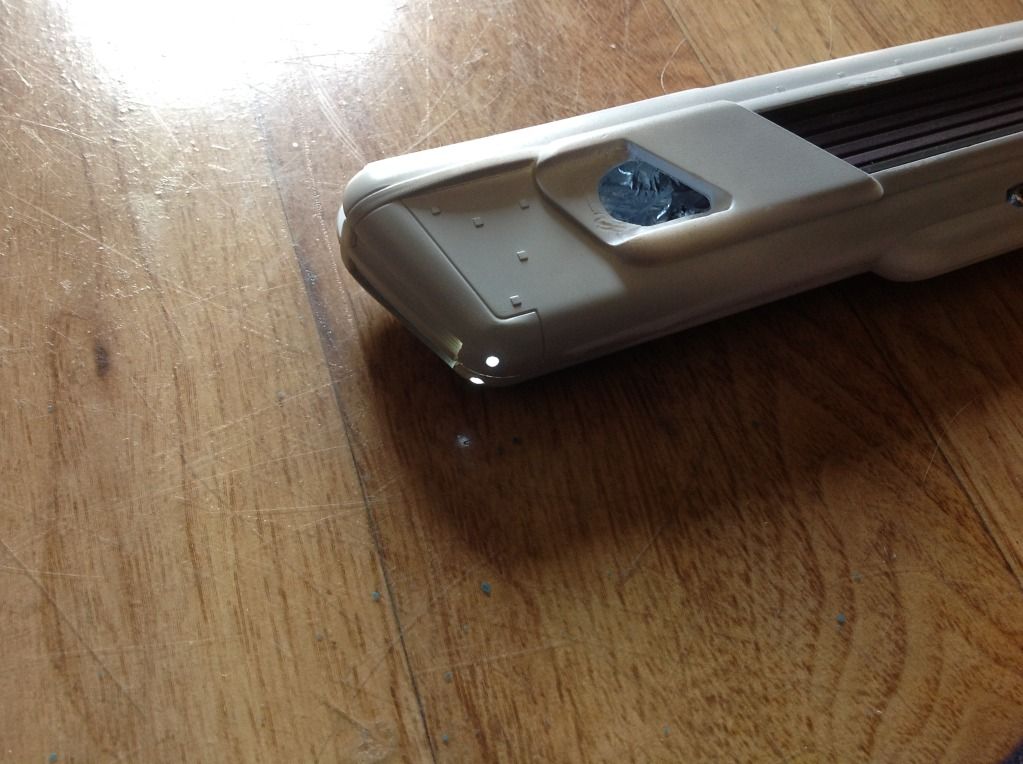
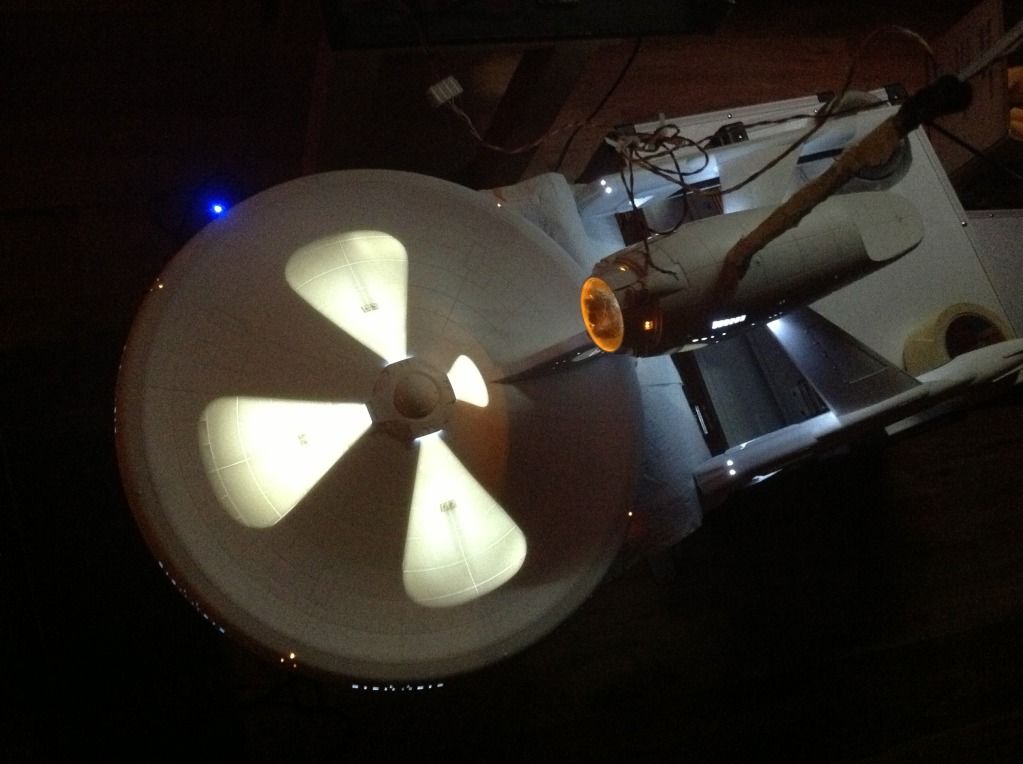
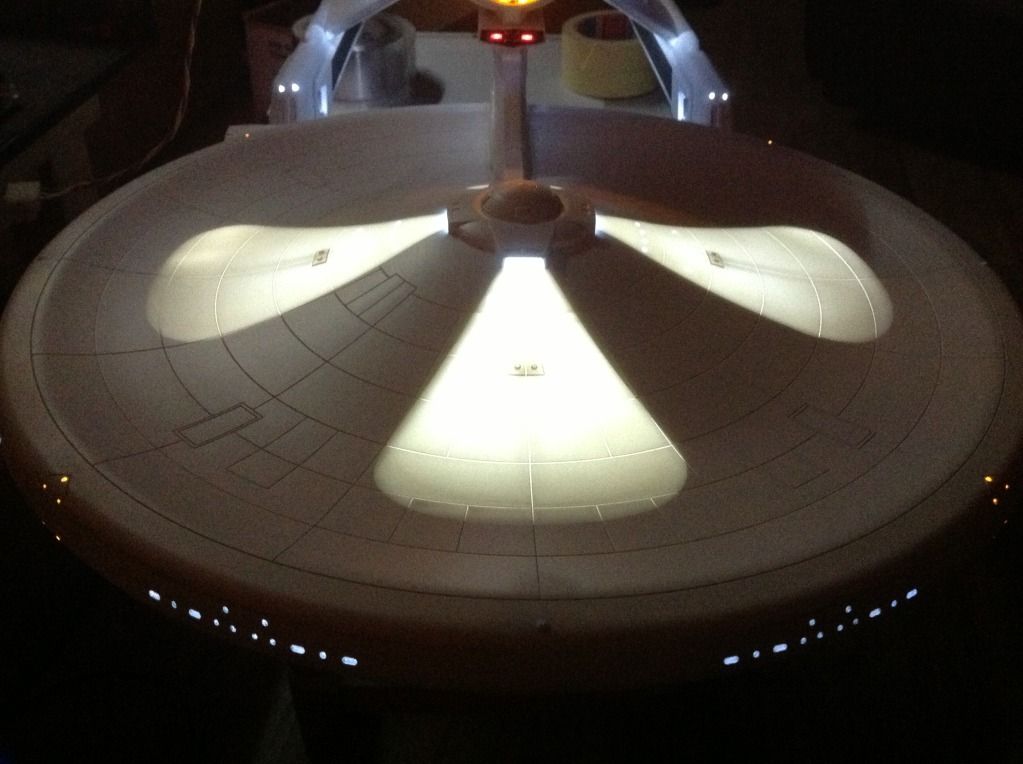
made a sky for the internal gardens and stuck it to the clear plastic roof:

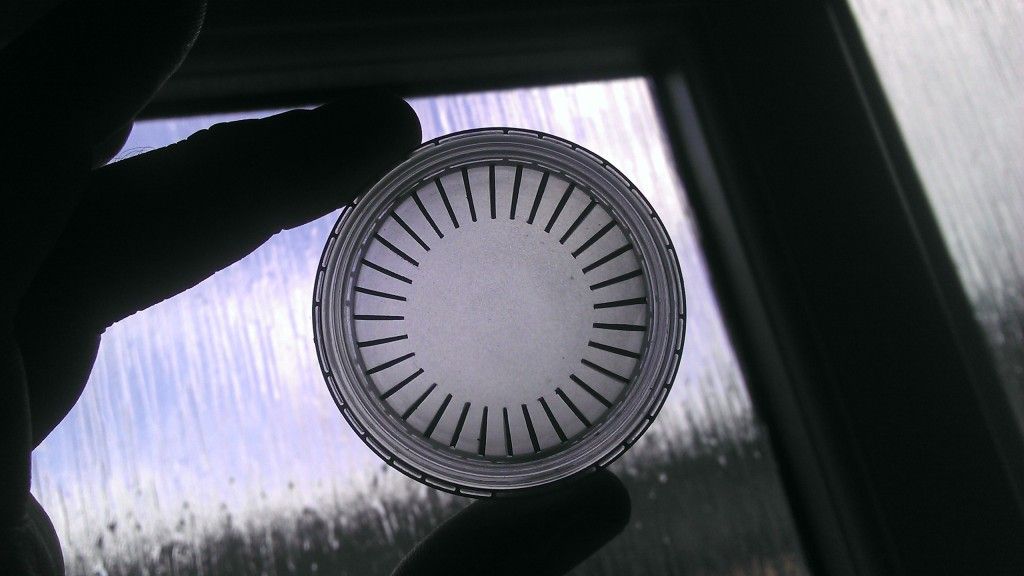
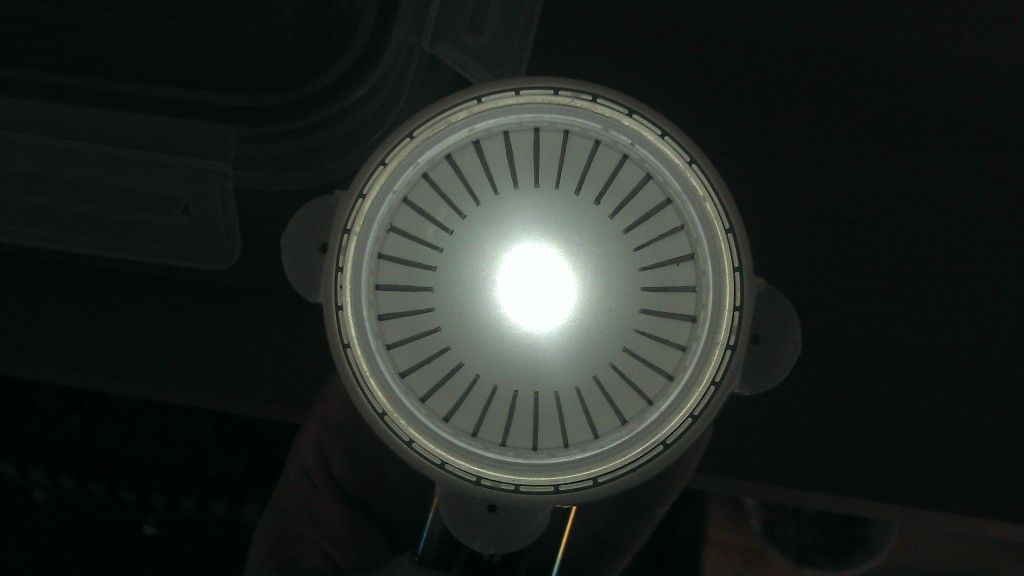
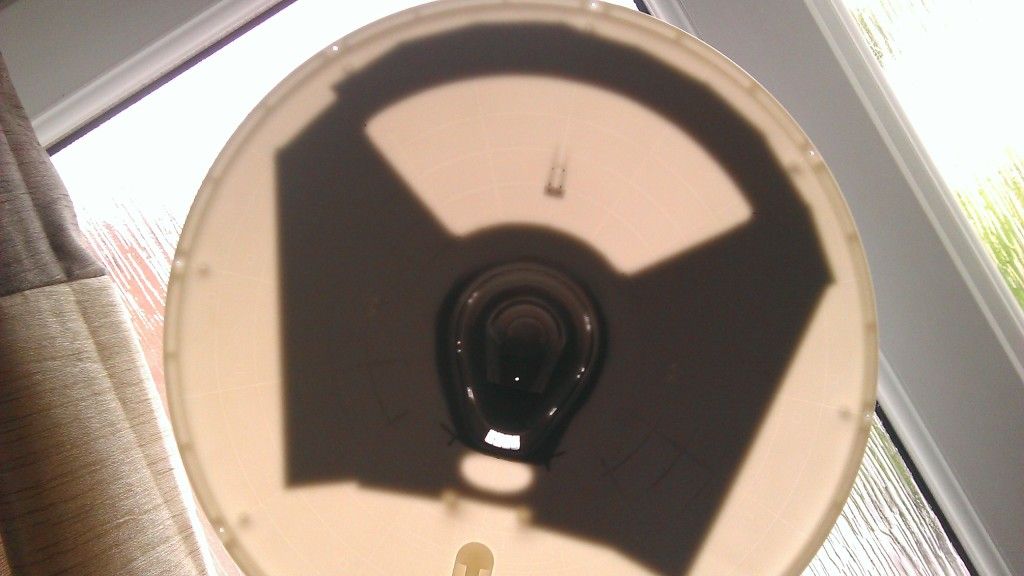
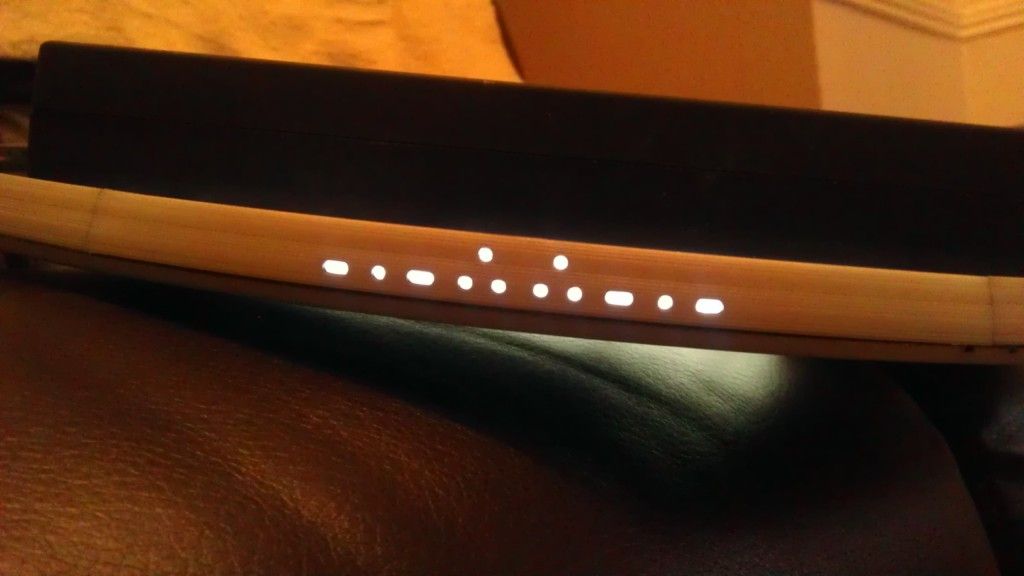
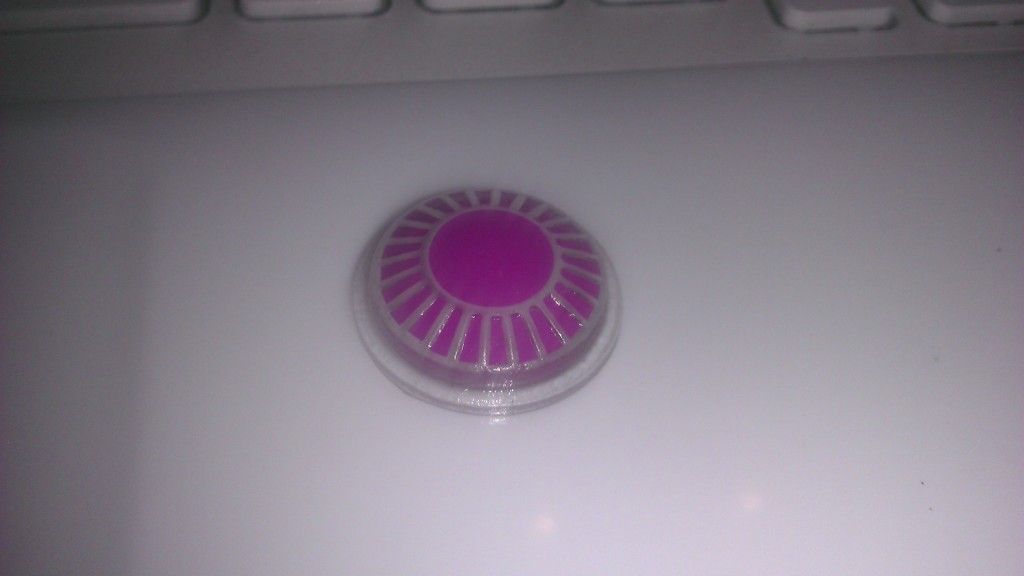
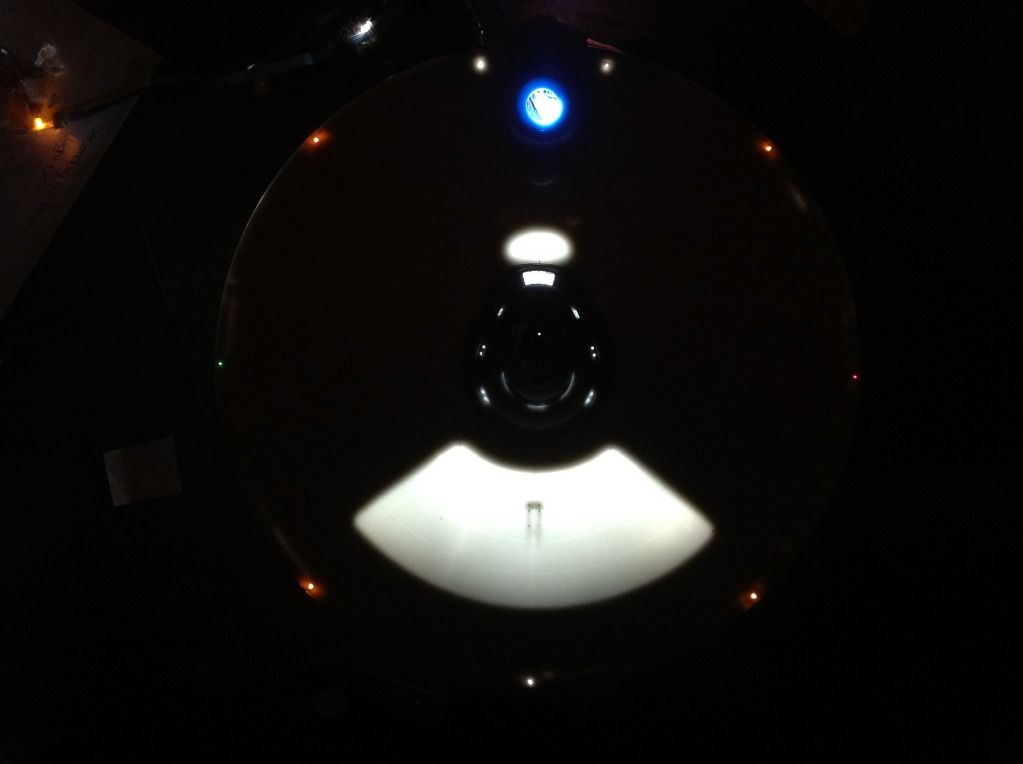
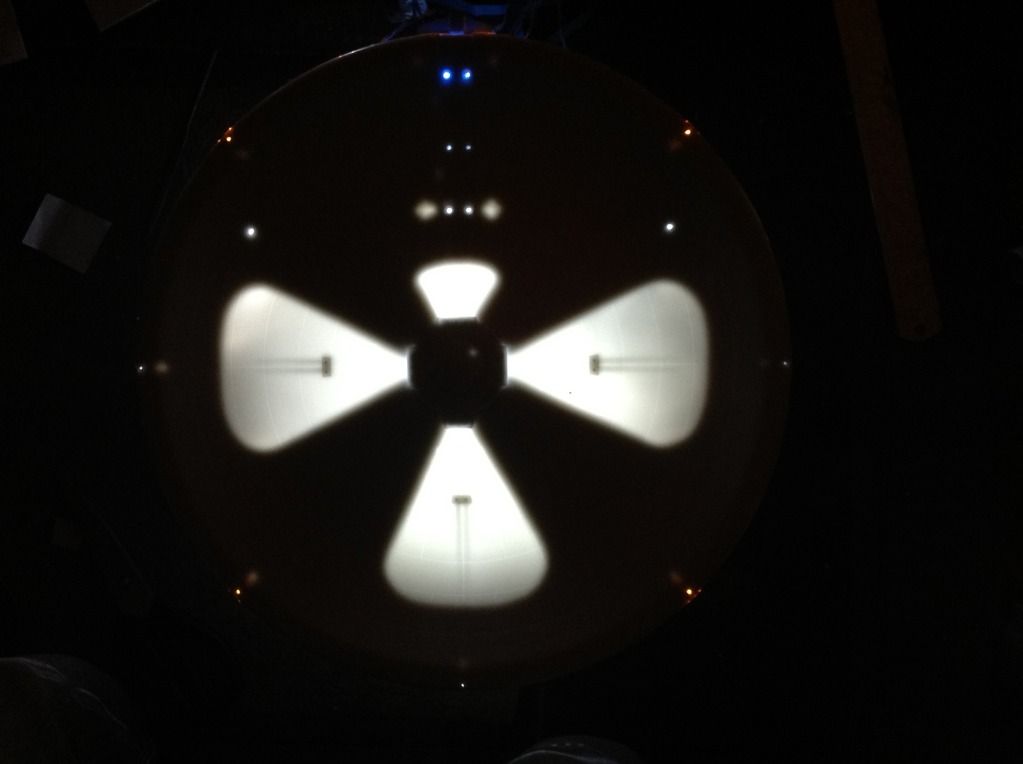
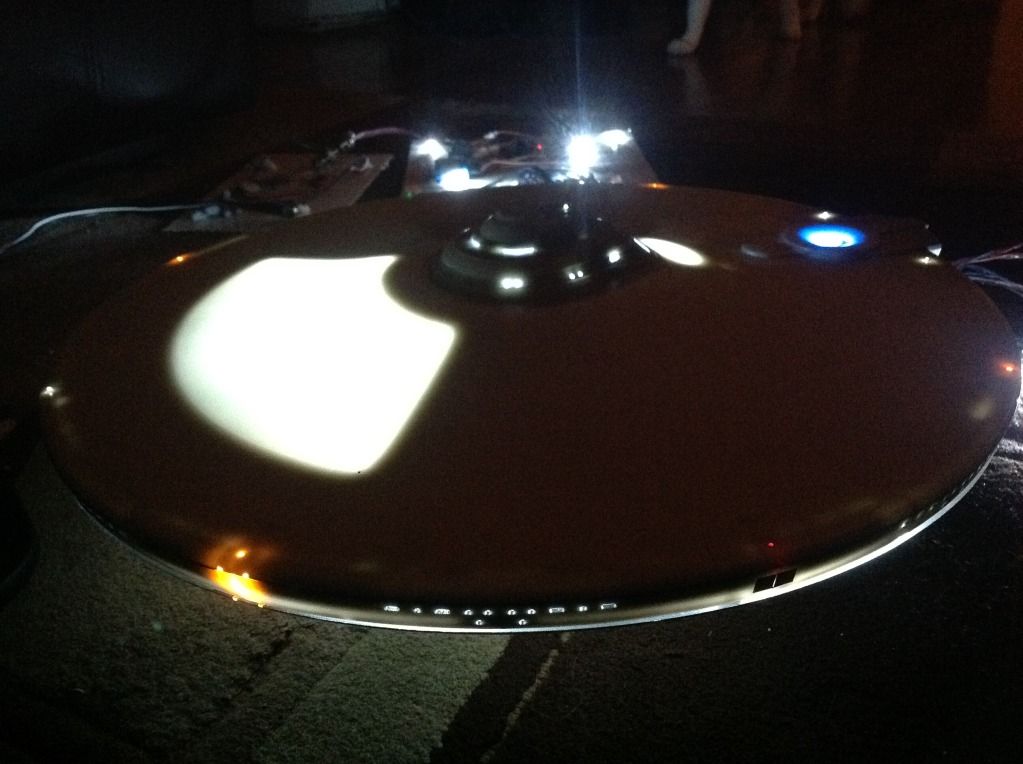
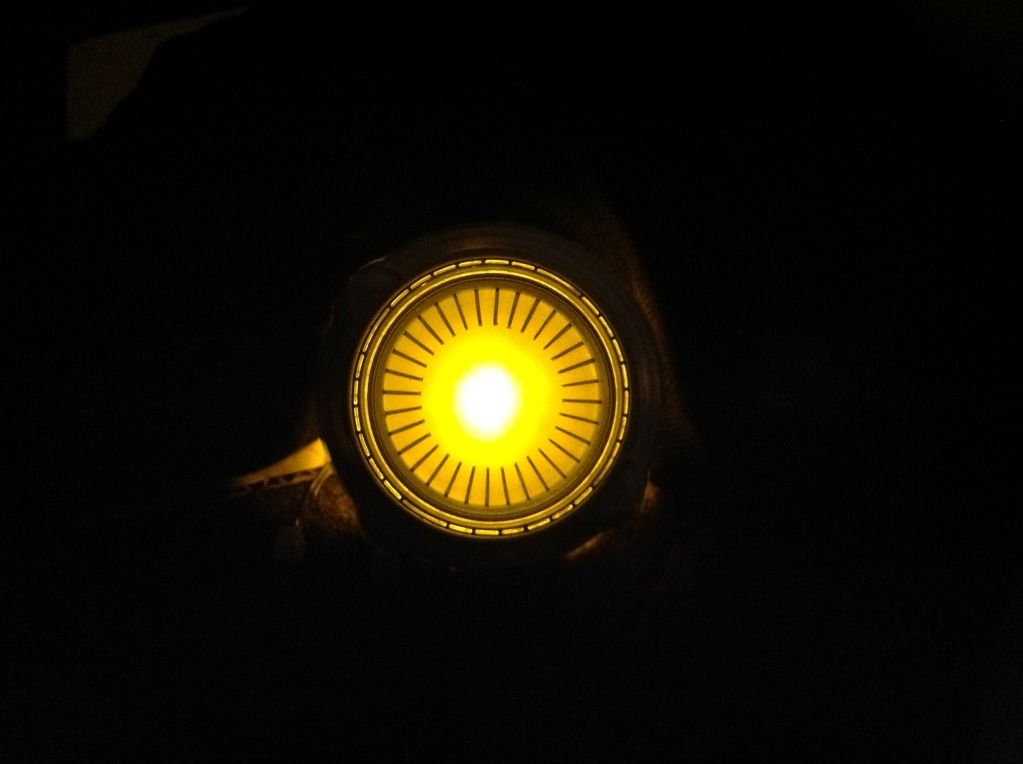
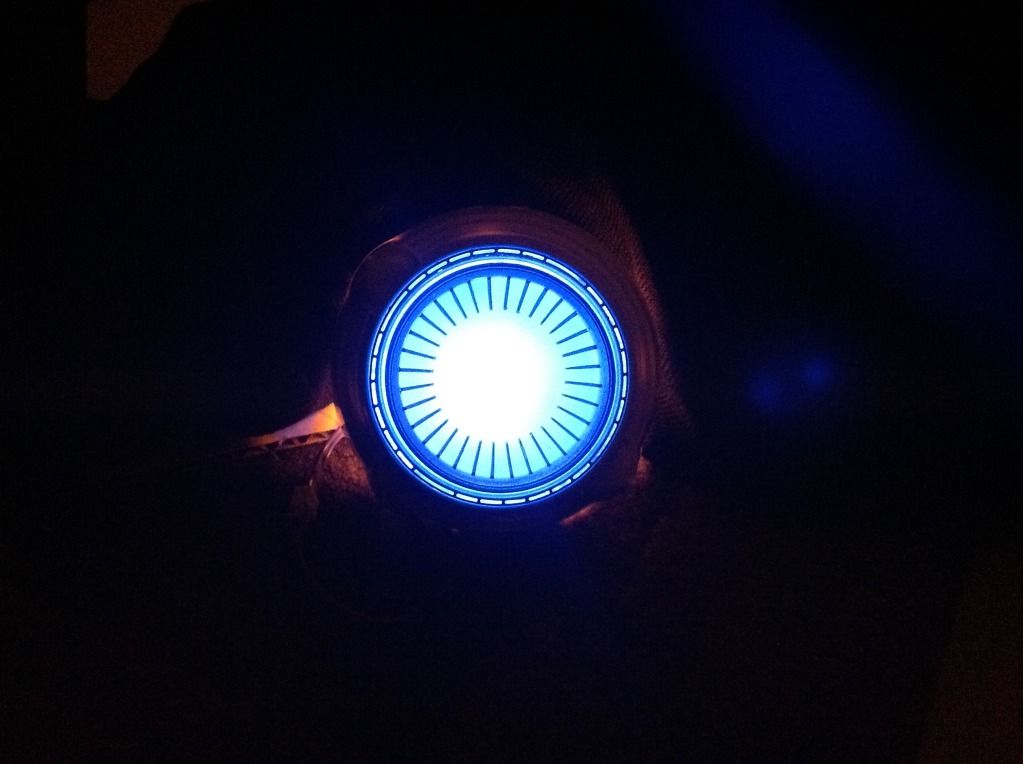
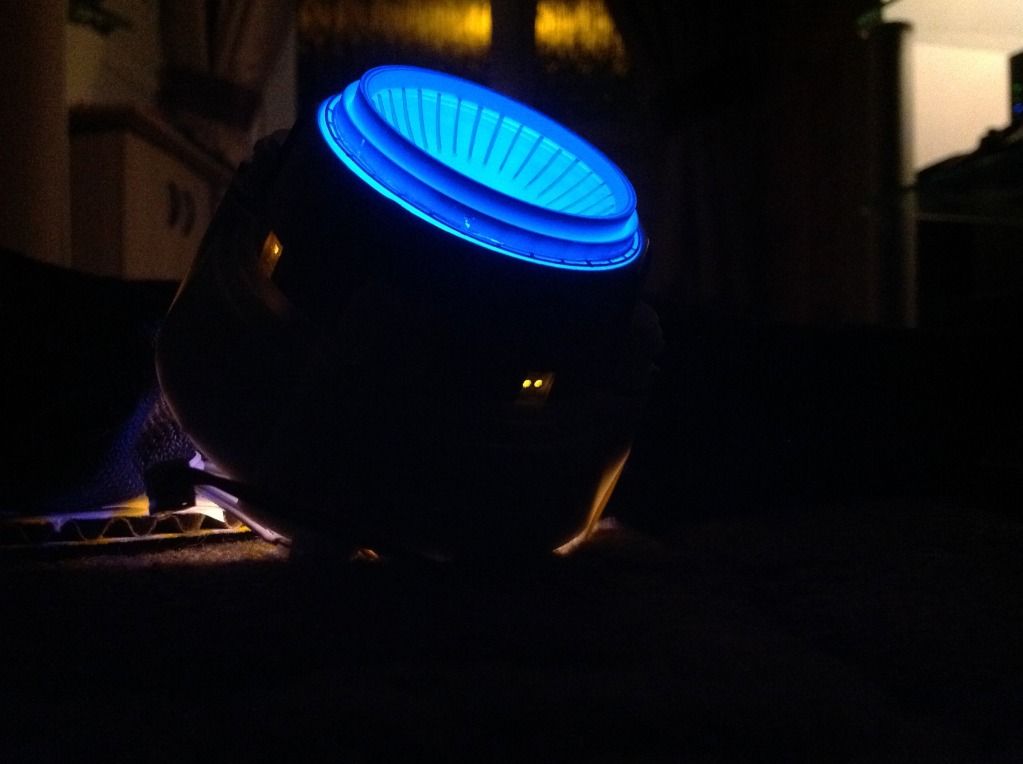
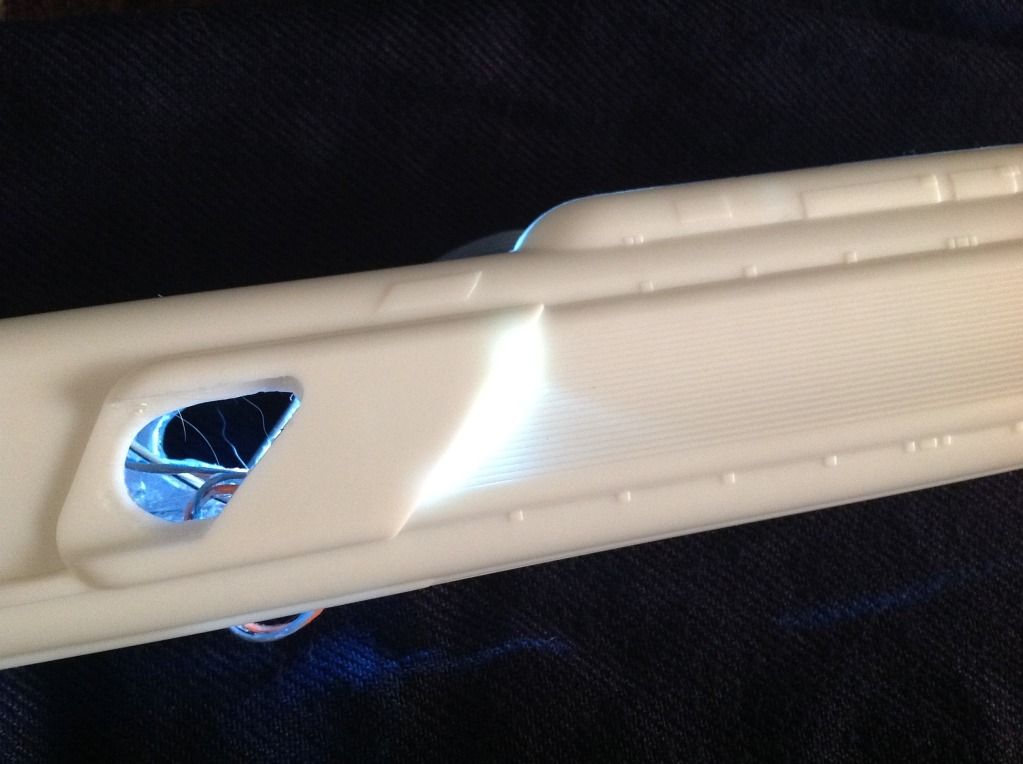
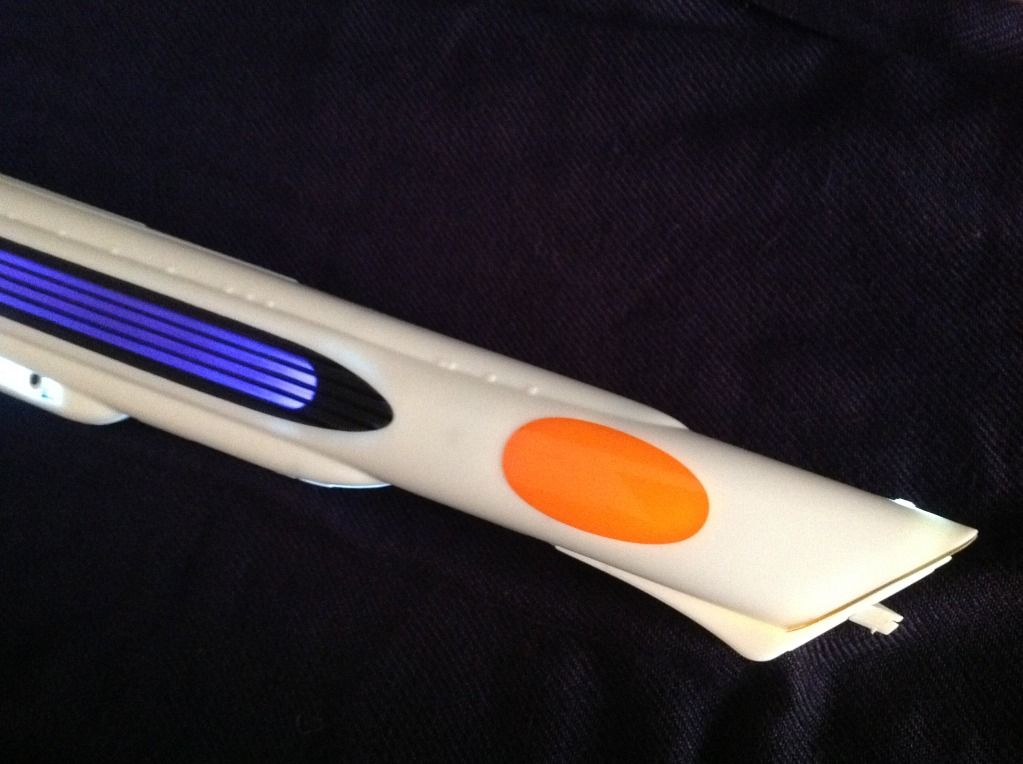
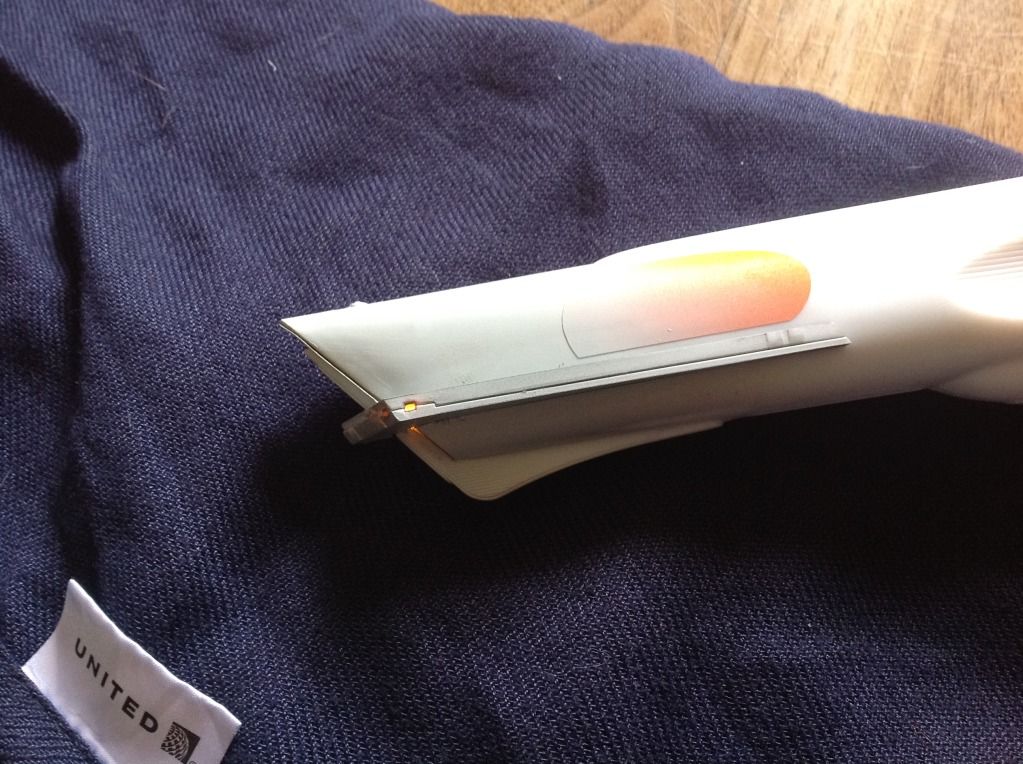
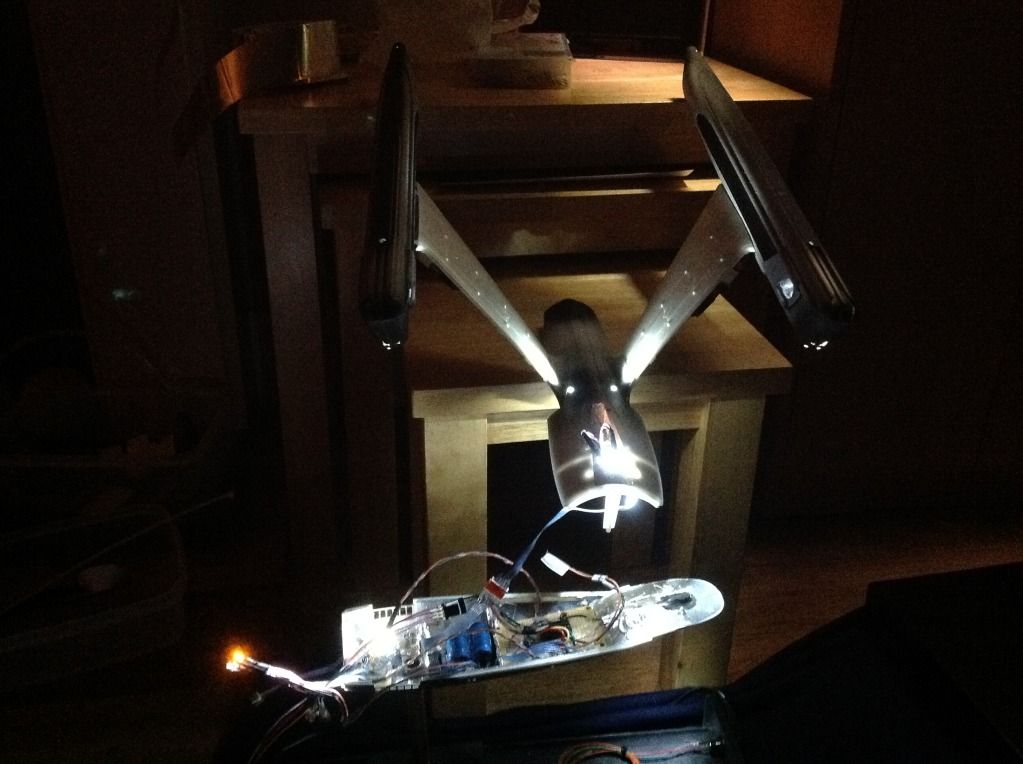
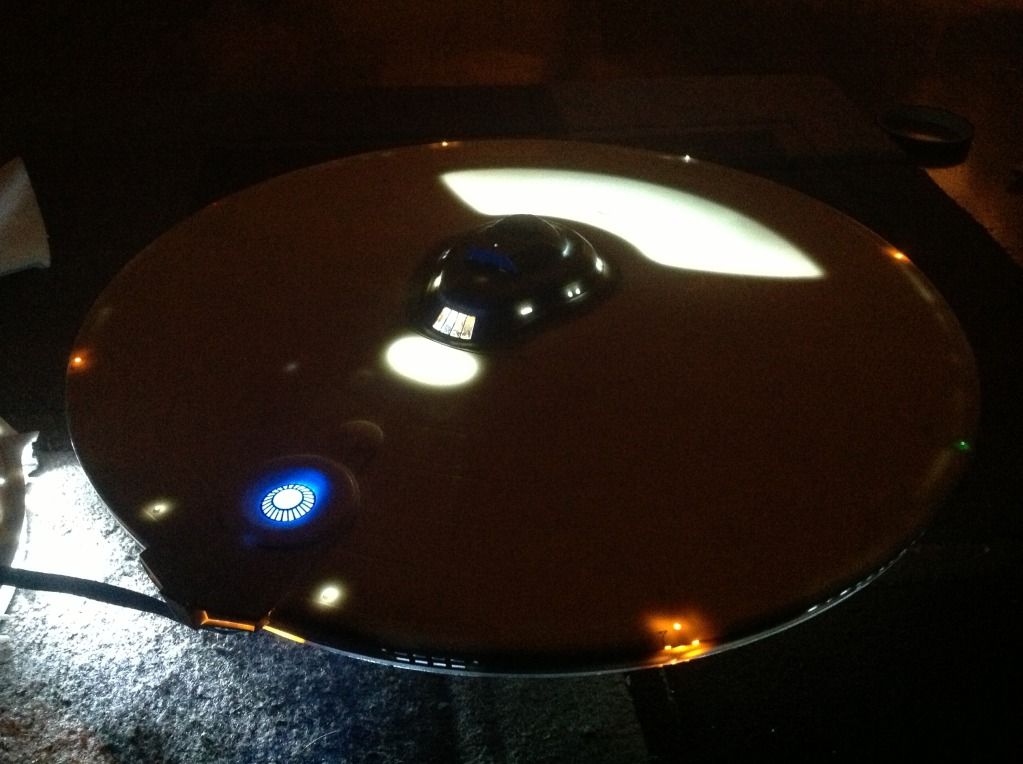
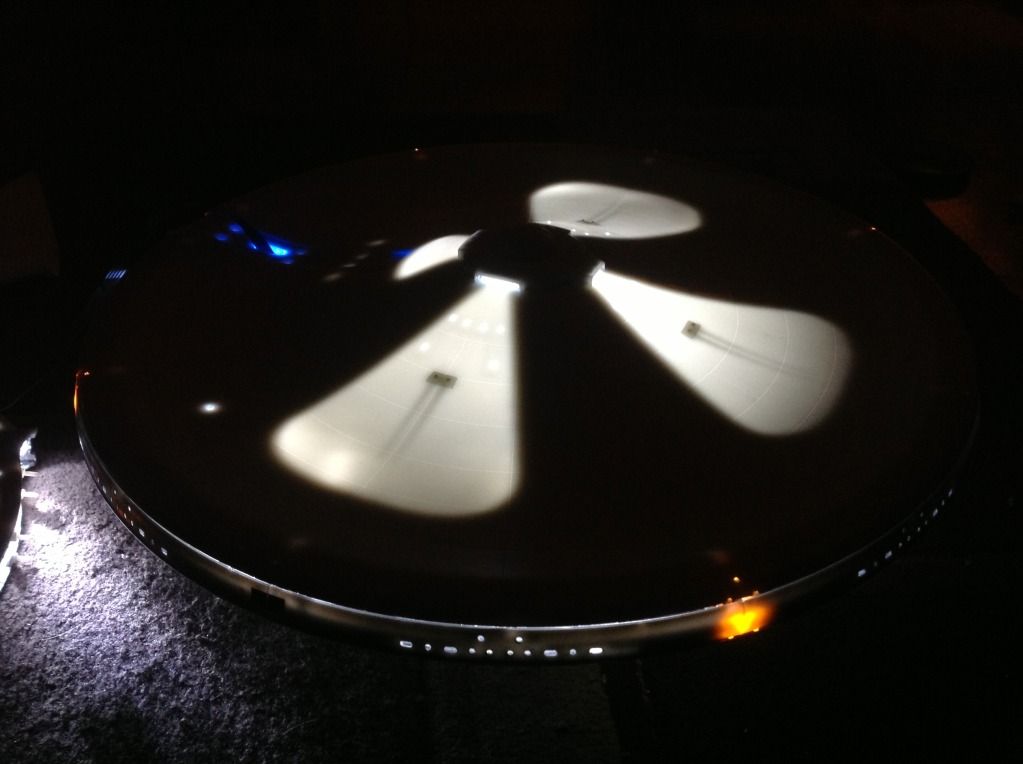
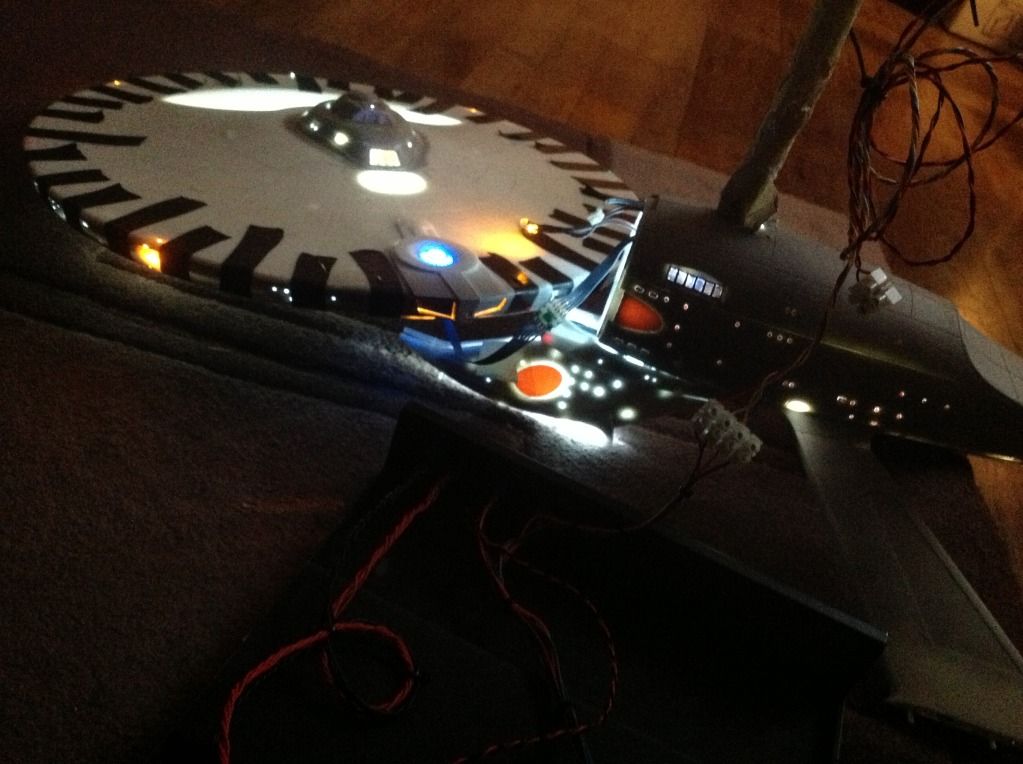
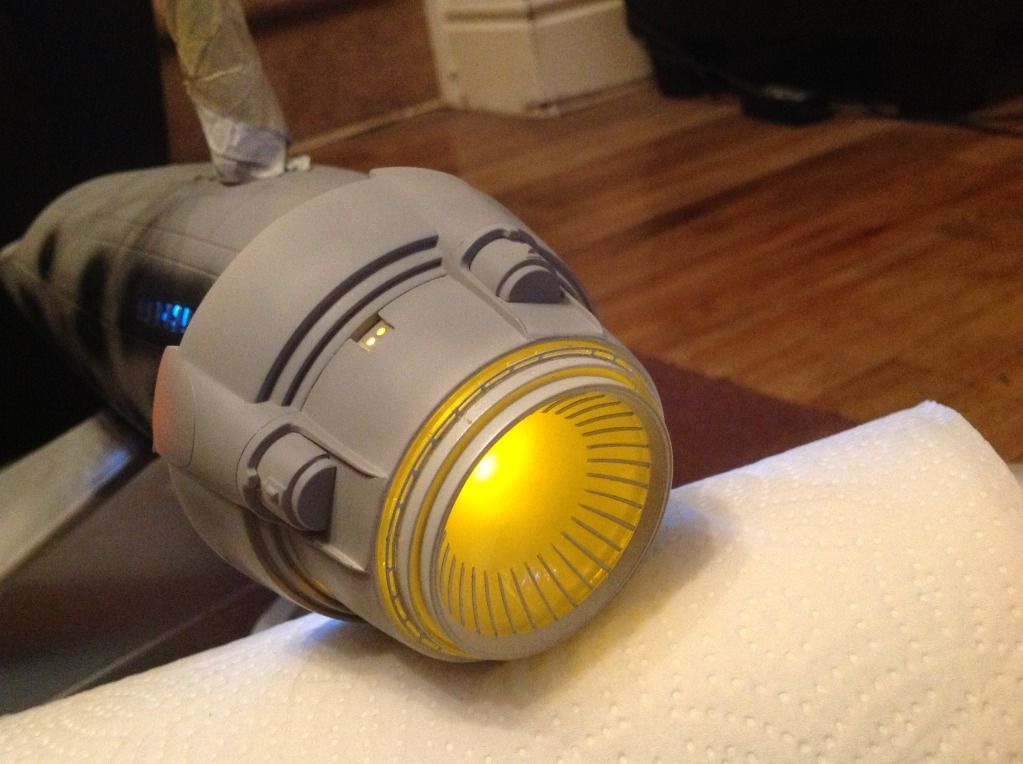
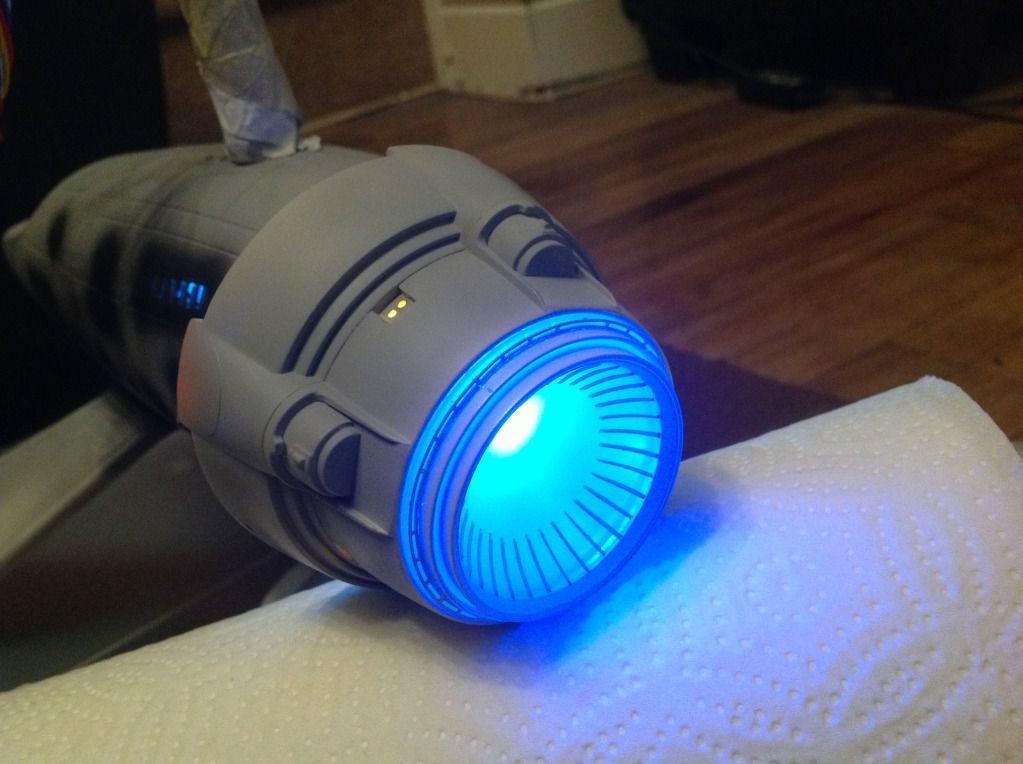
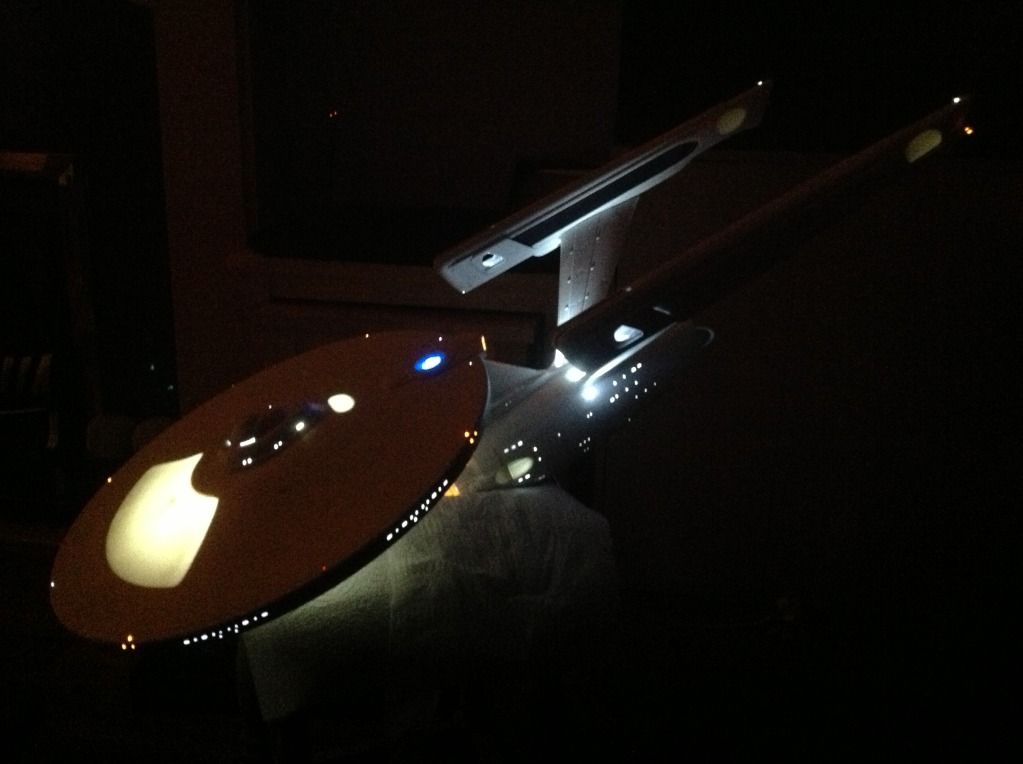
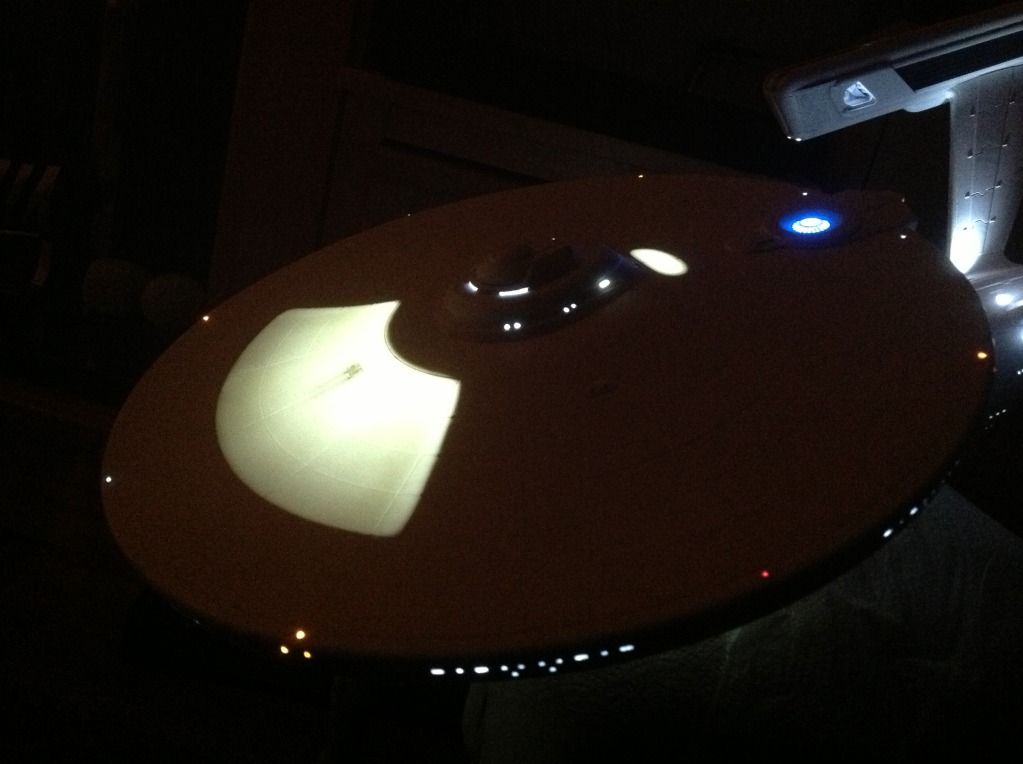
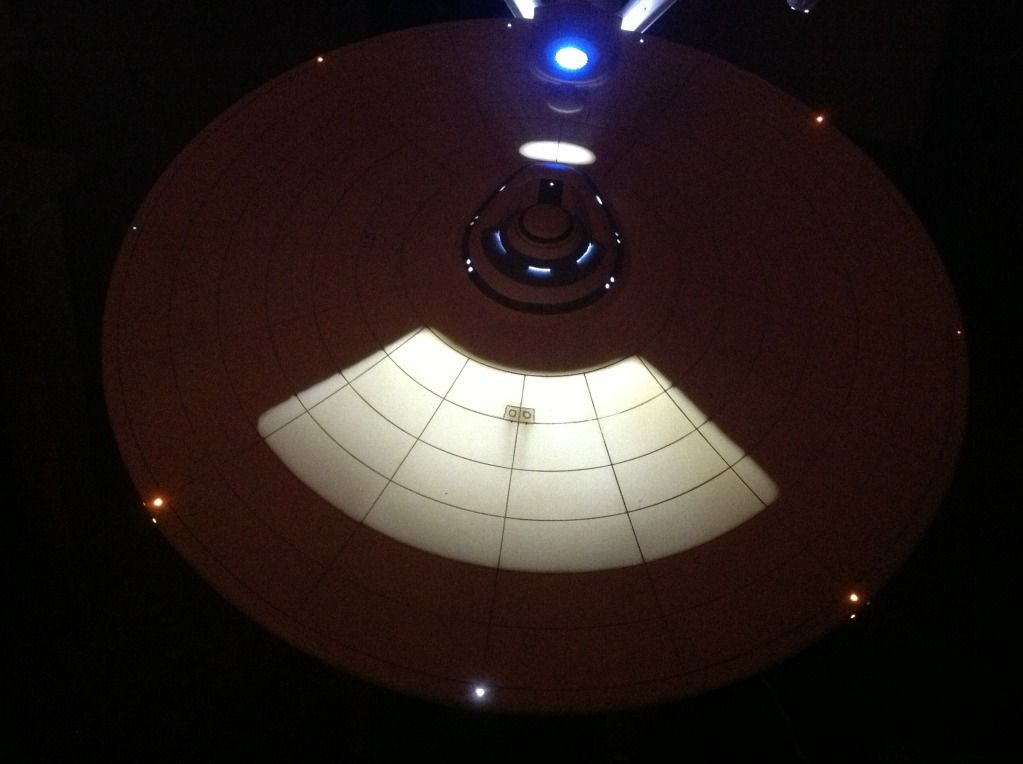
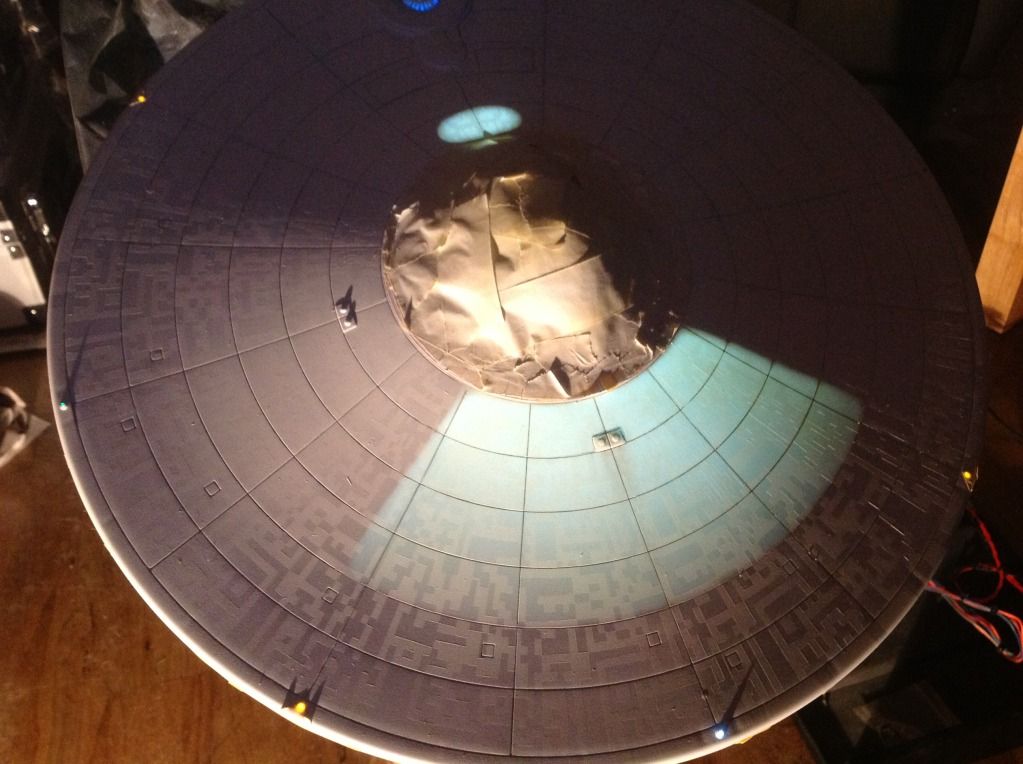
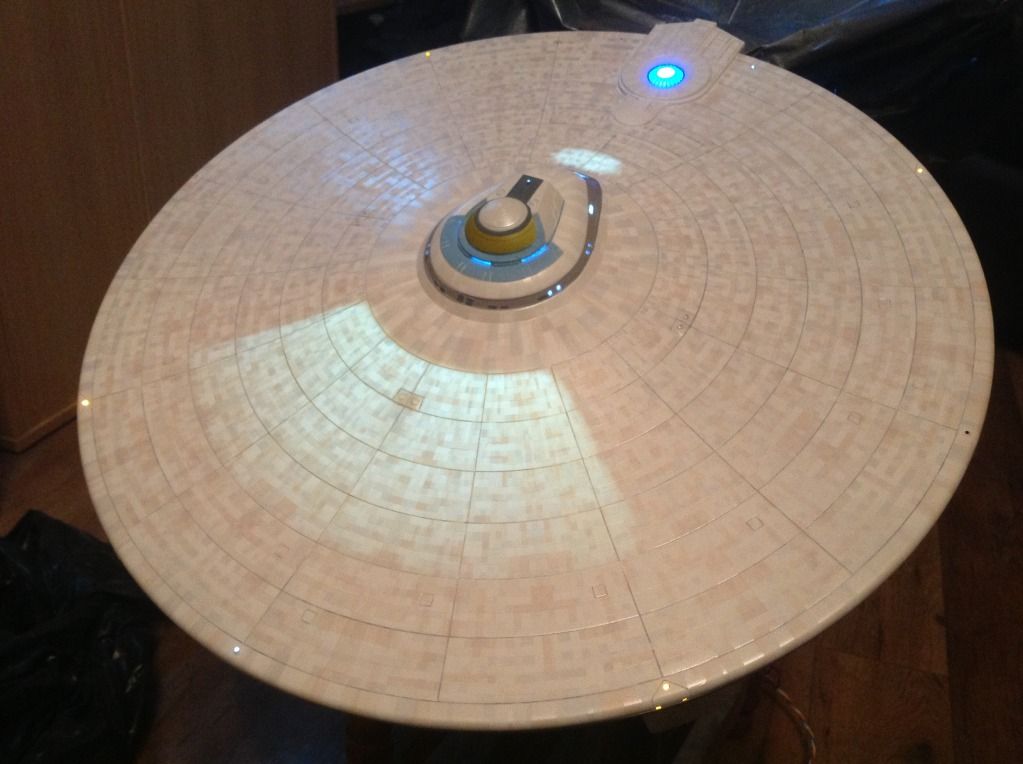
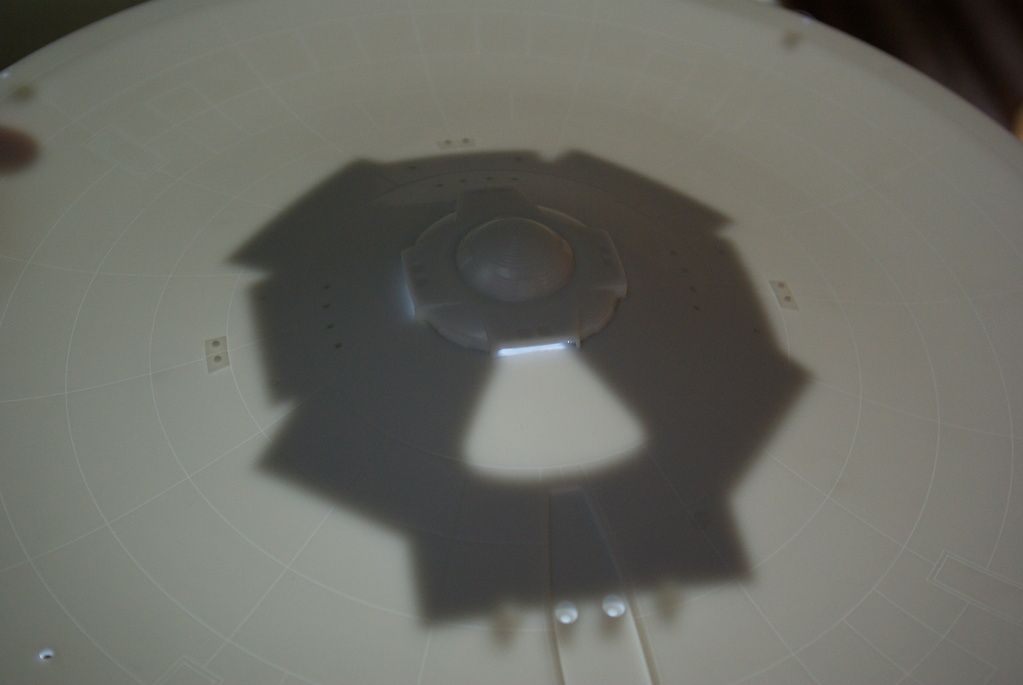
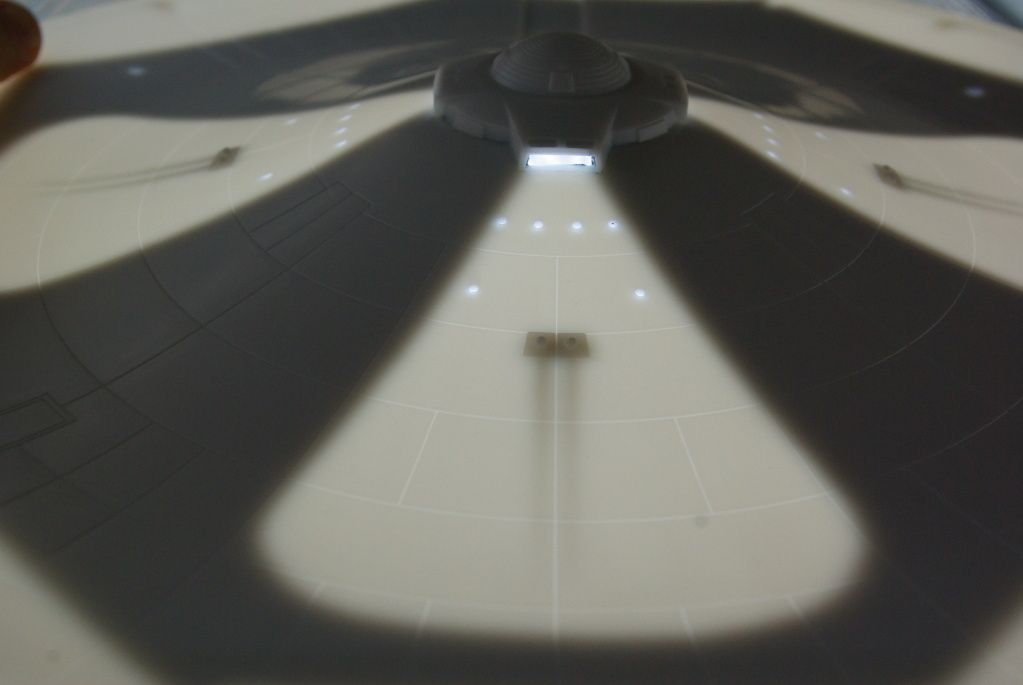
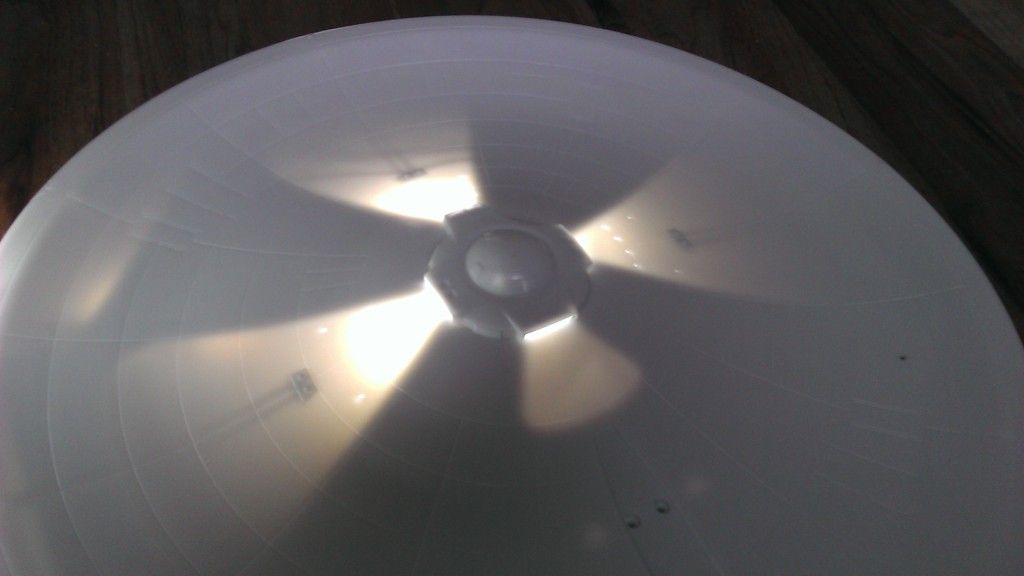
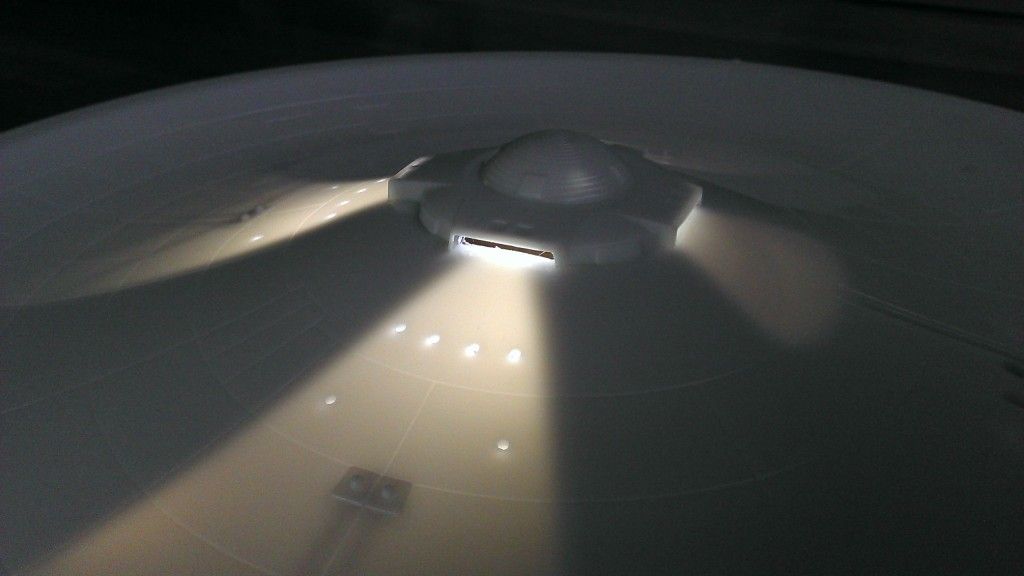
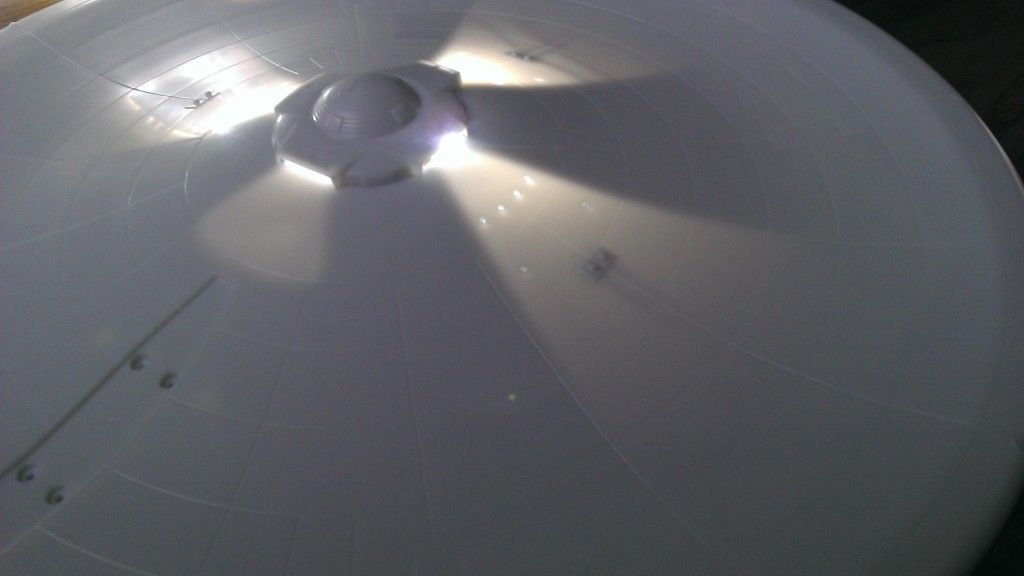
and a swift check of the illumination effect with an led torch:
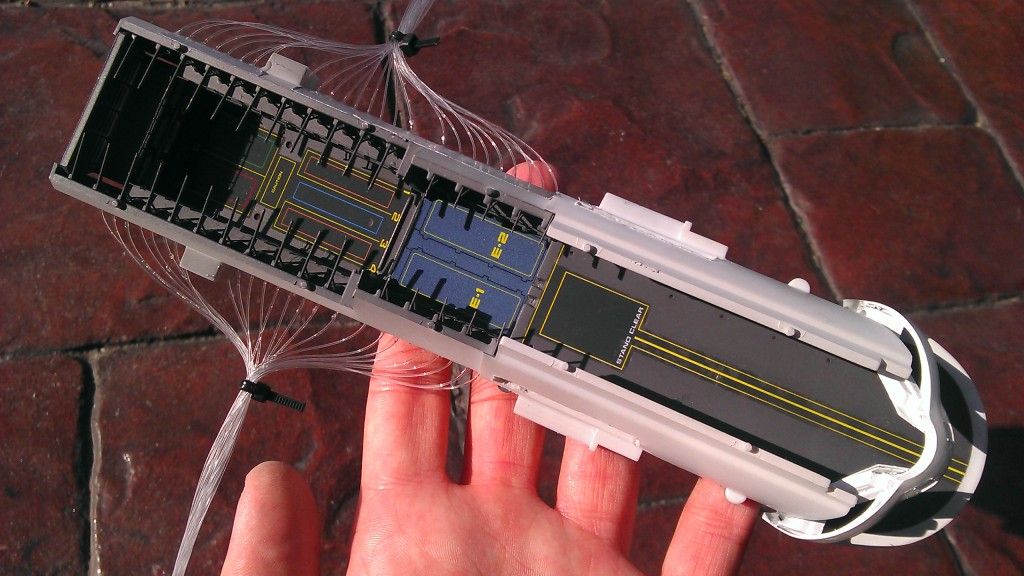
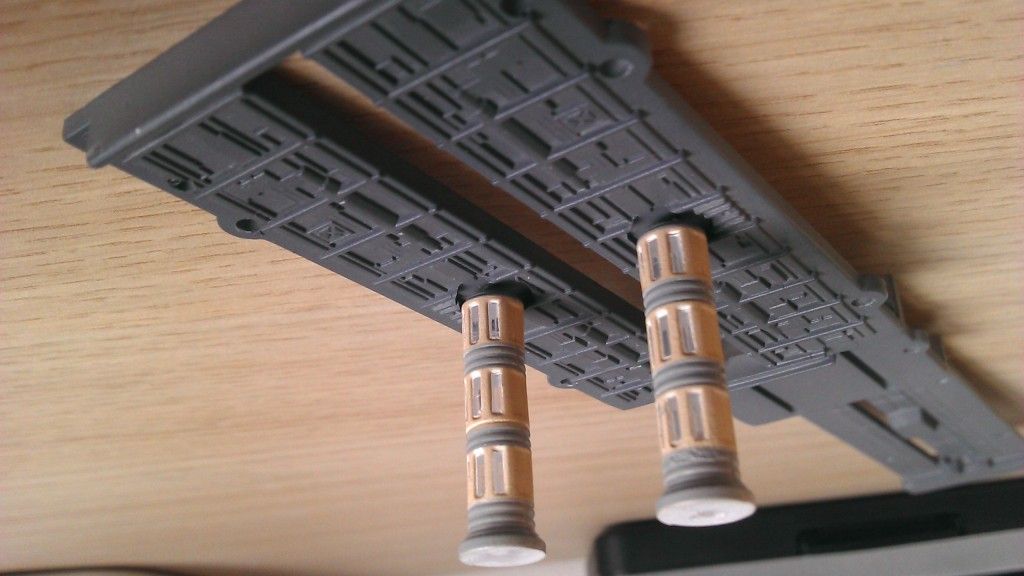
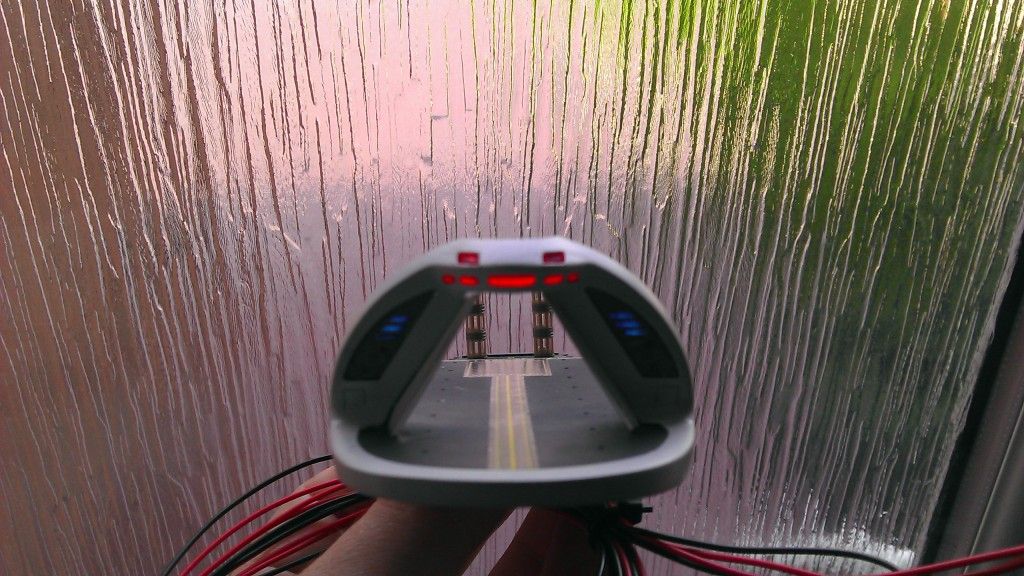
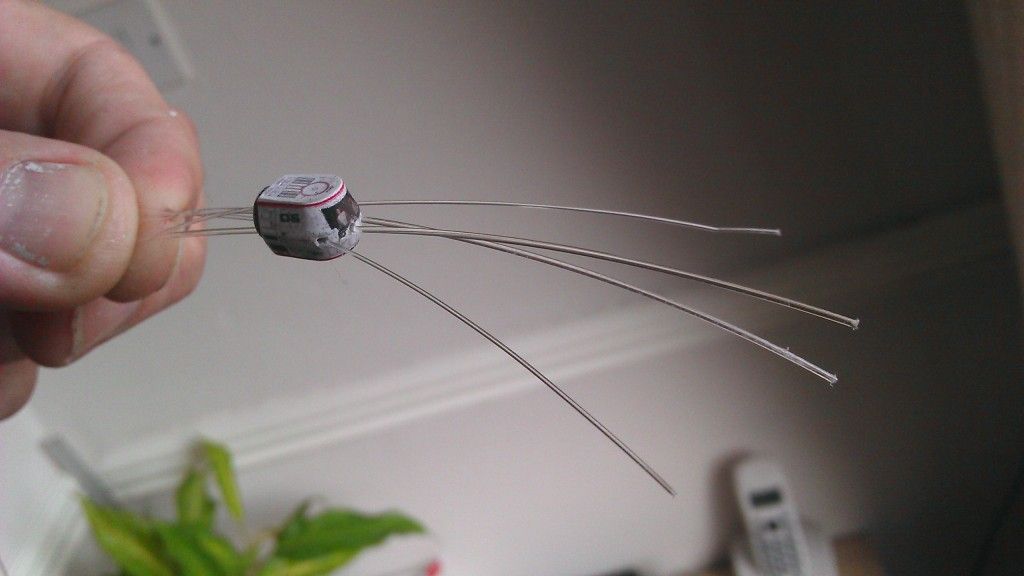
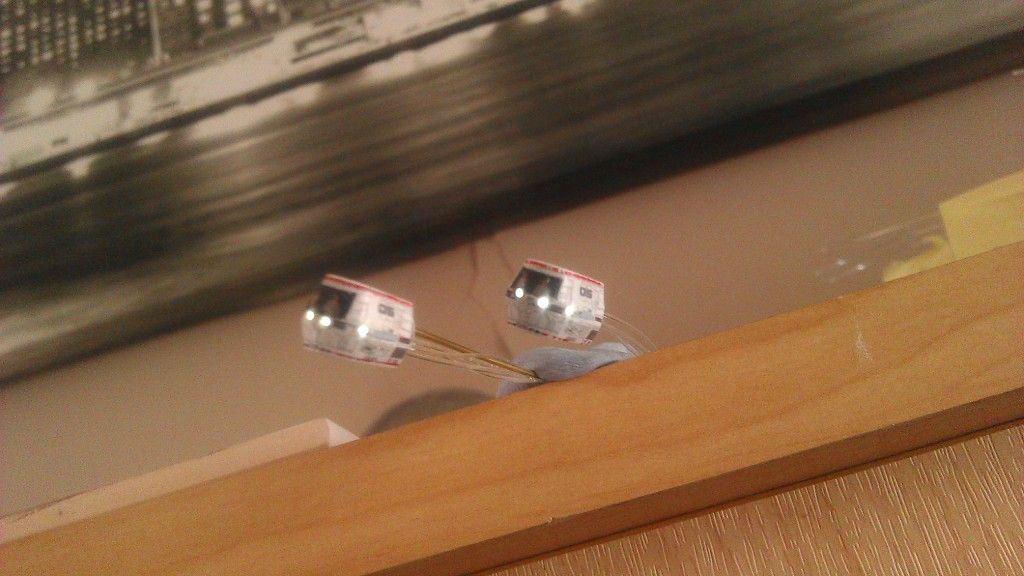
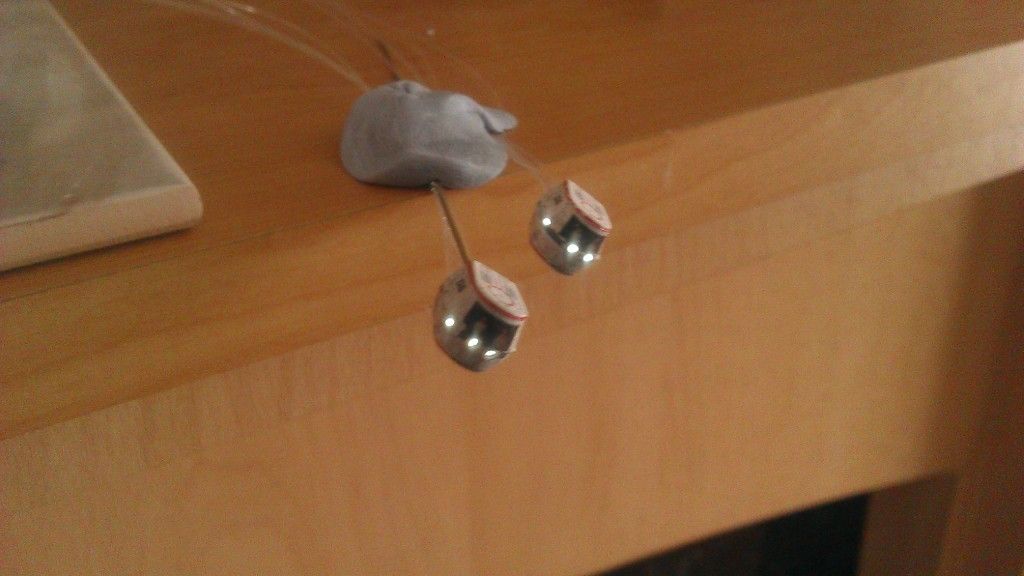
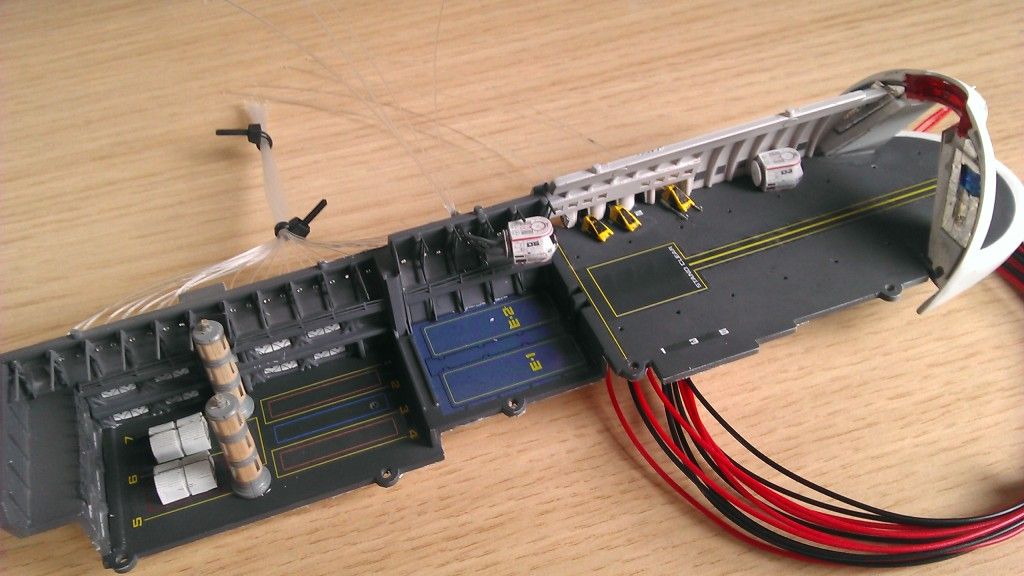
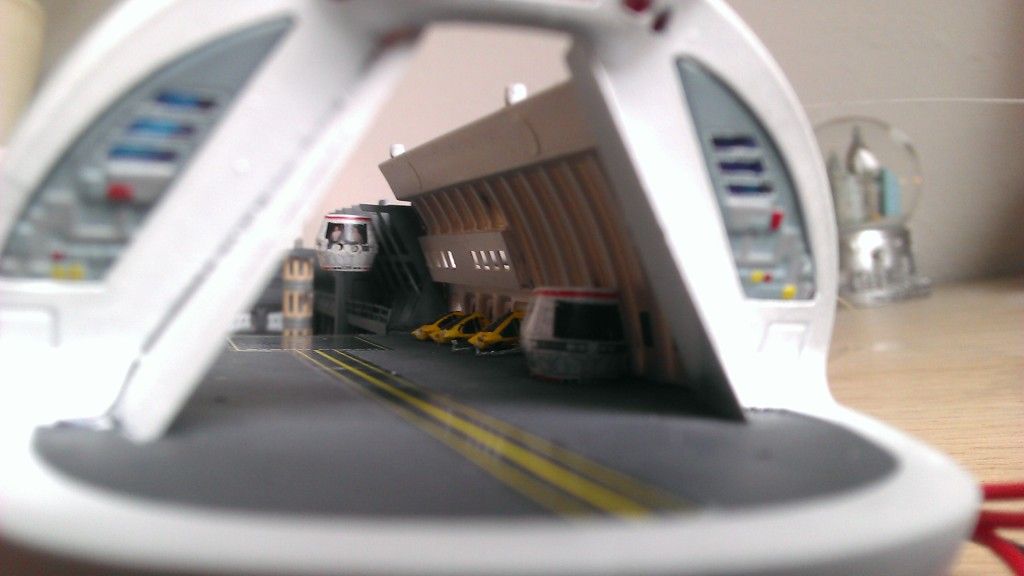
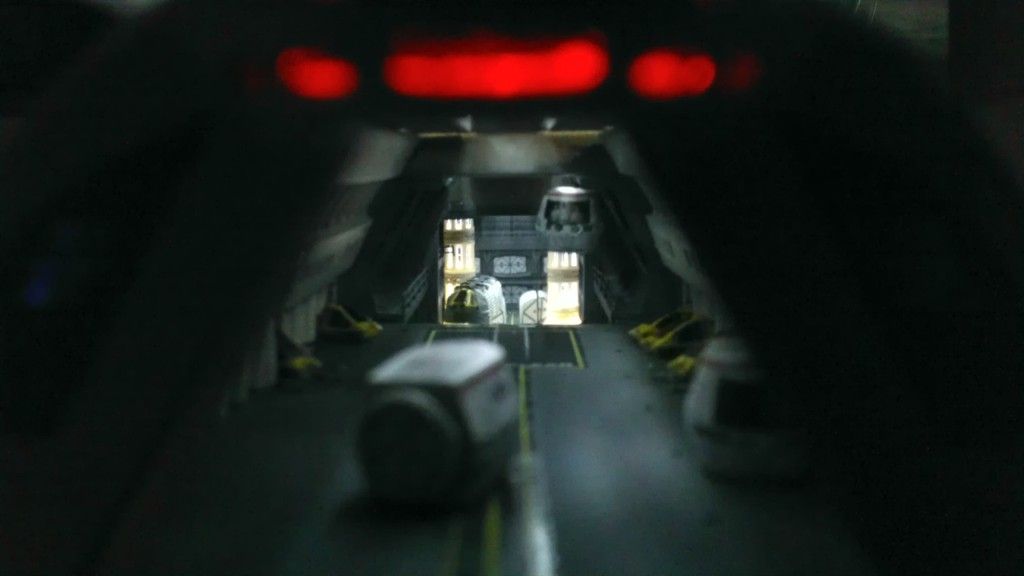
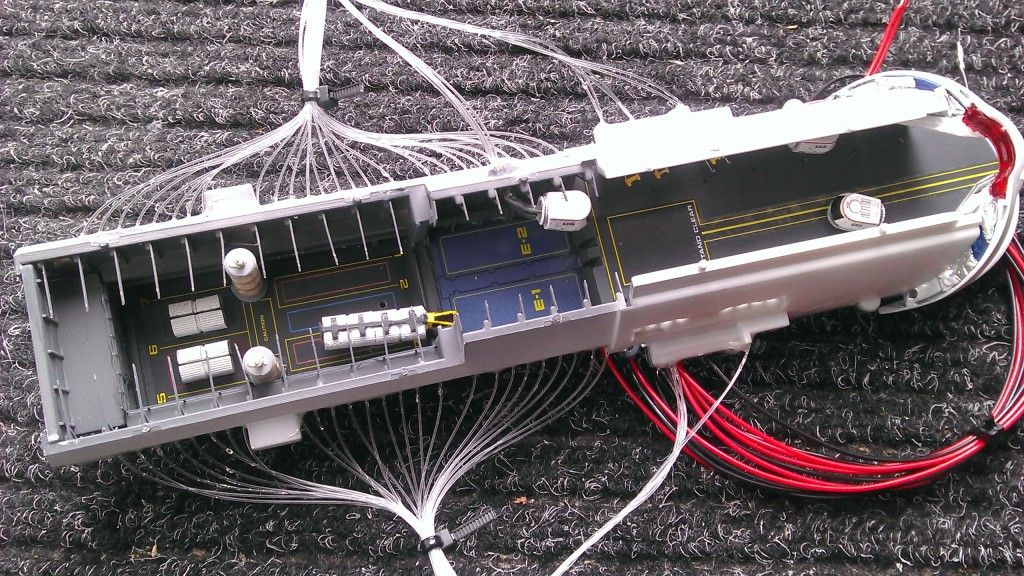
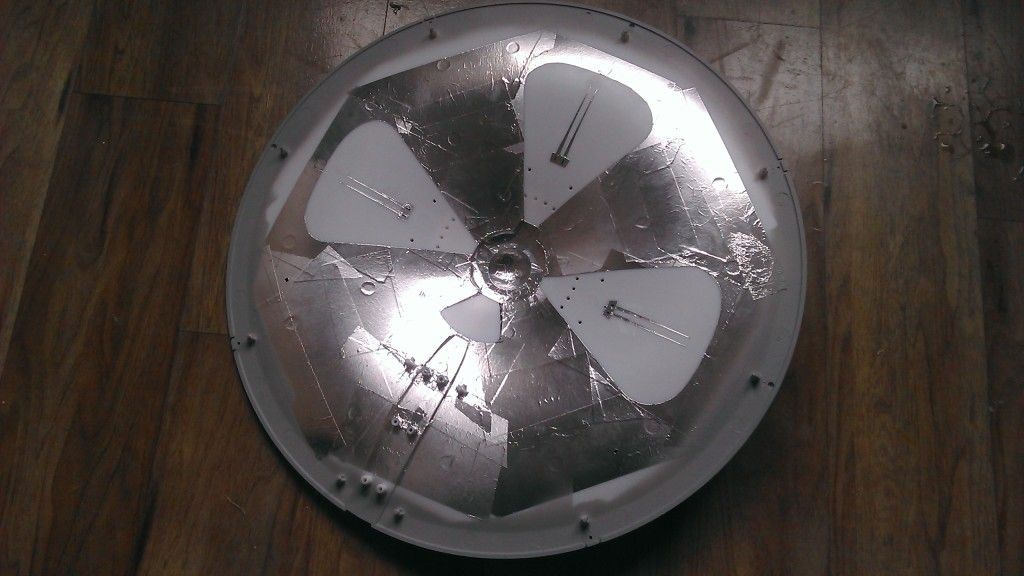
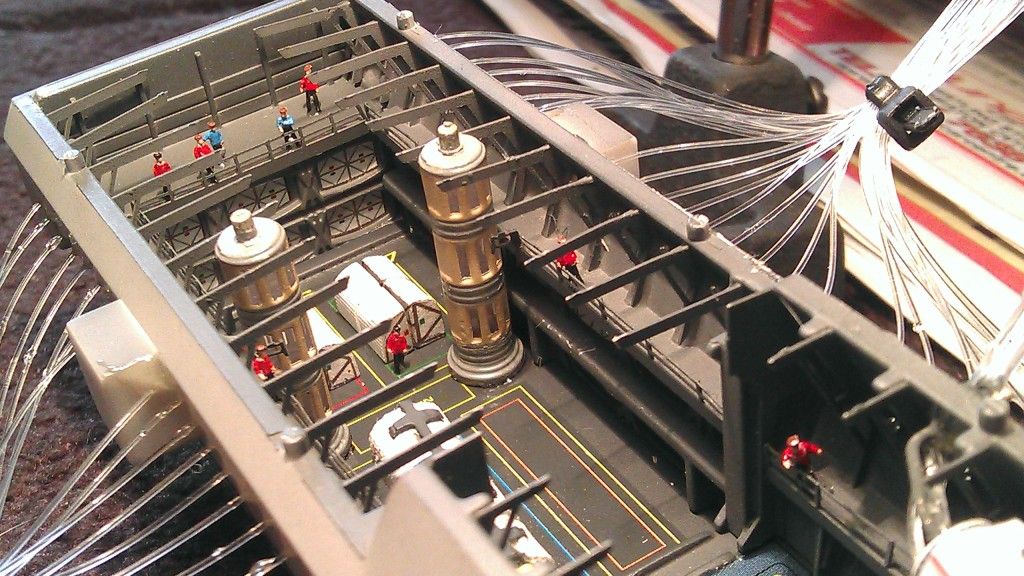
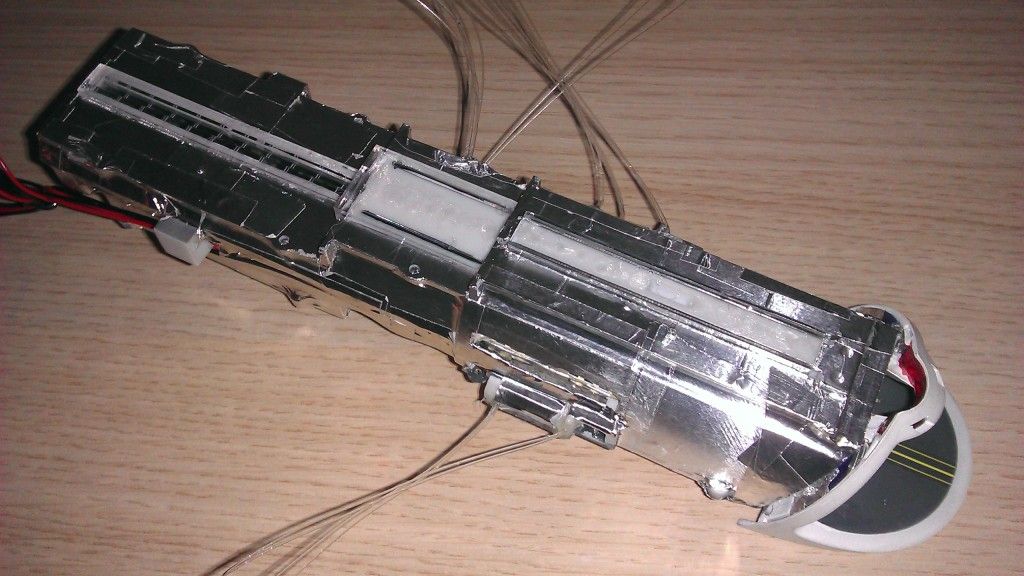
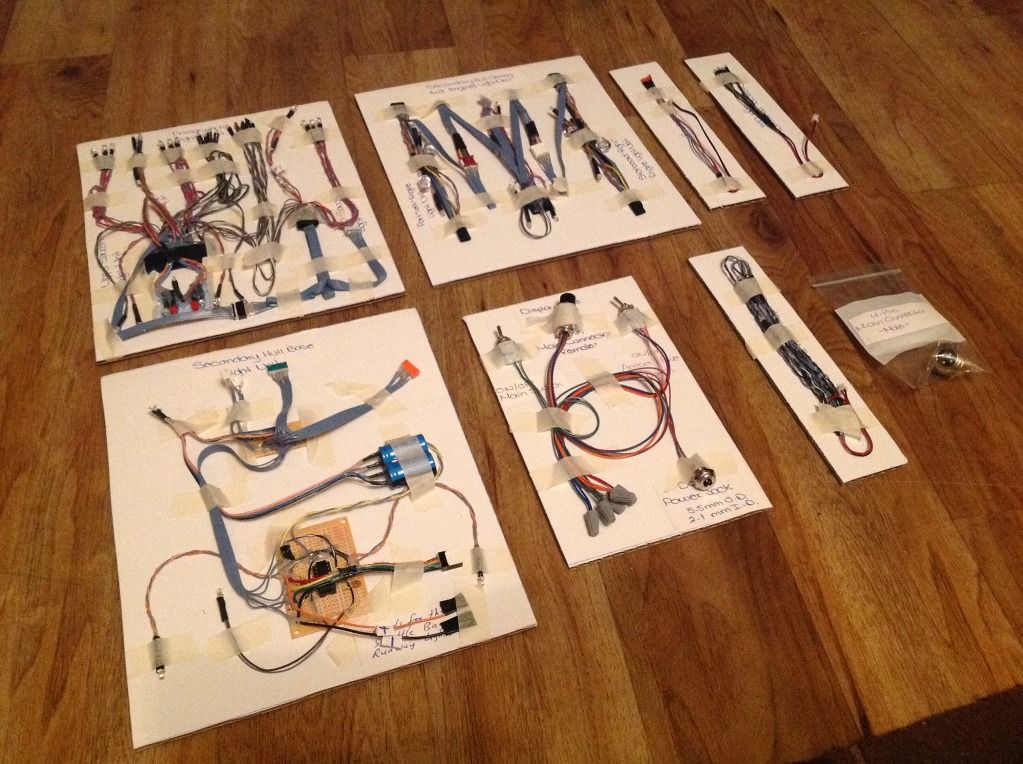
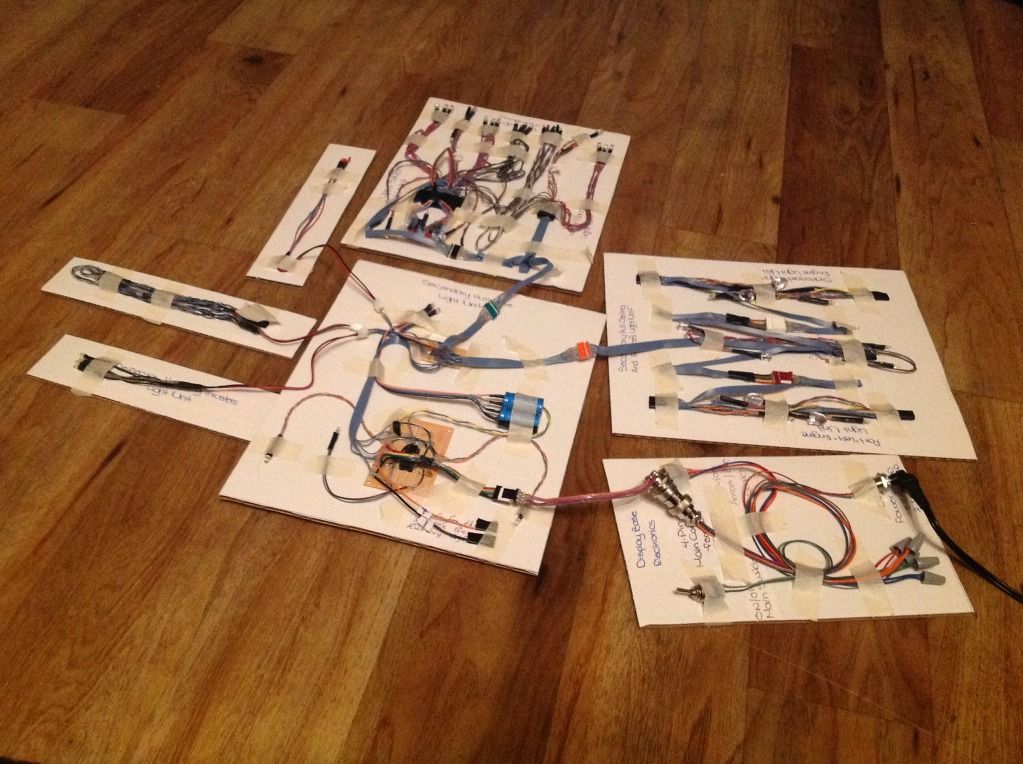
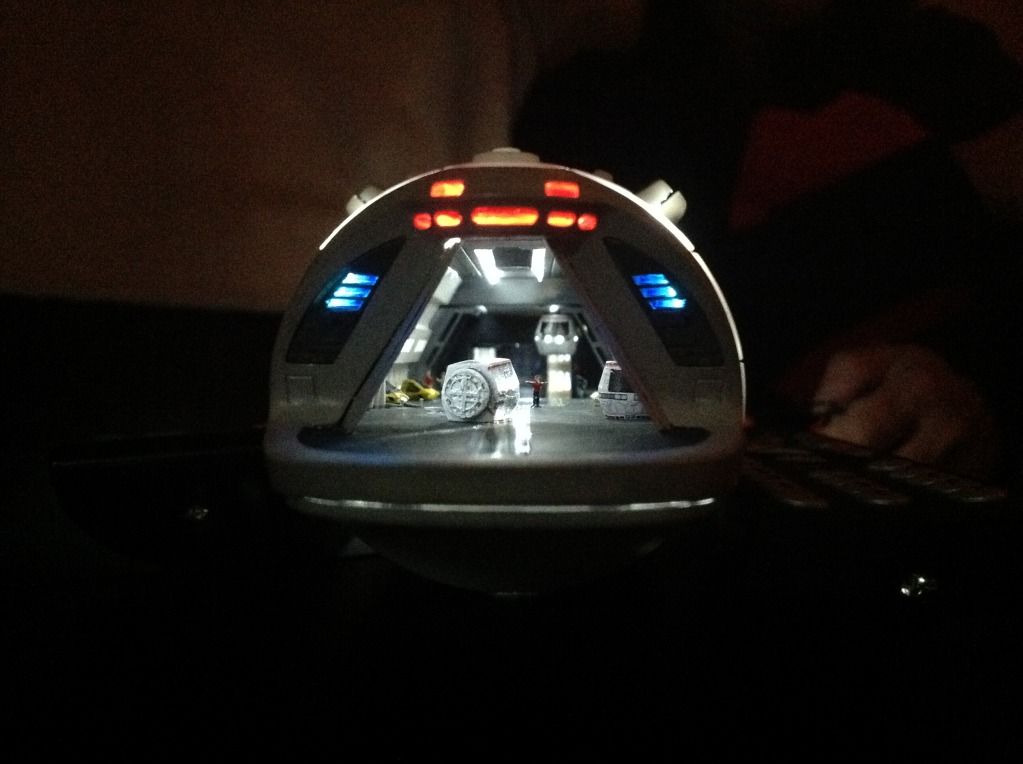
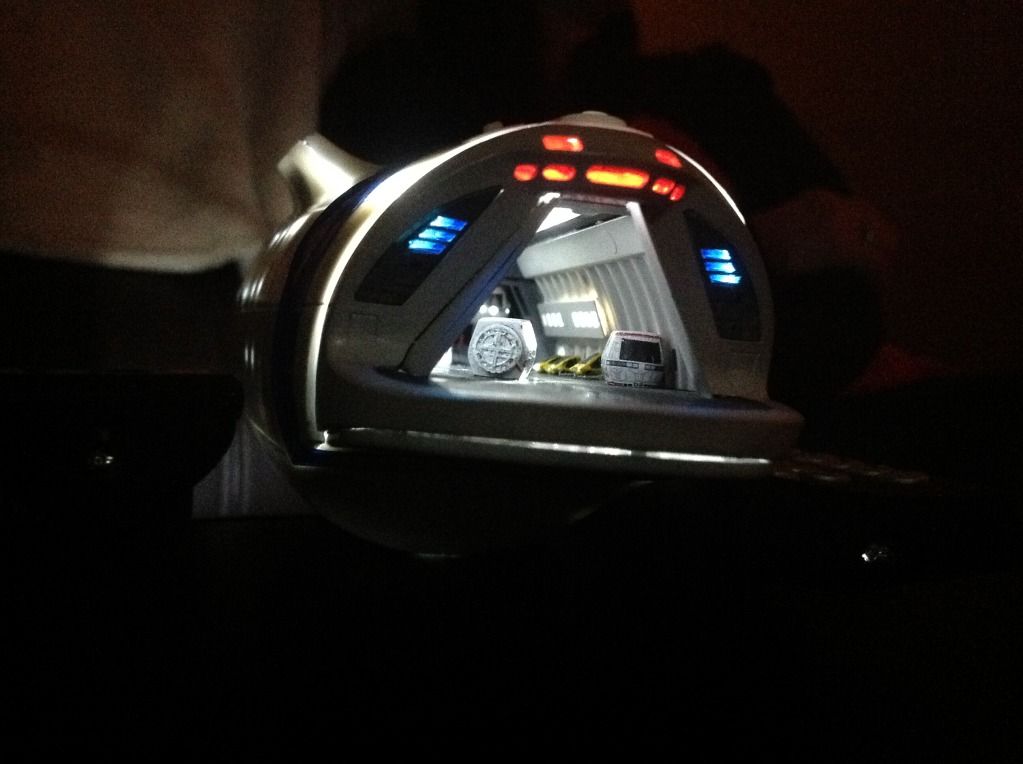
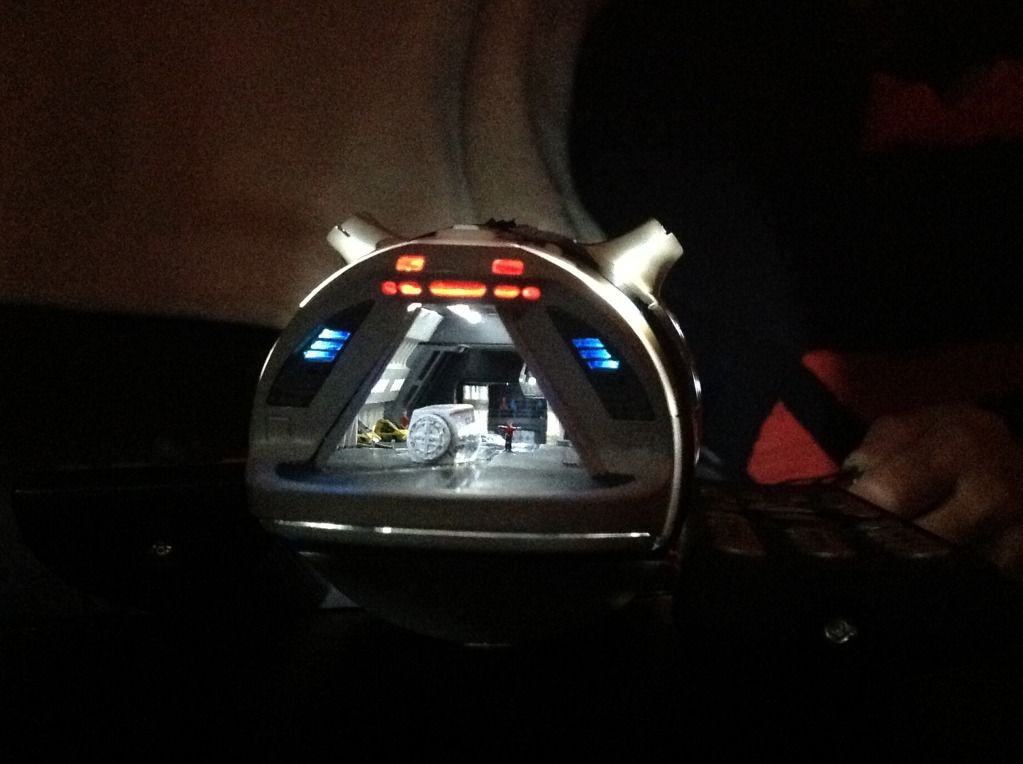
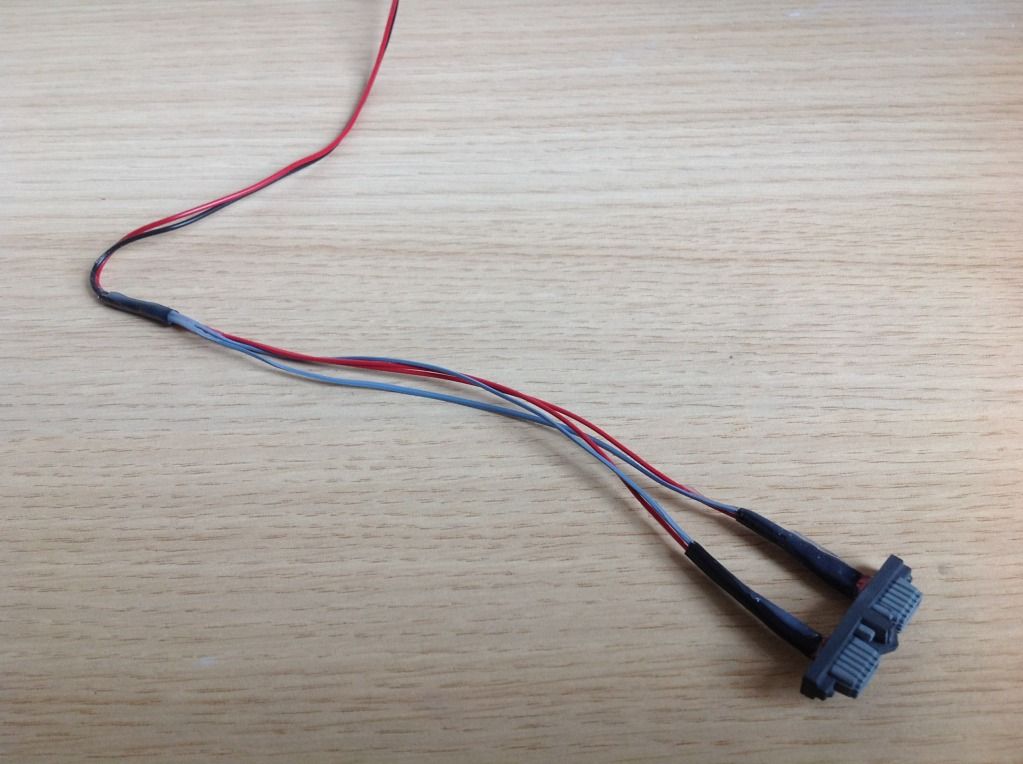
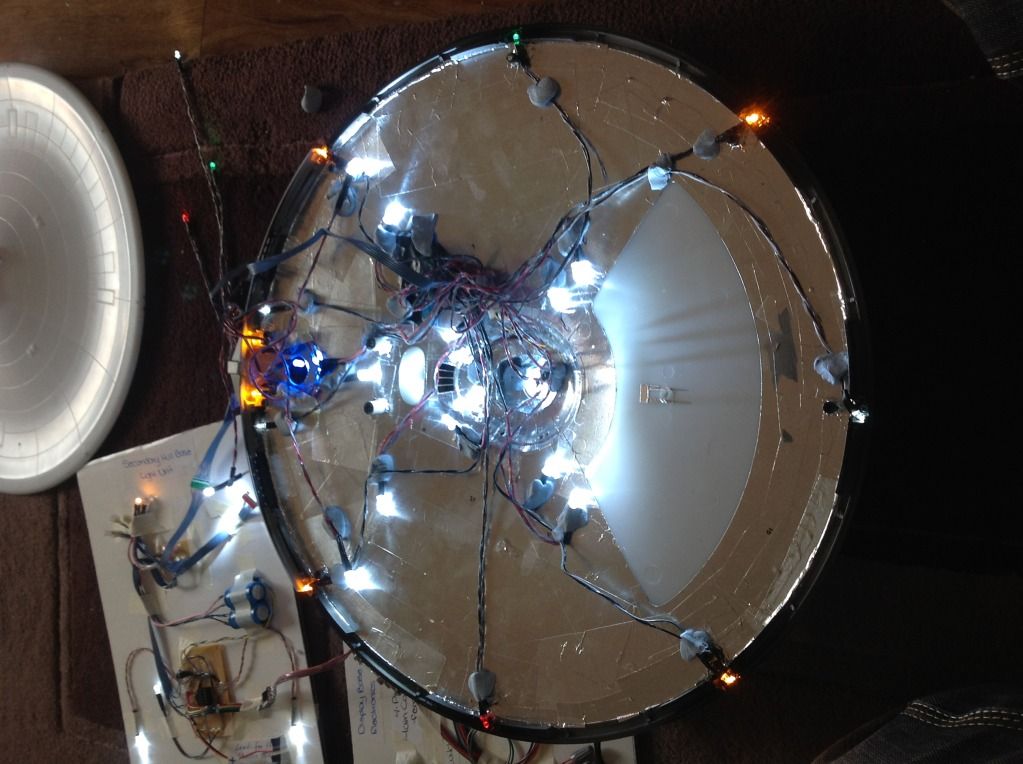
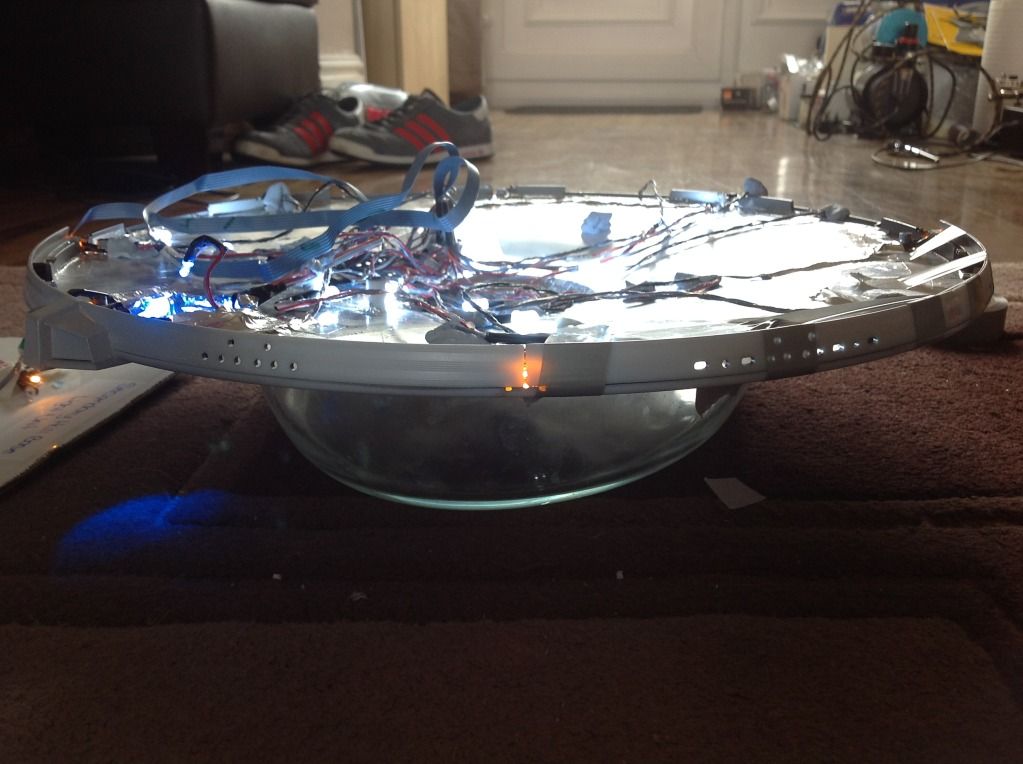
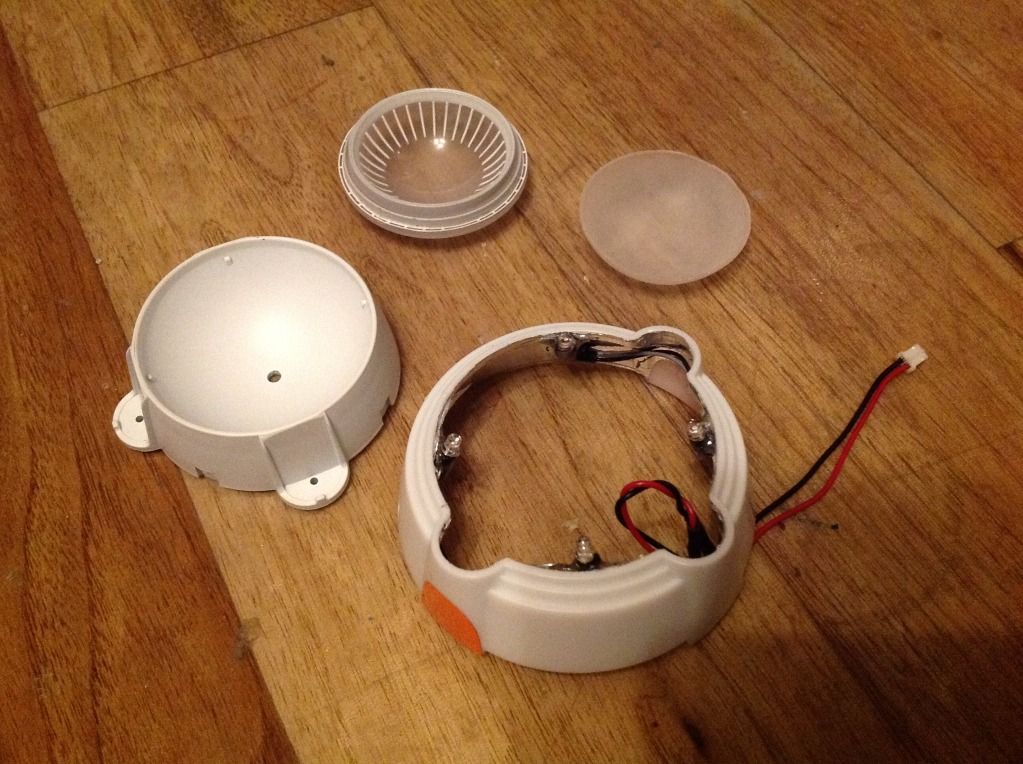
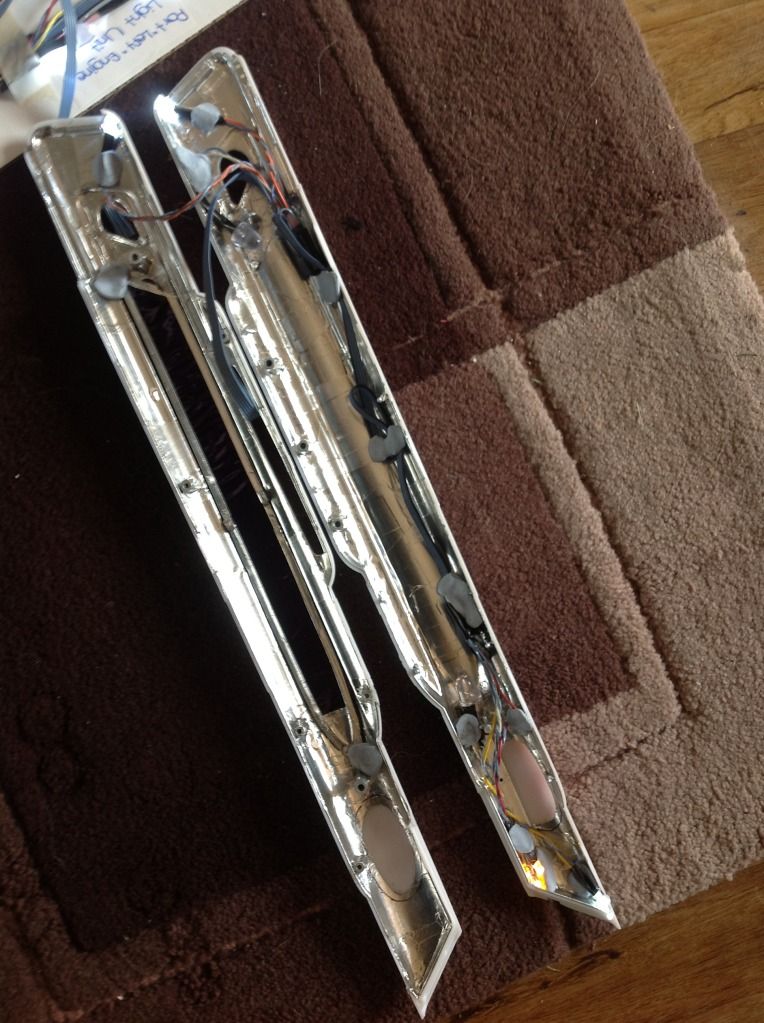
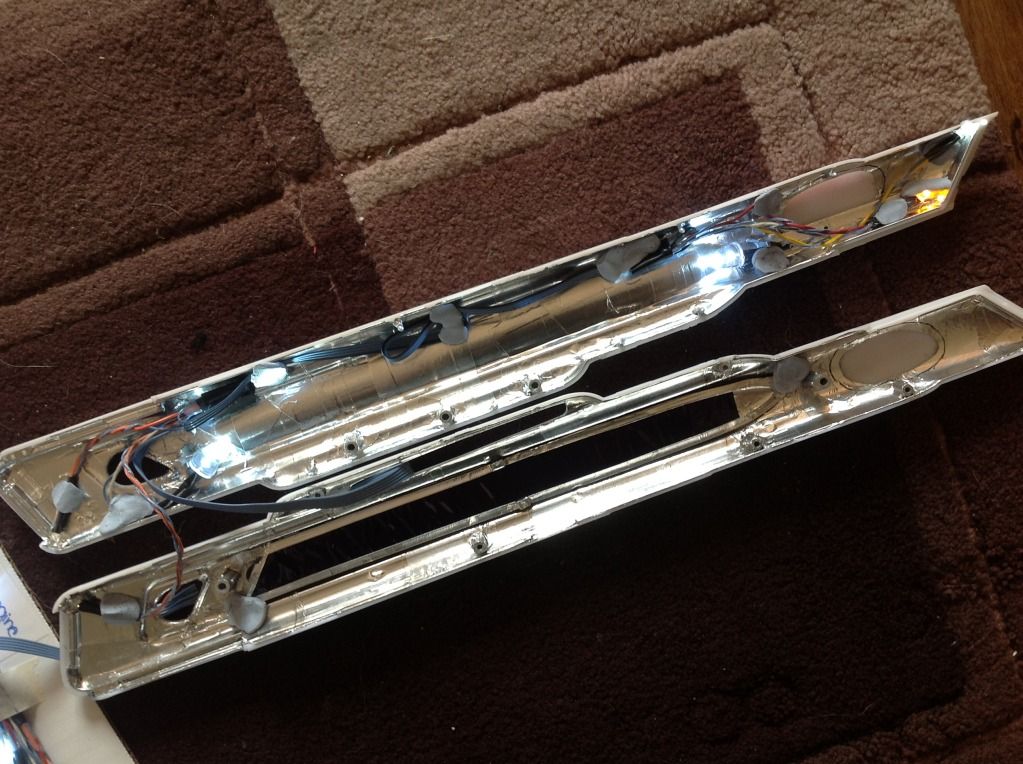
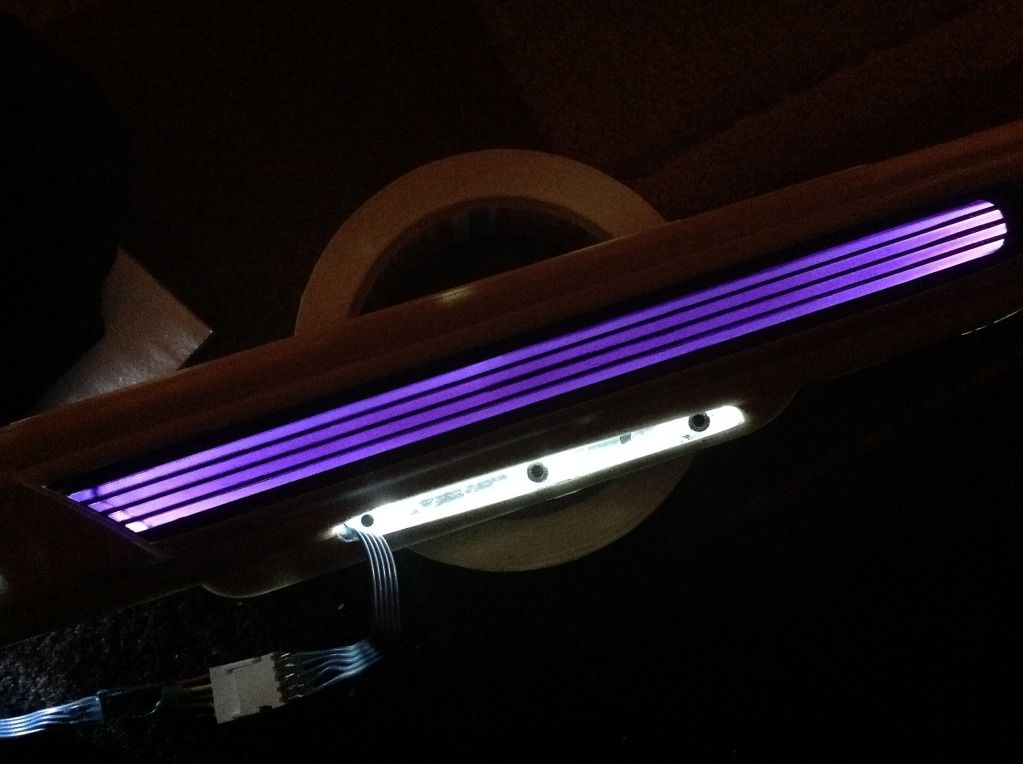
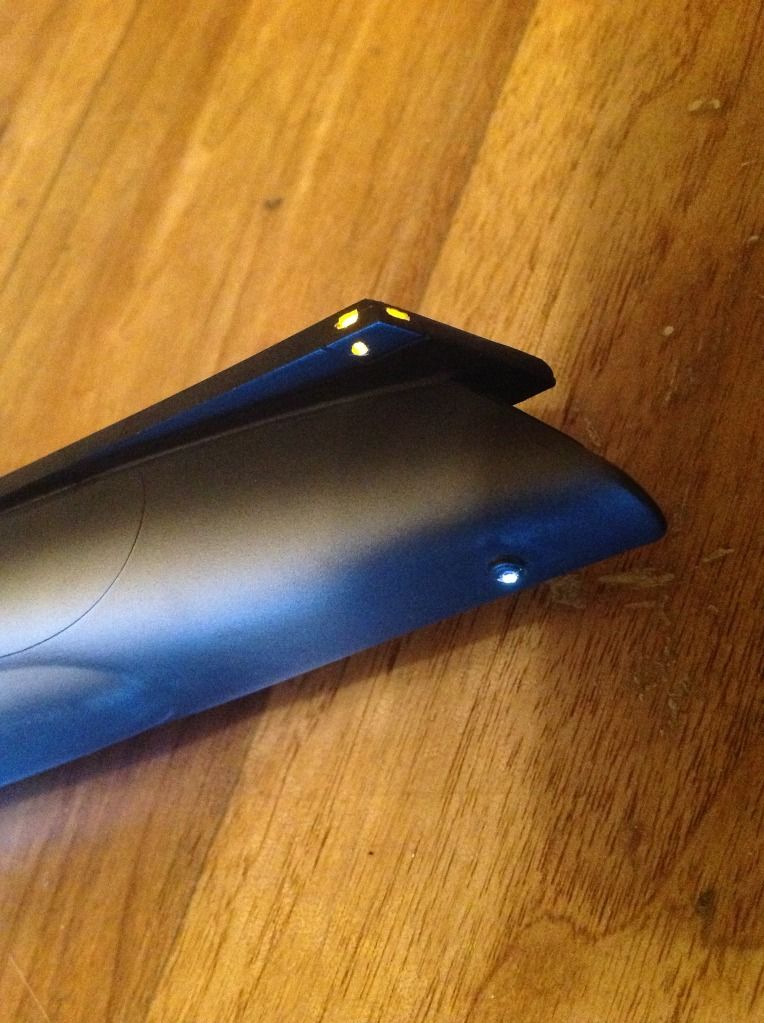
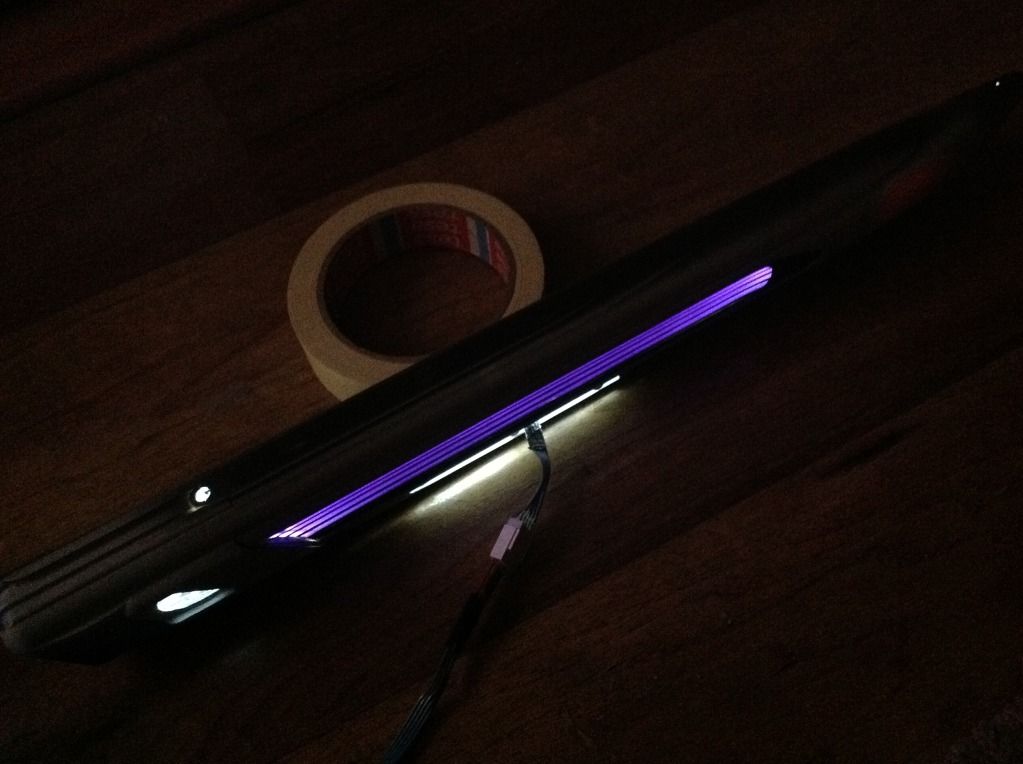
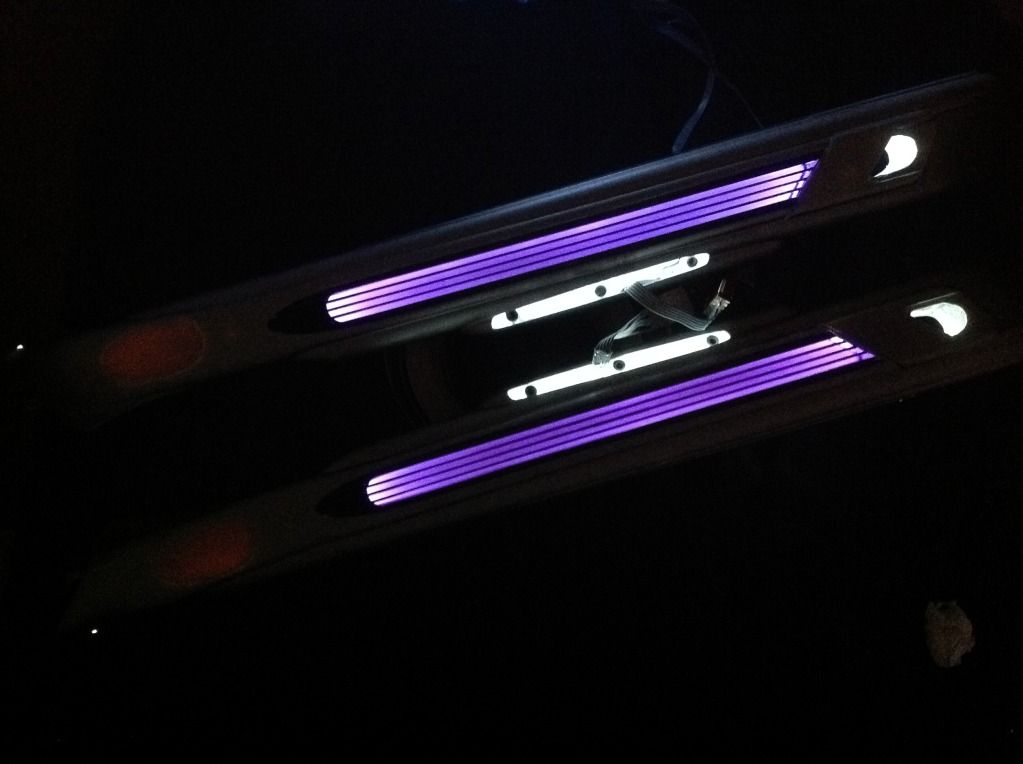
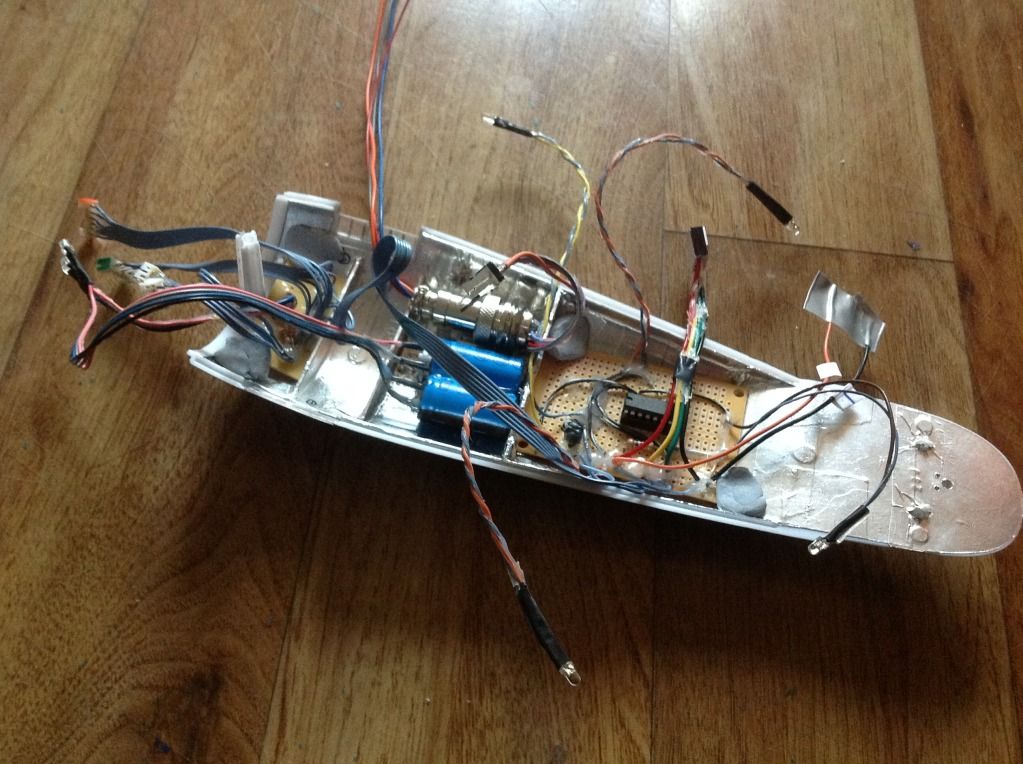
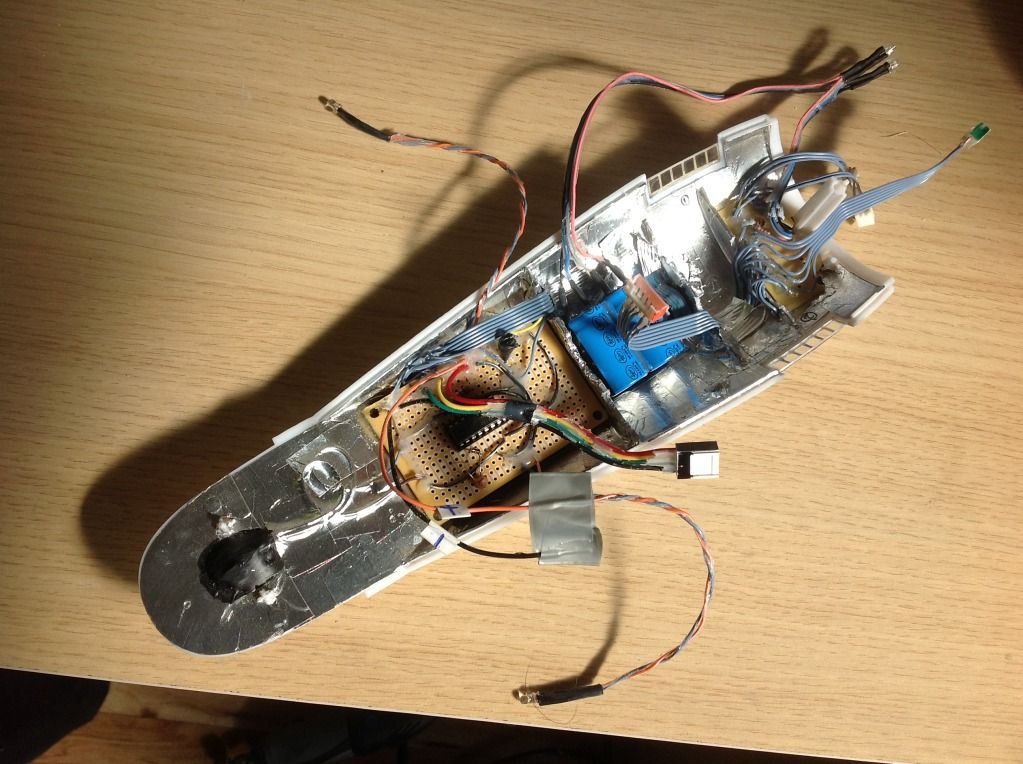
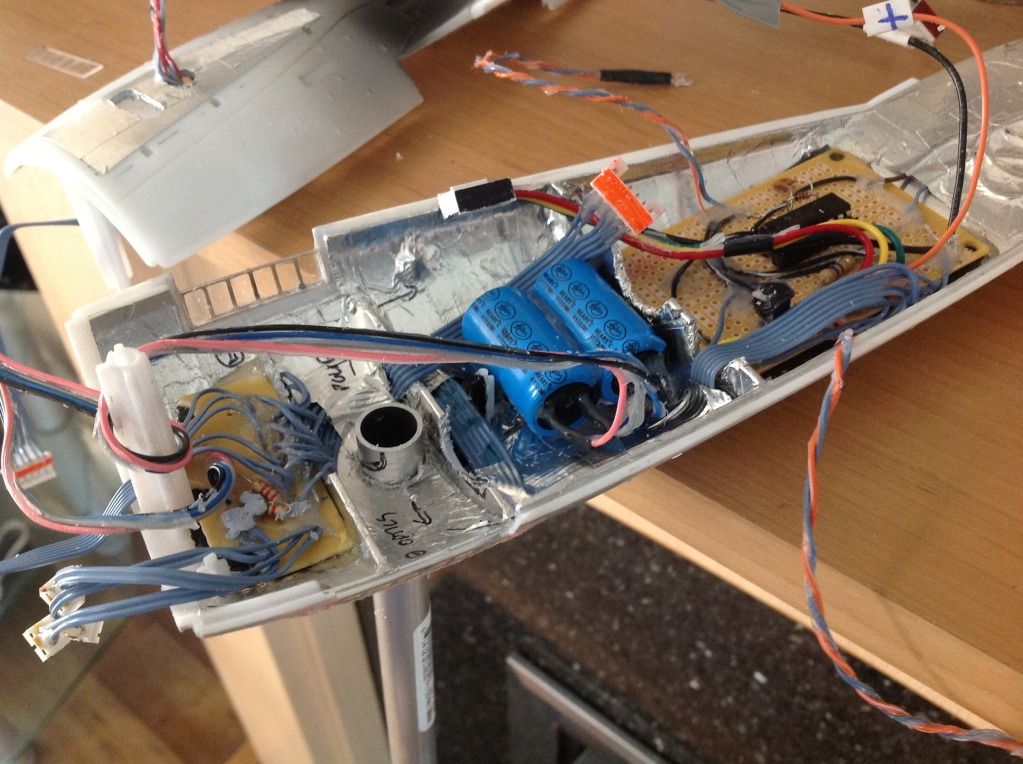
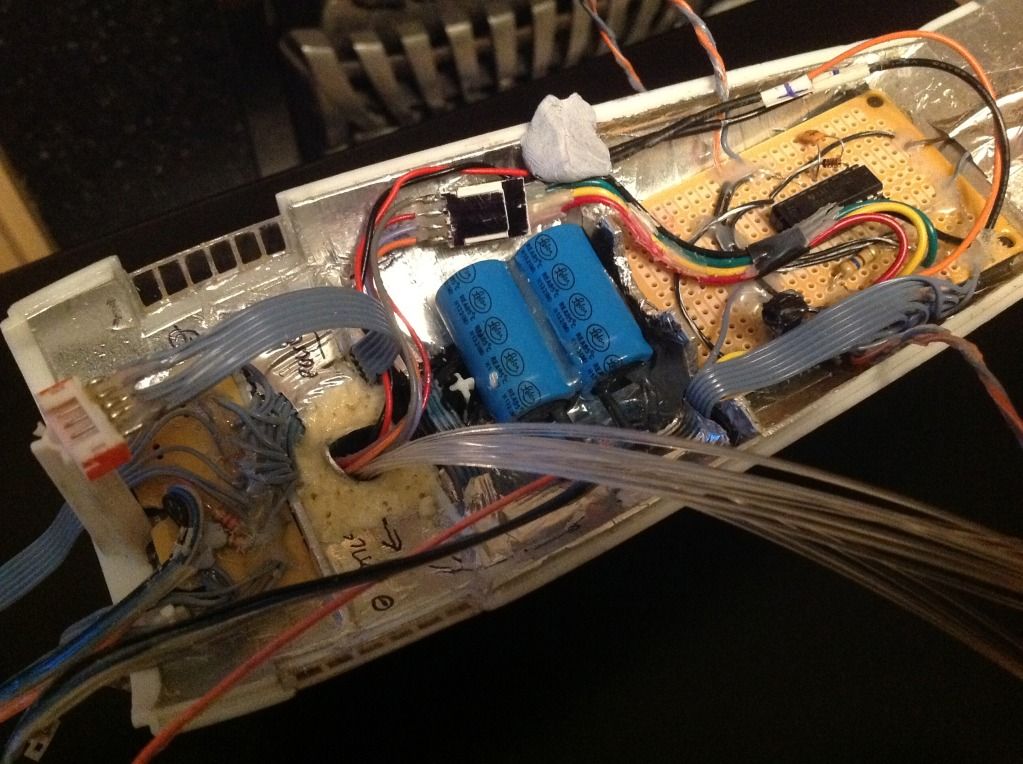
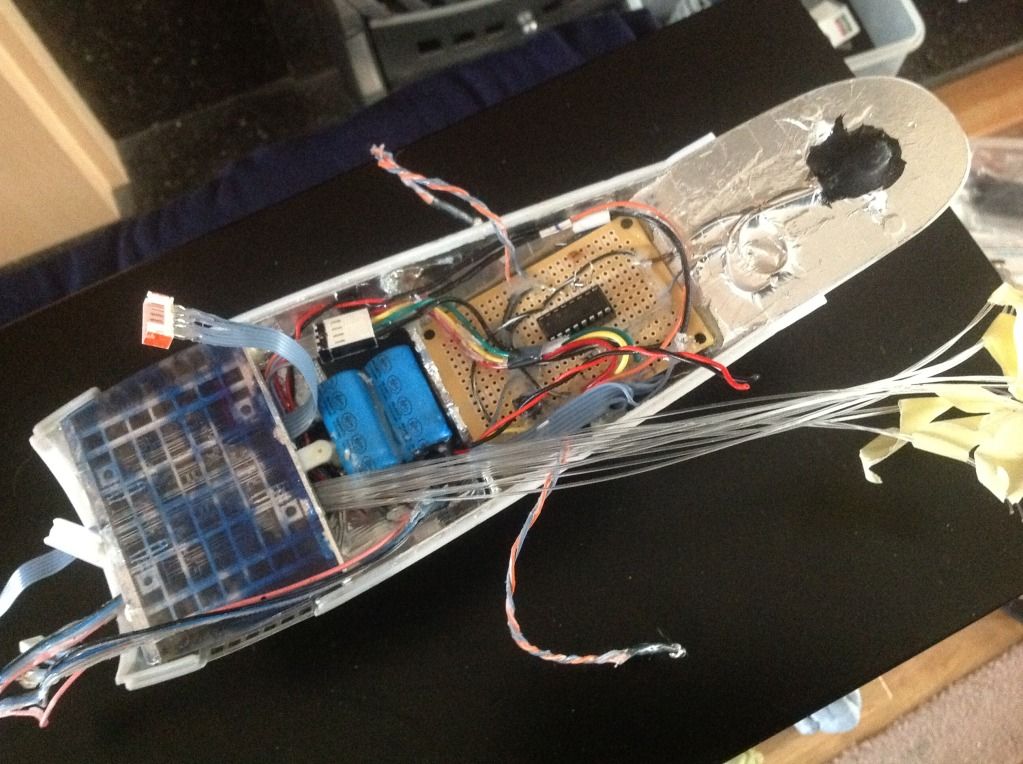
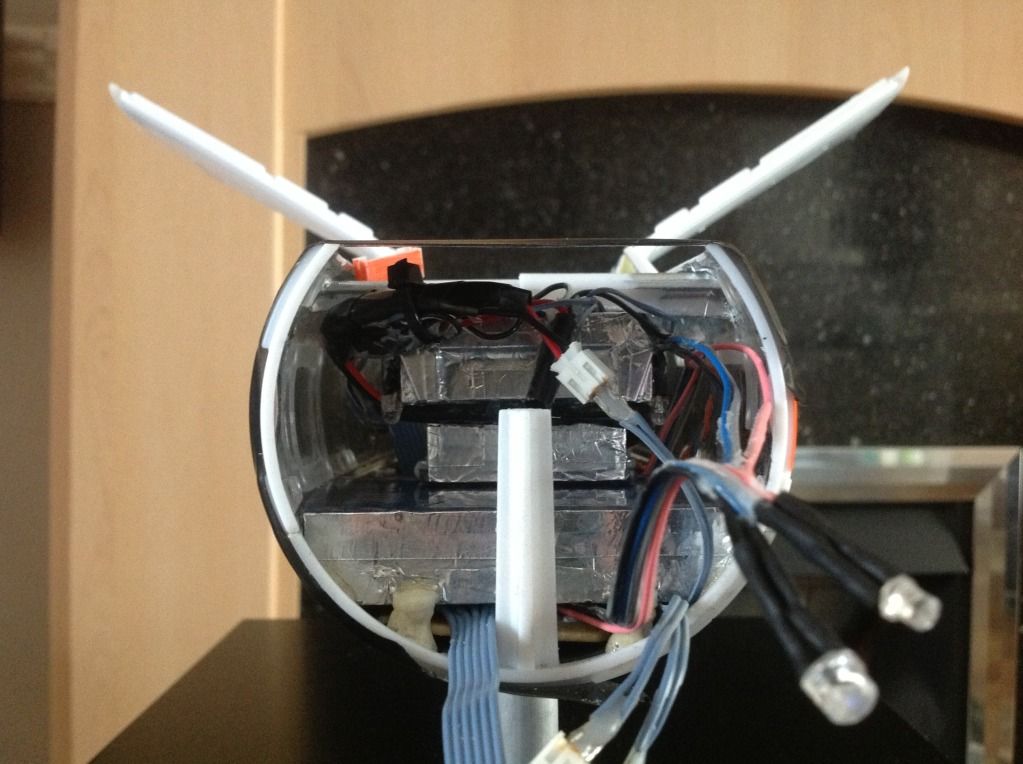
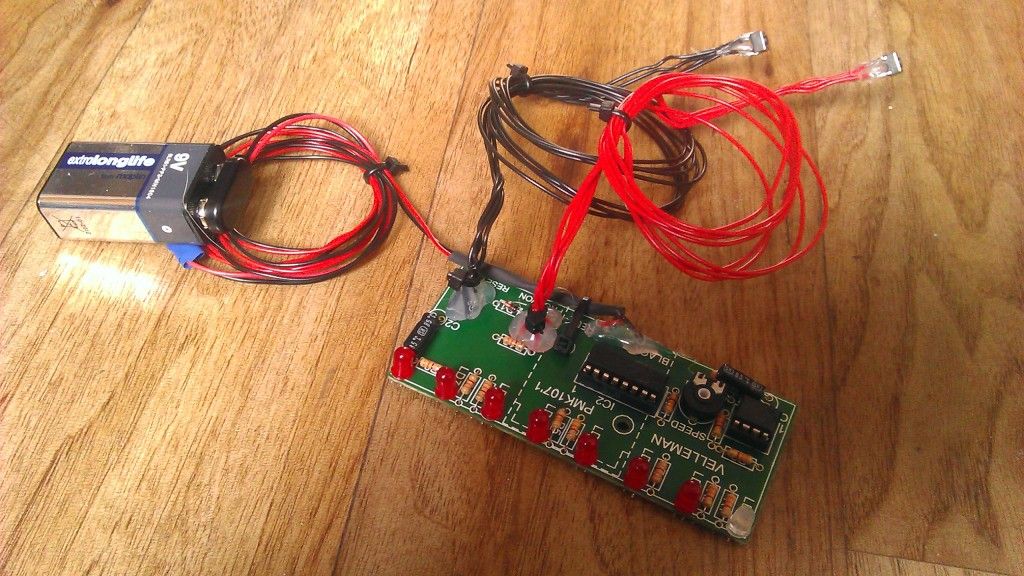
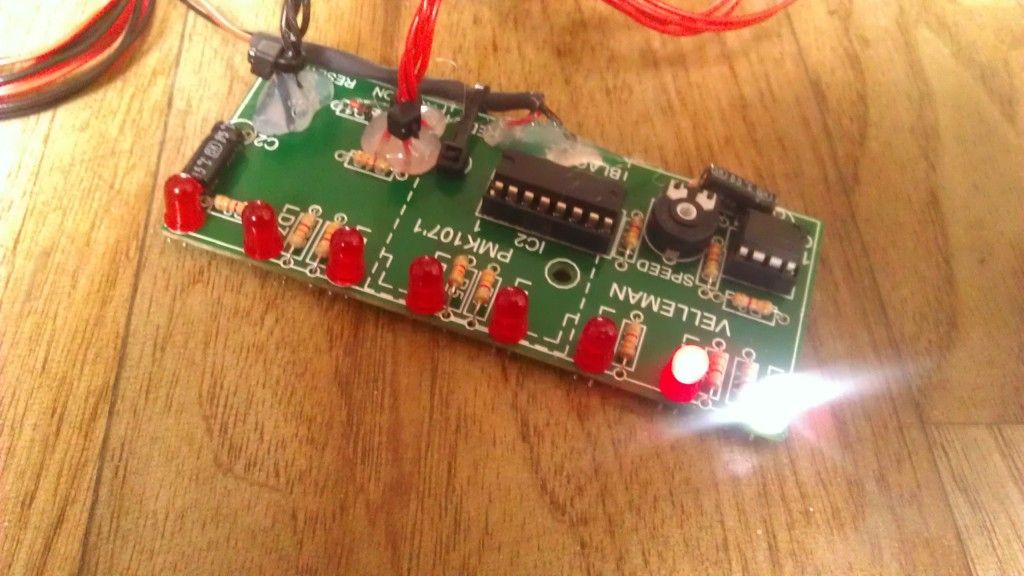
this i want an illuminated landing bay, so to maplins we went to get an led chaser kit by velleman, i will used fibre optic cables to carry the light from it source...... the circuit all built and wiring extended to suit my needs - i also swapped the standard leds for some bigger ones and different colours
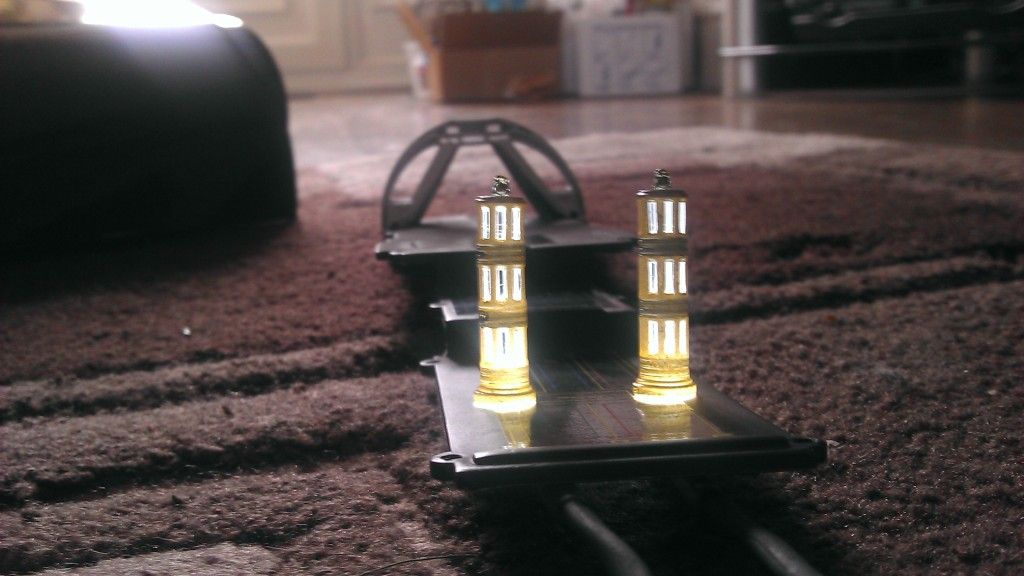
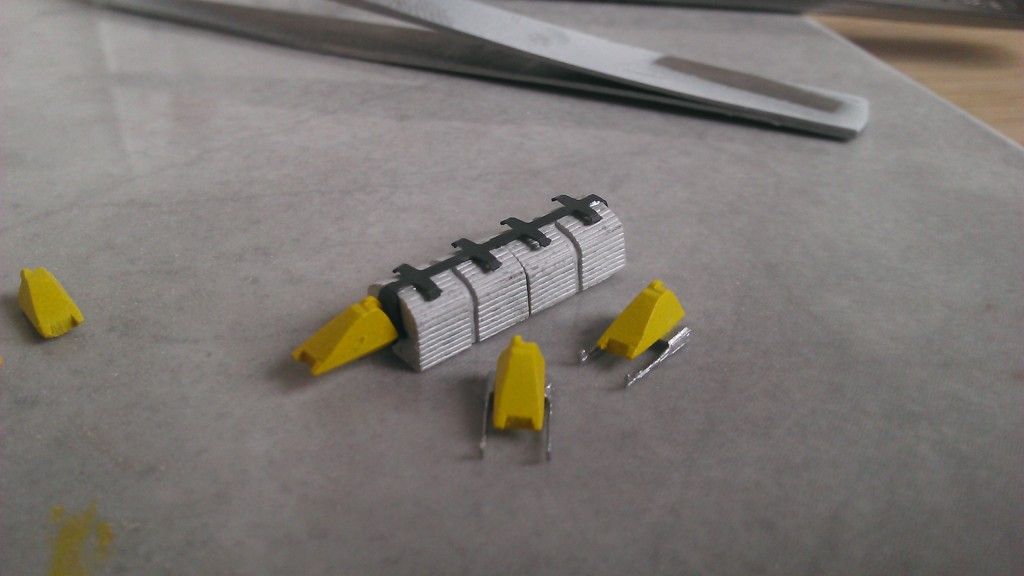
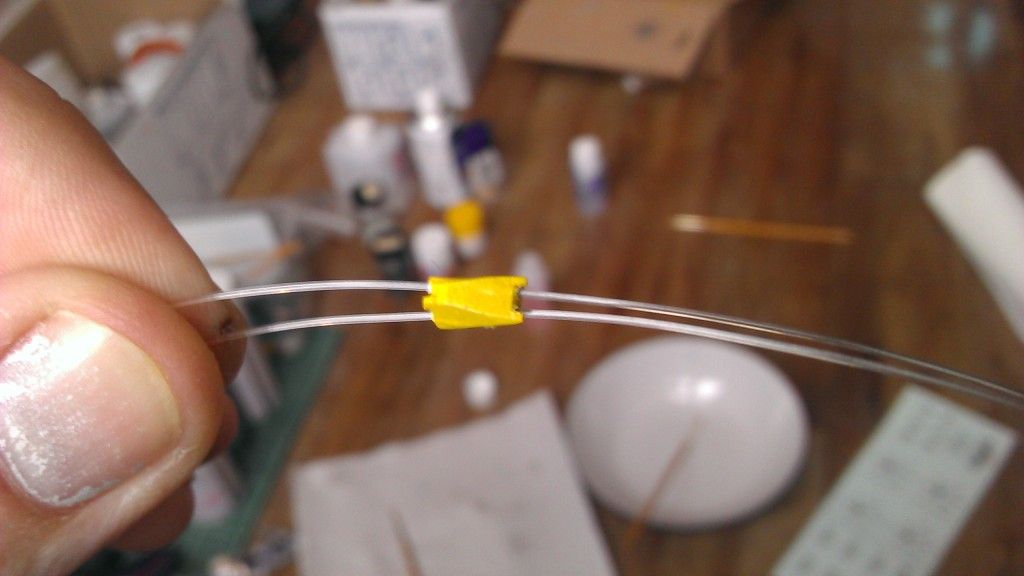
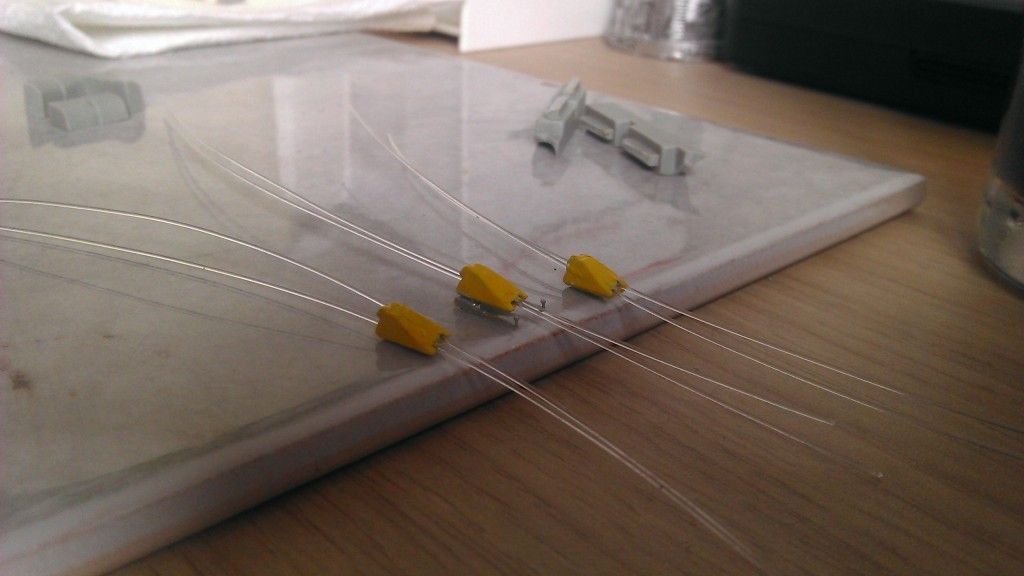
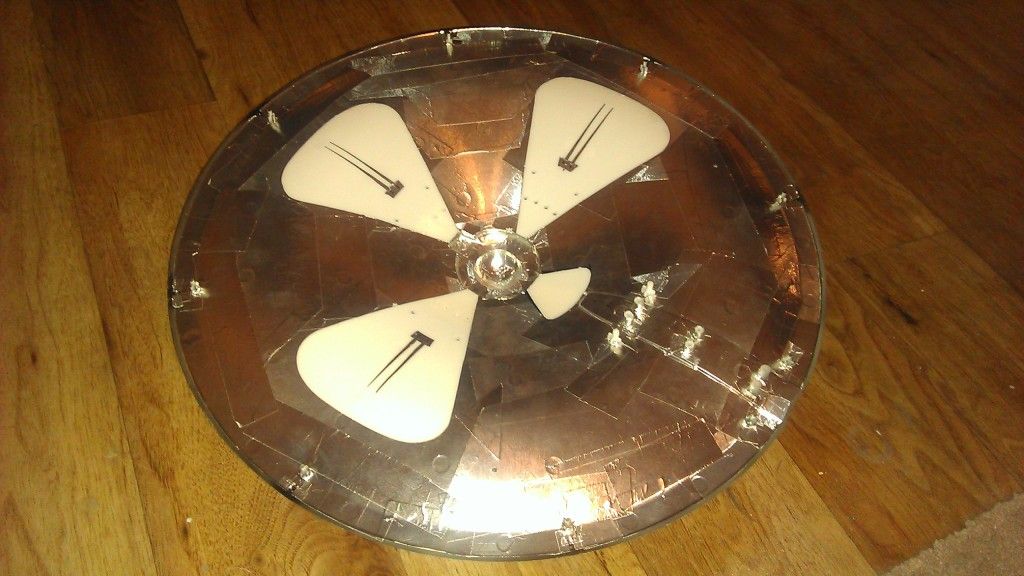
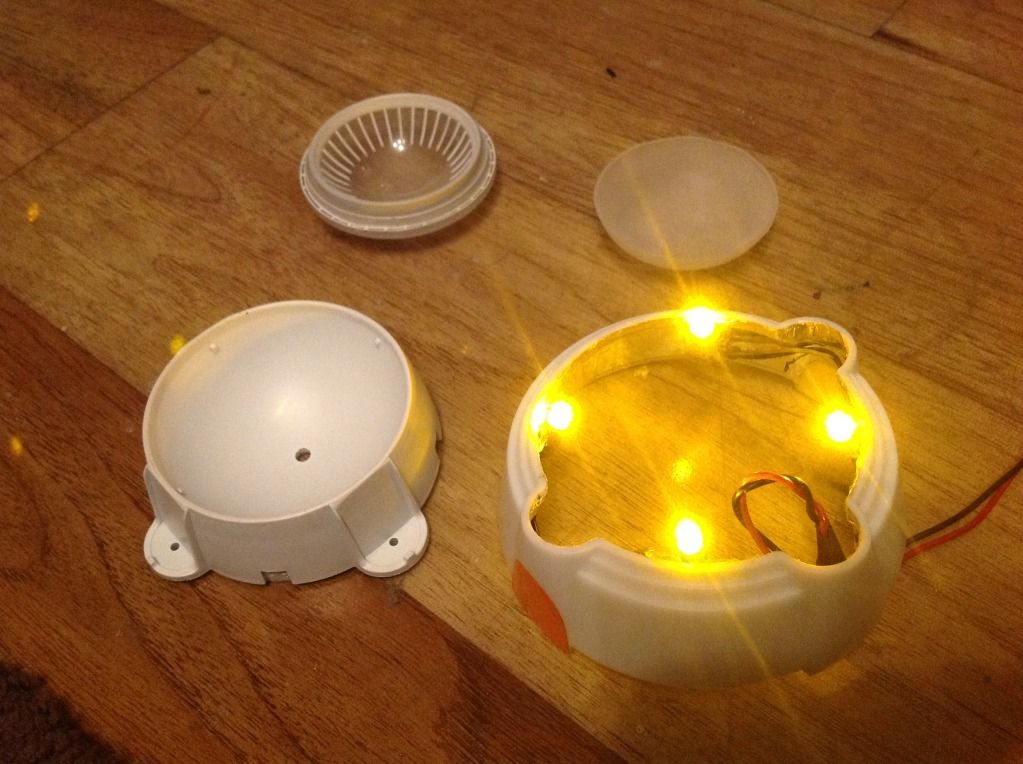
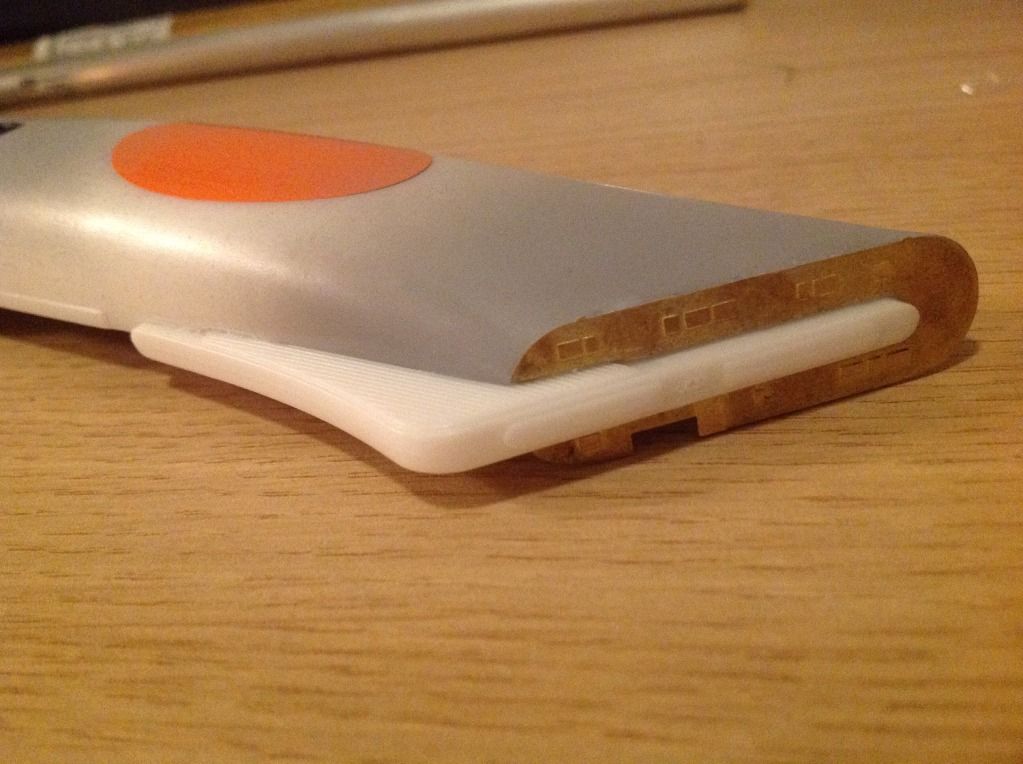
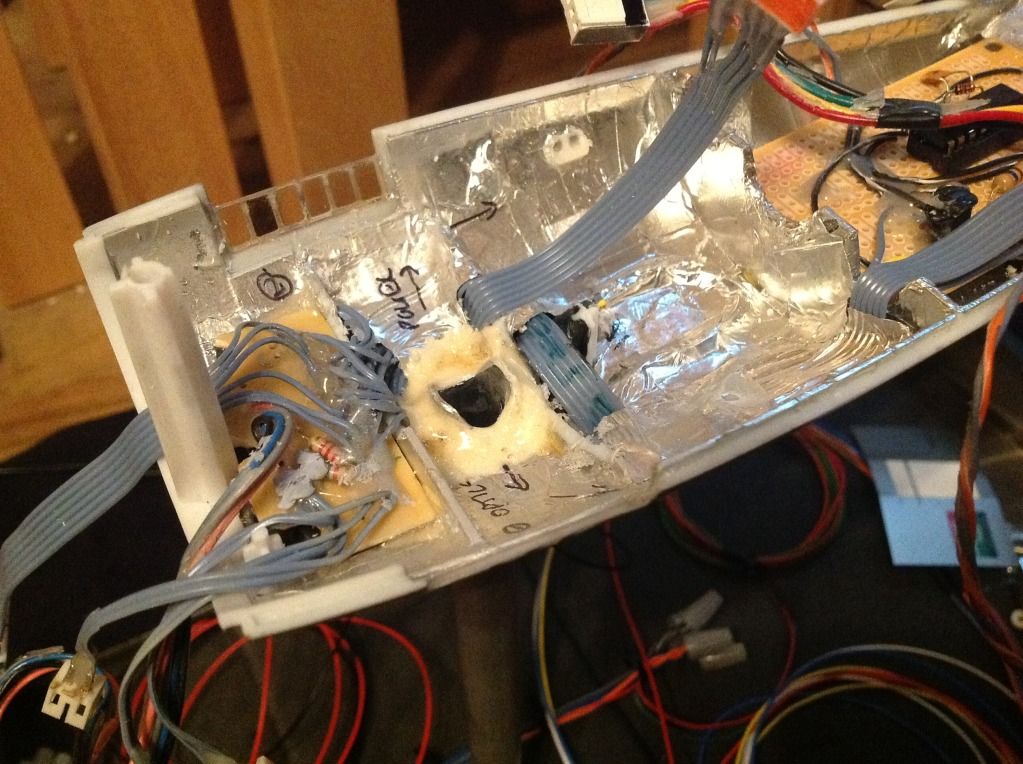
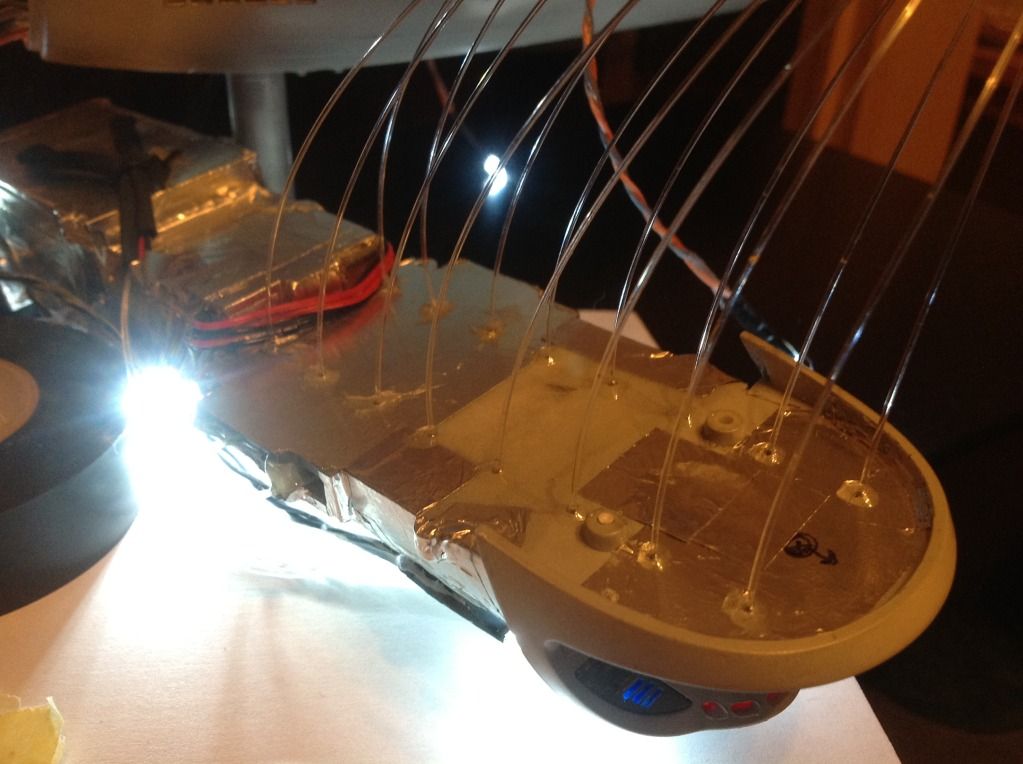
the fibre cables are fixed in place by drilling 2 0.5mm holes into each led and then inserting the optic into place and glueing

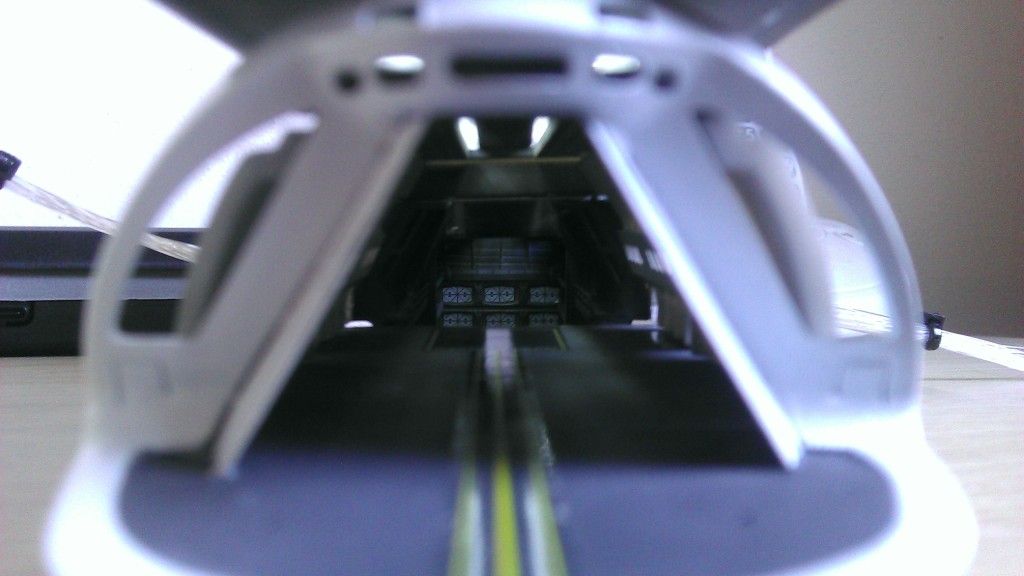
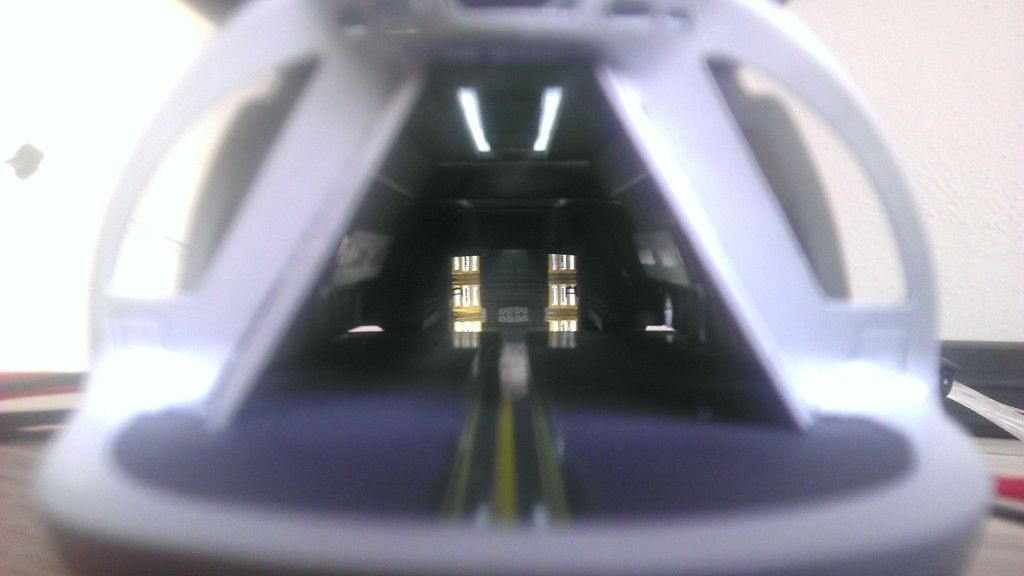
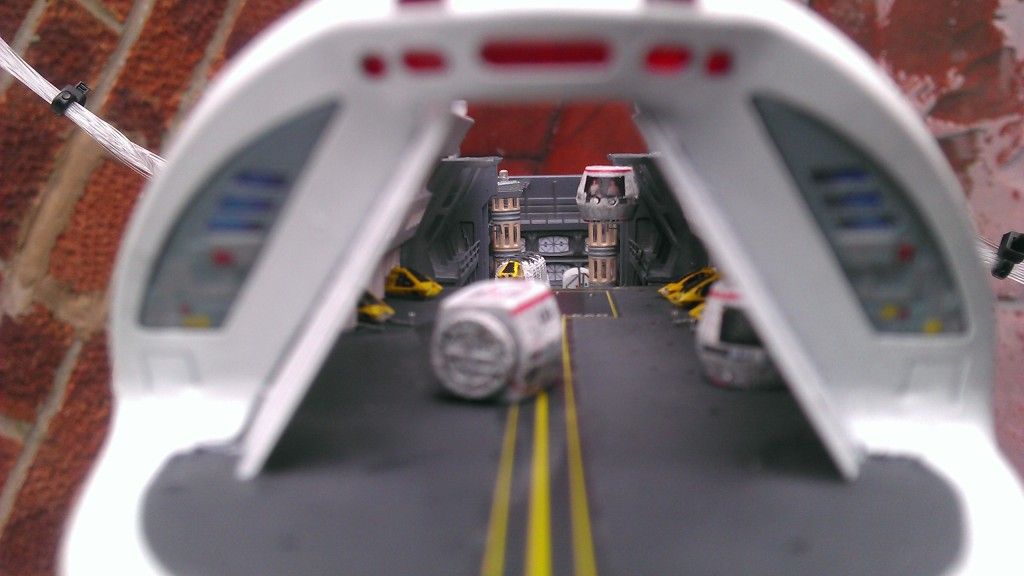
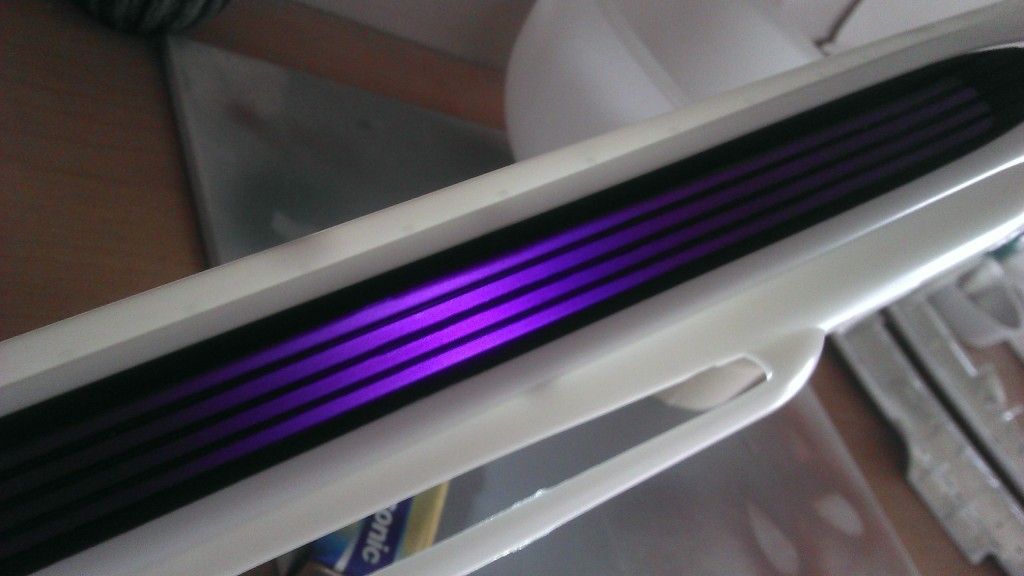
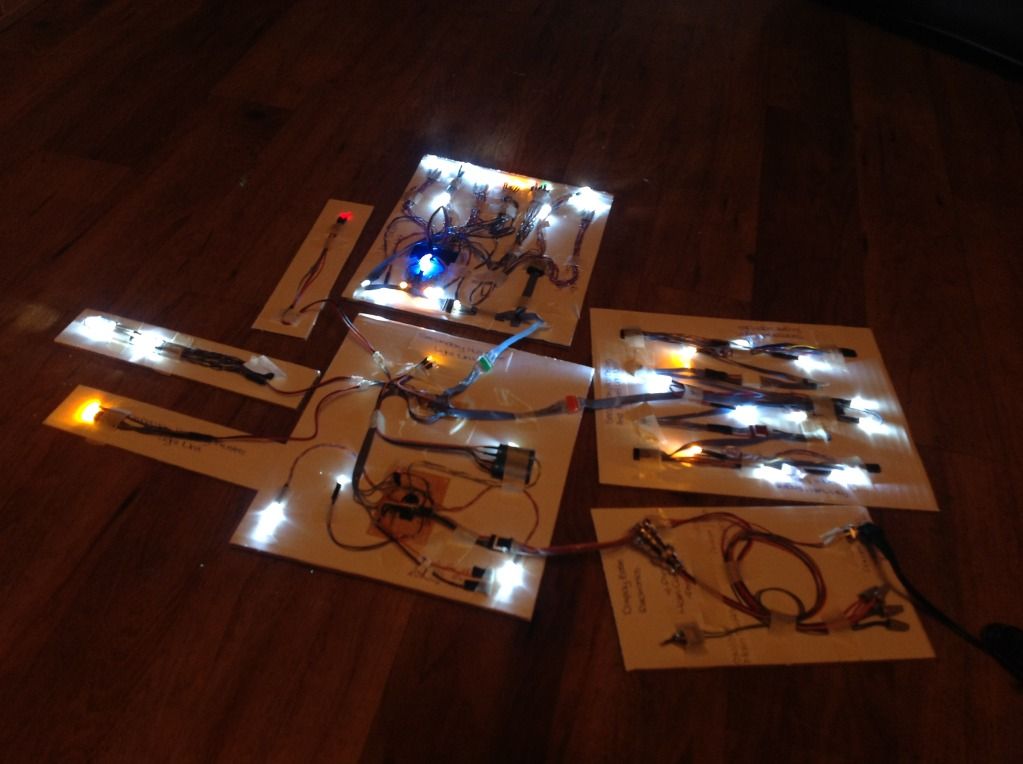
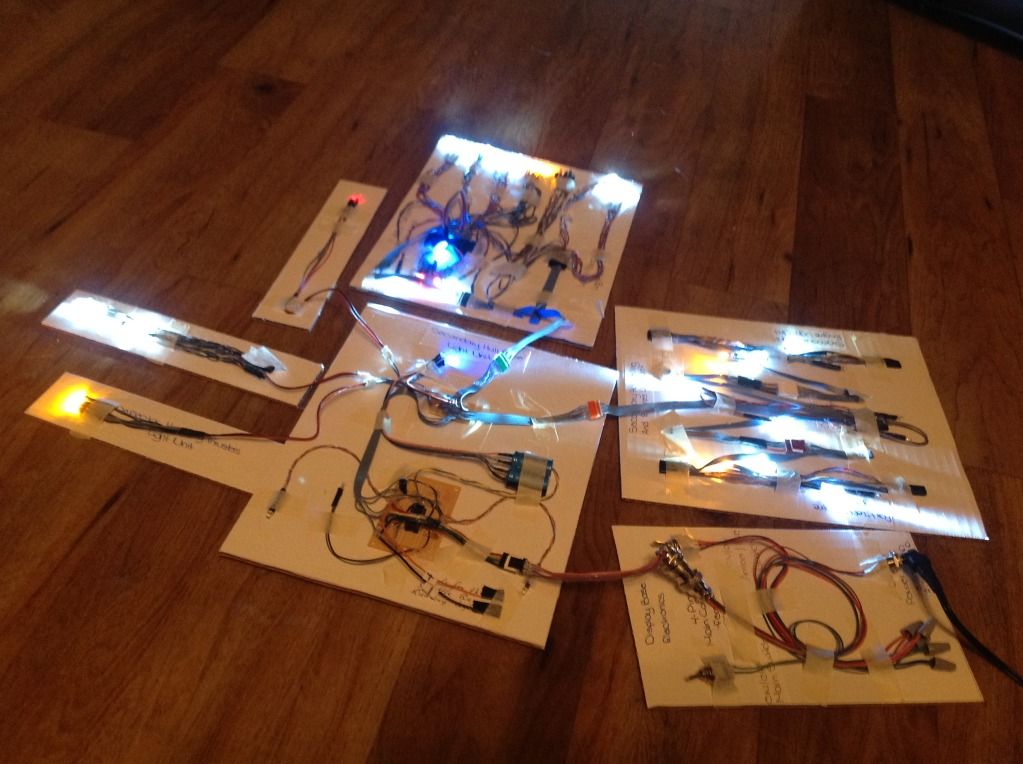
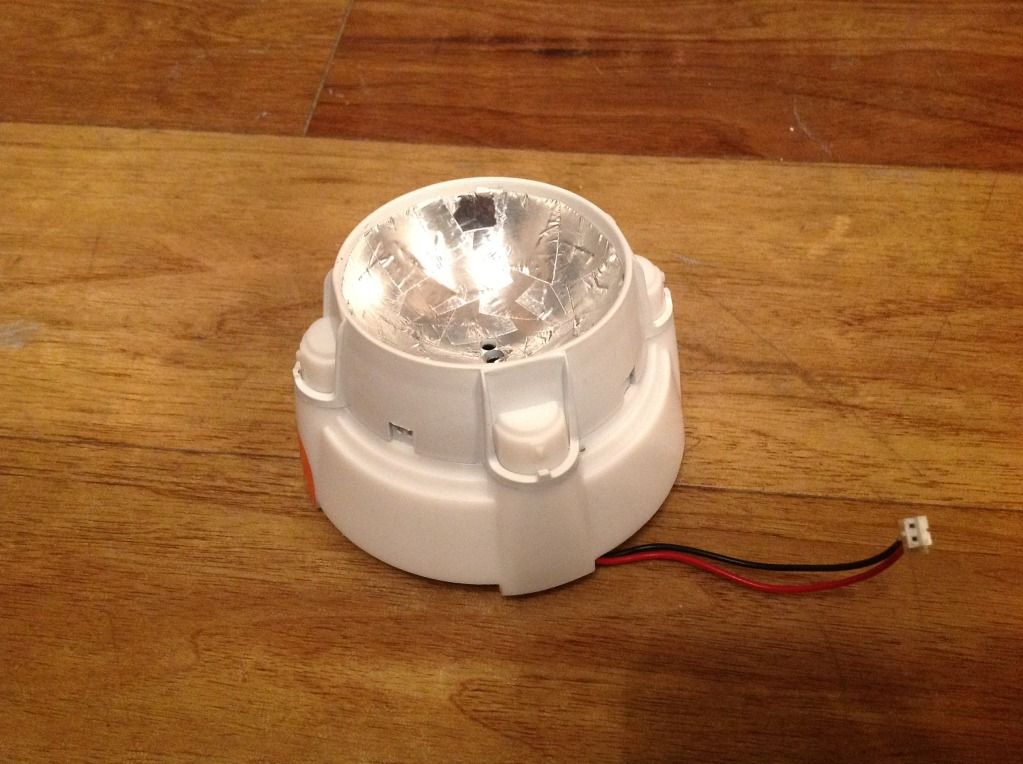
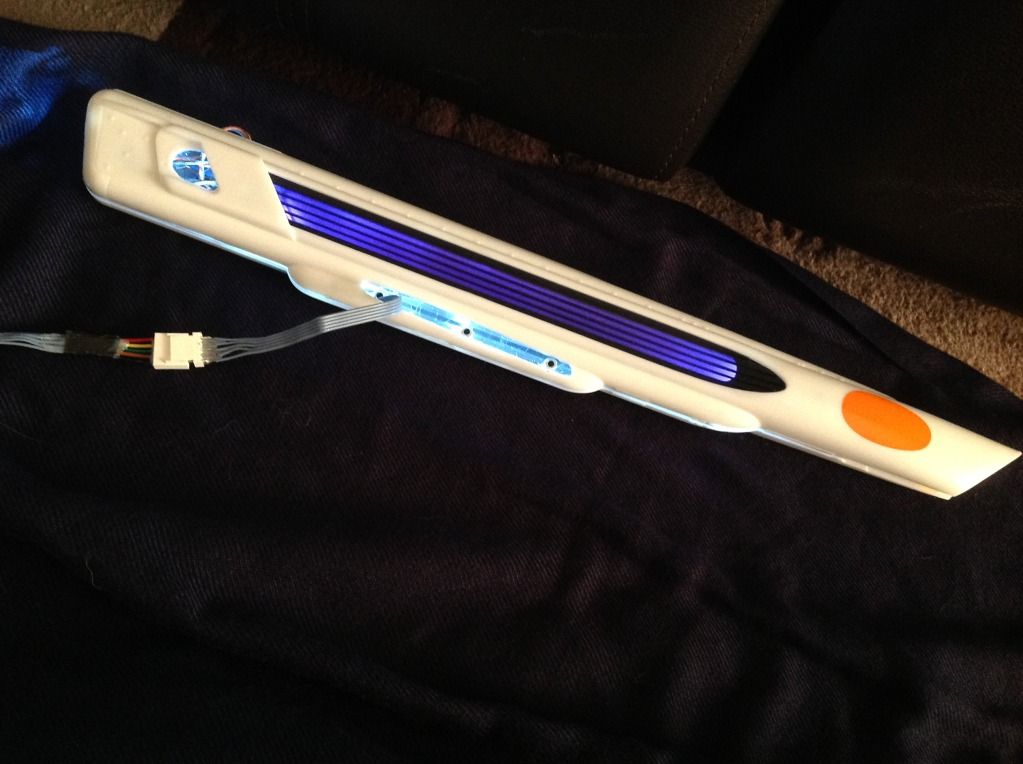
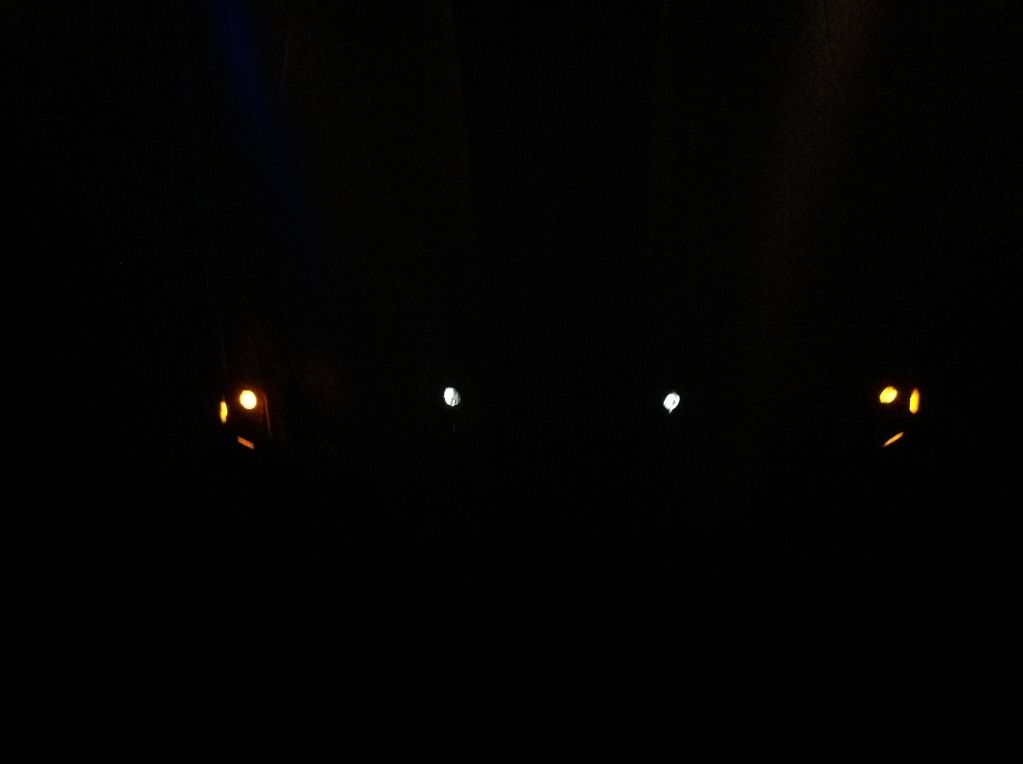
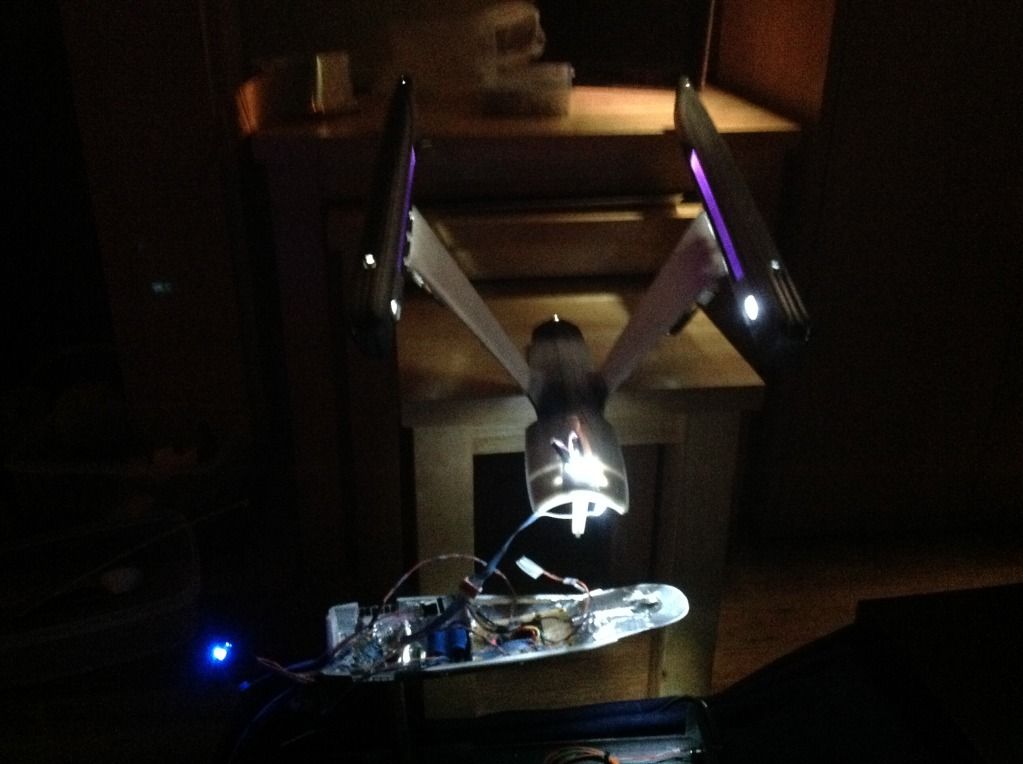
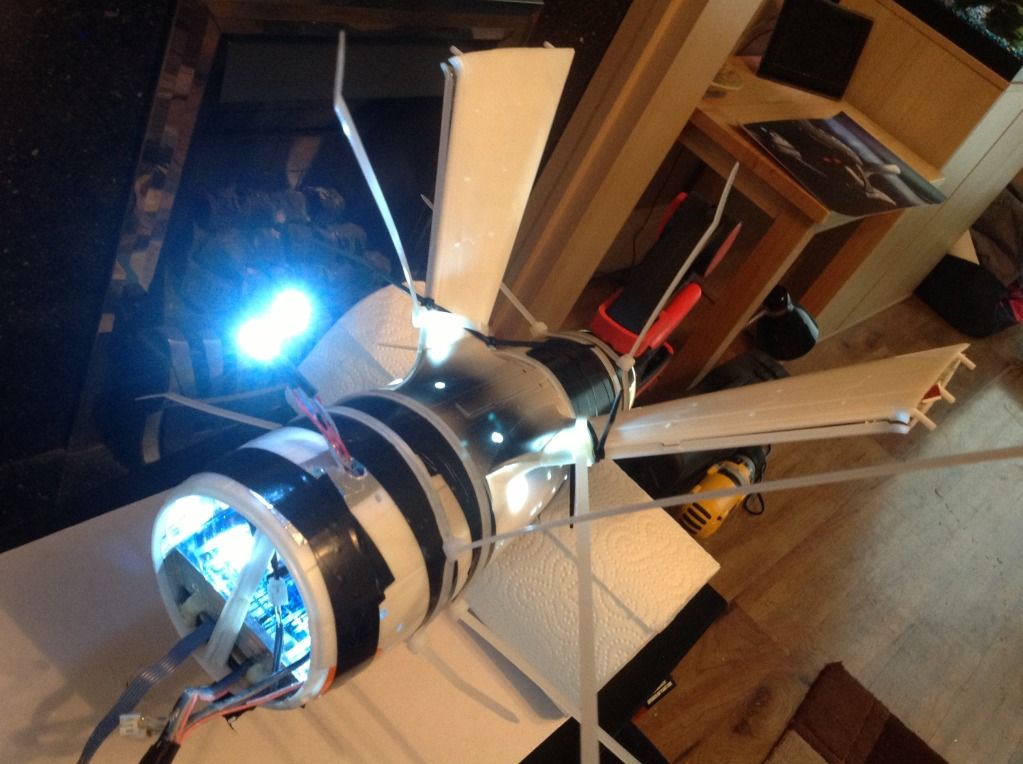
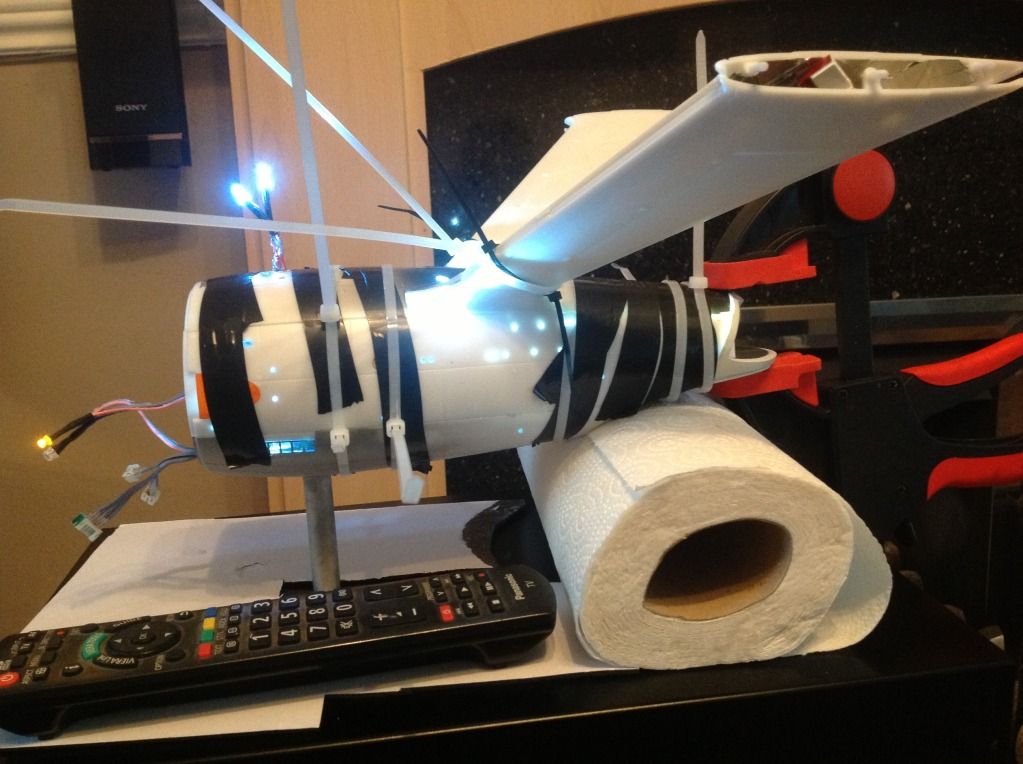
the lights output like this:
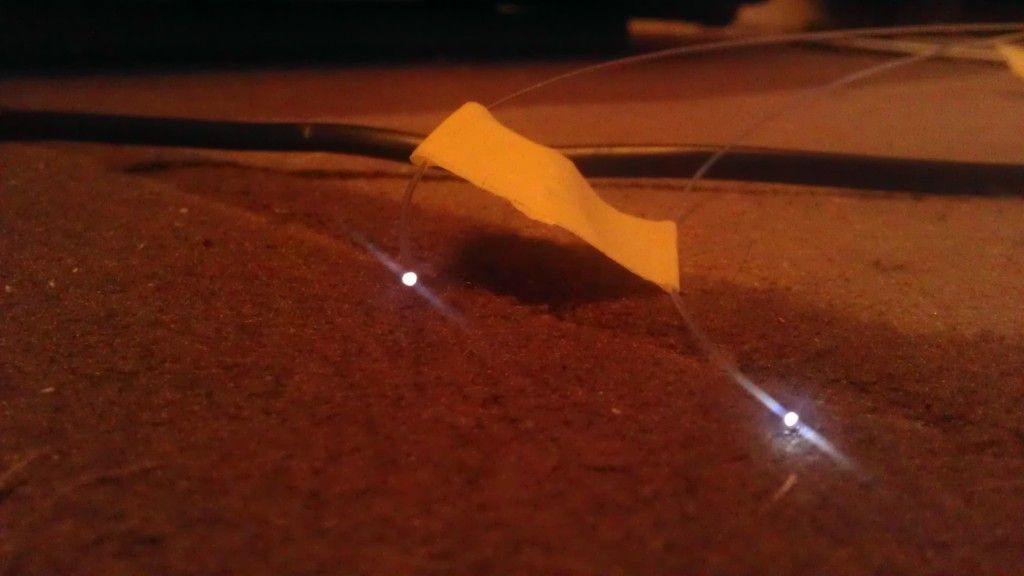
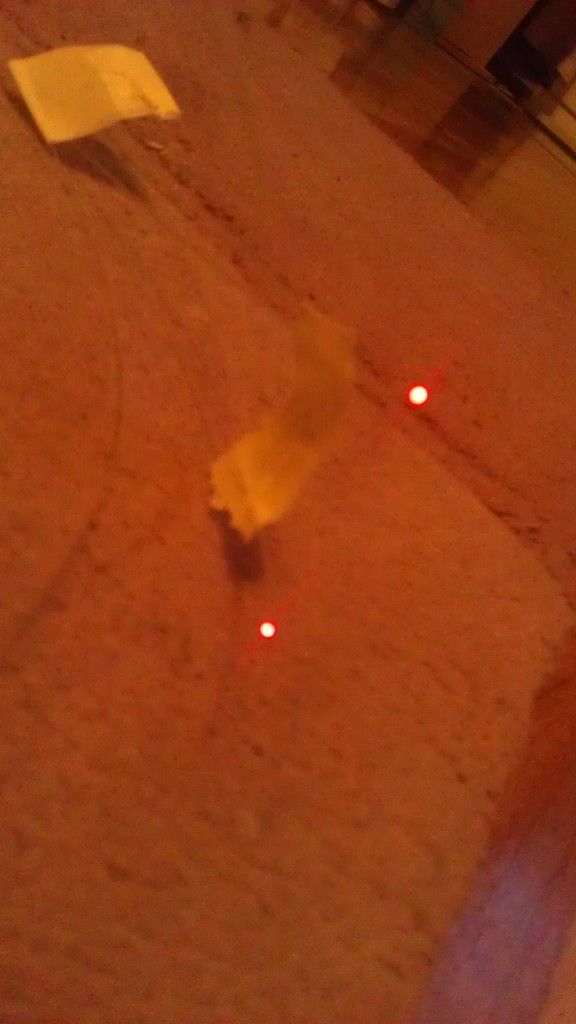
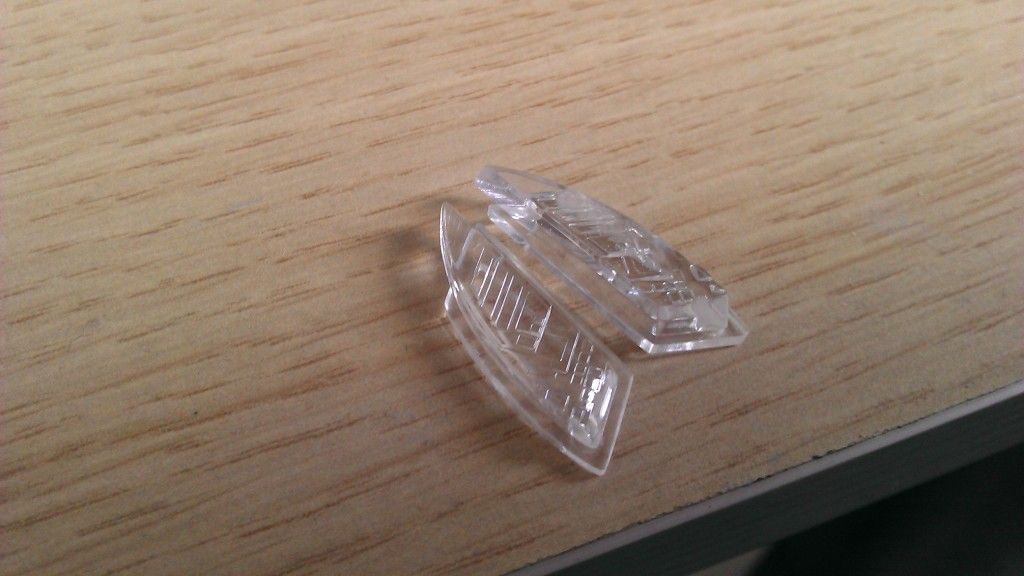
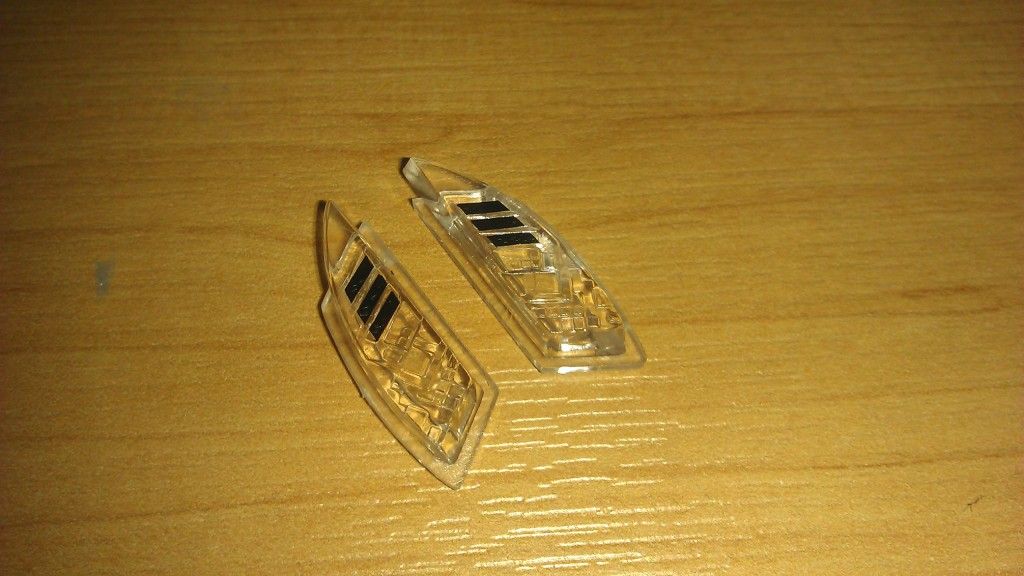
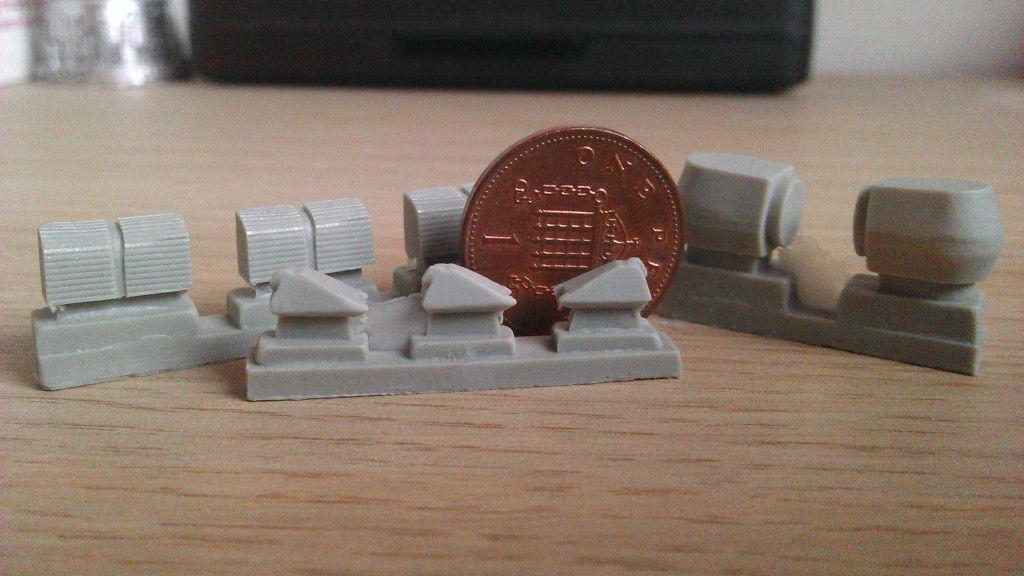
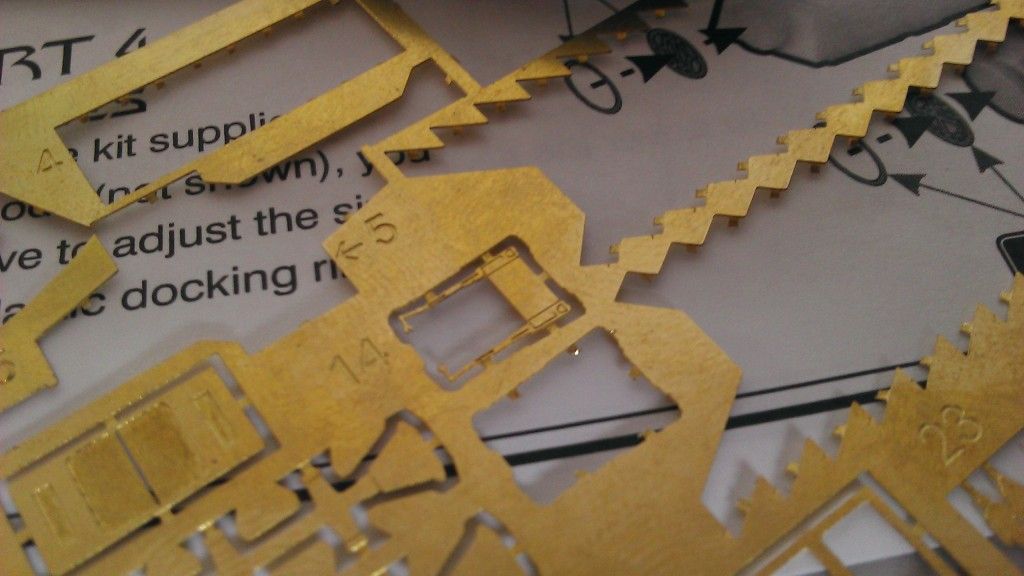
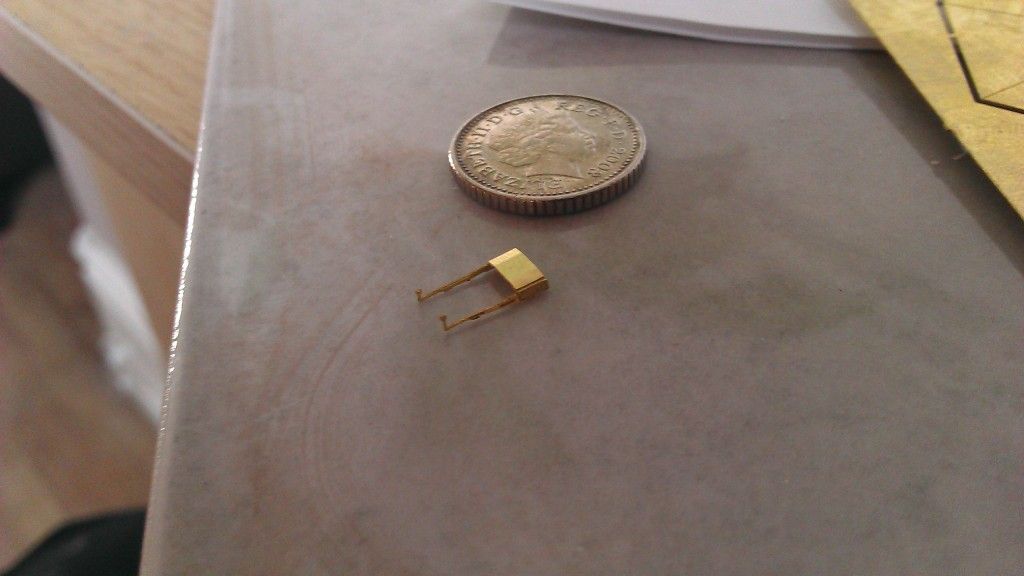
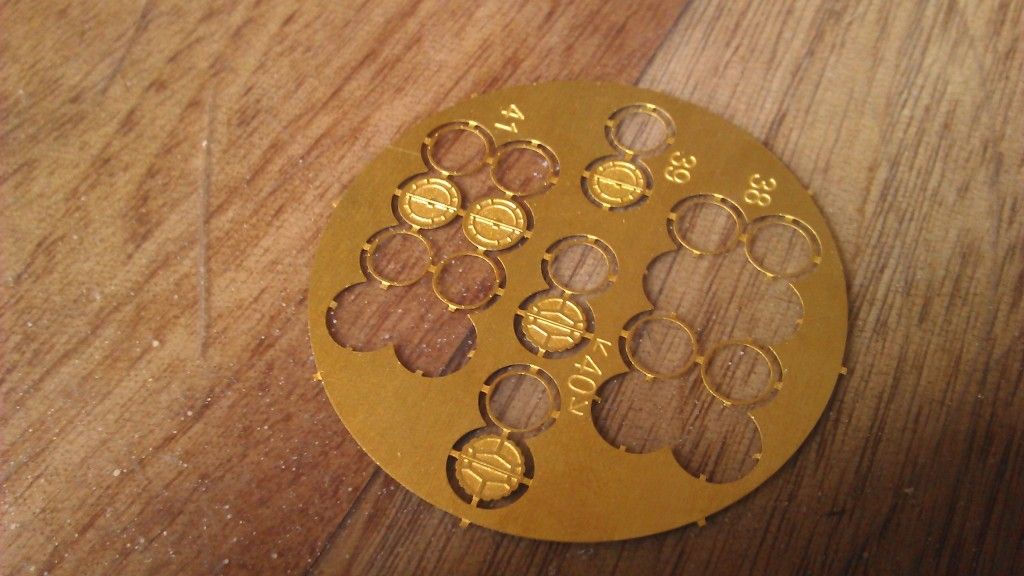
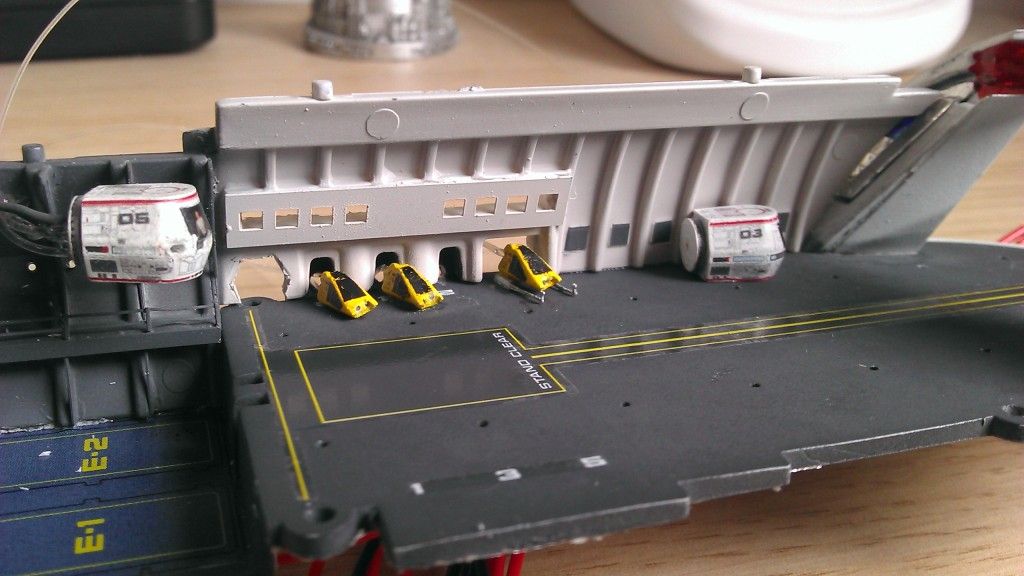
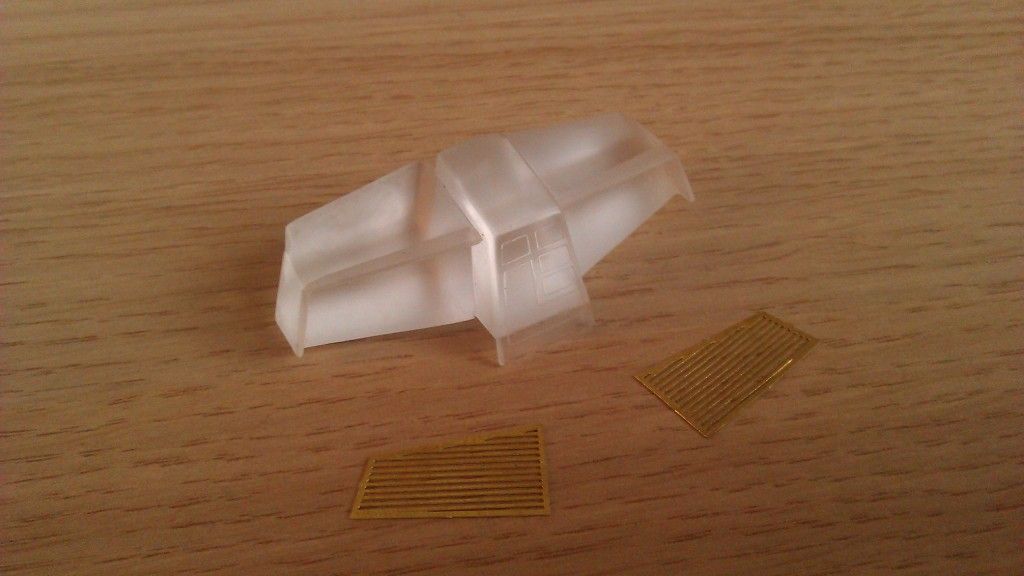
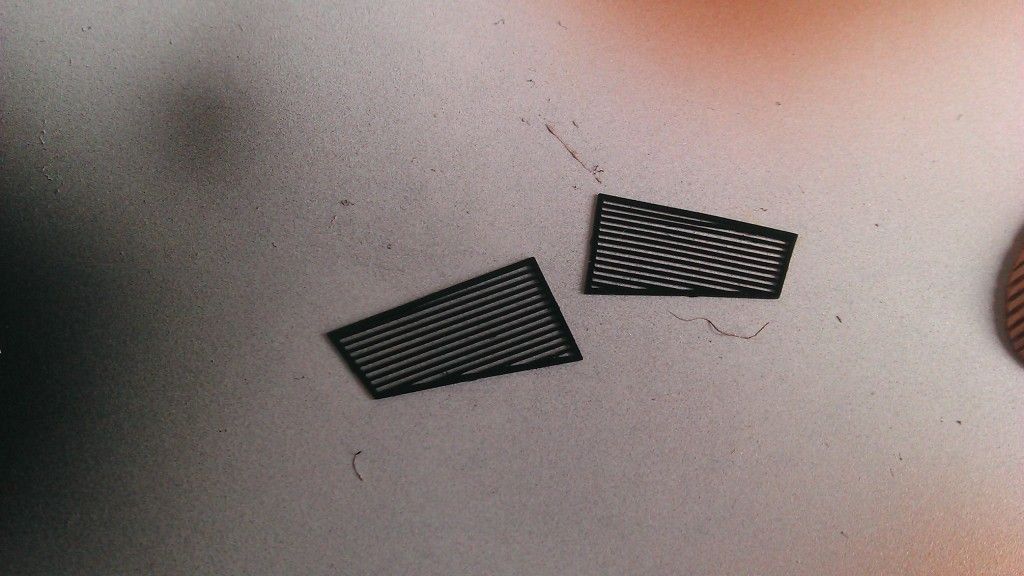
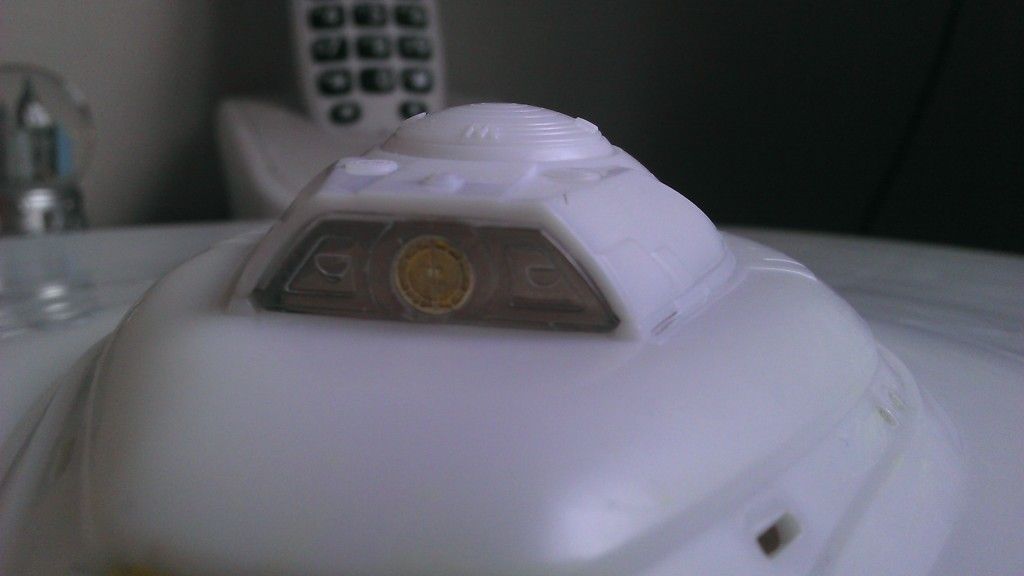
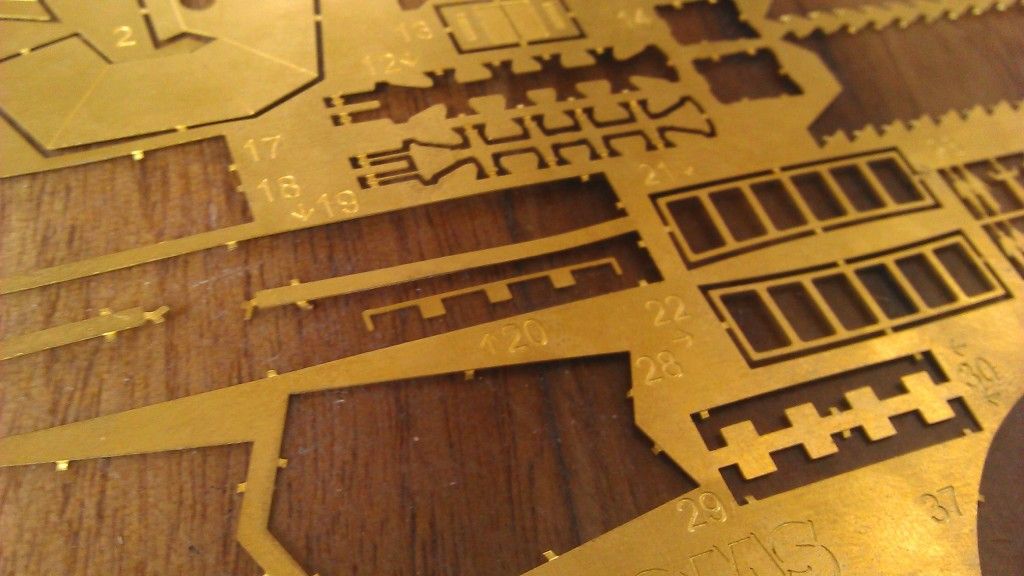
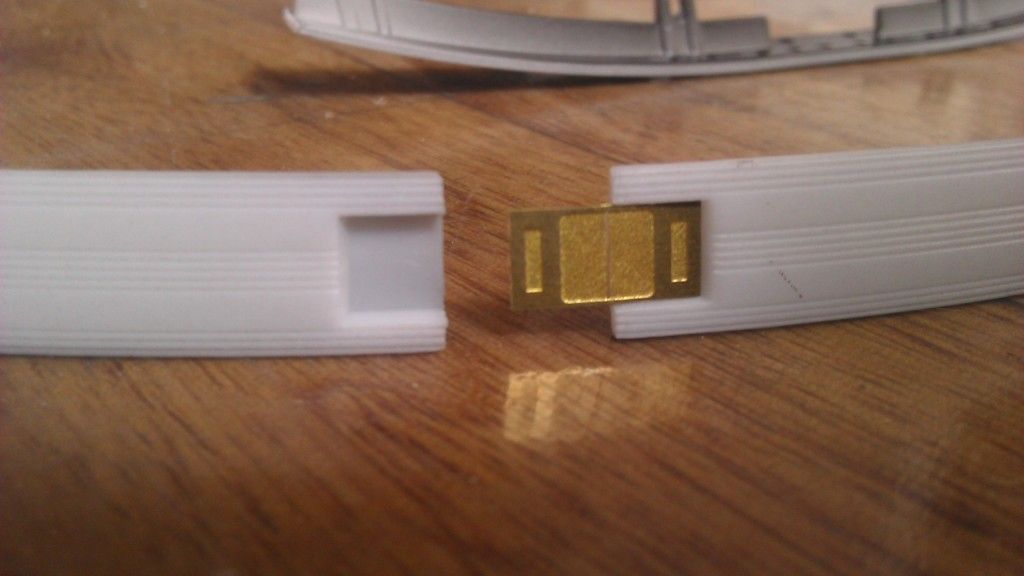
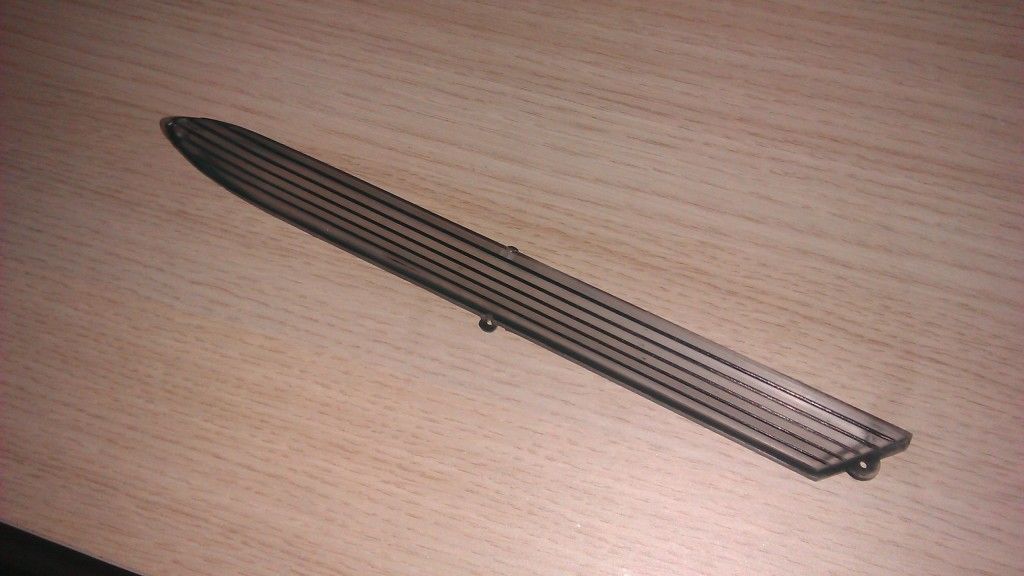
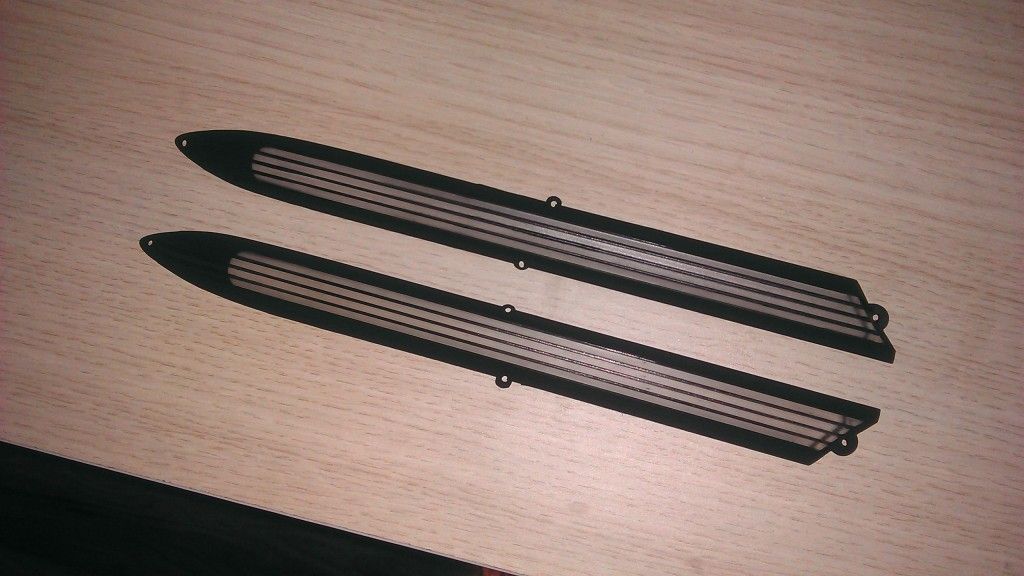
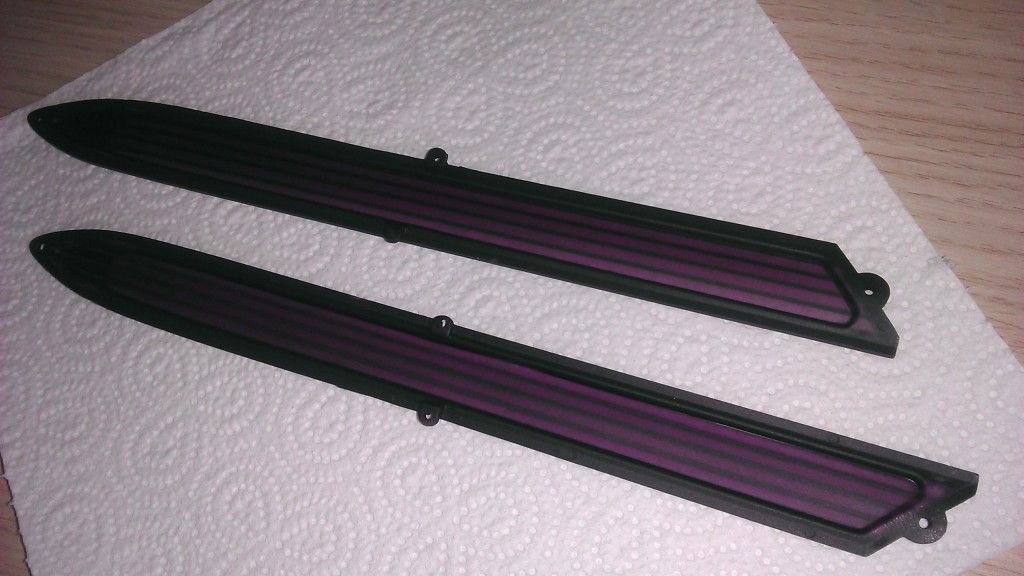
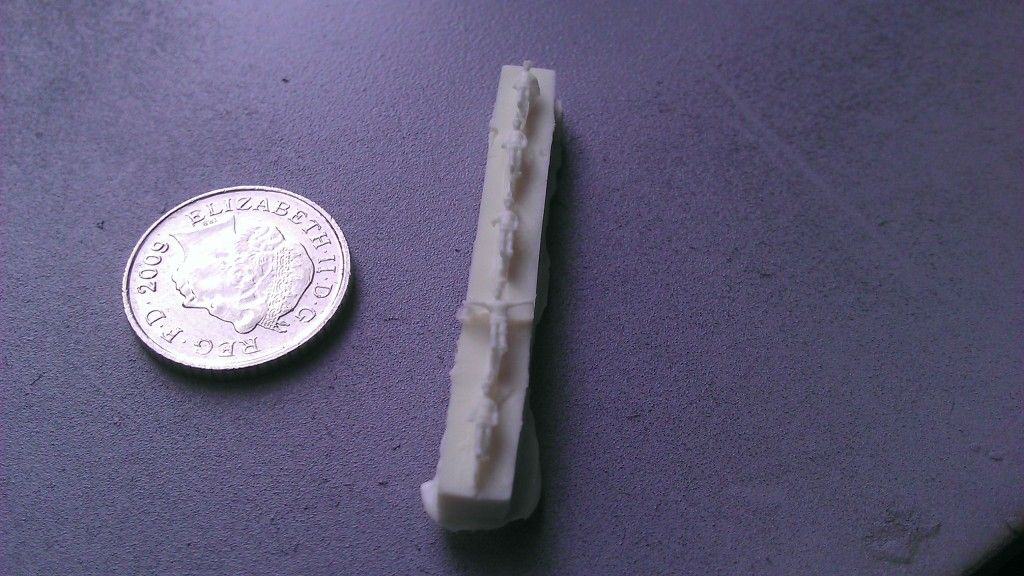
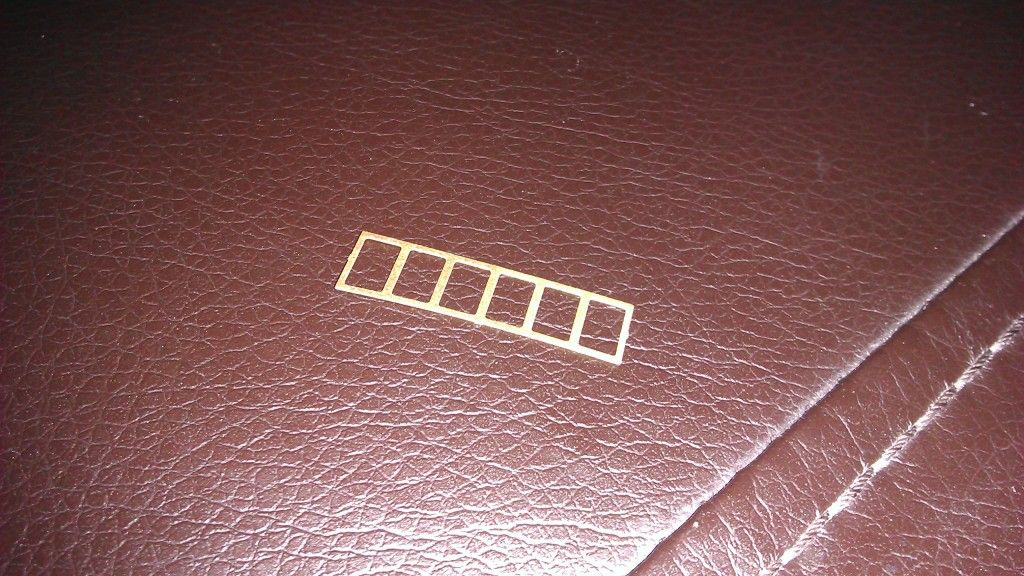
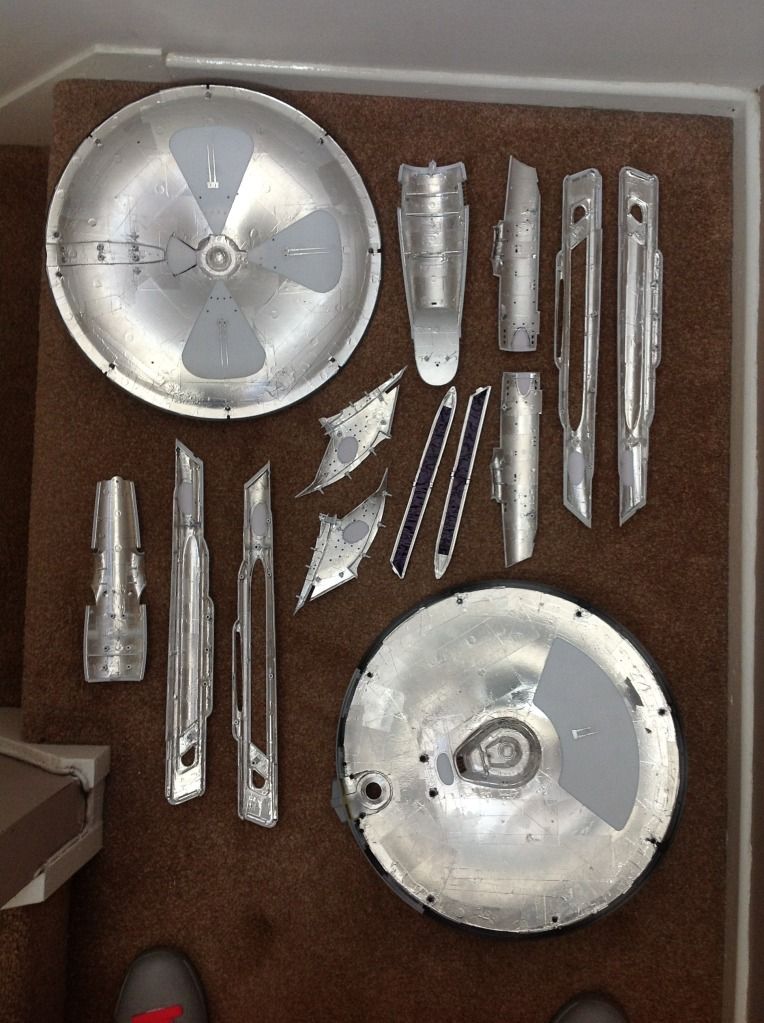
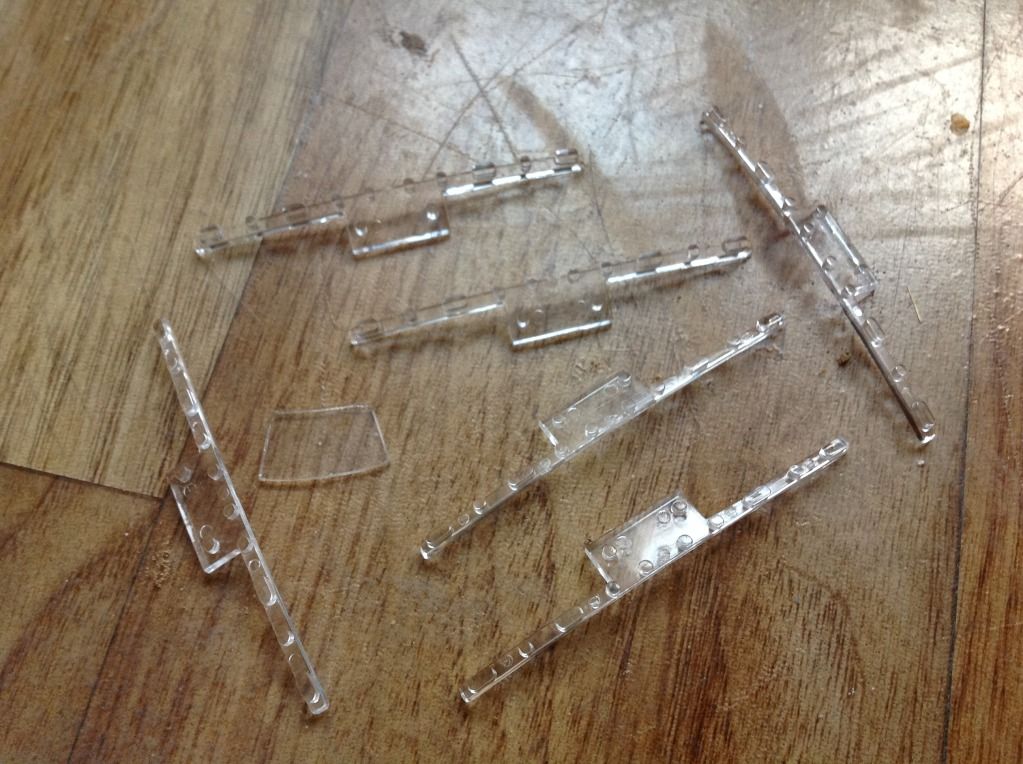
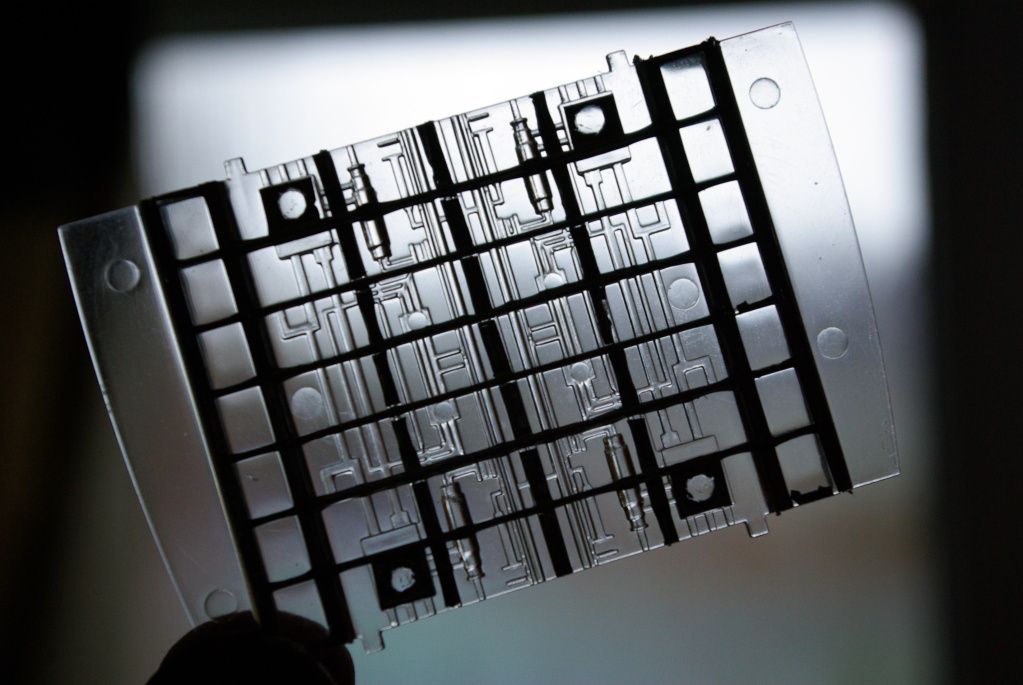
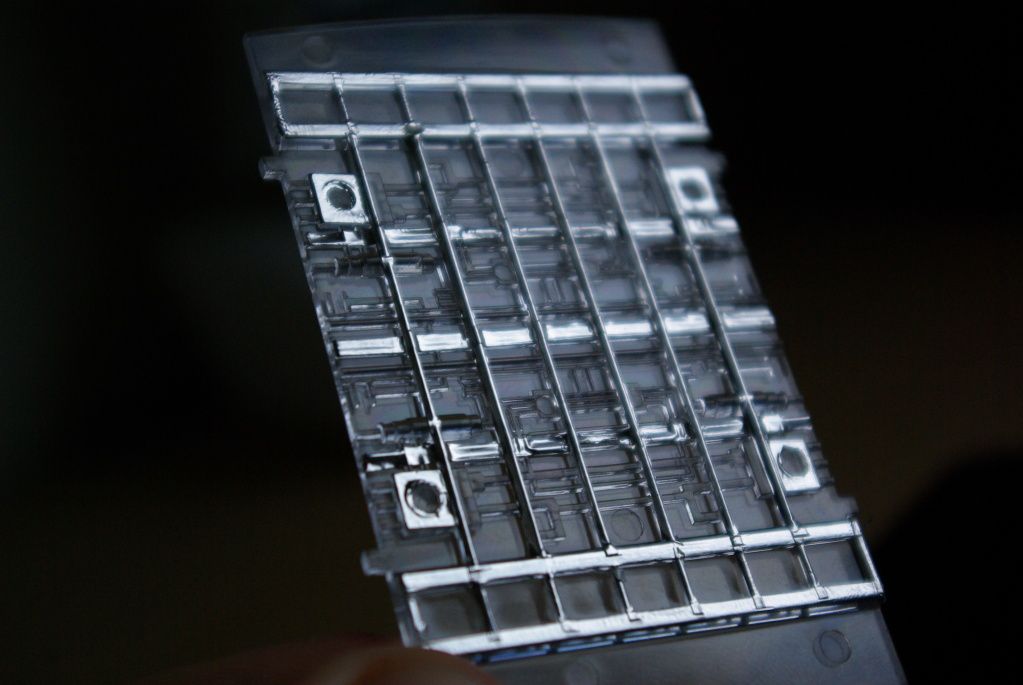
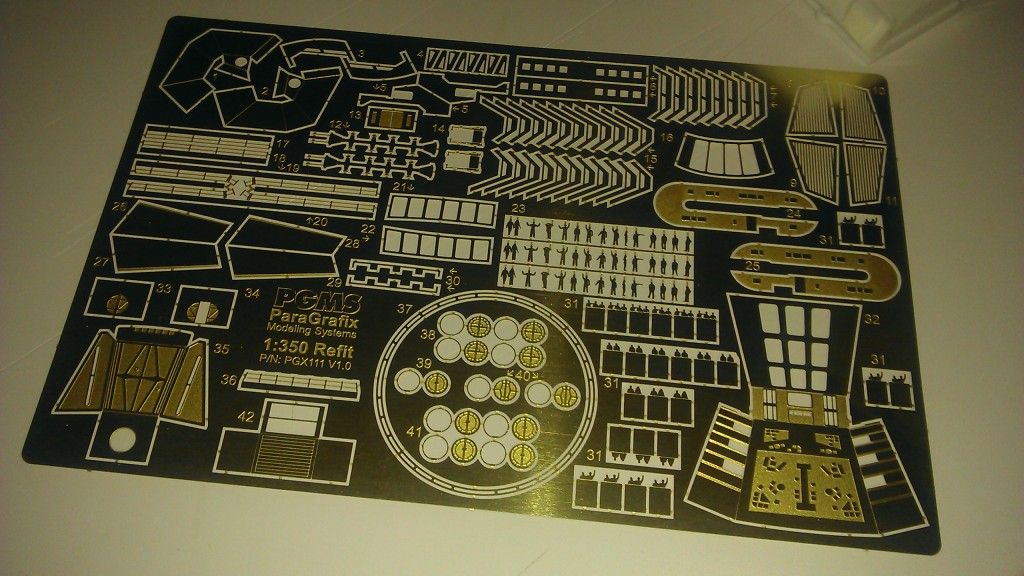
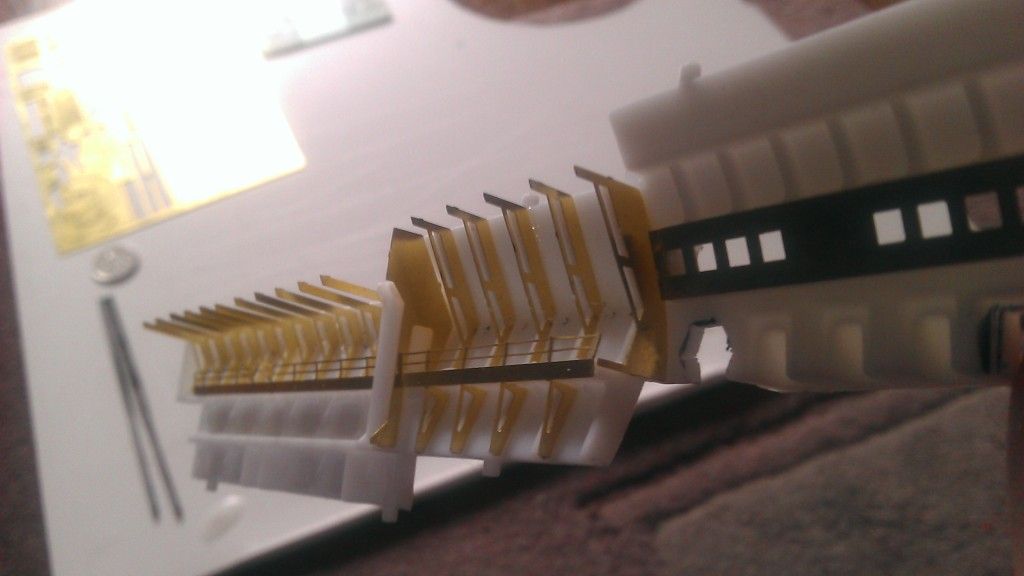
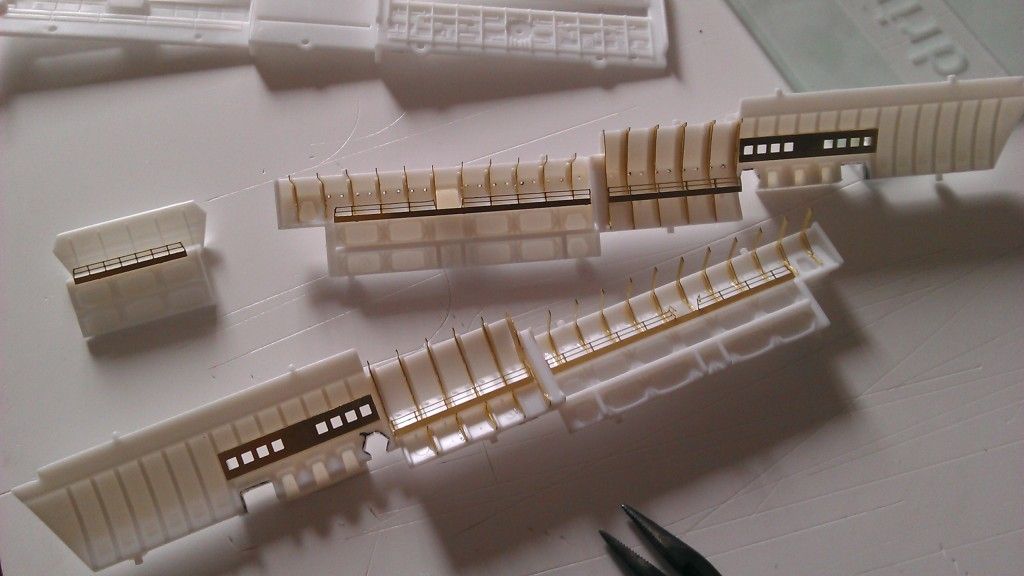
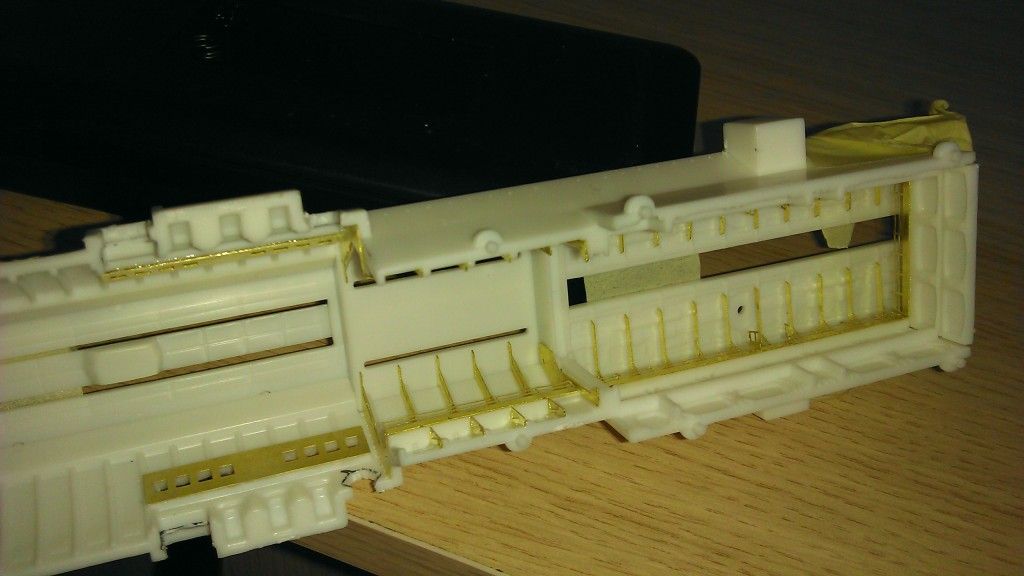
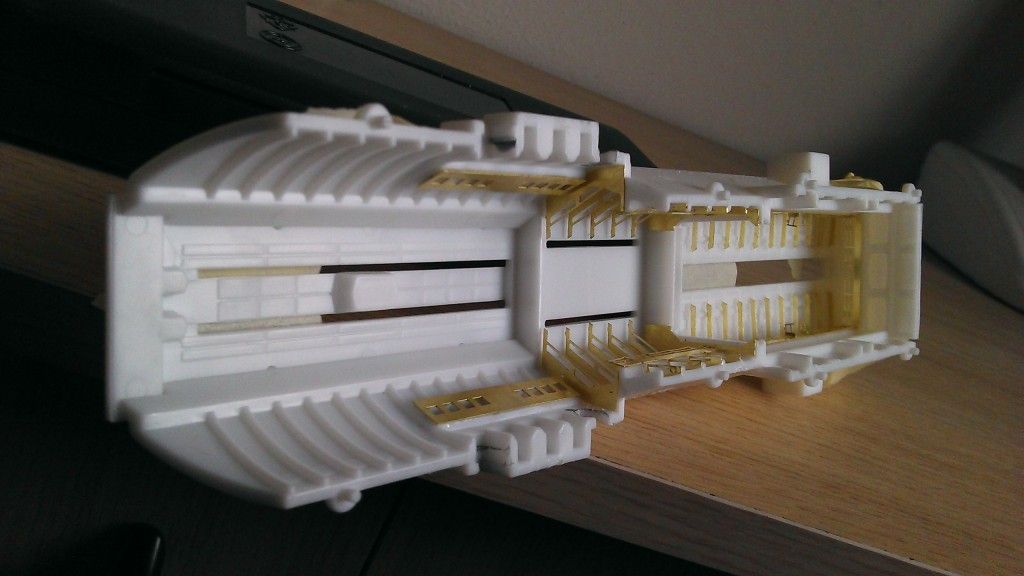
photo etch kit arrives from the usa
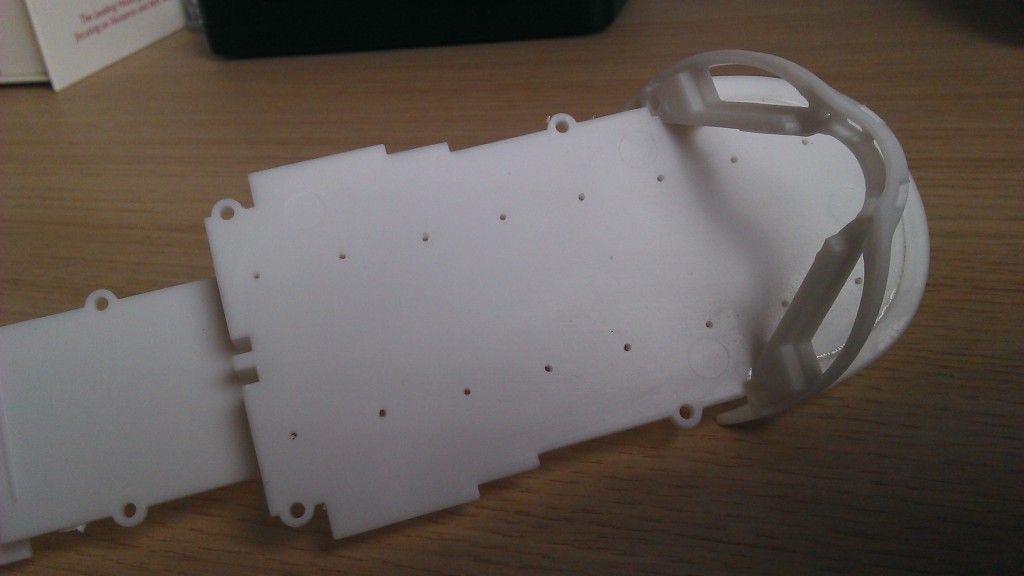
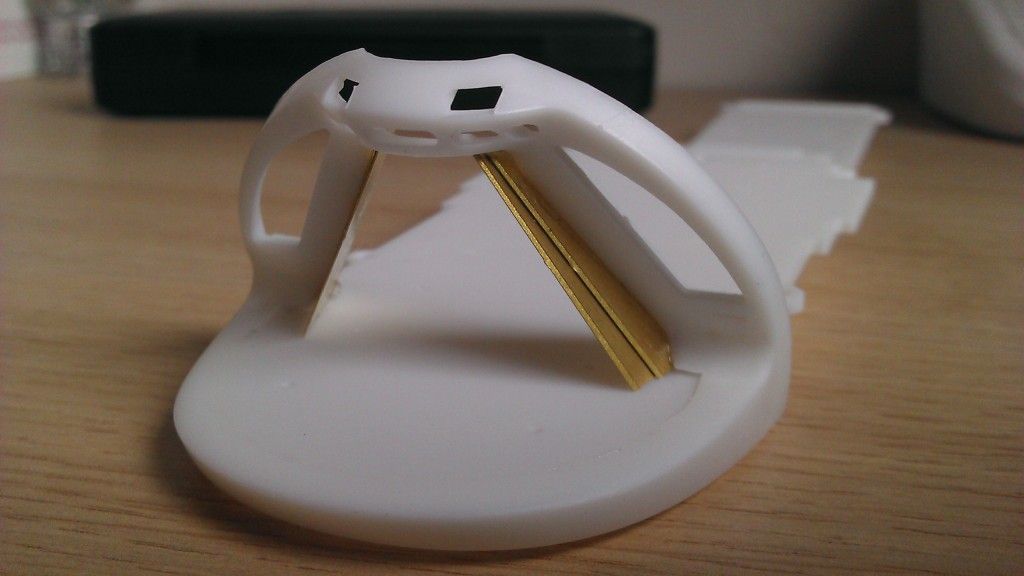
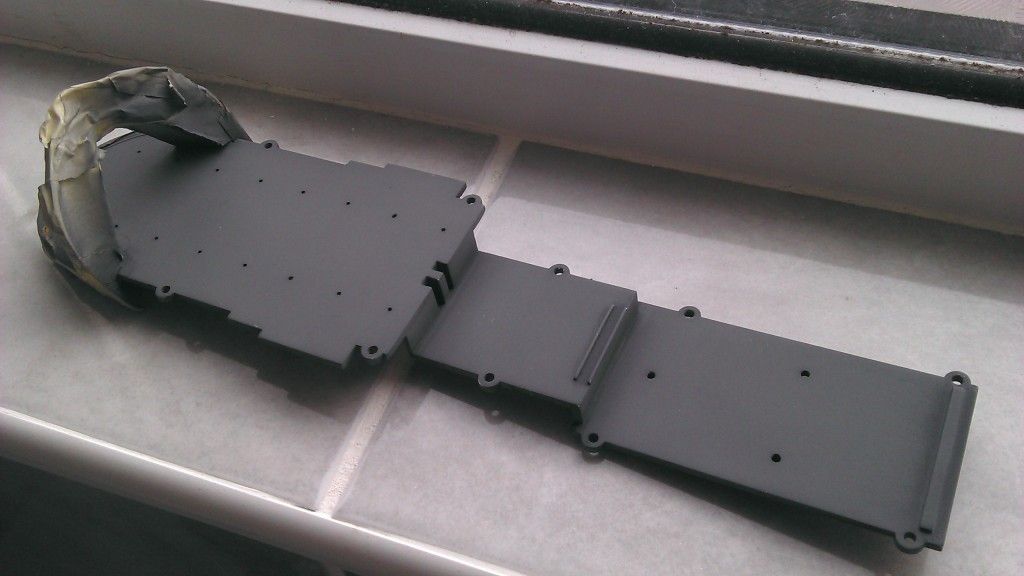
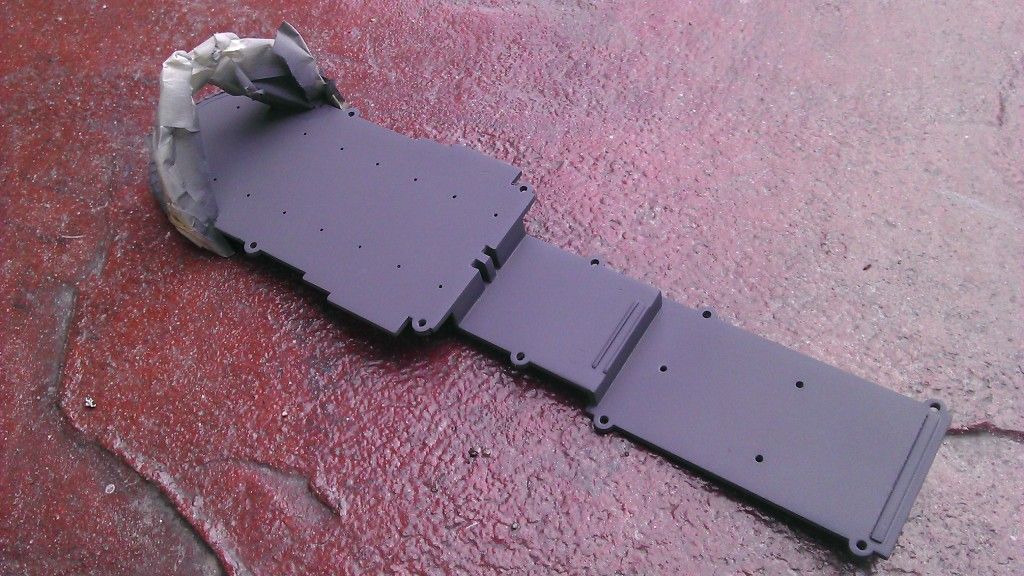
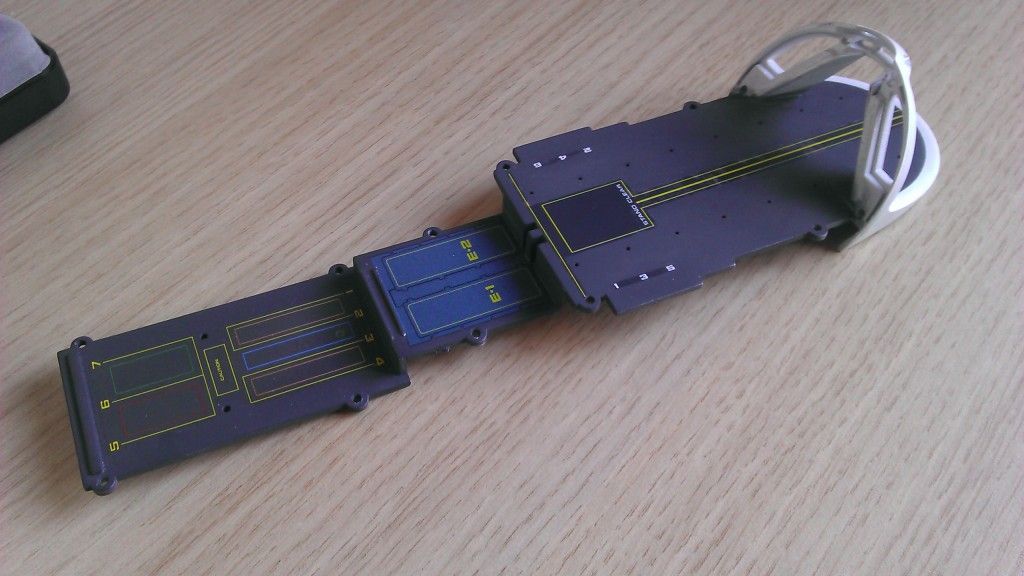
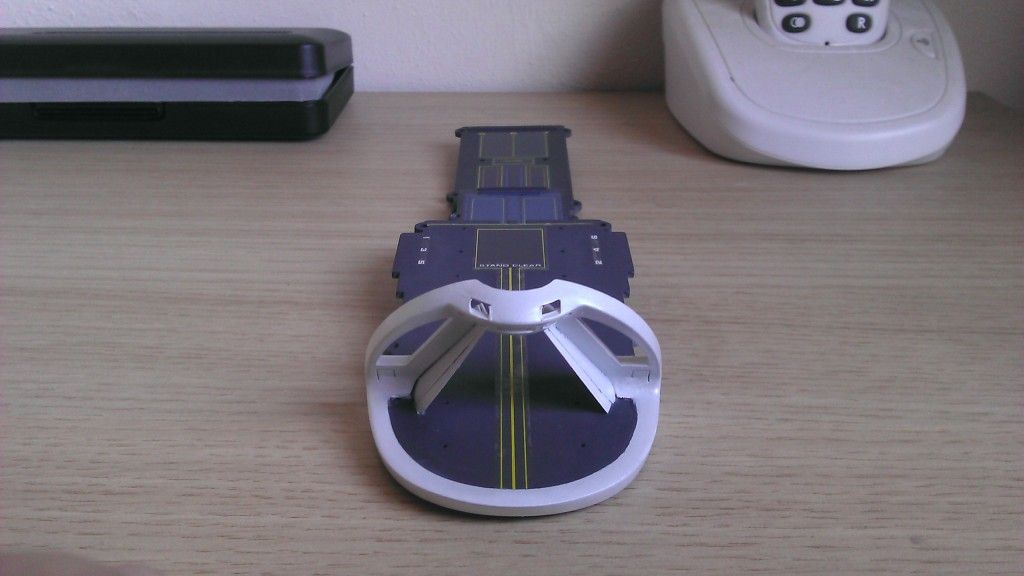
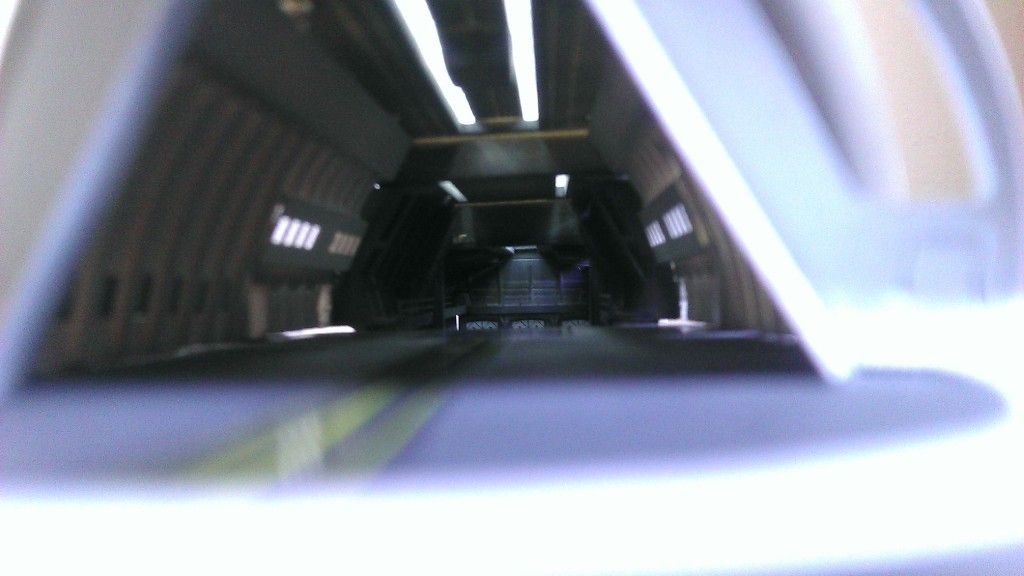
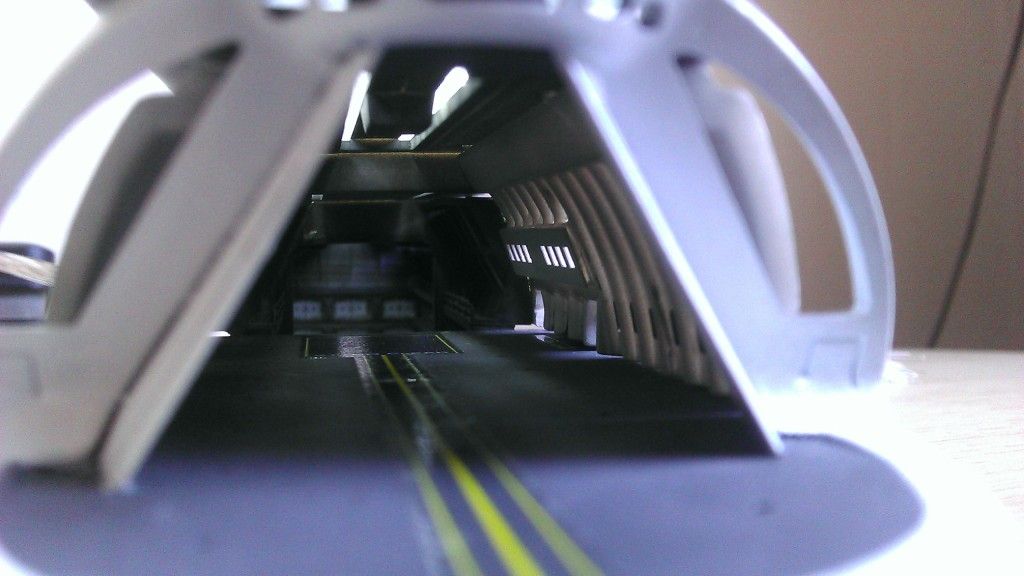
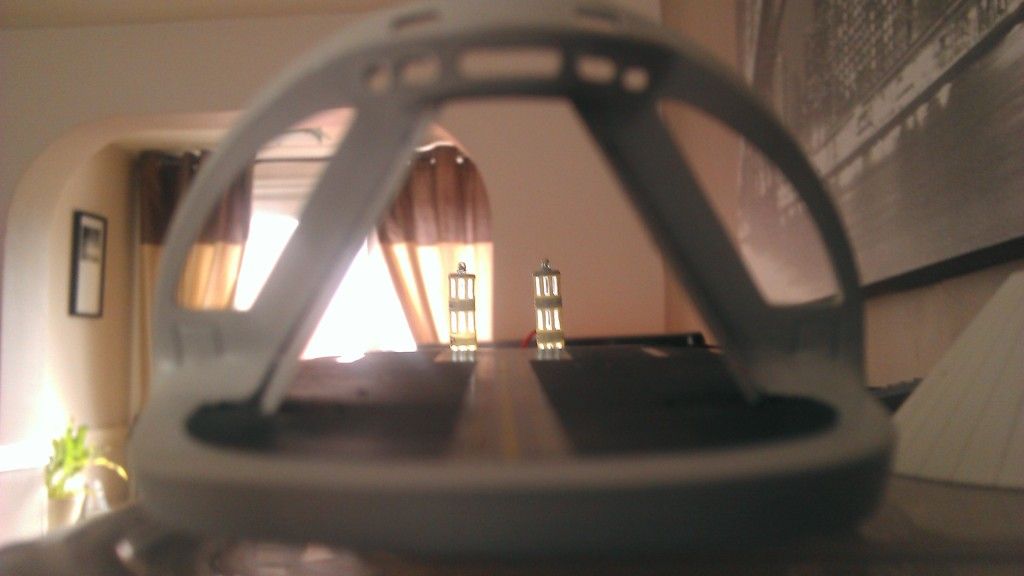
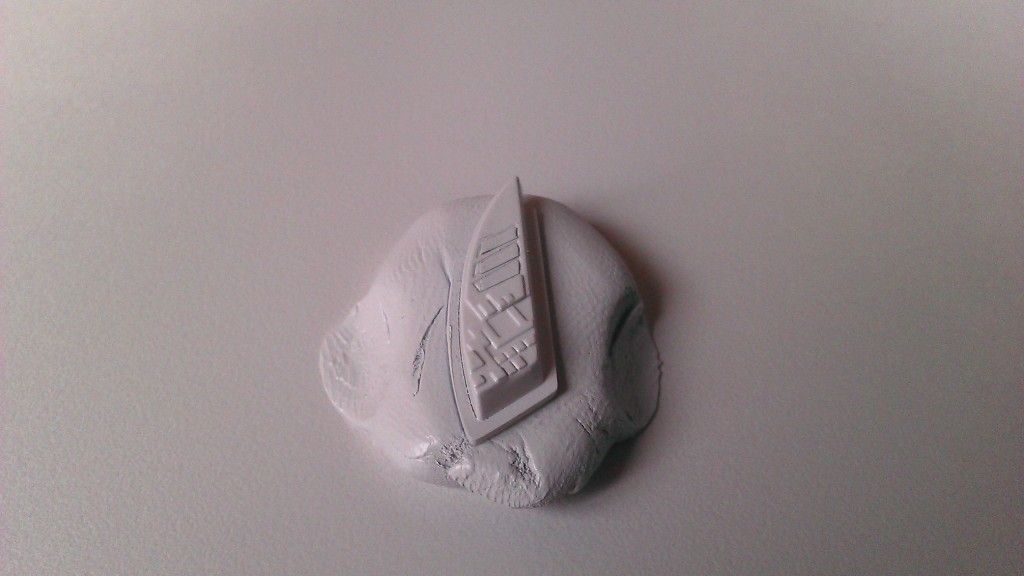
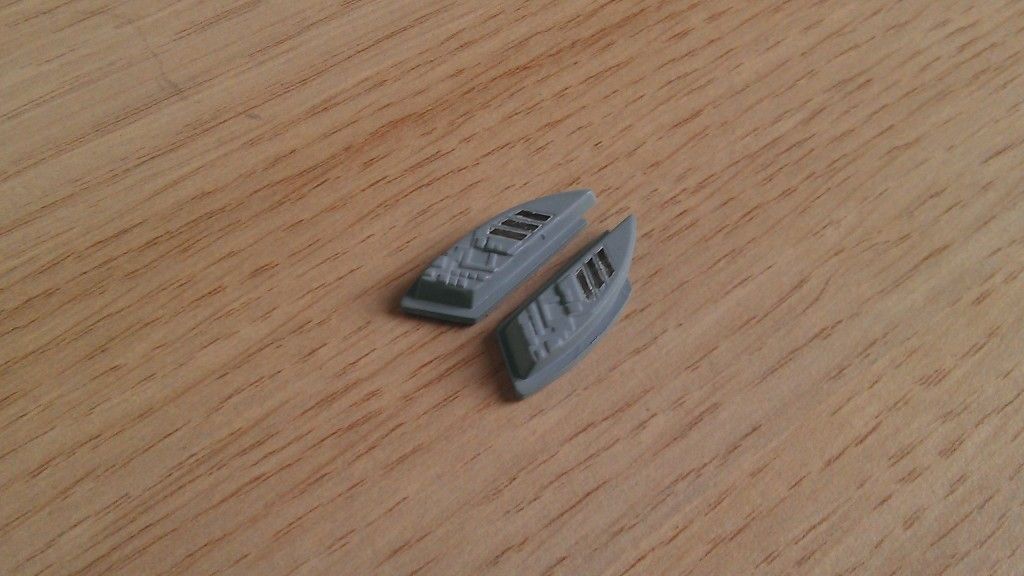
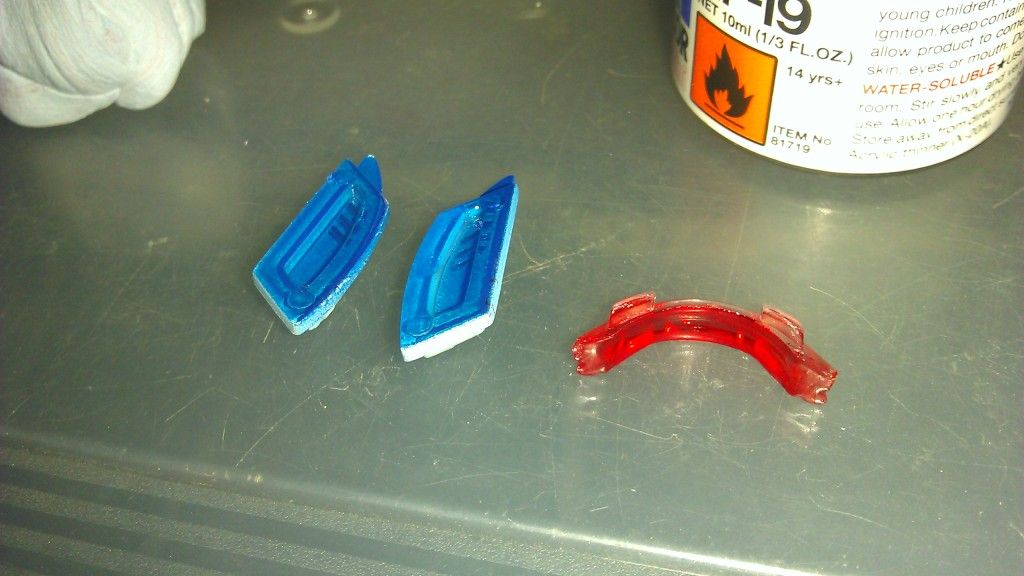
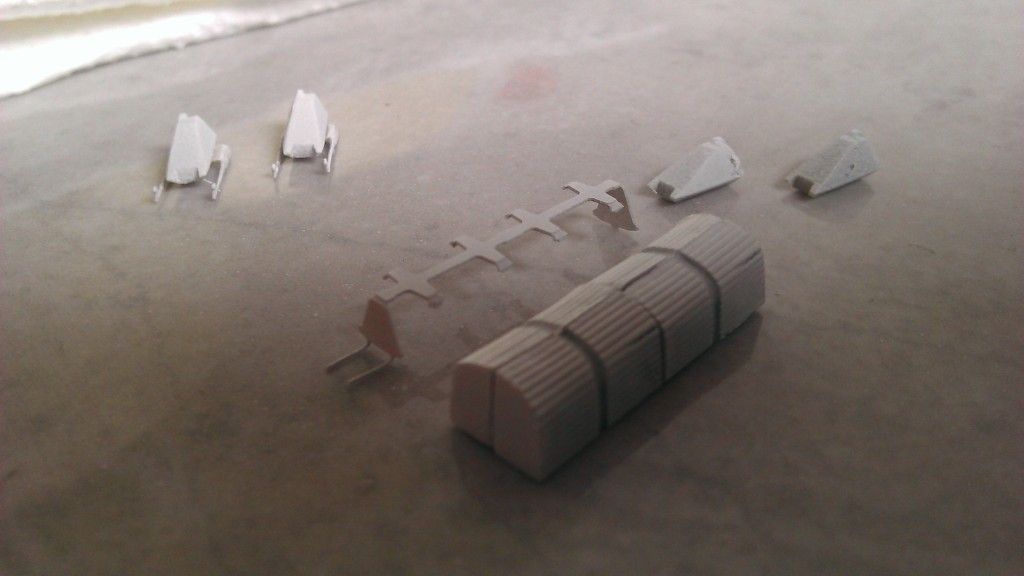
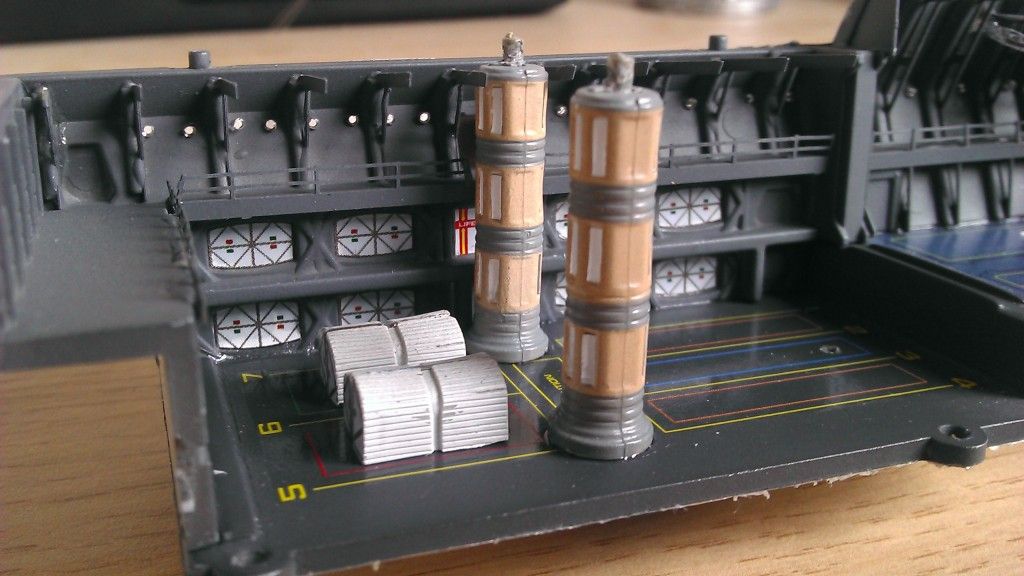
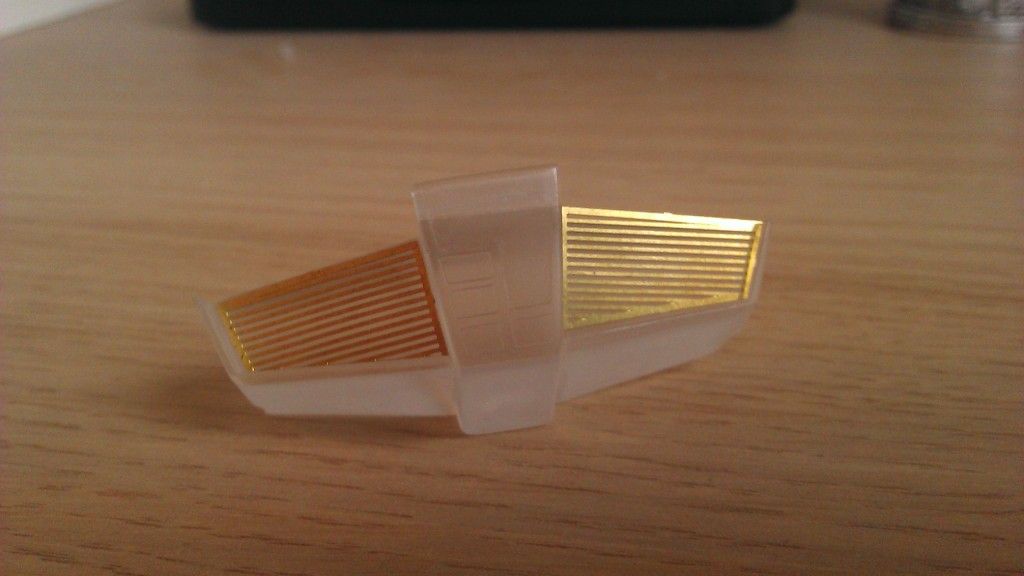
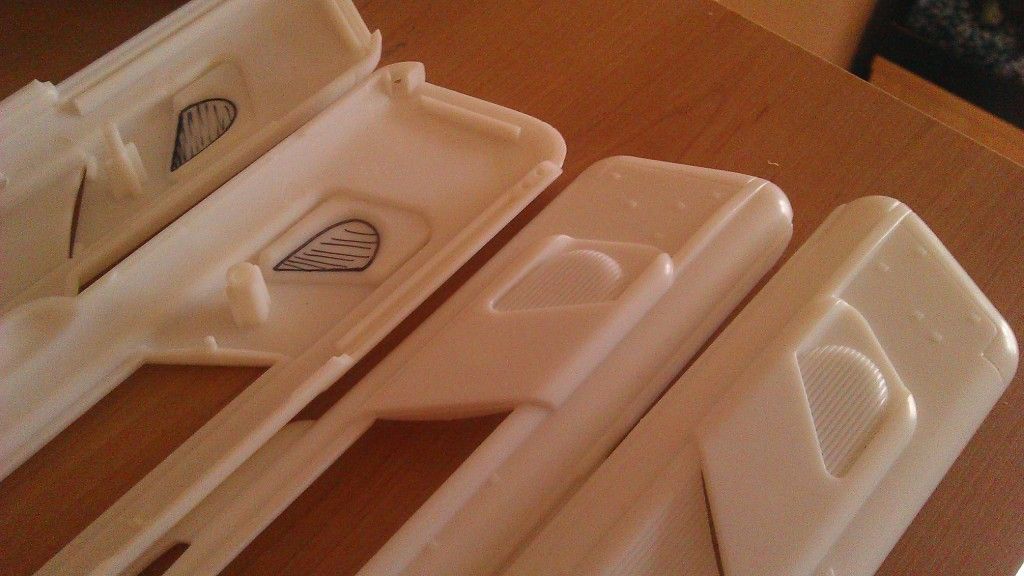
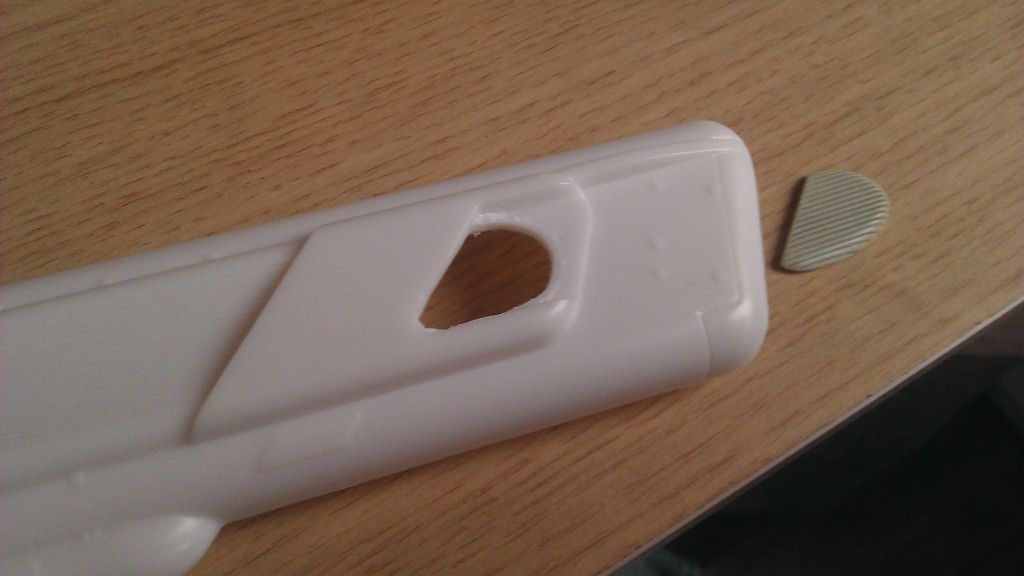
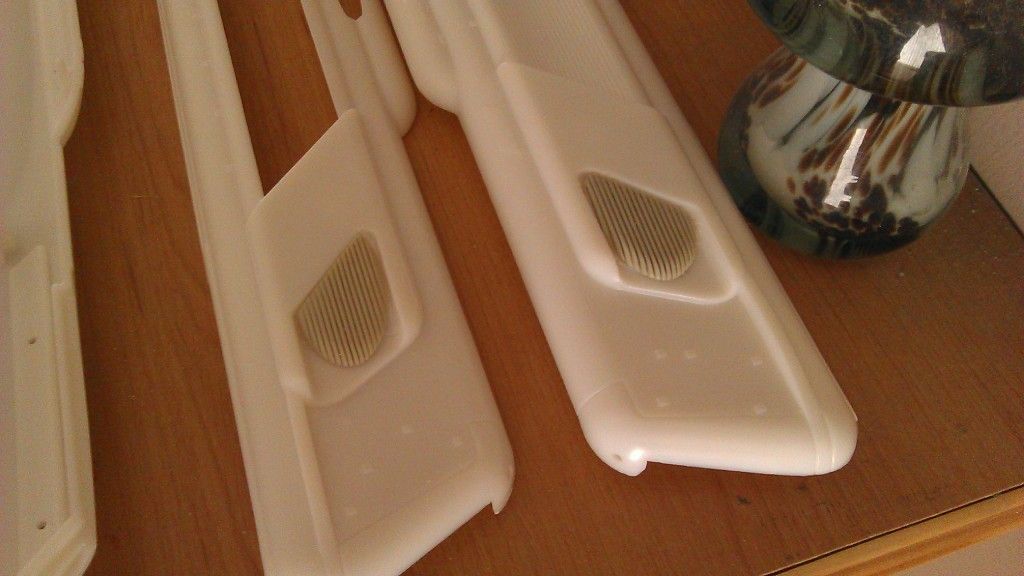
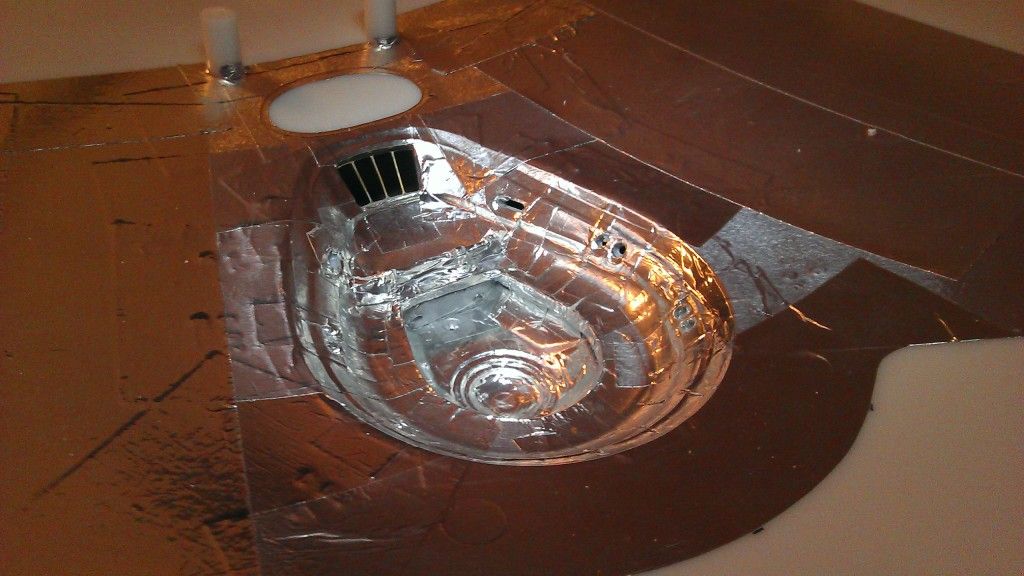
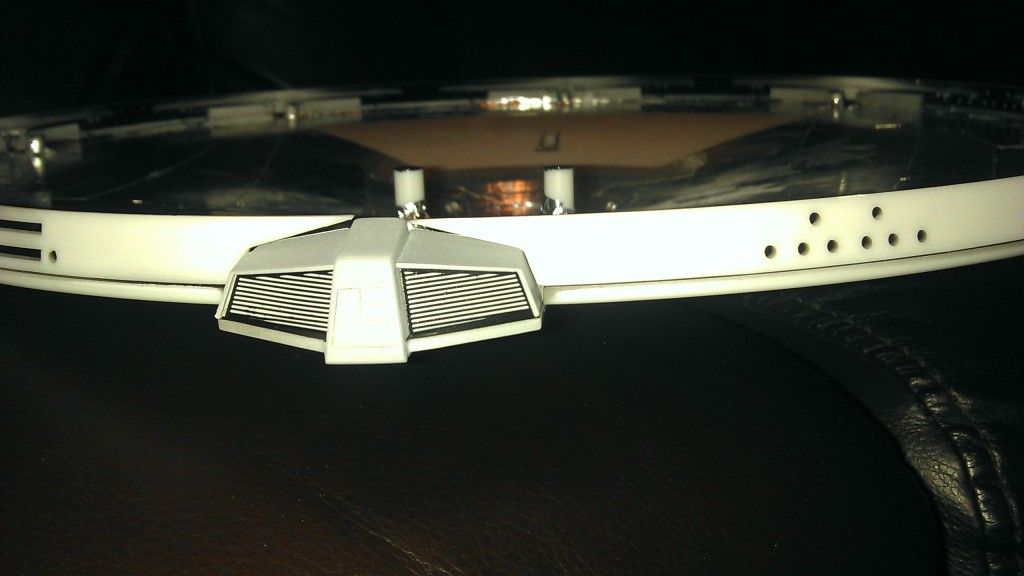
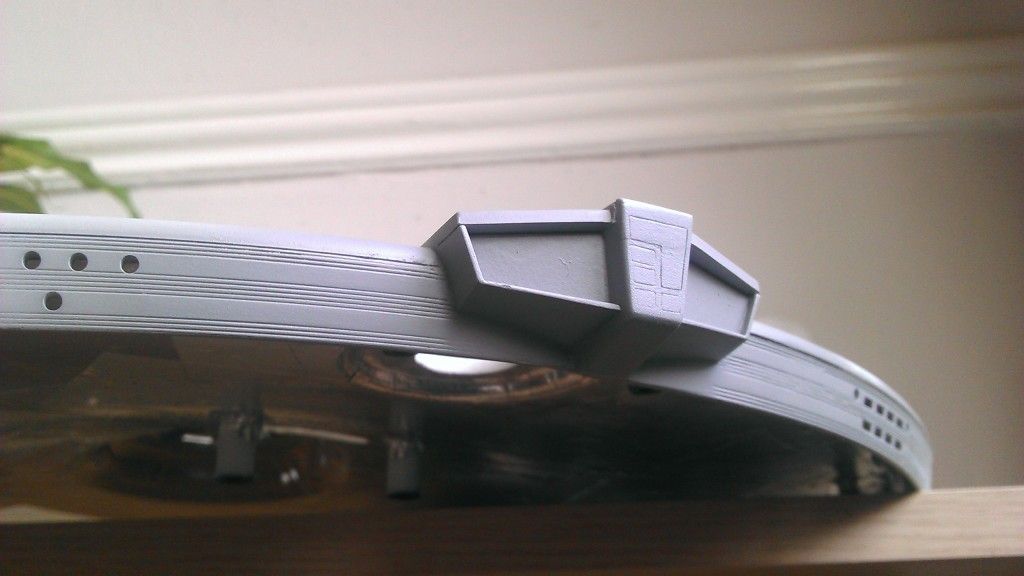
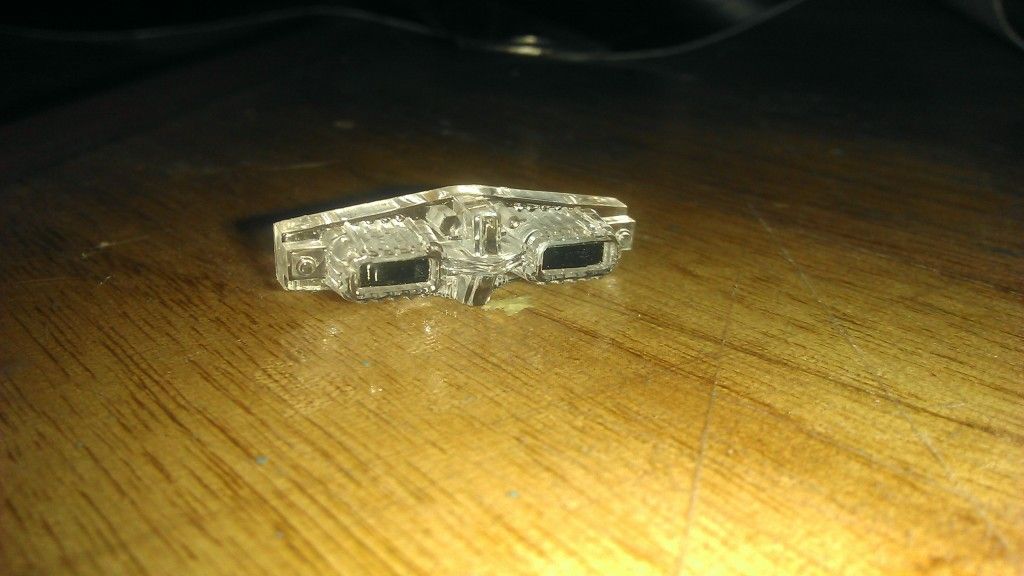
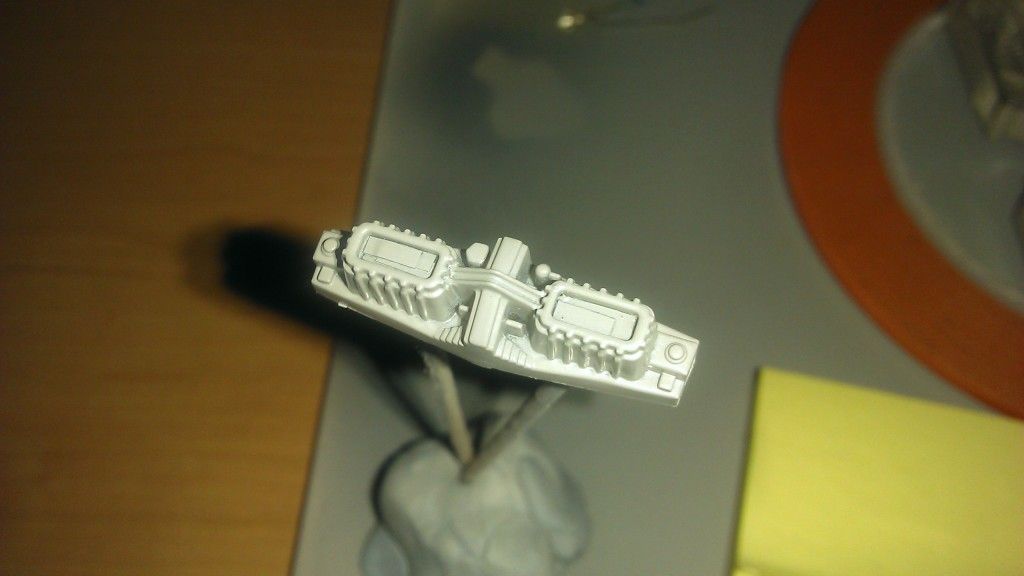
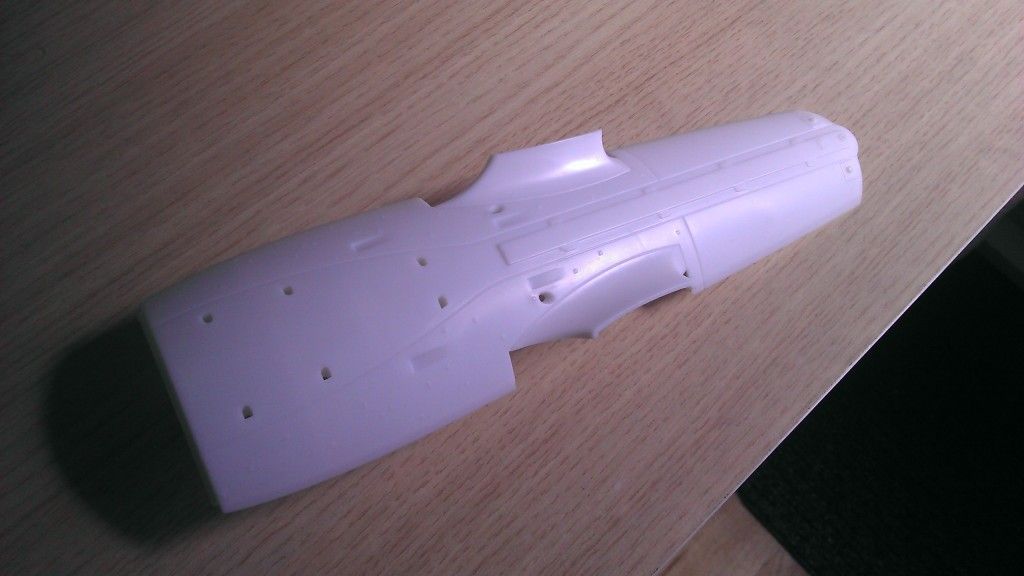
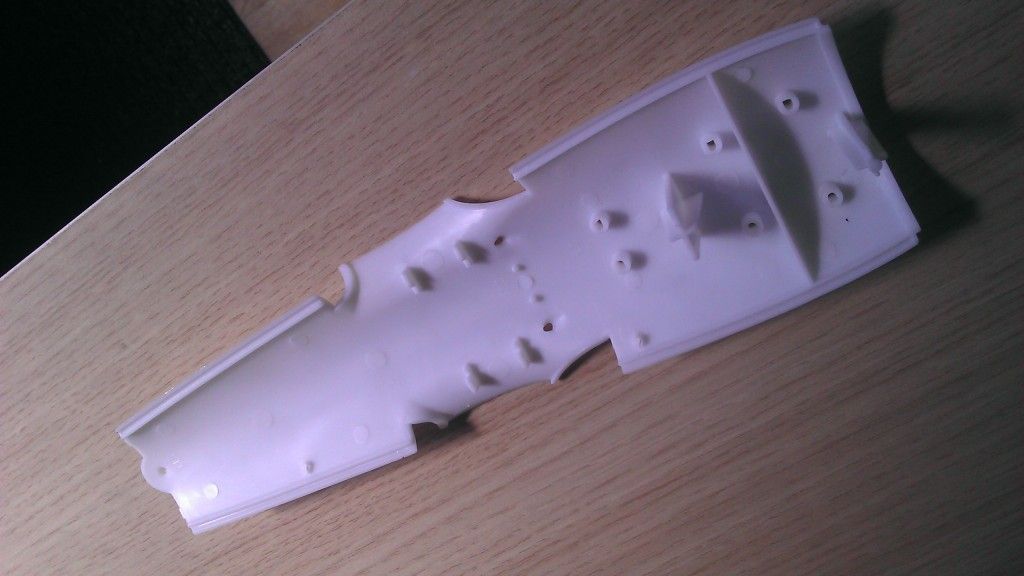
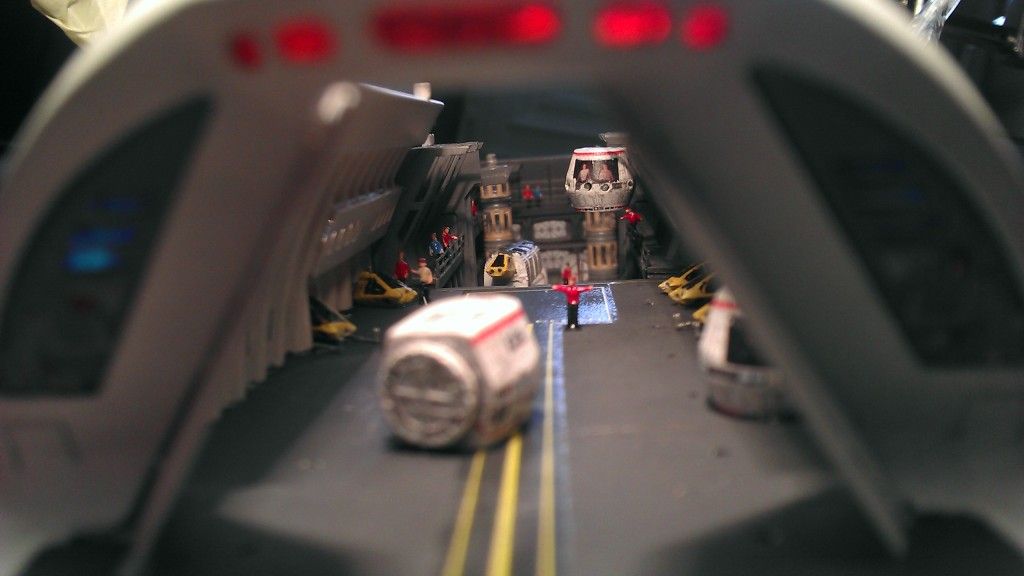
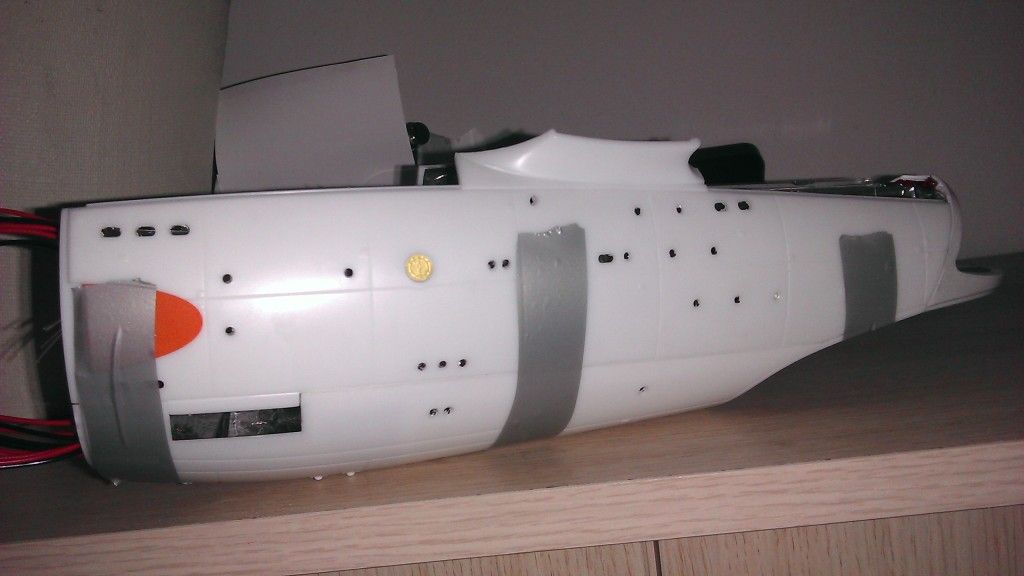
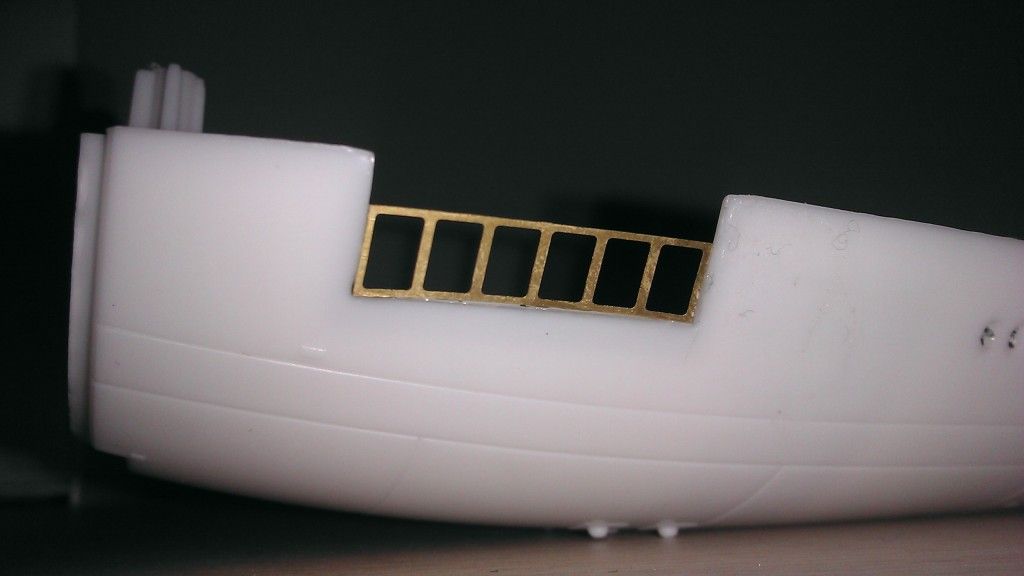
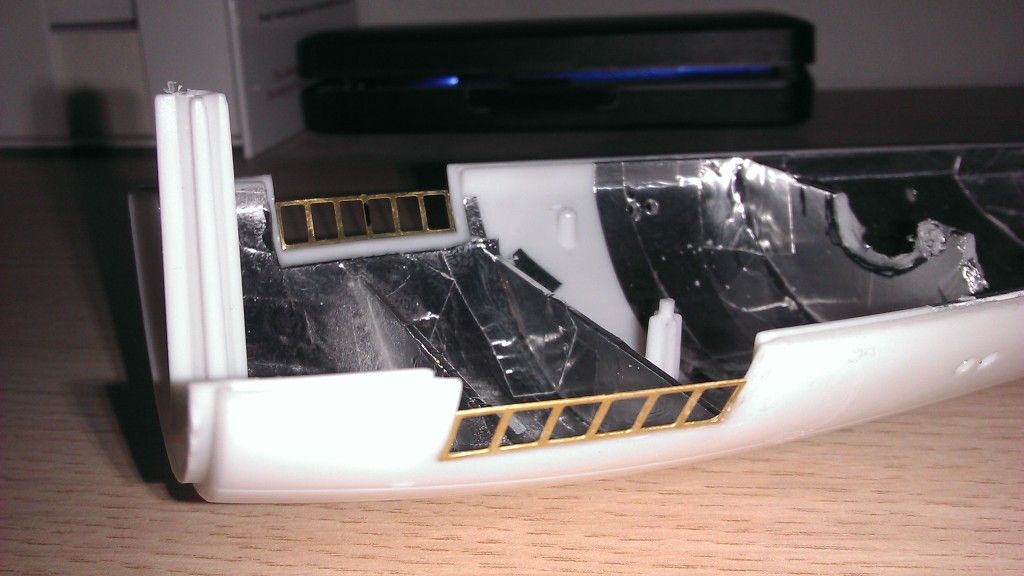
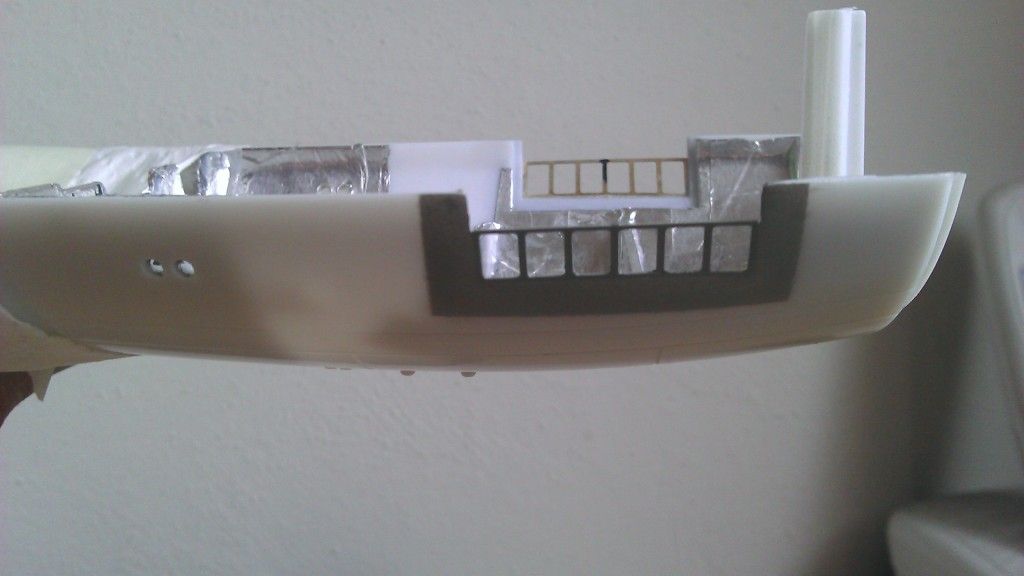
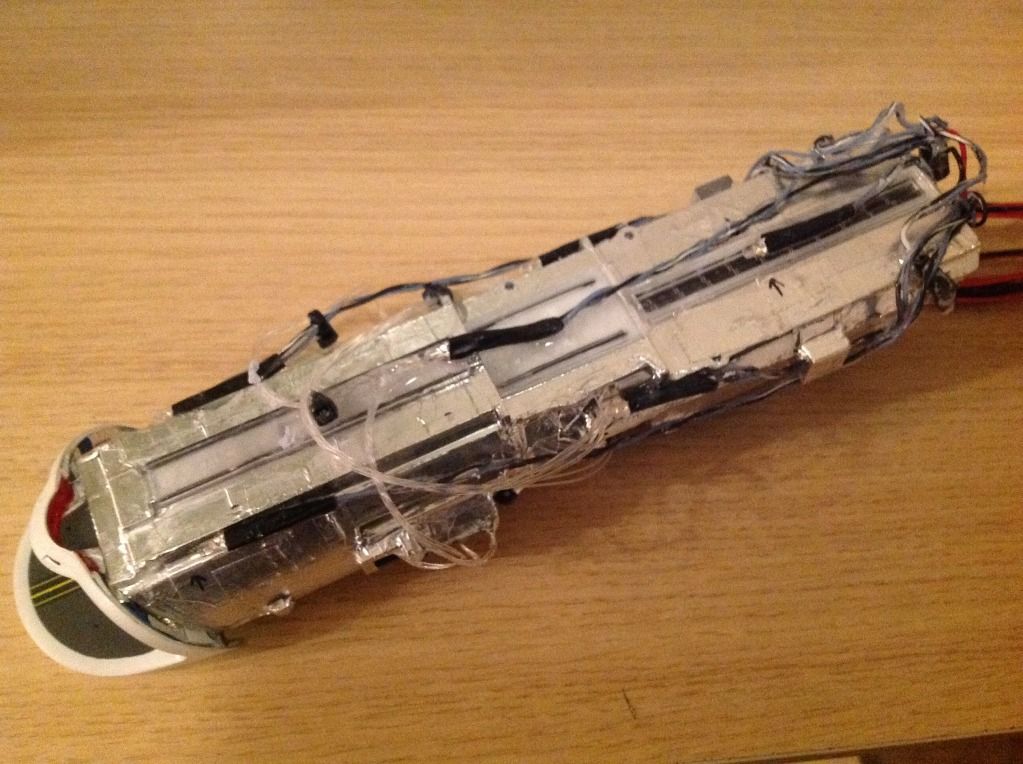
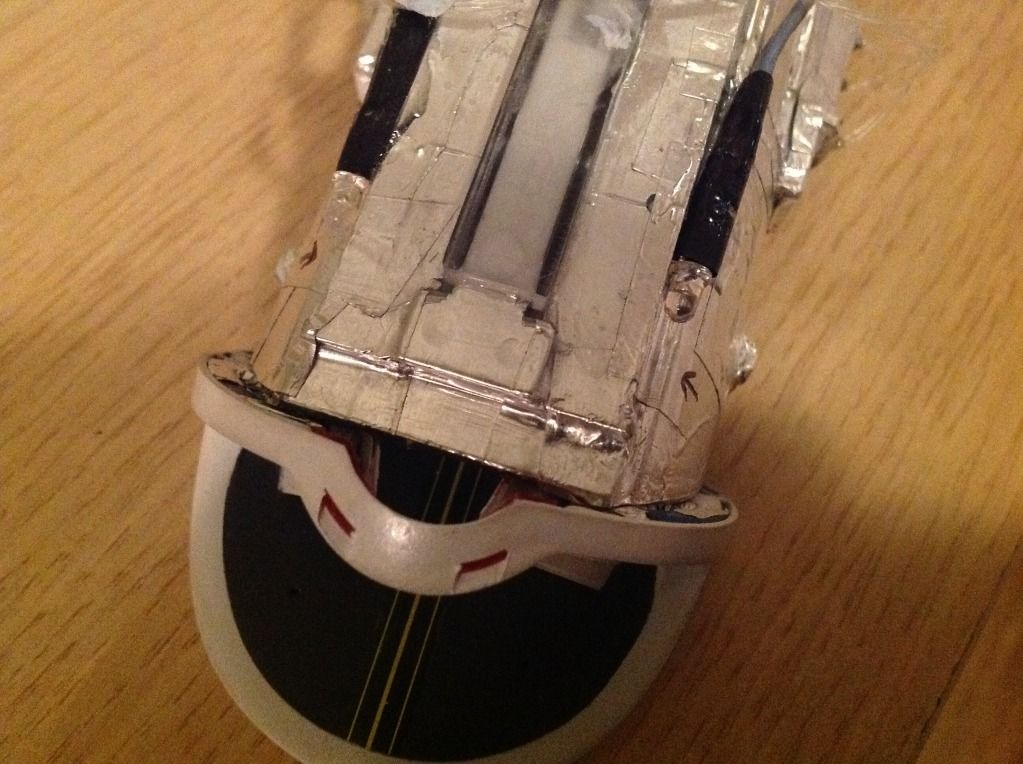
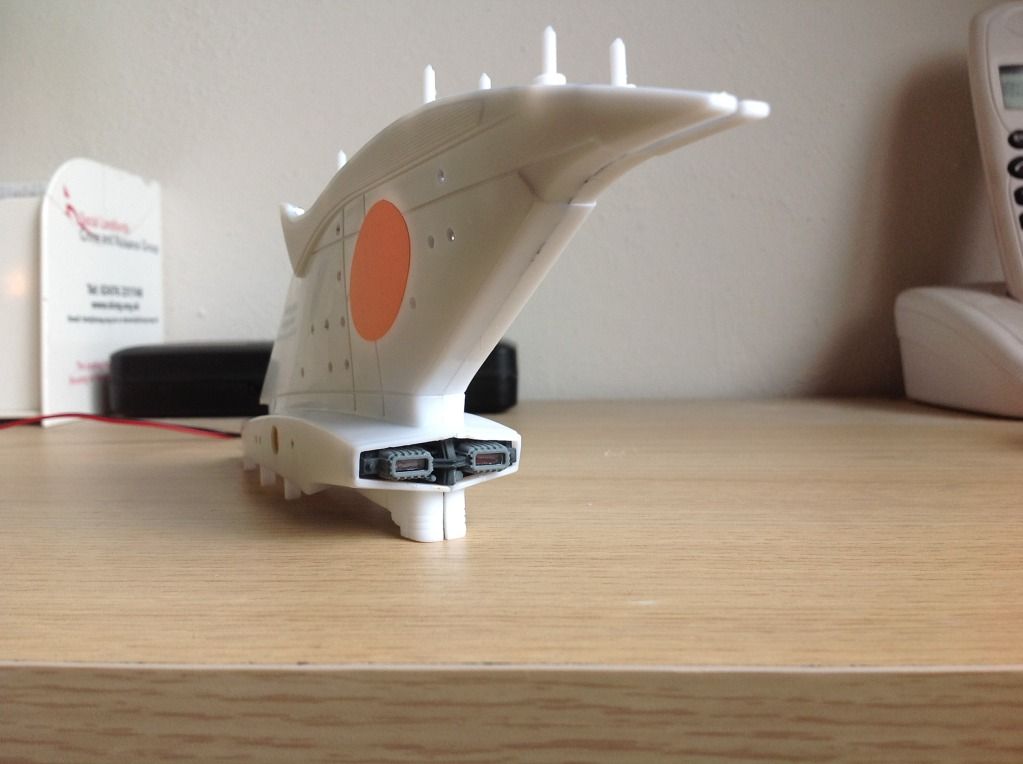
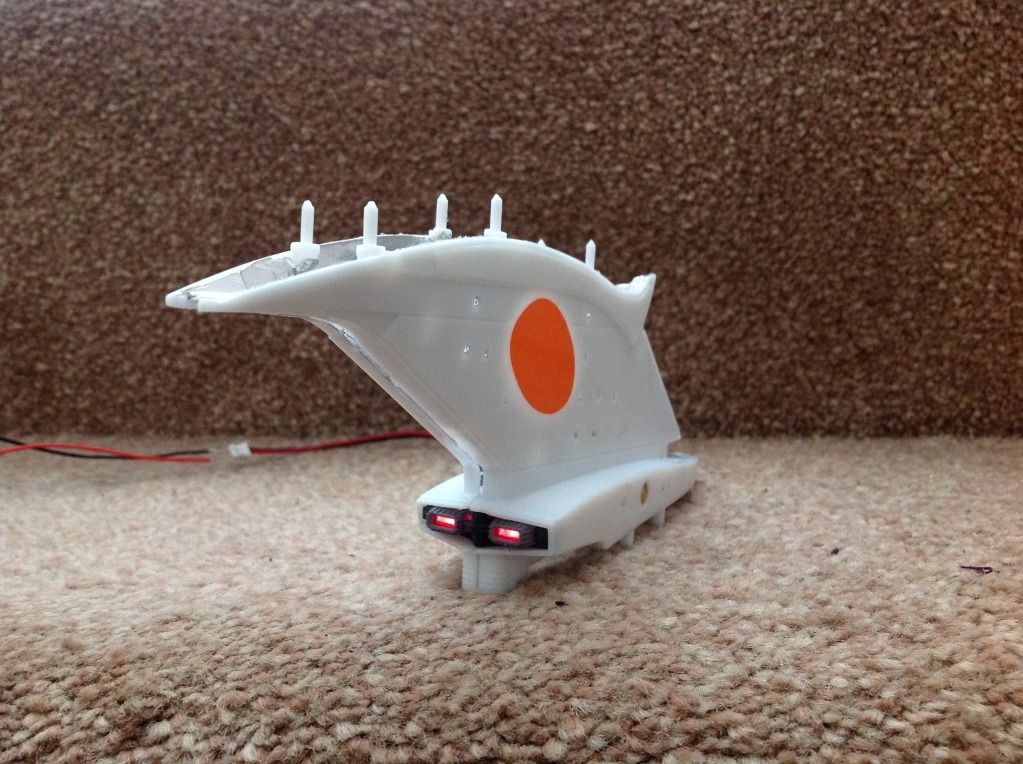
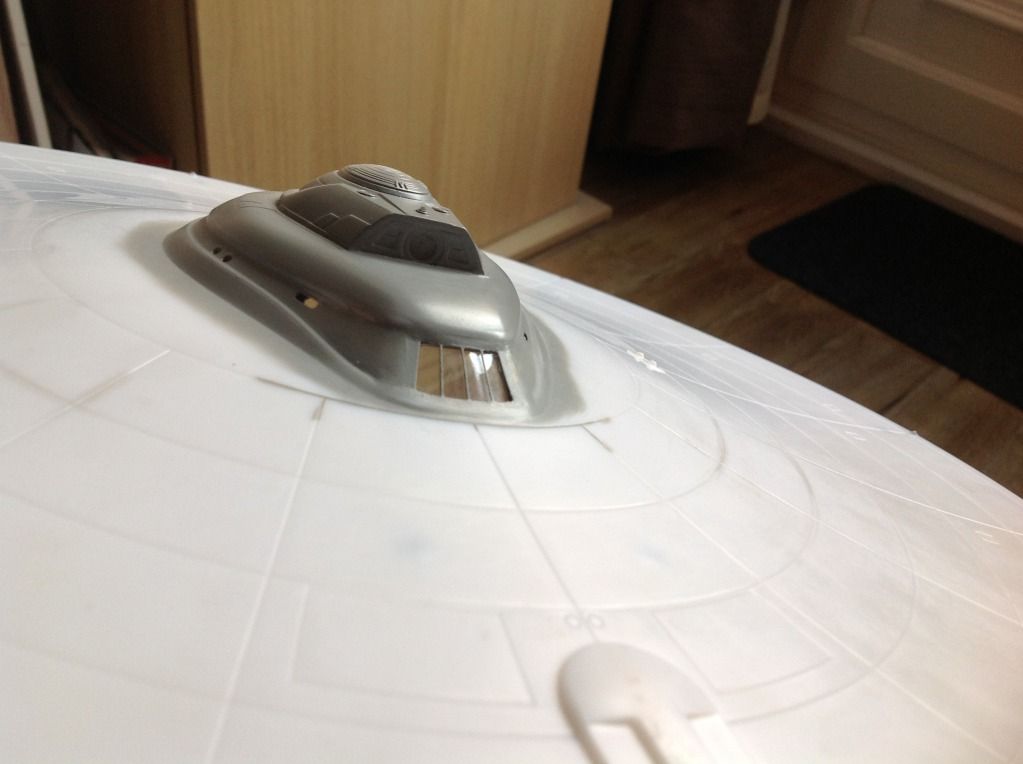
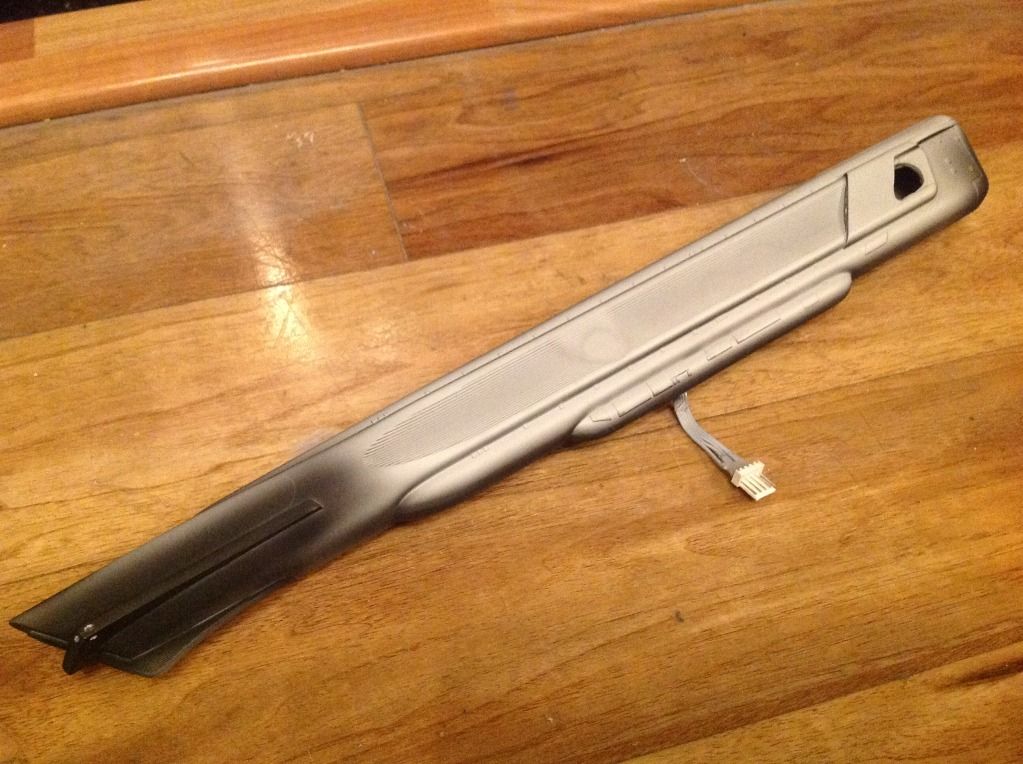
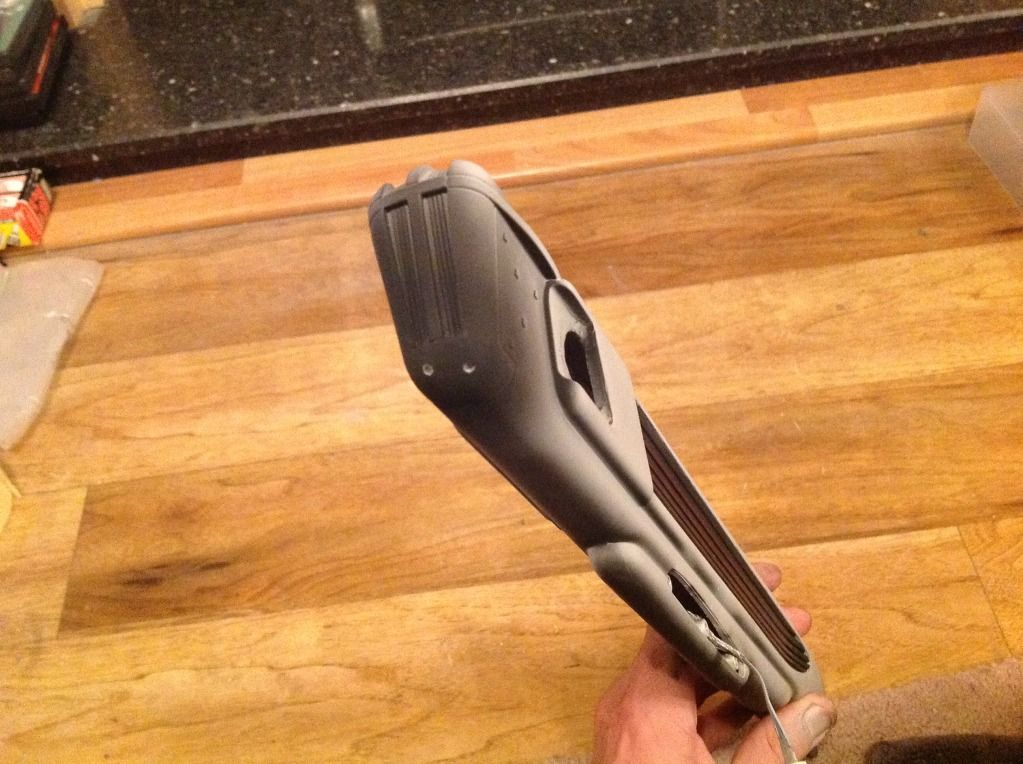
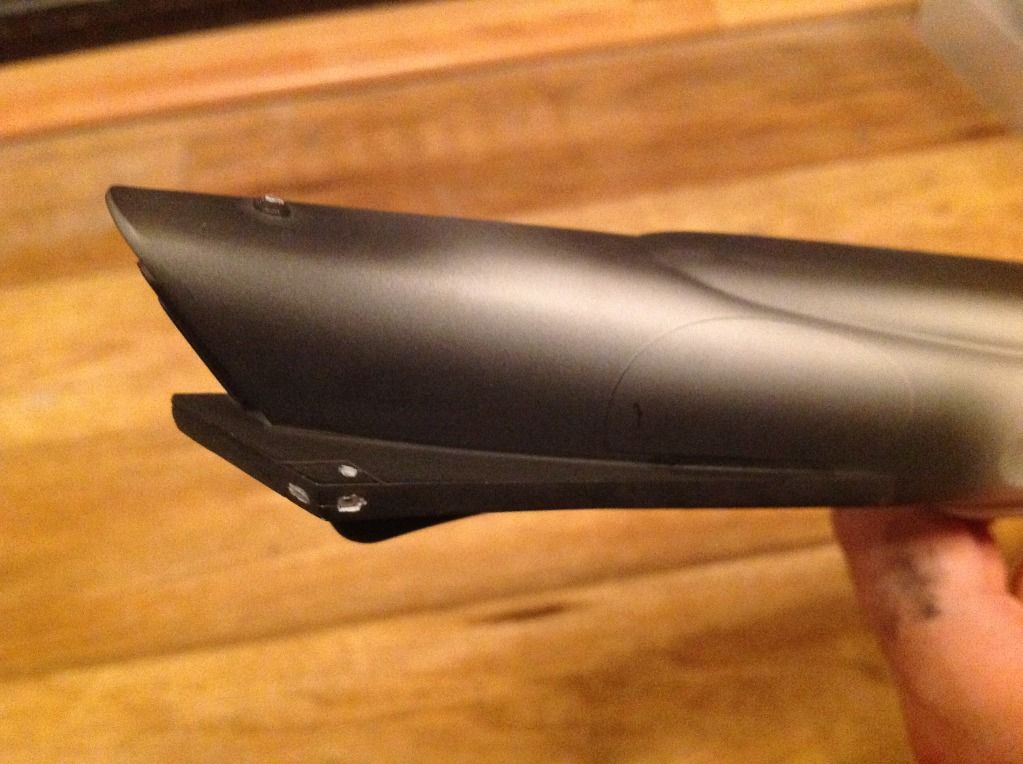
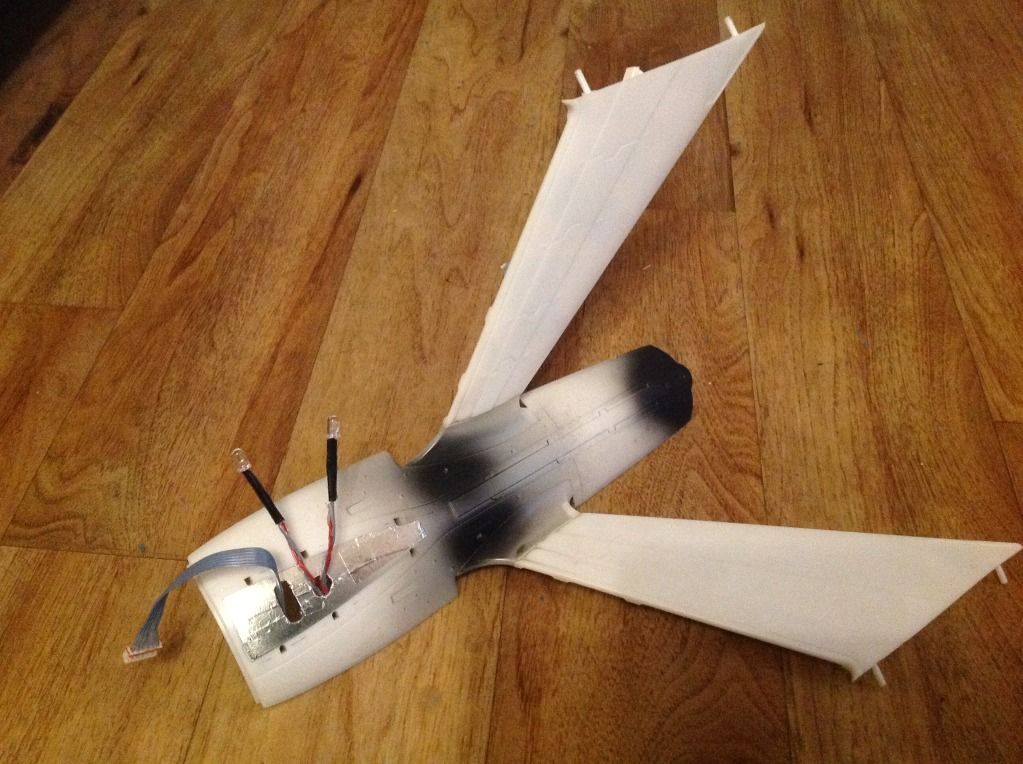
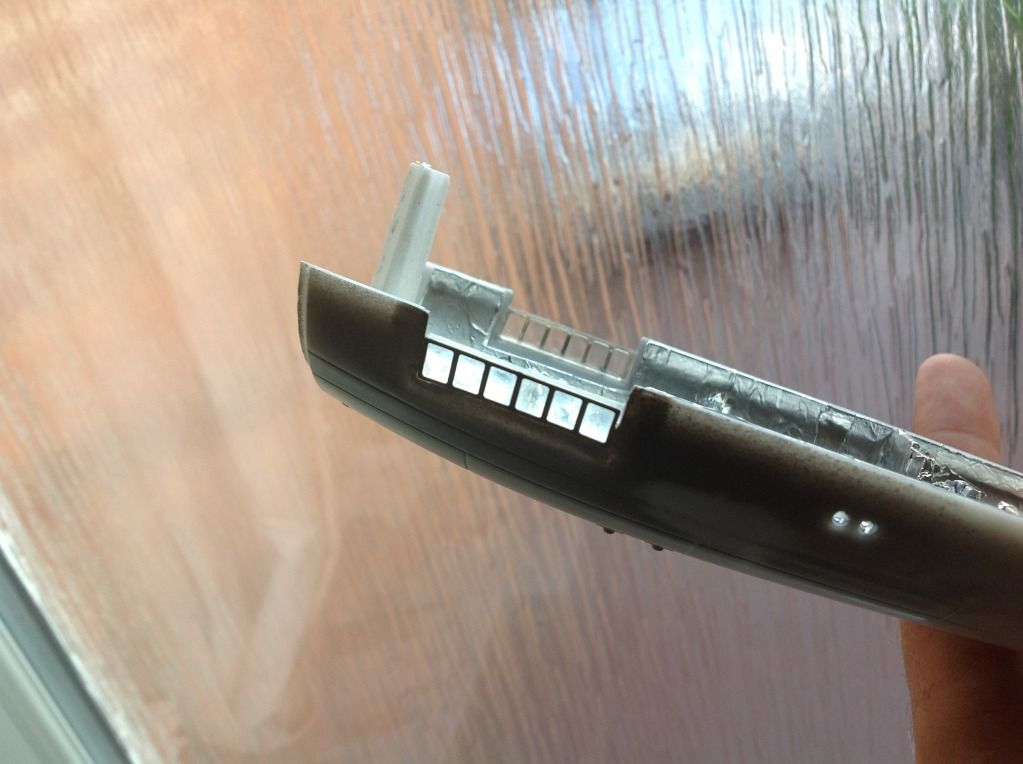
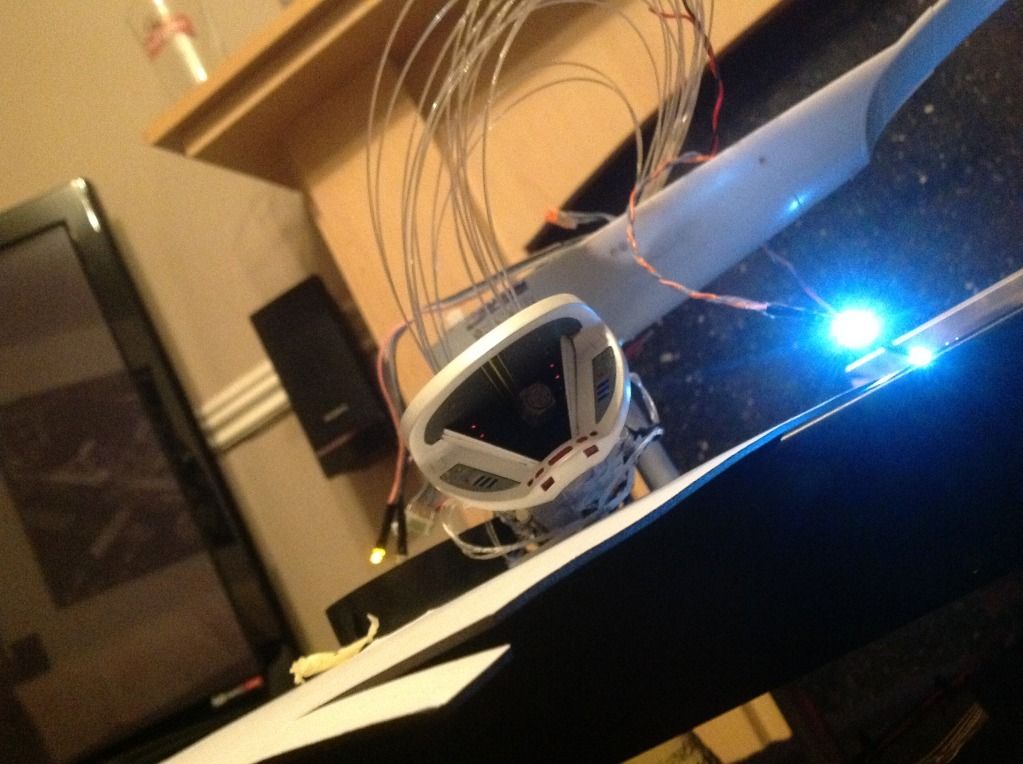
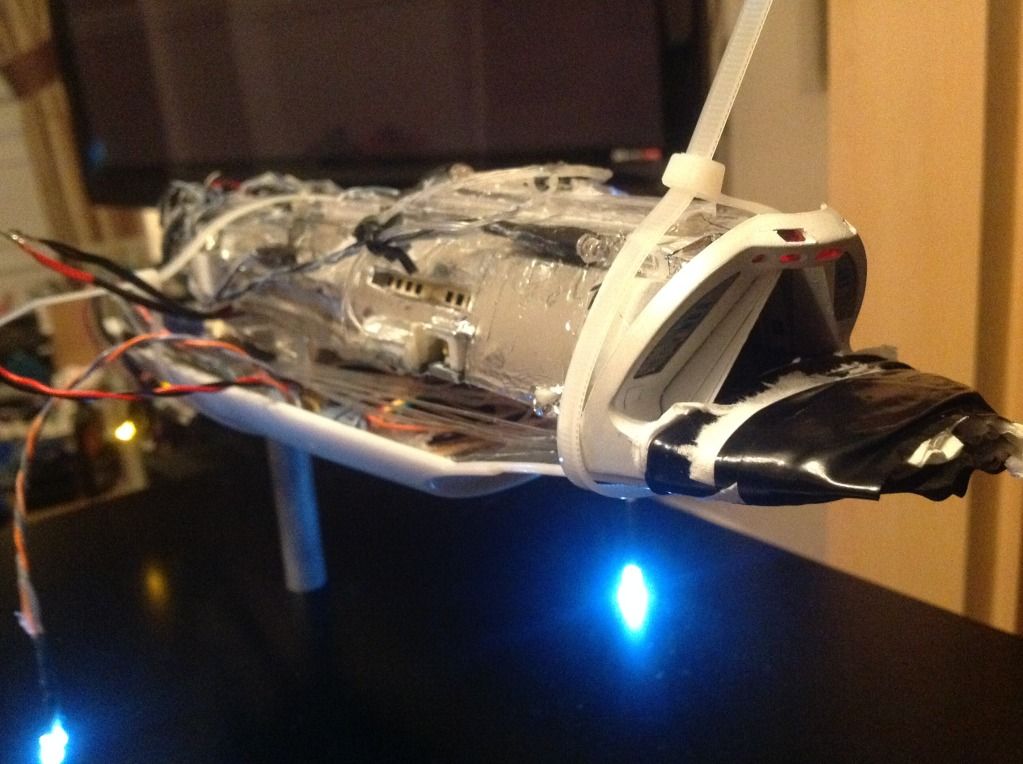
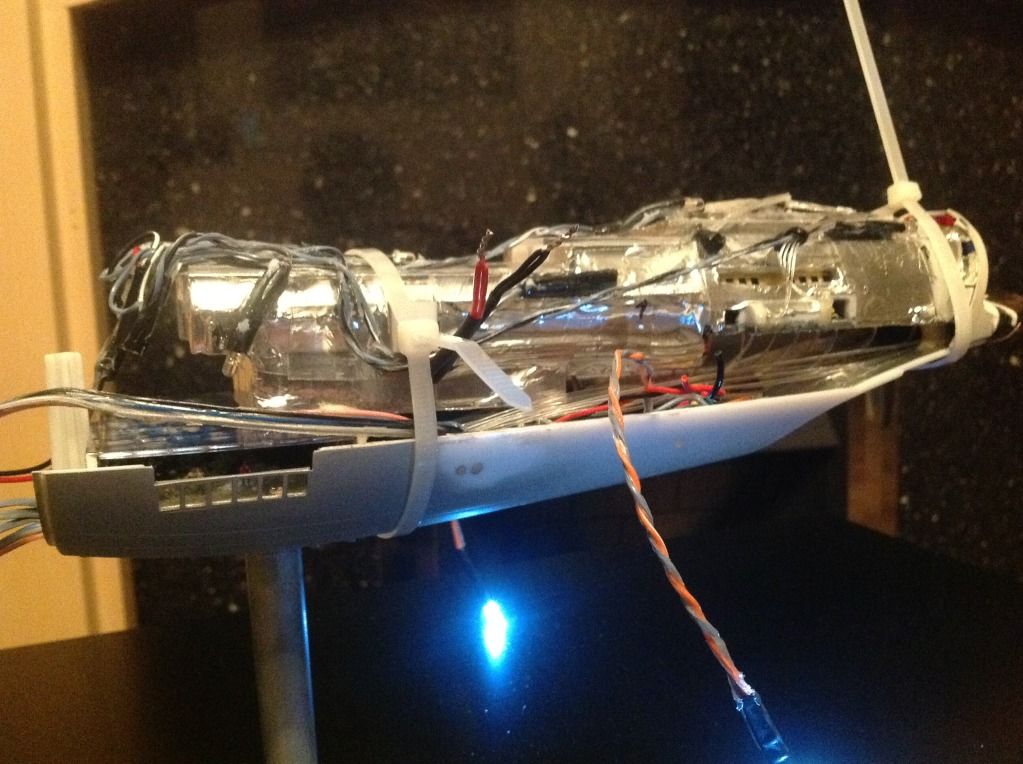
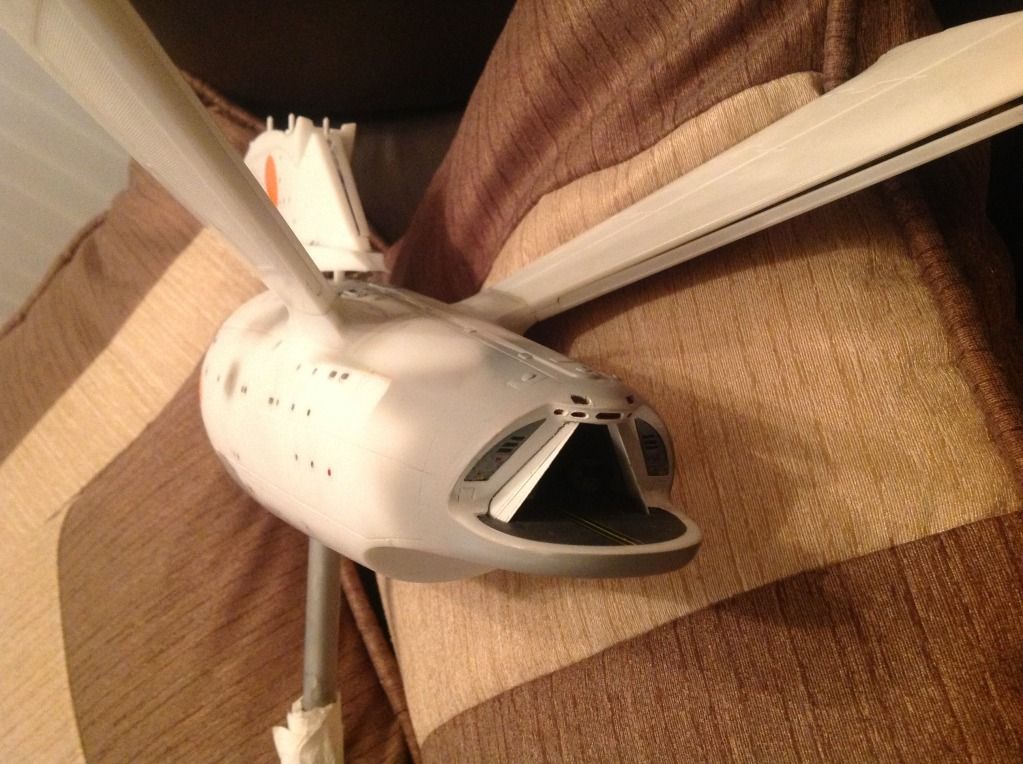
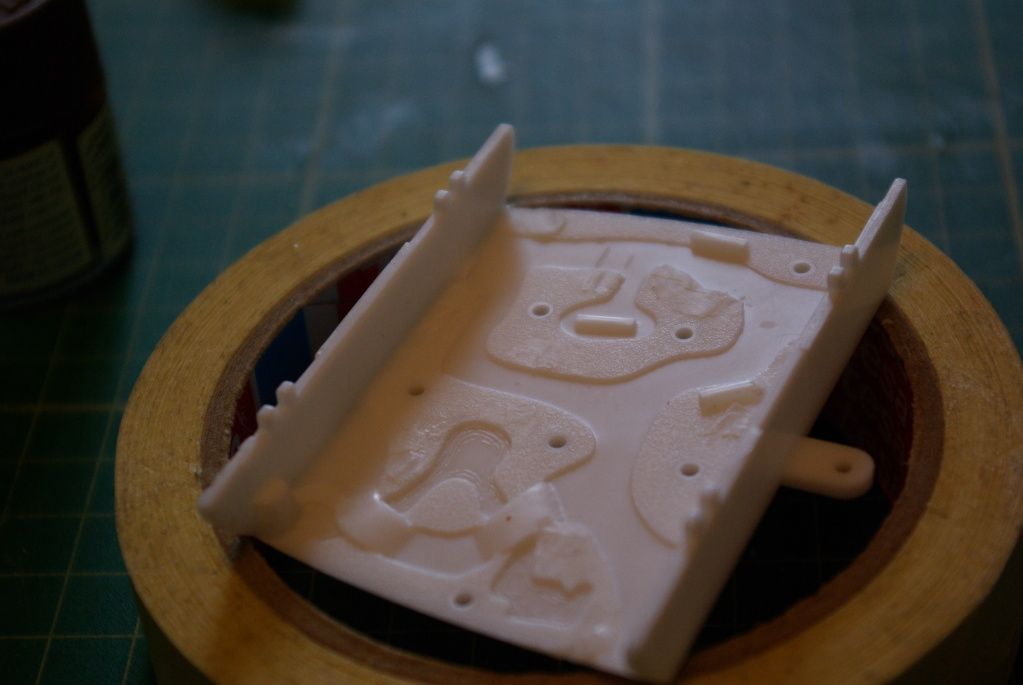
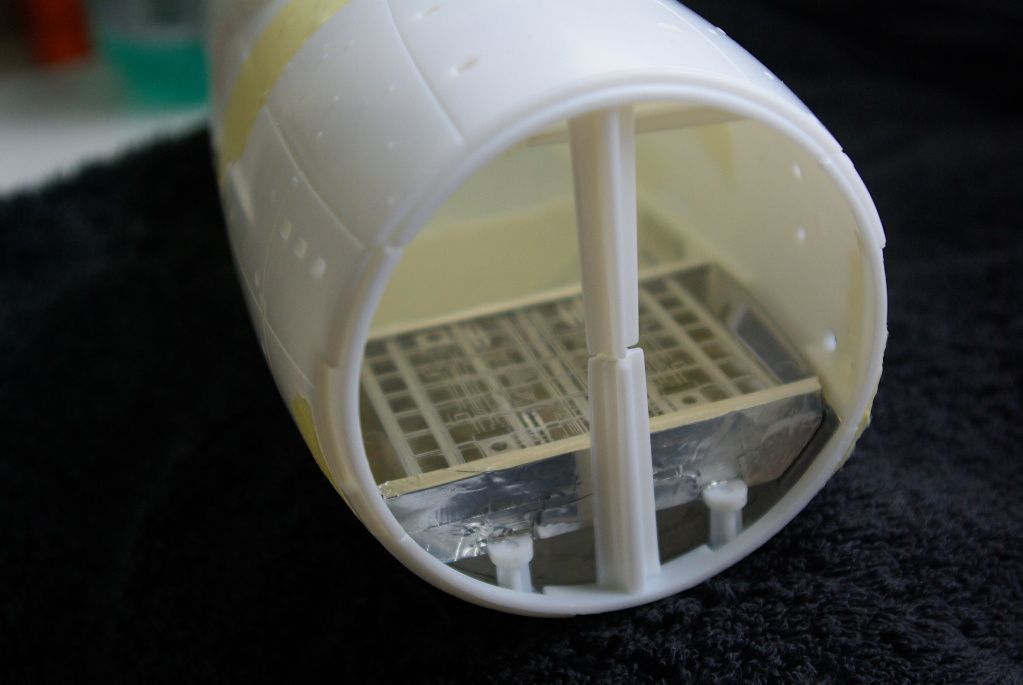
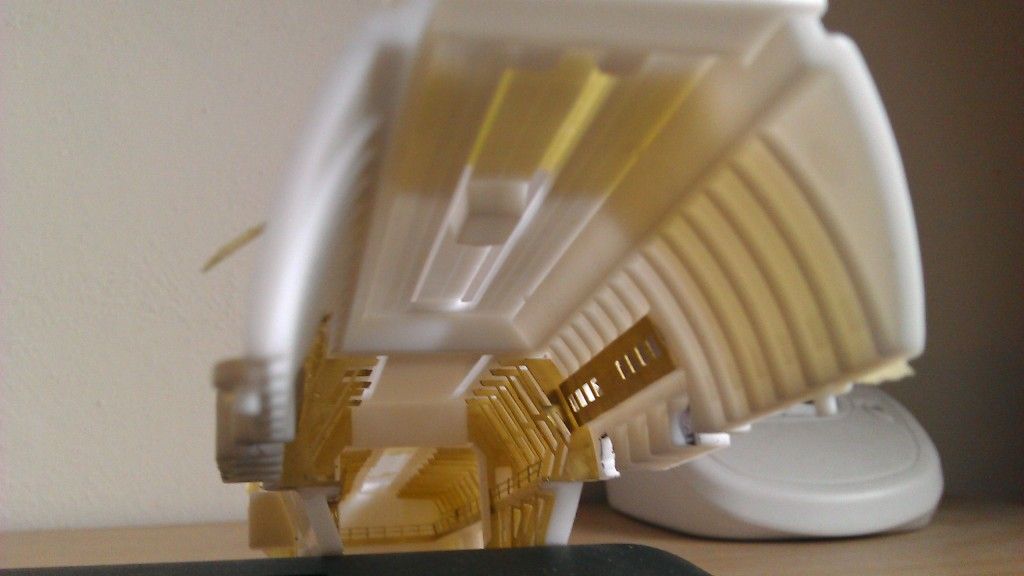
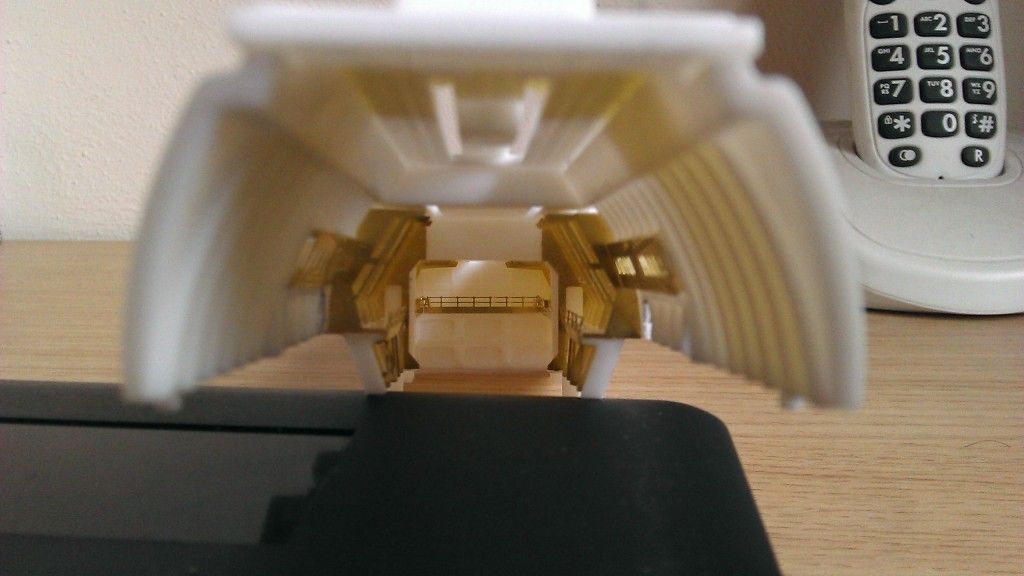
and work on the shuttle bay starts

the aim: to be very anal as possible on this, taking the best parts of peoples builds and if possible doing it better in regards of build, paint etc etc.
this is my first airfix type kit build in 25 years, its also the first time i have used airbrusing and masking, so here we go:
after 6 months at approx 6 hours per night, total of 1080 hours equalling around 45 solid days i present my build of the enterprise. the kit is now all built and on display so this is to help anyone else wanting to build one - this will end up to show pretty much step by step of what i did so it will be pic intensive - ill upload at various times during the day, night week as its quite pic heavy
so here is the box
first start the garden - i did not prime this - i would advise you do to enable the bits to stick better - dremeled off the original poor excuse for trees
and all done - wire for the tree stems, grass clumps from railway greenery as was the pebbles
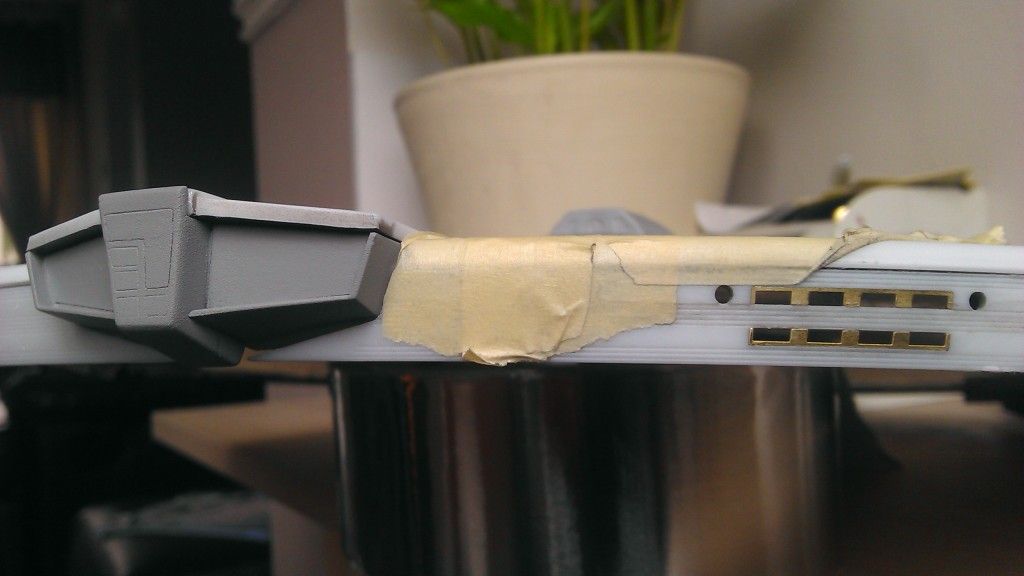
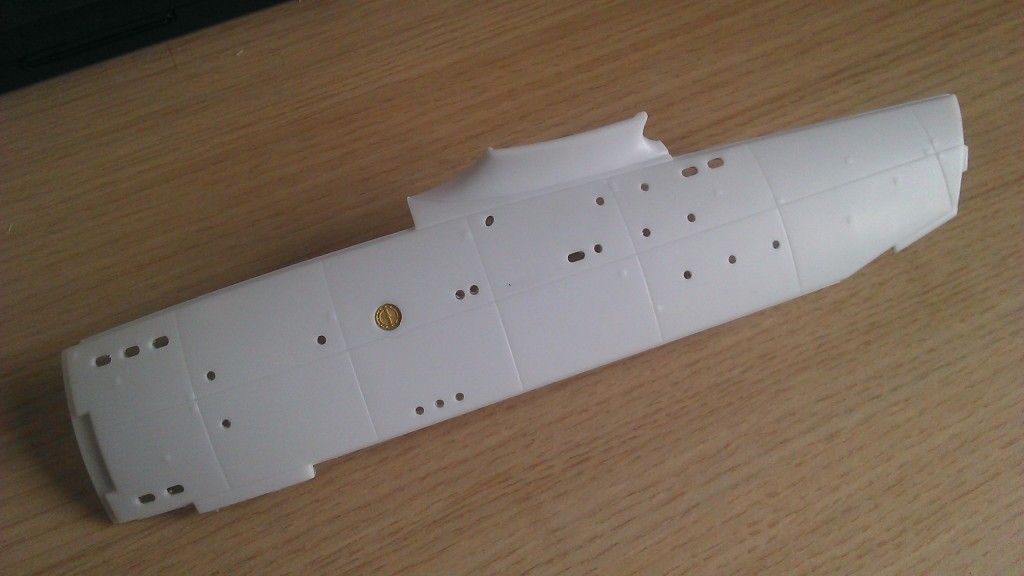
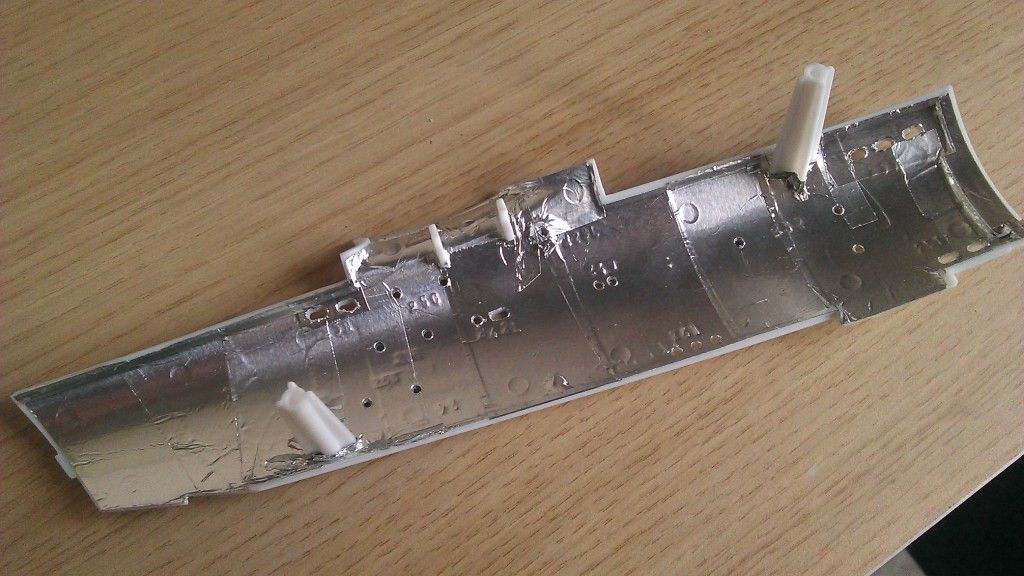
the roof area added some pipework with ali foil tape
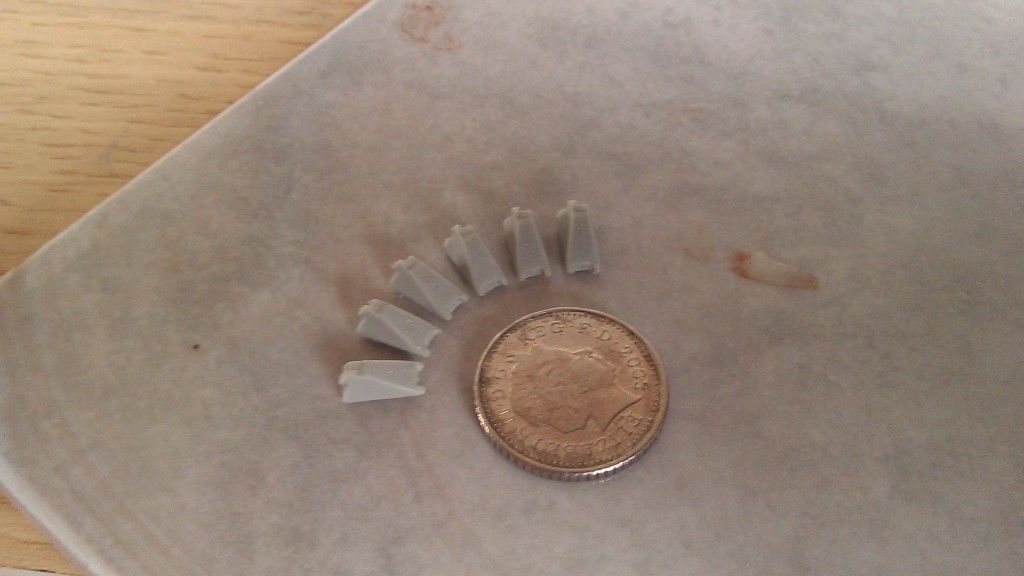
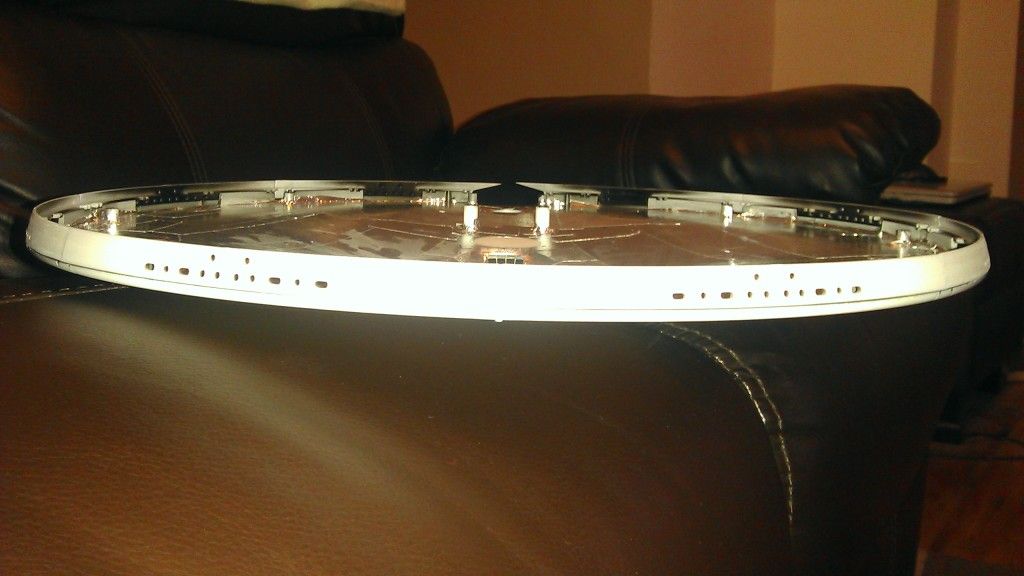
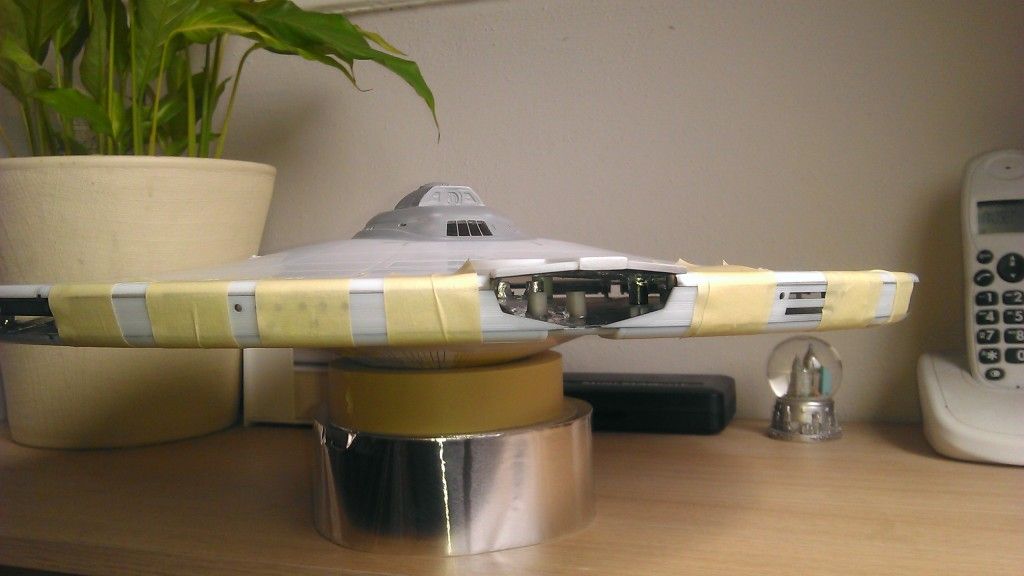
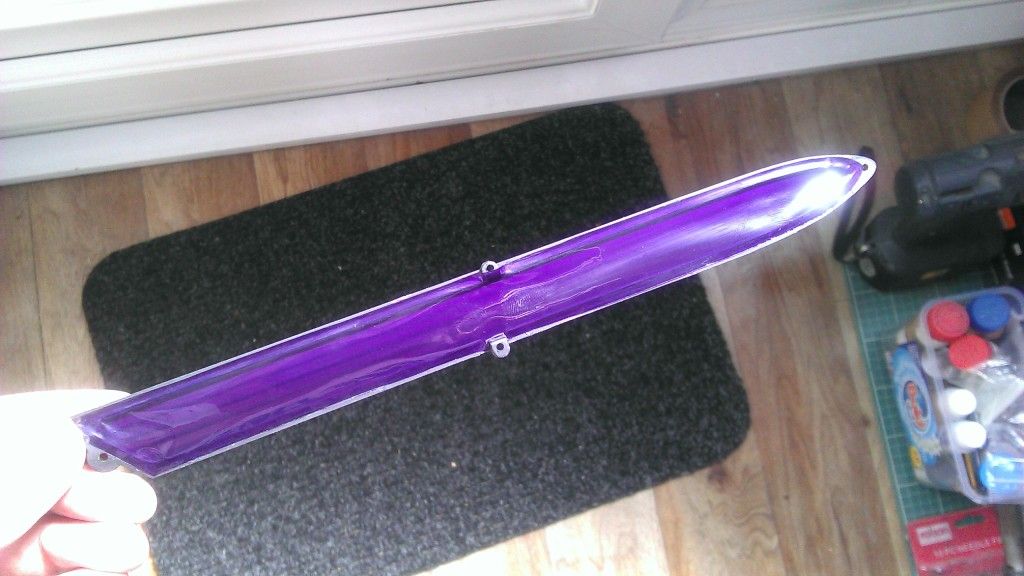
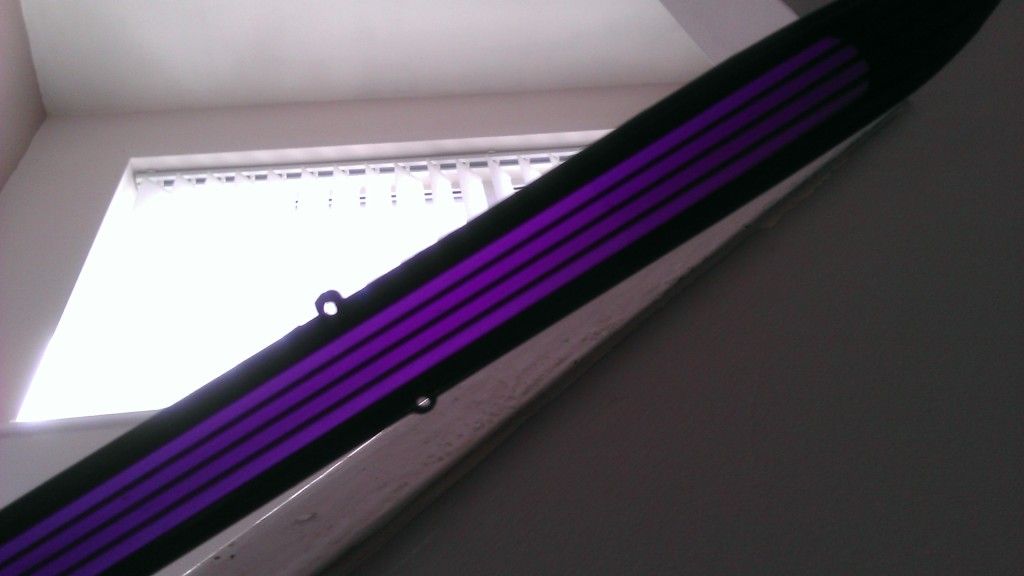
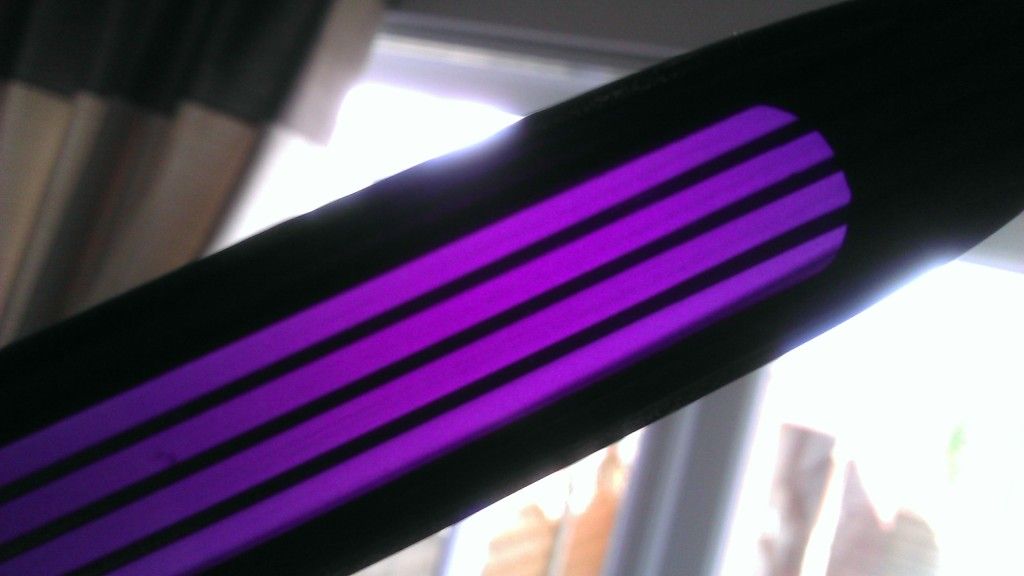
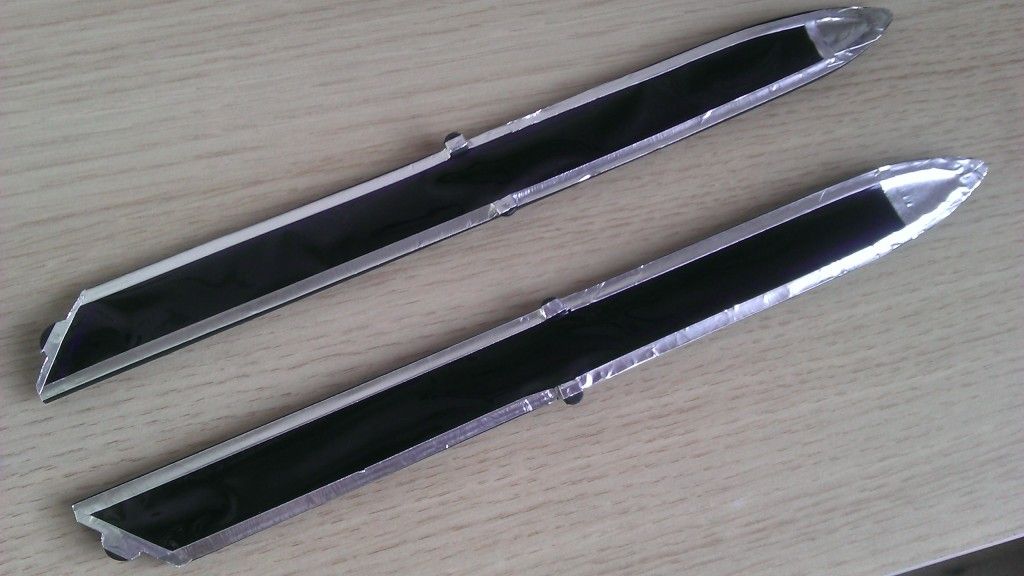
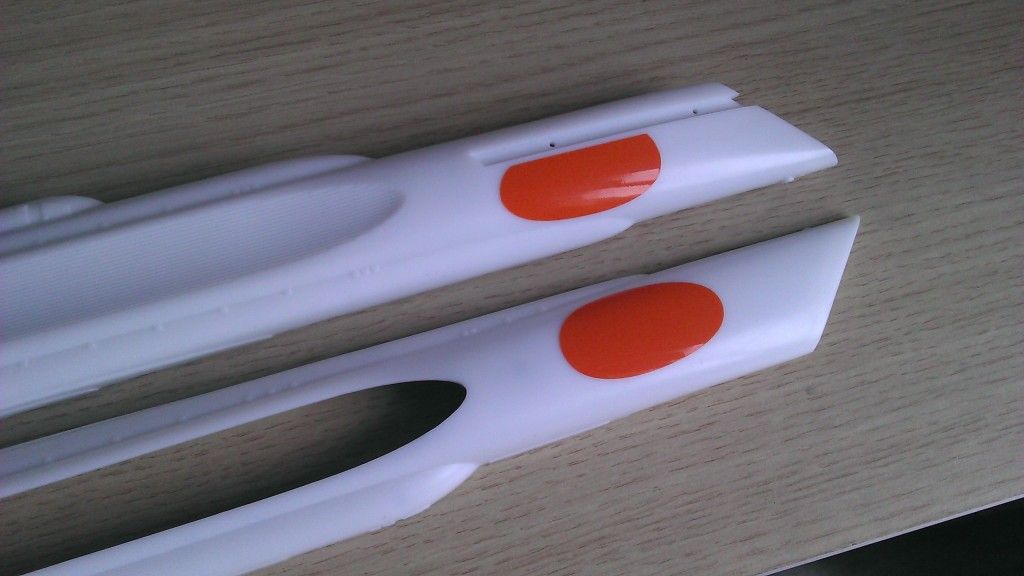
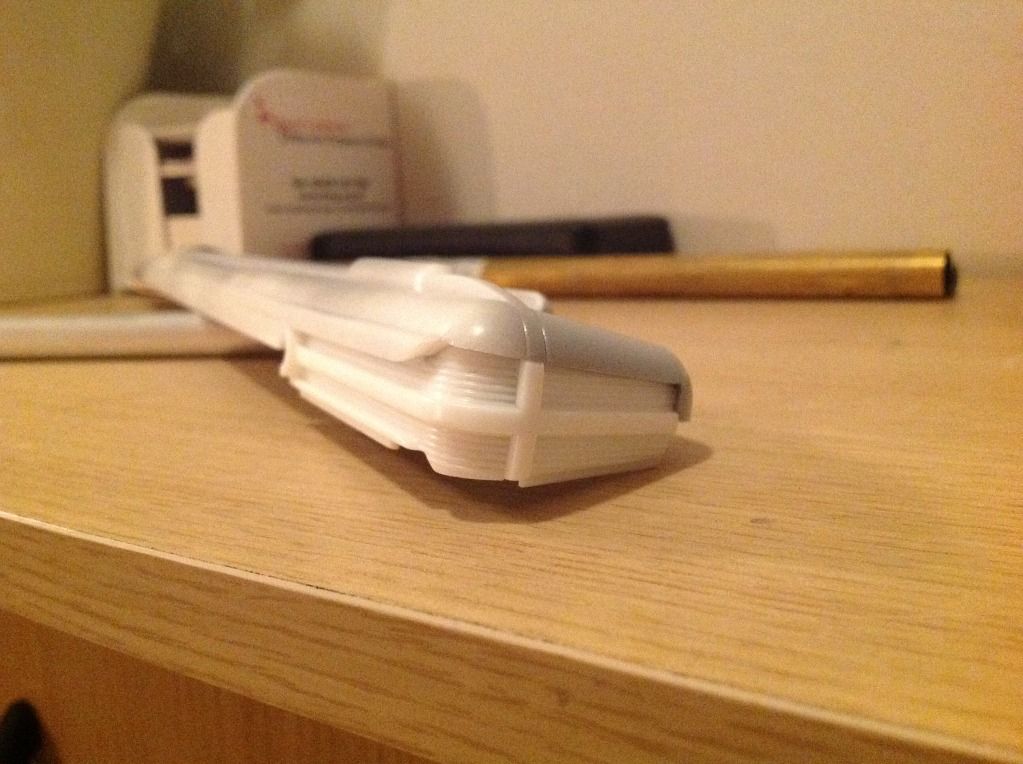
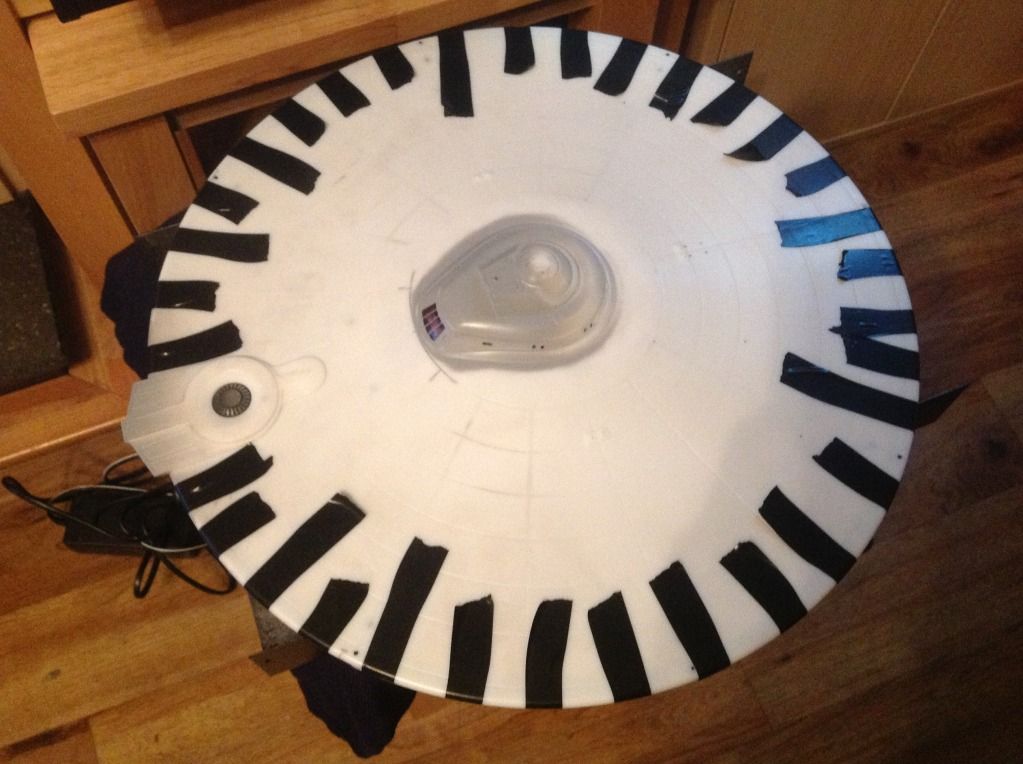
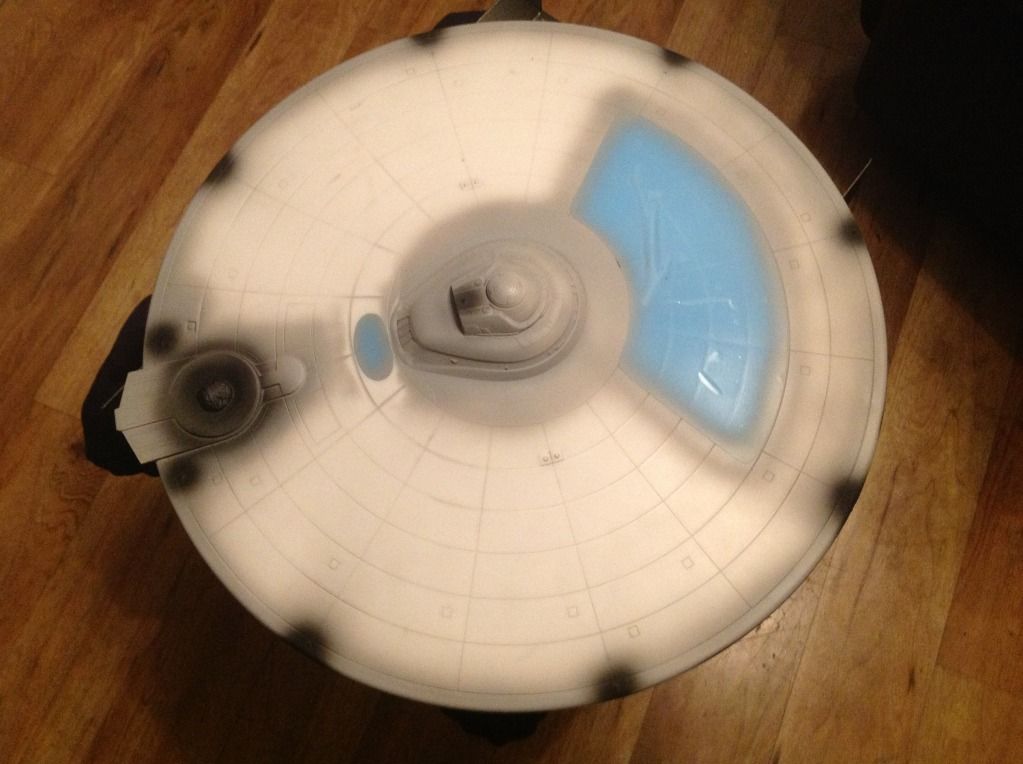
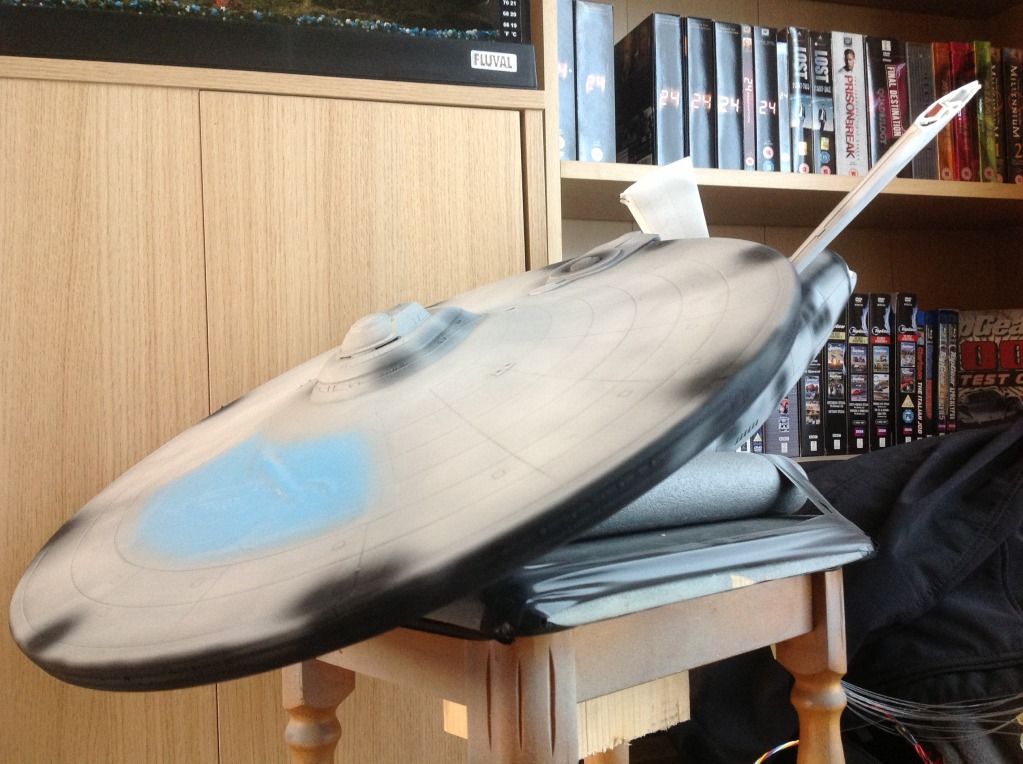
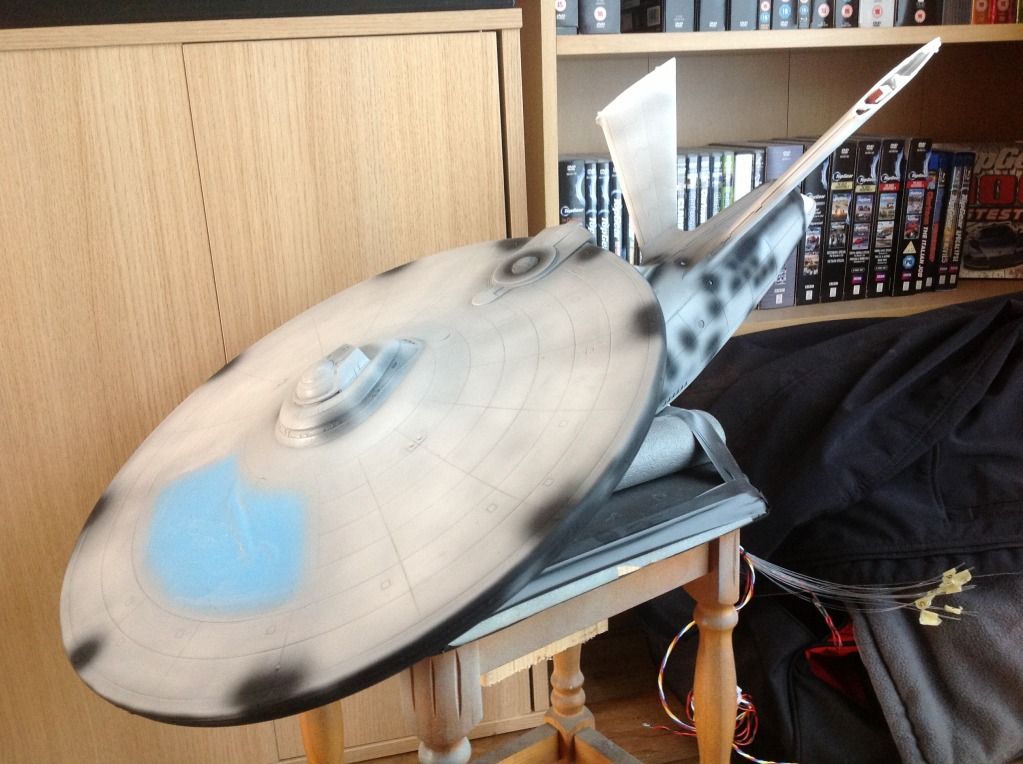
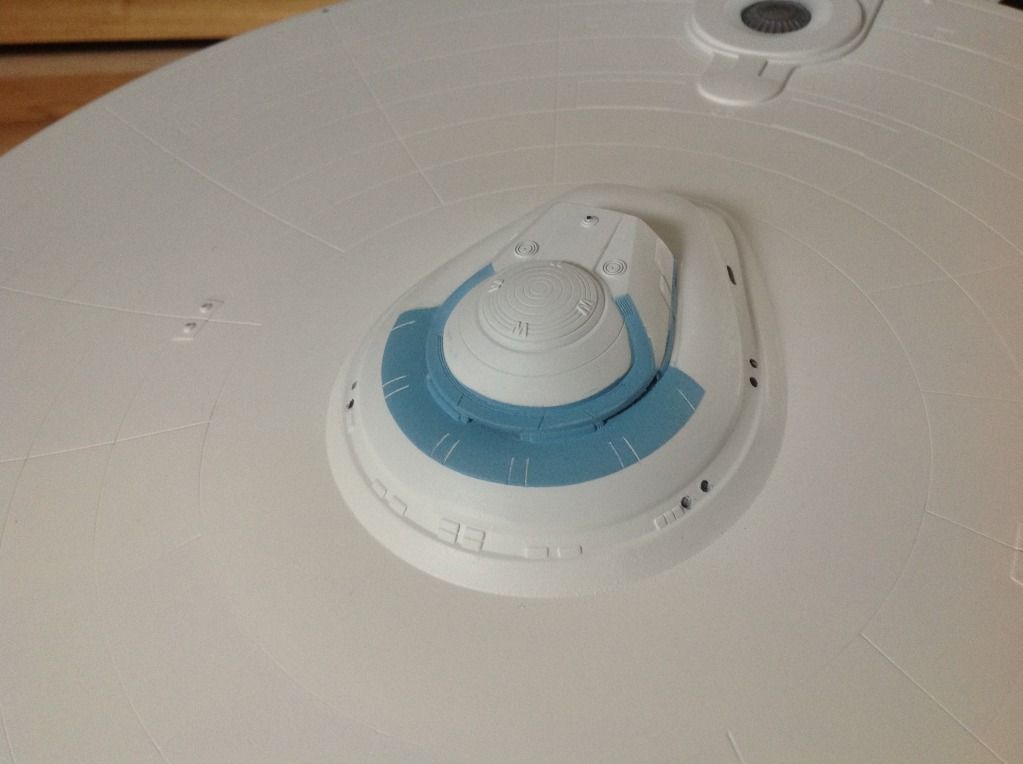
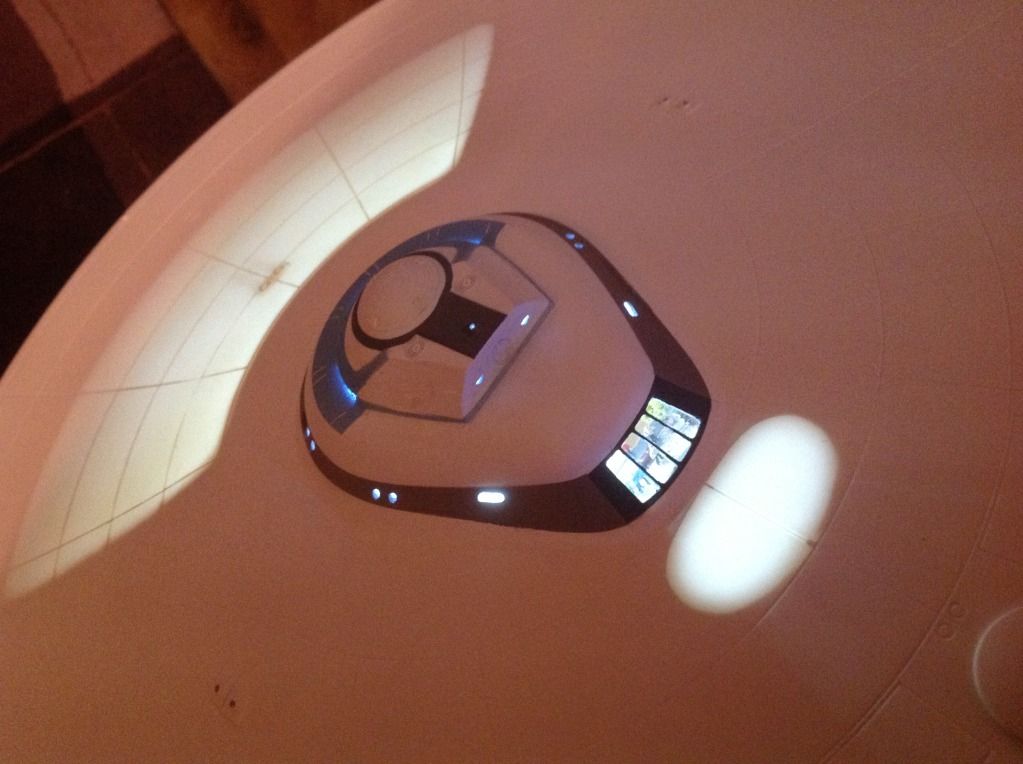
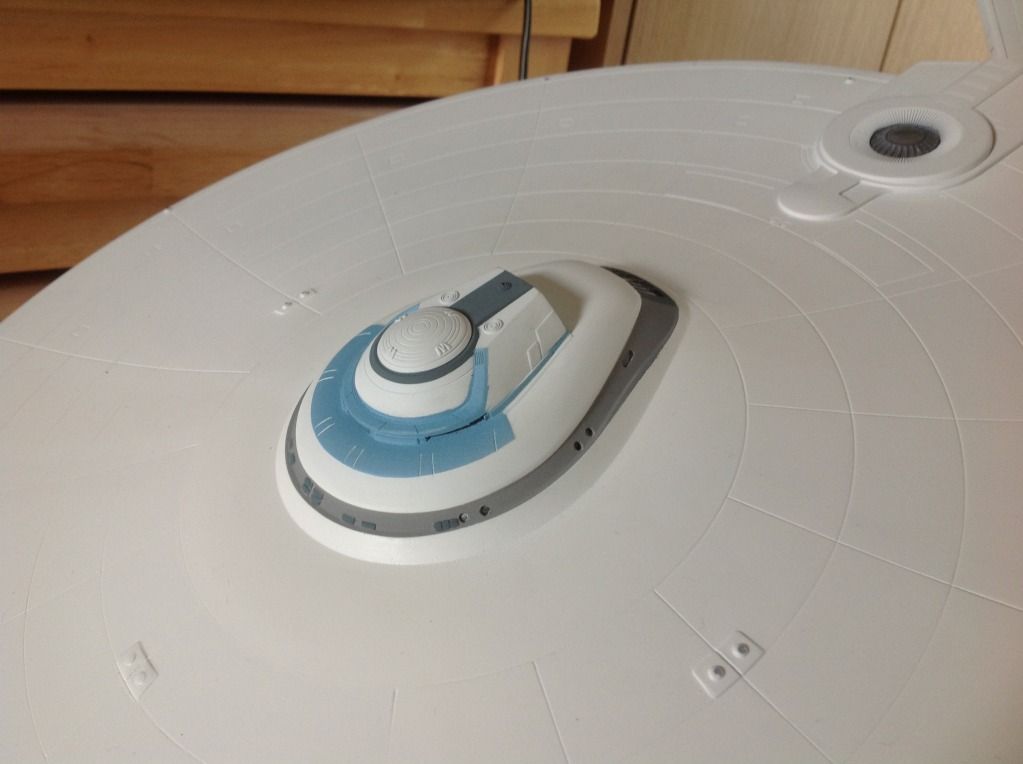
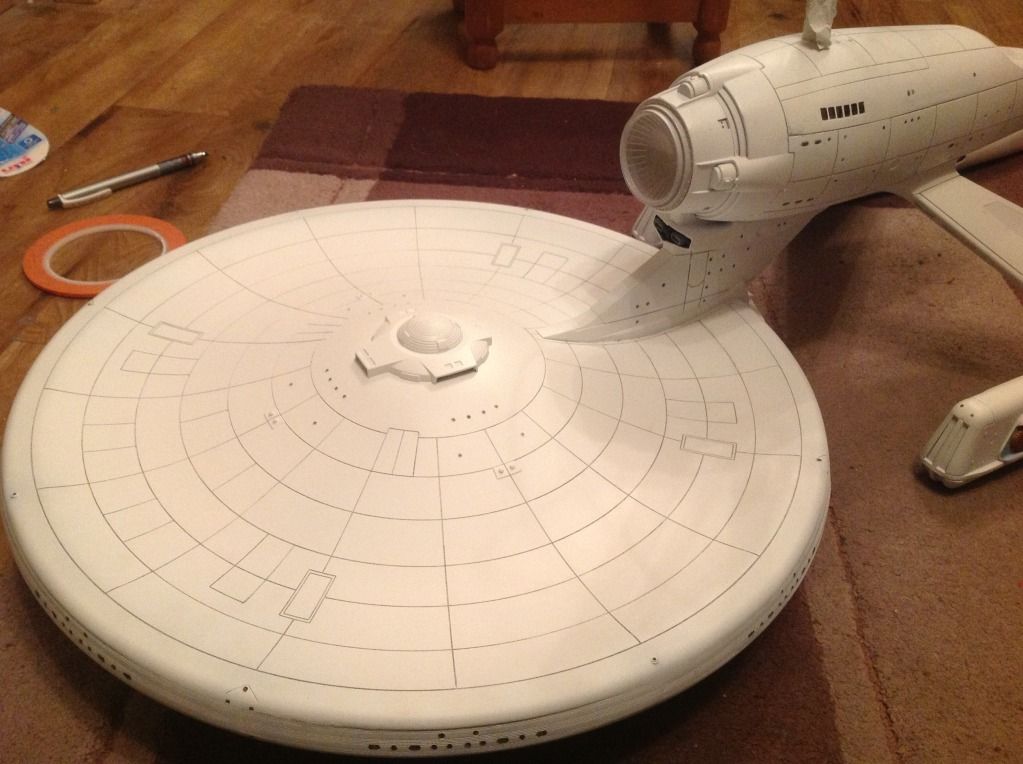
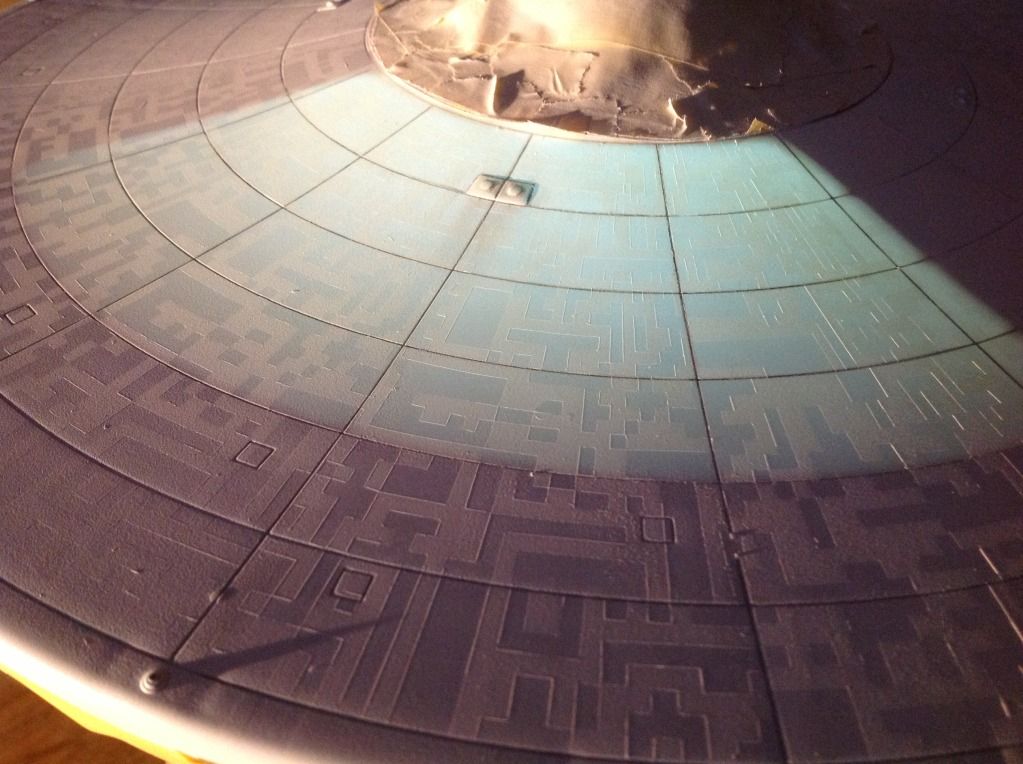
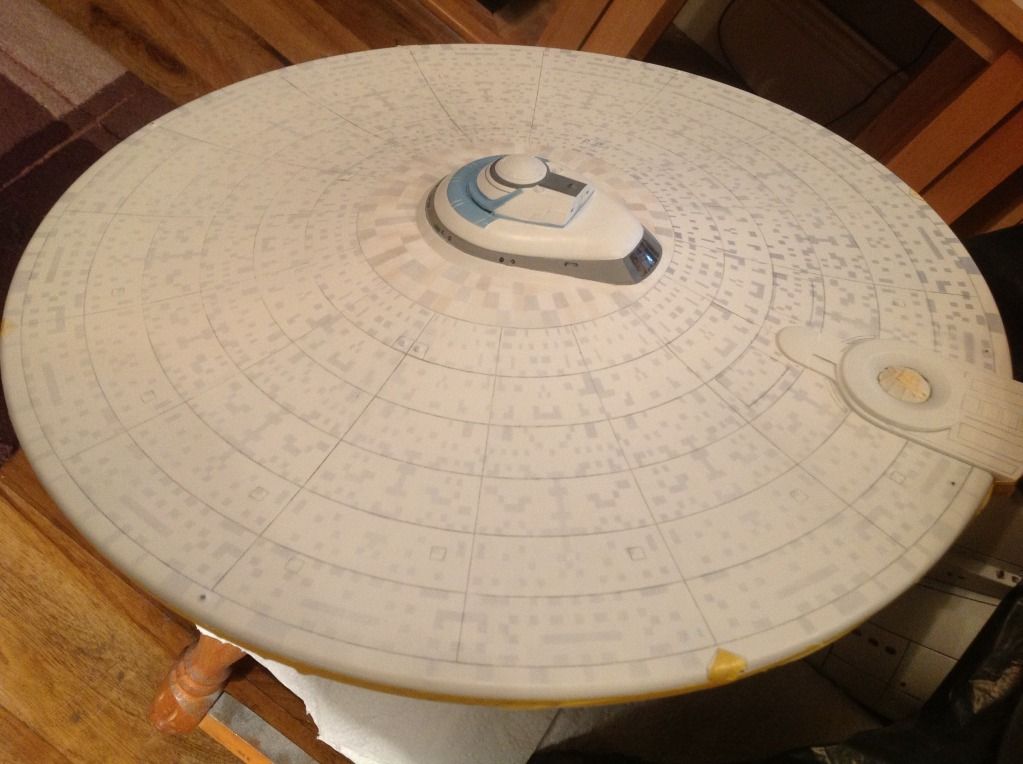
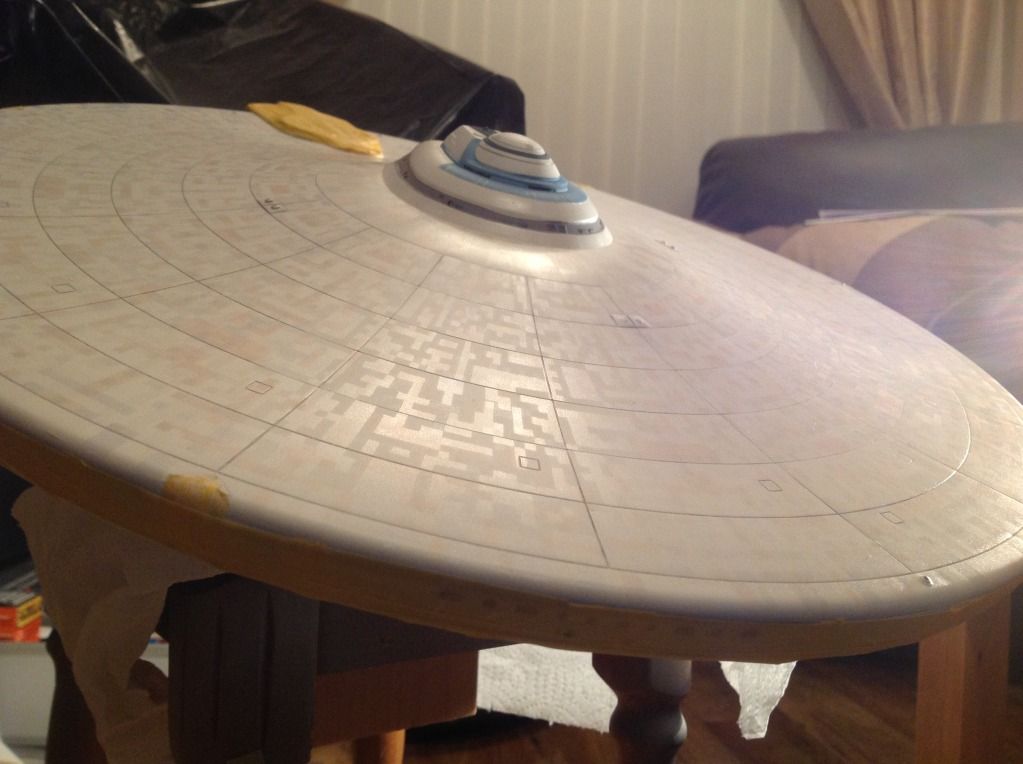
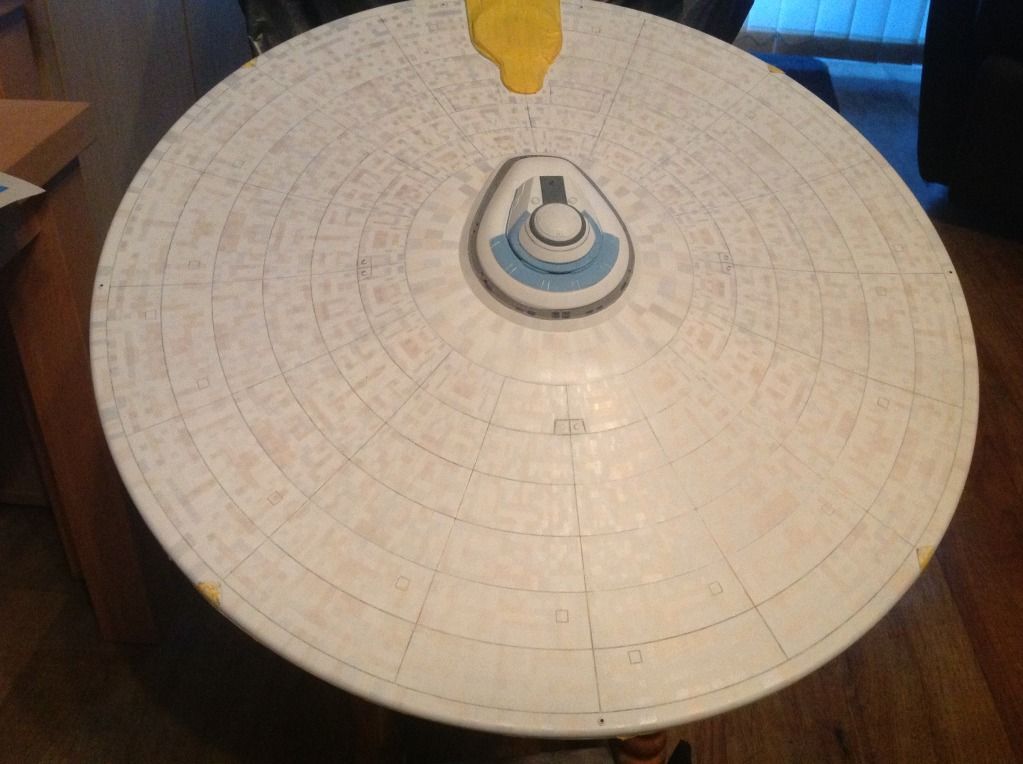
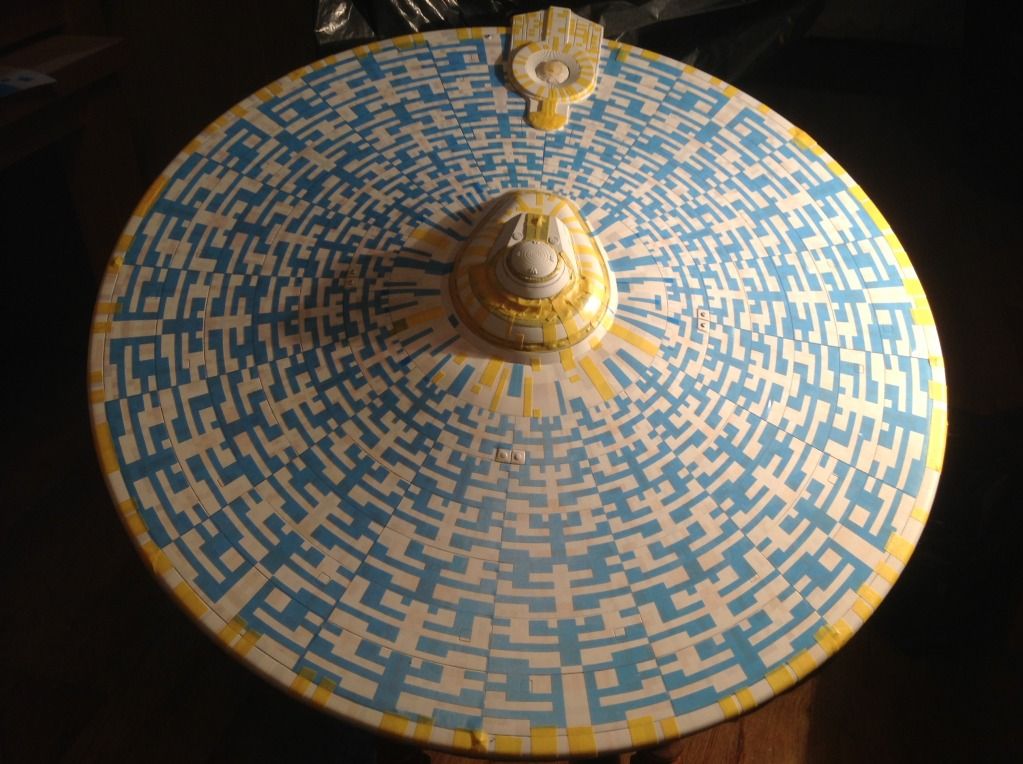
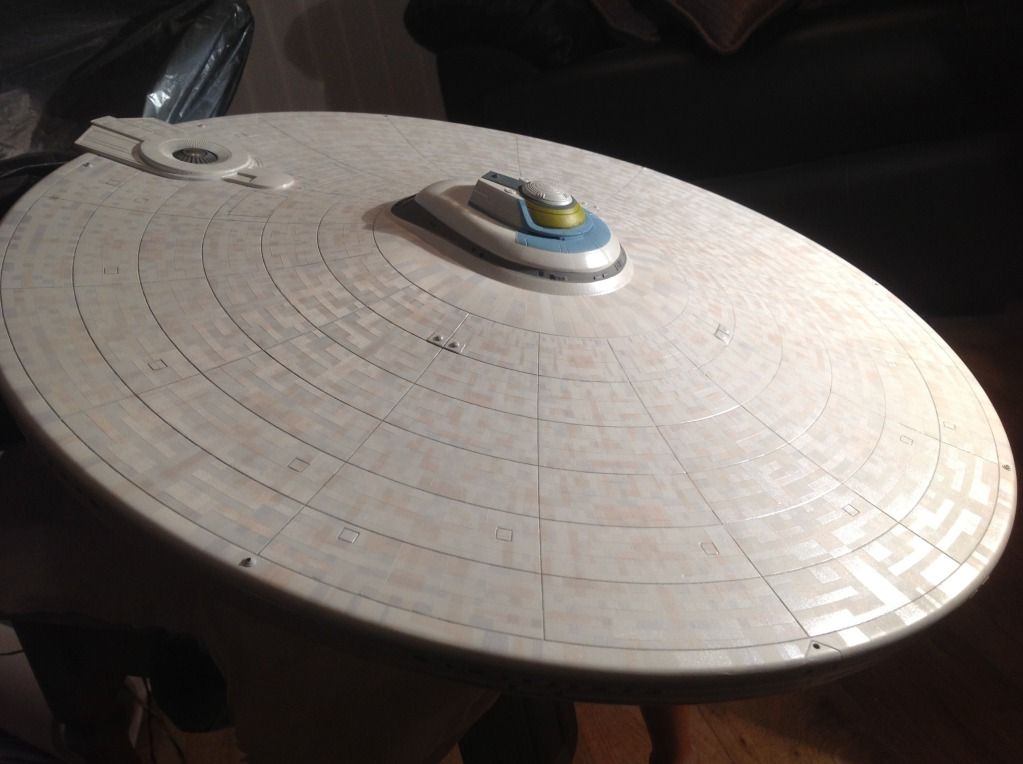
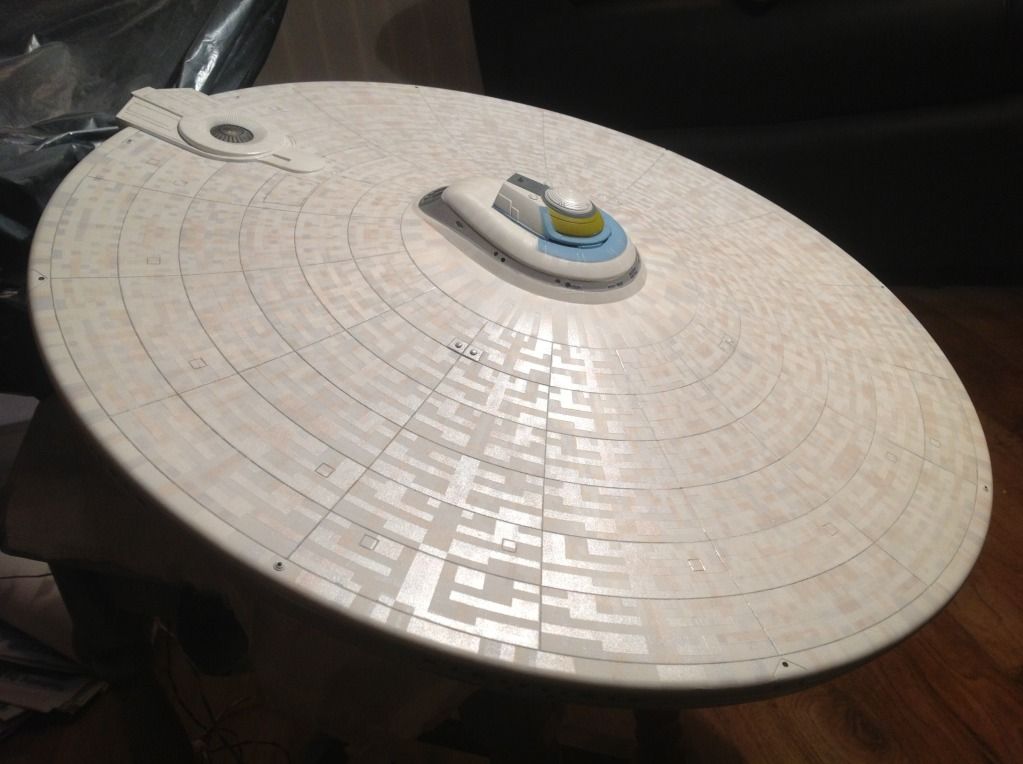
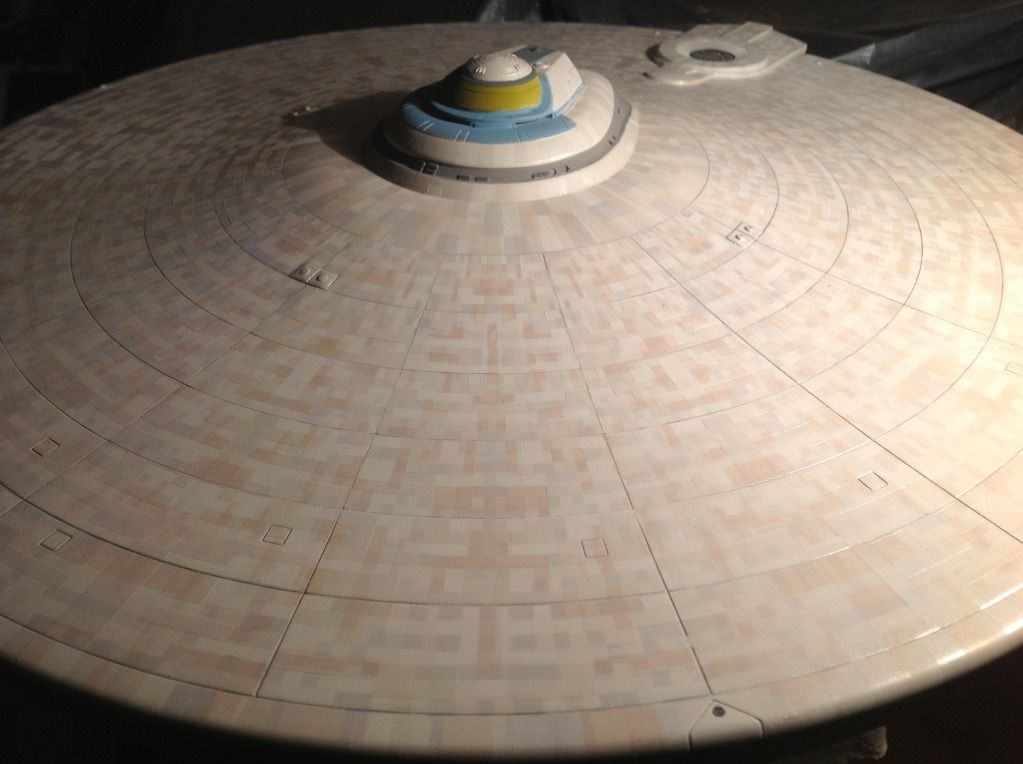
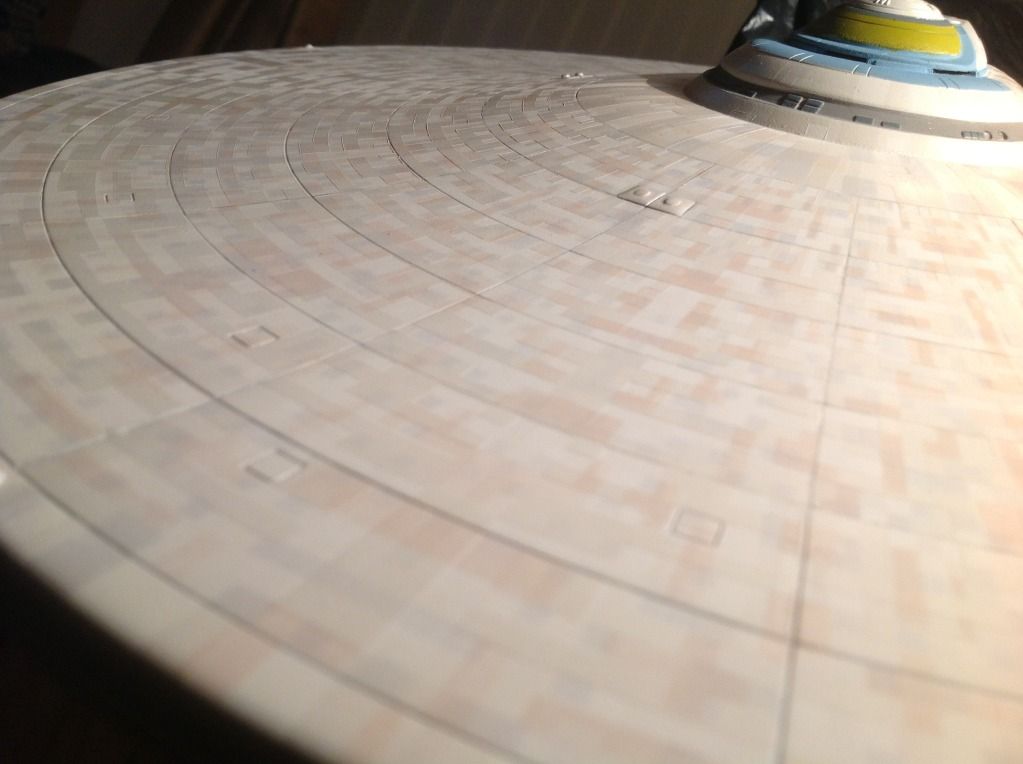
saucer work time, draw around and cut out and remove the lugs
time for some light blocking
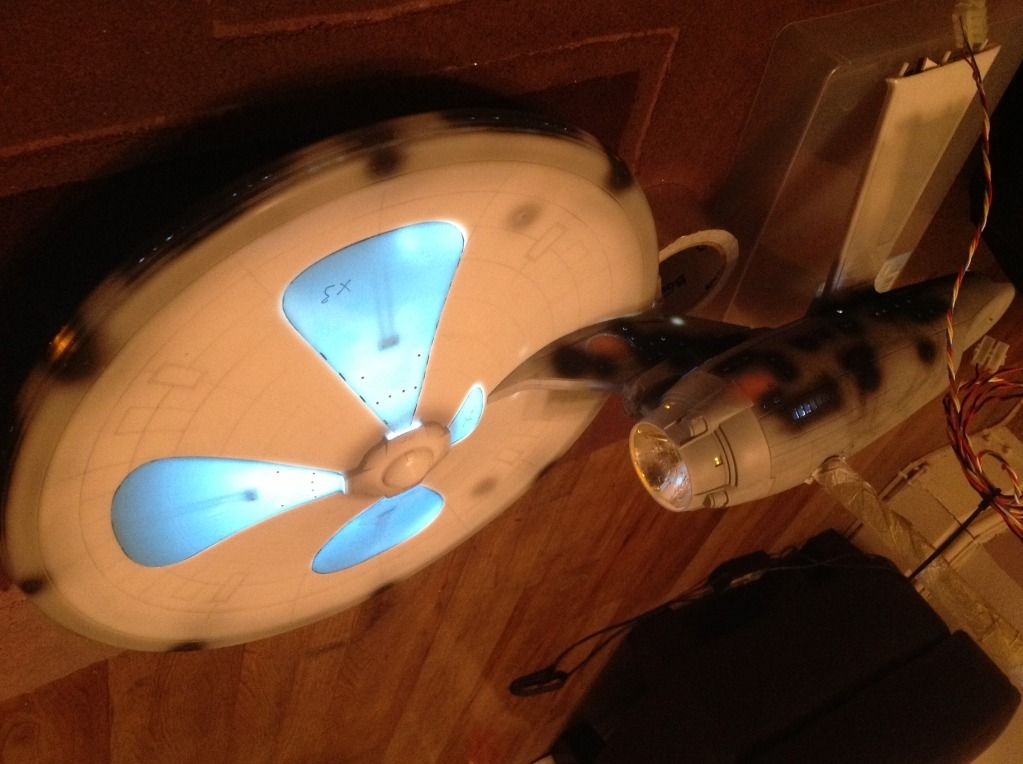
made a sky for the internal gardens and stuck it to the clear plastic roof:
and a swift check of the illumination effect with an led torch:
this i want an illuminated landing bay, so to maplins we went to get an led chaser kit by velleman, i will used fibre optic cables to carry the light from it source...... the circuit all built and wiring extended to suit my needs - i also swapped the standard leds for some bigger ones and different colours
the fibre cables are fixed in place by drilling 2 0.5mm holes into each led and then inserting the optic into place and glueing
the lights output like this:
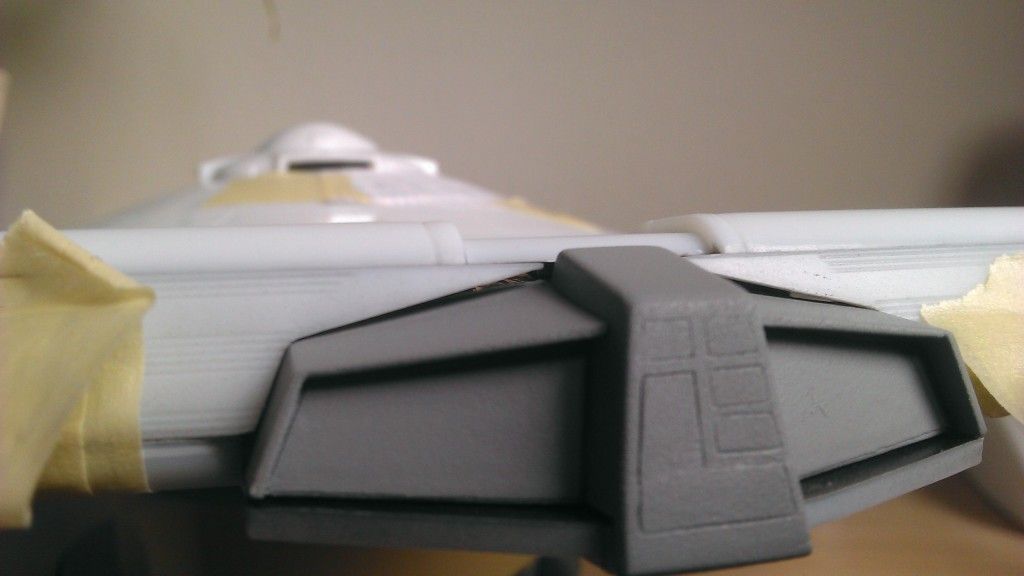
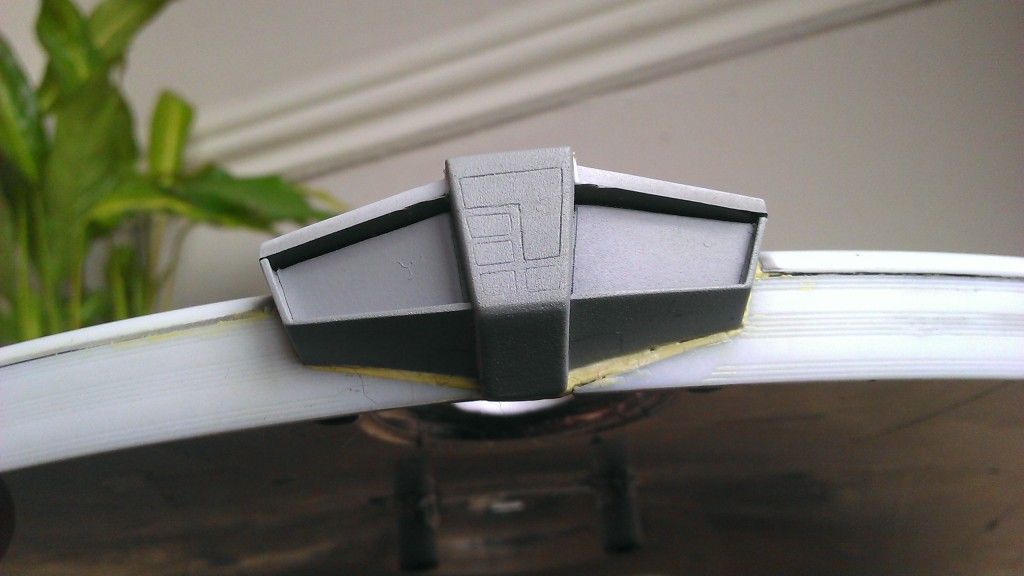
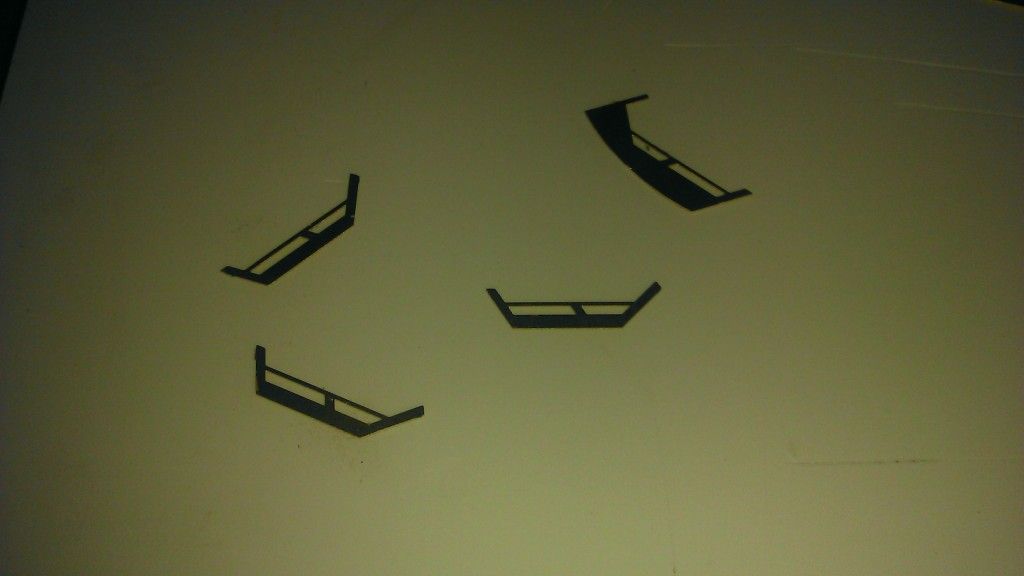
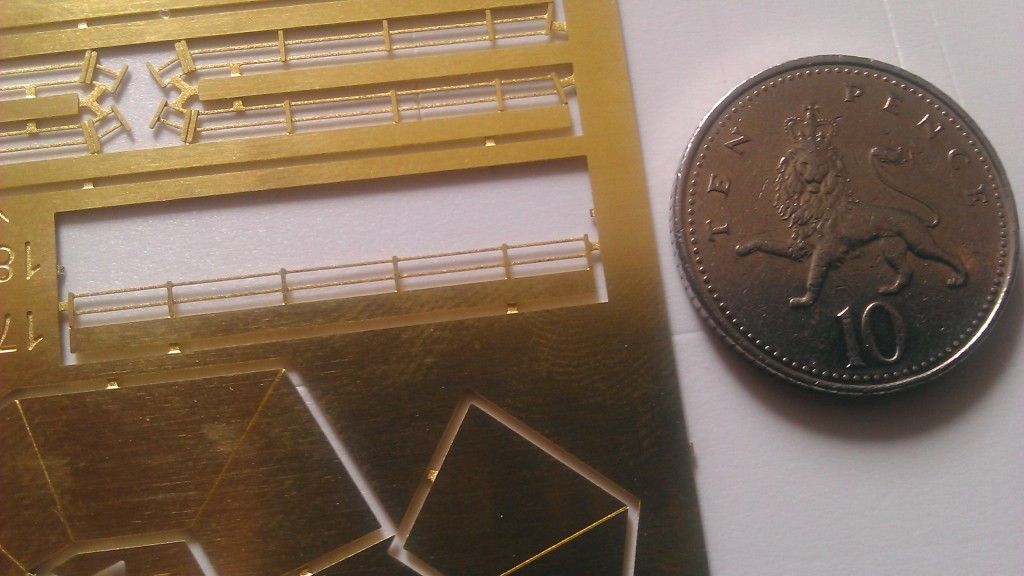
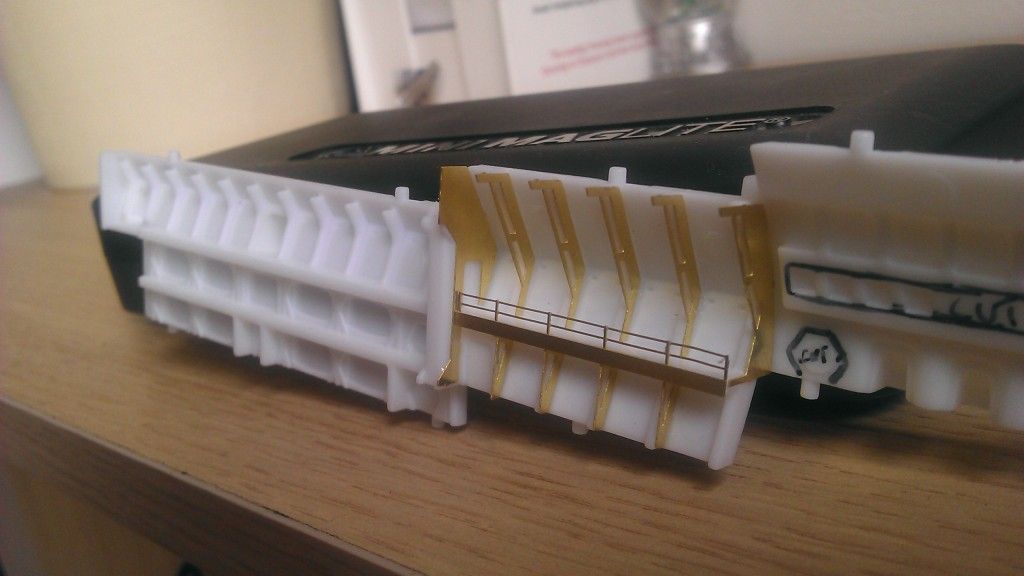
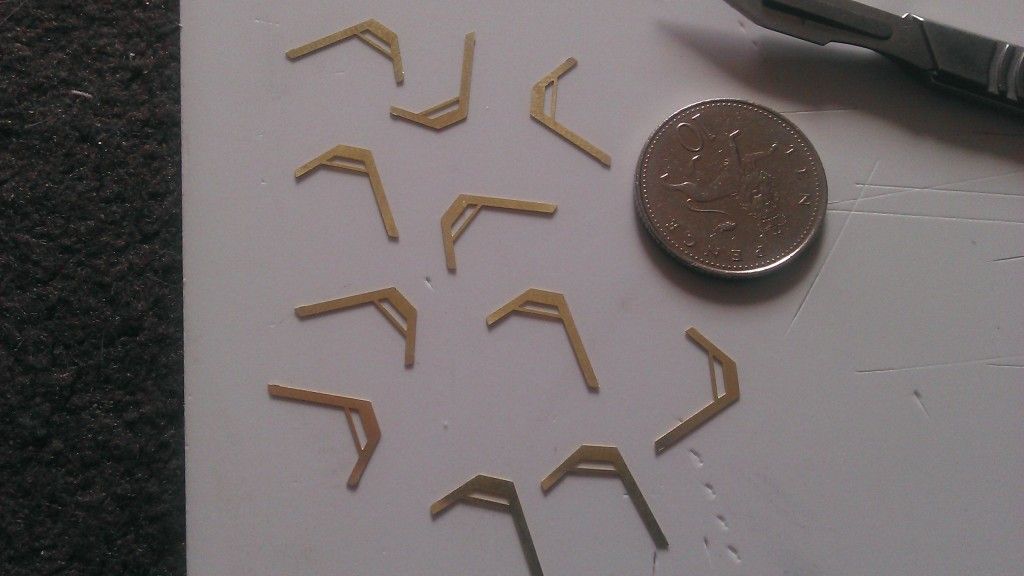
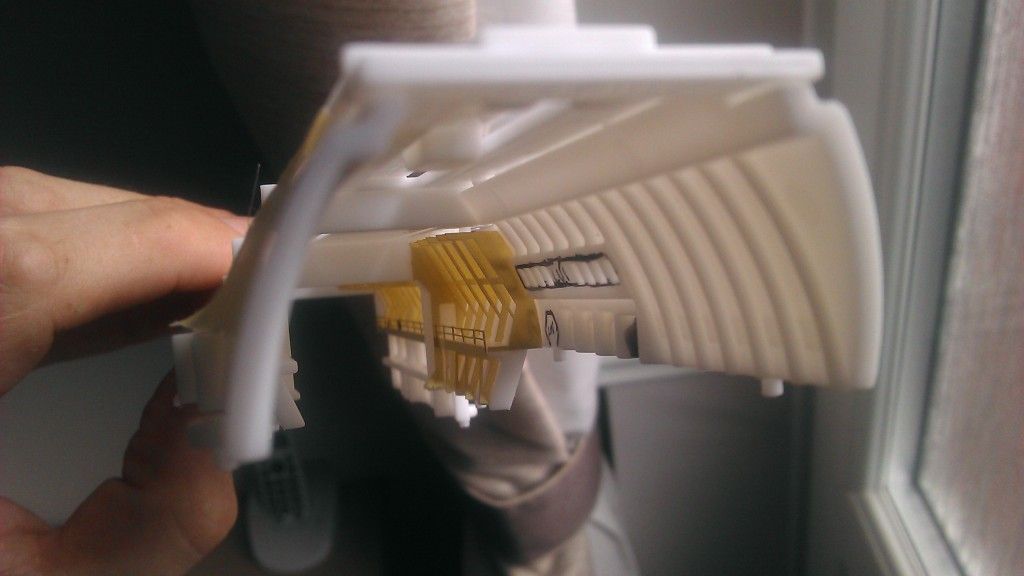
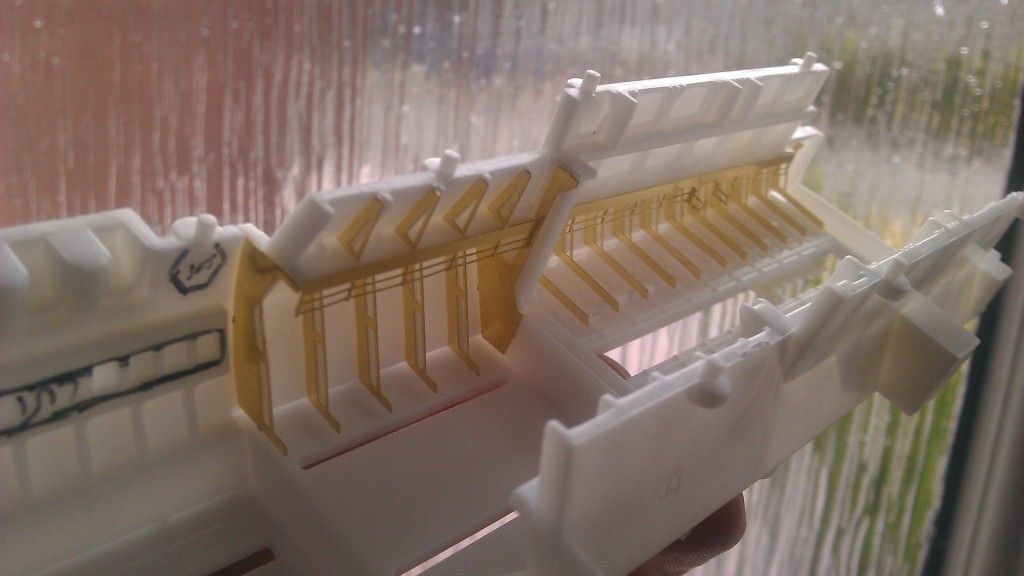
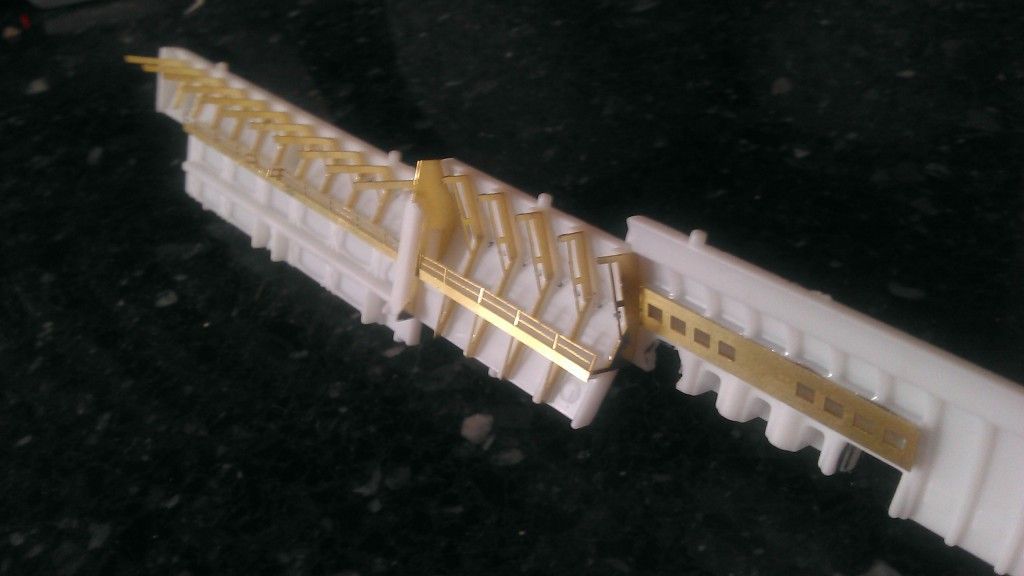
photo etch kit arrives from the usa
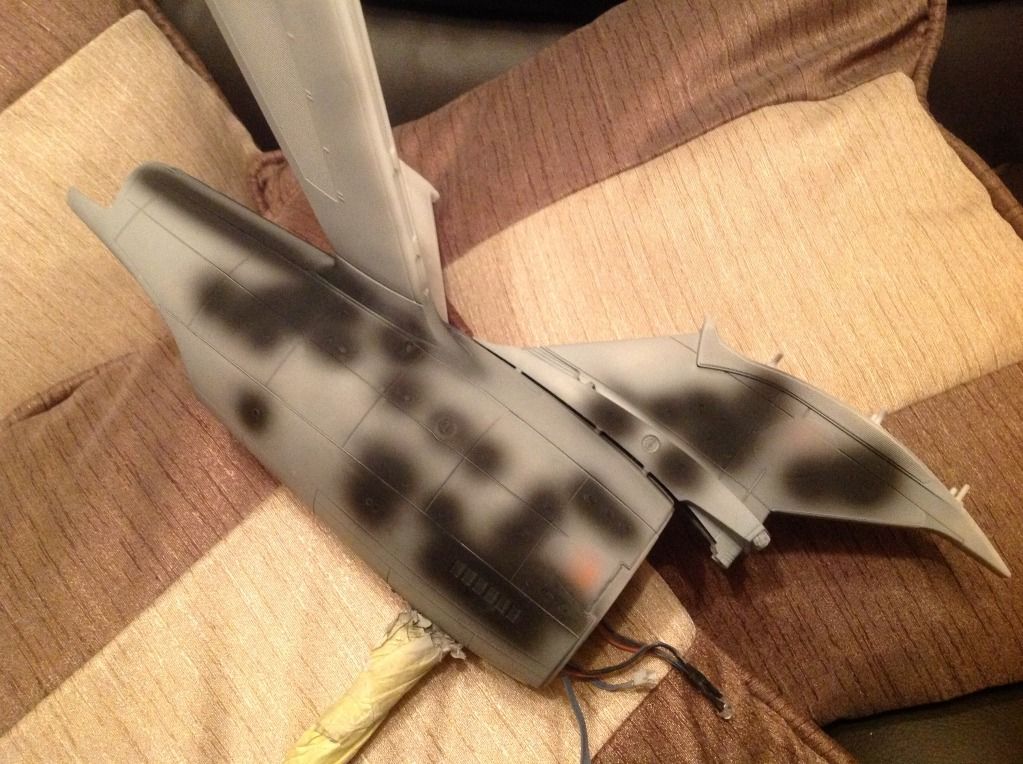
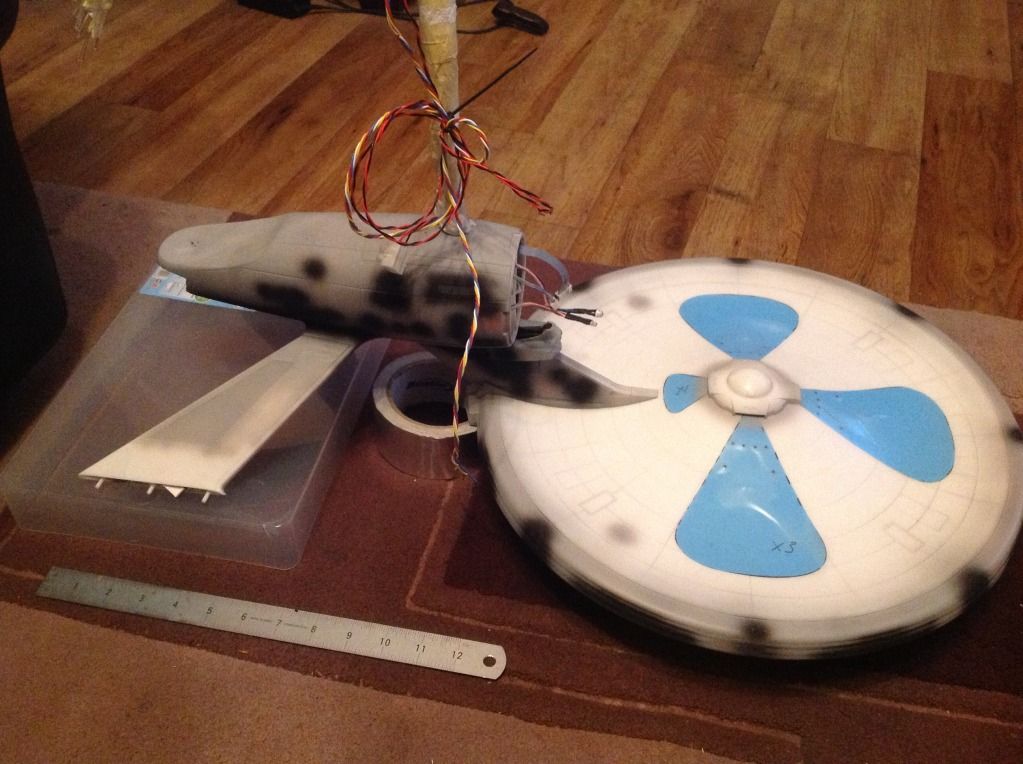
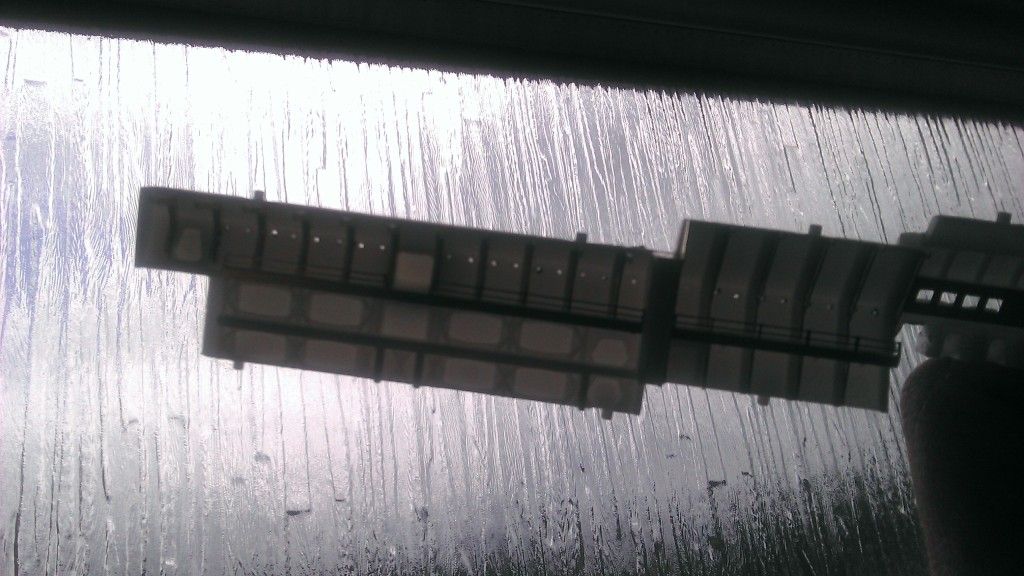
and work on the shuttle bay starts
Last edited: