KingsKnight
Active Member
I'm working on a Back to the Future part III Cowboy Marty McFly costume, and thought I would start posting my work in progress. Hopefully I can finish in time for halloween.
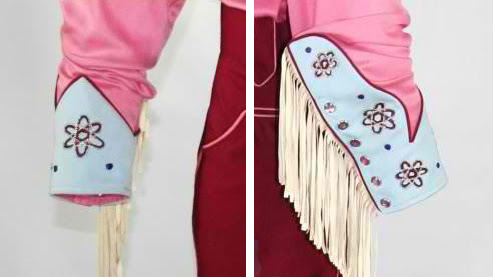
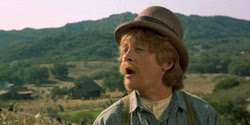
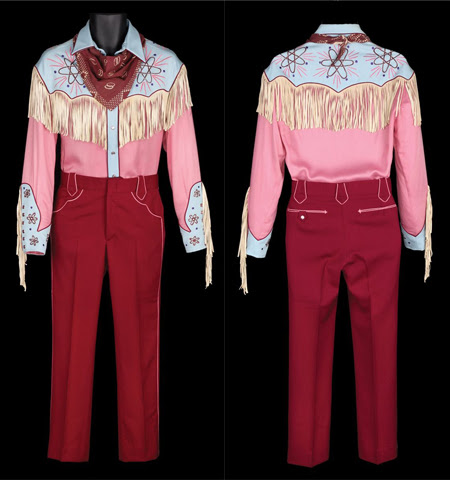
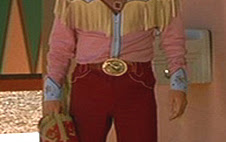
The goal is the 50's style cowboy outfit that Doc dresses him up in, but with Seamus's straw hat:

Here's a clearer picture from when it was auctioned:
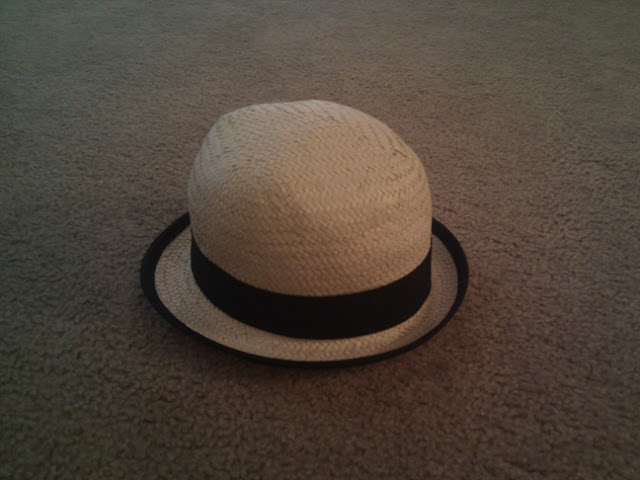
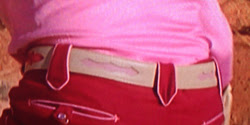
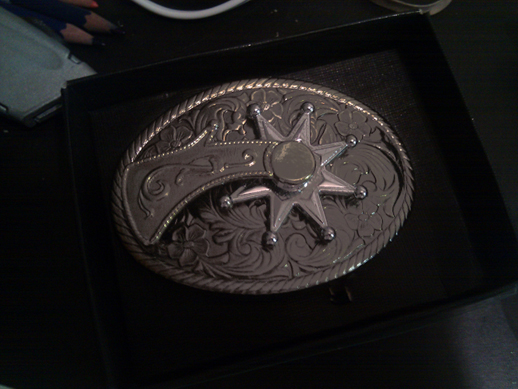
I've started work on the hat and the belt which I'll post later, but primarily I've been focusing on the shirt, since it's the hardest part of the costume, and the most recognizable part. I've done sewing before, but just by hand for past costumes. I recently bought a sewing machine so this is the first time I'll be using a it for a costume.
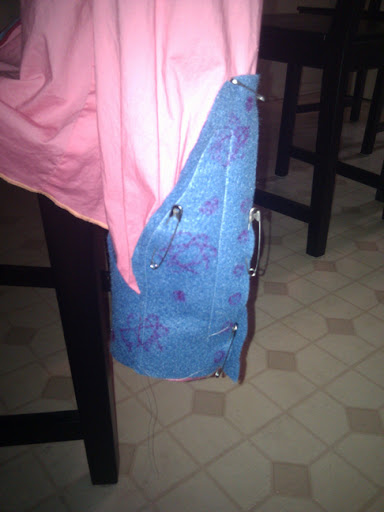
I bought two button up shirts, pink and blue, from the thrift store. The pink shirt is a ladies shirt, because I couldn't find that shade in mens. I just had to undo the stitching that made it slimmer in the waist to make it more like a mens shirt:

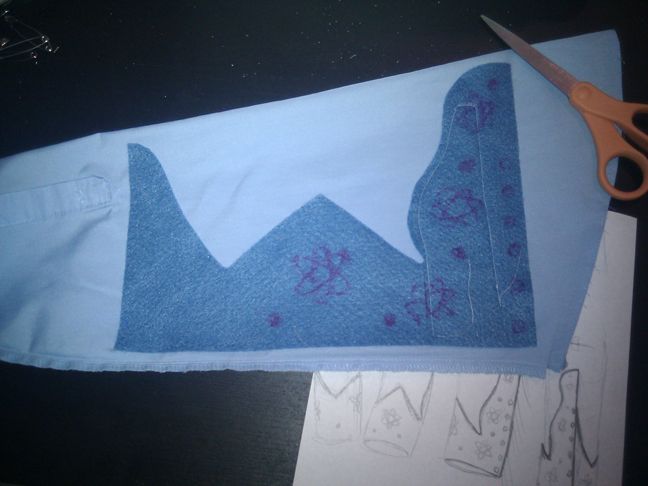
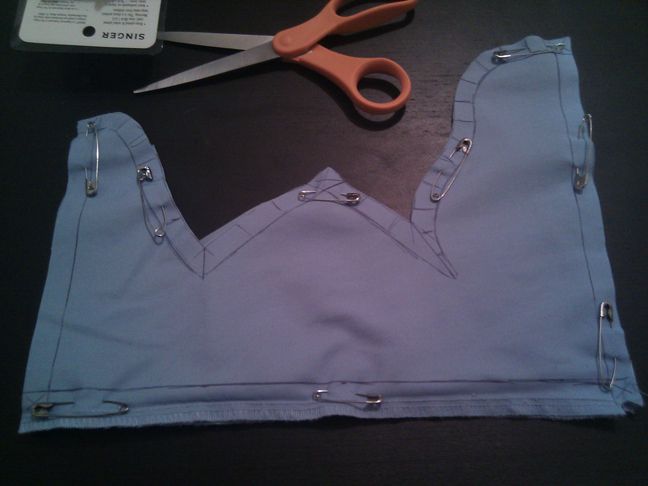
I cut out the shape of the blue shoulder yoke, and the front buttons all the way down. I will need the button holes to come from the blue shirt like the original. I set aside the arms from the blue shirt so I can make the fancy cuffs later. I ended up having to make a new back shoulder area since the original shirt had a seam and a pleat running right through it.
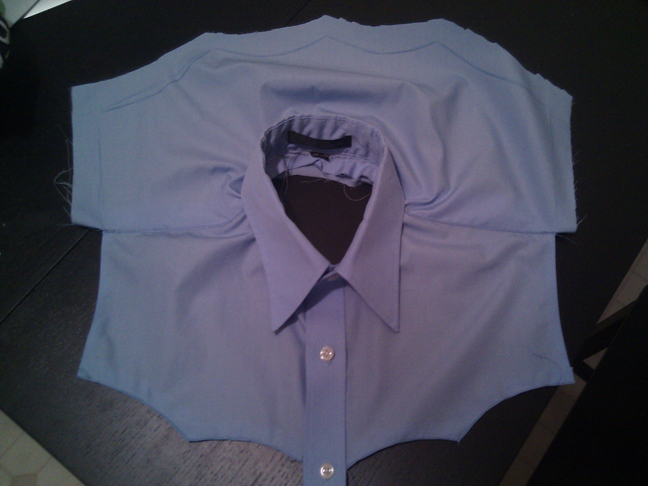
Here it is loosely laid on top:
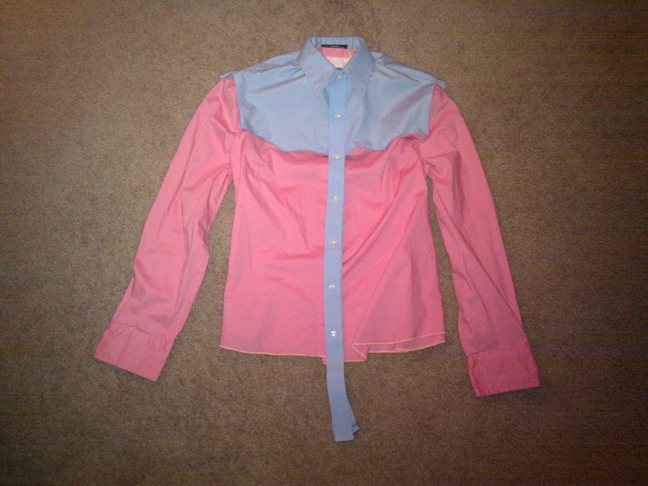
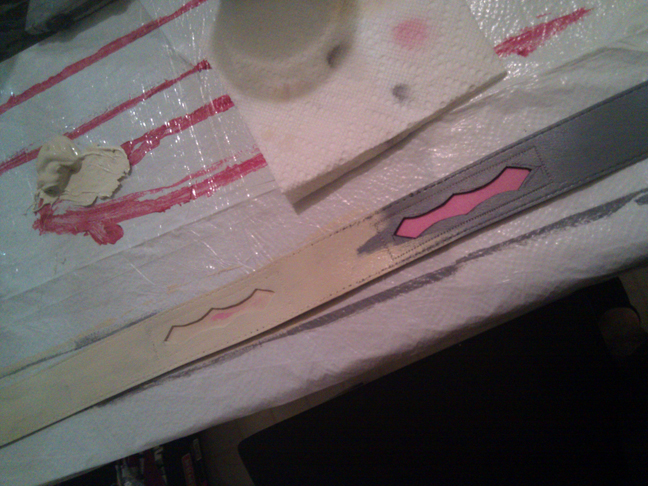
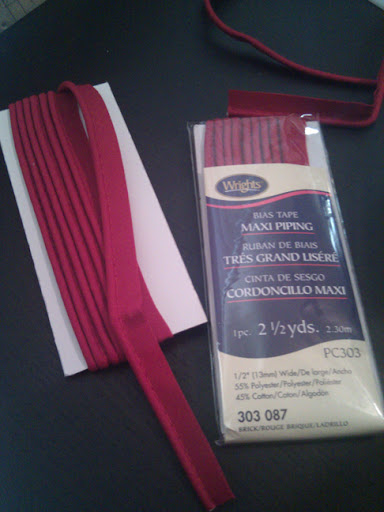
I bought several packs of this dark red piping since there's a lot on the finished shirt, and started piping the collar and both sides of the button hole panel. At this point the blue part is attached to the pink shirt just at the front button panel. The shoulder yoke is still separate so I can add the fringe later.

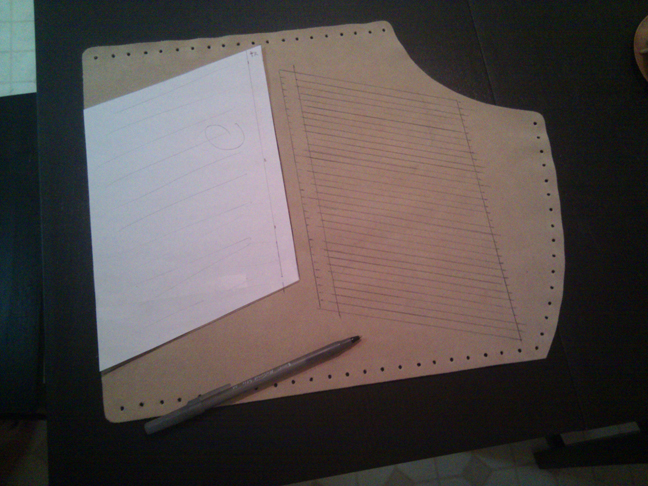
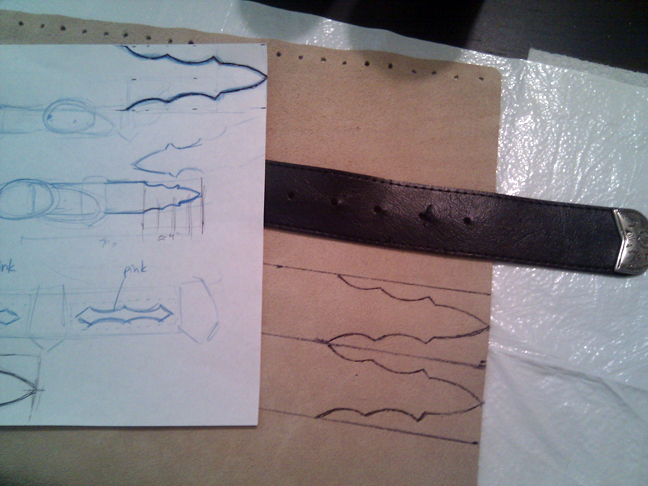
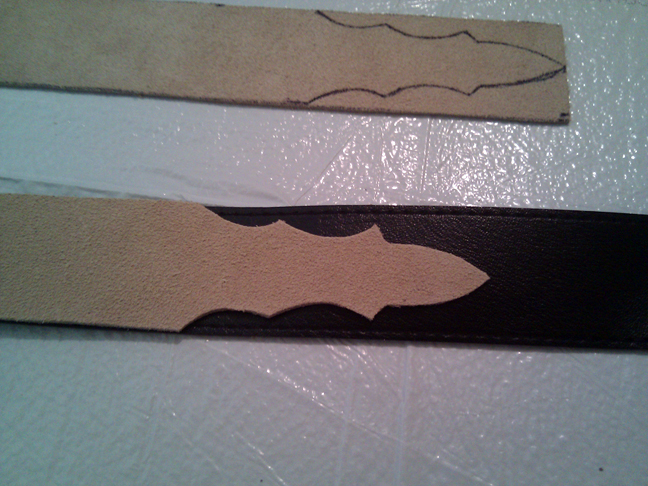
I looked for fringe at the store, but couldn't find any large enough, so I bought a cheap leather vest from the thrift store, since it had nice large panels I could cut the fringe from.

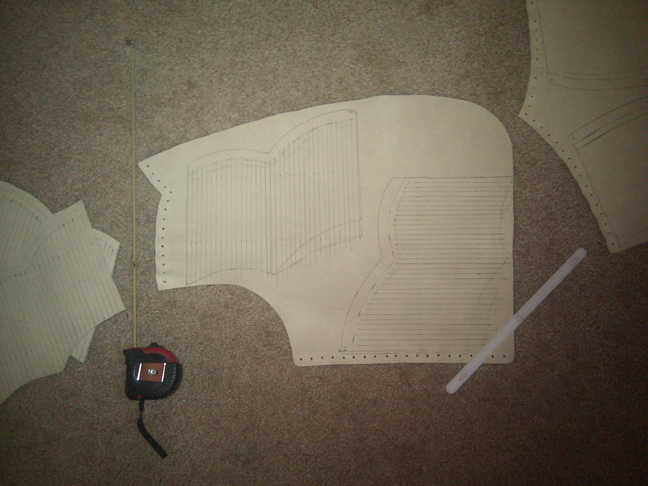
Cutting the fringe took forever, since I did it by hand with scissors. In hindsight, I probably should have made each strand of the fringe thinner, but I don't think my hands could have taken the torture.

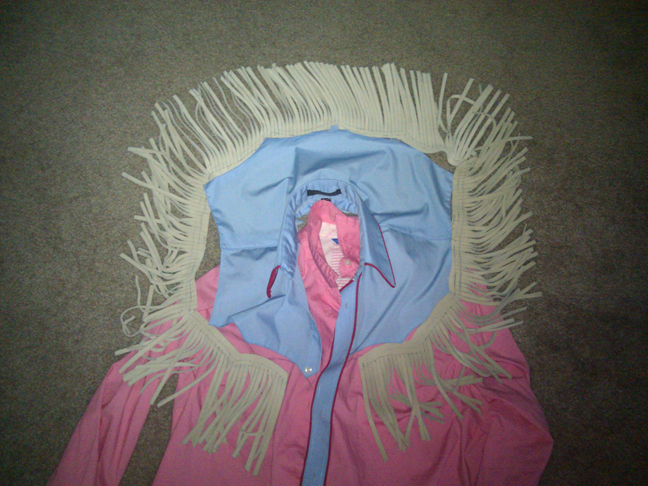
Here it is cut, stitched together, and positioned so you get the idea of how it will be attached to the blue part:
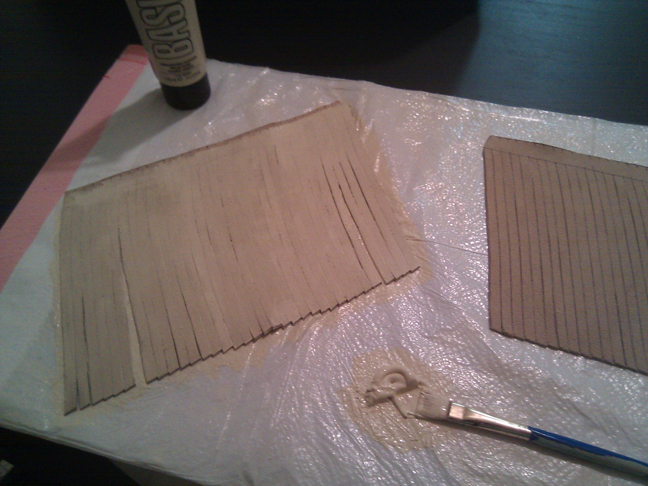
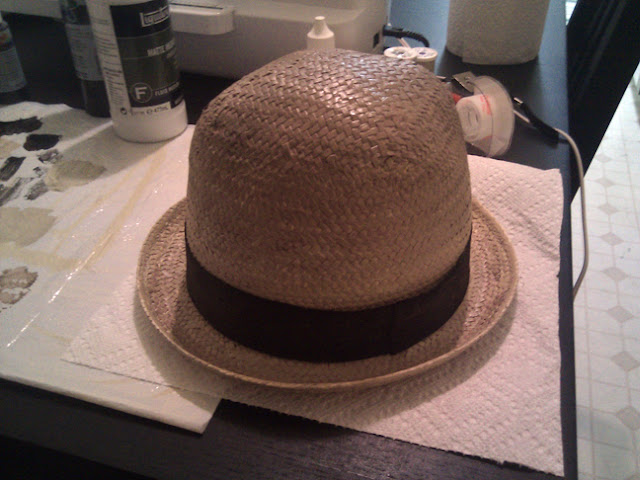
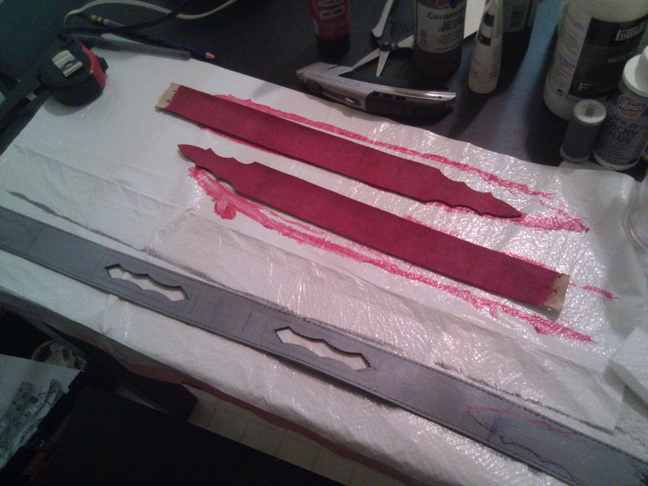
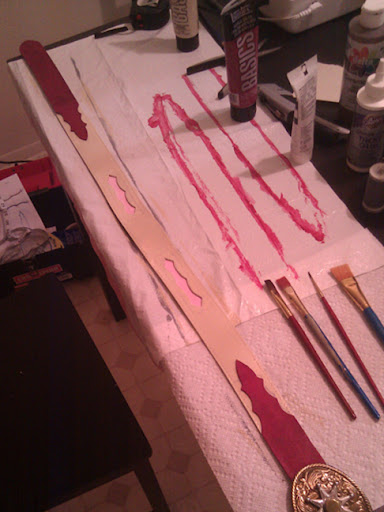
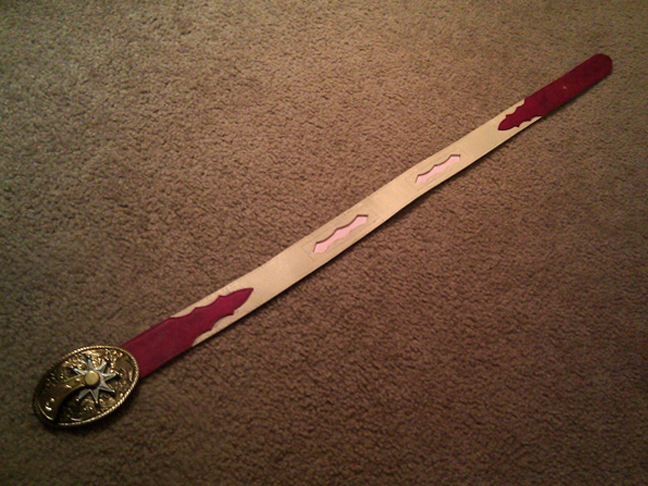
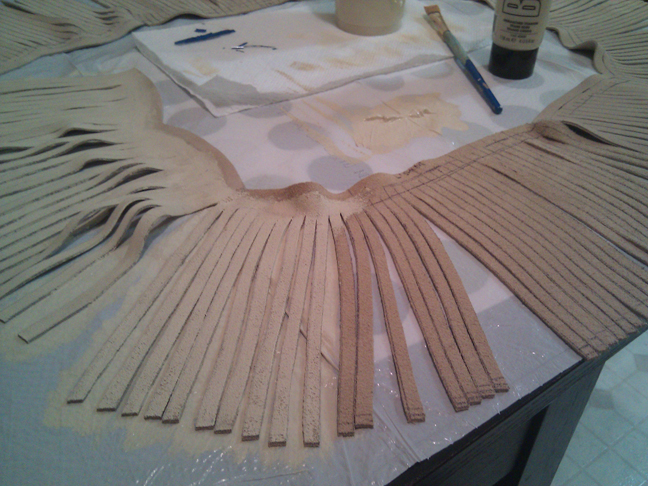
The pictures make it look like it was already the right color, but in reality it was way too dark. I spent some time painting it with some cheap acrylic paint. It wasn't as easy as you would think. Leather doesn't really cooperate.

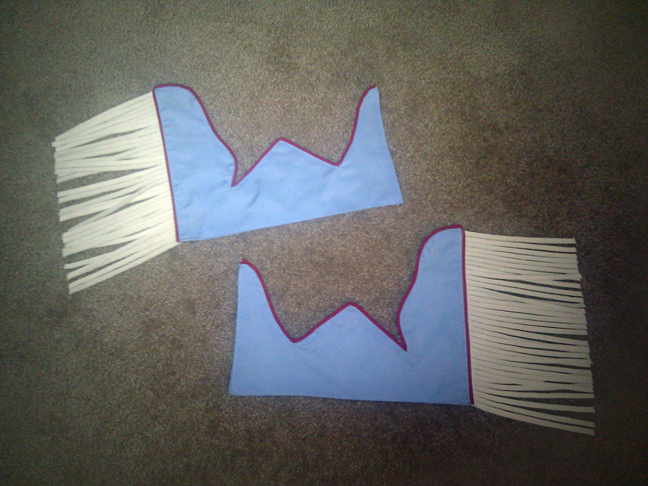
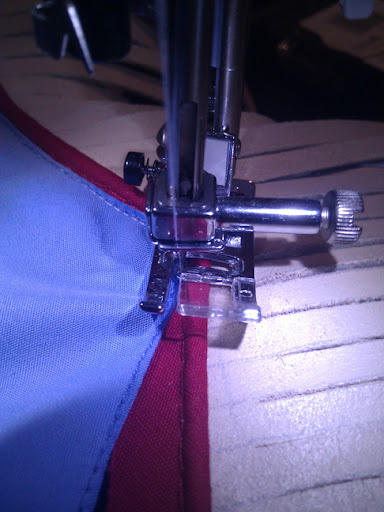
This part sucked. I didn't want to have to stitch several times, so I decided to attach the fringe to the blue shoulder yoke and add the piping all at the same time. I wanted it to be one single piece of piping all the way around like the original, which made it that much harder. I wouldn't want to do this step again.
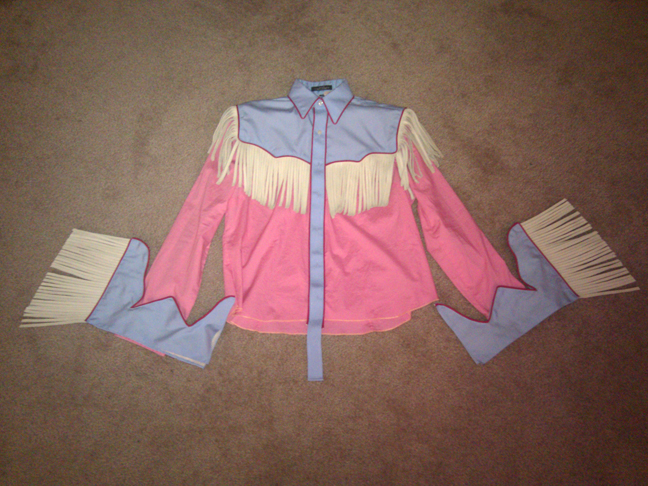
Here's another progress shot. The blue shoulder yoke (including the fringe) isn't attached to the pink part yet. only the front button part is attached for now. The proportions seem off, but the shirt will be tucked in at about the 6th button, so I hope it will look better when worn.
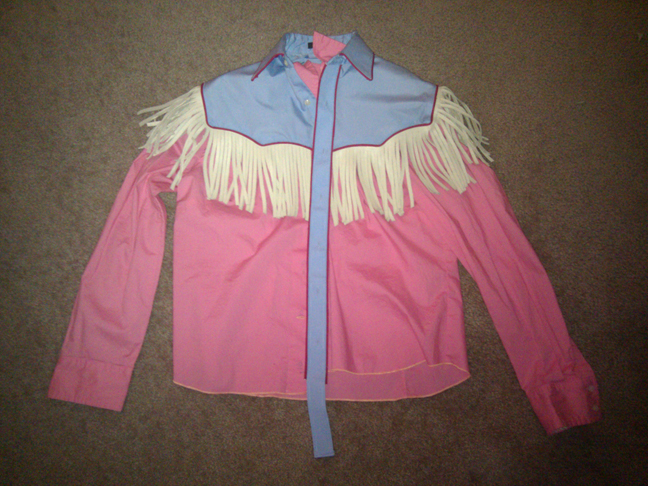
My next steps are adding the atomic symbols around the blue shoulder yoke and making the crazy sleeve cuffs. I can't embroider, so I plan to use permanent marker, paint pens, and/or puffy paint for the atomic symbols. I'll have to do some tests first.
The goal is the 50's style cowboy outfit that Doc dresses him up in, but with Seamus's straw hat:
Here's a clearer picture from when it was auctioned:
I've started work on the hat and the belt which I'll post later, but primarily I've been focusing on the shirt, since it's the hardest part of the costume, and the most recognizable part. I've done sewing before, but just by hand for past costumes. I recently bought a sewing machine so this is the first time I'll be using a it for a costume.
I bought two button up shirts, pink and blue, from the thrift store. The pink shirt is a ladies shirt, because I couldn't find that shade in mens. I just had to undo the stitching that made it slimmer in the waist to make it more like a mens shirt:
I cut out the shape of the blue shoulder yoke, and the front buttons all the way down. I will need the button holes to come from the blue shirt like the original. I set aside the arms from the blue shirt so I can make the fancy cuffs later. I ended up having to make a new back shoulder area since the original shirt had a seam and a pleat running right through it.
Here it is loosely laid on top:
I bought several packs of this dark red piping since there's a lot on the finished shirt, and started piping the collar and both sides of the button hole panel. At this point the blue part is attached to the pink shirt just at the front button panel. The shoulder yoke is still separate so I can add the fringe later.
I looked for fringe at the store, but couldn't find any large enough, so I bought a cheap leather vest from the thrift store, since it had nice large panels I could cut the fringe from.
Cutting the fringe took forever, since I did it by hand with scissors. In hindsight, I probably should have made each strand of the fringe thinner, but I don't think my hands could have taken the torture.
Here it is cut, stitched together, and positioned so you get the idea of how it will be attached to the blue part:
The pictures make it look like it was already the right color, but in reality it was way too dark. I spent some time painting it with some cheap acrylic paint. It wasn't as easy as you would think. Leather doesn't really cooperate.
This part sucked. I didn't want to have to stitch several times, so I decided to attach the fringe to the blue shoulder yoke and add the piping all at the same time. I wanted it to be one single piece of piping all the way around like the original, which made it that much harder. I wouldn't want to do this step again.
Here's another progress shot. The blue shoulder yoke (including the fringe) isn't attached to the pink part yet. only the front button part is attached for now. The proportions seem off, but the shirt will be tucked in at about the 6th button, so I hope it will look better when worn.
My next steps are adding the atomic symbols around the blue shoulder yoke and making the crazy sleeve cuffs. I can't embroider, so I plan to use permanent marker, paint pens, and/or puffy paint for the atomic symbols. I'll have to do some tests first.
")