TryChick
Well-Known Member
So I lurked on the forum for a month or two before joining and was amazed at all the creativity and ingenuity I saw from folks on the RPF. I was inspired to start my own Iron Man build when my teenager said she wanted to be Iron Man after attending the Chicago Comic Con this year and loving all the costumes. Hadn't even heard of Pepakura until we asked what the Halo Costumes were made of and the reply we got was fiberglass and paper...Got home and googled it and found info on how to build using Pepakura on this forum. Didn't really appreciate what a huge undertaking it was until I got started and am now fully immersed. Doing a fiberglass Sharkmark VI Helmet so I can motorize it for her, and doing the remainder of the suit in foam for a quick and less expensive build.
Doing everything in fiberglass now...
I found a TOC helpful when searching other threads so I added one:
PAGE 1.
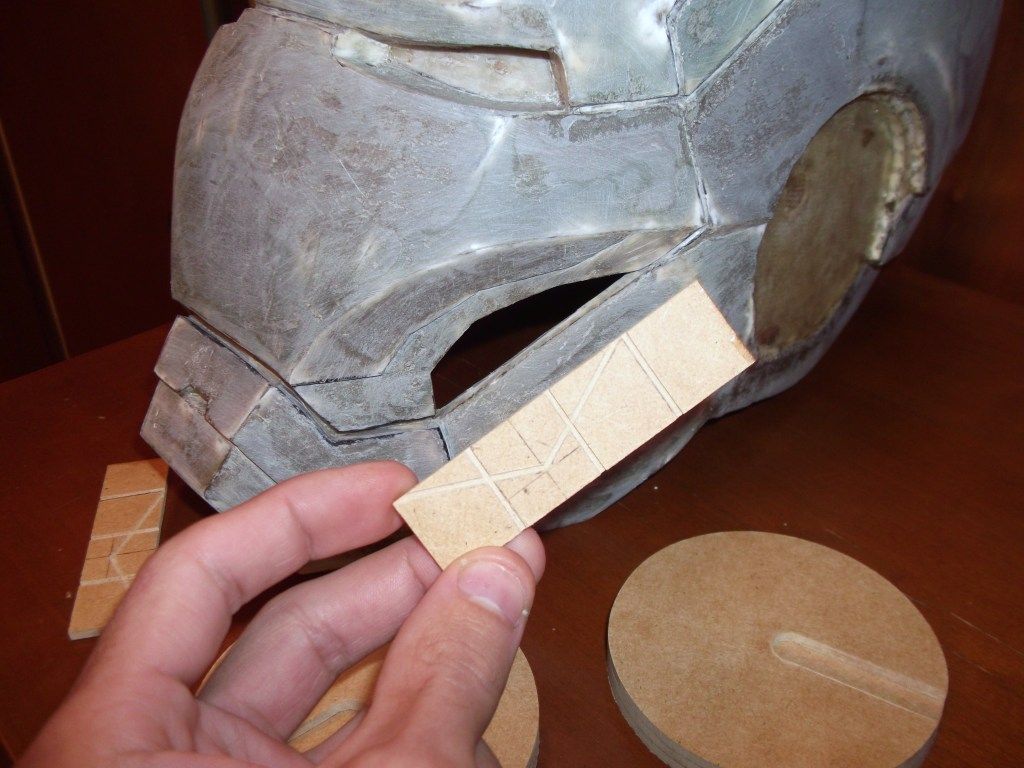
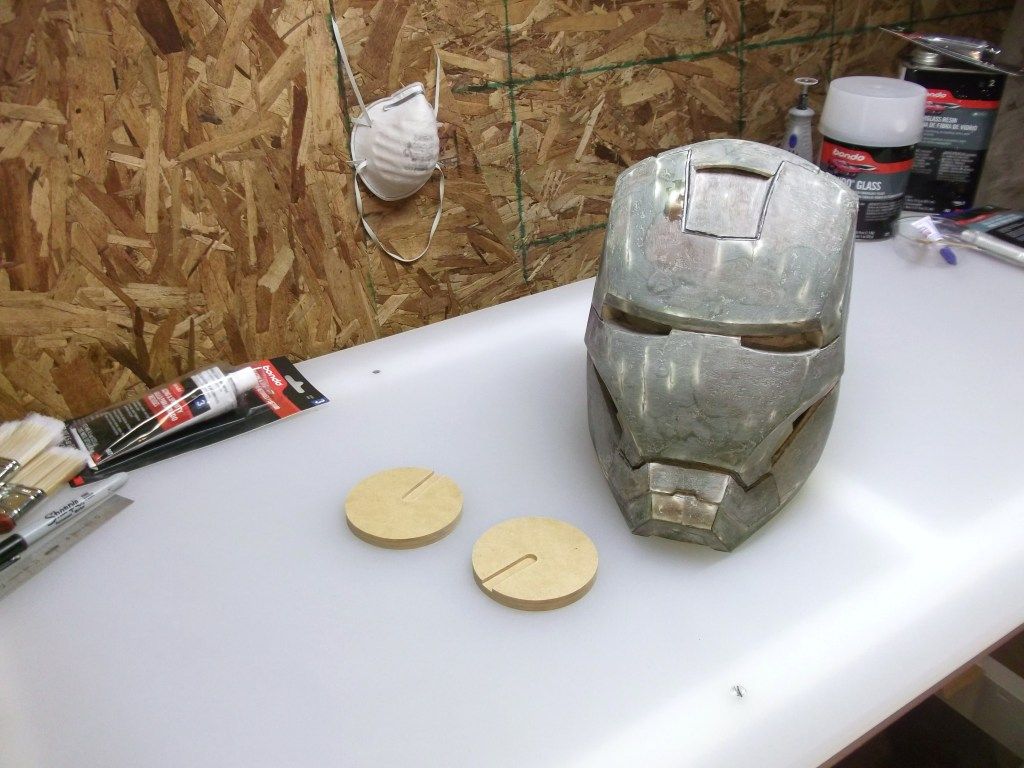
Fiberglass Helmet (1.0 scale)
PAGE 2.
Eyes, Hinge design
PAGE 4.
Servo mount
new hinges
PAGE 5.
Foam cod
chest
biceps
forearms
abs
shoulder bells
spine
shins
hip pod
PAGE 6.
Leg assembly
Boots & boot connections
Paint tests on foam
Gloves
Pepped Gloves & Fingers
PAGE 7.
Foam suit completed and suited up
****This is where I started redoing the suit in fiberglass****
Codpiece (ended up being too small)
Chest
Back
Forearms
Biceps
Installing repulser lights in the foam gloves
Hip pods
Abs
Bigger cod
PAGE 8.
Boot (Zabana)
Neck Brace
Hand Plate
Boot Covers
Glassing of the legs
Shoulder Bells & connections (done as 2 pieces so they will articulate)
Cod separation and reconnection
PAGE 9.
New Helmet (.90 scale)
Spine
Gloves & Fingers (Zabana)
Hand Plate Connections
*VIDEO LINK: hand plate articulation https://www.youtube.com/watch?v=HY60QUA1w1Q
Finger connections
Hip Pods (done with plastic containers, a clipboard and expanding foam)
Ab connections with elastic, snaps and buckles
PAGE 10.
Bondo work on assembled legs
New Chest/Back (24.4 scale…these ended up being too big :cry)
Neck Seal
Legs assembled with Chicago Screws, washers and magnets
*VIDEO LINK: connections https://www.youtube.com/watch?v=7dY7JickM6c&list=PLjnxhotbeEgTZSetIpDJaPlaJ604-4YWnideo
*VIDEO LINK: legs while being worn linkhttps://www.youtube.com/watch?v=fDOQ2cuUEsU
*VIDEO LINK: potential material for filling gaps between cod and thighs: https://www.youtube.com/watch?v=IggHXLzk0SM
Reworked abs (too big to fit inside chest/back which was what prompted me to do a new chest and back originally)
PAGE 11.
Shoulder bells completed
Neck Brace (shows how the two pieces are connected)
Boot bolts
Bondo work on arms
Bondo work on original chest and back
Arms painted
Connections on neck seal
*VIDEO LINK: https://www.youtube.com/watch?v=qZNzwQ10fas&list=PLjnxhotbeEgTZSetIpDJaPlaJ604-4YWn
Reposting of glove/finger pics with info on how they fit pepped vs glassed (to help w/sizing)
*VIDEO LINK: finger articulation https://www.youtube.com/watch?v=XsxdGK58NMM
Reaccomplished helmet in .95 scale (don’t think .90 will fit but will continue working on it)
Size comparison of all three helmets
Start of bondo work on .9 scale helmet
Glassing of .95 scale helmet
Chest and back painted
Fingers attached to gloves
*VIDEO LINK: connected fingers: https://www.youtube.com/watch?v=Ec7HTXWfovI
PAGE 12
.95 Helmet separated and bondoed
Chest repainted and black lines detailed in with paint pen
.95 helmet on to show sizing...still too big
Chest/Back/Neck Brace clear coated
Detailed black lines in grooves on cod and shoulder bells with paint pen
.925 Scale Helmet pepped/glassed/bondoed/separated
Comparison pics of all 4 size helmets
PAGE 13
Suiting Up
Connecting Shoulder Bells
Arc Reactor
Gap Fillers
Glove Lighting
Shoulder Bell Bolt Details
Doing everything in fiberglass now...
I found a TOC helpful when searching other threads so I added one:
PAGE 1.
Fiberglass Helmet (1.0 scale)
PAGE 2.
Eyes, Hinge design
PAGE 4.
Servo mount
new hinges
PAGE 5.
Foam cod
chest
biceps
forearms
abs
shoulder bells
spine
shins
hip pod
PAGE 6.
Leg assembly
Boots & boot connections
Paint tests on foam
Gloves
Pepped Gloves & Fingers
PAGE 7.
Foam suit completed and suited up
****This is where I started redoing the suit in fiberglass****
Codpiece (ended up being too small)
Chest
Back
Forearms
Biceps
Installing repulser lights in the foam gloves
Hip pods
Abs
Bigger cod
PAGE 8.
Boot (Zabana)
Neck Brace
Hand Plate
Boot Covers
Glassing of the legs
Shoulder Bells & connections (done as 2 pieces so they will articulate)
Cod separation and reconnection
PAGE 9.
New Helmet (.90 scale)
Spine
Gloves & Fingers (Zabana)
Hand Plate Connections
*VIDEO LINK: hand plate articulation https://www.youtube.com/watch?v=HY60QUA1w1Q
Finger connections
Hip Pods (done with plastic containers, a clipboard and expanding foam)
Ab connections with elastic, snaps and buckles
PAGE 10.
Bondo work on assembled legs
New Chest/Back (24.4 scale…these ended up being too big :cry)
Neck Seal
Legs assembled with Chicago Screws, washers and magnets
*VIDEO LINK: connections https://www.youtube.com/watch?v=7dY7JickM6c&list=PLjnxhotbeEgTZSetIpDJaPlaJ604-4YWnideo
*VIDEO LINK: legs while being worn linkhttps://www.youtube.com/watch?v=fDOQ2cuUEsU
*VIDEO LINK: potential material for filling gaps between cod and thighs: https://www.youtube.com/watch?v=IggHXLzk0SM
Reworked abs (too big to fit inside chest/back which was what prompted me to do a new chest and back originally)
PAGE 11.
Shoulder bells completed
Neck Brace (shows how the two pieces are connected)
Boot bolts
Bondo work on arms
Bondo work on original chest and back
Arms painted
Connections on neck seal
*VIDEO LINK: https://www.youtube.com/watch?v=qZNzwQ10fas&list=PLjnxhotbeEgTZSetIpDJaPlaJ604-4YWn
Reposting of glove/finger pics with info on how they fit pepped vs glassed (to help w/sizing)
*VIDEO LINK: finger articulation https://www.youtube.com/watch?v=XsxdGK58NMM
Reaccomplished helmet in .95 scale (don’t think .90 will fit but will continue working on it)
Size comparison of all three helmets
Start of bondo work on .9 scale helmet
Glassing of .95 scale helmet
Chest and back painted
Fingers attached to gloves
*VIDEO LINK: connected fingers: https://www.youtube.com/watch?v=Ec7HTXWfovI
PAGE 12
.95 Helmet separated and bondoed
Chest repainted and black lines detailed in with paint pen
.95 helmet on to show sizing...still too big
Chest/Back/Neck Brace clear coated
Detailed black lines in grooves on cod and shoulder bells with paint pen
.925 Scale Helmet pepped/glassed/bondoed/separated
Comparison pics of all 4 size helmets
PAGE 13
Suiting Up
Connecting Shoulder Bells
Arc Reactor
Gap Fillers
Glove Lighting
Shoulder Bell Bolt Details
Last edited:
")