You are using an out of date browser. It may not display this or other websites correctly.
You should upgrade or use an alternative browser.
You should upgrade or use an alternative browser.
1:1 Millennium Falcon Cockpit Replica - Group Build
- Thread starter SteveStarkiller
- Start date
maruska
Sr Member
Hey, just a poke to let you guys know I got the matte box display simulator ready to go whenever you're ready. Do you have a an LCD or CRT picked out to fit in it?
I've been working with some great little HDMI enabled displays at work that would fit the bill. What's the display opening size for the matte box? I could help you spec a screen for it.
Also, let me know if you need Arduino code written to drive it. I can help with that too.
I've been working with some great little HDMI enabled displays at work that would fit the bill. What's the display opening size for the matte box? I could help you spec a screen for it.
Also, let me know if you need Arduino code written to drive it. I can help with that too.
Devious J
New Member
Jessie,
2 thoughts:
1) Cool!
2) I'm a little surprised that you're using 3ds for this, as opposed to a CAD application, like SolidWorks, or even Inventor. Just curious.
Thank you. 3ds max is the only thing I know like the back of my hand. It's what we're taught at my college. I've never used any CAD application except for Auto CAD which I hated with a passion. I'm so used to 3ds it barely took me 30 minutes to do this, probably could have done it faster with a better computer.
Operascot
Active Member
Hey, gang,
Nothing new to report on the quad, but...
http://www.bbc.com/news/uk-wales-31651845
Footage. Not just photos, but footage of the 65' diameter Empire prop being built
Dang it. The link was to a static story. I'll try again. http://www.facebook.com/video.php?v=10152633393932217
Nothing new to report on the quad, but...
http://www.bbc.com/news/uk-wales-31651845
Footage. Not just photos, but footage of the 65' diameter Empire prop being built
Dang it. The link was to a static story. I'll try again. http://www.facebook.com/video.php?v=10152633393932217
Last edited:
Hi Gang,
Some minor updates to post...
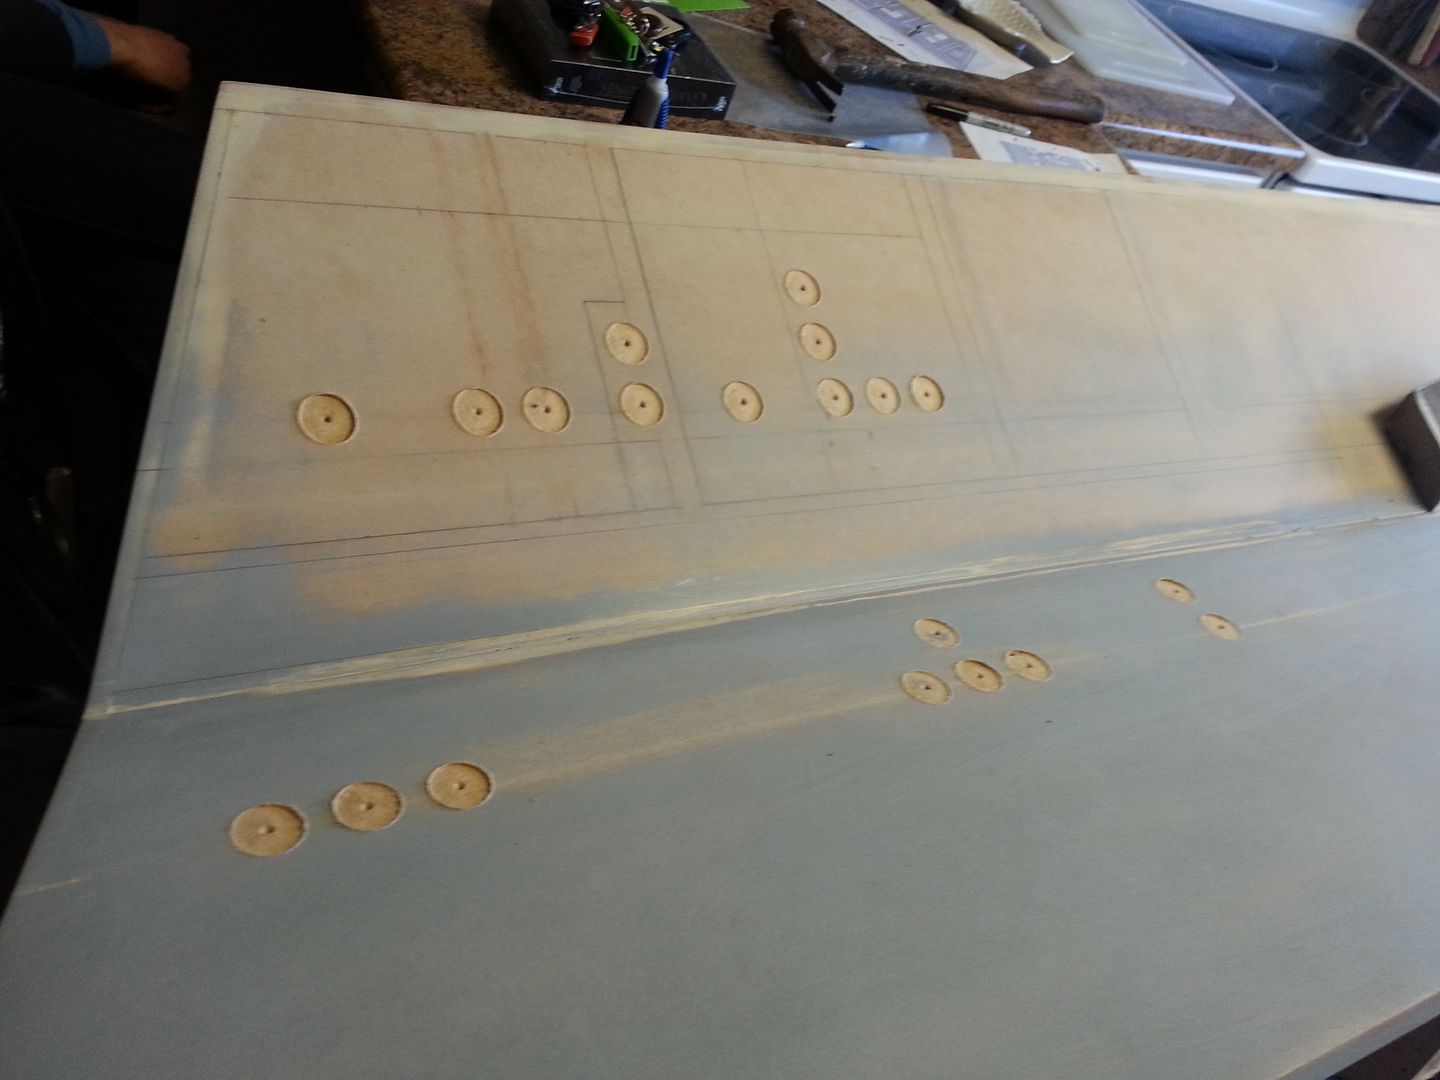
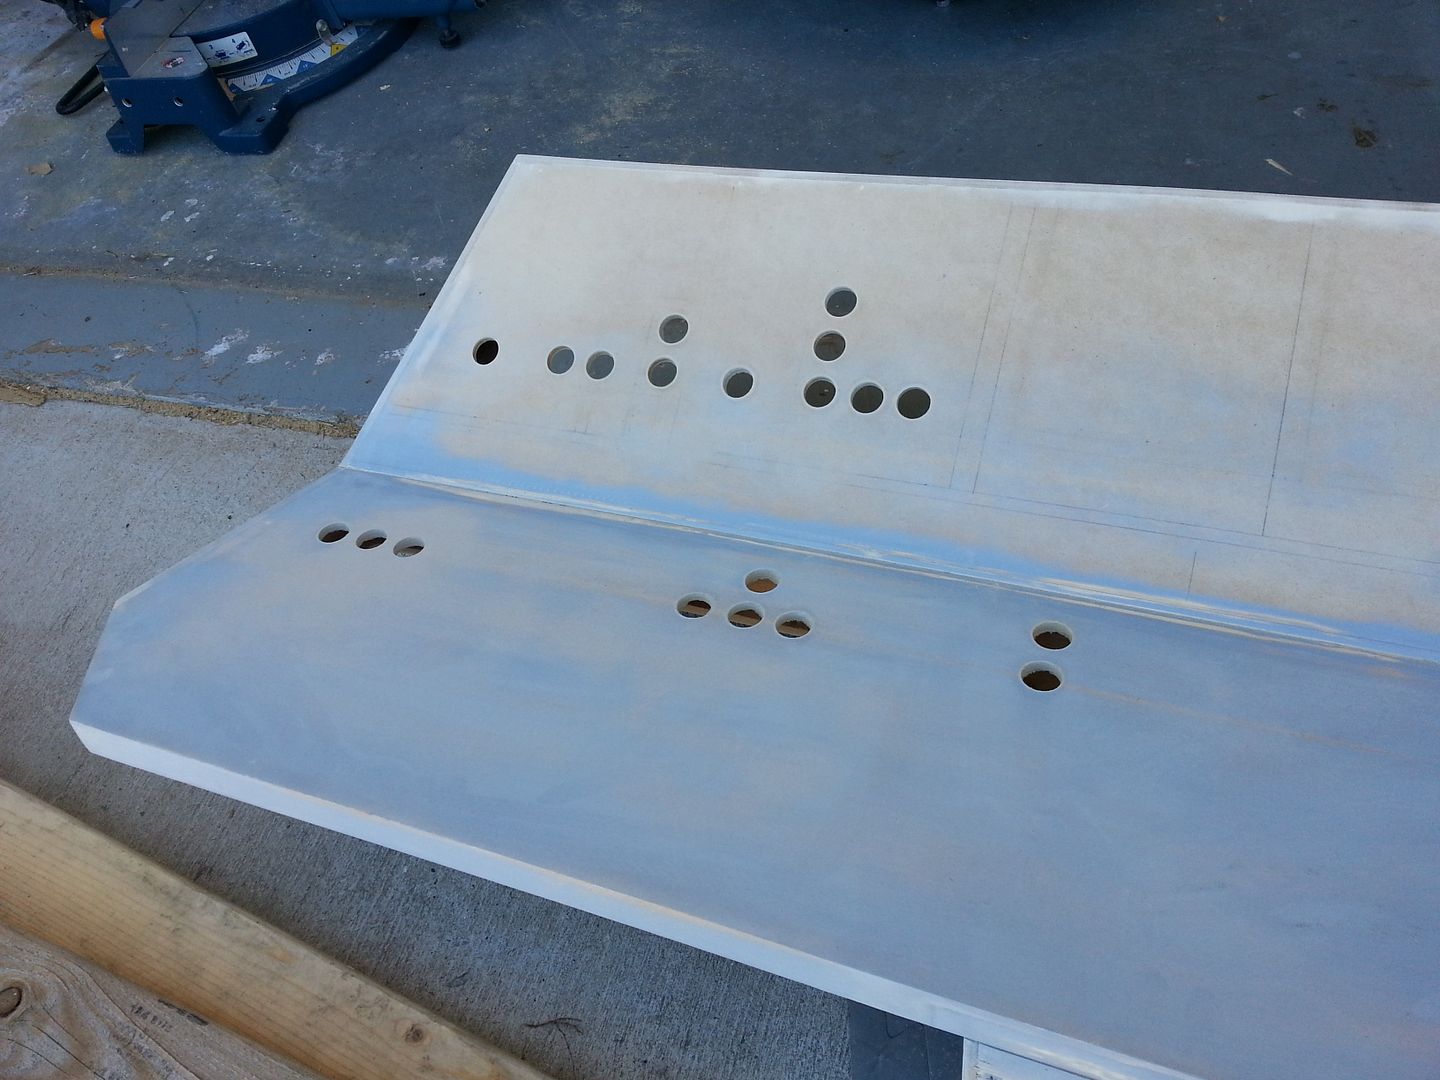
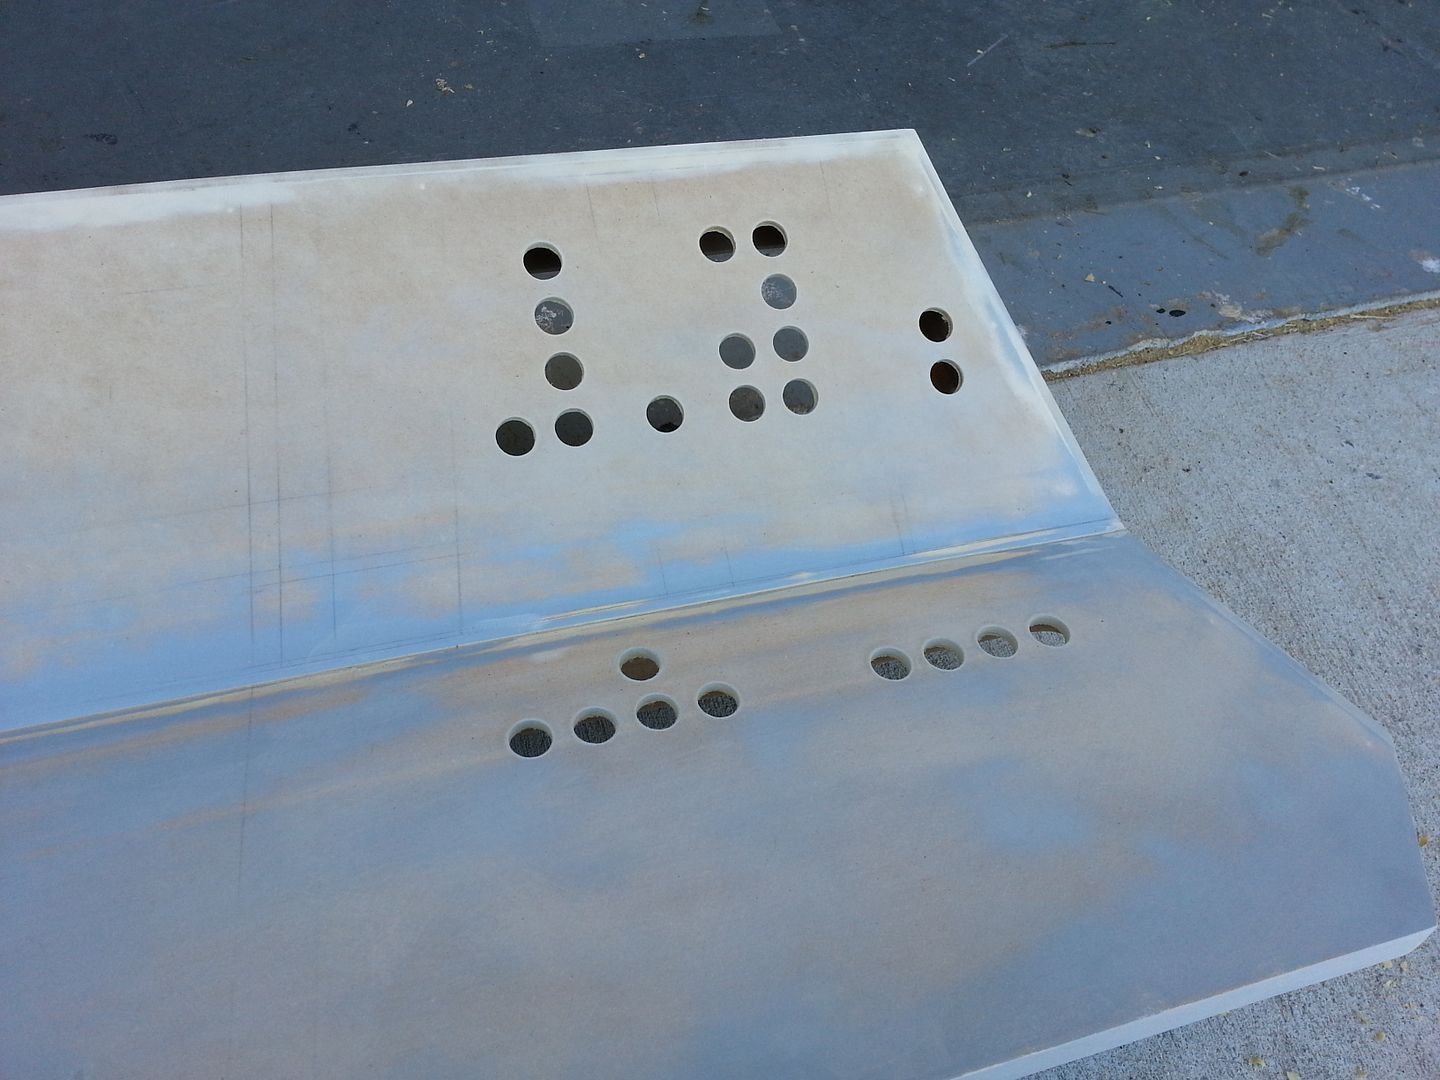
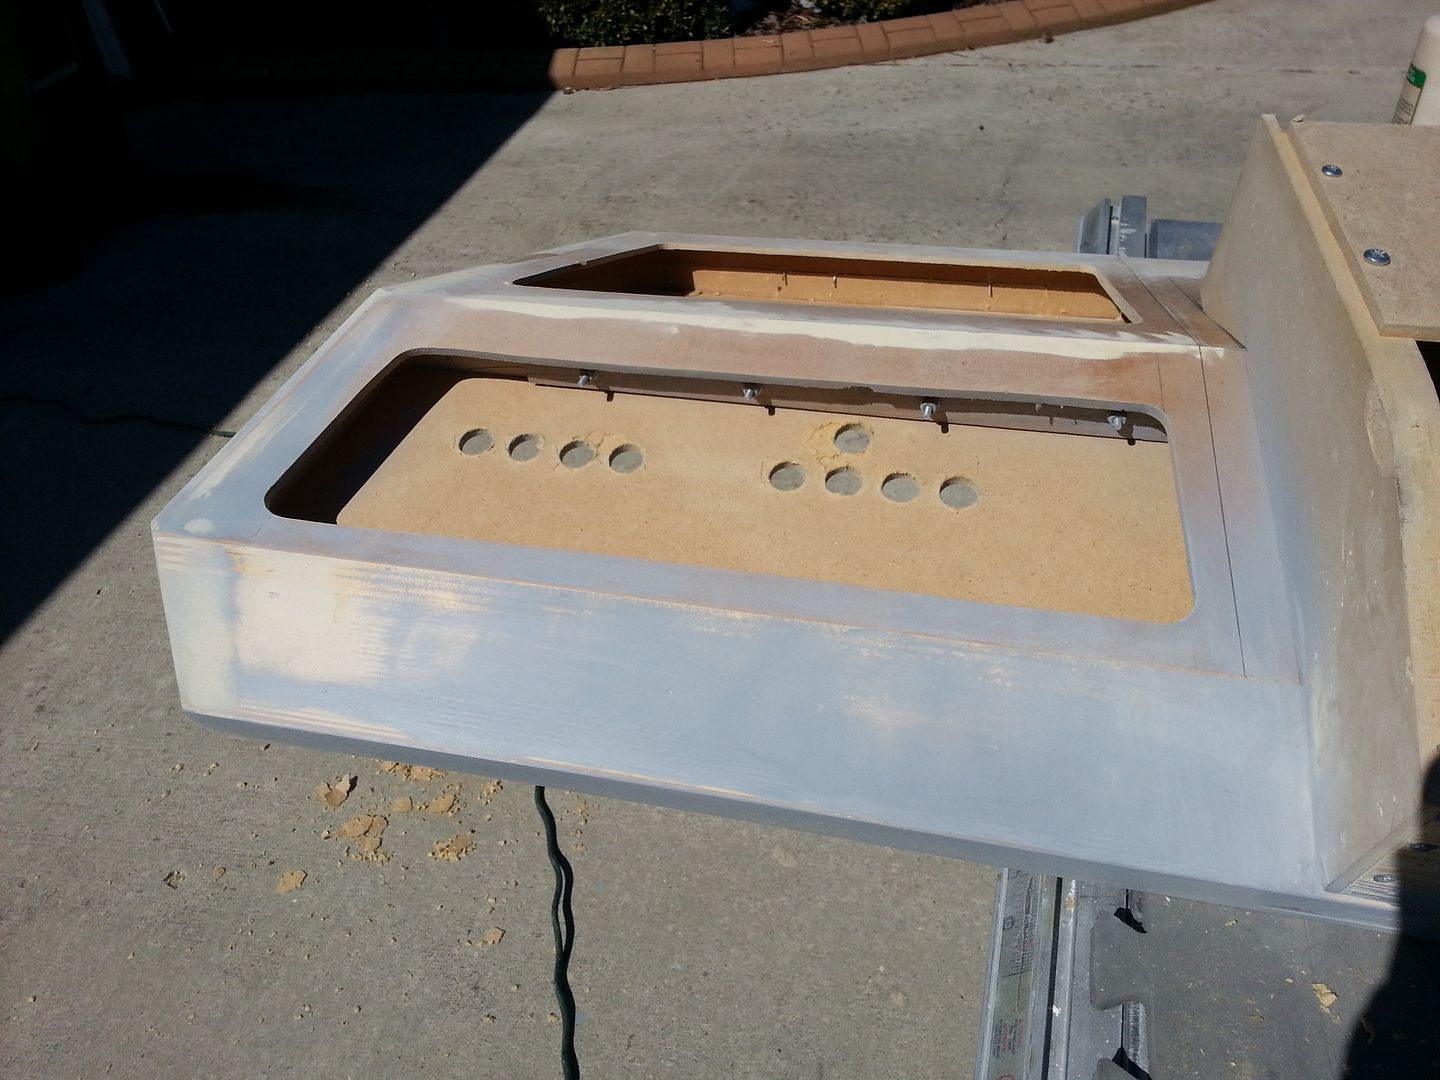
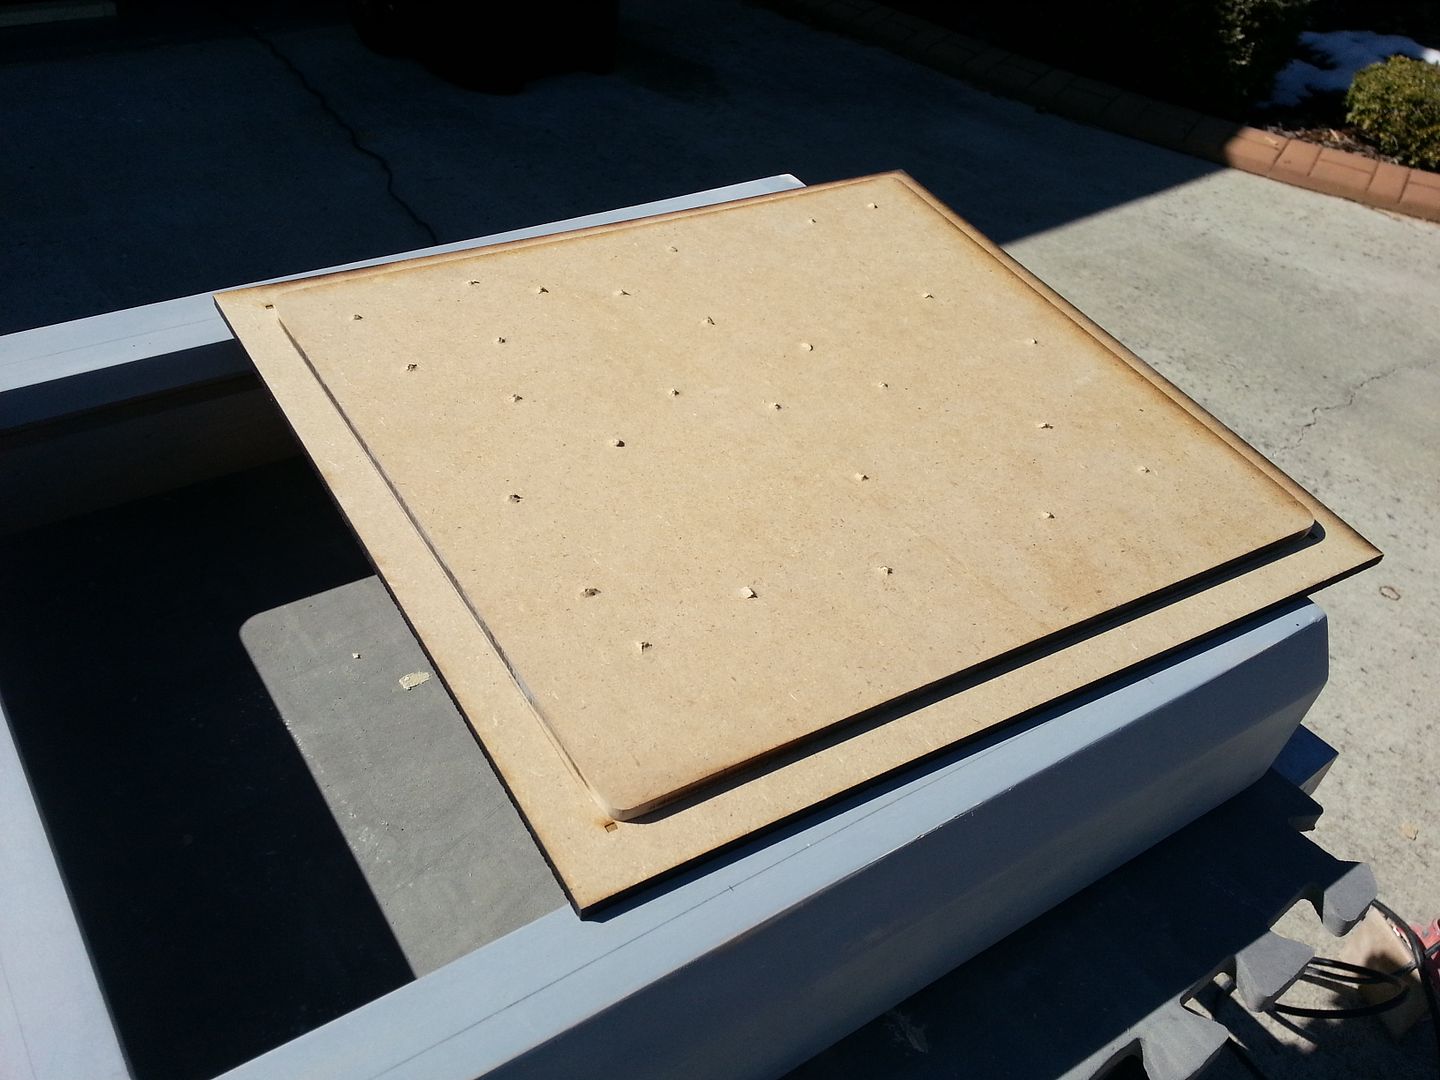
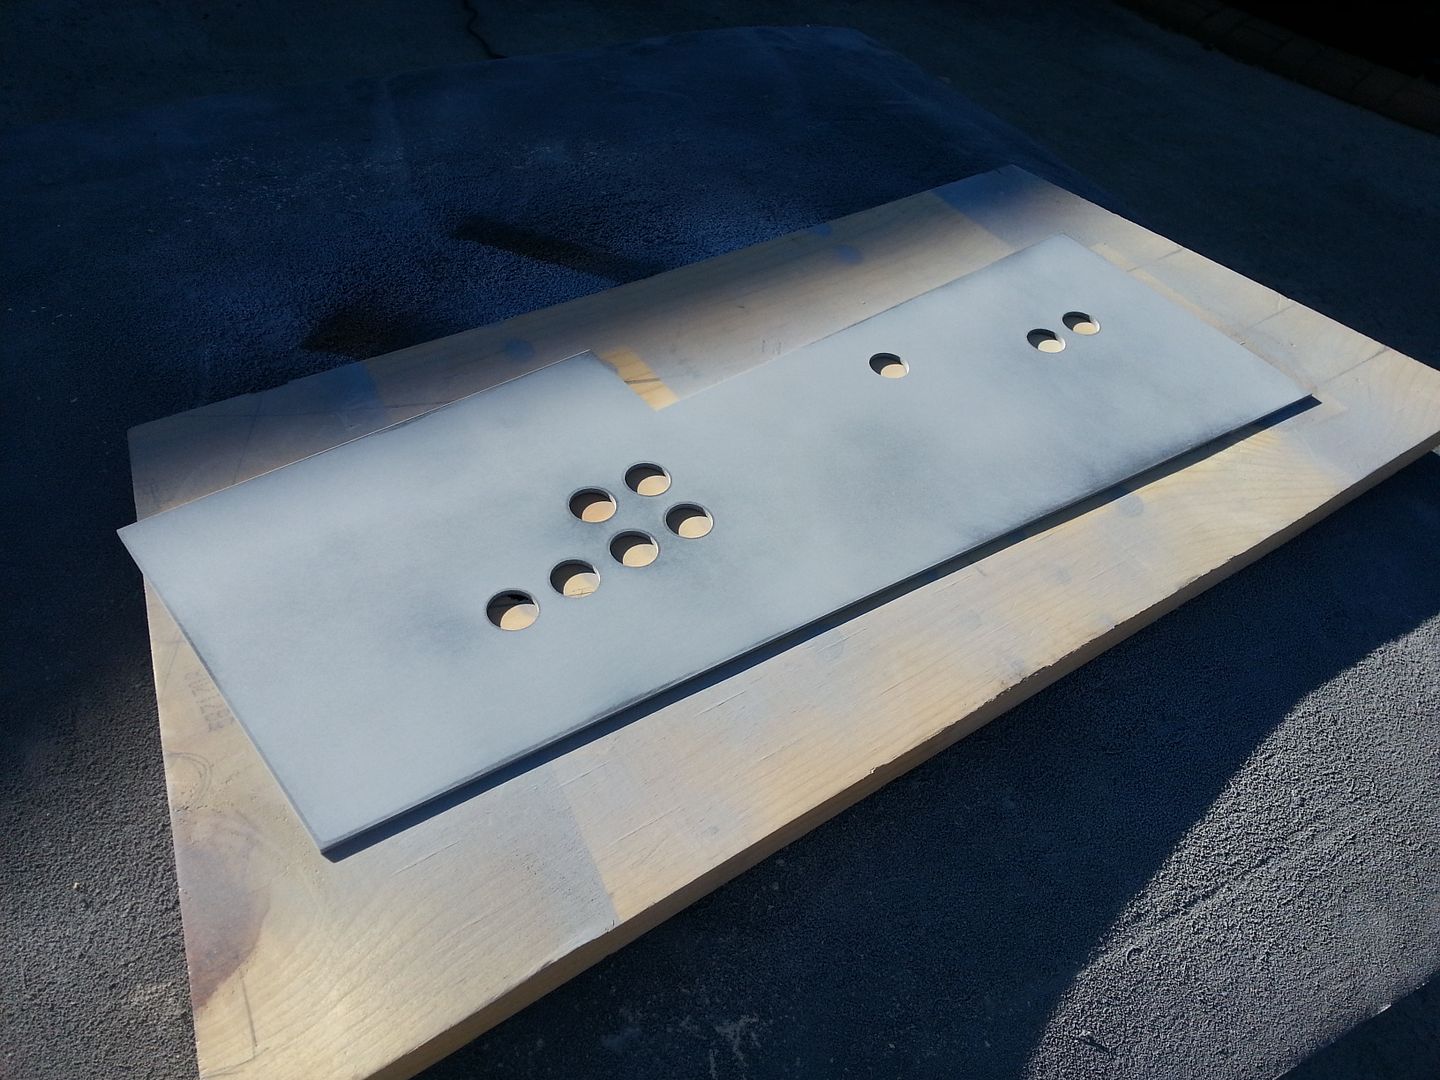
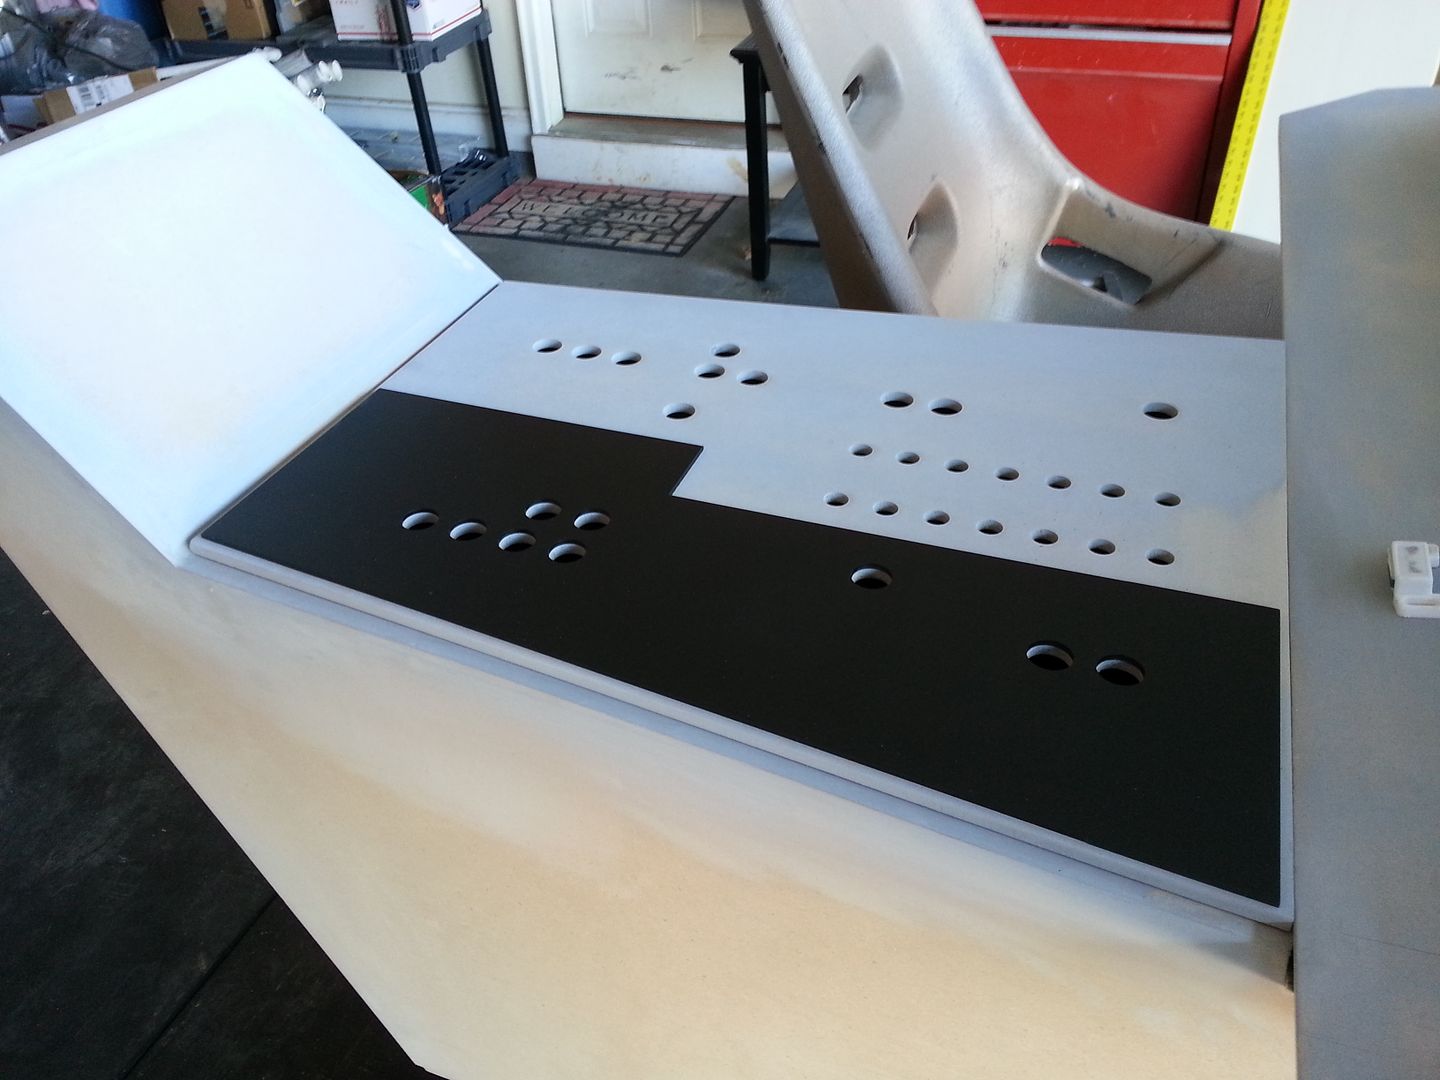
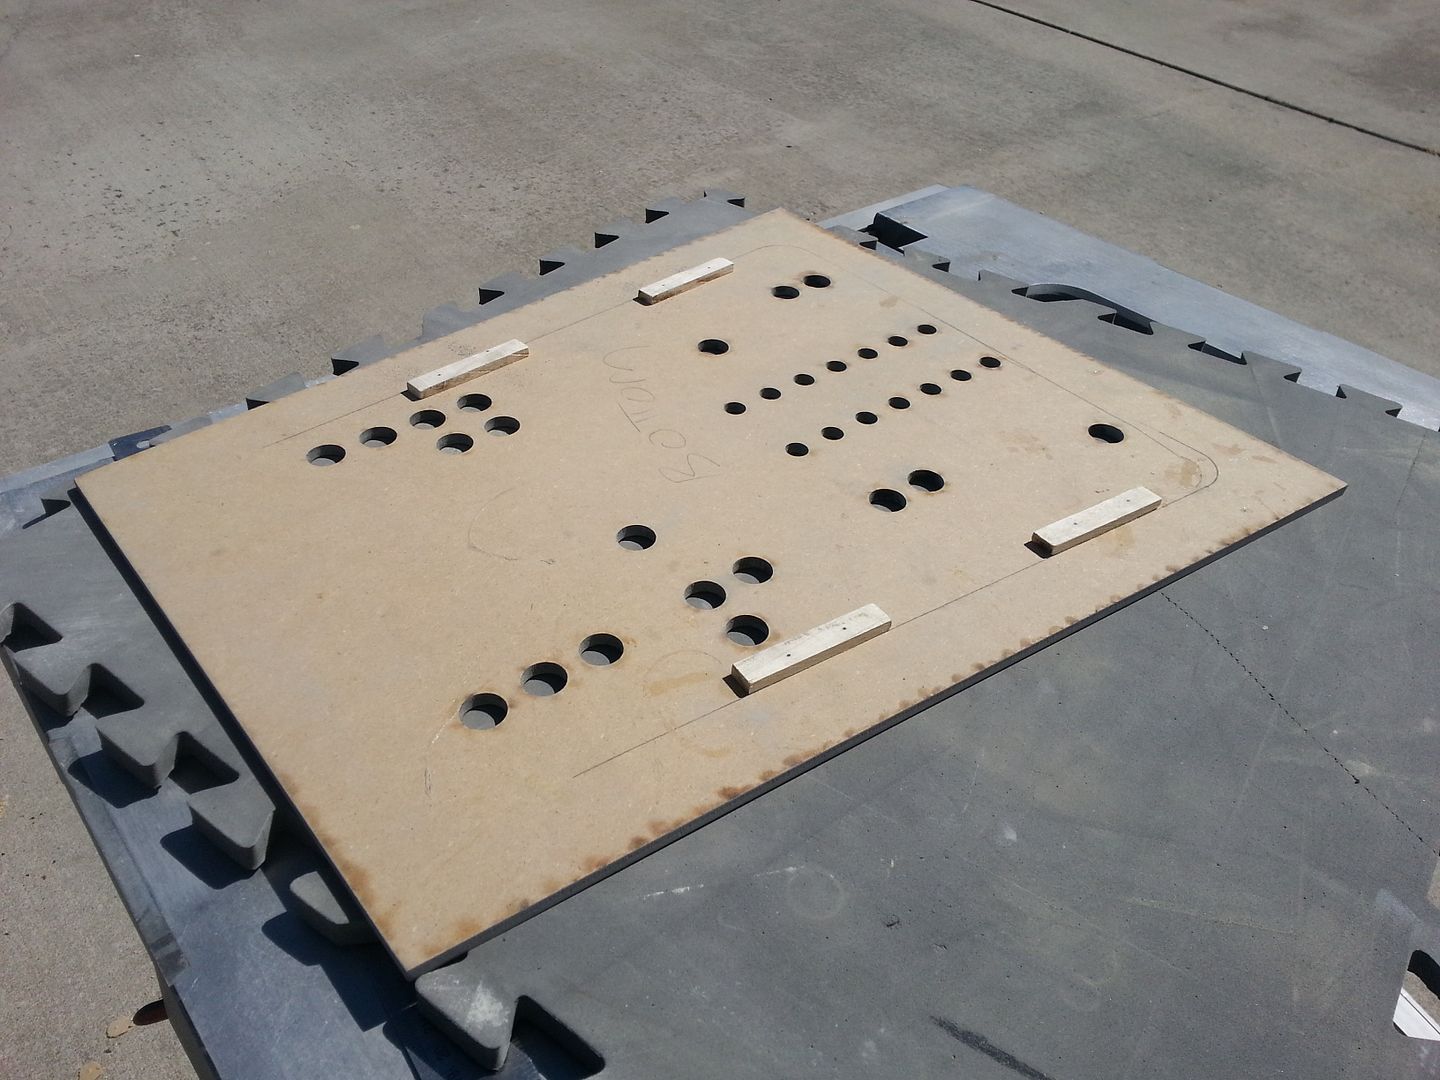
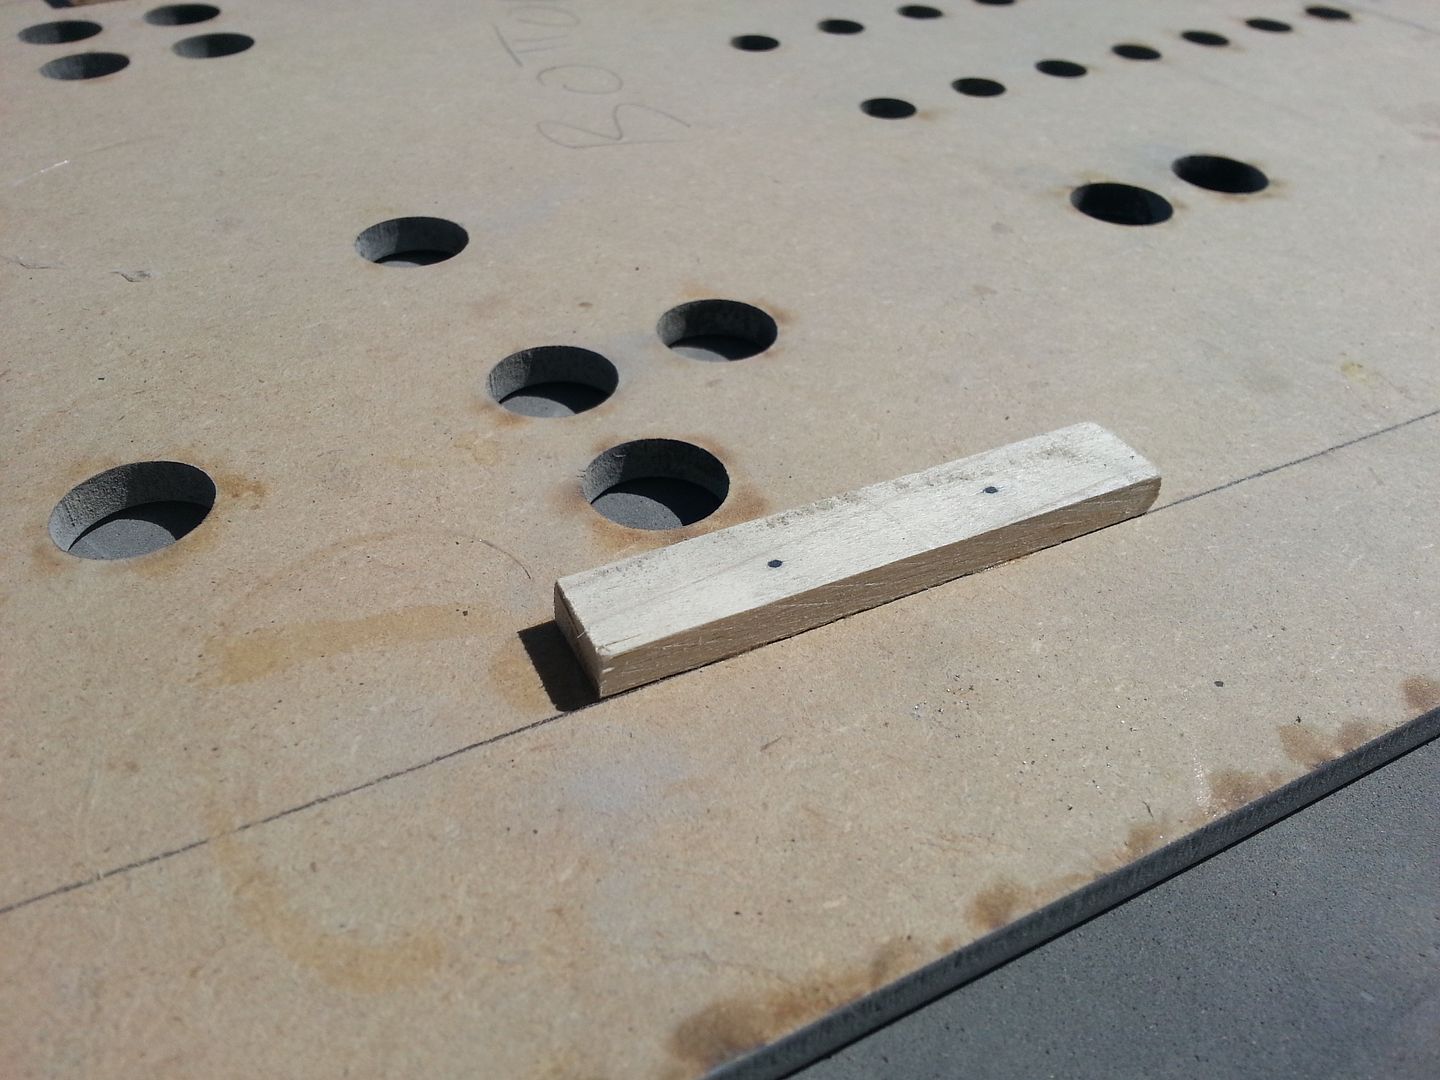
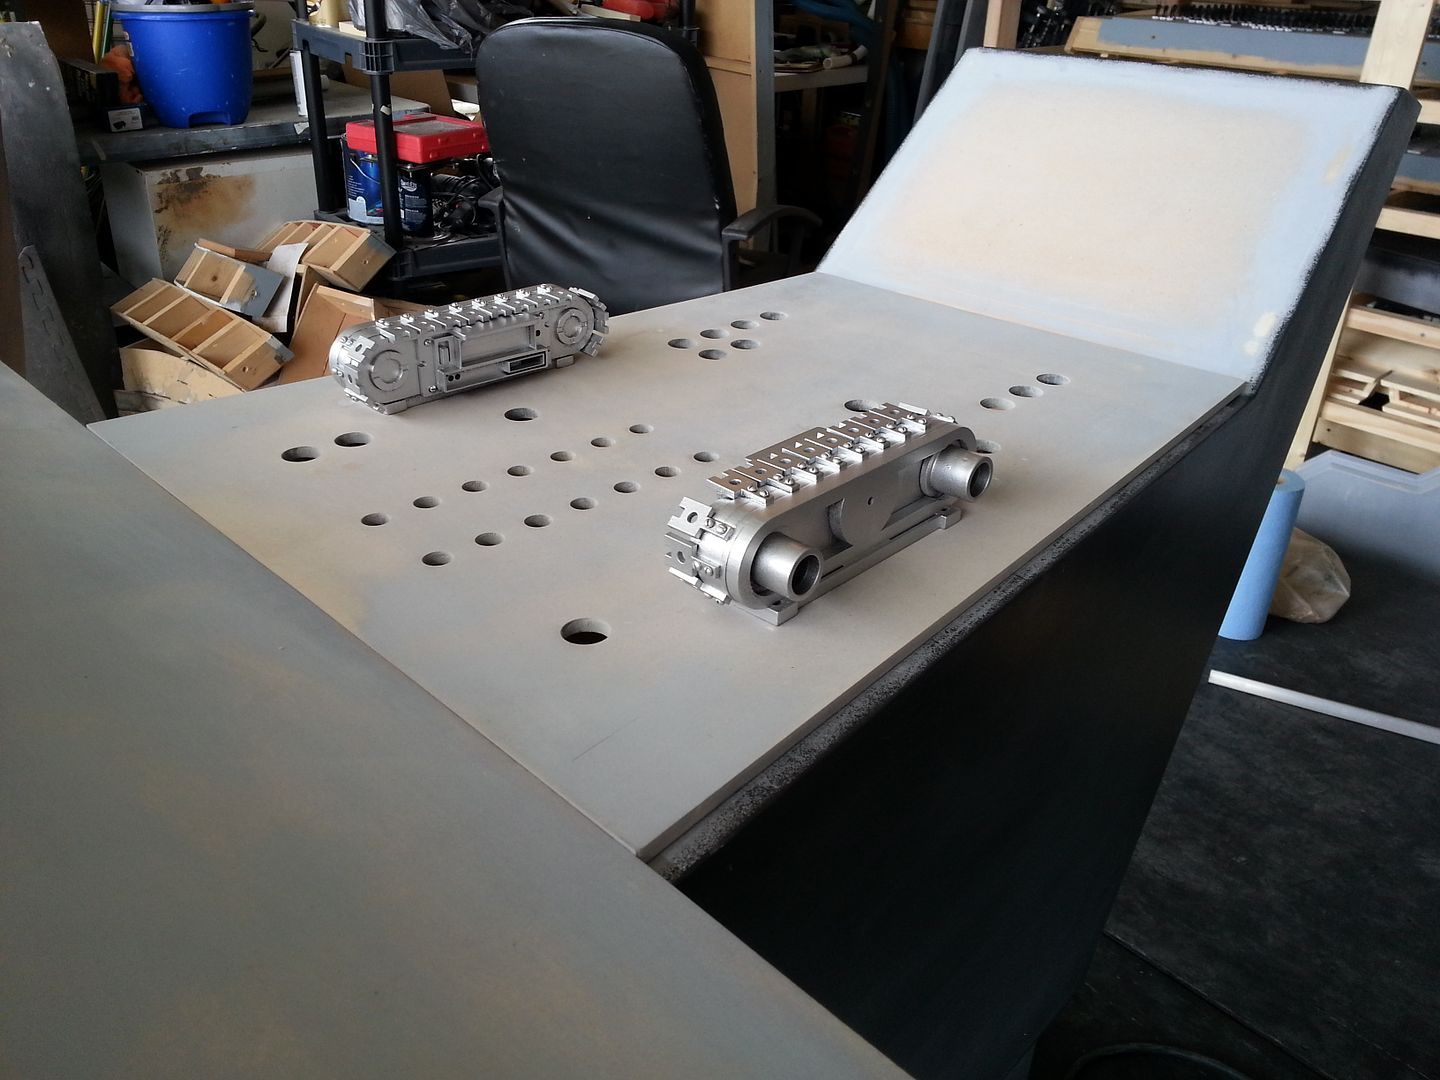
After more sanding on the instrument panel, it was time to drill some holes!
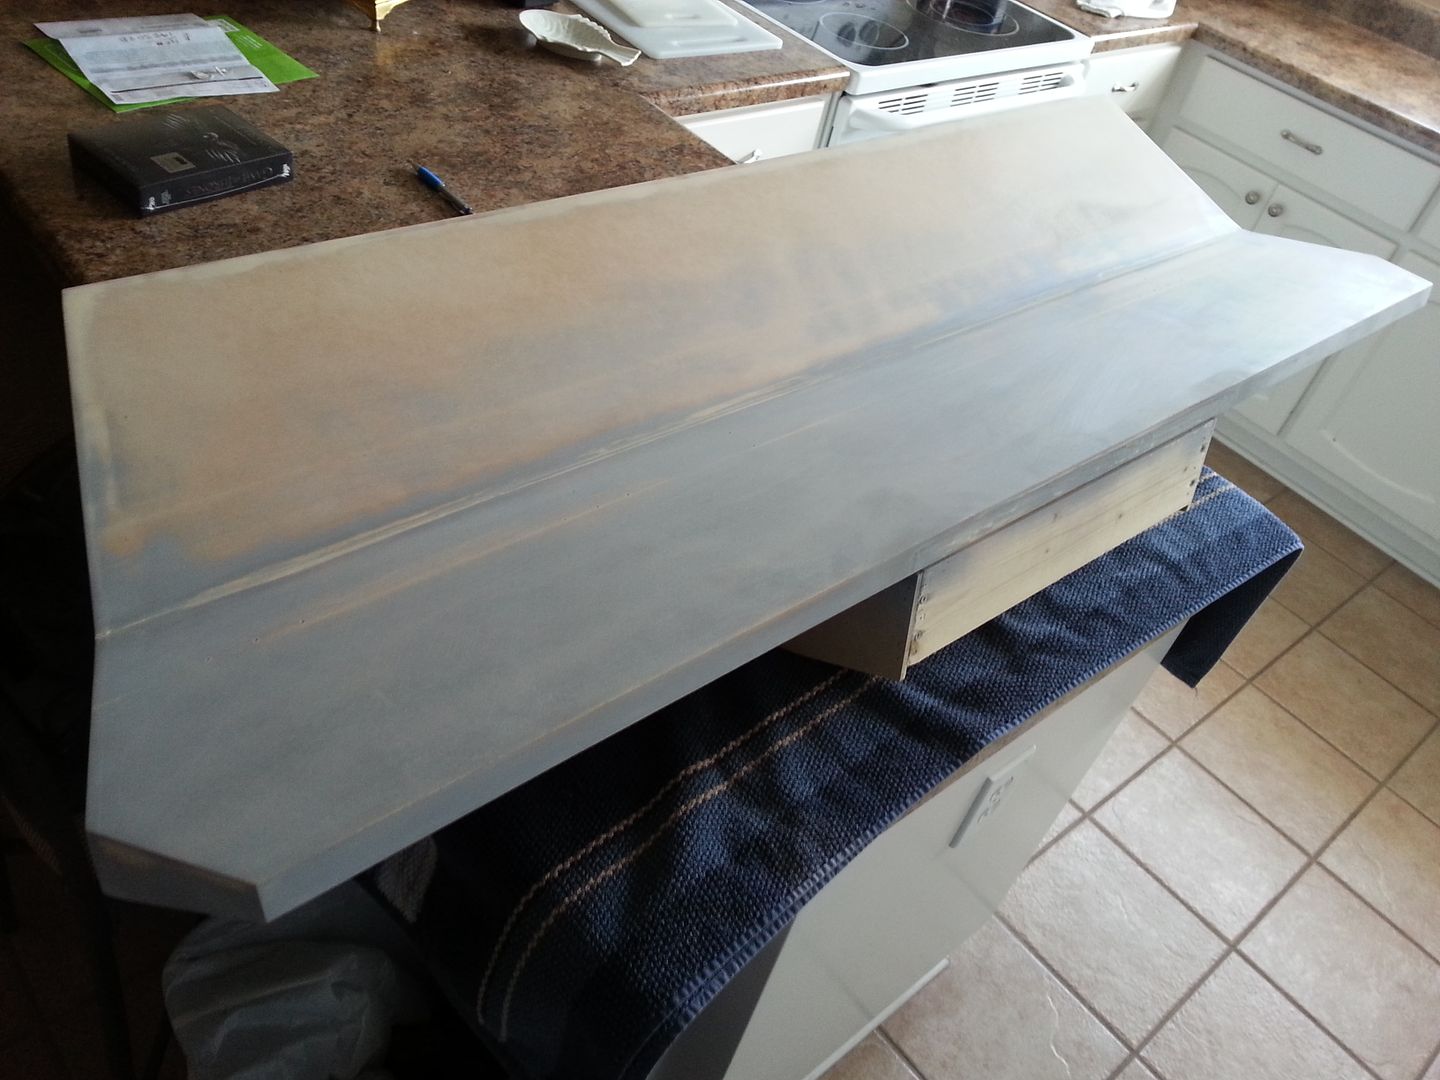
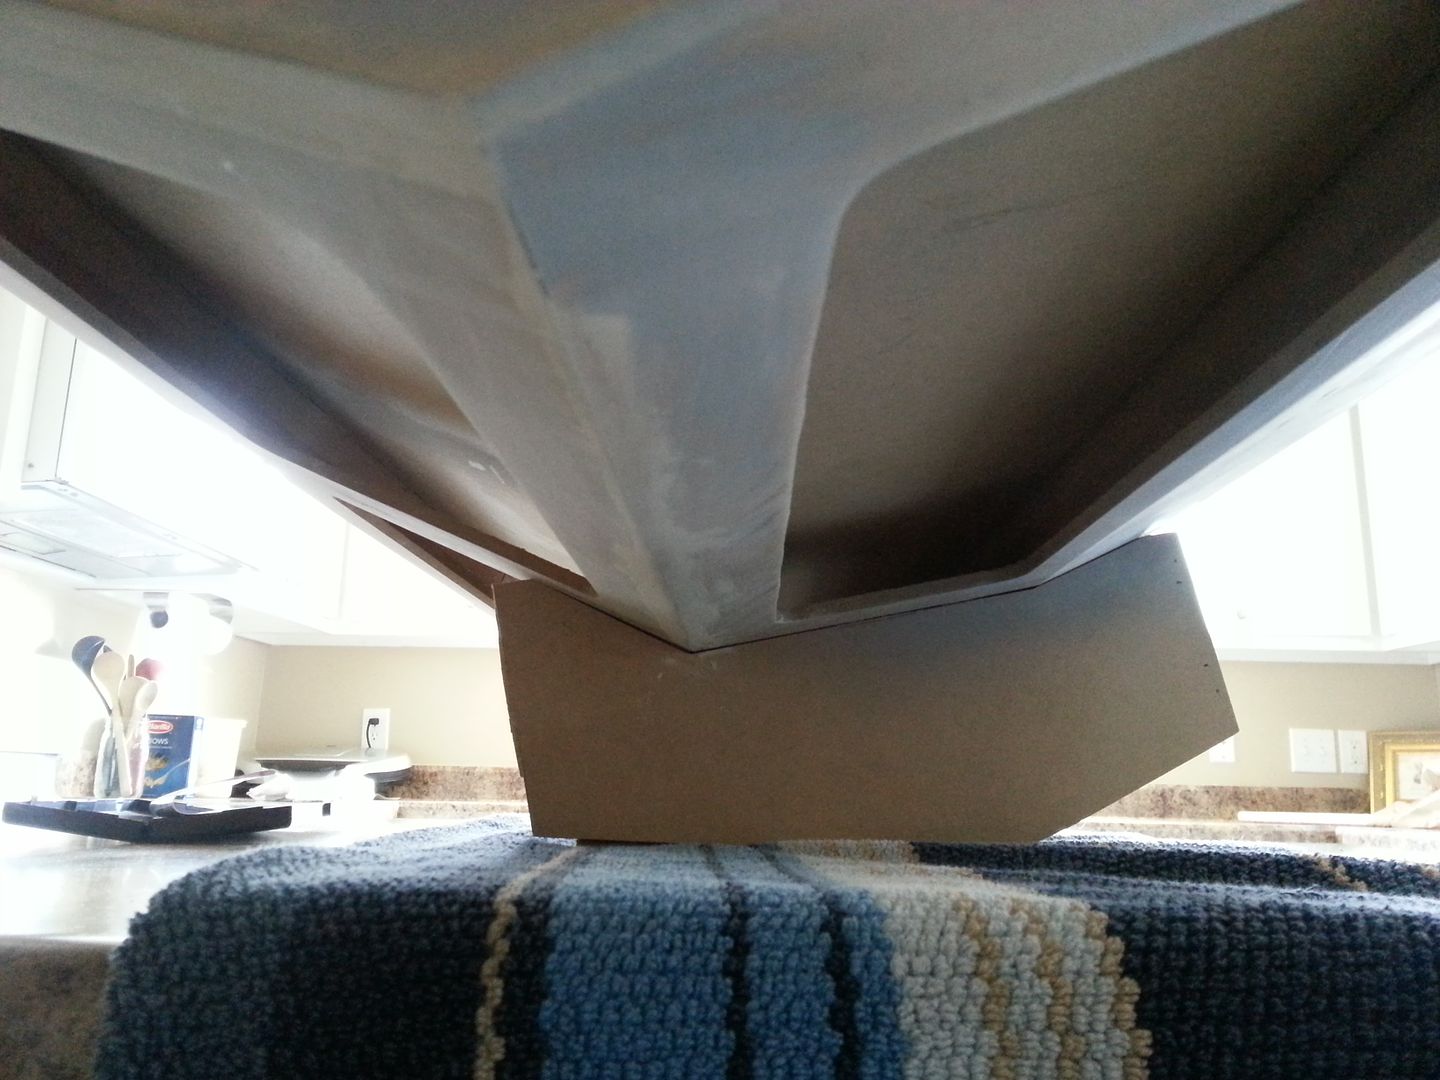
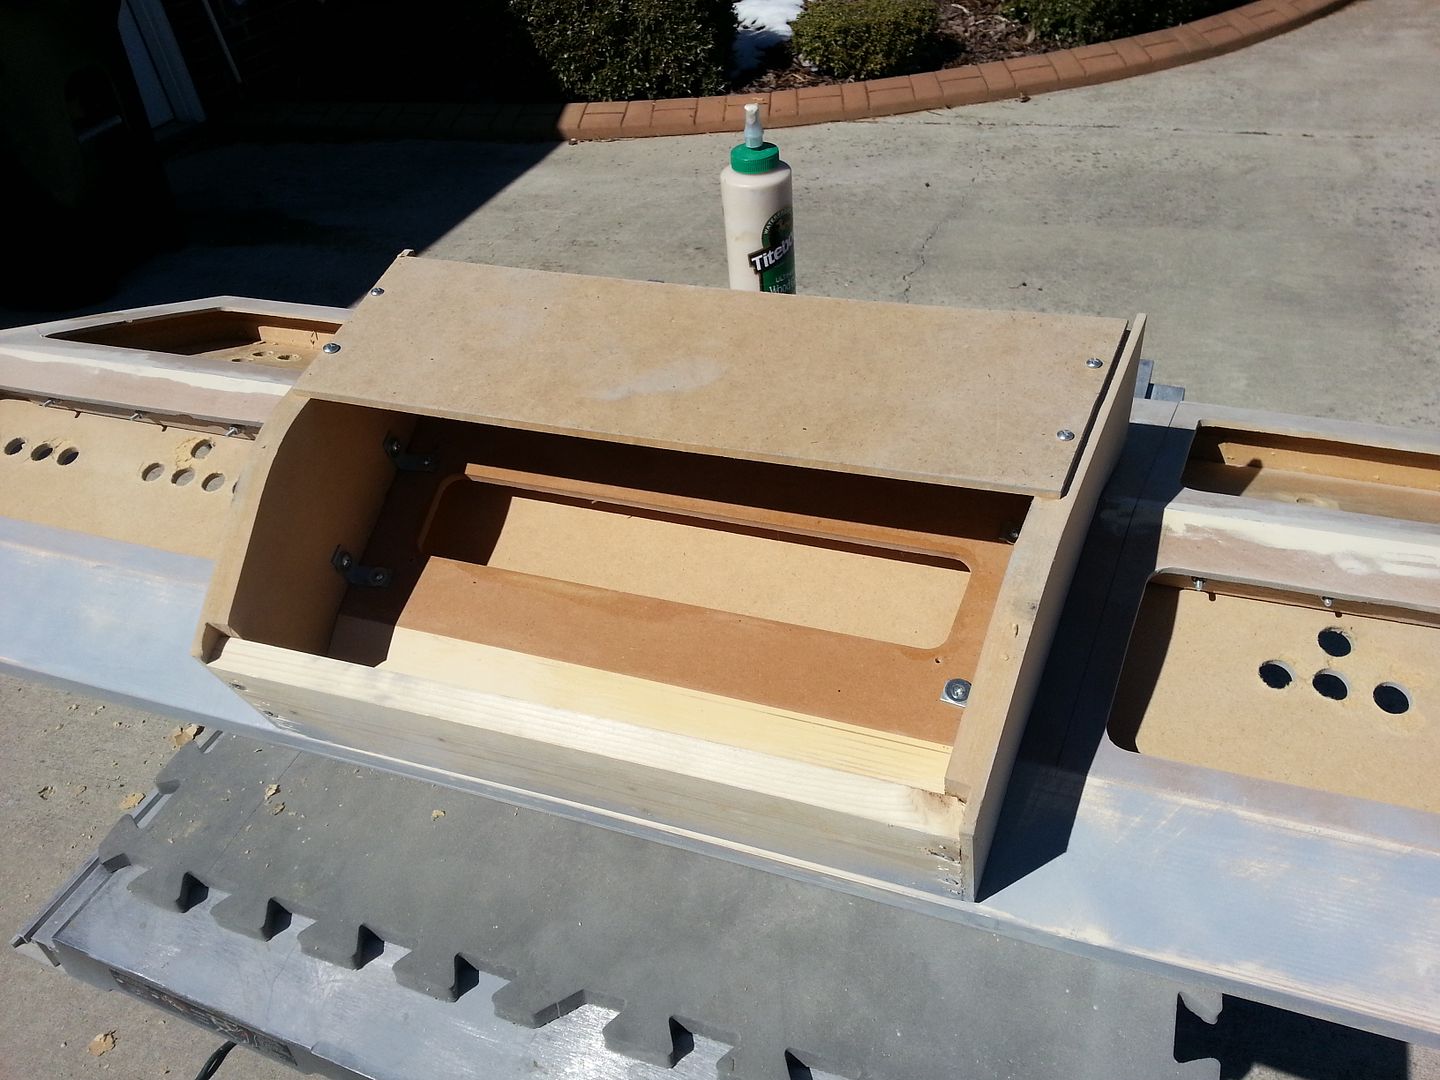
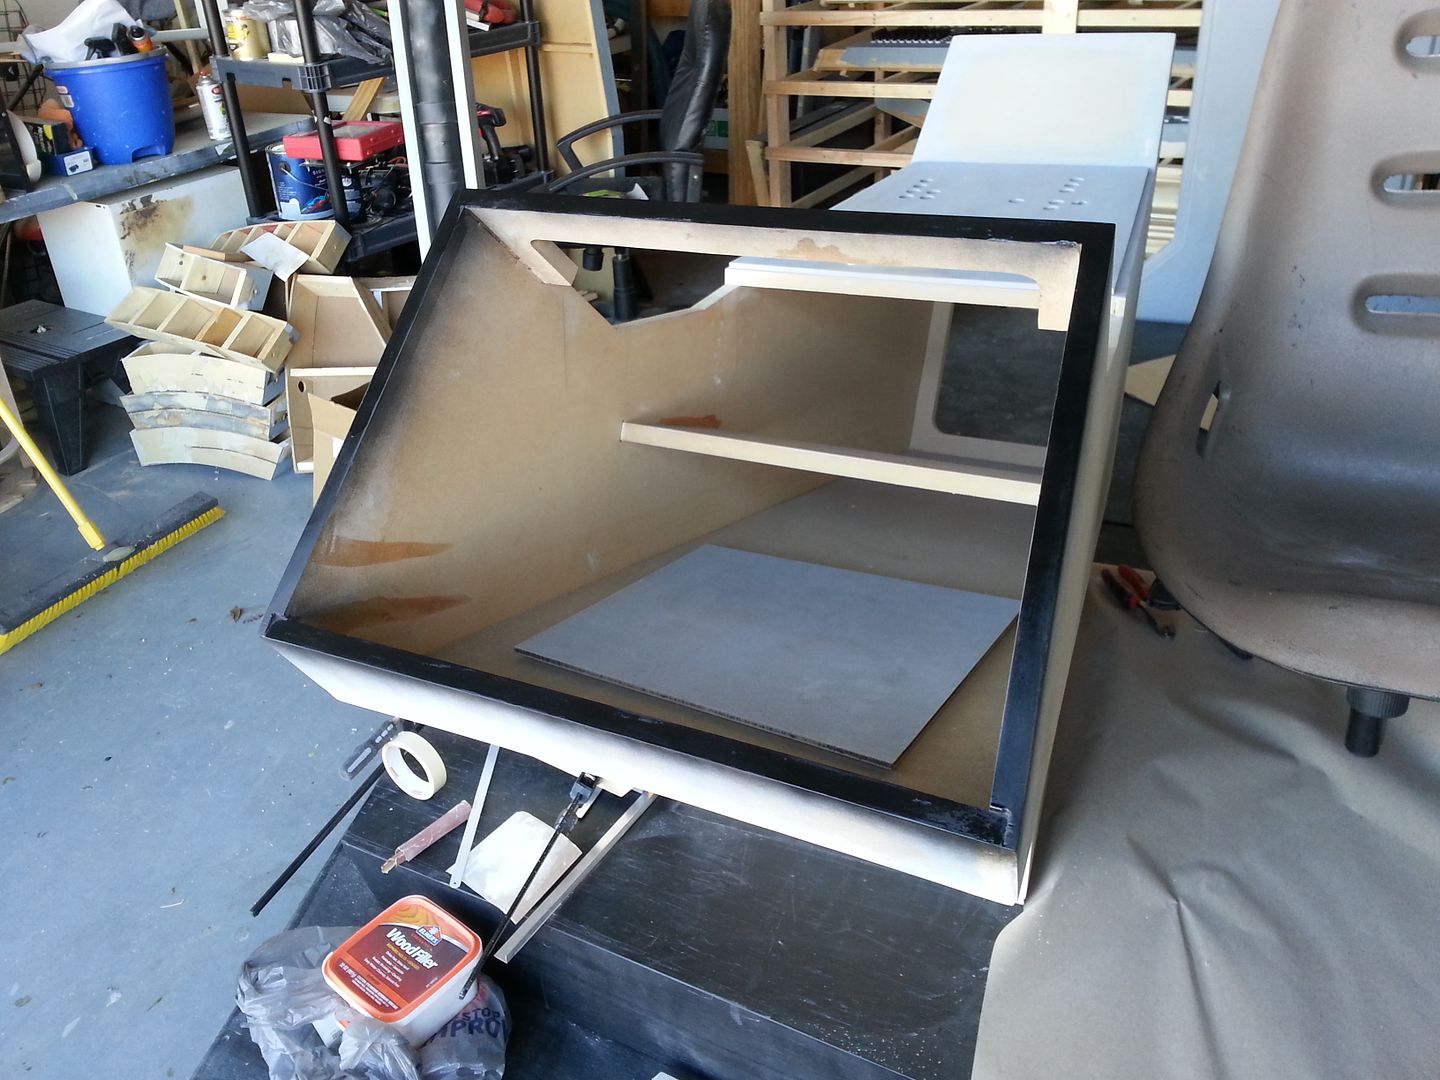
Underside of the instrument panel - you can see the mounting/wiring cradle
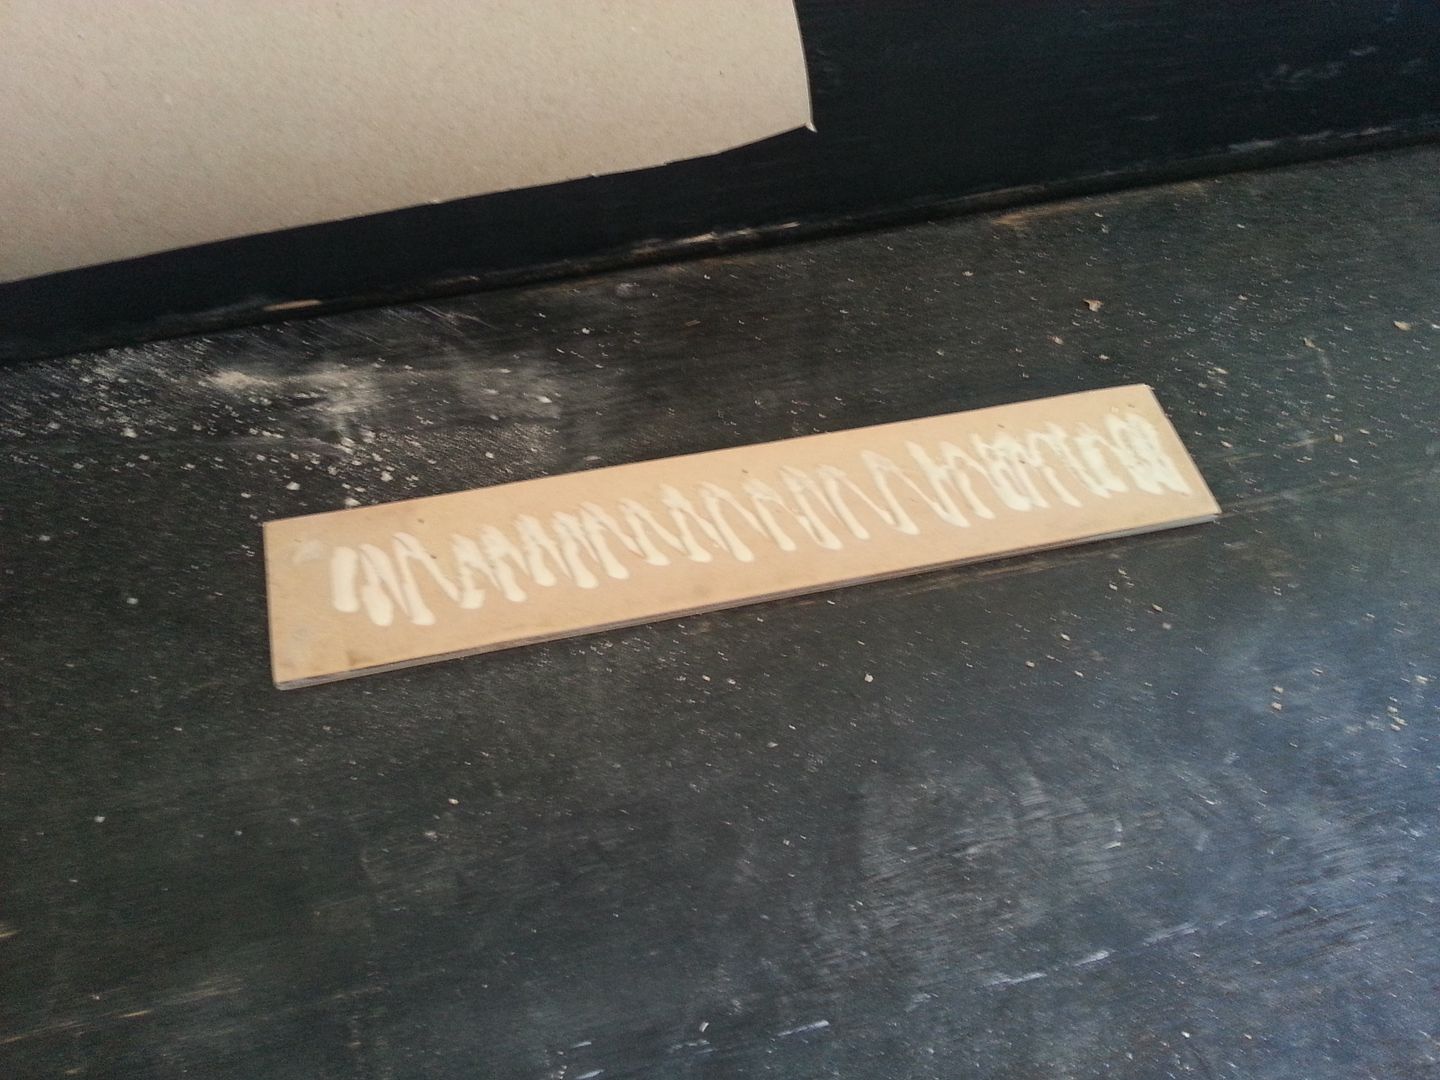
Marking out the pinstripe pattern. This is essential in knowing where all the 1" tiles and other various LEDs are located in relation to the pinstripes
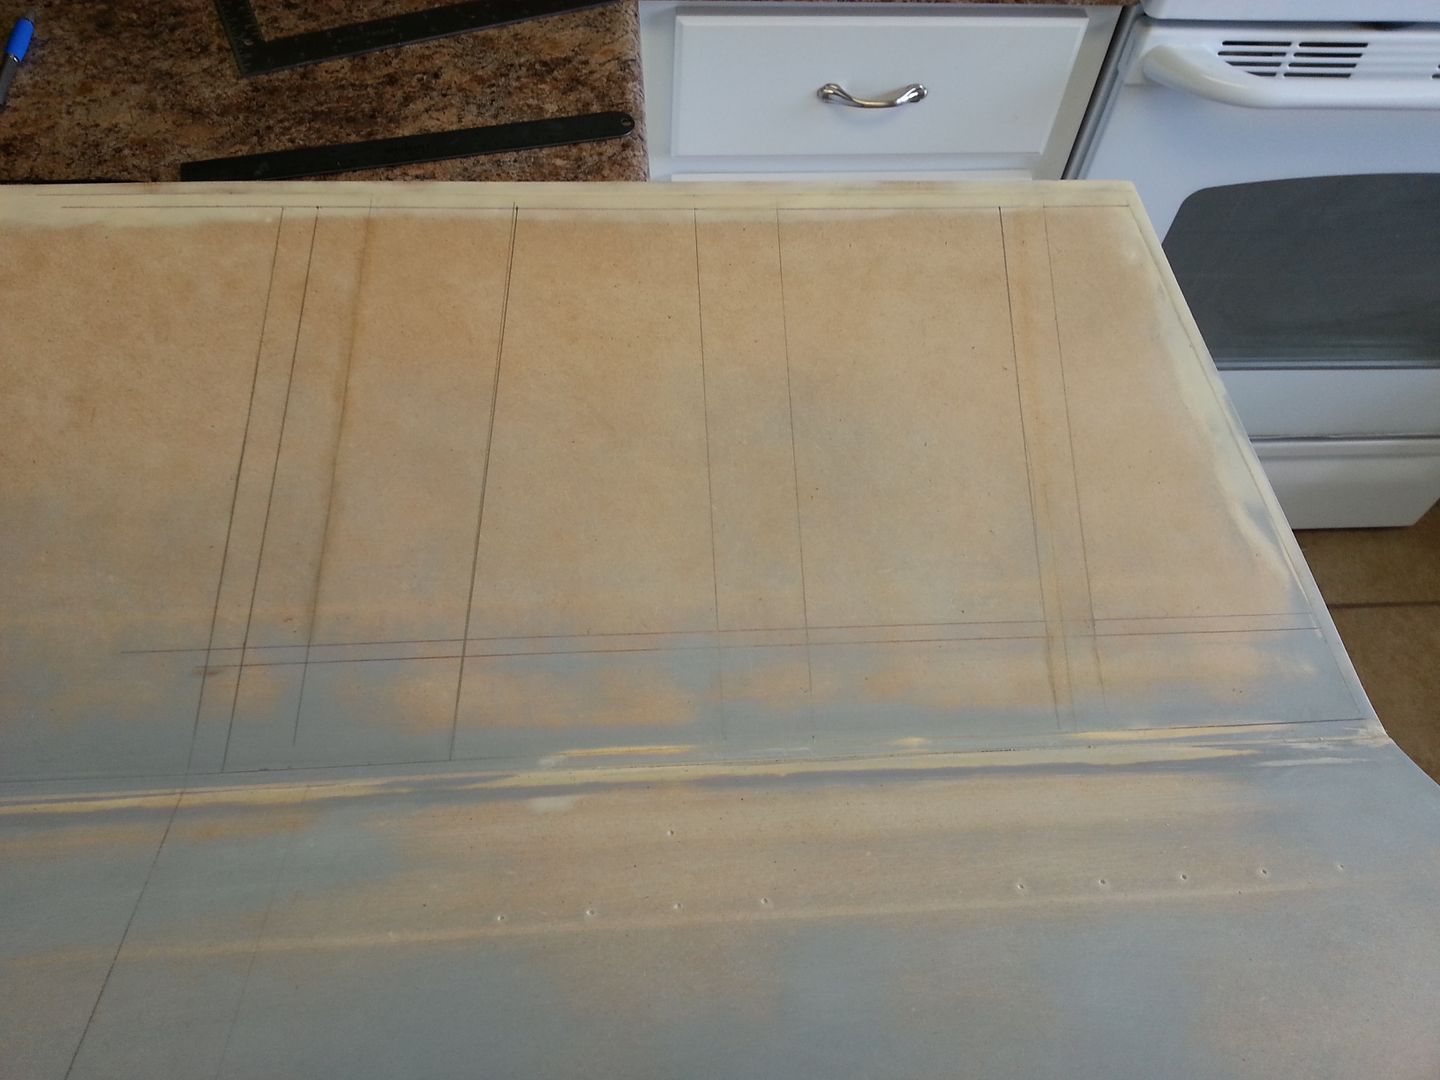
And so we begin
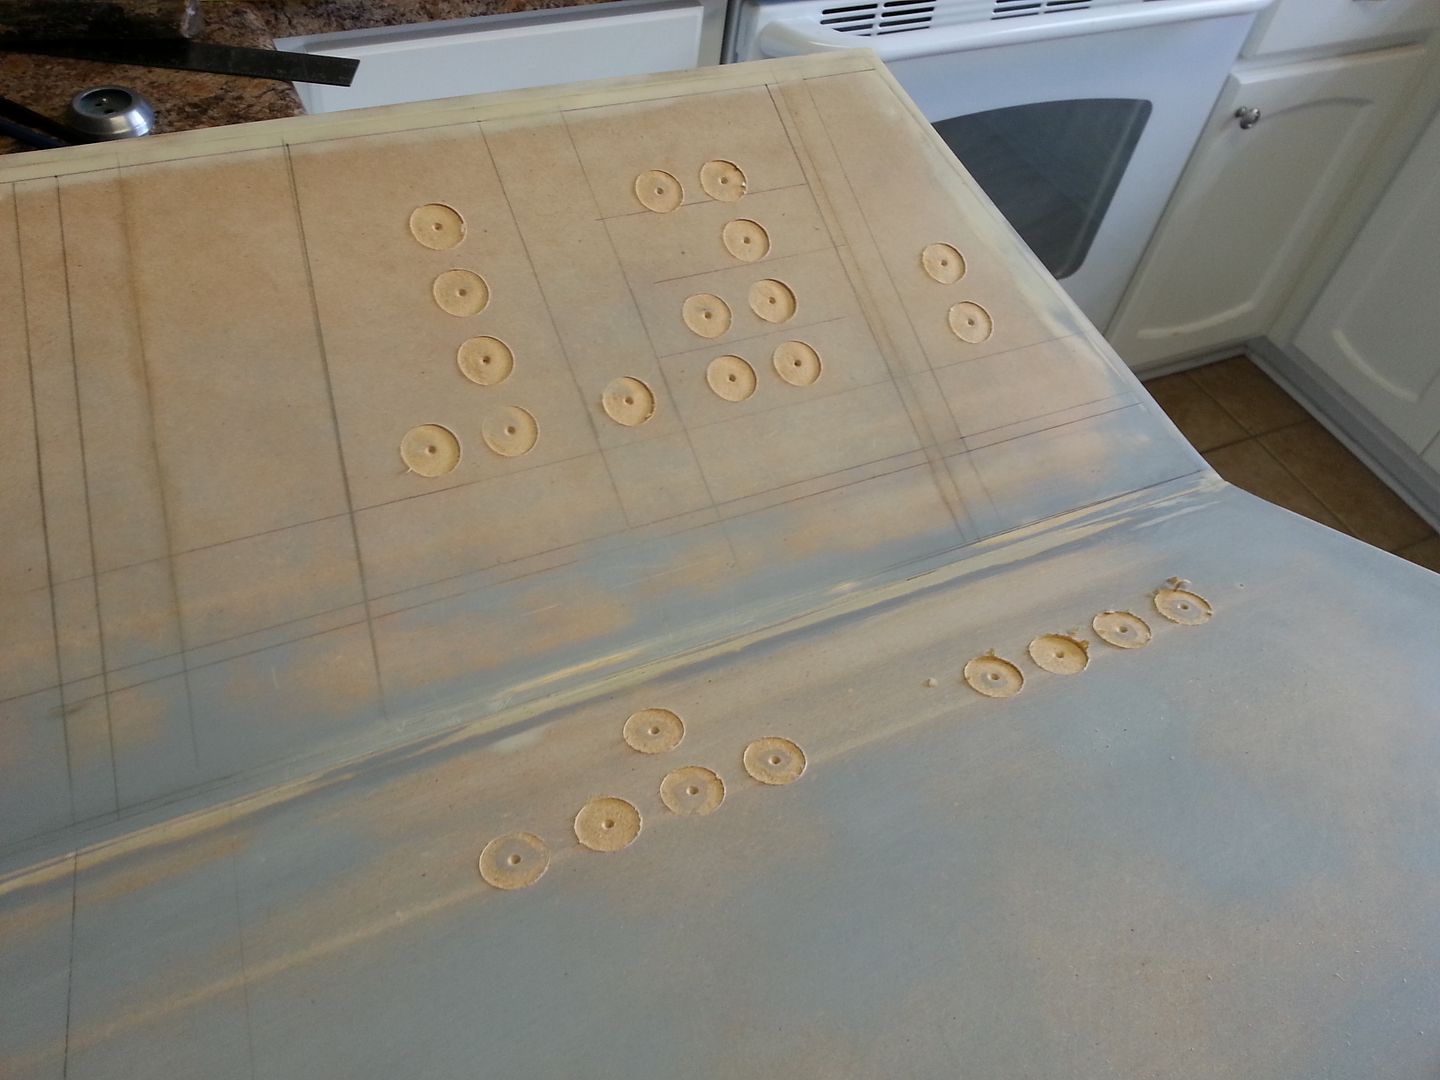
There are still MANY more LED and other holes to drill but these tell me where the main holes are
Jessie and I then spent a few minutes working on some new cassette style greeblies for the armrest lever assembly
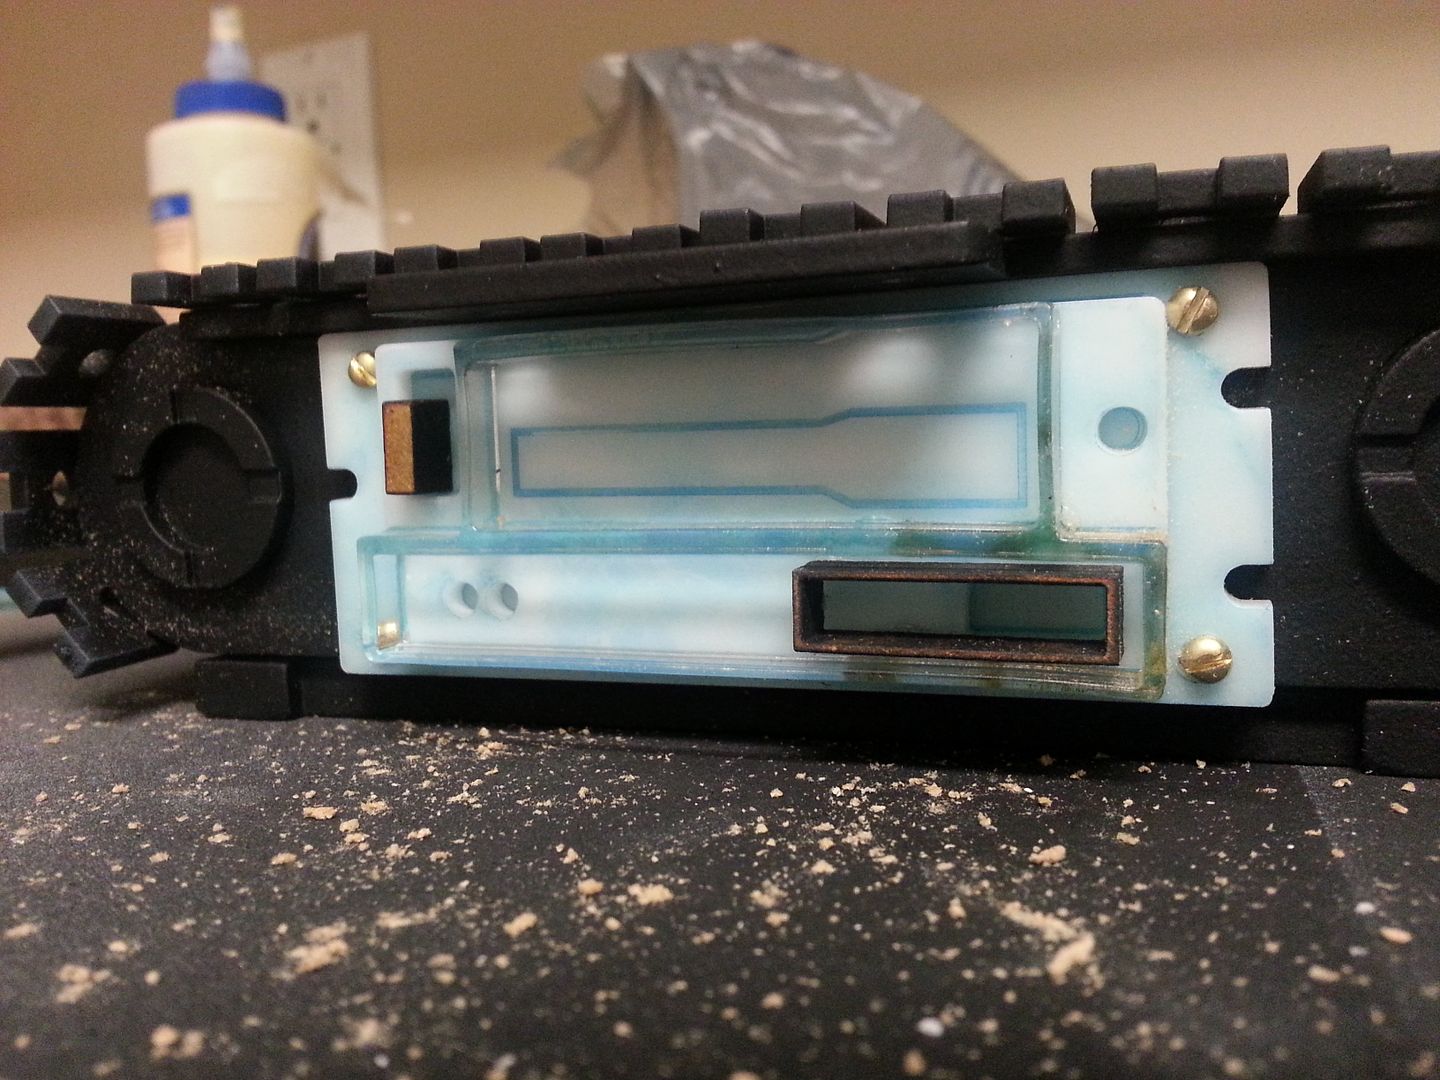
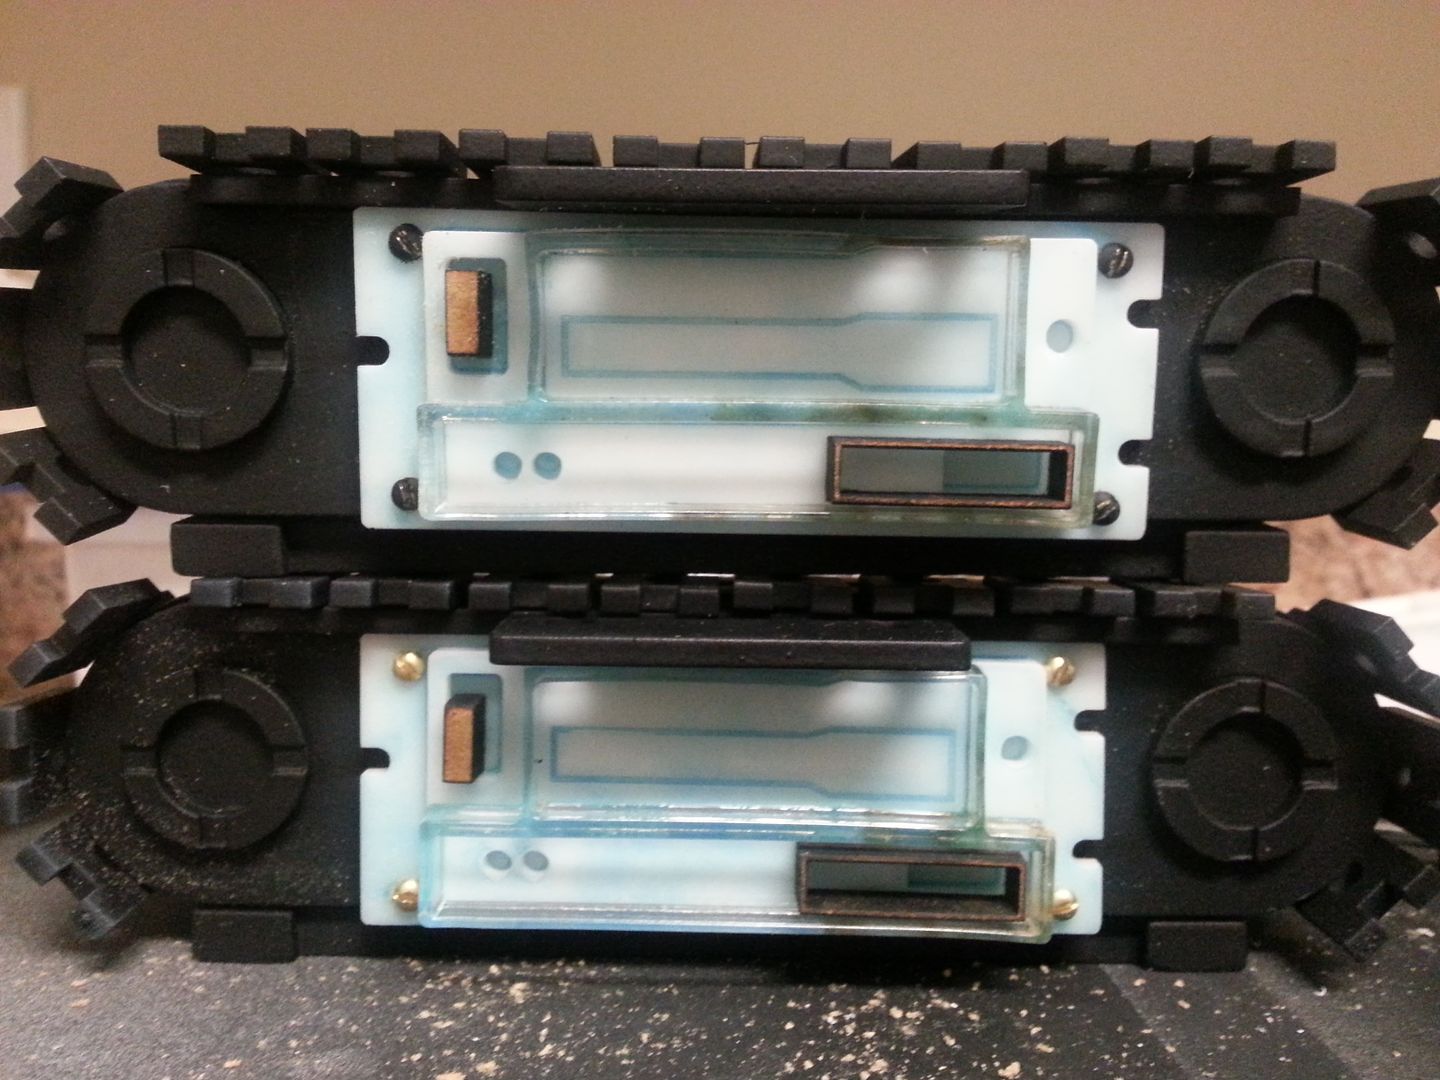
After several coats of black we could FINALLY paint them silver!
DONE! We're designing a new lever to accept the 3 prong handle

More to Follow!
Some minor updates to post...
After more sanding on the instrument panel, it was time to drill some holes!
Underside of the instrument panel - you can see the mounting/wiring cradle
Marking out the pinstripe pattern. This is essential in knowing where all the 1" tiles and other various LEDs are located in relation to the pinstripes
And so we begin
There are still MANY more LED and other holes to drill but these tell me where the main holes are
Jessie and I then spent a few minutes working on some new cassette style greeblies for the armrest lever assembly
After several coats of black we could FINALLY paint them silver!
DONE! We're designing a new lever to accept the 3 prong handle
More to Follow!
Last edited:
Thanks! It feels like it not only took forever to complete but also find ANY sort of image. Believe it or not it actually showed up in 3 places: Twice in the MF and once in the ATAT
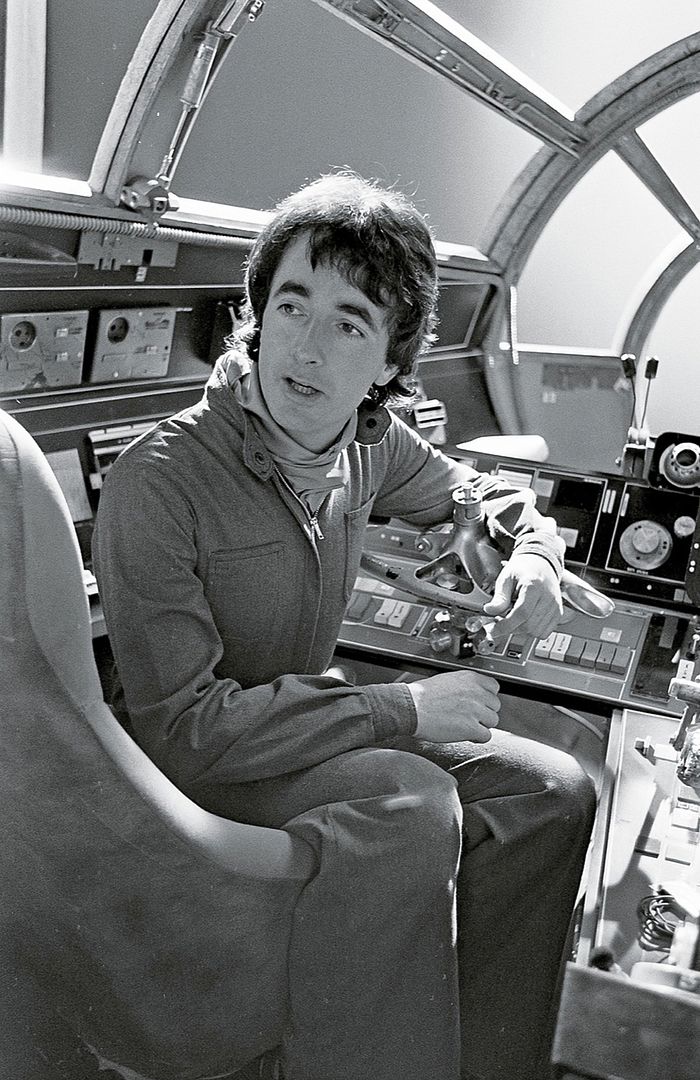
The clearest image we have is this - just above Han's head

To the VERY right of the image - the center console armrest lever assembly (which is what I'm building)
Part of the ATAT controls

There appears to be a LOT more going on with the greeblie but those are the best images we have so far. We have NO IDEA what it is...")
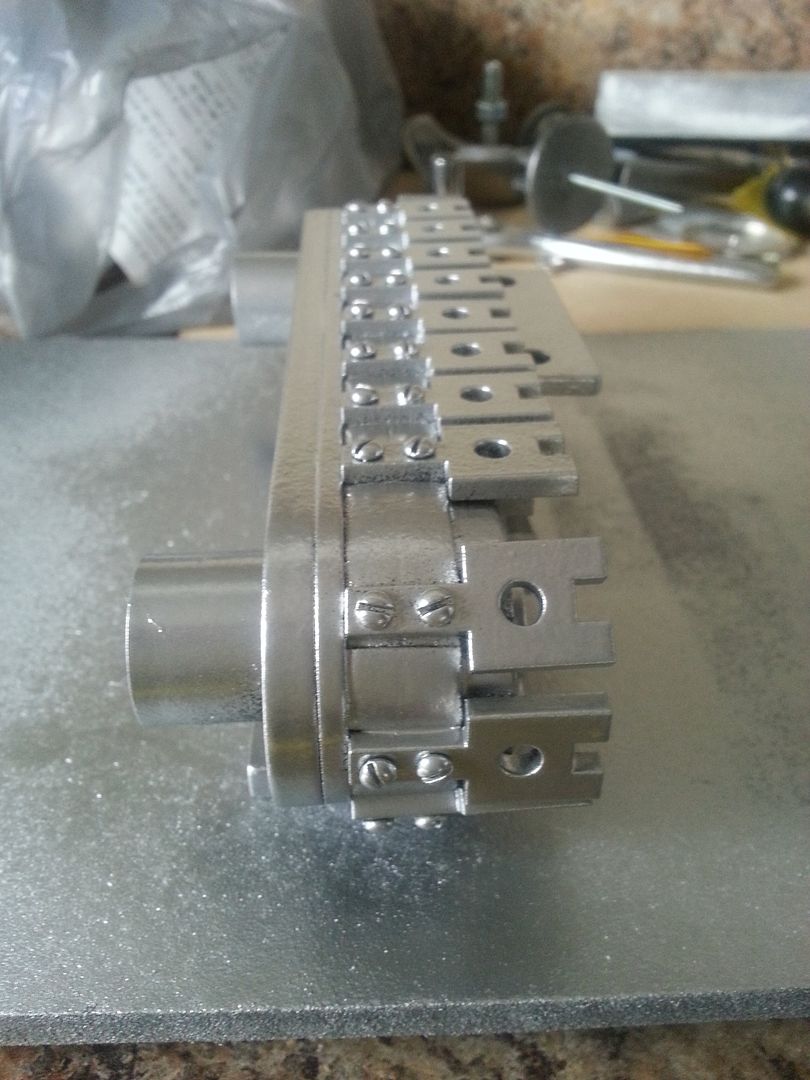
UPDATE: I found another high rez image of one of the rounded edges. It appears "mechanical" - a type of gear. I'll post ASAP
The clearest image we have is this - just above Han's head
To the VERY right of the image - the center console armrest lever assembly (which is what I'm building)
Part of the ATAT controls
There appears to be a LOT more going on with the greeblie but those are the best images we have so far. We have NO IDEA what it is...
UPDATE: I found another high rez image of one of the rounded edges. It appears "mechanical" - a type of gear. I'll post ASAP
Last edited:
Great to catch up on everyone's great work. Love this thread.
Mike
Hi M,
Thanks so much! We hope to have some BIG updates in the next few weeks!
Awesome craftsmanship and updates to the build. Looking forward to duplicate the construction of the armrest hand throttle for my console build.
Smeeon, I need to pick your brain for some electronic assembly on that sparkfun wave trigger. Good stuff. Stay warm people.
Hey C,
Thanks so much! If you have access to a laser cutter / or are interested in general fabricating, I can forward the working files if you're interested? Also, the levers are 3D printed and the handles are 3 prong tube connectors. It's quite a bit work for something we never see!
It would be nice to be able identify the actual parts...Let me know your thoughts
Hey, just a poke to let you guys know I got the matte box display simulator ready to go whenever you're ready. Do you have a an LCD or CRT picked out to fit in it?
I've been working with some great little HDMI enabled displays at work that would fit the bill. What's the display opening size for the matte box? I could help you spec a screen for it.
Also, let me know if you need Arduino code written to drive it. I can help with that too.
Hey Hey
FANTASTIC! I can't wait to see it in action! The matte box is currently being prepped for molds. We're hoping to make several casts and have considered making them readily available if there is enough interest?
I have a small CRT but we haven't had an opportunity to see if it fits. I would rather we chop/hack up a cast then destroy the real thing! I can send all the CRT specs this evening?
I'm sure we'll need the Arduino code. Daniel, Jake and Scott are the resident experts in this area but I'll def let you know where we are!
HiPo
New Member
Hi gang!
I've been following this thread religiously for a while now, and I have recently started my own CAD model of the Falcon that I thought some of y'all might be interested in. I'm using an older version of SolidWorks ('06), hence my earlier question to Jesse. I'm taking a slightly different approach from y'all, in that I am aiming for a more "idealized" version of the Falcon, where the gaming table portion of the main hold will be triangular, there will be steps up to the cockpit corridor, etc. Please feel free to drop by and leave comments as you wish.
https://corellianengineering.wordpress.com/
Rymo
Sr Member
I love that thing. Whatever it is. Does Wavey or anyone have a photo of the original component? Definitely looks like electrical spades around the perimeter. What was it?
It does seem to be some kind of electrical bus bar or terminal block, but I've never seen one that's rounded like that. I know the center part in that top image is a heat-sink/transistor assembly, but I'm clueless as to the rest of it.


WOW! That's really close! Great find!
- - - Updated - - -
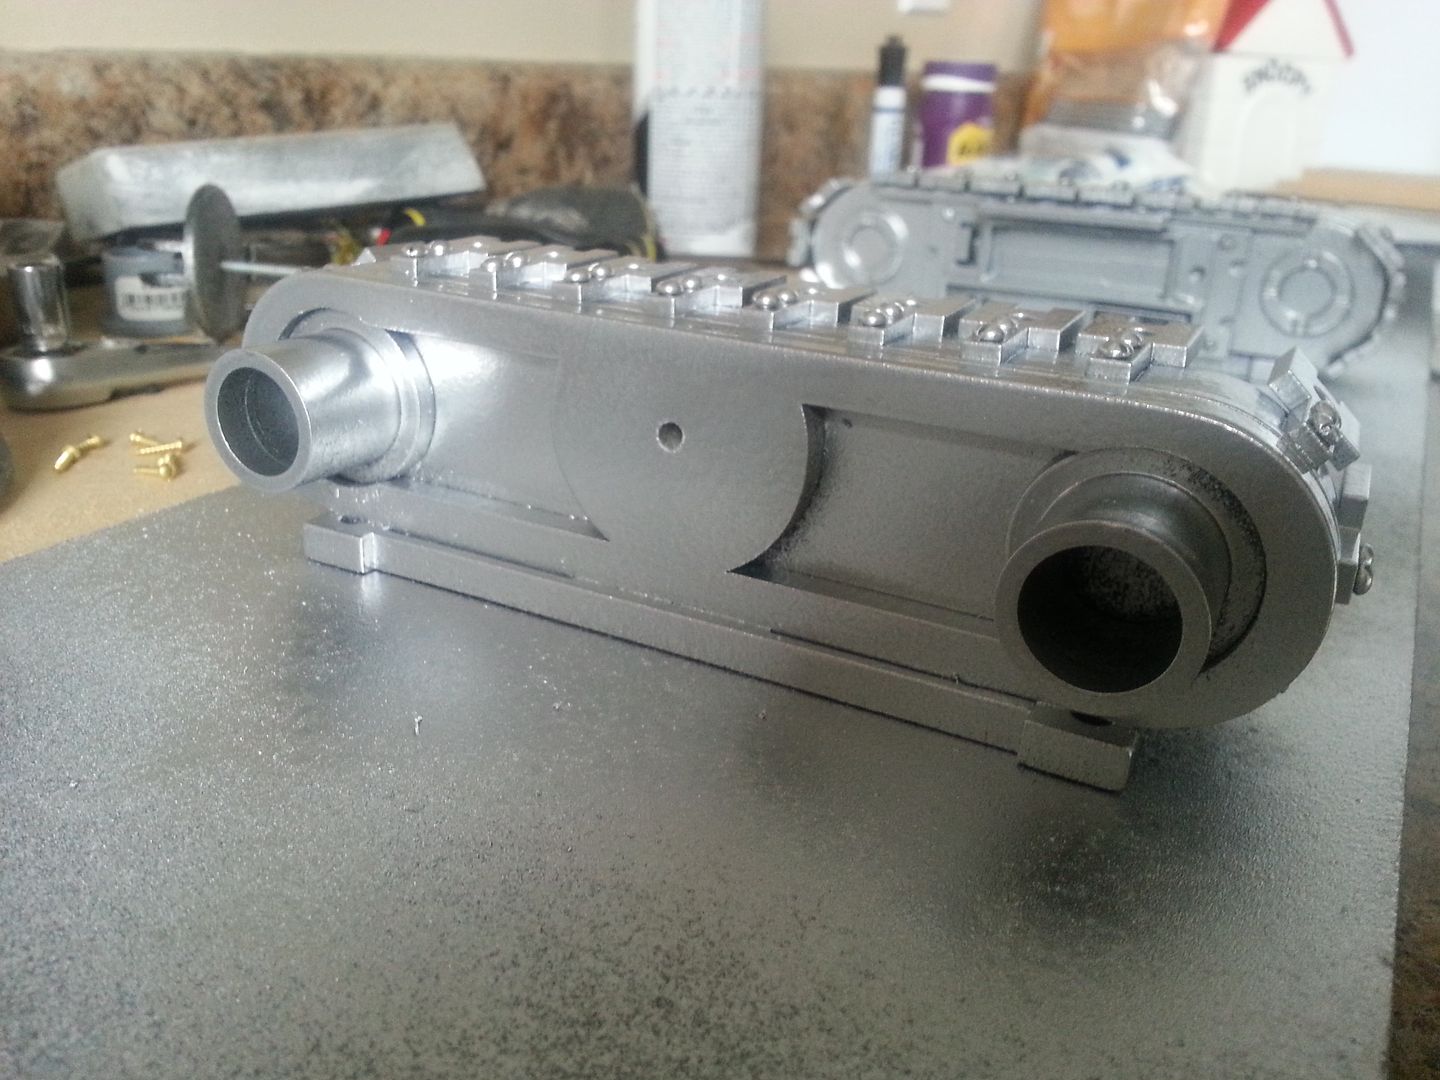
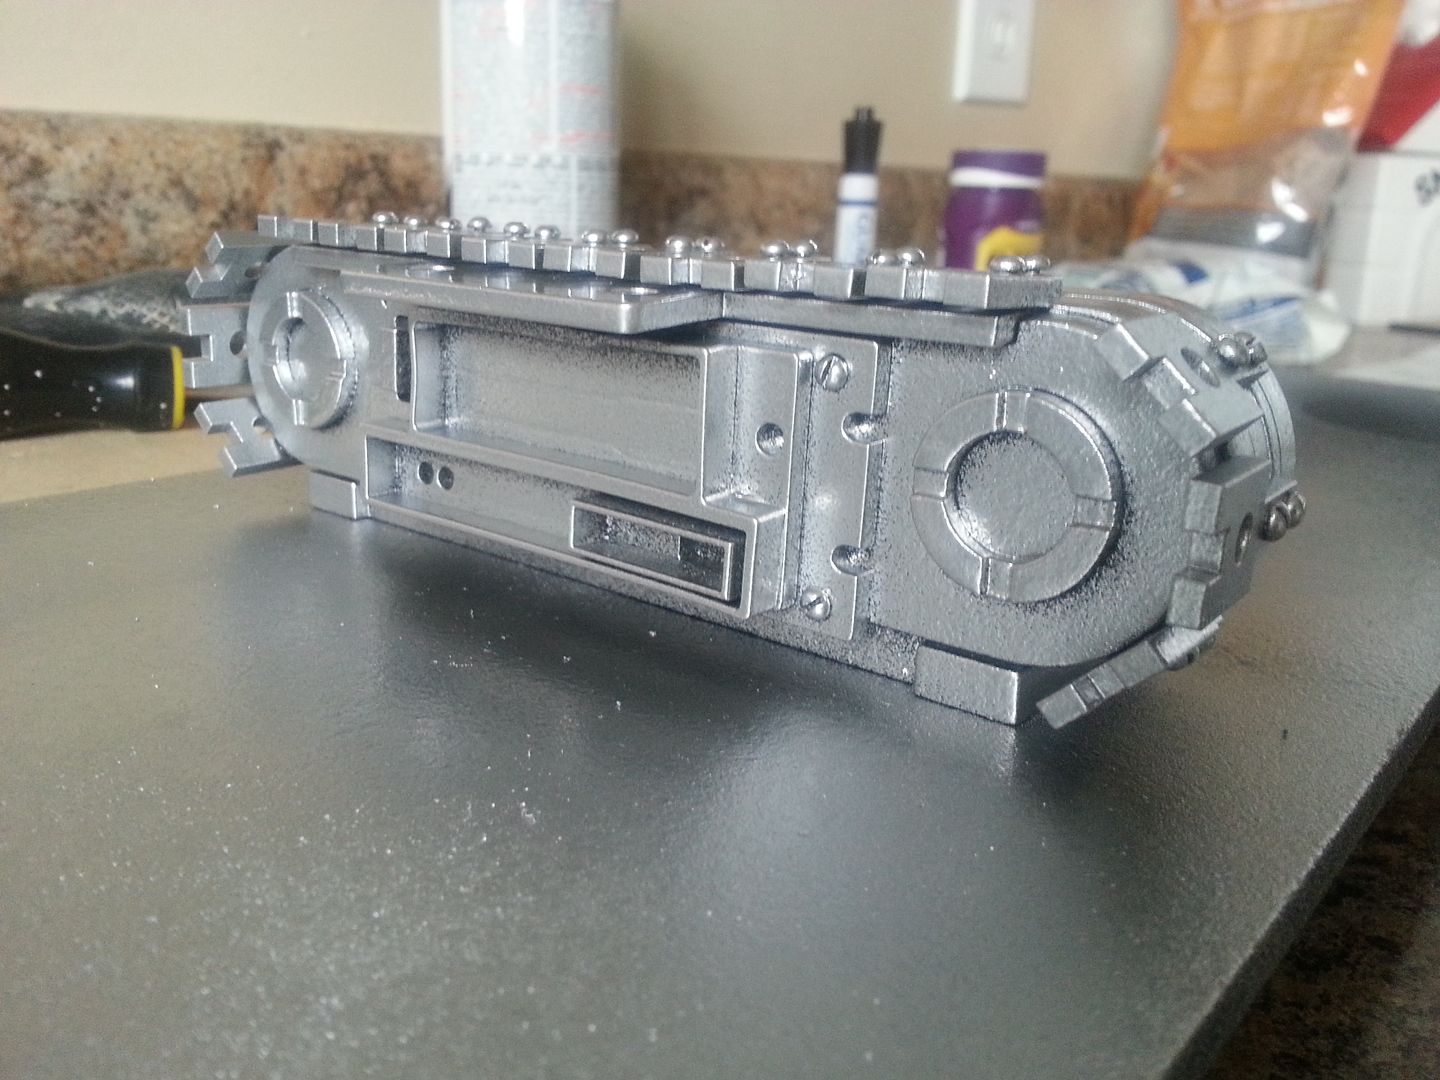
Here are a few more images of the lever greeblie - note the round "gears"


It might be a combination of several different pieces / greeblies
UPDATES!
Hi Gang! What a fantastic weekend! After 2 weeks of snow storms and freezing rain mother nature gave us 2 days of 60 degree and sunny weather! So let's get to it!
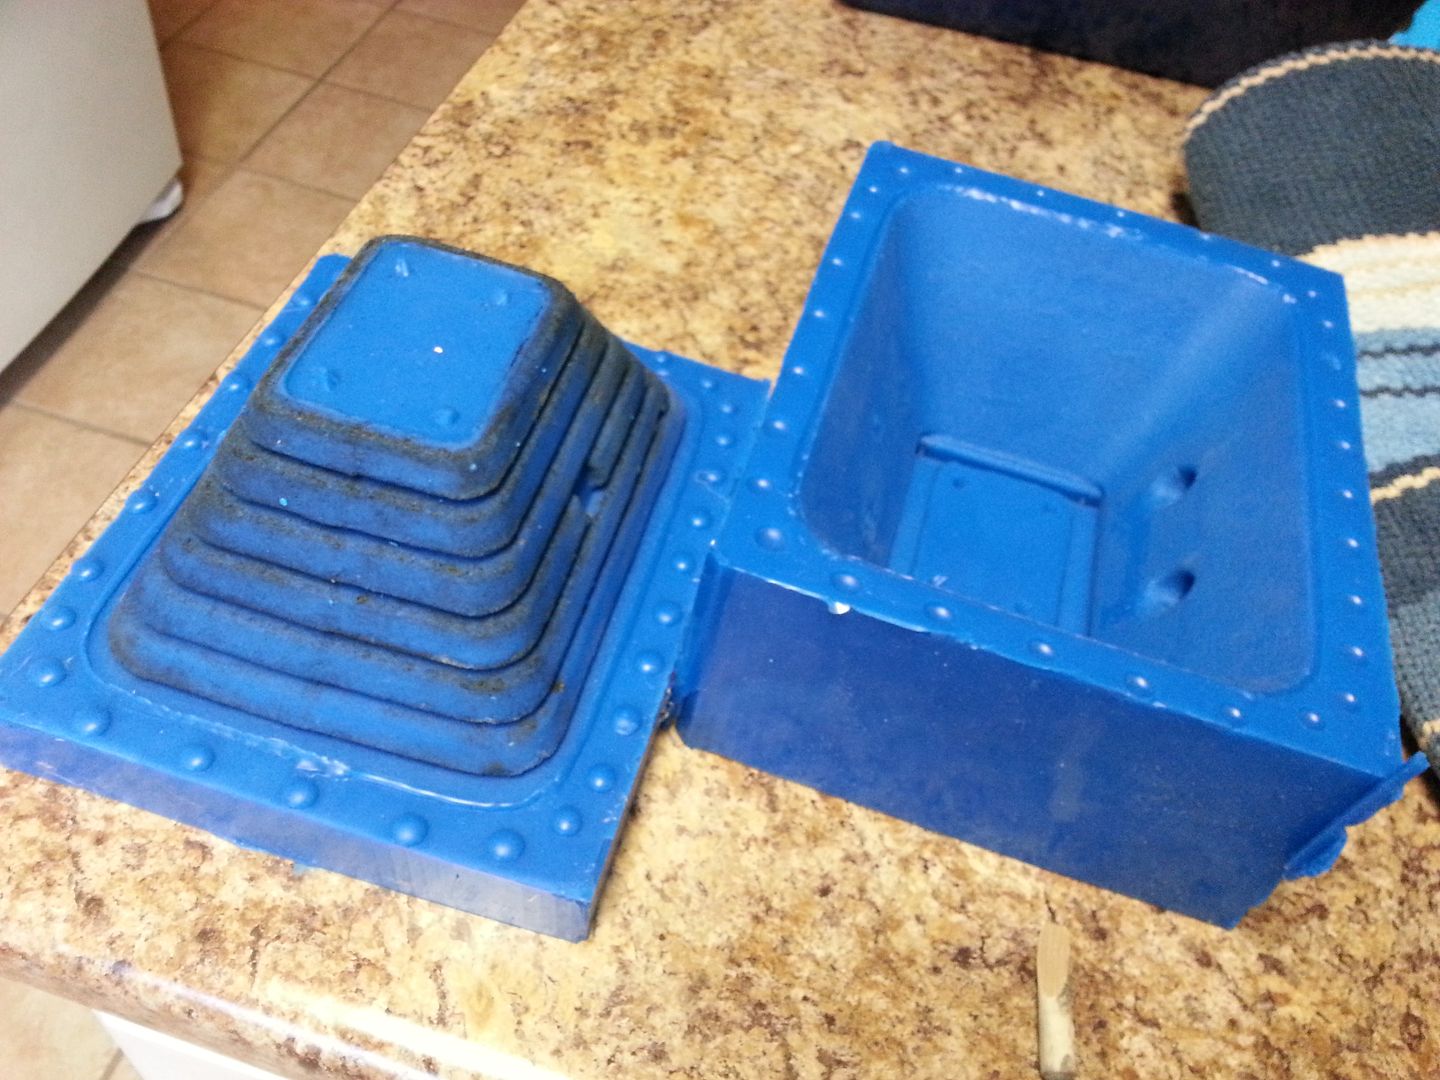
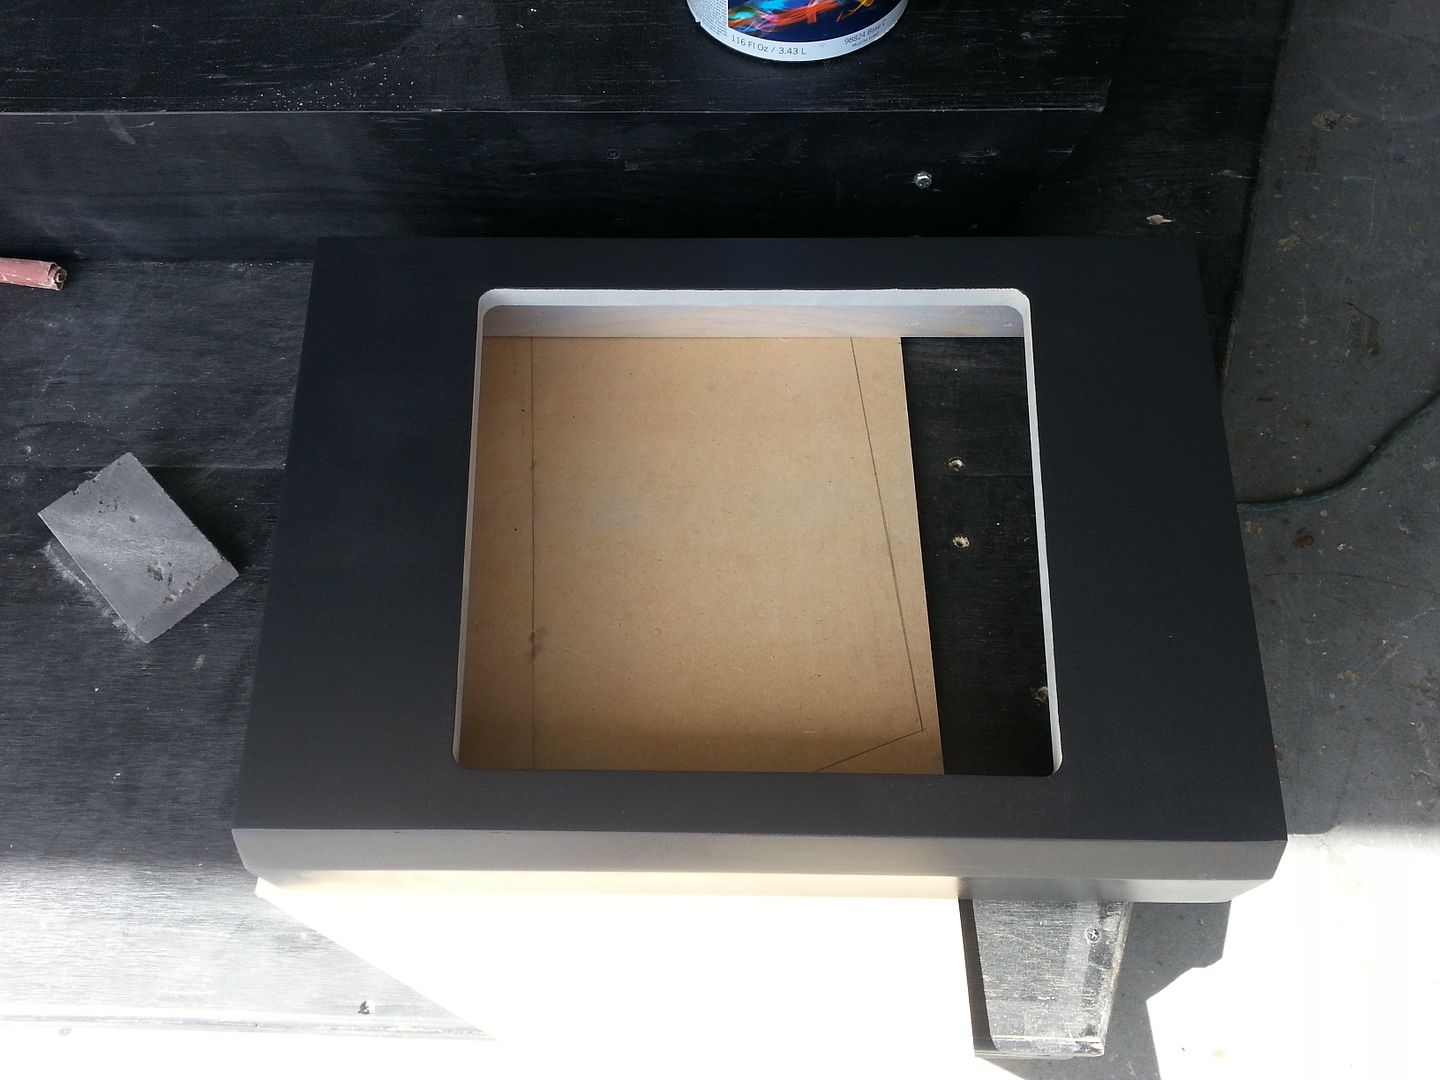
Let's start with last night. Daniel popped over unveiled this small mold - bottom
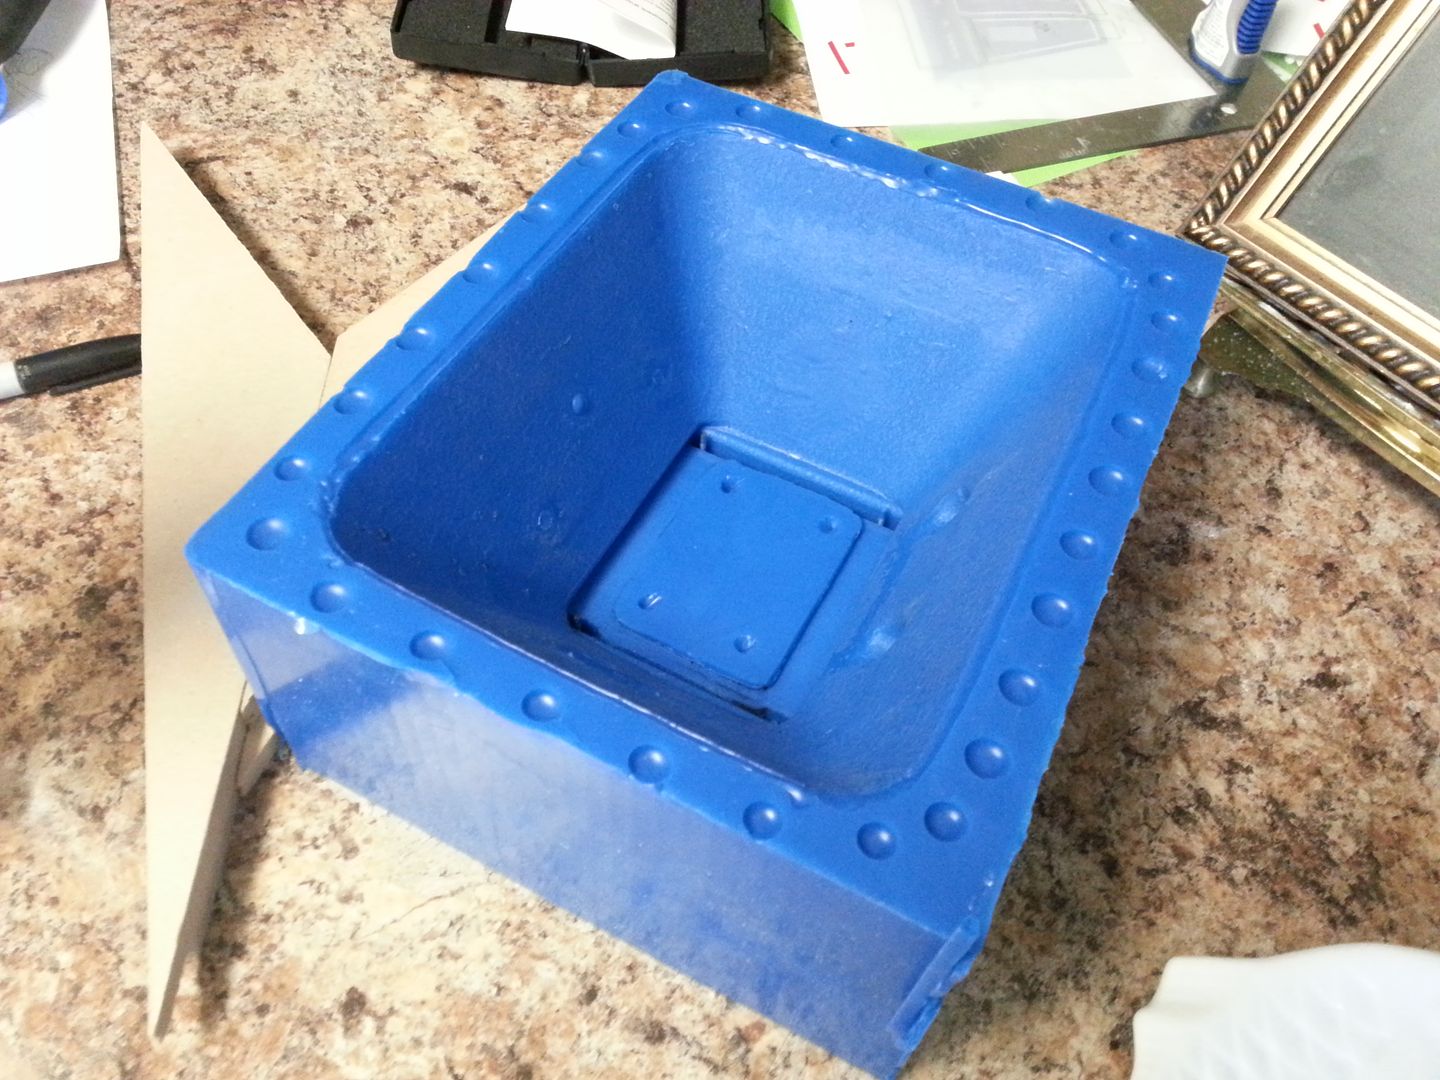
Top
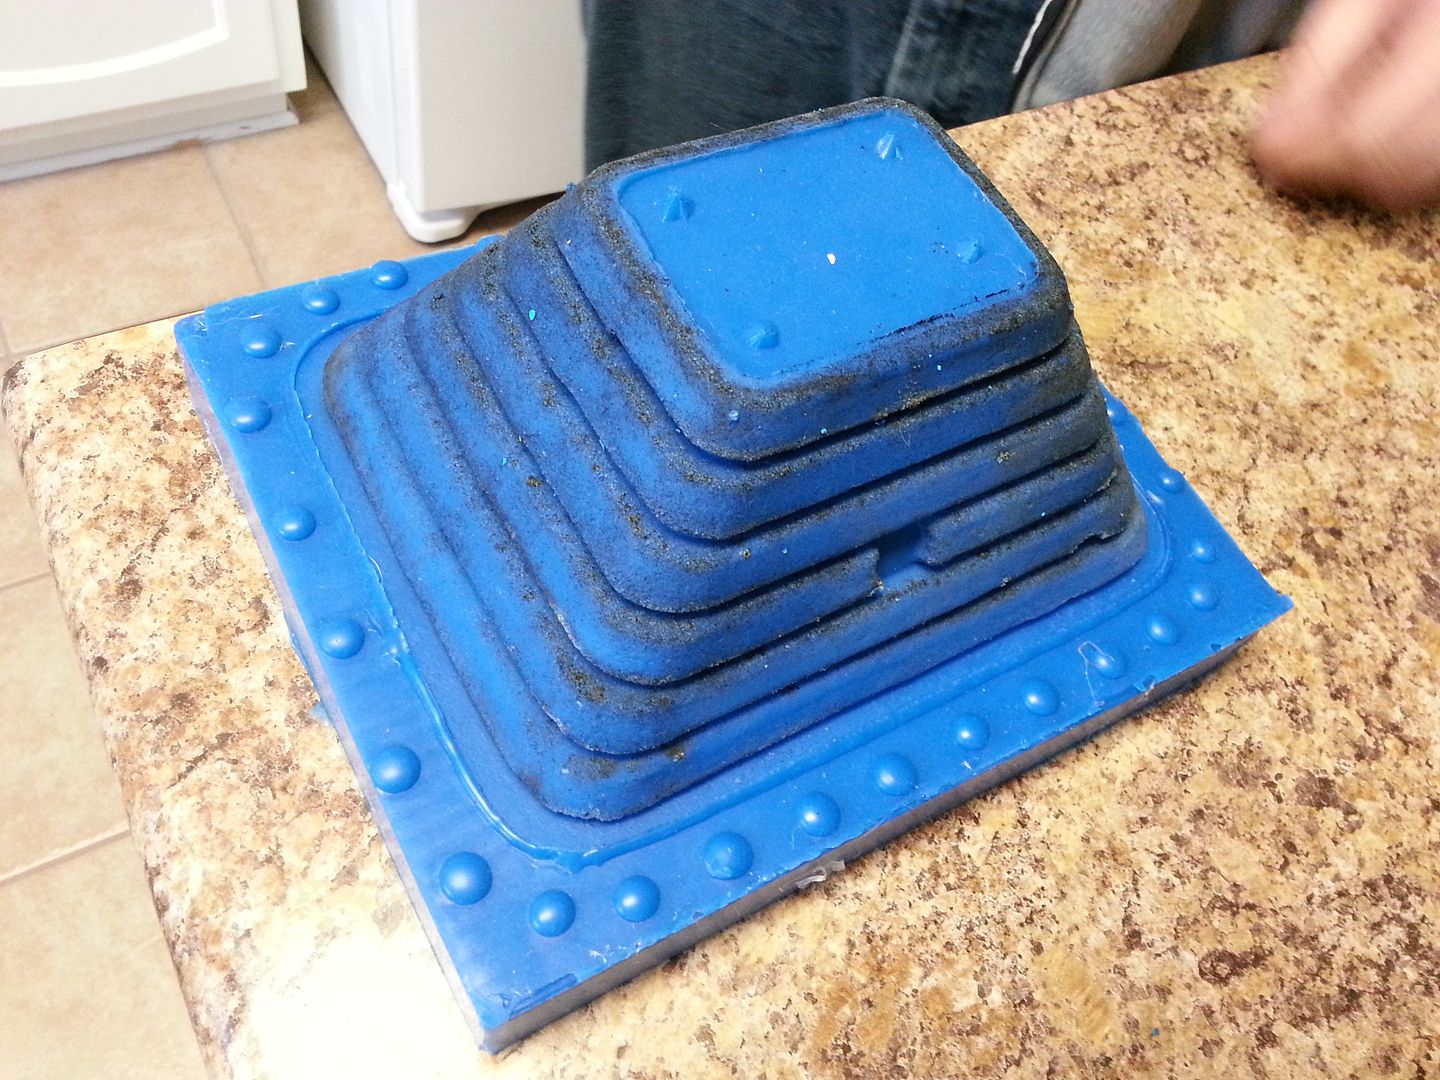
We decided to cast the Matte Box - we will be making these available
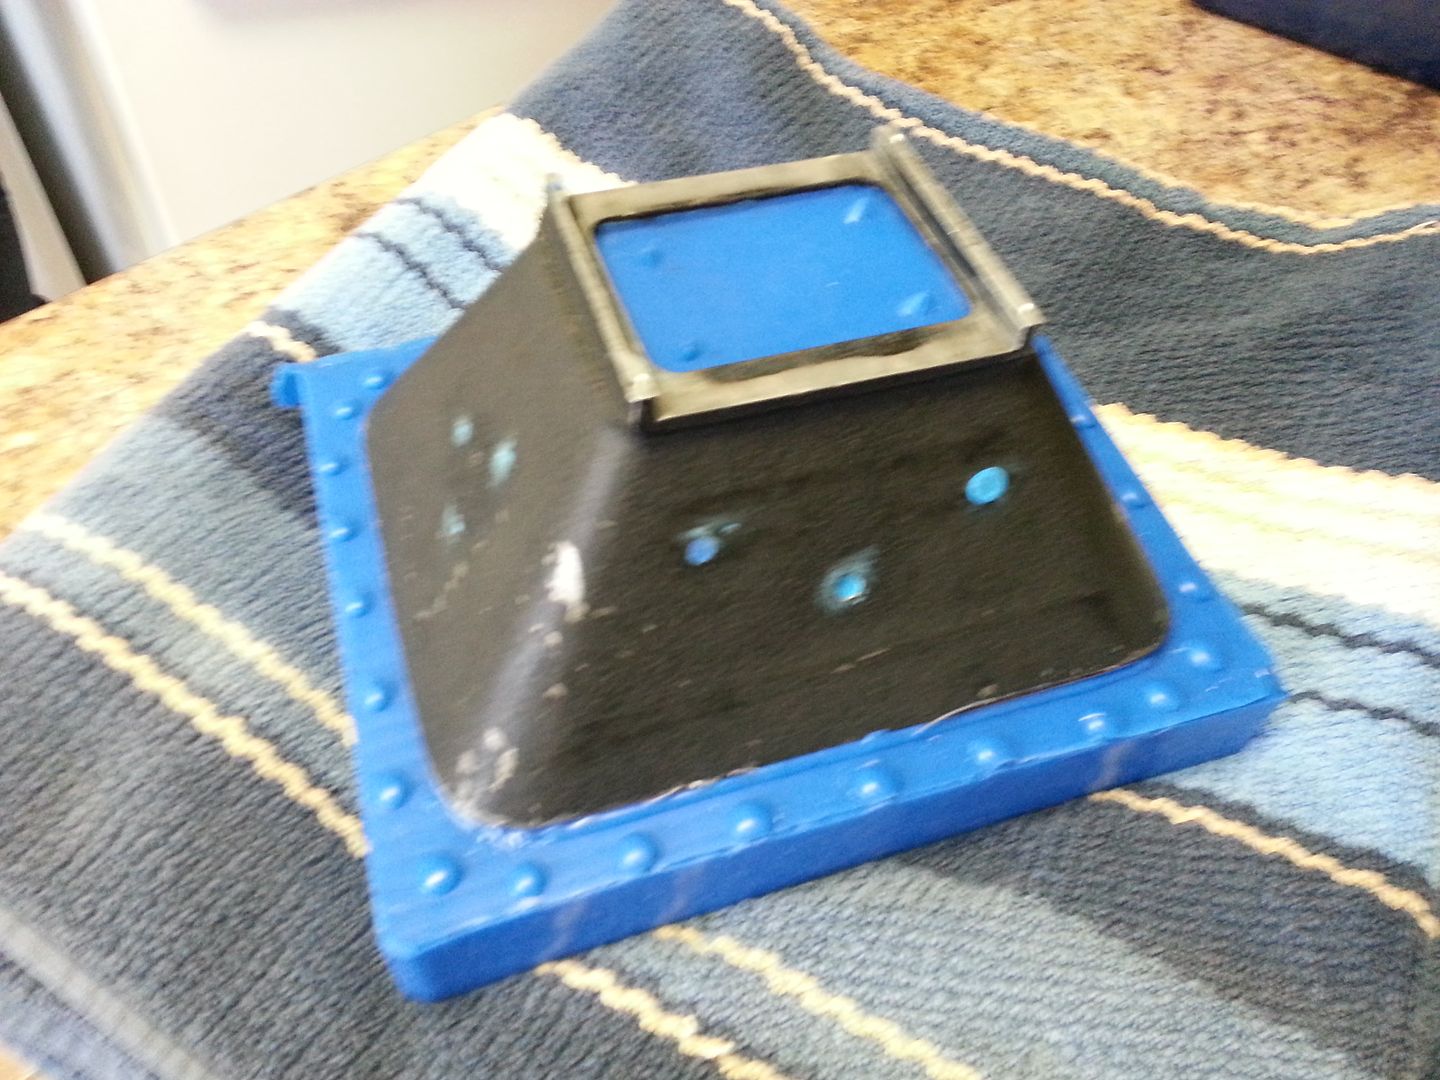
I'll let Daniel explain more of this later
Moving Forward...
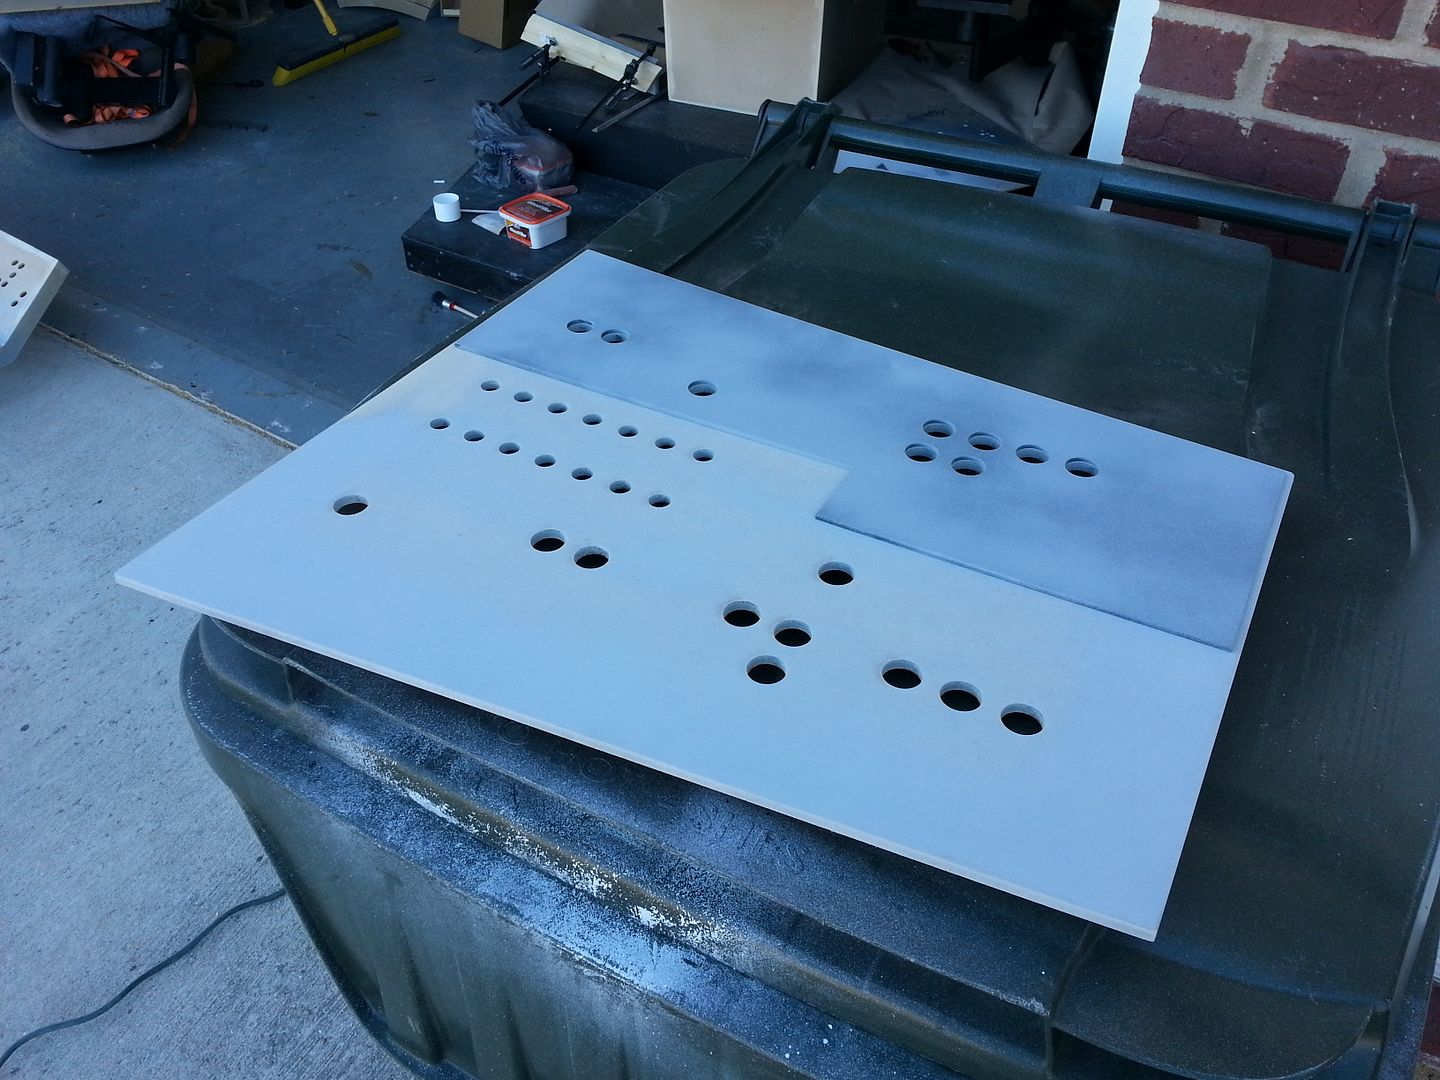
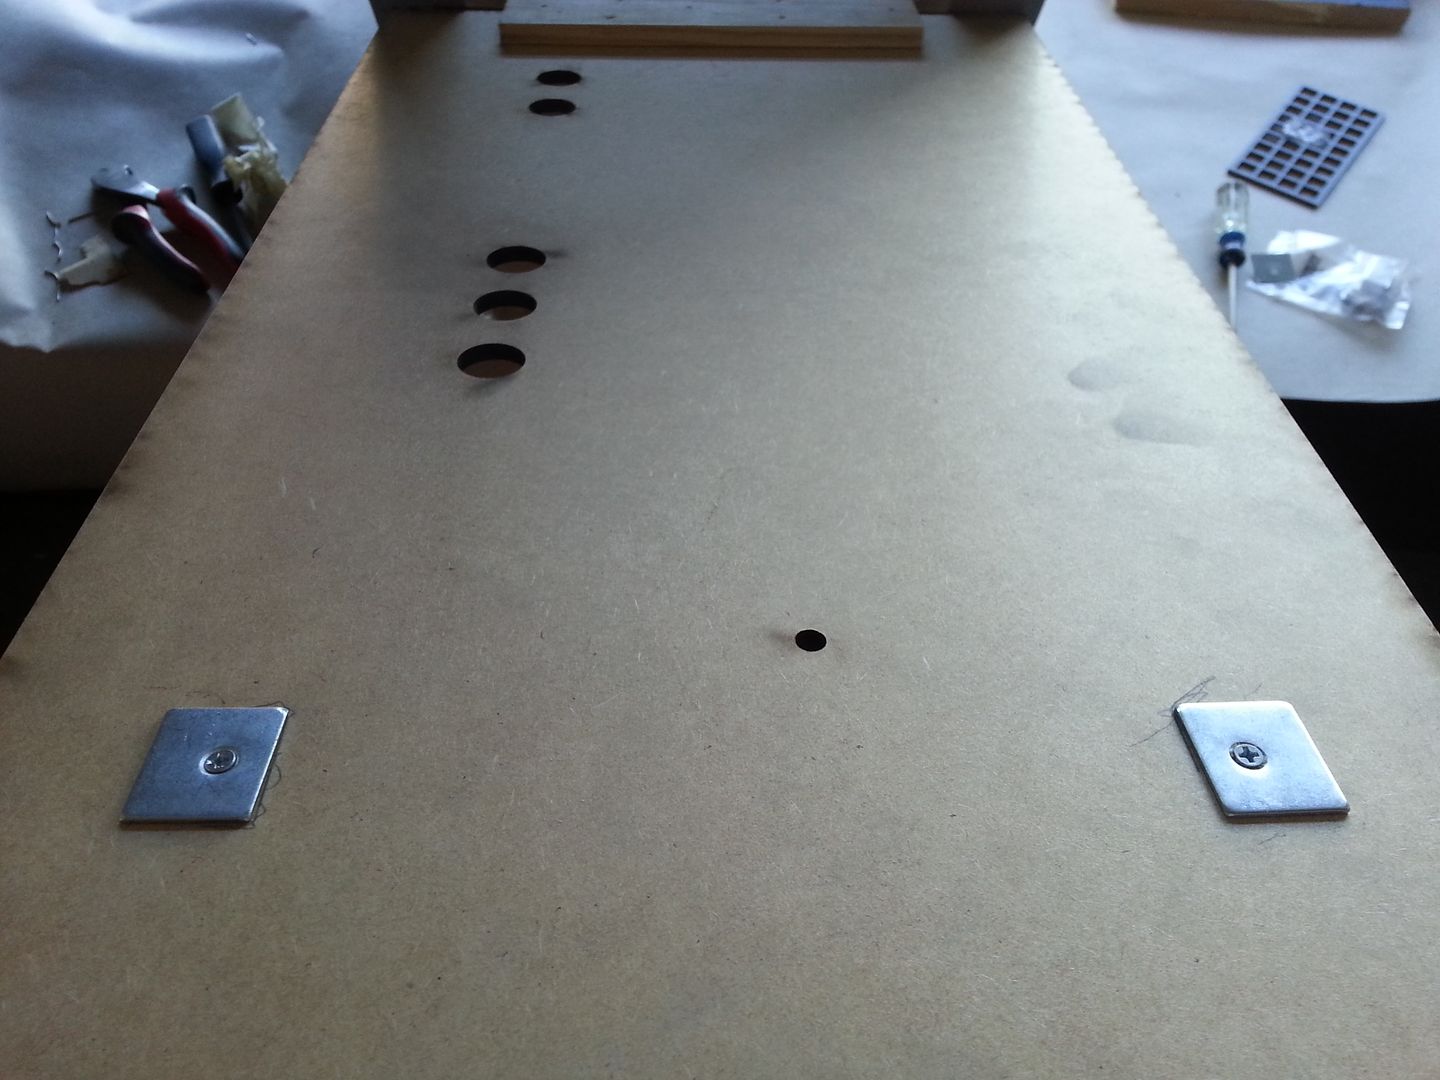
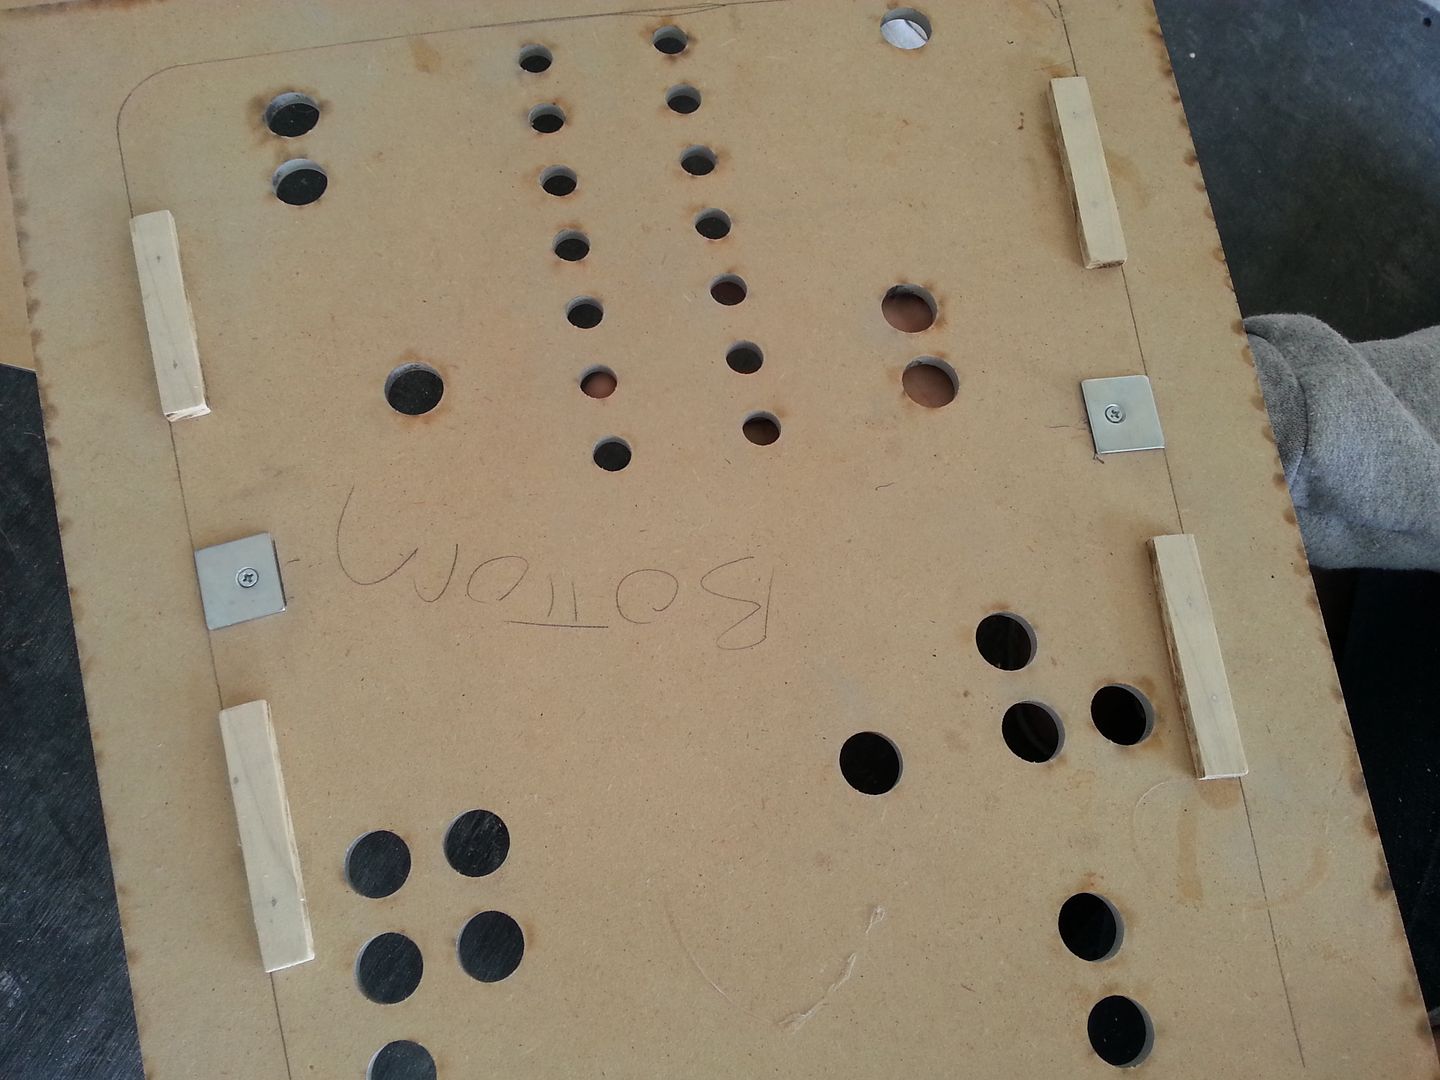
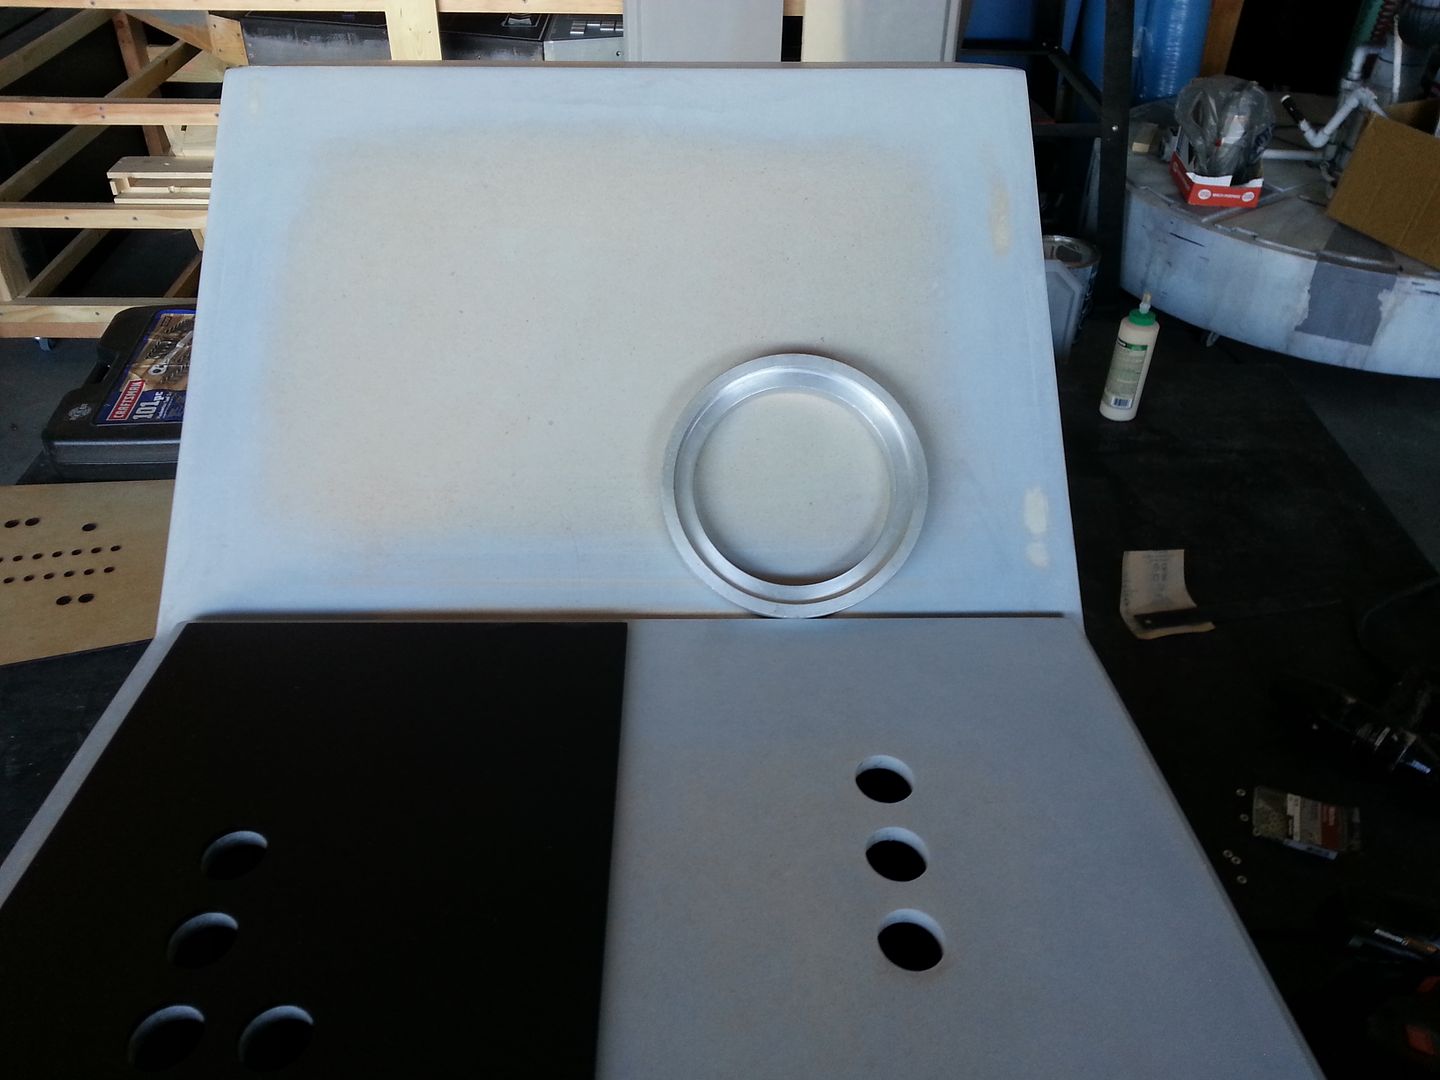
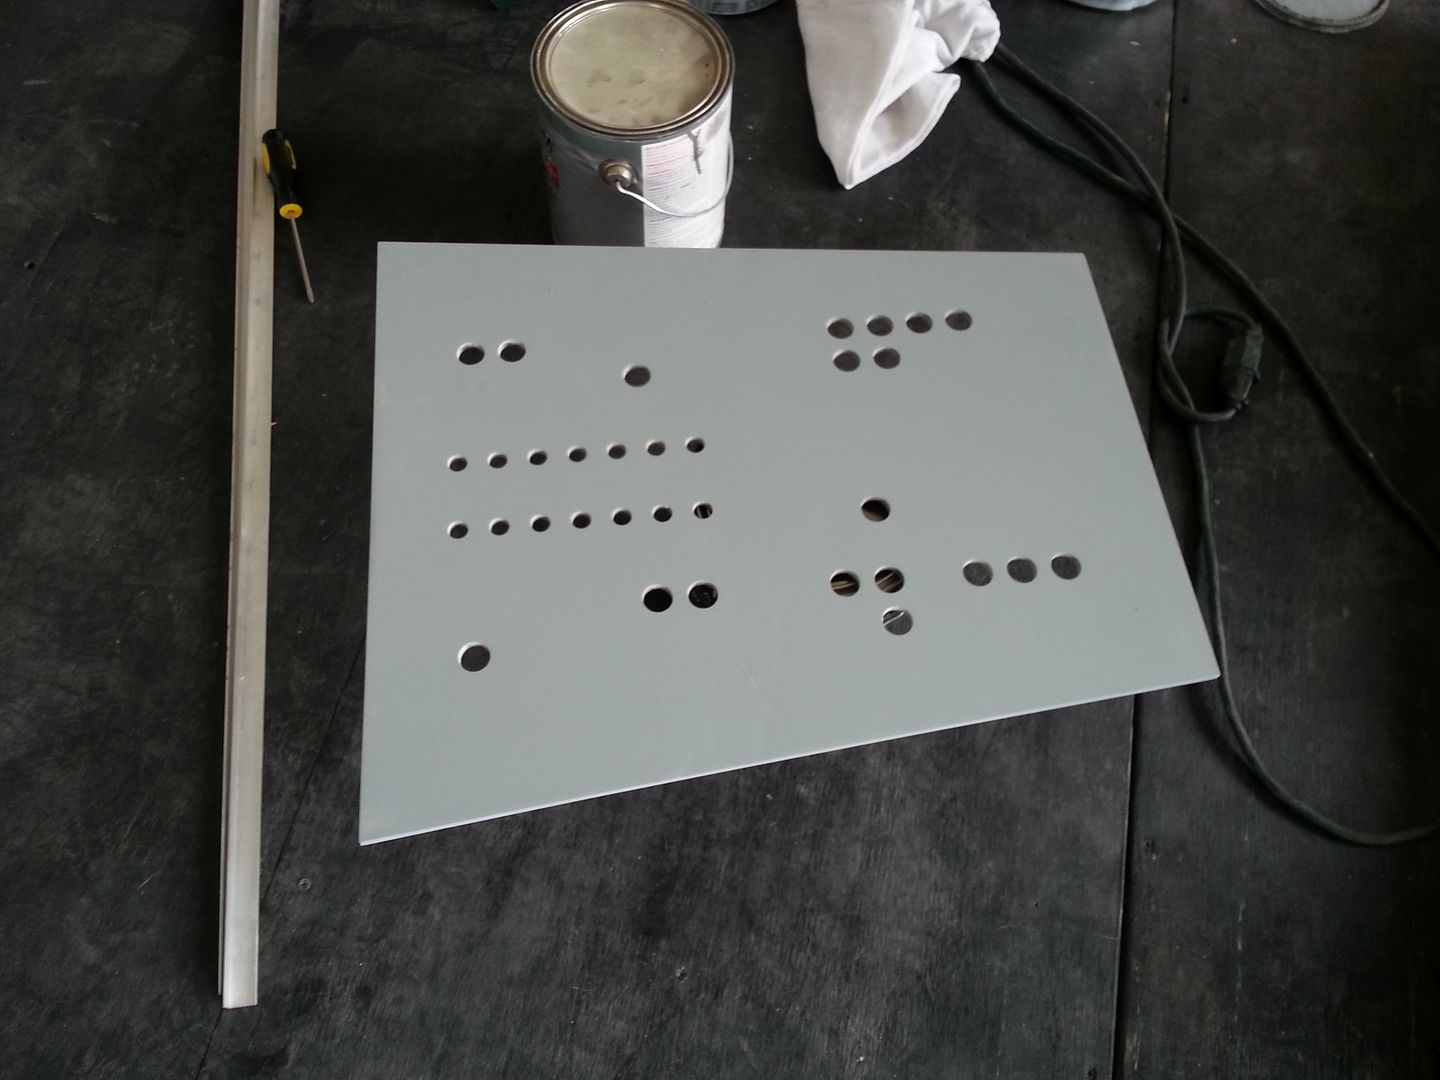
Saturday morning started with drilling a few holes in the instrument panels
Back side cradle
Had a slight accident... I pushed the bit JUST a little too hard
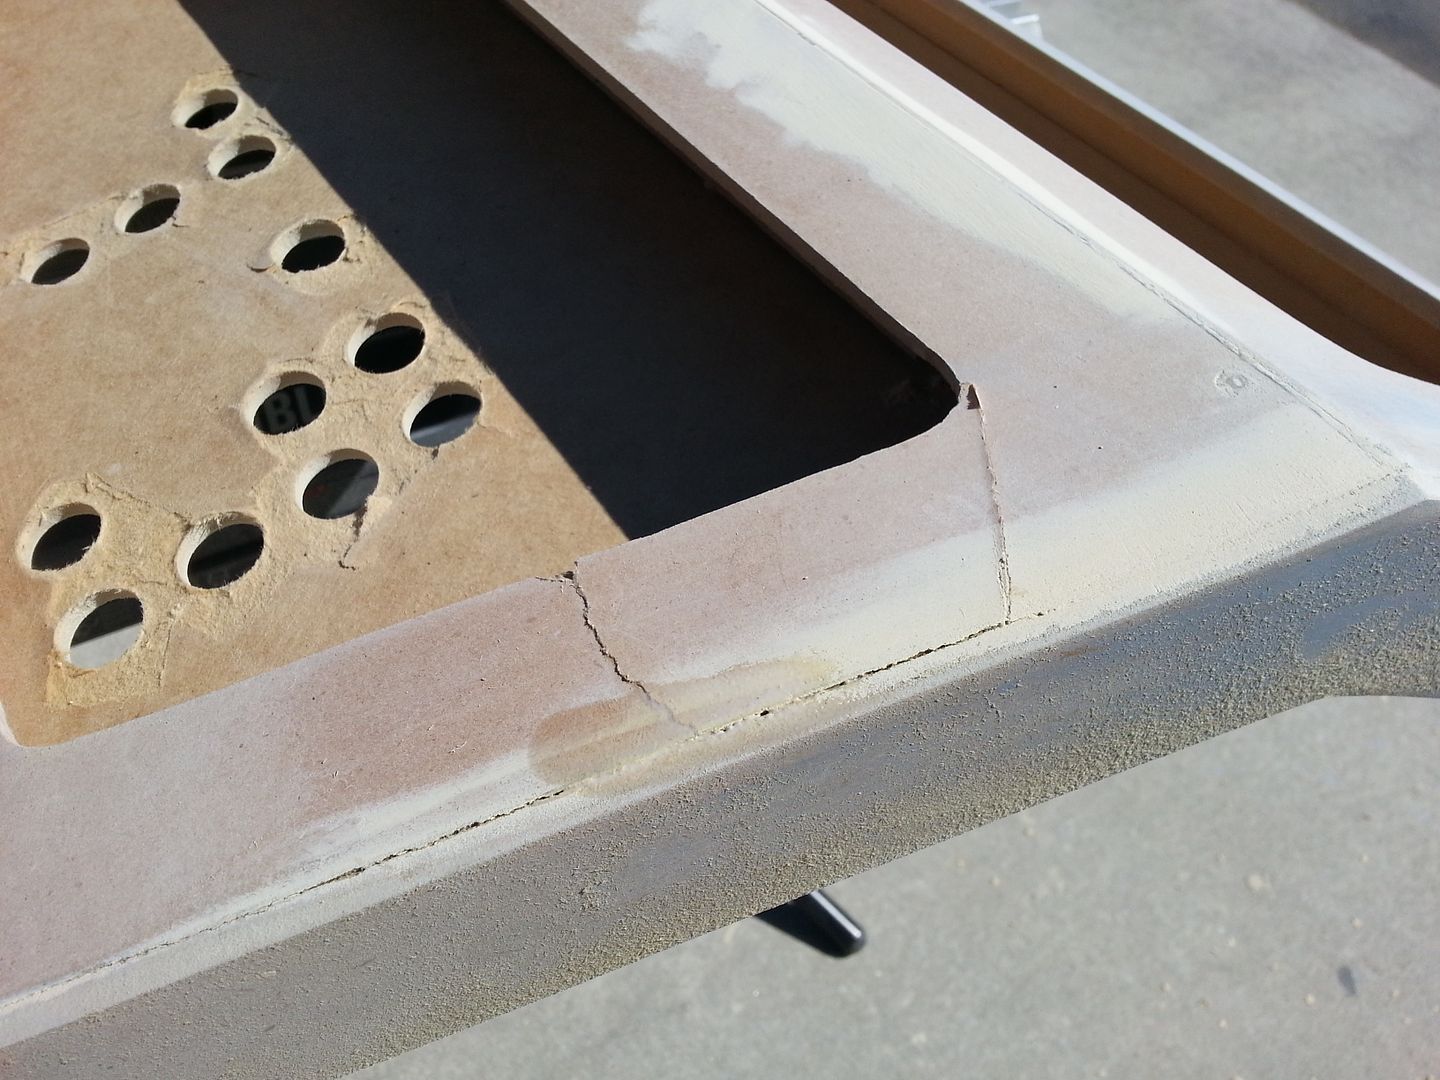
She'll be covered by the back boxes so I'm not too worried too much about the accident...
Looks good!
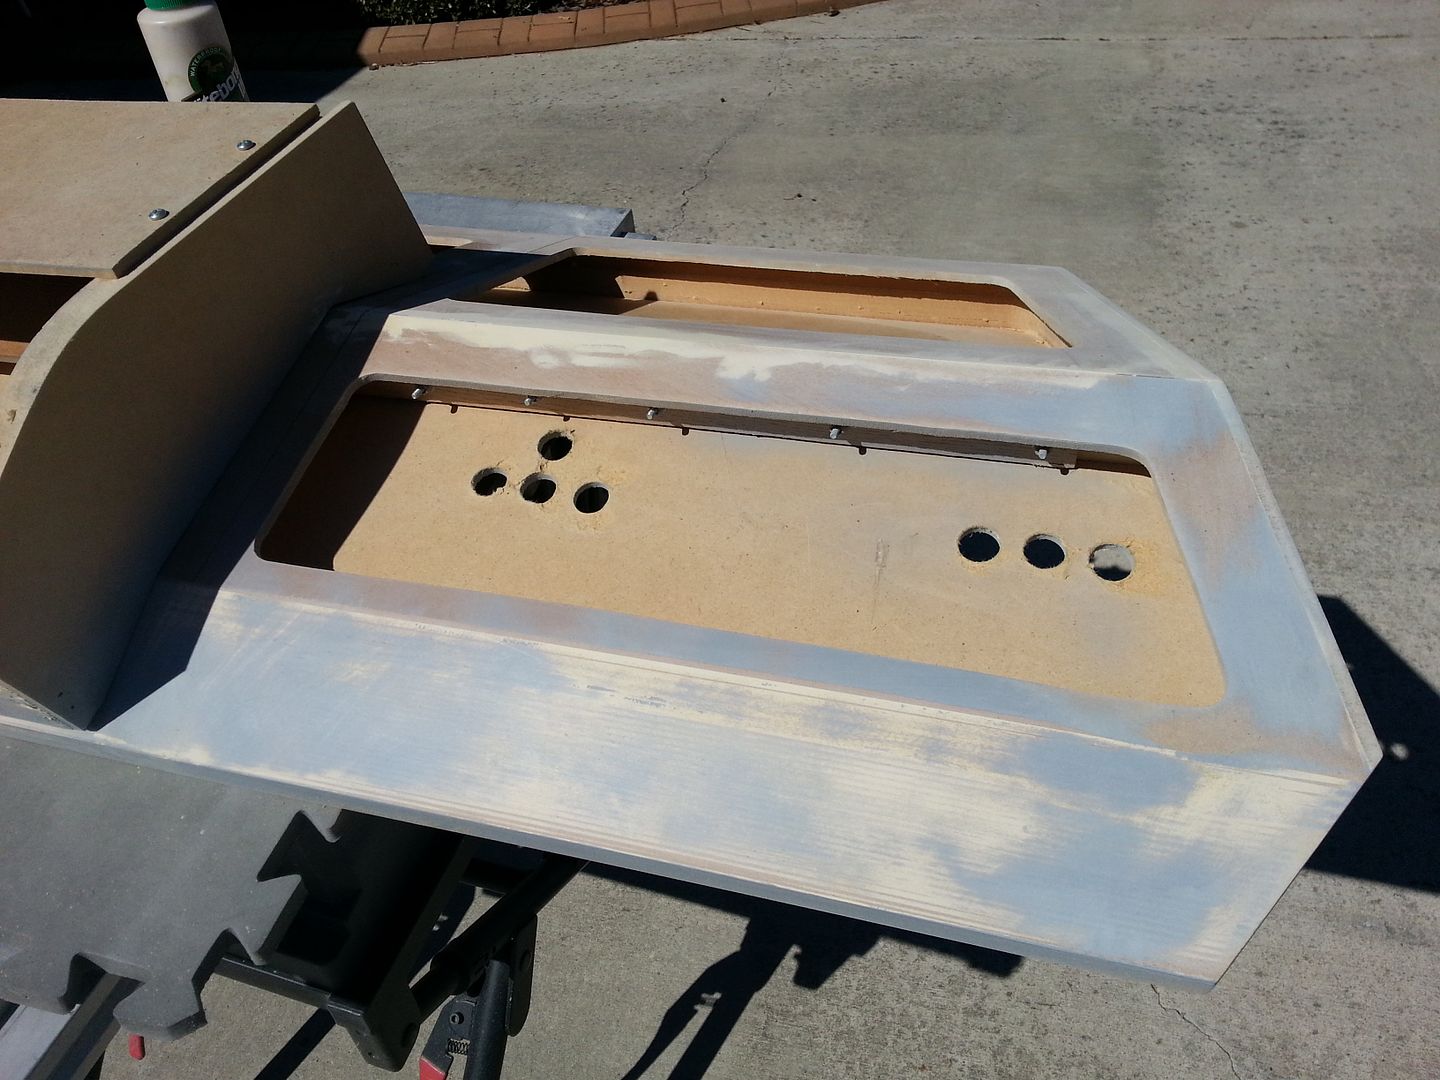
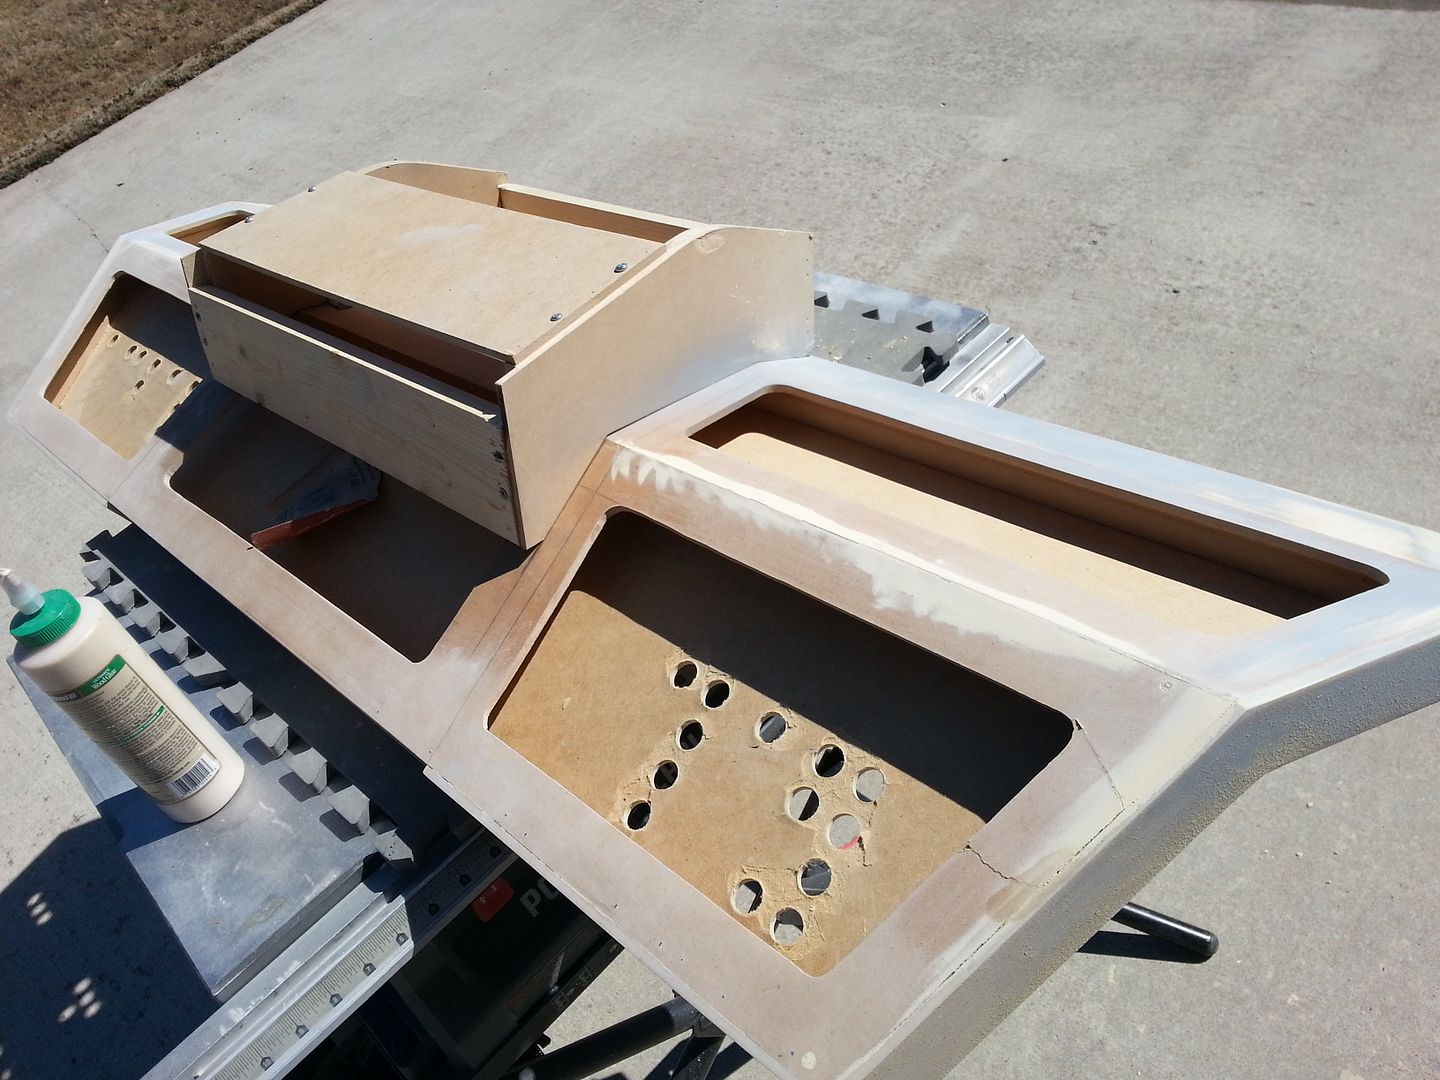
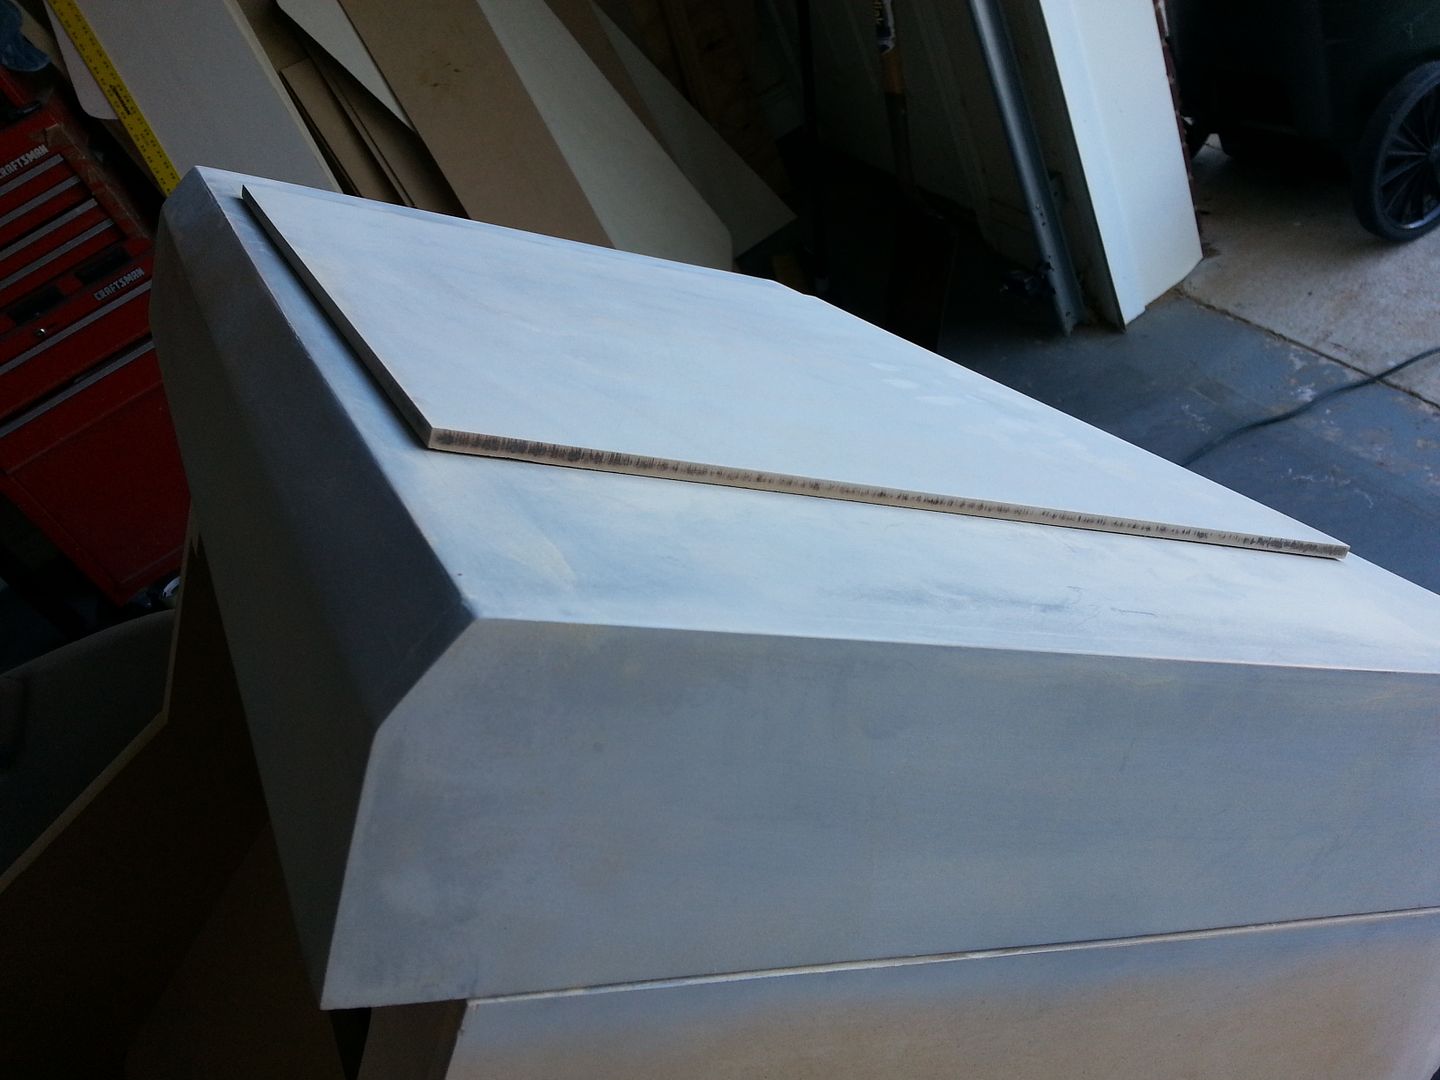
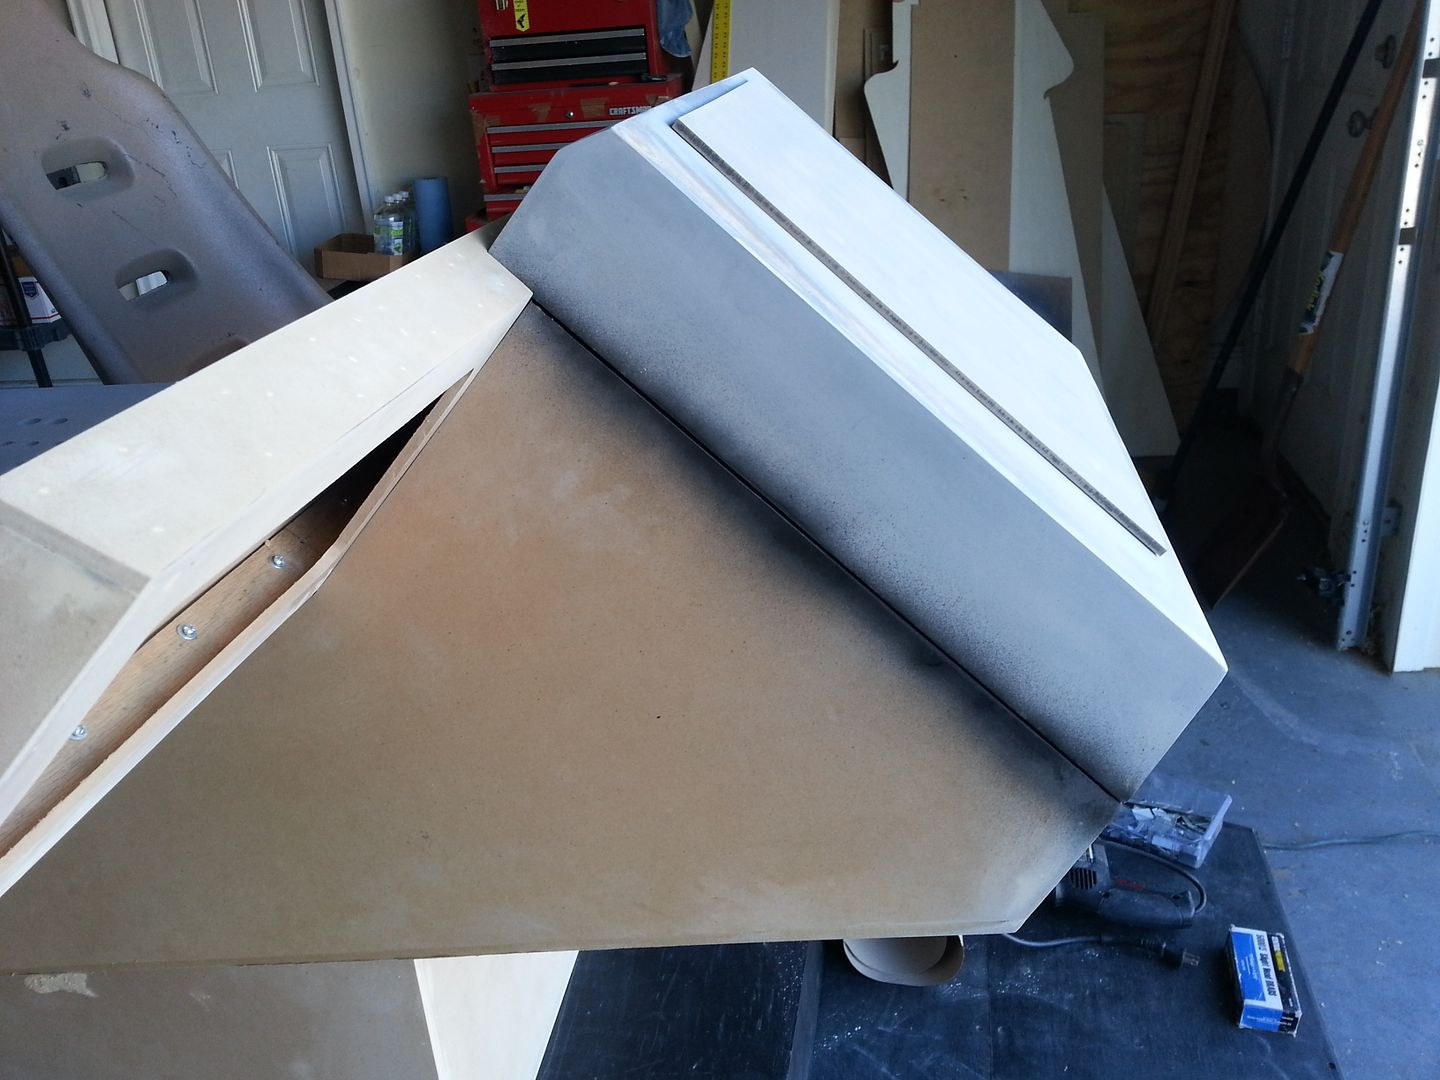
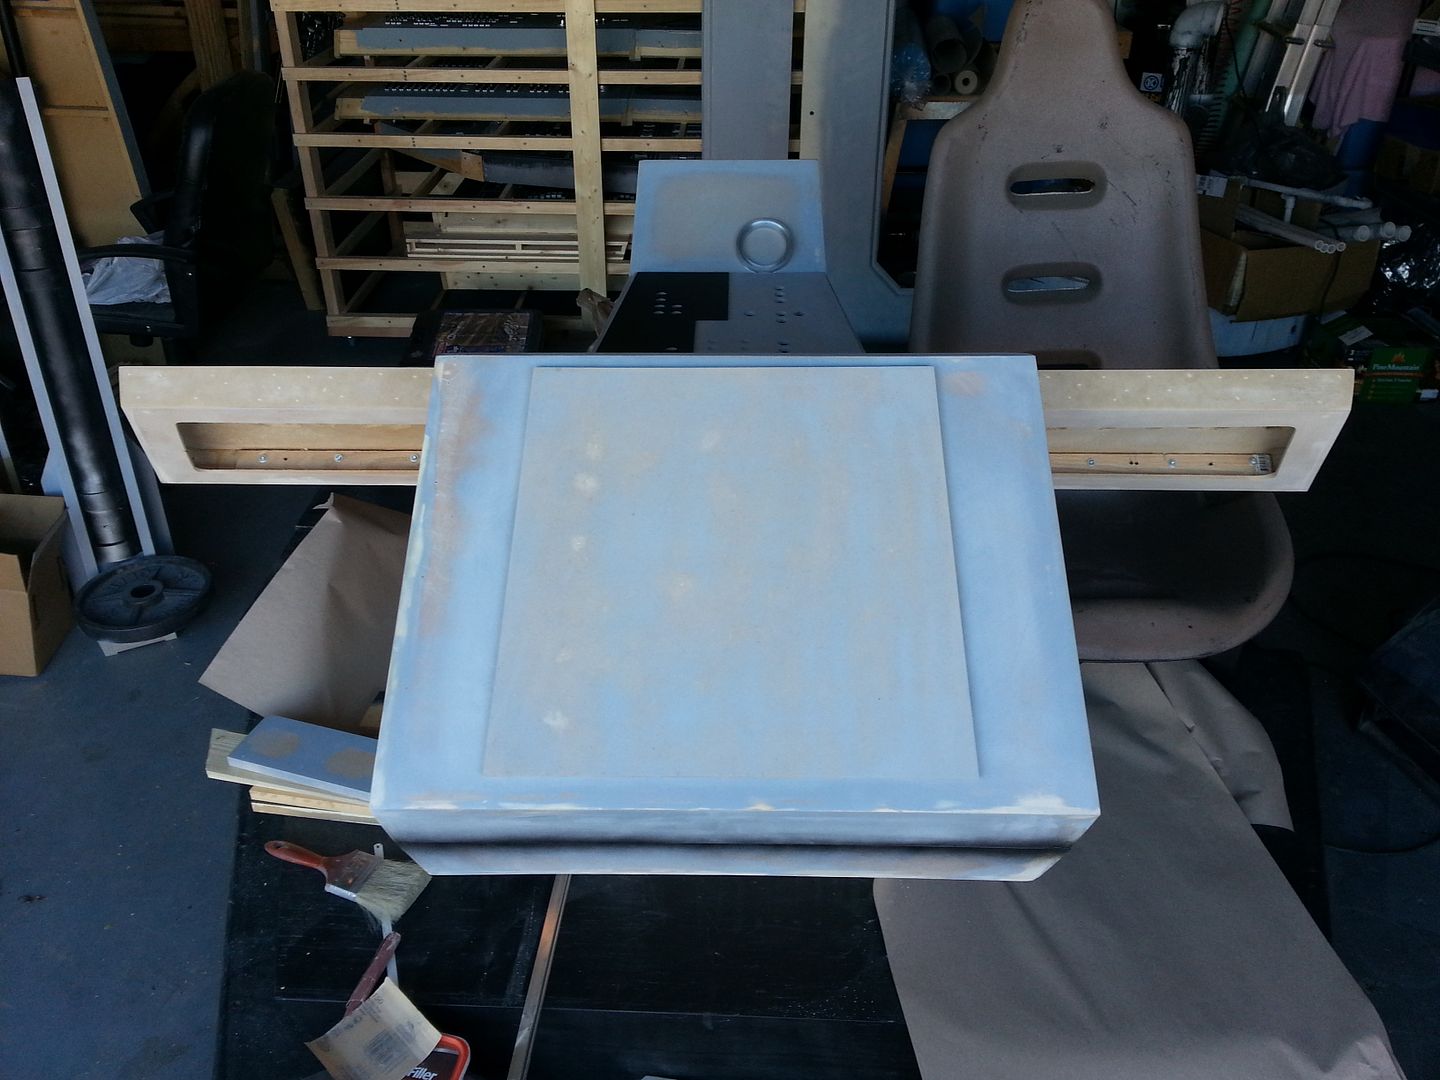
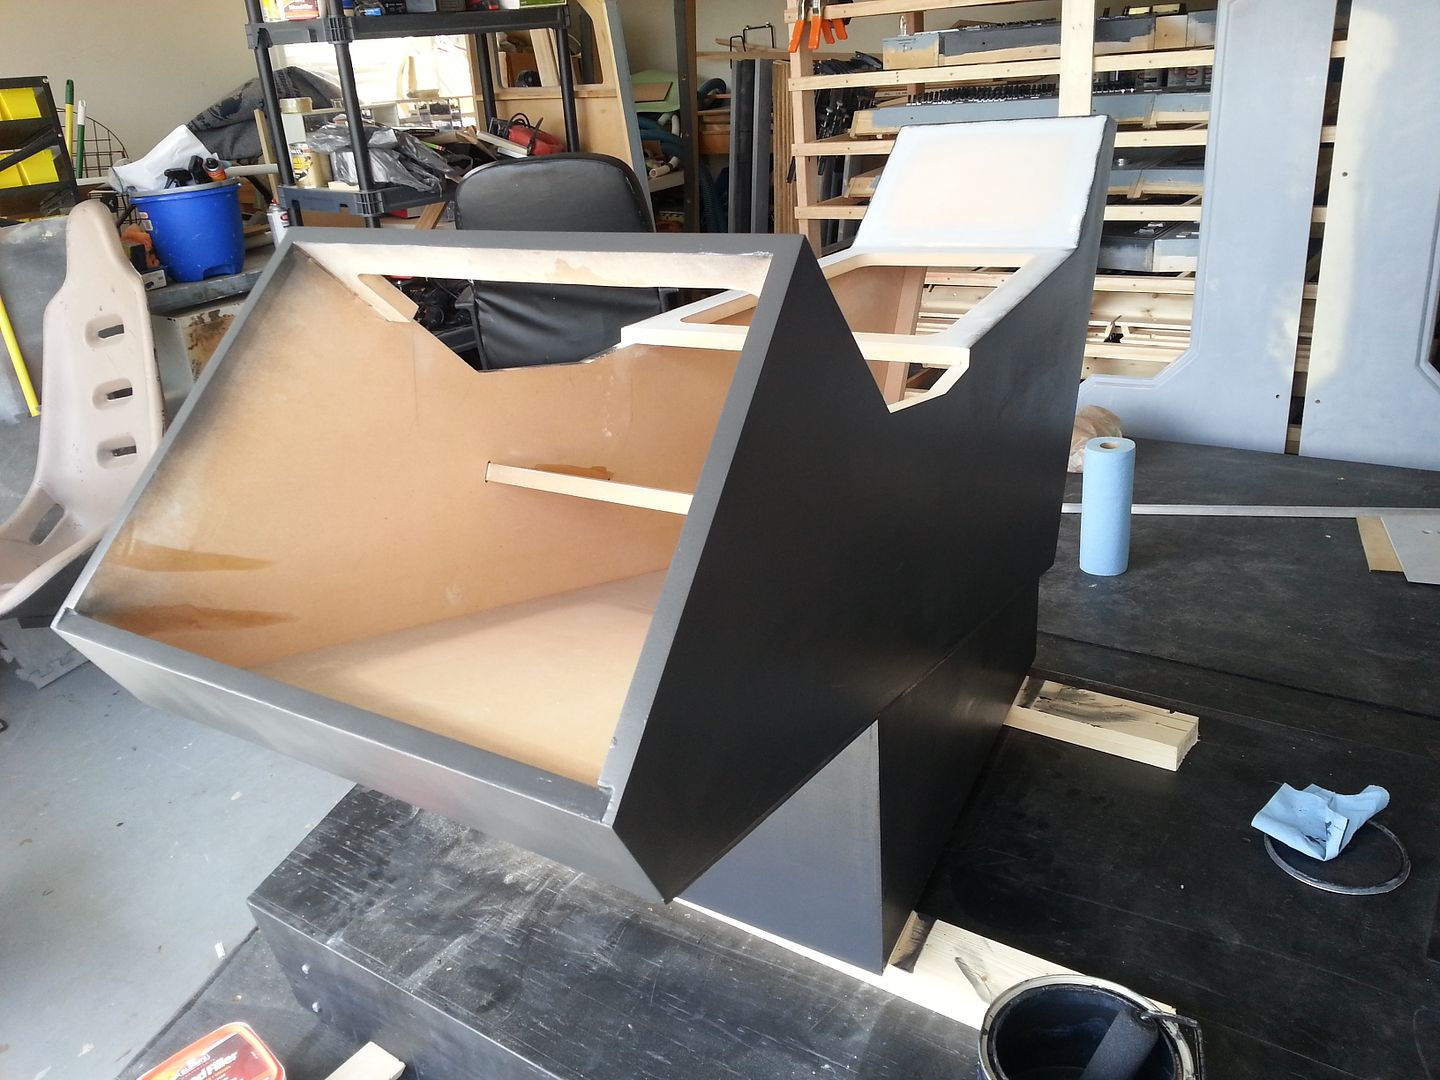
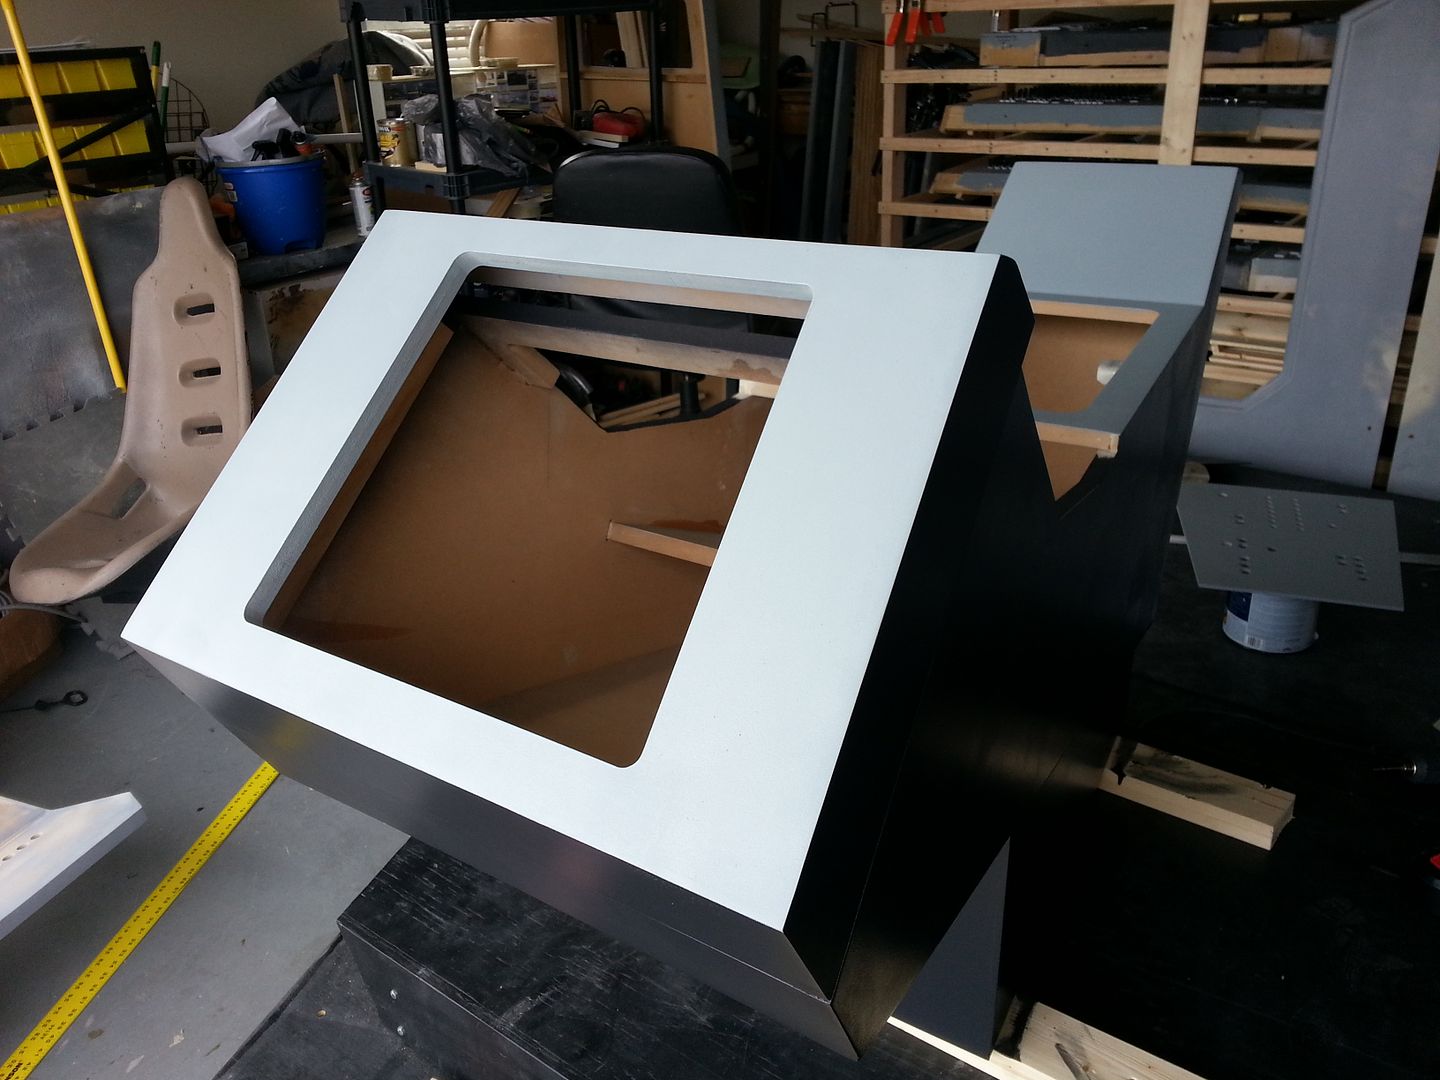
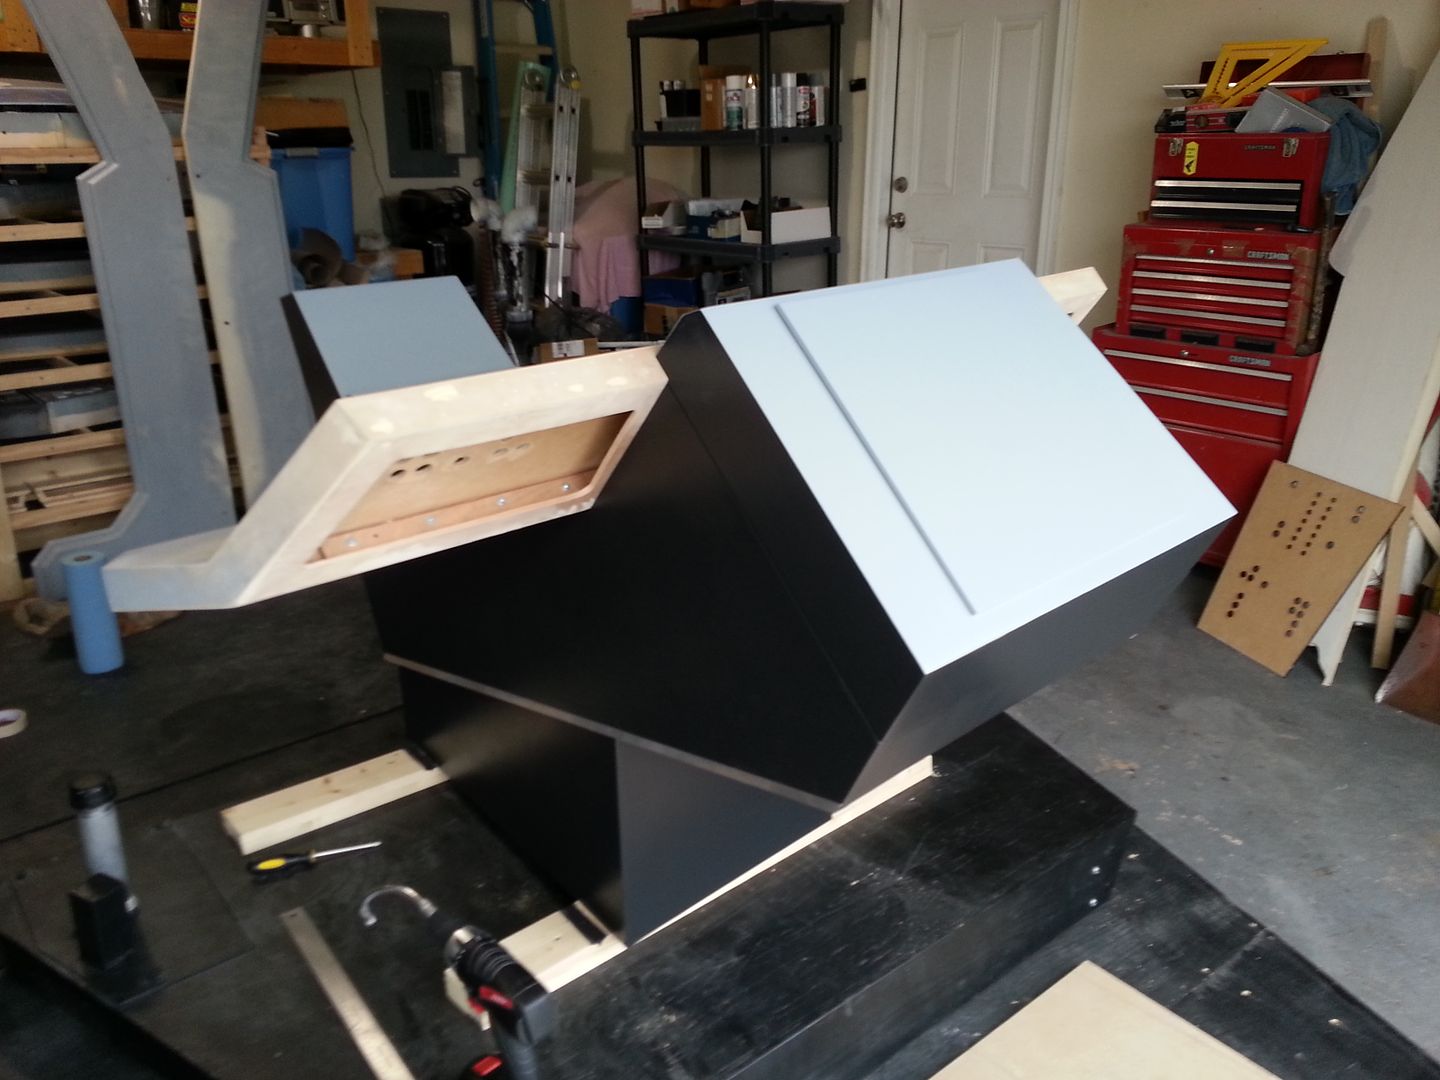
It was then time to get moving and create new panel covers and prep for paint! Building the nose cover panel
Done - after some sanding and mod'ing she's ready for paint
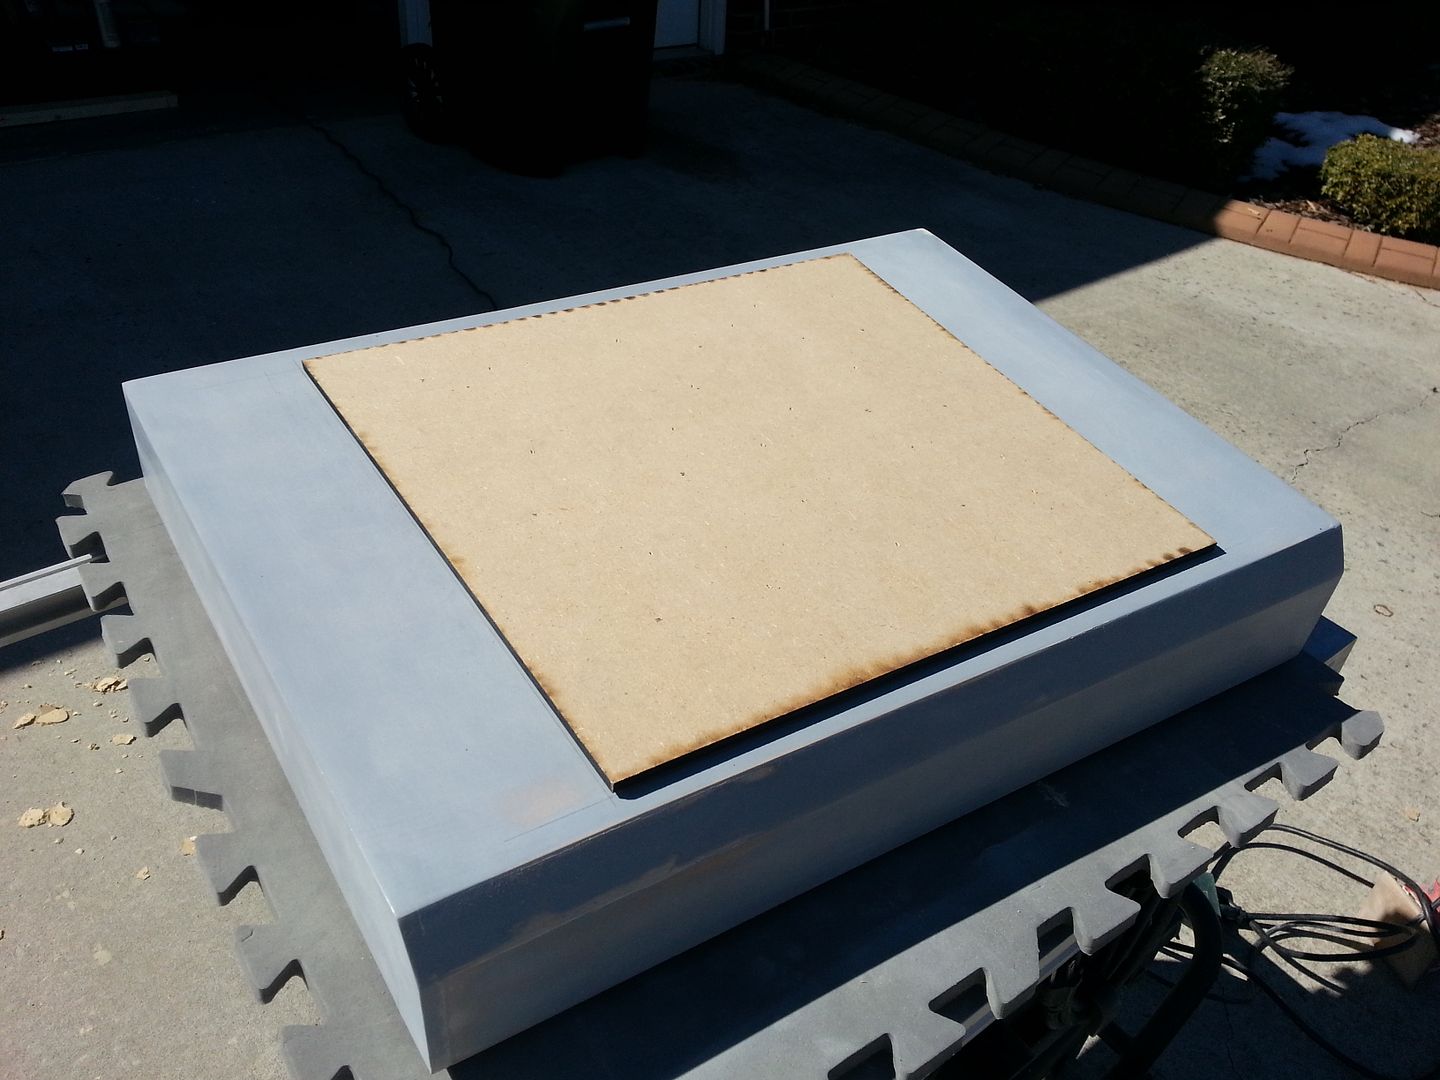
Primer added
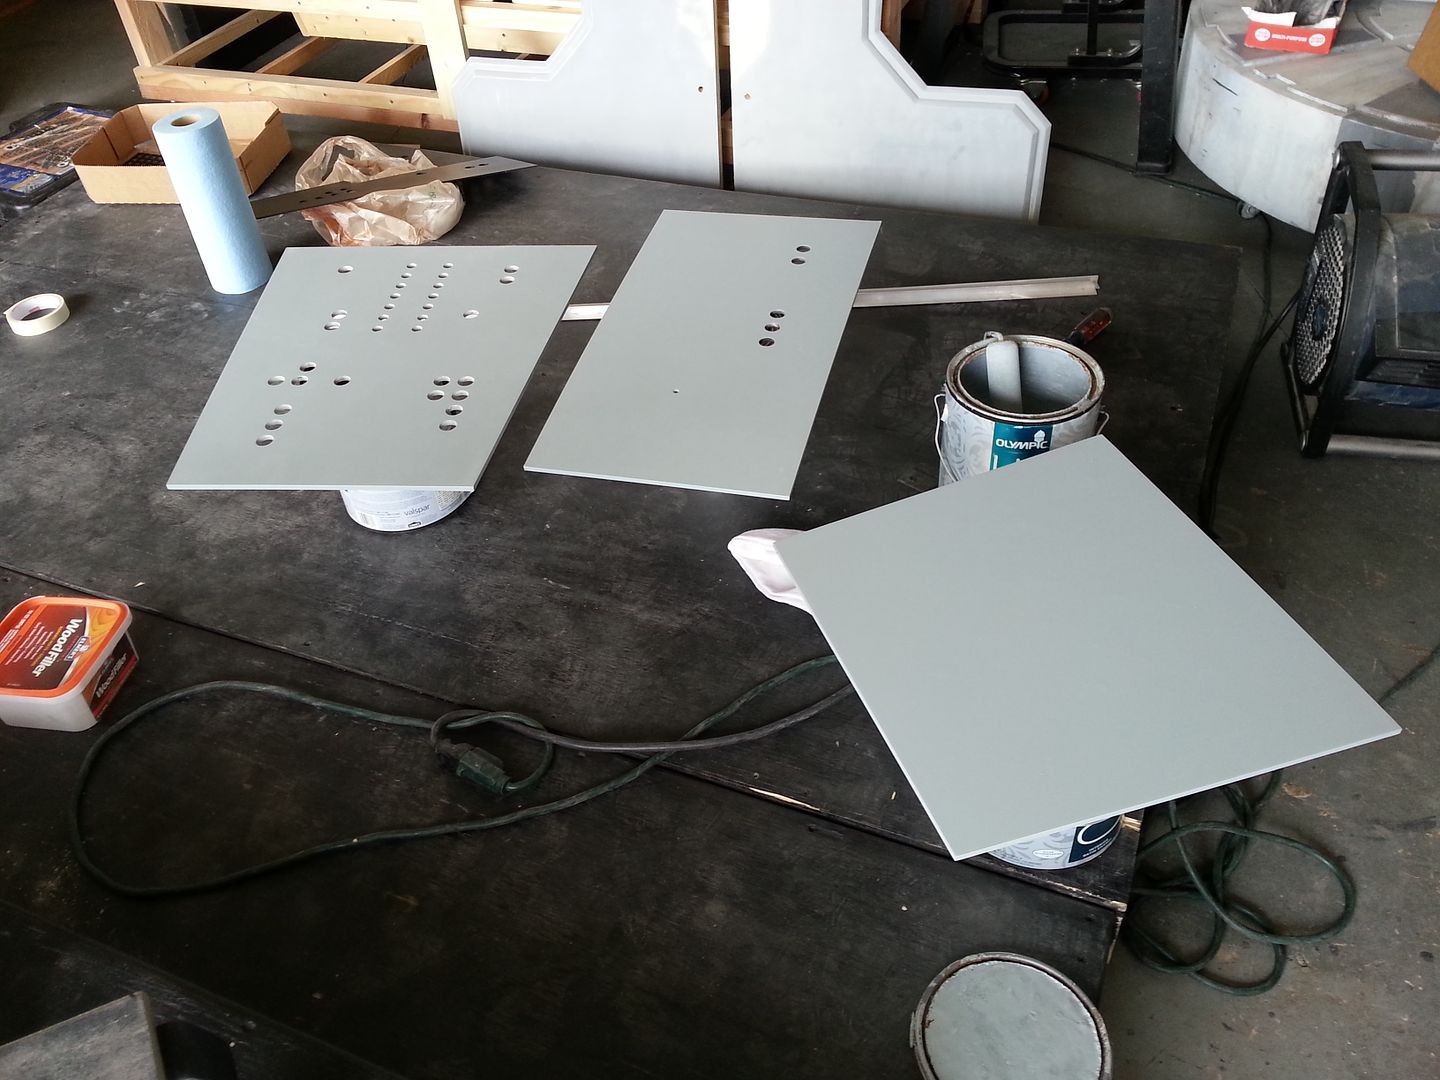
Then turned my attention to the armrest panels
Acrylic piece getting the sanding and primer treatment
After looking over the entire console and adding any and all filler to the minor imperfections Jessie and I decided it was time to add some paint!

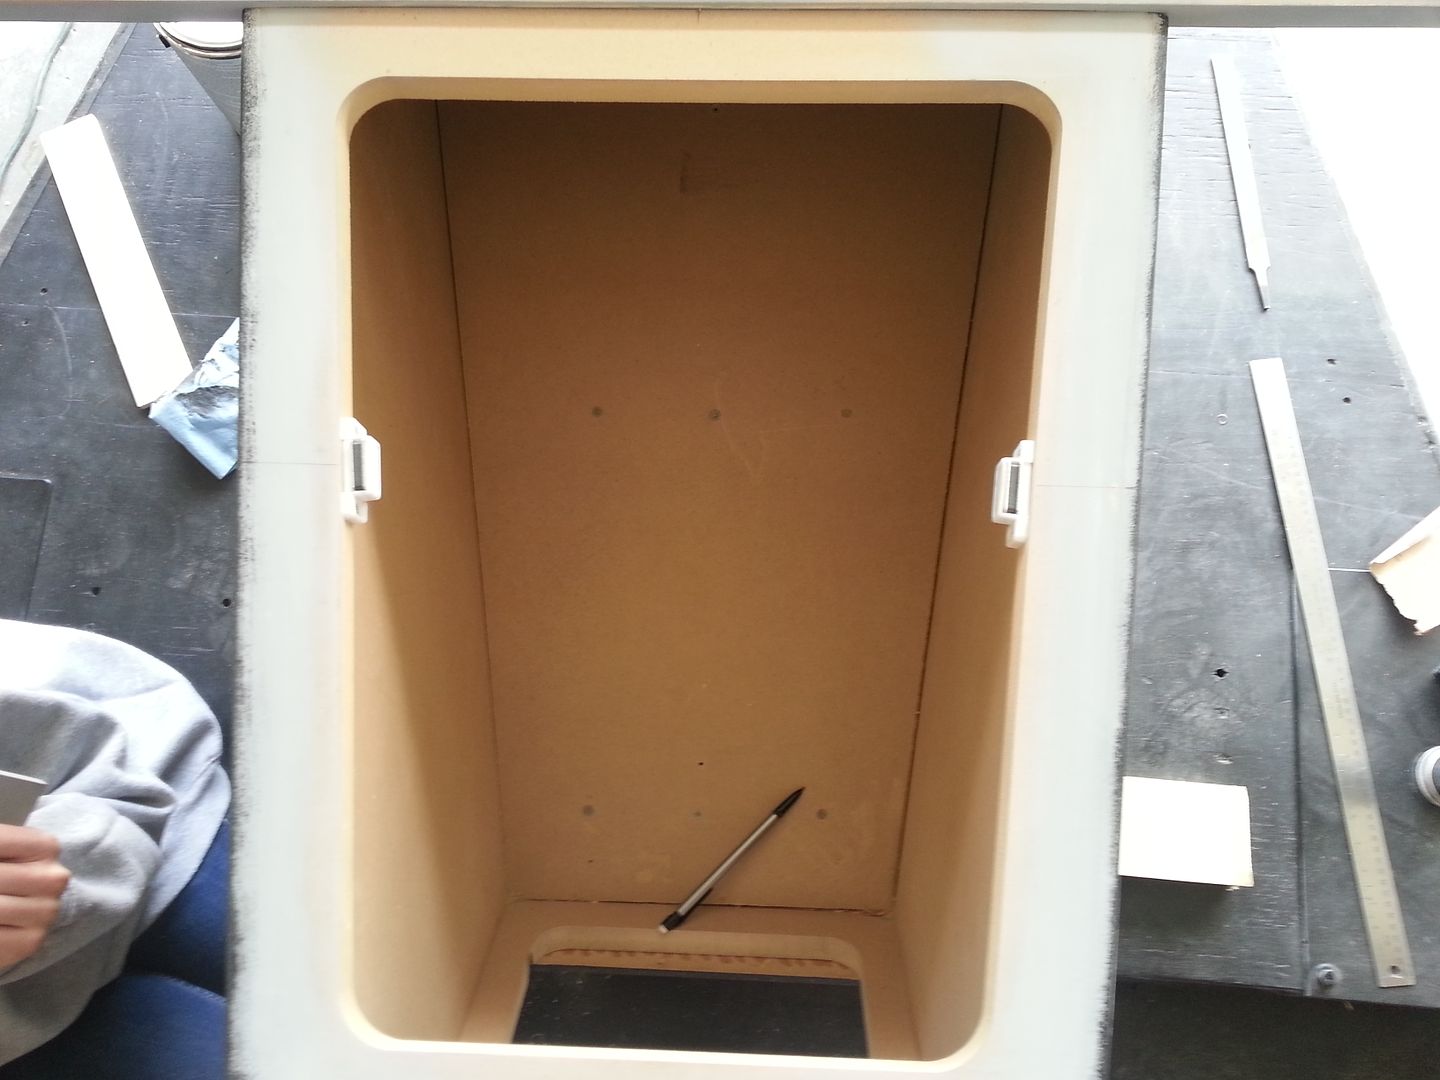
The rear panel had to be adjusted so I popped off this trim piece and remeasured - looking from the back toward the nose
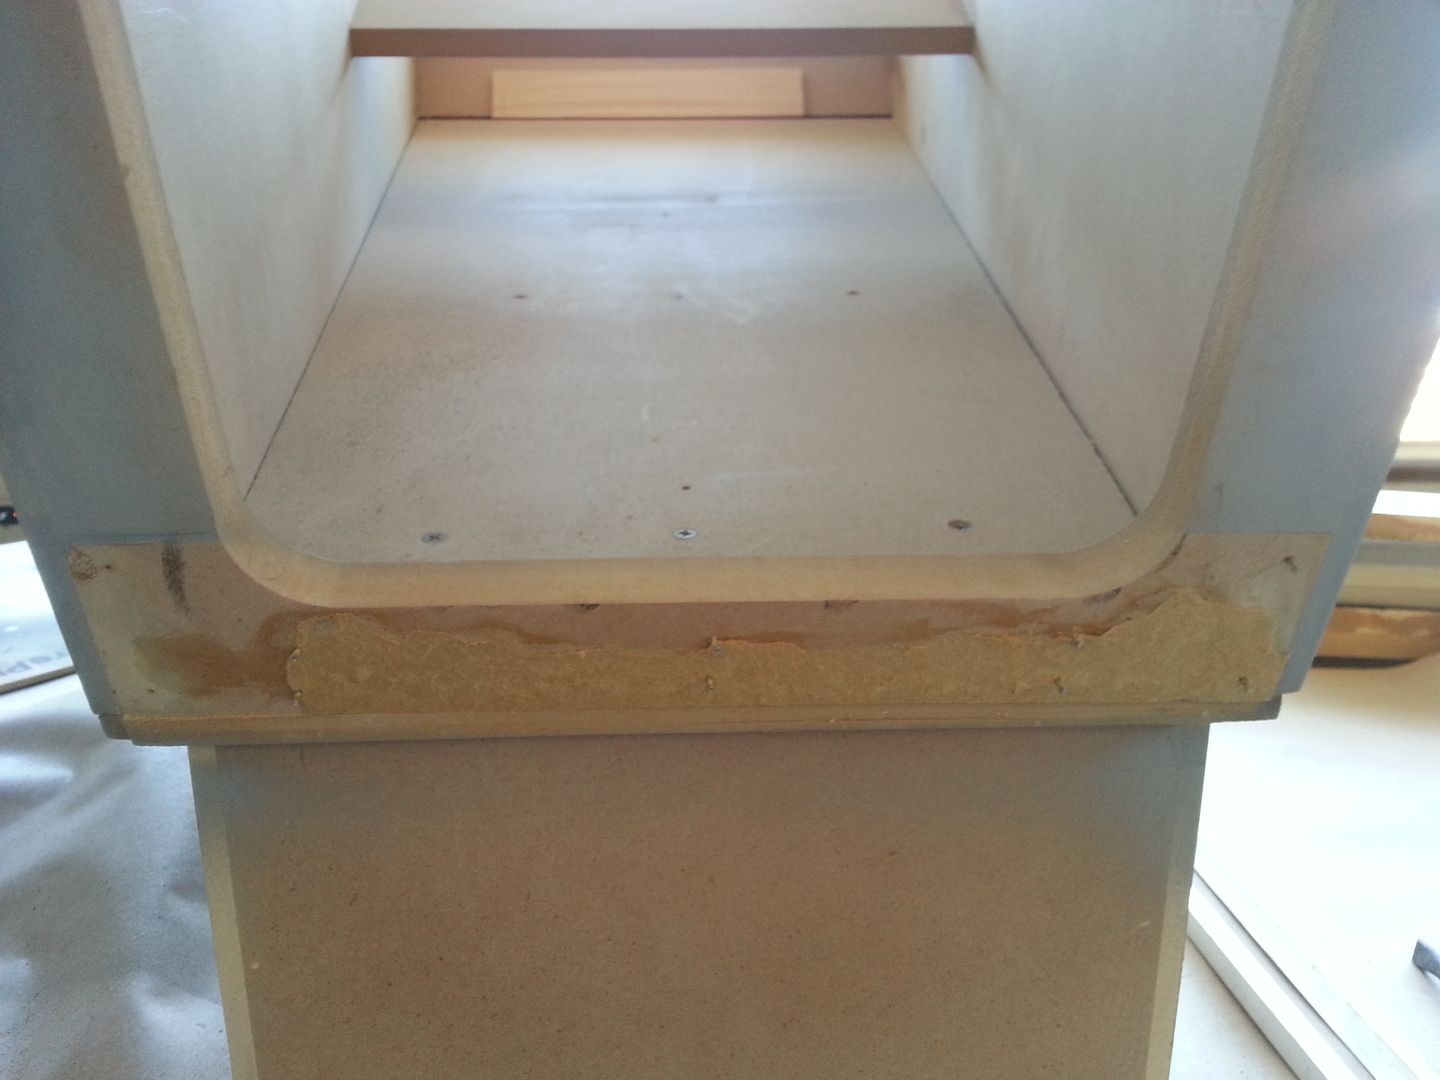
Took the necessary measurements and taped the panel into place
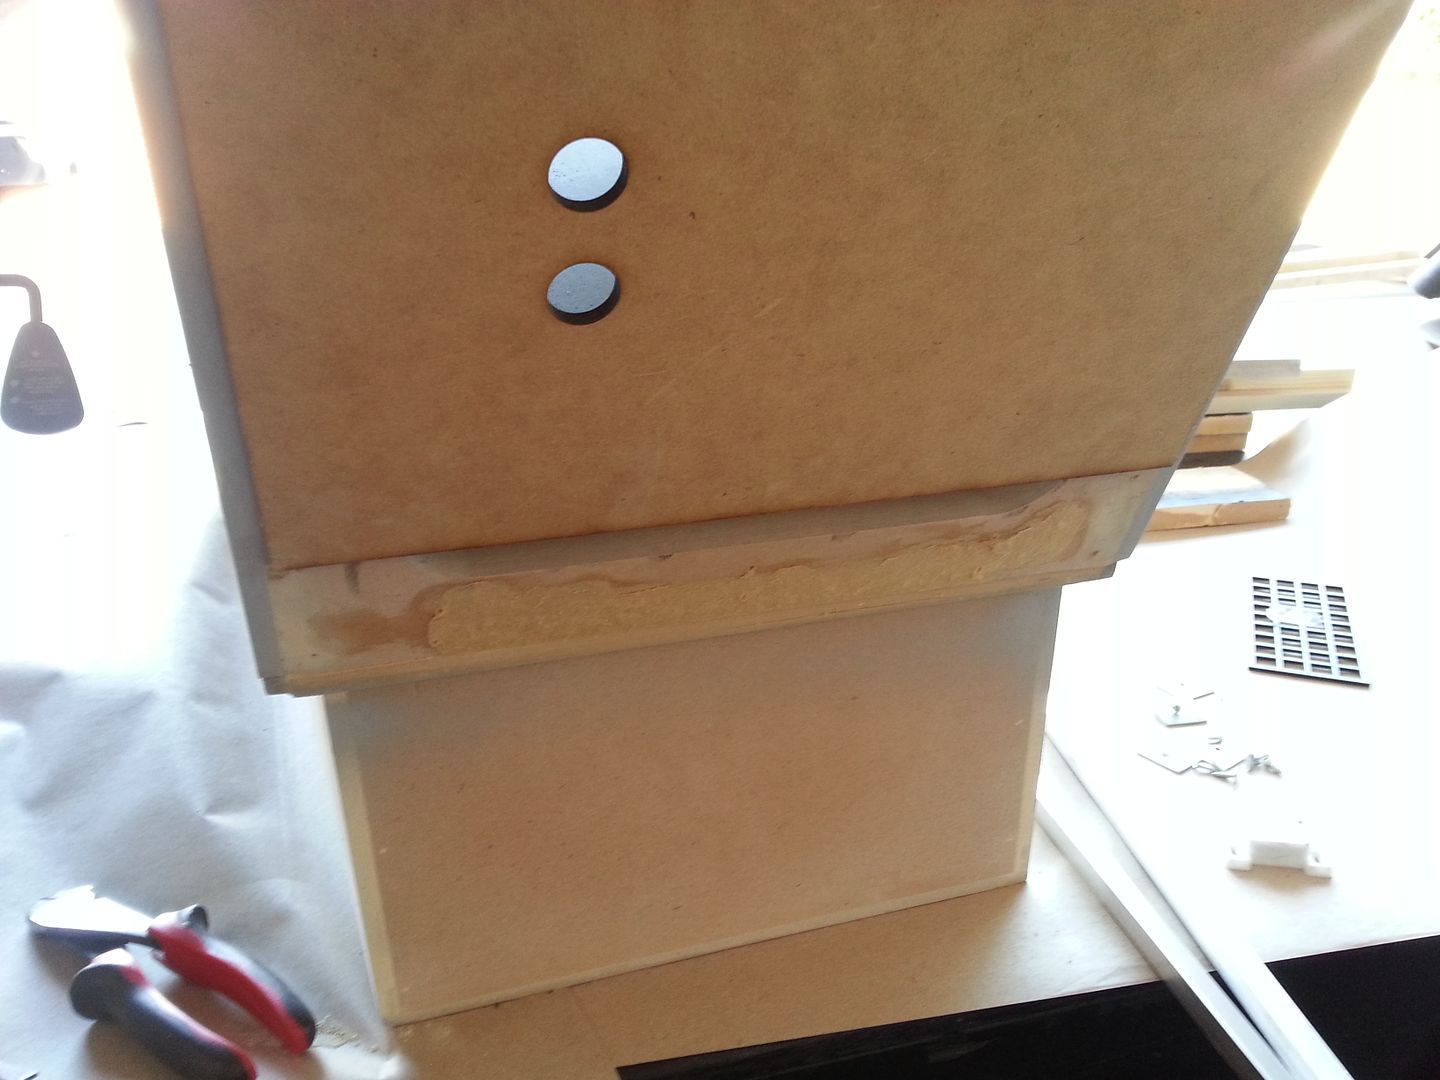
Done - stills some filler and sanding
Looking down to the bottom
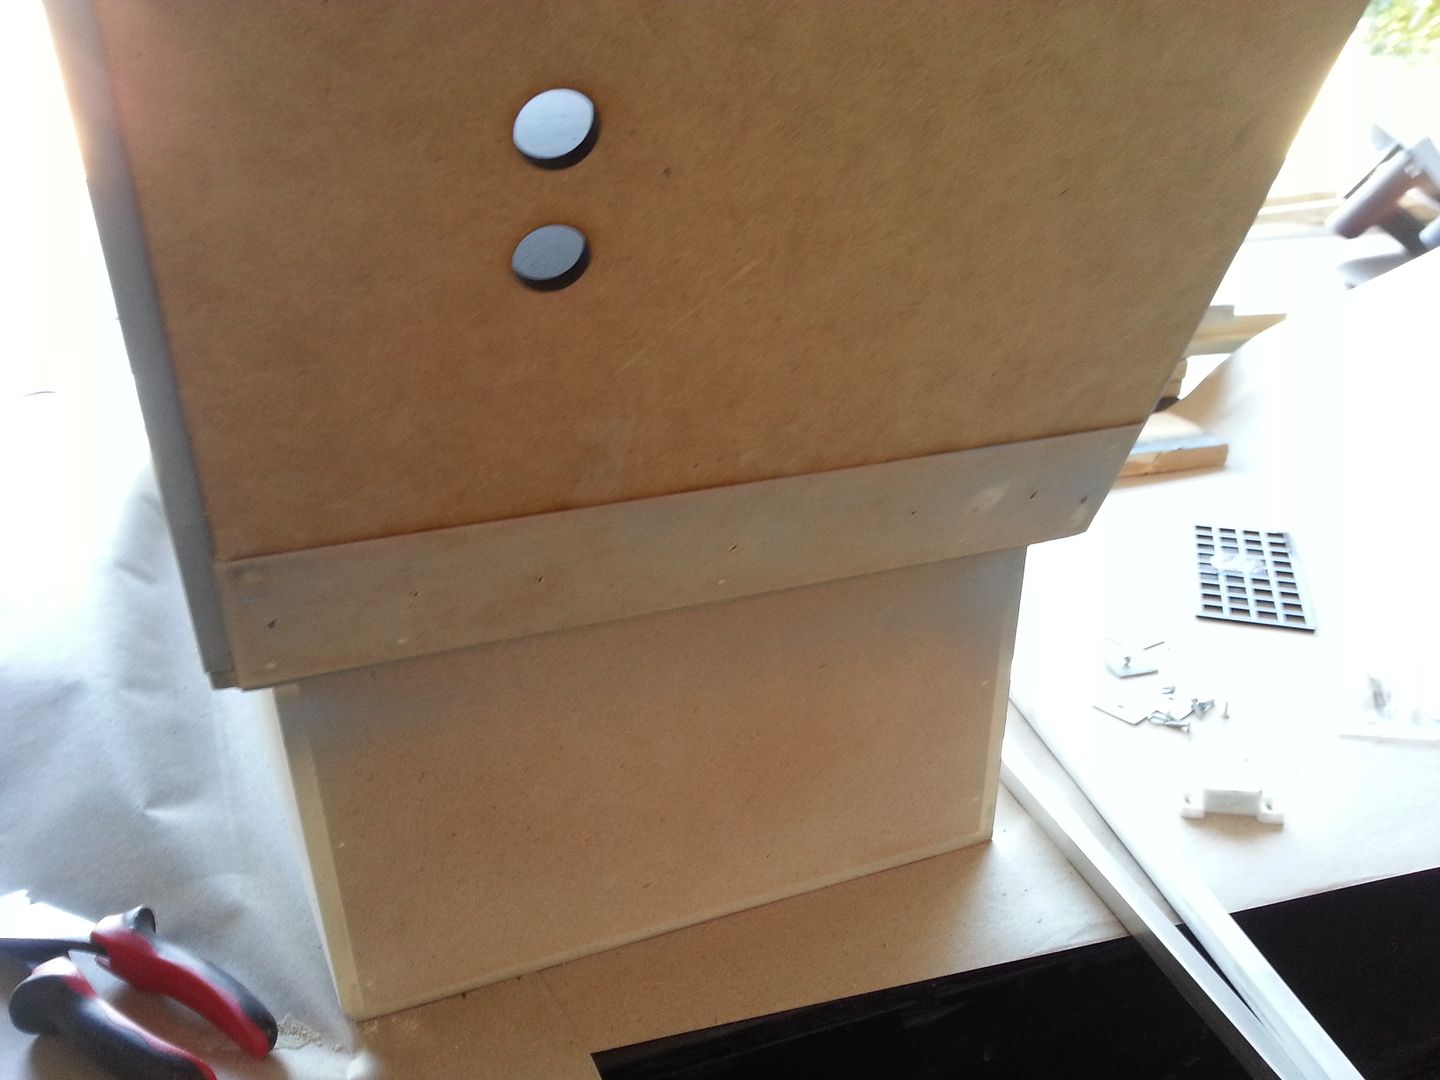
Added the magnets
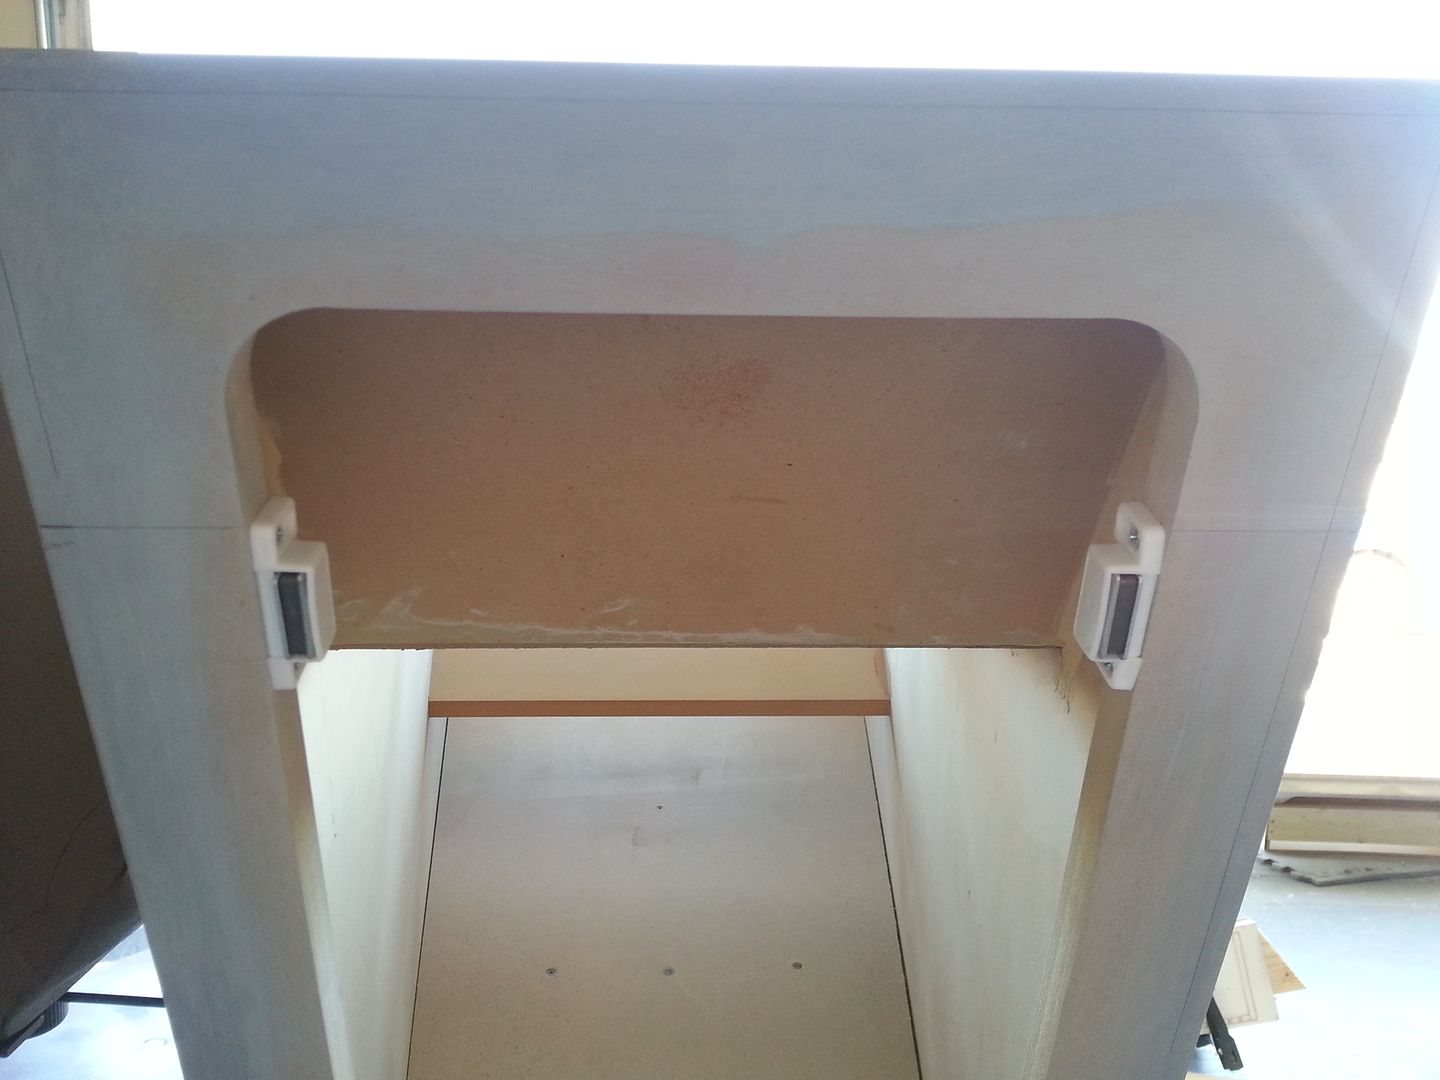
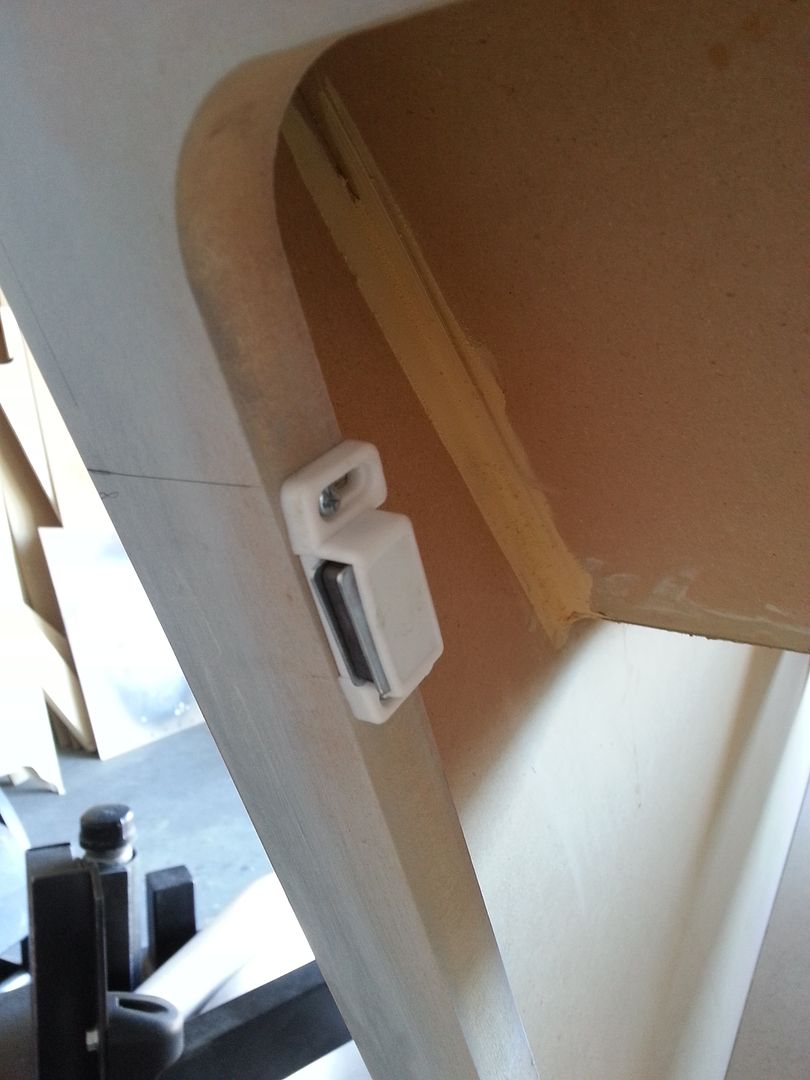
Magnet plate added to the rear panel
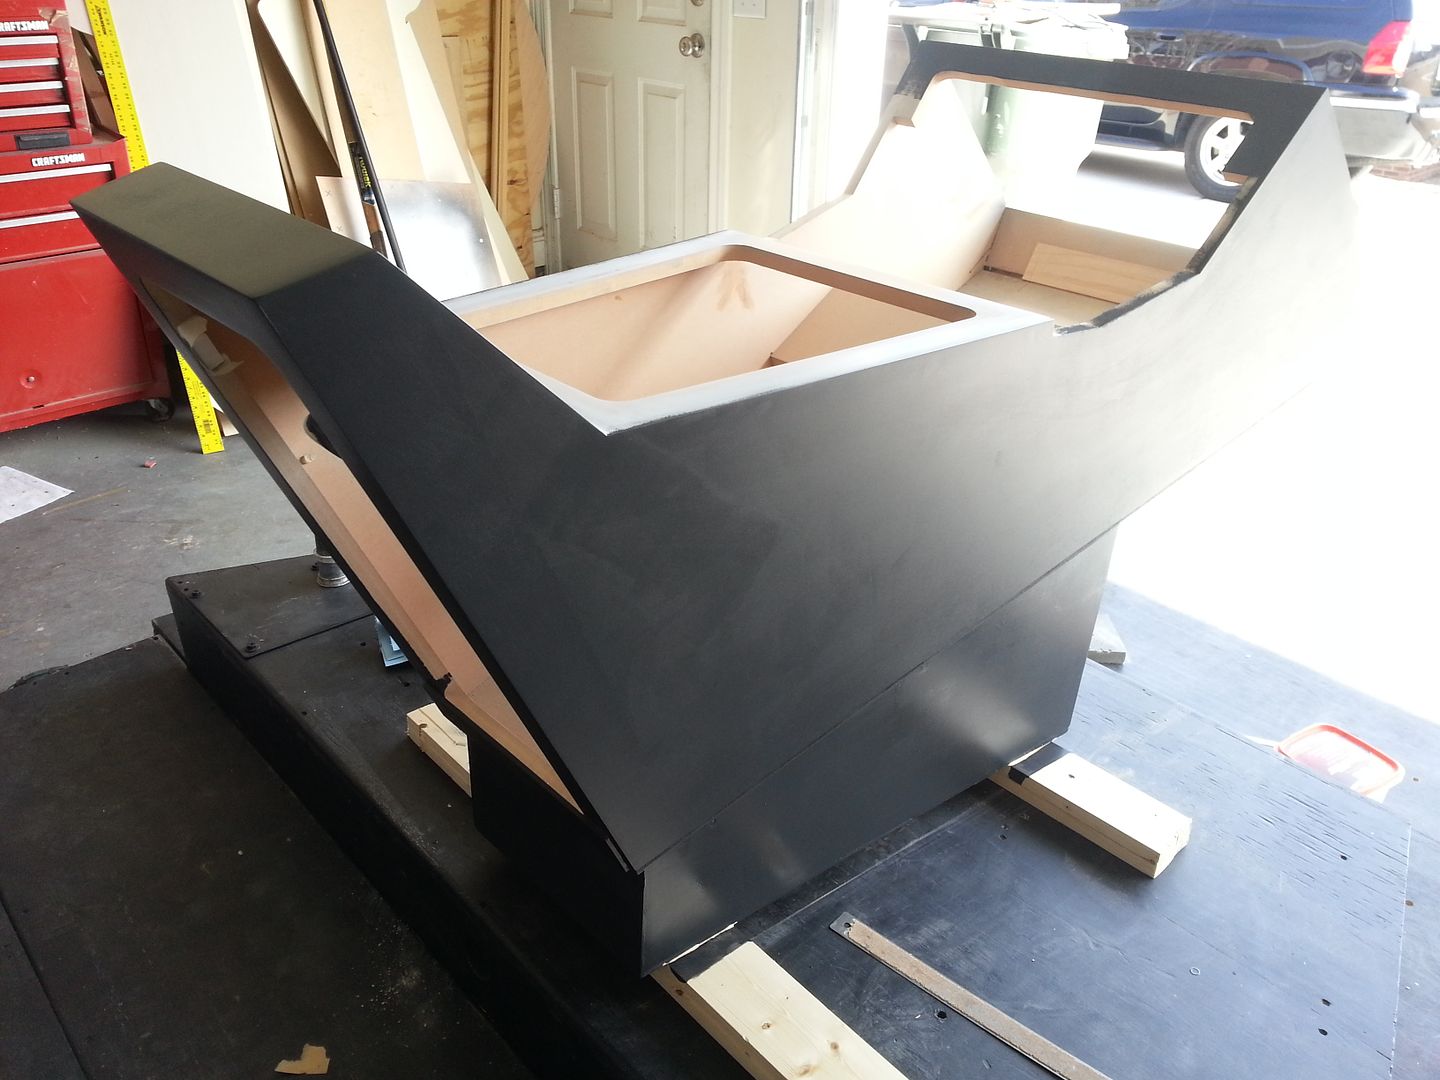
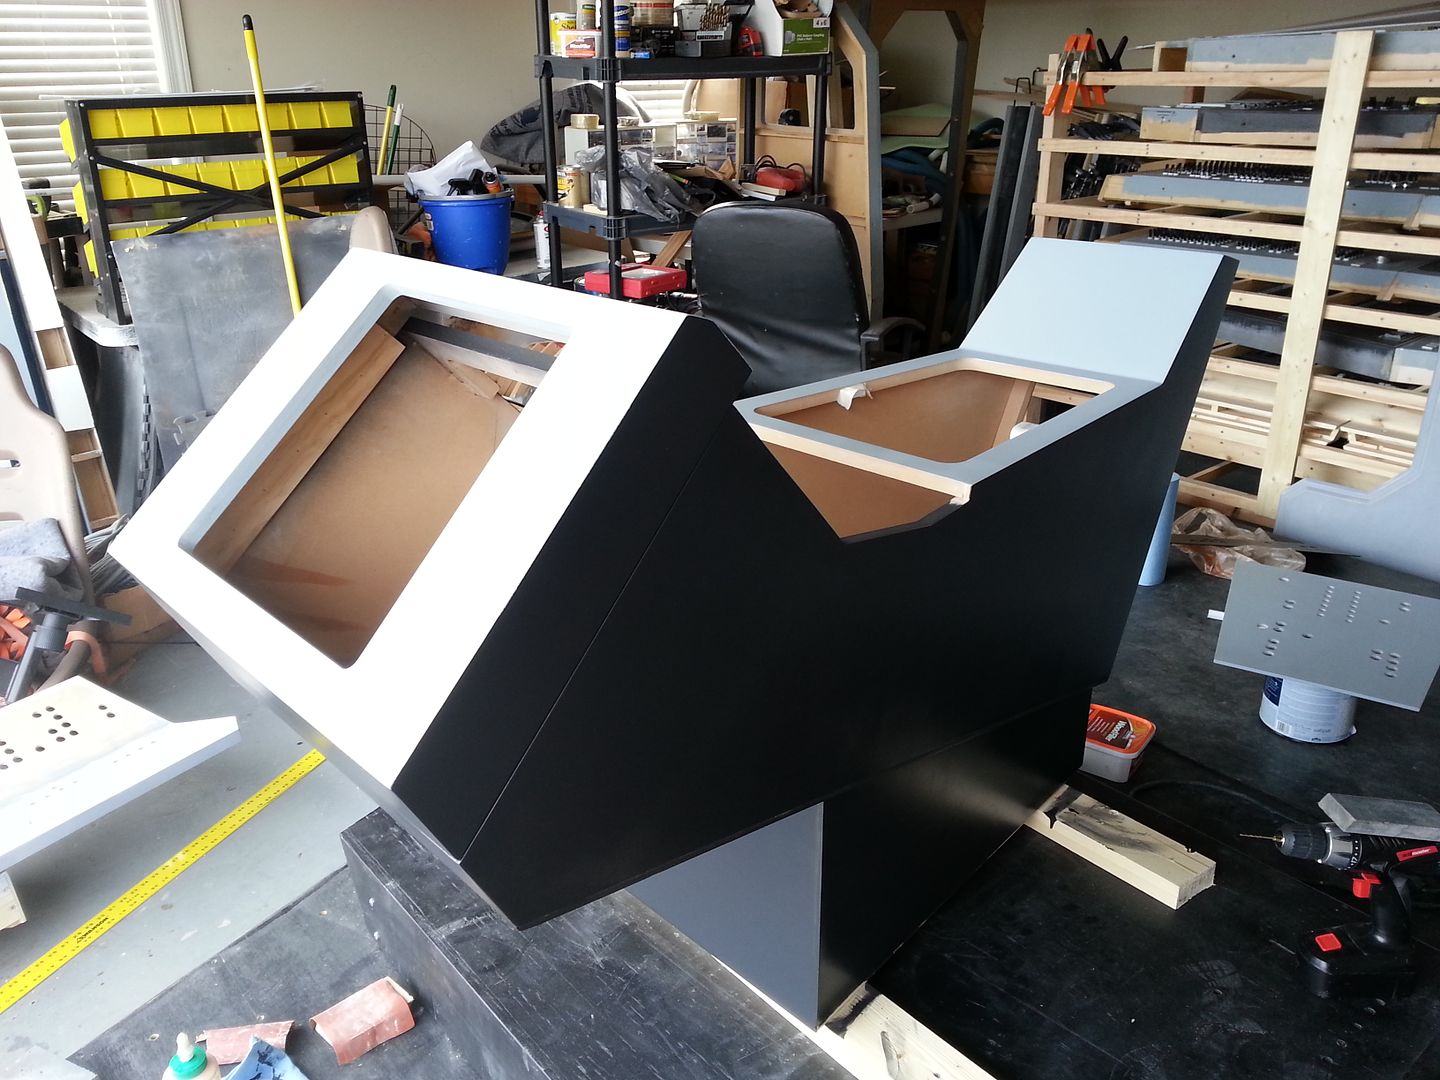
Putting the nose into place... prepping for some color
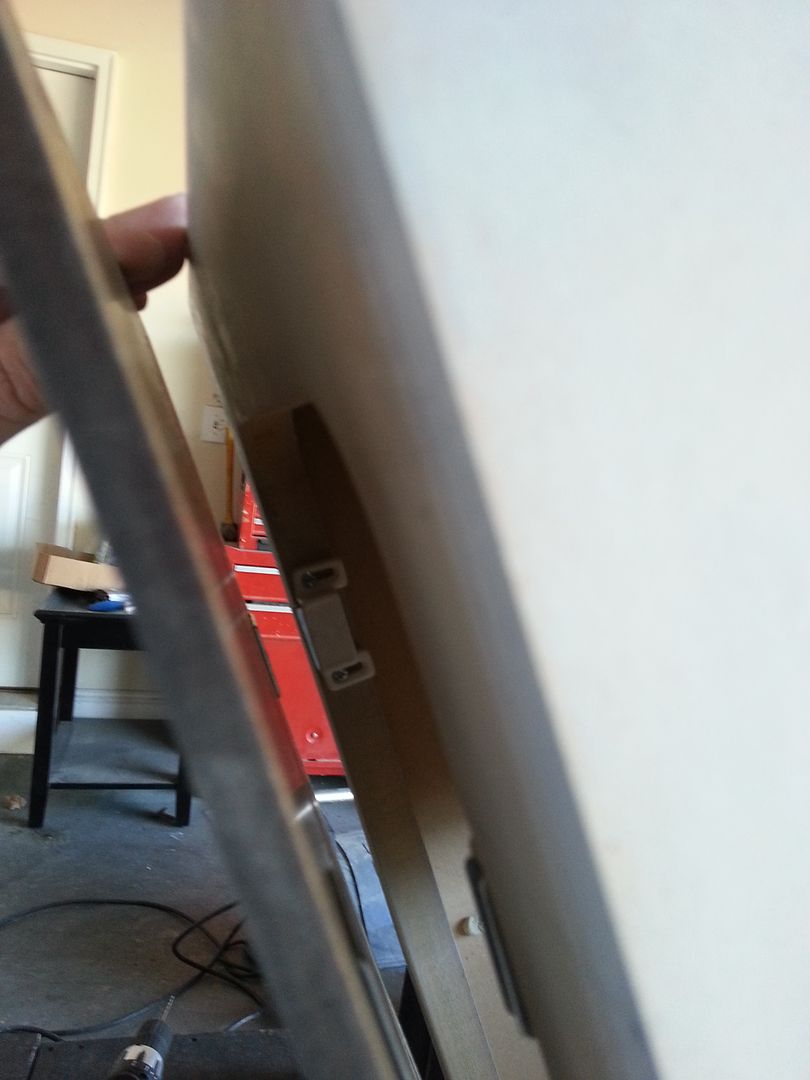
Everything still lines up... that's good

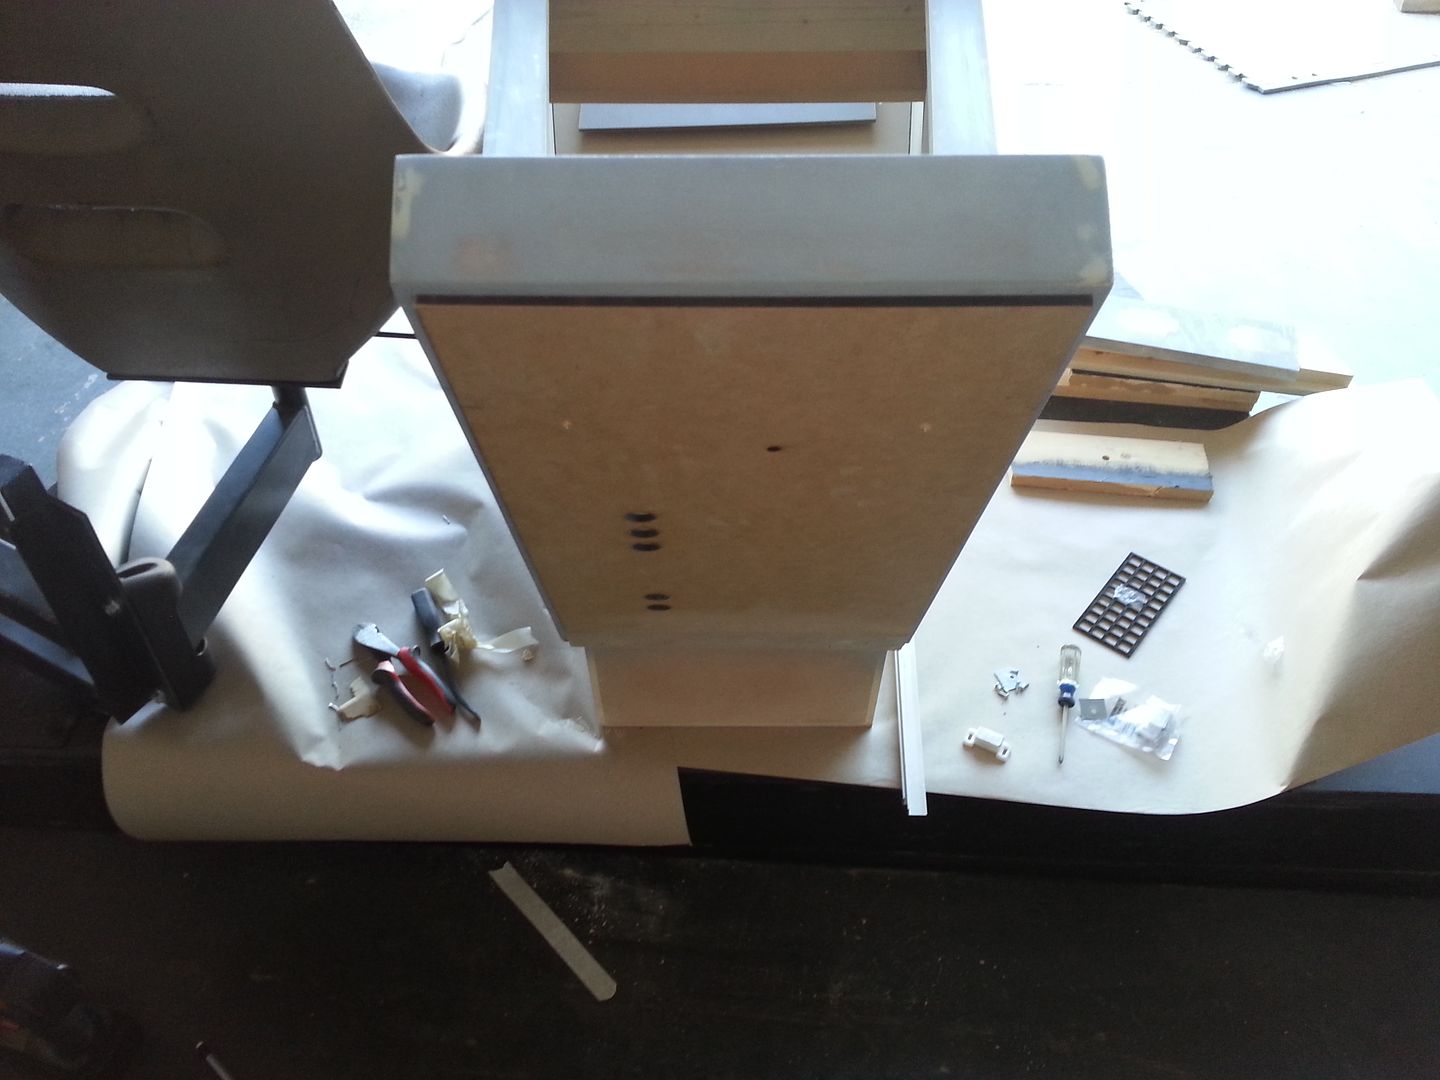
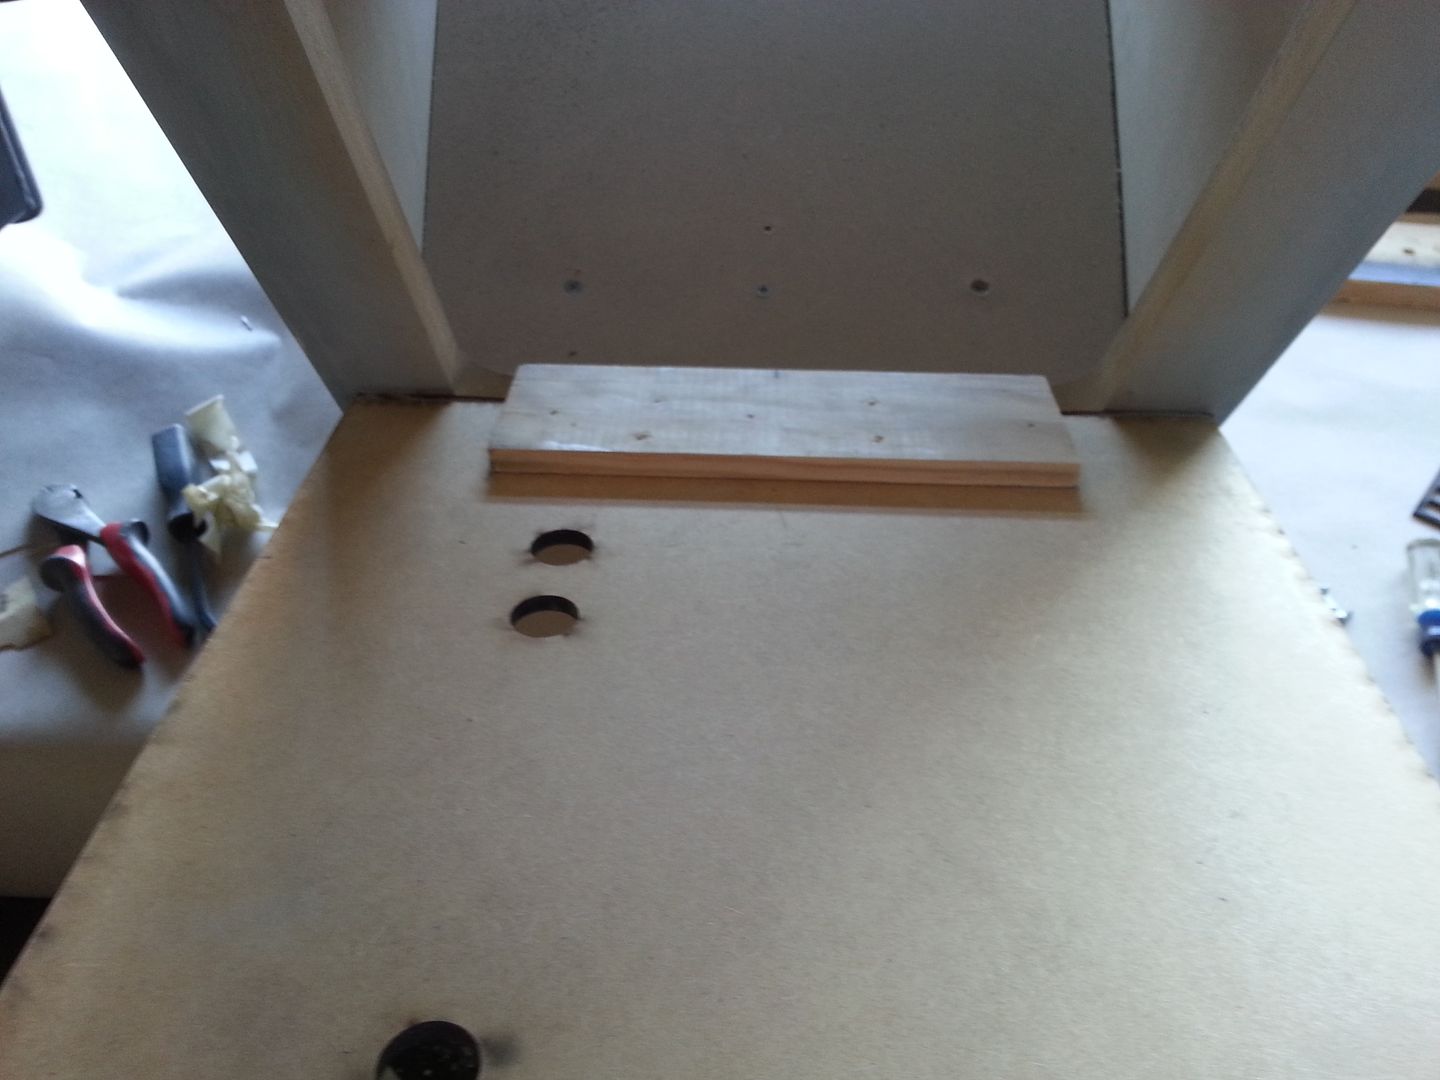
Getting the armrest panel in place...
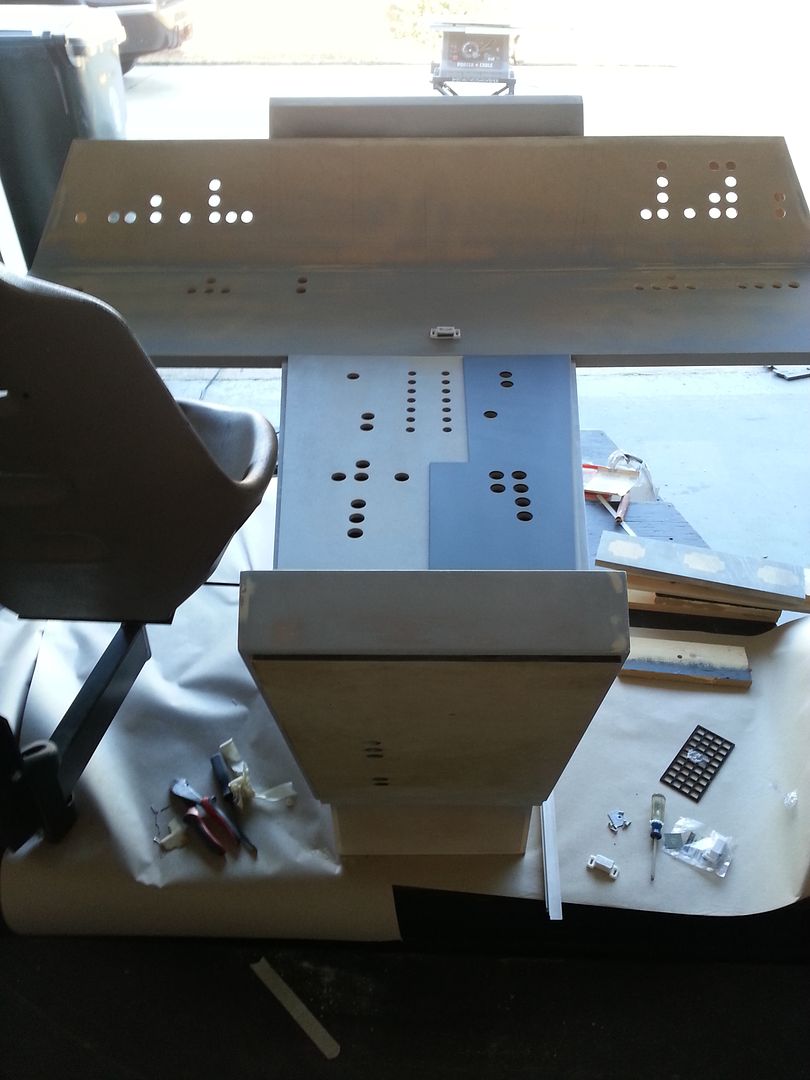
Marking out guides for when the panel is slipped into position
Adding more magnets
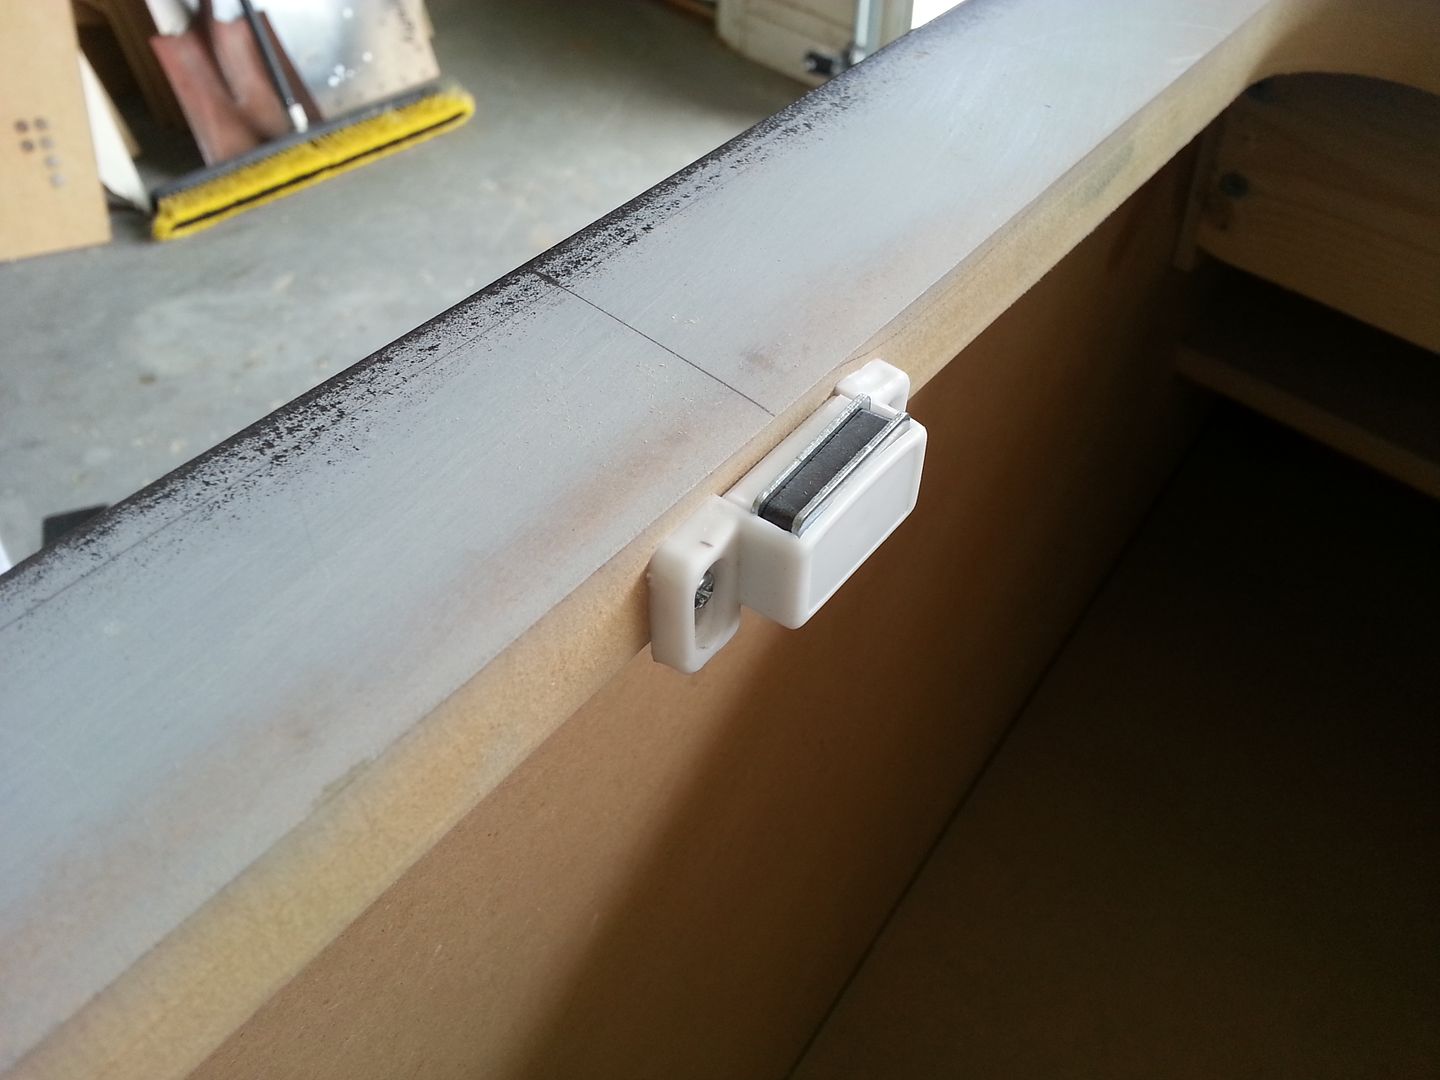
Plates

I happen to find this little aluminum greeblie... I have NO IDEA where it came from or how it found its way into my home?
Back to making sure things align
Can we add some paint? Let's Do It!
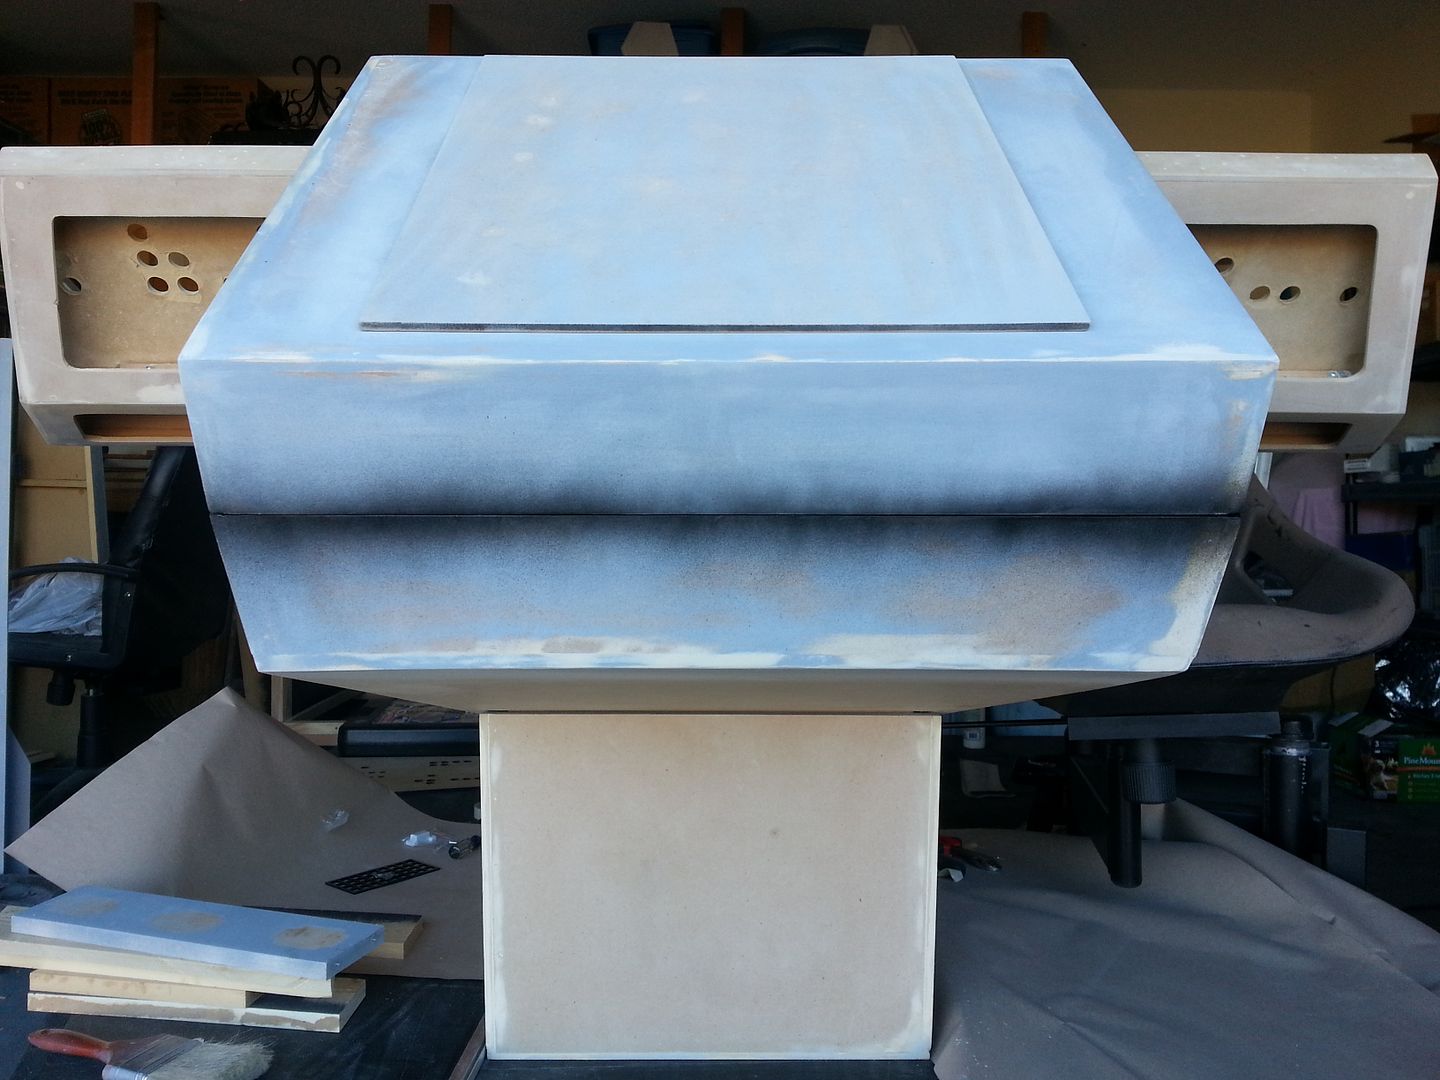
Nose Cover
First of several coats
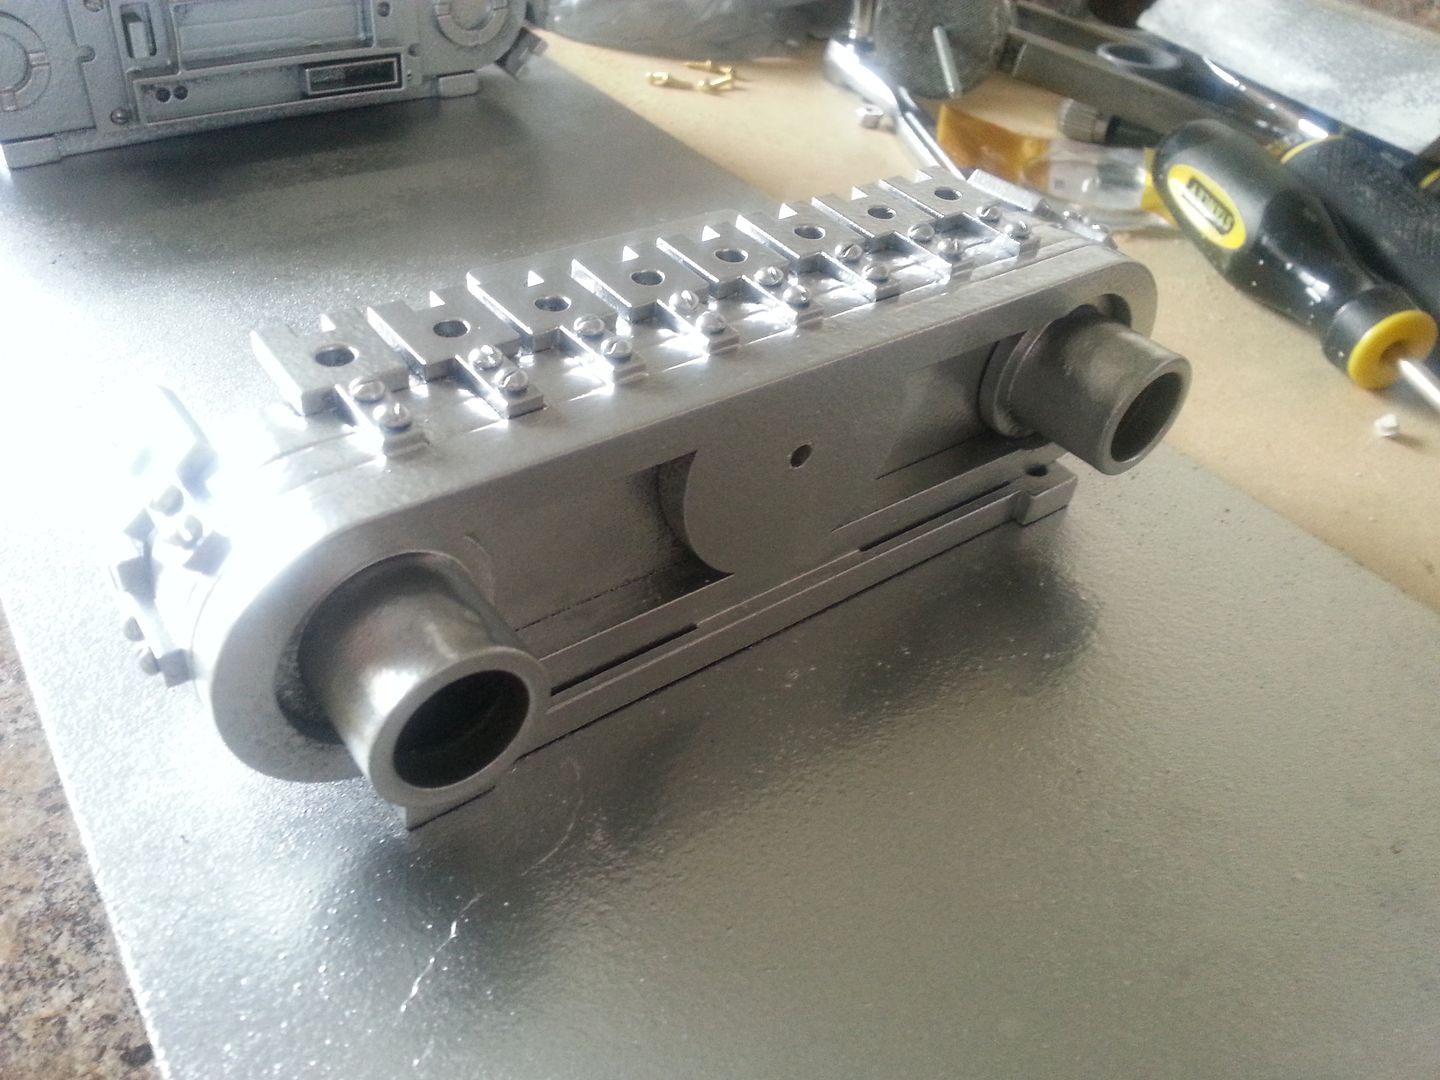
Checking out the new lever greeblies
After sanding the first coat it was time to introduce our second color

Removable panels getting some paint
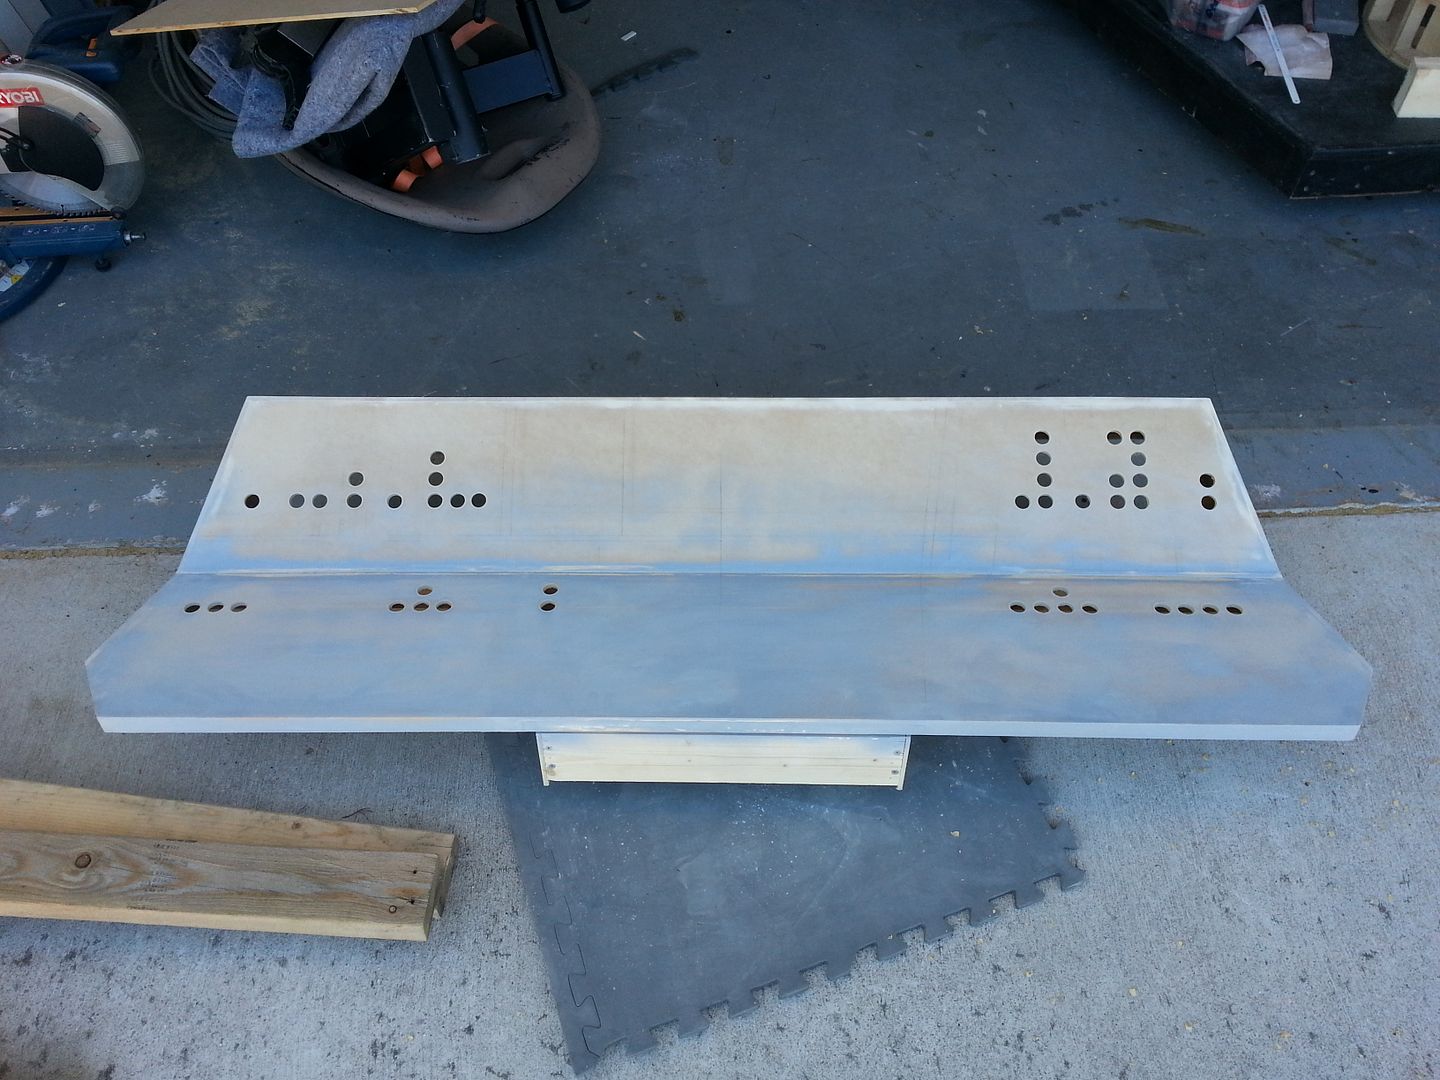
Jessie and then attached to the two aluminum "L" pieces to the bottom of the console to protect the edges
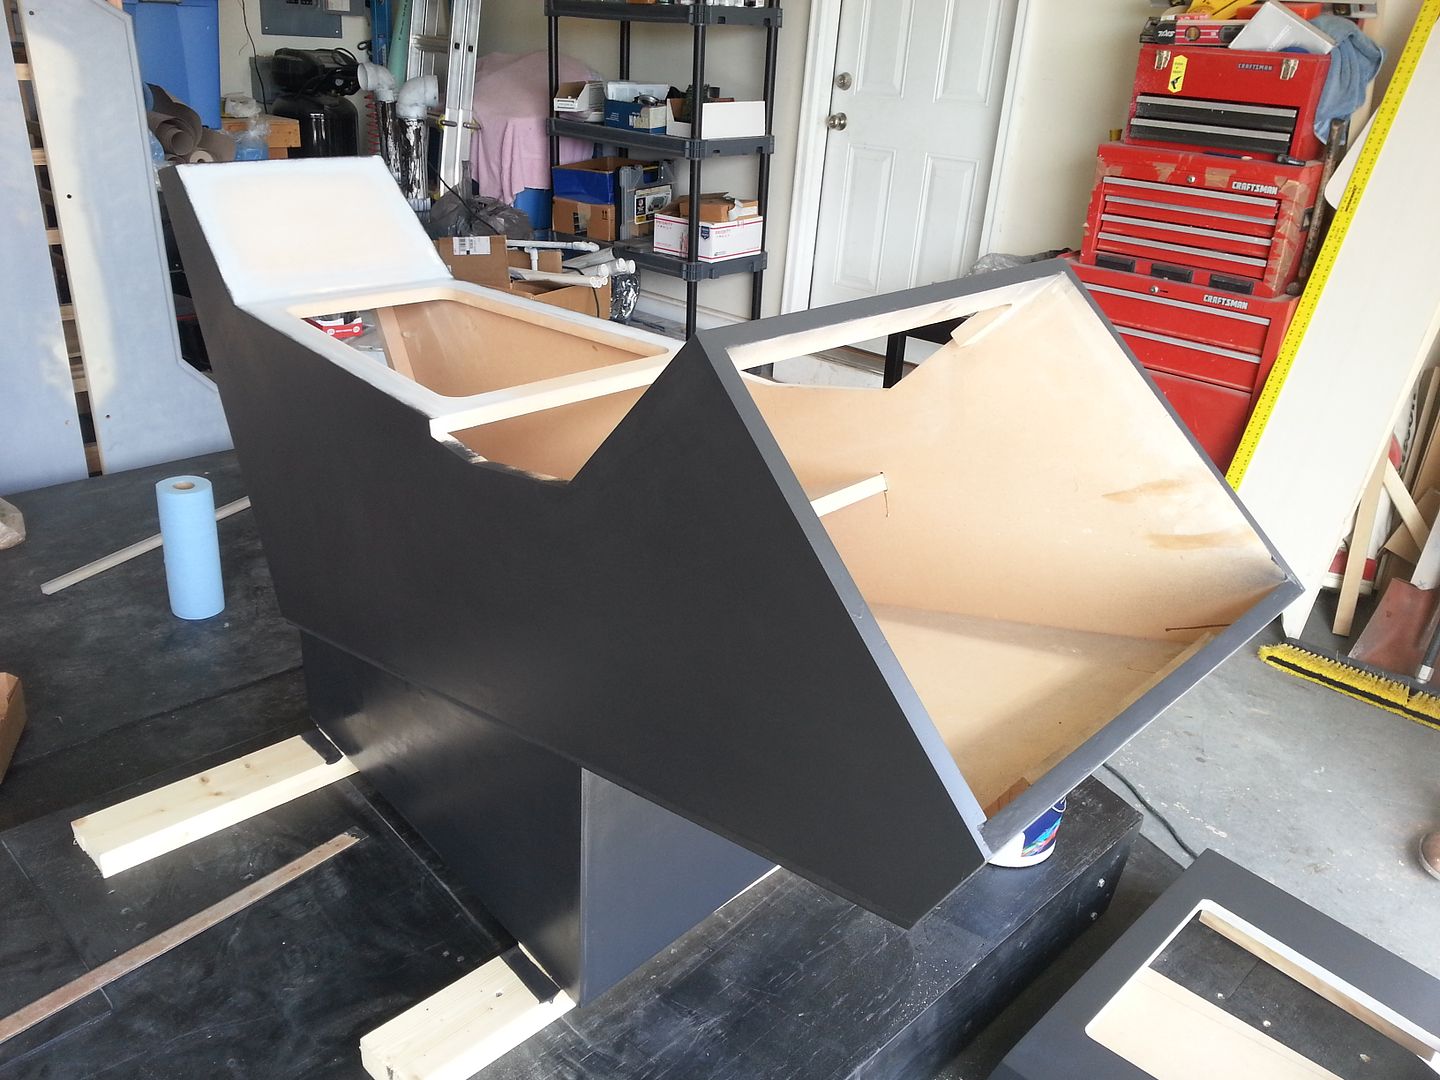
And this is where we are... Still more sanding to do before all the details and greeblies and a few more coats to add. Also, there is plenty more work to do on the instrument panel(s) before I can add paint - holes, back boxes, etc...
Forecast: RAIN RAIN RAIN RAIN... ugh
Finally, a HUGE THANK YOU to Jessie for all her hard work and company over the weekend!
Stay Tuned!
Hi Gang! What a fantastic weekend! After 2 weeks of snow storms and freezing rain mother nature gave us 2 days of 60 degree and sunny weather! So let's get to it!
Let's start with last night. Daniel popped over unveiled this small mold - bottom
Top
We decided to cast the Matte Box - we will be making these available
I'll let Daniel explain more of this later
Moving Forward...
Saturday morning started with drilling a few holes in the instrument panels
Back side cradle
Had a slight accident... I pushed the bit JUST a little too hard
She'll be covered by the back boxes so I'm not too worried too much about the accident...
Looks good!
It was then time to get moving and create new panel covers and prep for paint! Building the nose cover panel
Done - after some sanding and mod'ing she's ready for paint
Primer added
Then turned my attention to the armrest panels
Acrylic piece getting the sanding and primer treatment
After looking over the entire console and adding any and all filler to the minor imperfections Jessie and I decided it was time to add some paint!
The rear panel had to be adjusted so I popped off this trim piece and remeasured - looking from the back toward the nose
Took the necessary measurements and taped the panel into place
Done - stills some filler and sanding
Looking down to the bottom
Added the magnets
Magnet plate added to the rear panel
Putting the nose into place... prepping for some color
Everything still lines up... that's good
Getting the armrest panel in place...
Marking out guides for when the panel is slipped into position
Adding more magnets
Plates
I happen to find this little aluminum greeblie... I have NO IDEA where it came from or how it found its way into my home?
Back to making sure things align
Can we add some paint? Let's Do It!
Nose Cover
First of several coats
Checking out the new lever greeblies
After sanding the first coat it was time to introduce our second color
Removable panels getting some paint
Jessie and then attached to the two aluminum "L" pieces to the bottom of the console to protect the edges
And this is where we are... Still more sanding to do before all the details and greeblies and a few more coats to add. Also, there is plenty more work to do on the instrument panel(s) before I can add paint - holes, back boxes, etc...
Forecast: RAIN RAIN RAIN RAIN... ugh
Finally, a HUGE THANK YOU to Jessie for all her hard work and company over the weekend!
Stay Tuned!
Last edited:
ataru72ita
Well-Known Member
I'm officially atticted to this built!!:devil
I was in a bad abstinence crisis!!lol
Now I feel really better with my daily dose!!!D
Regards,
Alberto
I was in a bad abstinence crisis!!
lolNow I feel really better with my daily dose!!!
DRegards,
Alberto
Great update Sofa...it's looking mighty good of course. Eager to see the next update:cool
Hey Joe,
Thanks so much! I know the update is kinda boring having been through this "console" build before. However, I wish everybody could see how clean the lines are and how everything fits together perfectly! It's such a joy to look at all the perfect angles and not having to guess how everything will fit.
Should have some minor updates this evening or tomorrow. We might even get to some pinstriping?
Thanks again!
- - - Updated - - -
I'm officially atticted to this built!!:devil
I was in a bad abstinence crisis!!
Now I feel really better with my daily dose!!!
Regards,
Alberto
Hey A,
I feel kinda weird being your supplier... But hey... it's for a good cause, right?
Similar threads
- Replies
- 2
- Views
- 856
- Replies
- 6
- Views
- 609
- Replies
- 8
- Views
- 548
- Replies
- 4
- Views
- 767
- Replies
- 4
- Views
- 2,304