1:1 Millennium Falcon Cockpit Replica - Group Build

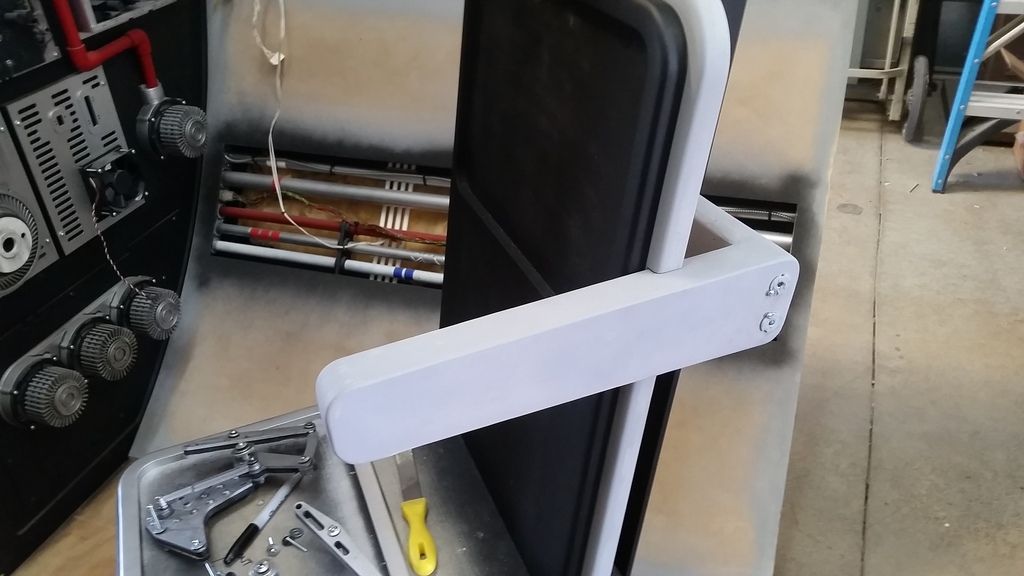
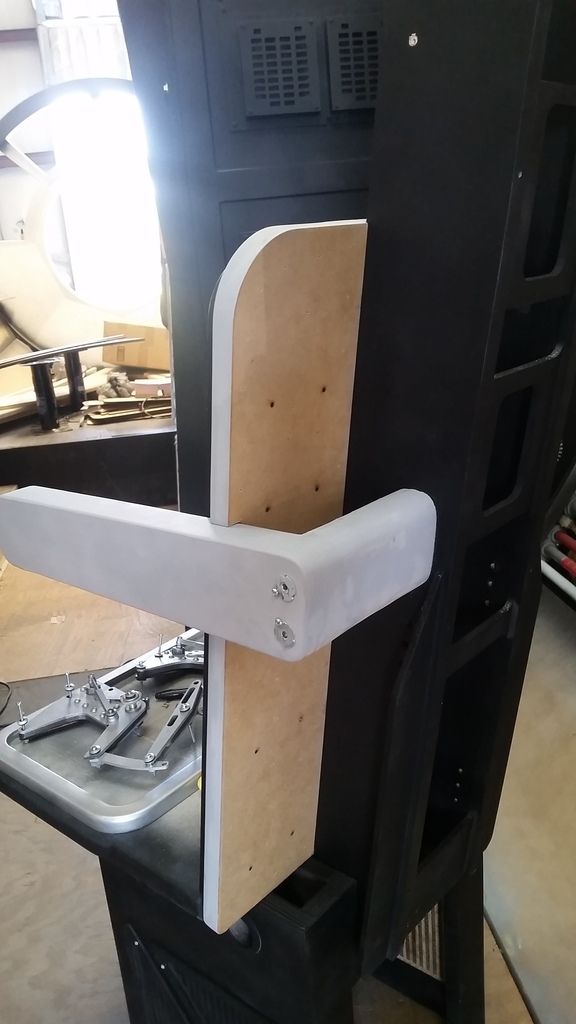
Hi SK! it's great that you guys are also thinking about it. I can see the reinforcements needed to withstand the shaking, the idea would be NOT to take away from the experience, but to enhance it.

You are very right about venting, and I'm not sure where you could have AC ducts, although I'm sure the original set had some, and the "in-universe" ship also had some ducts, maybe they are not as obvious? Now thinking about functional (as in flight-related) switches and throttles on the Falcon makes me drool already. Do you think there would be a way to quantify how much it would be needed to make it happen? I've seen some flight sims on the internet, so there is some road covered by other people maybe a donation drive....I dunno....I'm brainstorming here, it's just that the idea is so fascinating!!!

Hey BK,

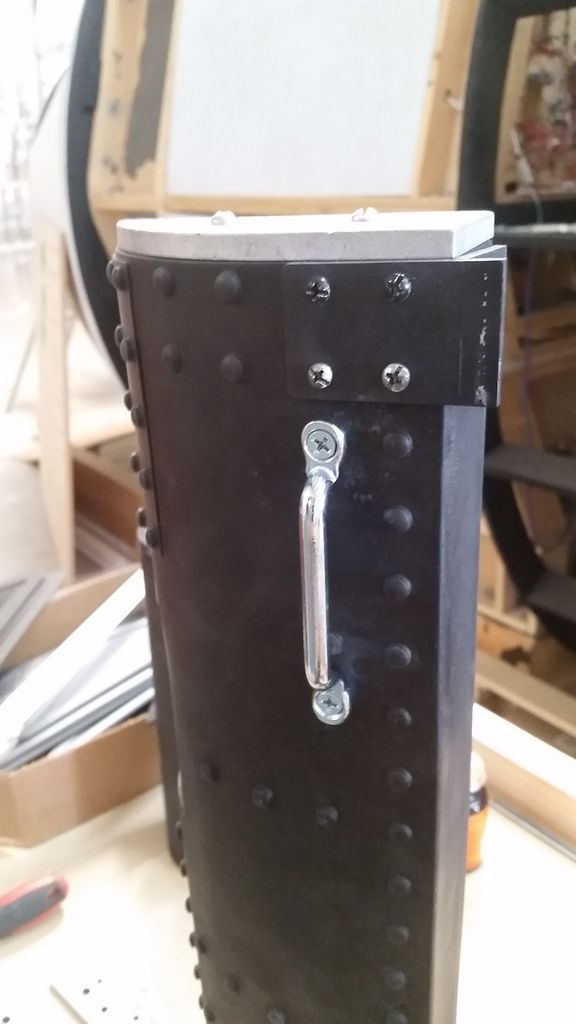
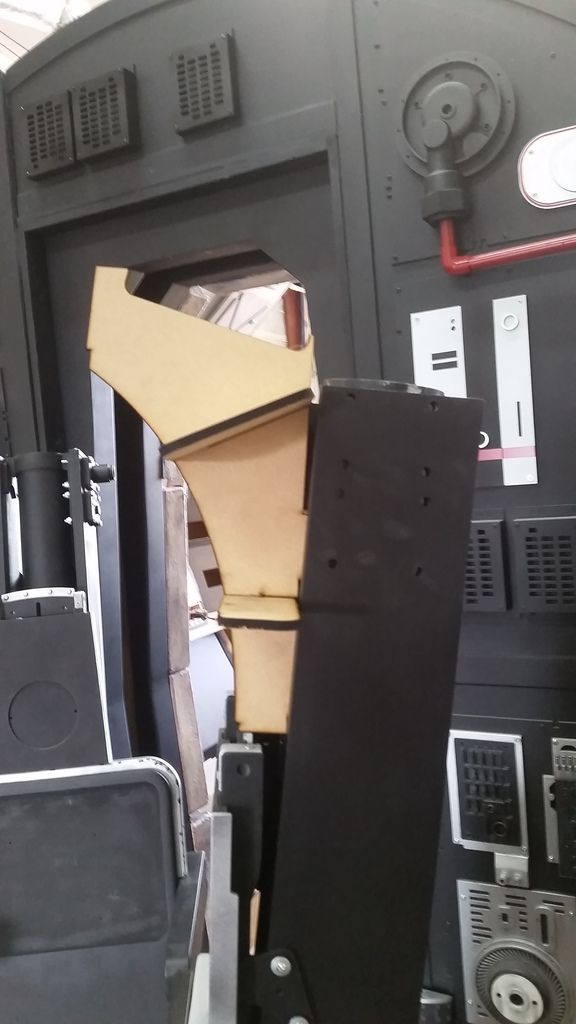
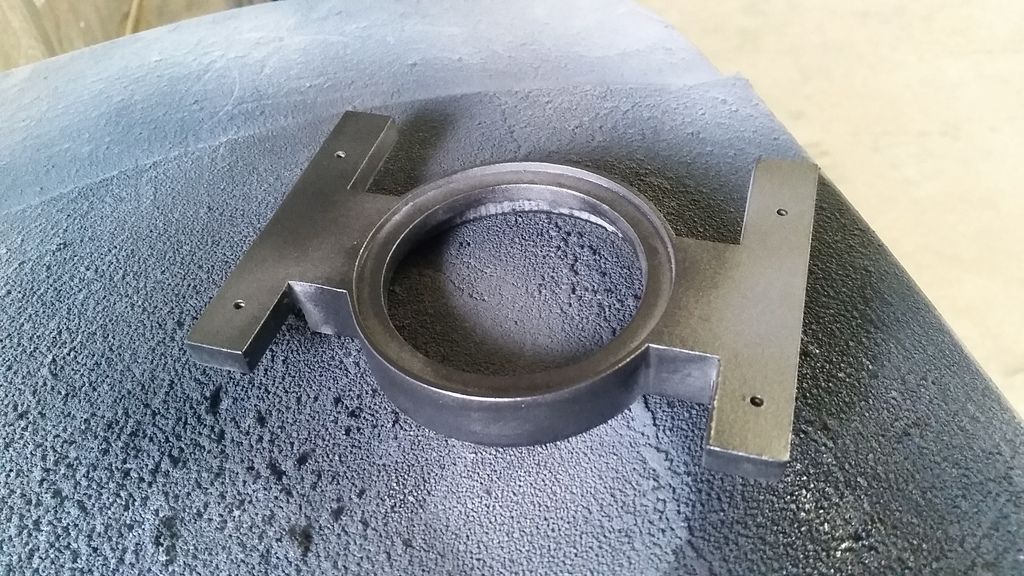
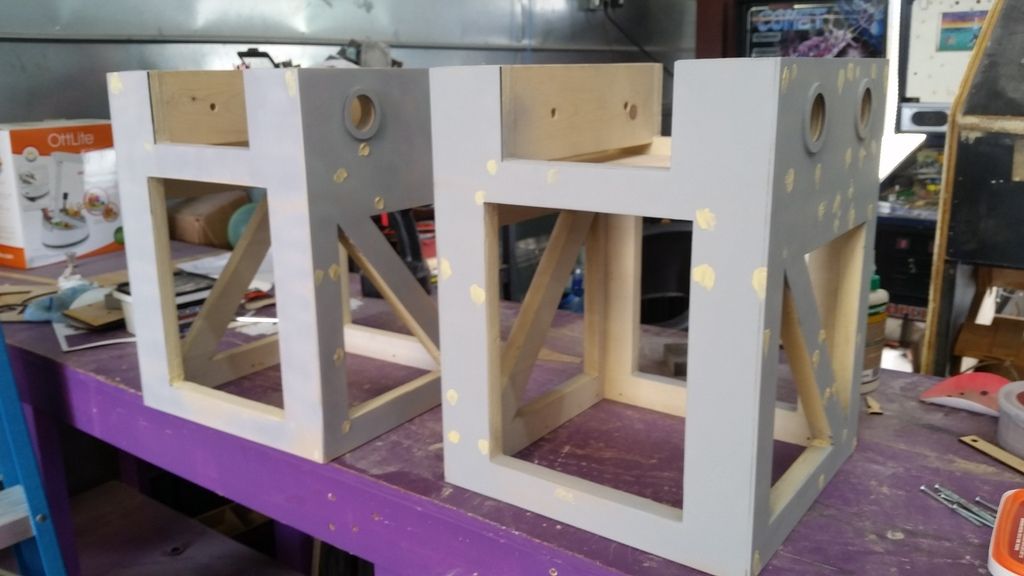
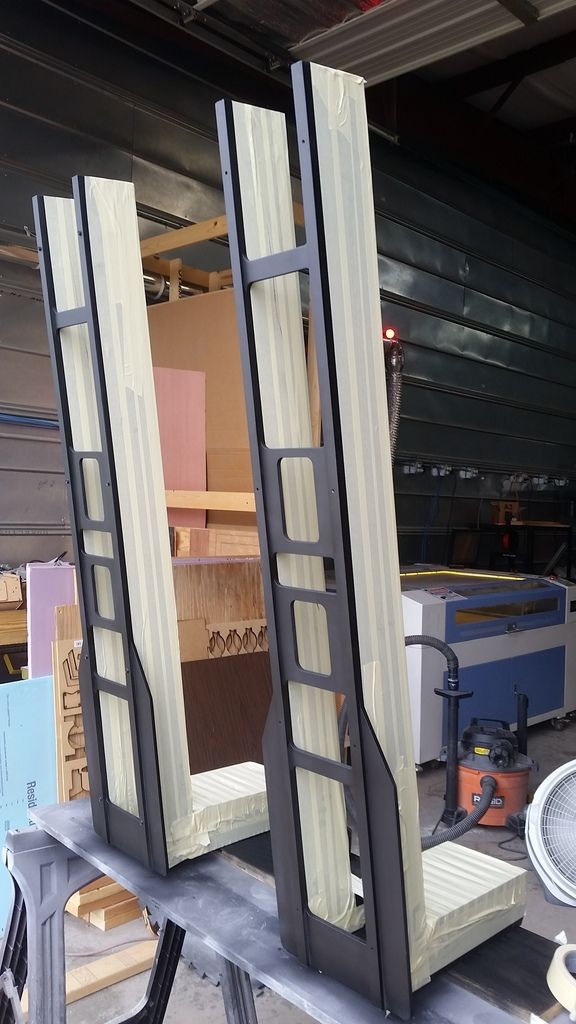
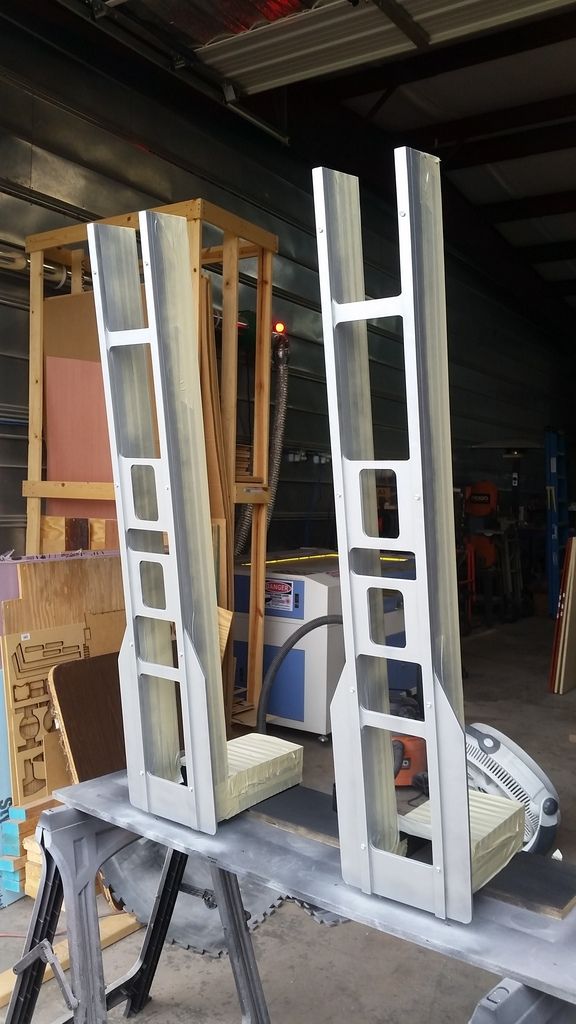
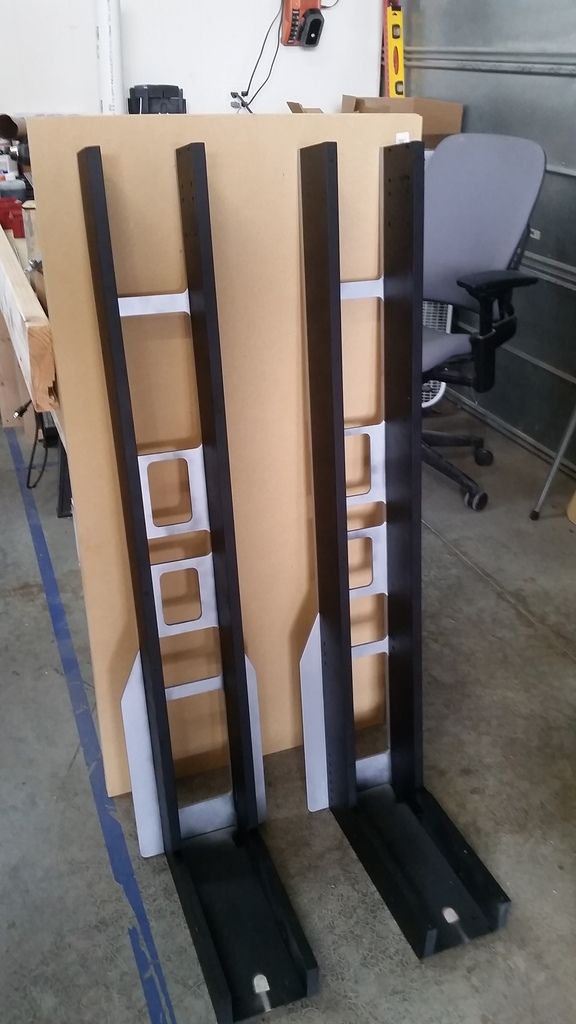
Oh Yeah! We're always thinking about how to improve this Ver of the cockpit but the reality is there just isn't much we can do with this ver structurally. She's at her limit especially with all the different mods I've done to her over the last few years. While she is structurally sound I wouldn't want to put her through the banging and shaking without steel reinforcement. But that would change the entire look and feel of the cockpit and take away from the illusion. :)

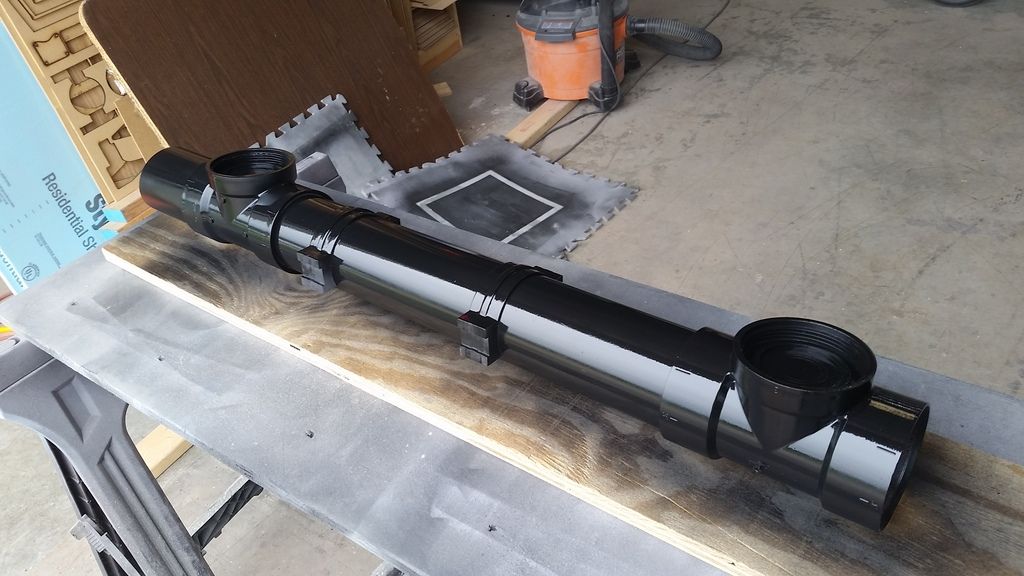
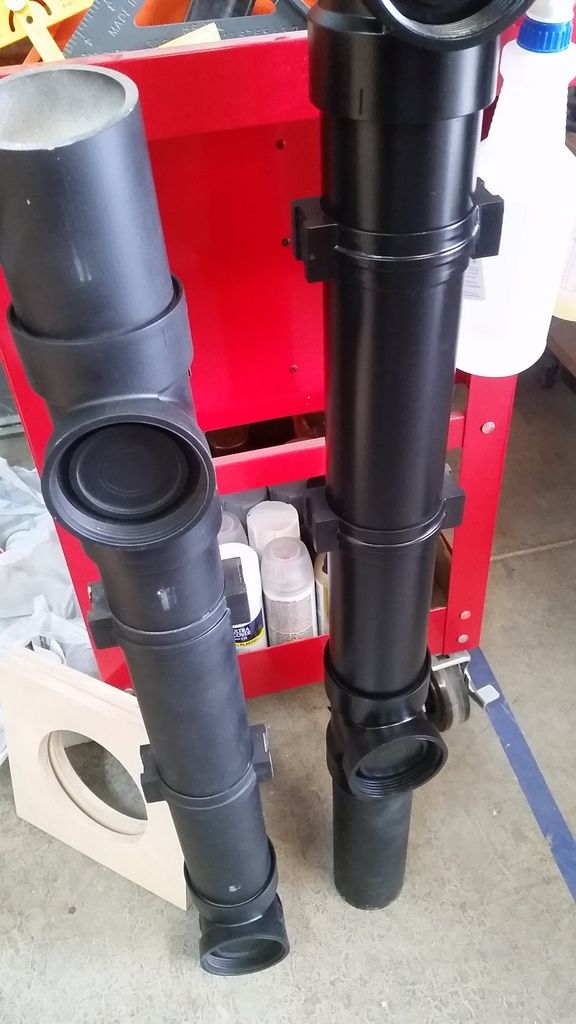
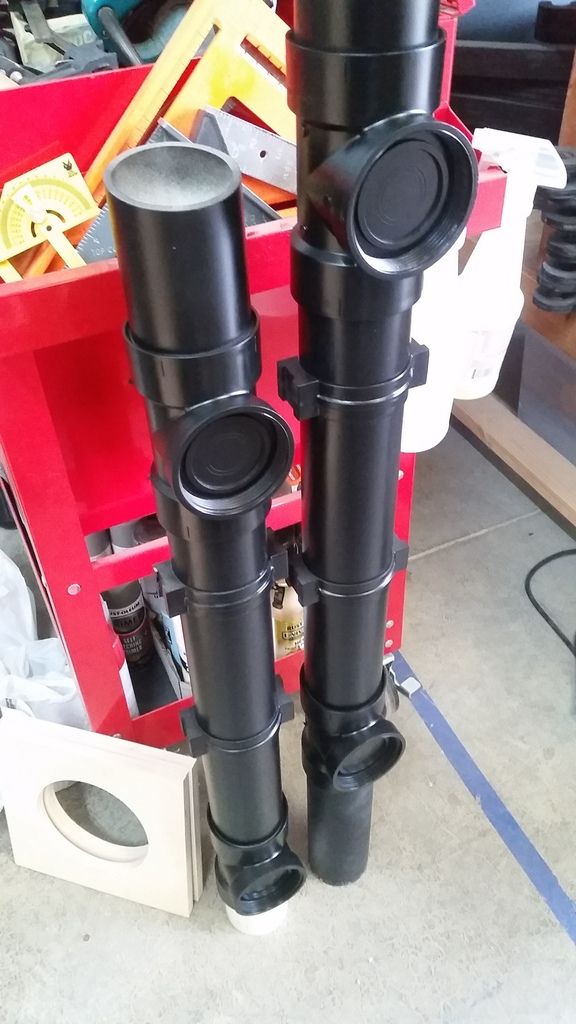
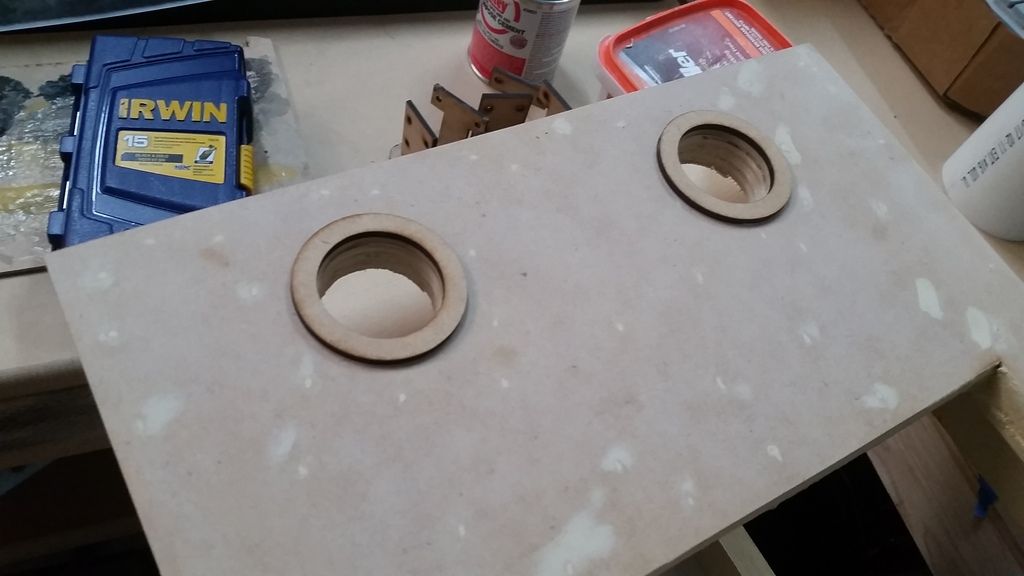
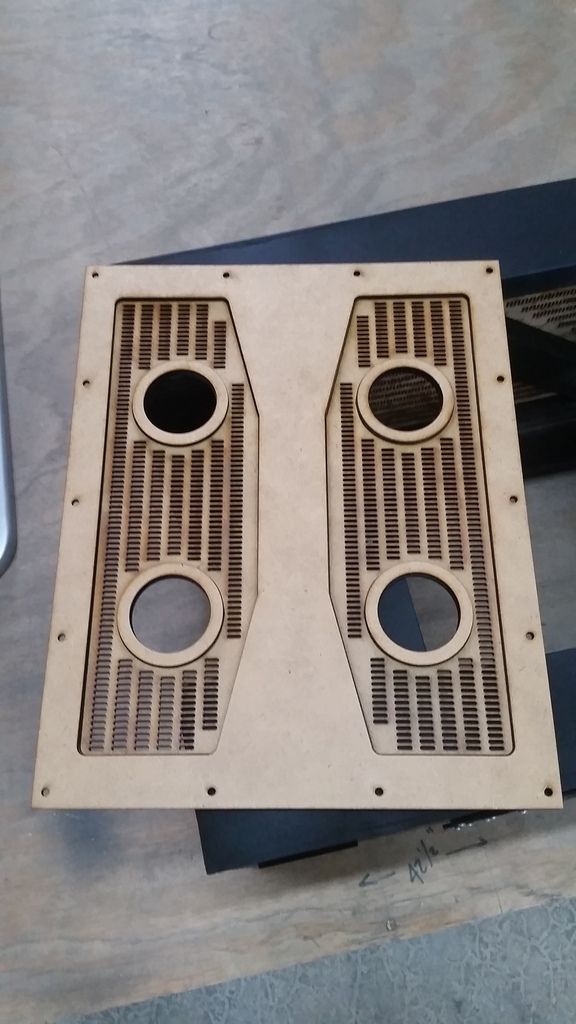
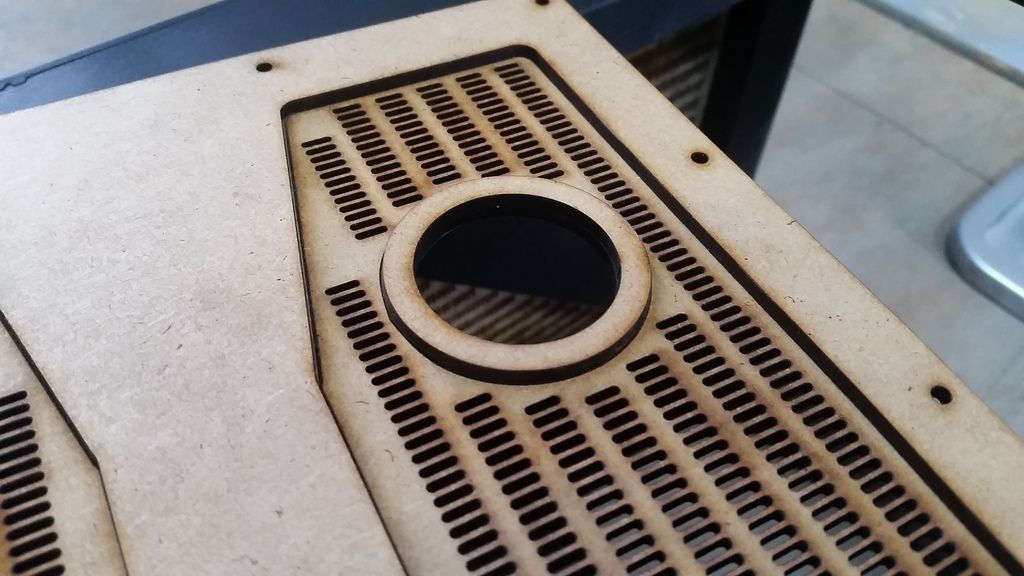
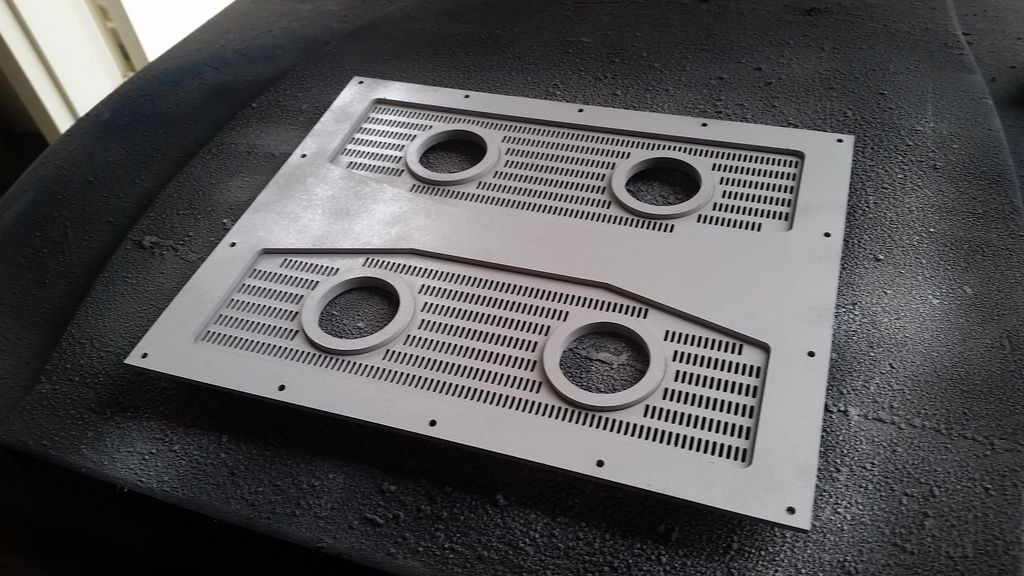
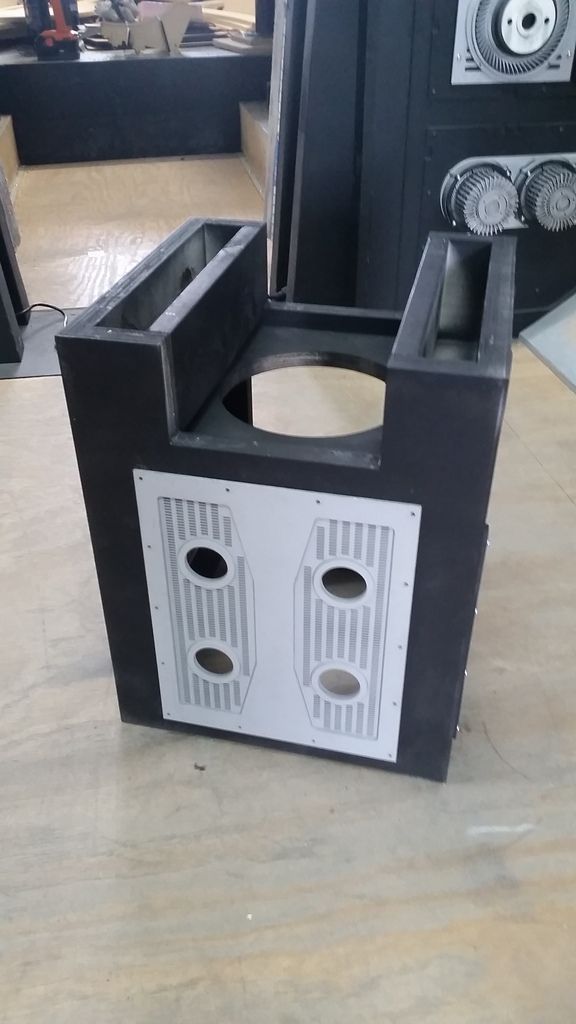
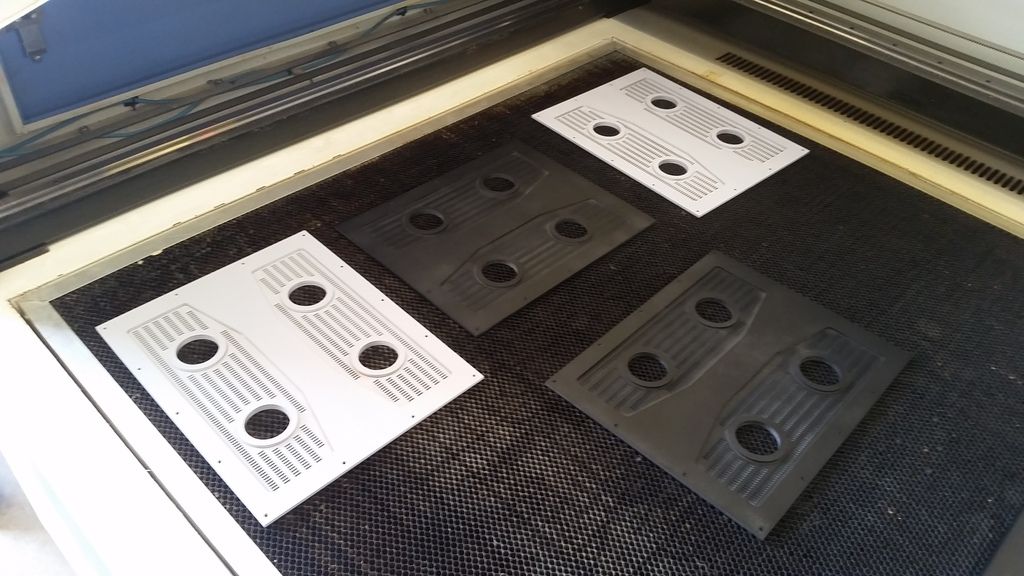
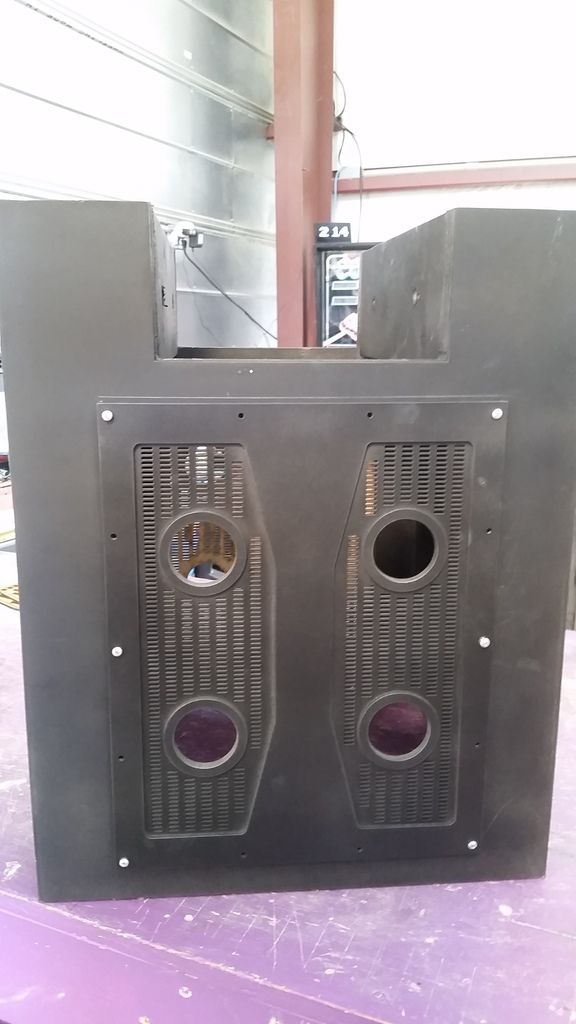
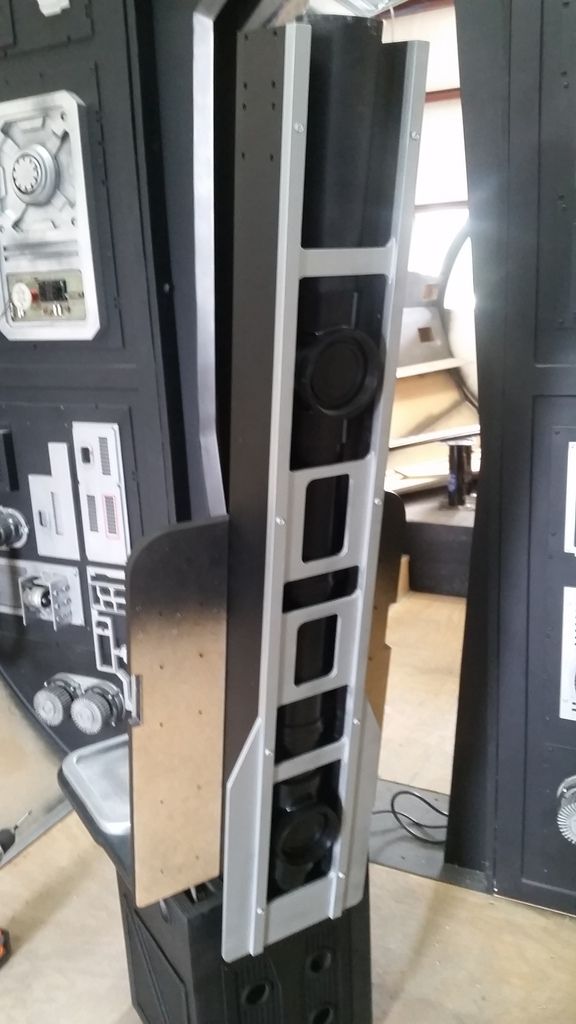
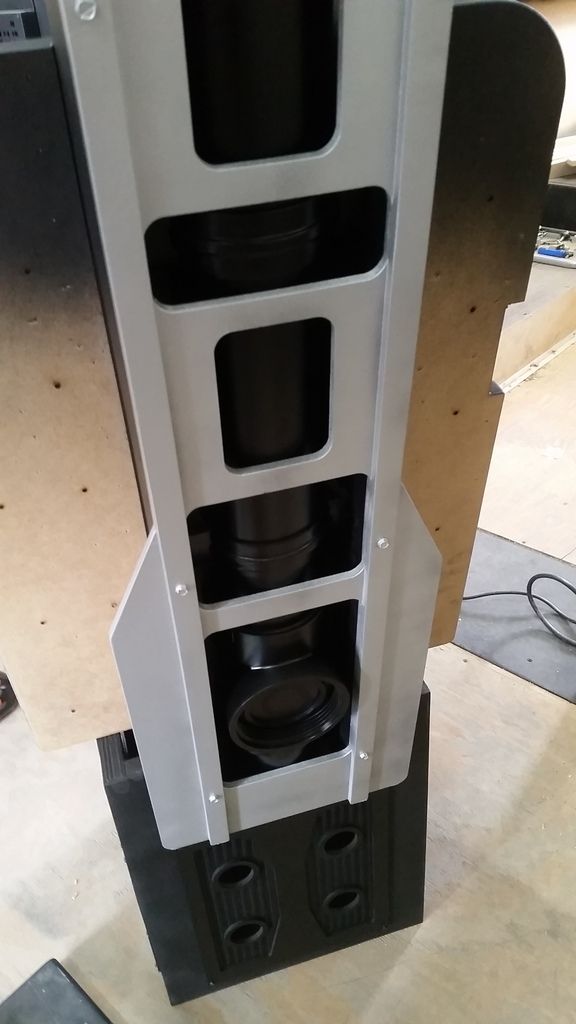
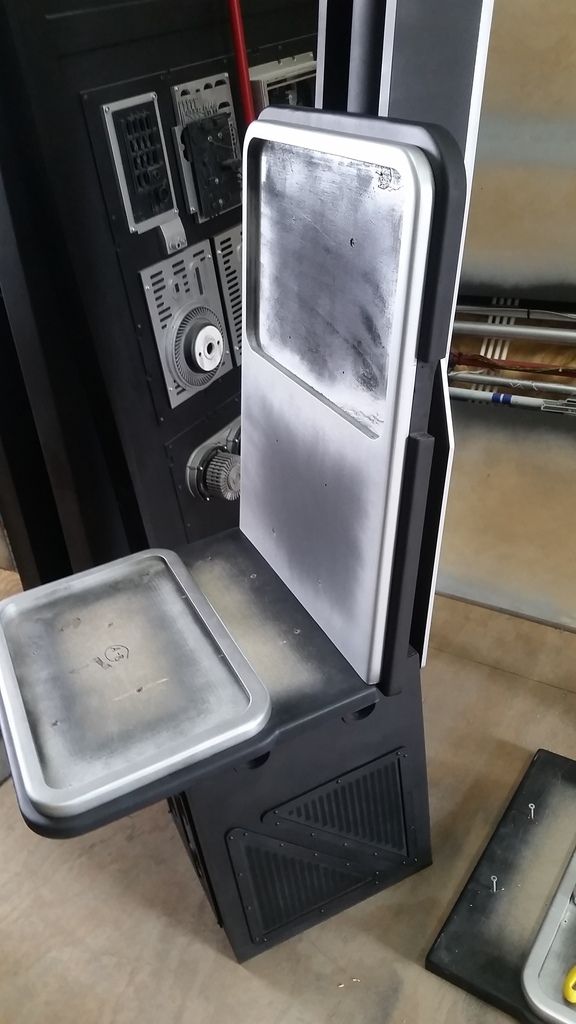
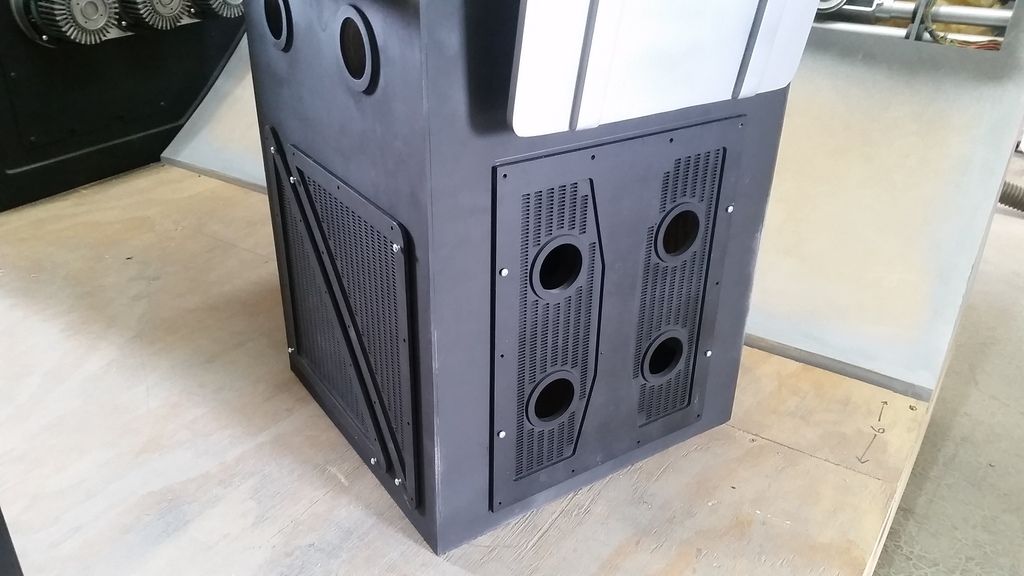
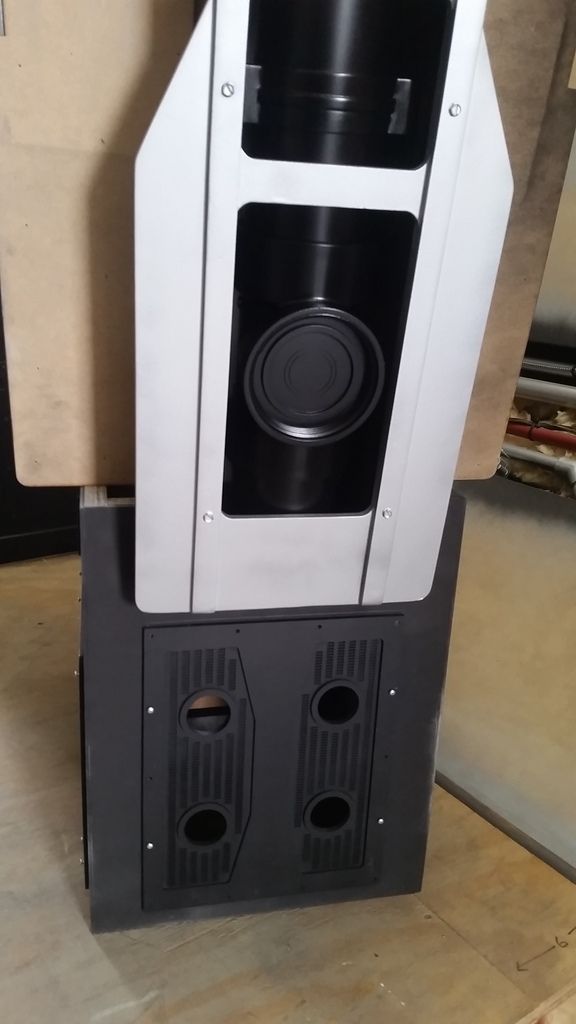
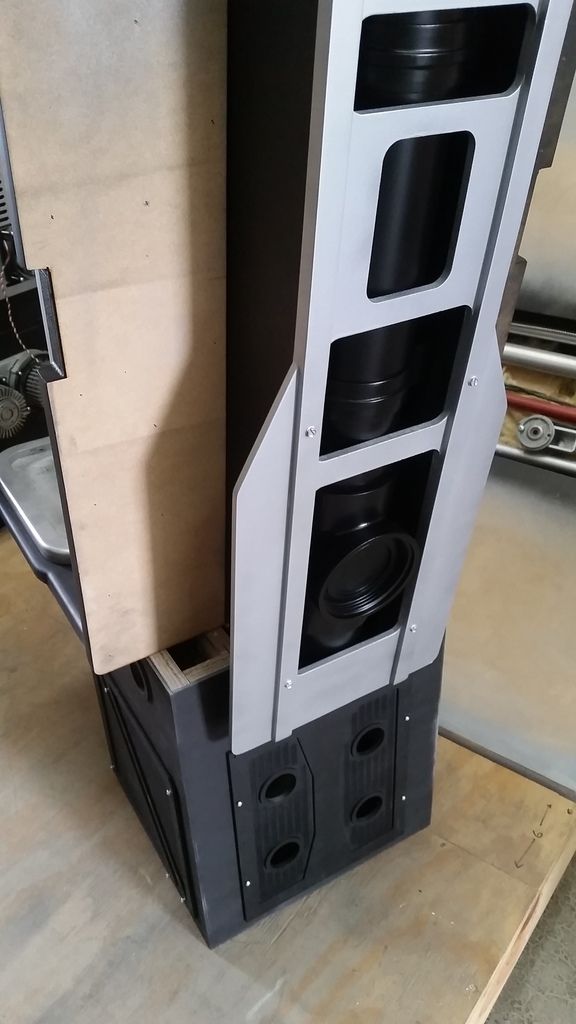
Venting is another issue we've been experiencing. Even with the open canopy you would be amazed how hot it gets in the cockpit. We're going to add vents to help circulate air but there only so much we can do. The original filming cockpit had an open panel below the main front window where they blew cool air up into the set piece. We can't do that because that would take away from the illusion.

PM Sent
 
Last edited:
I always thought the easiest place to start from would be to find an old simulator fairground ride. then simply change the existing body for the cockpit this way you already have a portable powered unit that comes with powerful enough rams to lift up and move (tip back to front side to side etc). obviously I don't know how available stuff like that is over there and how much but would certainly in my opinion give best starting point and then as well it becomes a ride.


on a side note I've always had similar ideas to create a x wing cockpit and connect it to a pc playing the old x wing games.
part of me hopes Disney does a mass simulator where you go in as 24 people 12 in x wings 12 in ties and you dog fight for say 10 mins highest scoring team wins how cool that be flying a x wing in a sim against other people.

loosebruce

Hey LB,

Having a moving cockpit would be amazing! However, the cost of one of those alone (plus routine maintenance) would create a serious setback in any forward progress. Unfortunately, we don't have deep pockets.

But I'm still really excited about the idea of an IMAX style screen or some sort of flight sim - no matter how crude. We gotta start somewhere, right? :)
 
Hello there!

So yes for the dented version... and yes for the pedestal grills speakers.

The trick with the rubber cement to create that special effect is very interesting.

I'd like to point out, that weathering/ paint chipping...has to make sense.

For example, weathering costumes you have to think of where is the most friction, most likely where the fabric will be more damaged... so in the elbow, the knee and the butt area , there,s gonna be color/dirt around the hem of the pants , the sleeves, around the collar...so you have to think about where the object is gonna get more damaged, attacked, scrubbed or touch, where is the friction is going to be...

this is the secret to have a more realistic feel to weathering...

so you have to be more careful... and not creating a random effect that doesn,t feel real... our brain can feel it but sometimes we,re not able to say what,s good or wrong...

I know that you have to be all those departments , all at once... plans, building, finances, technical stuff, electrician, research and painters and artists...

so I wish that I could help you in some way...

Can,t wait for the next updates,

Cheers .. Éric

Hey E,

Looks like the dented versions are winning out!

The rubber cement was really more a test than anything else. I'm going to sand the panel smooth and start over. But I'm going to have a few people get in and out of the chair to see where the major "rub" areas are and then focus on those while adding a random chip here and there.

And you are absolutely correct... the weathering has to appear real and very natural!

Thanks for the feedback! :)

- - - Updated - - -

I also say "yes" to the dented version and the pedestal grills.

In regards to the paint chipping effect with the rubber cement, I agree with Daboudzi but would also add that doing the black layer first, then the rubber cement, then the silver creates the illusion that the base material is something black and it's been painted over with silver paint, which has then chipped. I think you want to reverse that - base it with silver, then rubber cement (strategically), then over spray with black. That would result in the look of a metal surface that has been painted black, that's now chipped and worn.

OMG! I didn't even realize I had the paint backwards! LOL! Every now and then I need you guys to hit me in the head and keep my focused!

- - - Updated - - -

As always, LOVE seeing your work. I say yes for the pedestal grill speakers and dents. Also, I love the red engraved covers, even though not screen accurate. ;)

Hey B,

Thanks so much! The dents seem to be winning out. Thanks for the feedback on the grills. I love the red covers as well. I might keep the red saved for the Nav Computer chair and keep the cockpit chairs silver. Why not have the best of both, right?
 
Paint chips have a tendency to flake and have rather sharp lines (if you dent something with a metal/sharp object for example). Other spot on the chair are just touched/rubbed more often and these have a tendencies of having less of a sharp look and softer edges (the way you grab the metal with your hand, or rub the chair at the same place with clothing).
Keep up the great work Sofa:cool
 
OMG! I didn't even realize I had the paint backwards! LOL! Every now and then I need you guys to hit me in the head and keep my focused!

If you still want the edges of the chair to be light but also the underlying metal (i.e. silver paint) to shine through, I'd go for a matte grey colour. After rubbing off the pain over the rubber, I'd hit it with a wash. The black/silver contrast is quite strong, and with weathering, subtle is usually better. As I mentioned earlier on, sometimes the difference between shiny and matte is really all there's to it. Surfaces will usually degrade before they start to flake, so that the difference between the covering layer and the layer beneath is often not as sharp as you'd expect.

Weathering is tricky. As some said further up, identifying the parts of an object requires finding where objects wear in real life. It's a matter of experience and keeping an eye open to worn and crapped out stuff every time you take a stroll.
 
Hi Gang,

Time for another update! I took a much needed day off on Saturday and did absolutely nothing! It was awesome! ;) Sunday morning rolled in and it was time to work!

I picked up four of these 2" Footman Loops to install on the nacelles. Each chair gets one loop.
20170519_164230_zpsluzajktd.jpg


20170520_090437_zpsqyvgvufl.jpg


Drilled a shallow pilot hole
20170520_090638_zps5geh2lfu.jpg


EXACTLY 1"!? How does that happen? ;)
20170520_090826_zpst5ulrg9n.jpg


20170520_090927_zps3eji4d2n.jpg


20170520_090935_zpsp6q6hnfk.jpg


I did another "Rubber Cement" test. Paint silver
20170519_164639_zpstfbasbco.jpg


20170519_180547_zpsly0vcxpu.jpg


Applied the cement then painted black
20170519_180620_zpsmspsfemm.jpg


I took my time applying the cement and turned out much better than I expected
20170519_180624_zpsikf5q2gi.jpg


20170519_180644_zpszhnyvmcq.jpg


20170519_180648_zpsm0kcofgr.jpg


20170519_180728_zps9tg9umh3.jpg


Again, this was just a test and I don't think this type of "weathering" will work on these chairs
20170519_180733_zpsvp2xtenu.jpg


Starkiller and Iz are working together on the upper head piece. We're REALLY close to getting that 3D printed. In the meantime Starkiller created a simple mock-up
20170519_164649_zpsrelw7vcj.jpg


I had to design / add the mounting tabs
20170519_171905_zpsbyelmzc5.jpg


20170519_172008_zpsrslpdj8r.jpg


So nice seeing the basic shape in place!
20170519_172026_zps3cmkjgkg.jpg


The mounting points have to change - they interfere with all the other interior frame greeblies
20170519_172036_zps1cxoh6mj.jpg


20170519_172042_zpstyjpsupb.jpg


Dented up the other nacelle caps
20170520_090331_zpsk3u701ya.jpg


20170520_090340_zpst3oqw3hc.jpg


I started drilling / mounting the other armrests
20170520_102529_zpsqbdfiloq.jpg


20170520_102536_zpssopzvj9g.jpg


20170520_102557_zpst9yrfwnh.jpg


20170520_102601_zpssr997vlc.jpg


I had to laser cut a spacer piece for the other side
20170521_070909_zpseuifbxip.jpg


I then added paint to other areas of the build
20170521_081224_zpsdvnfkzax.jpg


20170521_081228_zpshqet8onj.jpg


Taking the advice of fellow RPFer "Friendly Flier" I decided to paint the "Ejection Tubes" a semi-gloss
20170521_083150_zpsma8fggds.jpg


I really like how they turned out!
20170521_083343_zpsqhm9wndb.jpg


Flat vs Semi
20170521_085411_zpstamdypbd.jpg


20170521_090737_zpsmhqzj90p.jpg


While the paint dried I jumped back to the pedestals
20170521_082616_zpsk6ouk7gf.jpg


I also designed more "speaker" covers for the pedestals
20170521_081205_zpsd0thf4fi.jpg


20170521_083434_zpsew0ejsph.jpg


Basic shape
20170521_095818_zpsqydb5h0r.jpg


20170521_095824_zpslatvdhtx.jpg


Primer
20170521_100604_zpsvzadk9sj.jpg


20170521_115149_zpsc4mpl8p7.jpg


20170521_133344_zpsjjc5wpwa.jpg


Getting the other two finished up
20170521_130004_zpsucge0z7y.jpg


20170521_141429_zps6c6avmbf.jpg


These are going to be PERFECT for bass speakers!
20170521_141434_zpsecyoyi2j.jpg


Sadly... I ran into a BUNCH of brads so some screws wouldn't go it... :facepalm
20170521_141441_zpstbepybw4.jpg


I then took everything off the other two nav chairs, sanded everything smooth, cleaned, painted and FINALLY added the silver to the back panel
20170521_104024_zpsrcf2qy0d.jpg


20170521_104914_zpsltyqpcaw.jpg


20170521_121011_zpsjk3qtbui.jpg


Painted the trim panels silver
20170521_133331_zpswekakq0t.jpg


Time to start seeing how everything looks all married together
20170521_145406_zpsyv4dkc0l.jpg


20170521_145418_zpsxstnylfk.jpg


20170521_145431_zpssnvtwotc.jpg


I also ran out of black paint...
20170521_160059_zpse5rxfol0.jpg


20170521_160104_zpsnyqhusli.jpg


That semi-gloss really pops!
20170521_160109_zpsf9duguaz.jpg


20170521_160113_zpscuptsmpb.jpg


20170521_160118_zpsf7lj3lap.jpg


20170521_160125_zpspkuxufke.jpg


Armrest
20170521_160200_zps81ffmrnc.jpg


I then cut to size and painted the upper part of the ejection tubes
20170521_162026_zpsvikm8ul0.jpg


Painted and dry fit
20170521_164027_zpswcmowjub.jpg


NICE!
20170521_164033_zpsy1t0zwg9.jpg


20170521_164053_zpshb9nysd5.jpg


And this is where we are! So CLOSE to finishing! :)
20170521_164110_zpsrjfrecjm.jpg


Stay Tuned! We have a canopy to build next!
 
Nice progress, you're tackling these two other chairs really fast. it was a good idea to not make all three of them at the same time and use the first one as a ginea pig instead
 
Very good progress on those Nav Chairs...and again, the wear and tear on these are a bit better now, but it's still too much (an unnatural) in some parts. If you have to ding them, wear a belt and a gun or any other metal piece and think of you as Han Solo or Chewie and how they would touch/ding them to access their front seats. You'll see the result fast;)
 
Hey there! Long time observer, first time commenter! ;-)

First, I love your work and I love getting to see your progress. Your dedication is awesome and I applaud your efforts - this is an amazing project.

A weathering technique for you to consider: put down your base color, hit it with two clear coats and then your top coat. Lightly sand away the top coat along the edges, etc. The clear coat will protect the base color. The result will provide you a nice "worn" feel as if a lot of sliding over the surface has occurred - you can use this technique to compliment the rubber cement effect. Just a thought for your consideration.

Keep up the great work!
 
Hi Guys! I'm sure you have already seen this, but it is epic to think there is a full scale Falcon built already somewhere in the world, I guess all the debates about measurements and sizes are now settled with this?
Millennium Falcon - set exterior above left Episode VIII.jpgMillennium Falcon - set exterior above right Episode VIII.jpg
 
Paint chips have a tendency to flake and have rather sharp lines (if you dent something with a metal/sharp object for example). Other spot on the chair are just touched/rubbed more often and these have a tendencies of having less of a sharp look and softer edges (the way you grab the metal with your hand, or rub the chair at the same place with clothing).
Keep up the great work Sofa:cool

Thanks J,

I think its safe to say that each chair would have a different wear pattern considering their location(s). I like the technique but I think I'm going to leave the weathering alone and let them naturally wear. I think that might have a much better and natural look and feel.
 
If you still want the edges of the chair to be light but also the underlying metal (i.e. silver paint) to shine through, I'd go for a matte grey colour. After rubbing off the pain over the rubber, I'd hit it with a wash. The black/silver contrast is quite strong, and with weathering, subtle is usually better. As I mentioned earlier on, sometimes the difference between shiny and matte is really all there's to it. Surfaces will usually degrade before they start to flake, so that the difference between the covering layer and the layer beneath is often not as sharp as you'd expect.

Weathering is tricky. As some said further up, identifying the parts of an object requires finding where objects wear in real life. It's a matter of experience and keeping an eye open to worn and crapped out stuff every time you take a stroll.

Hey FF,

YES! The weathering is tricky! Since I'm looking on 3-5 different chairs to include the real Martin Baker chairs, as I stated above, its just easier to let them wear naturally. I would love to use the technique but I'll hold right now. Let me get them finished, stand back and enjoy and then maybe address the weathering at a later date.

Thanks for the great advice! I'll DEF use it when the time comes! :)

- - - Updated - - -

Nice progress, you're tackling these two other chairs really fast. it was a good idea to not make all three of them at the same time and use the first one as a ginea pig instead

Hey OC,

Thanks so much! That was exactly the plan! Get one started and then take the "Dos" and "Don'ts" and apply them to the other two. :)

- - - Updated - - -

Very good progress on those Nav Chairs...and again, the wear and tear on these are a bit better now, but it's still too much (an unnatural) in some parts. If you have to ding them, wear a belt and a gun or any other metal piece and think of you as Han Solo or Chewie and how they would touch/ding them to access their front seats. You'll see the result fast;)

Hey J,

Thanks! Agreed! It was really more a test. A chip here and there near the armrests would look ok but an entire "fleet" of chips looked totally out of place. As I mentioned, I'm going to hold off until the chairs are done and then address the wear and tear. I still have a lot to do and I have a holiday weekend approaching so it should be fun! :)

- - - Updated - - -

My only comment on the weathering would be to concentrate it on the edges and corners. Other than that, it looks good to me.

Hey LtW,

Thanks! I agree! There were a bit too many chips. It was just a test and the technique worked really well. Just going to hold off for now.
 
Hey there! Long time observer, first time commenter! ;-)

First, I love your work and I love getting to see your progress. Your dedication is awesome and I applaud your efforts - this is an amazing project.

A weathering technique for you to consider: put down your base color, hit it with two clear coats and then your top coat. Lightly sand away the top coat along the edges, etc. The clear coat will protect the base color. The result will provide you a nice "worn" feel as if a lot of sliding over the surface has occurred - you can use this technique to compliment the rubber cement effect. Just a thought for your consideration.

Keep up the great work!

Hi JM,

First, thanks for taking the time to comment and most important, thanks for the continued support! :)

Thanks for the great advice! I tried using the clear over the silver metallic several times over the course of the build but I've never had success spraying over the metallic paint without the paint cracking or some sort of negative reaction. I haven't looked deep enough into what paint(s) works best together but that's been the only reason why you never see me spray a clear over the metallic. I know there are scale model paints that allow for a clear coat but again, I'm not sure which is best nor the cost involved. So, I keep it simple right now. ;)

When the time comes to weather the chairs and add the chip makes, I'll DEF look more into the "Chipping" technique and what paints to use.

Thanks again for the support!
 
Hi Guys! I'm sure you have already seen this, but it is epic to think there is a full scale Falcon built already somewhere in the world, I guess all the debates about measurements and sizes are now settled with this?
View attachment 730665View attachment 730666

Hey BK,

Those are pics from EP8! If I'm not mistaken, late last year a couple of guys jumped the fence to the filming lot, climbed all over the sets to include the MF! They got some great exterior / interior pics but they were ill gotten gains for all of us. The most upsetting part was seeing them stand and walk all over the prop. It was cringe worthy! Again, great images but very disrespectful all the way around.

I hope to have one of those in my backyard soon where we can all walk around and enjoy! :)
 
Ever since that guy posted photos of his real ejection seat, I've been wondering if anyone will attempt to, in a sense, re-manufacture it. There are lot of hobbyists with metal-working skills. After all, we've seen metal R2-D2s and other projects that were done "for real". These chairs looks relatively achievable, with basic metal forms and rivets. Does anyone know of a project to do a chair in actual metal?
 
Hey BK,

Those are pics from EP8! If I'm not mistaken, late last year a couple of guys jumped the fence to the filming lot, climbed all over the sets to include the MF! They got some great exterior / interior pics but they were ill gotten gains for all of us. The most upsetting part was seeing them stand and walk all over the prop. It was cringe worthy! Again, great images but very disrespectful all the way around.

I hope to have one of those in my backyard soon where we can all walk around and enjoy! :)

I know of the pictures you refer, and these are kind of new, not from that batch, if you look at the original scenery from those rascals it was not like what we see here, this is a new place, and the pictures are fairly new....awesome to work on that!!
 
Really late on reporting this, Sofaking, but the letters in your Aurebesh text on the nacelle caps are backwards.

Chalk it up to 3-fingered alien slave labor on a 3rd world planet with barely a school in sight. All they do is make nav chairs all day long. Han doesn't care if they can't spell. ;)
 
Hey! on this site: https://sites.google.com/site/millenniumfalconnotes/the-sets I found some back info on the seats: "The seats are a prominent example of the reuse of found items. The pilot and copilot seats, for example, are apparently largely unmodified car seats. Some sources claim they were from a 1970s Porsche, whereas other sources claim they were custom auto seats made by Cobra. The two rear seats, with their distinctive high backs and headrests, are heavily altered jumpseats from a British fighter plane (specifically Martin Baker Mk IV ejection seats from an RAF de Havilland Sea Venom), adorned with additional details, such as circular radial-patterned 1970s Tupperware lids."
 
Last edited by a moderator:

Your message may be considered spam for the following reasons:

If you wish to reply despite these issues, check the box below before replying.
Be aware that malicious compliance may result in more severe penalties.
Back
Top