Hi sofa
For hinges what about these:
https://www.caravanaccessoryshop.co.uk/product/locker-stay/534
Also look at related items for different ones.
These are all different ones I sell at work that caravans use for cupboards etc.
Hope that gives some inspiration.
But tbh I would have thought you could make your own by creating a outer body and slider and fit a spring inside that is right tension you need then you could get look you after.
As for spares leave it with me I will get a link for you as they are all in a new section of the website that's not fully live yet and I only have link to it works pc.
(Depending on hinges I might be able to sort you a couple I have found several old regulators etc that at some point I'd like to send over to you but I need to make sure I have money's worth to send).
Loosebruce
Hey LB,
Those hinges/struts are perfect! What is the spring rating? The panel lid is only 1 - 2 pounds so I wouldn't even need the actual spring.
I considered making my own but I think something that has been tested and proven to work is a better path forward.
I appreciate your willingness to help out! THANK YOU SO MUCH!!! I'll send you a PM to discuss details!
- - - Updated - - -
I would love if this movie finally showed other parts of the Falcon, or from different angles
Hey BK,
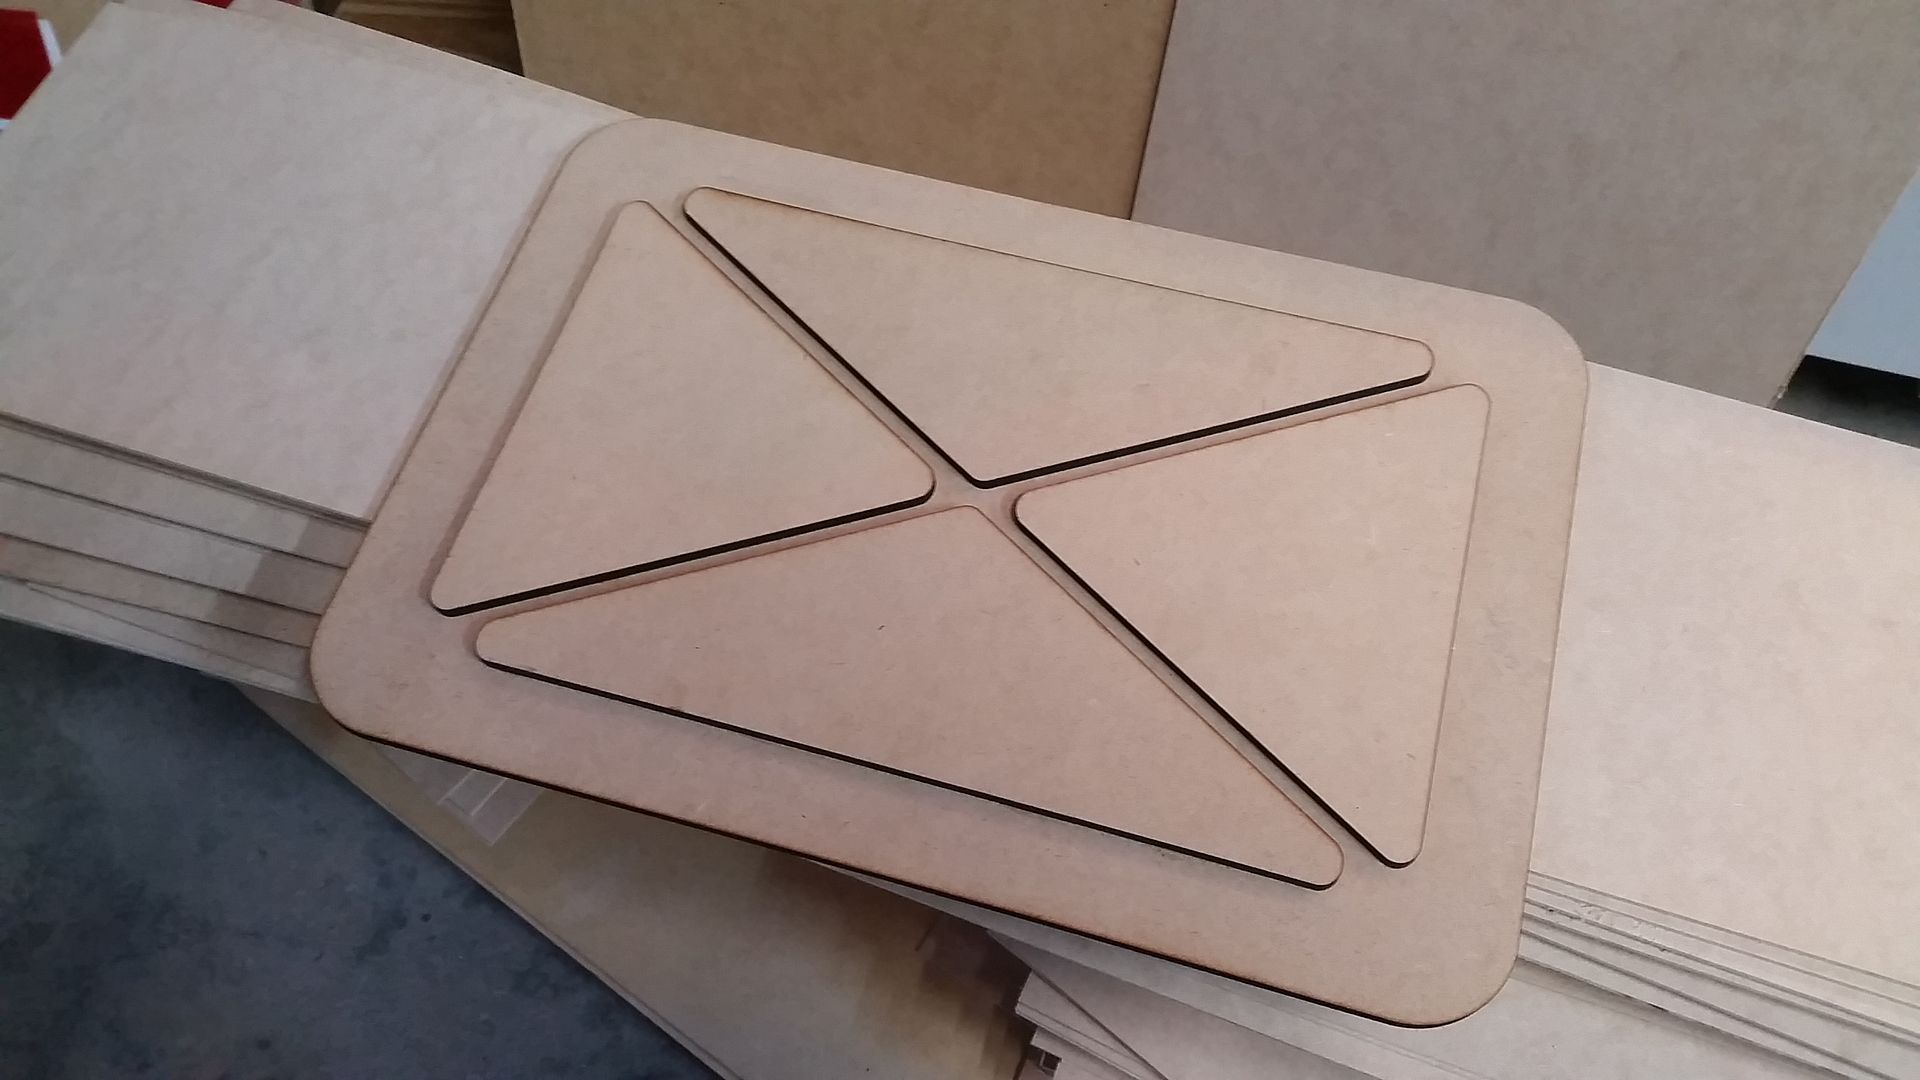
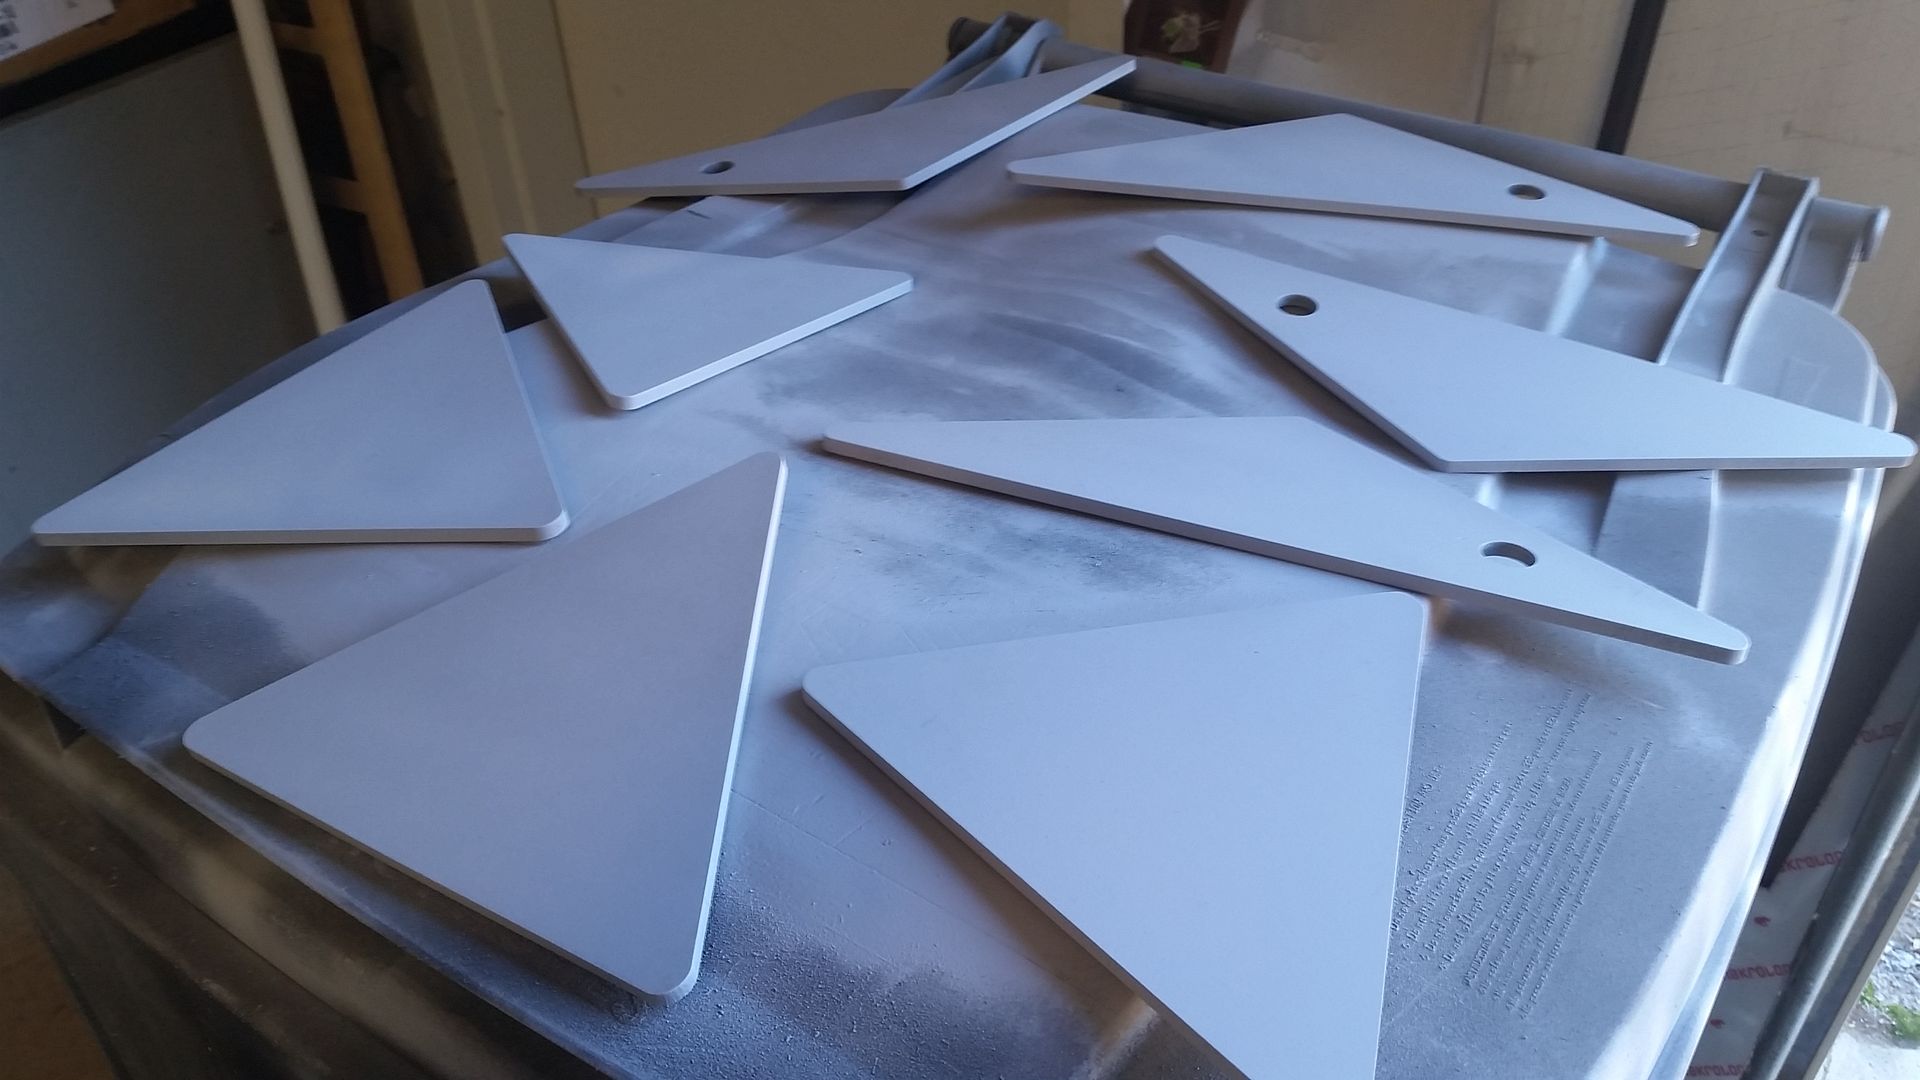
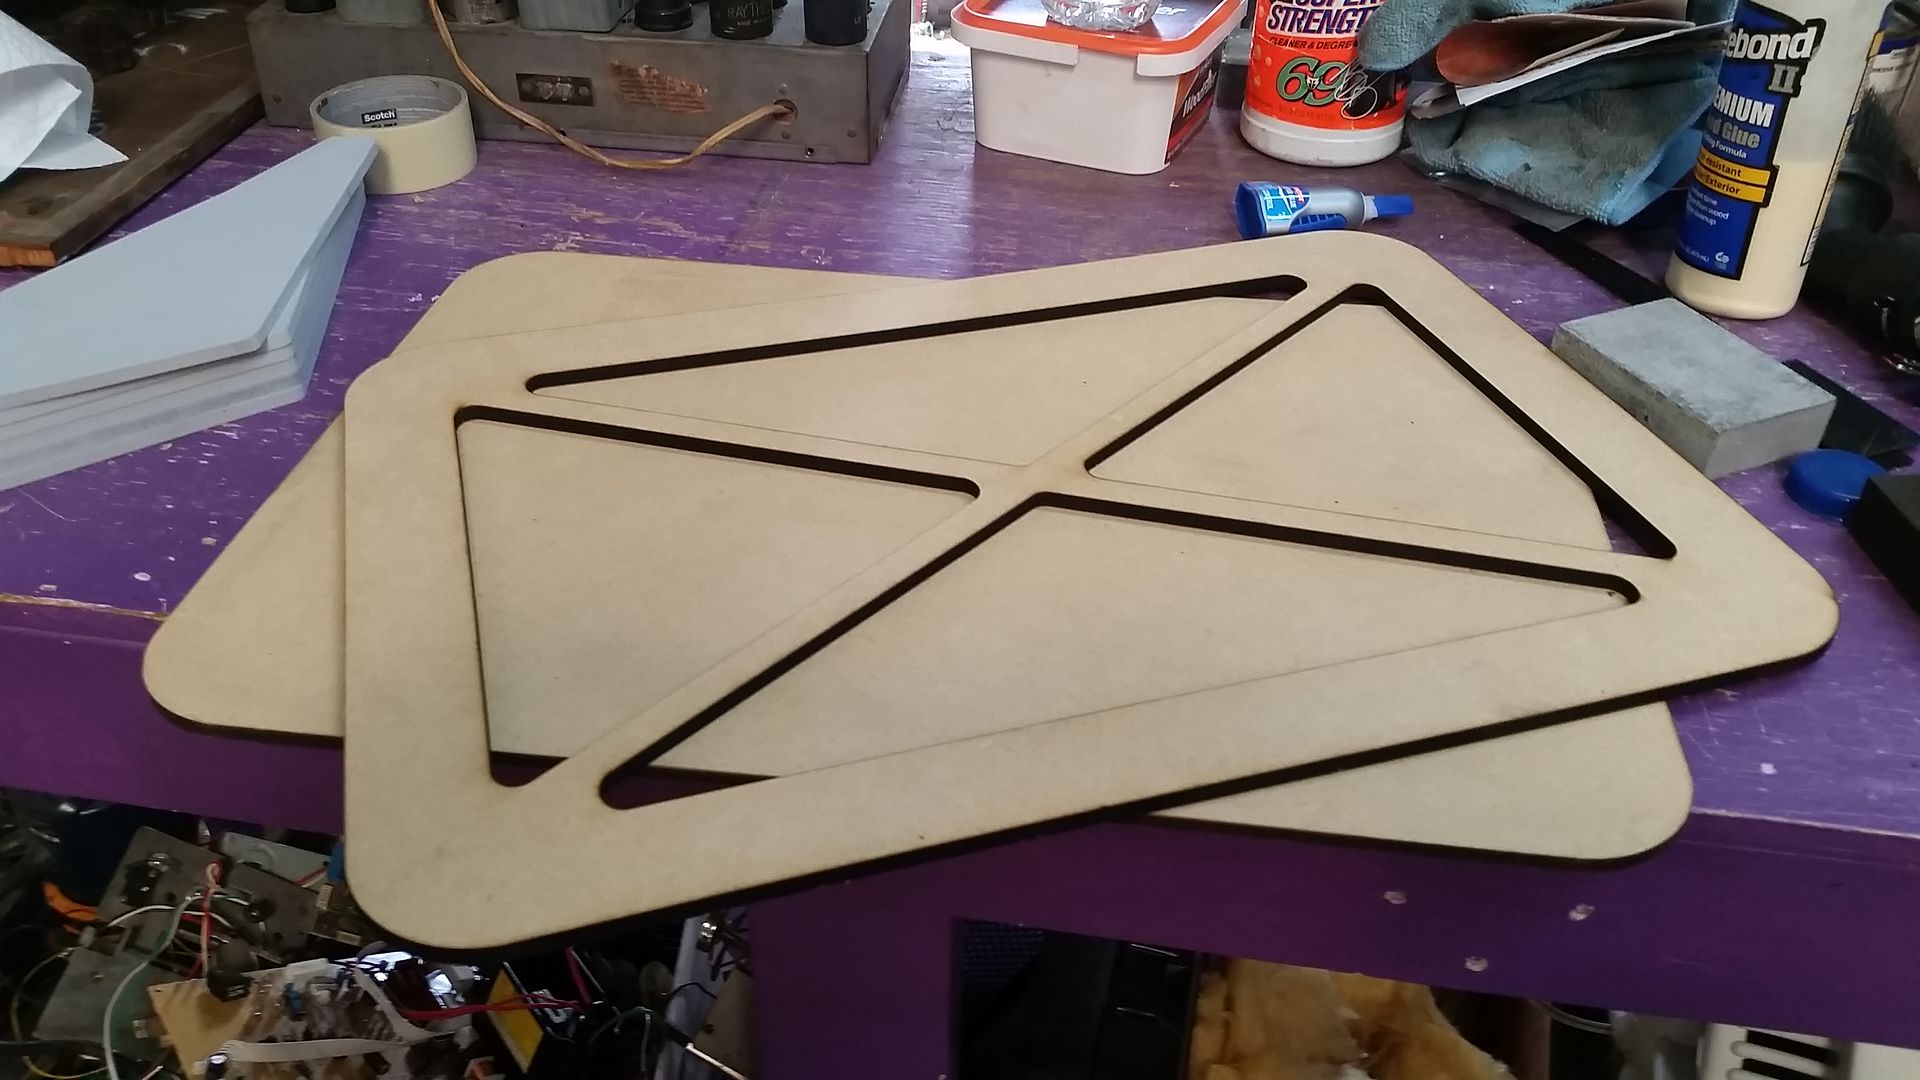
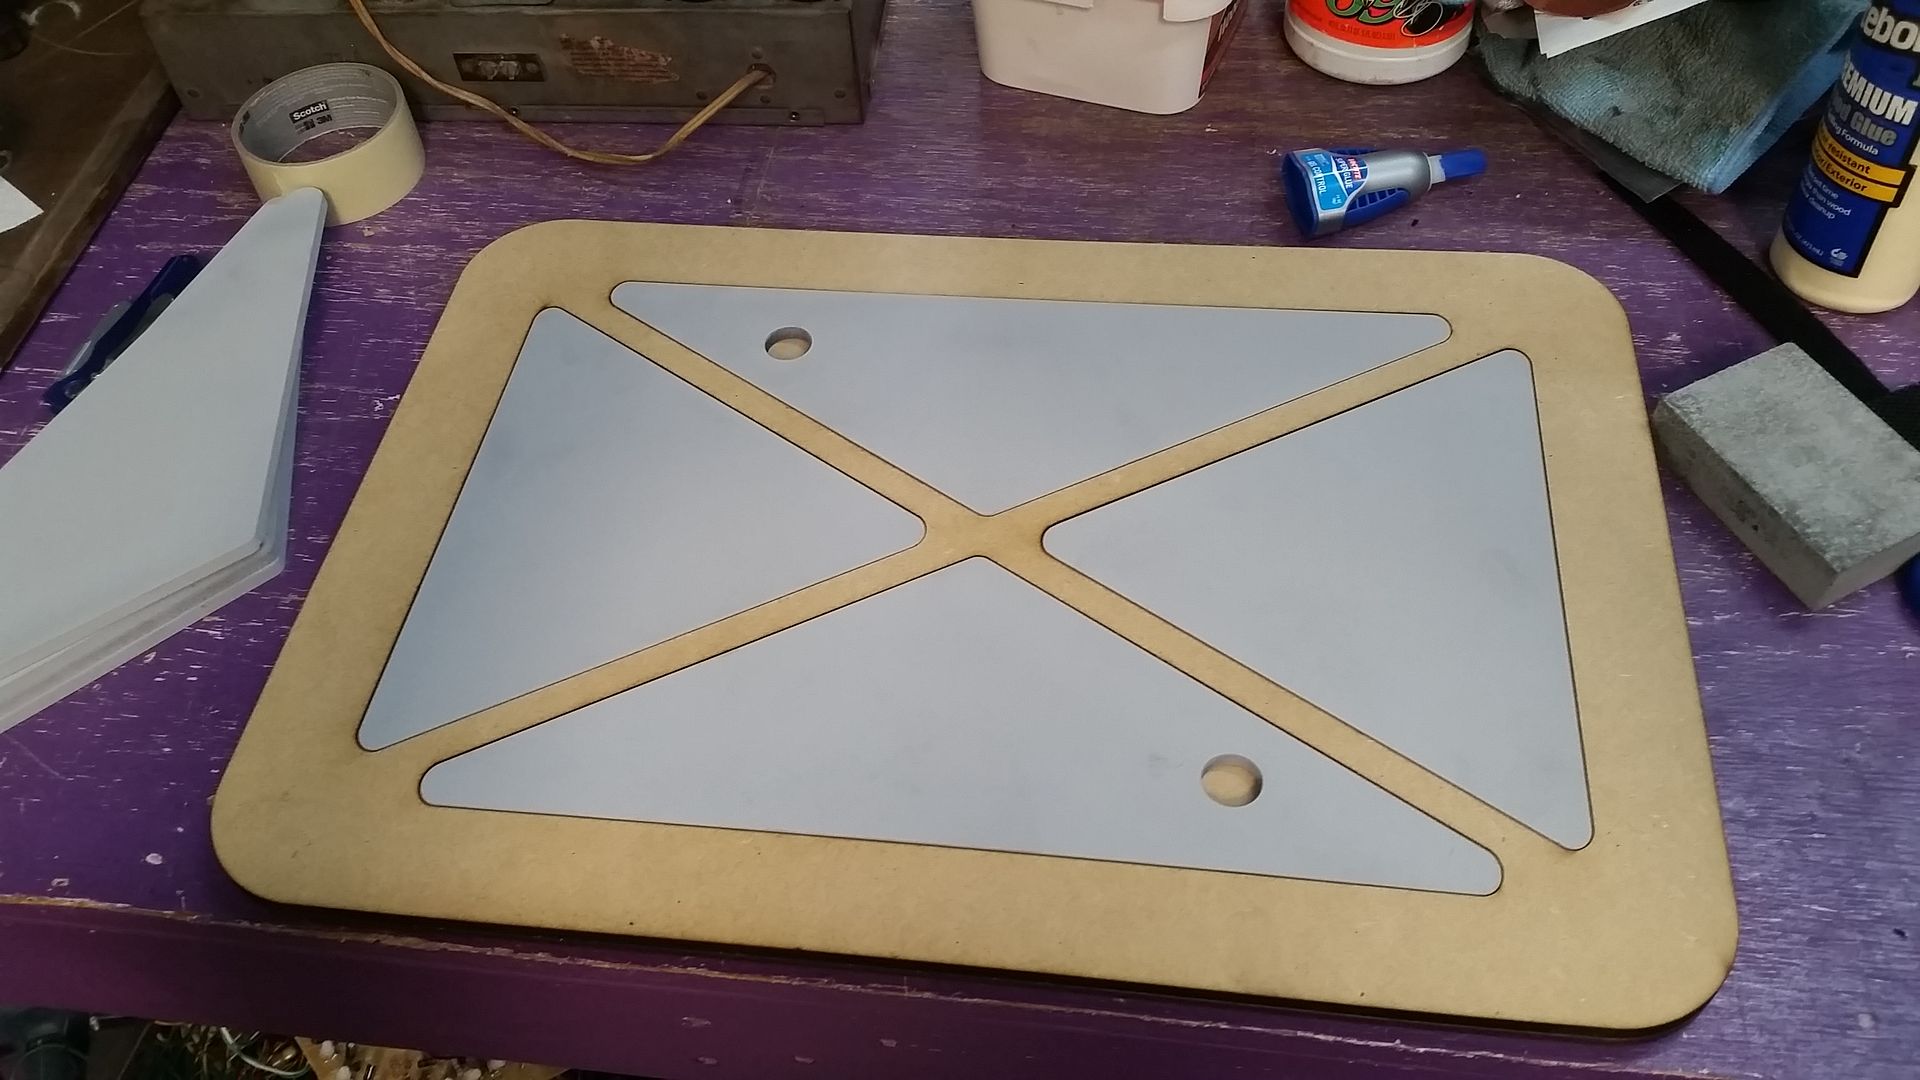
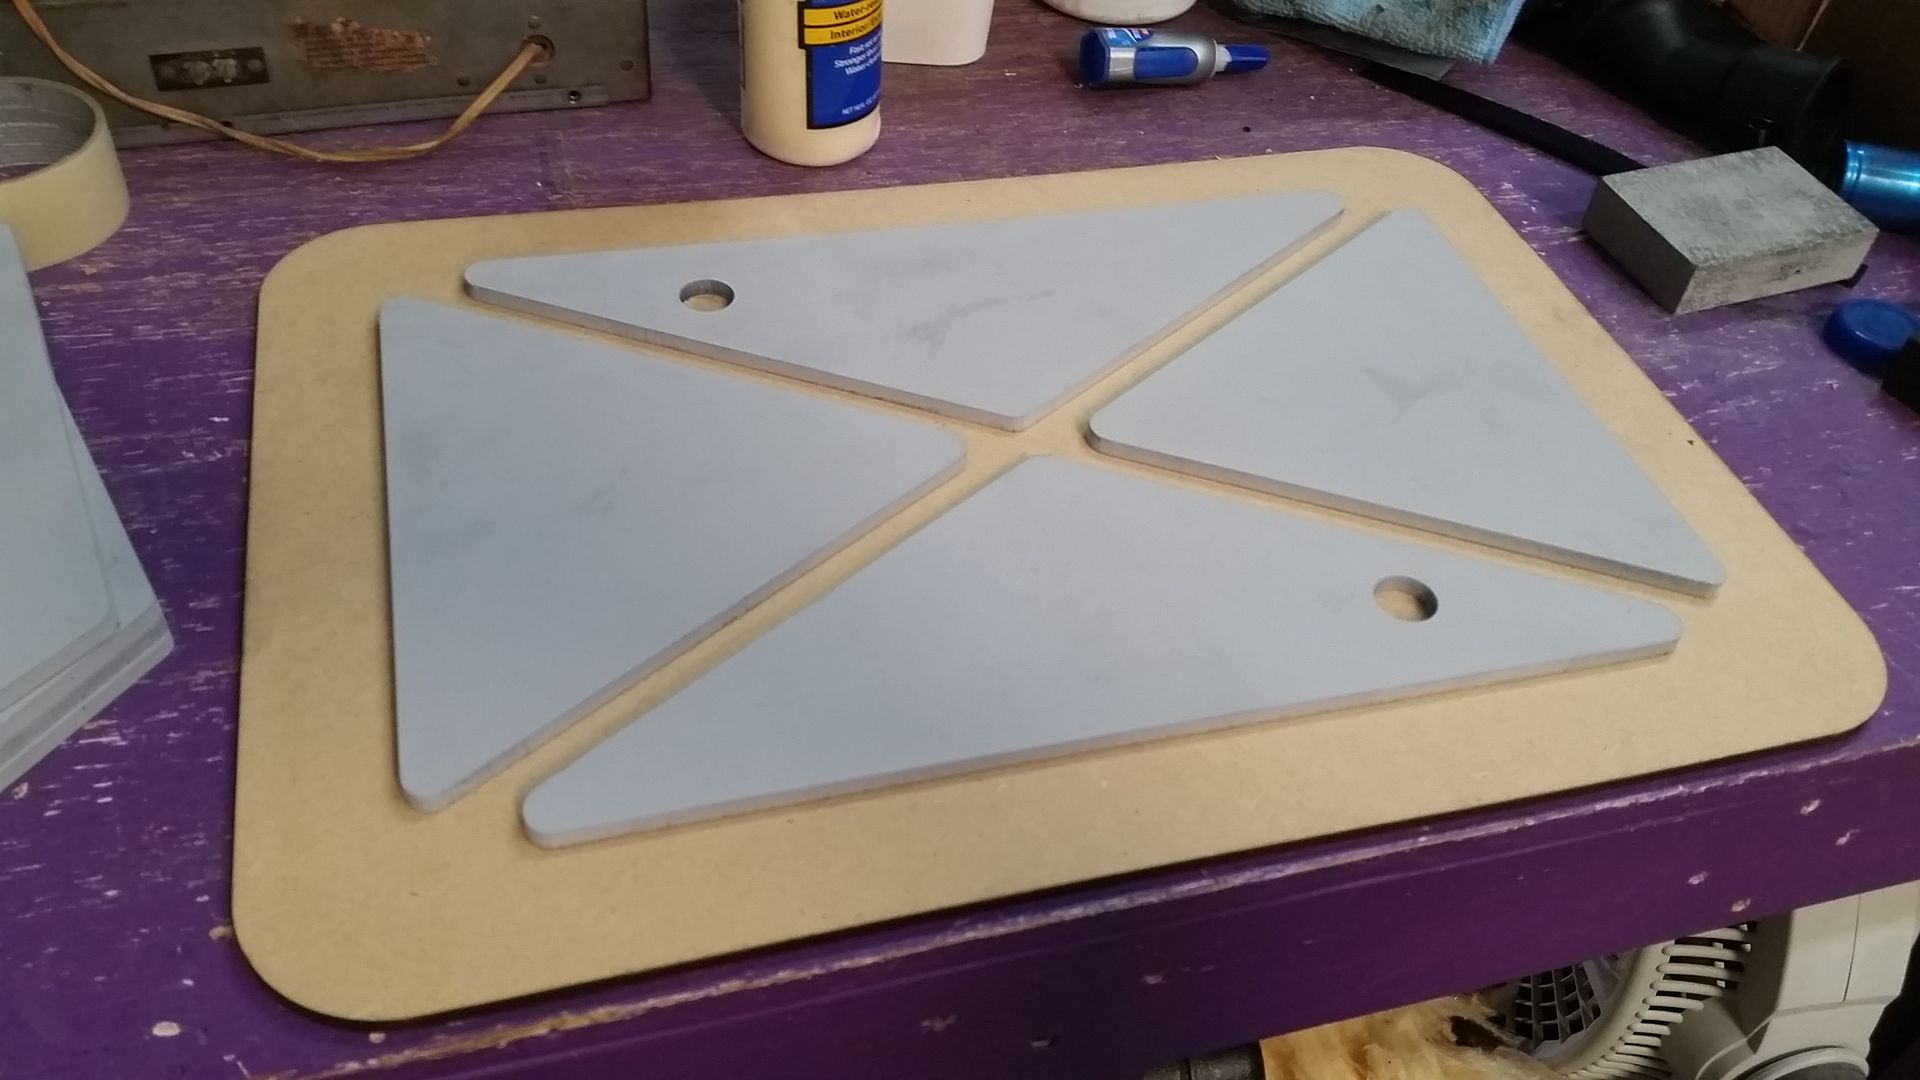
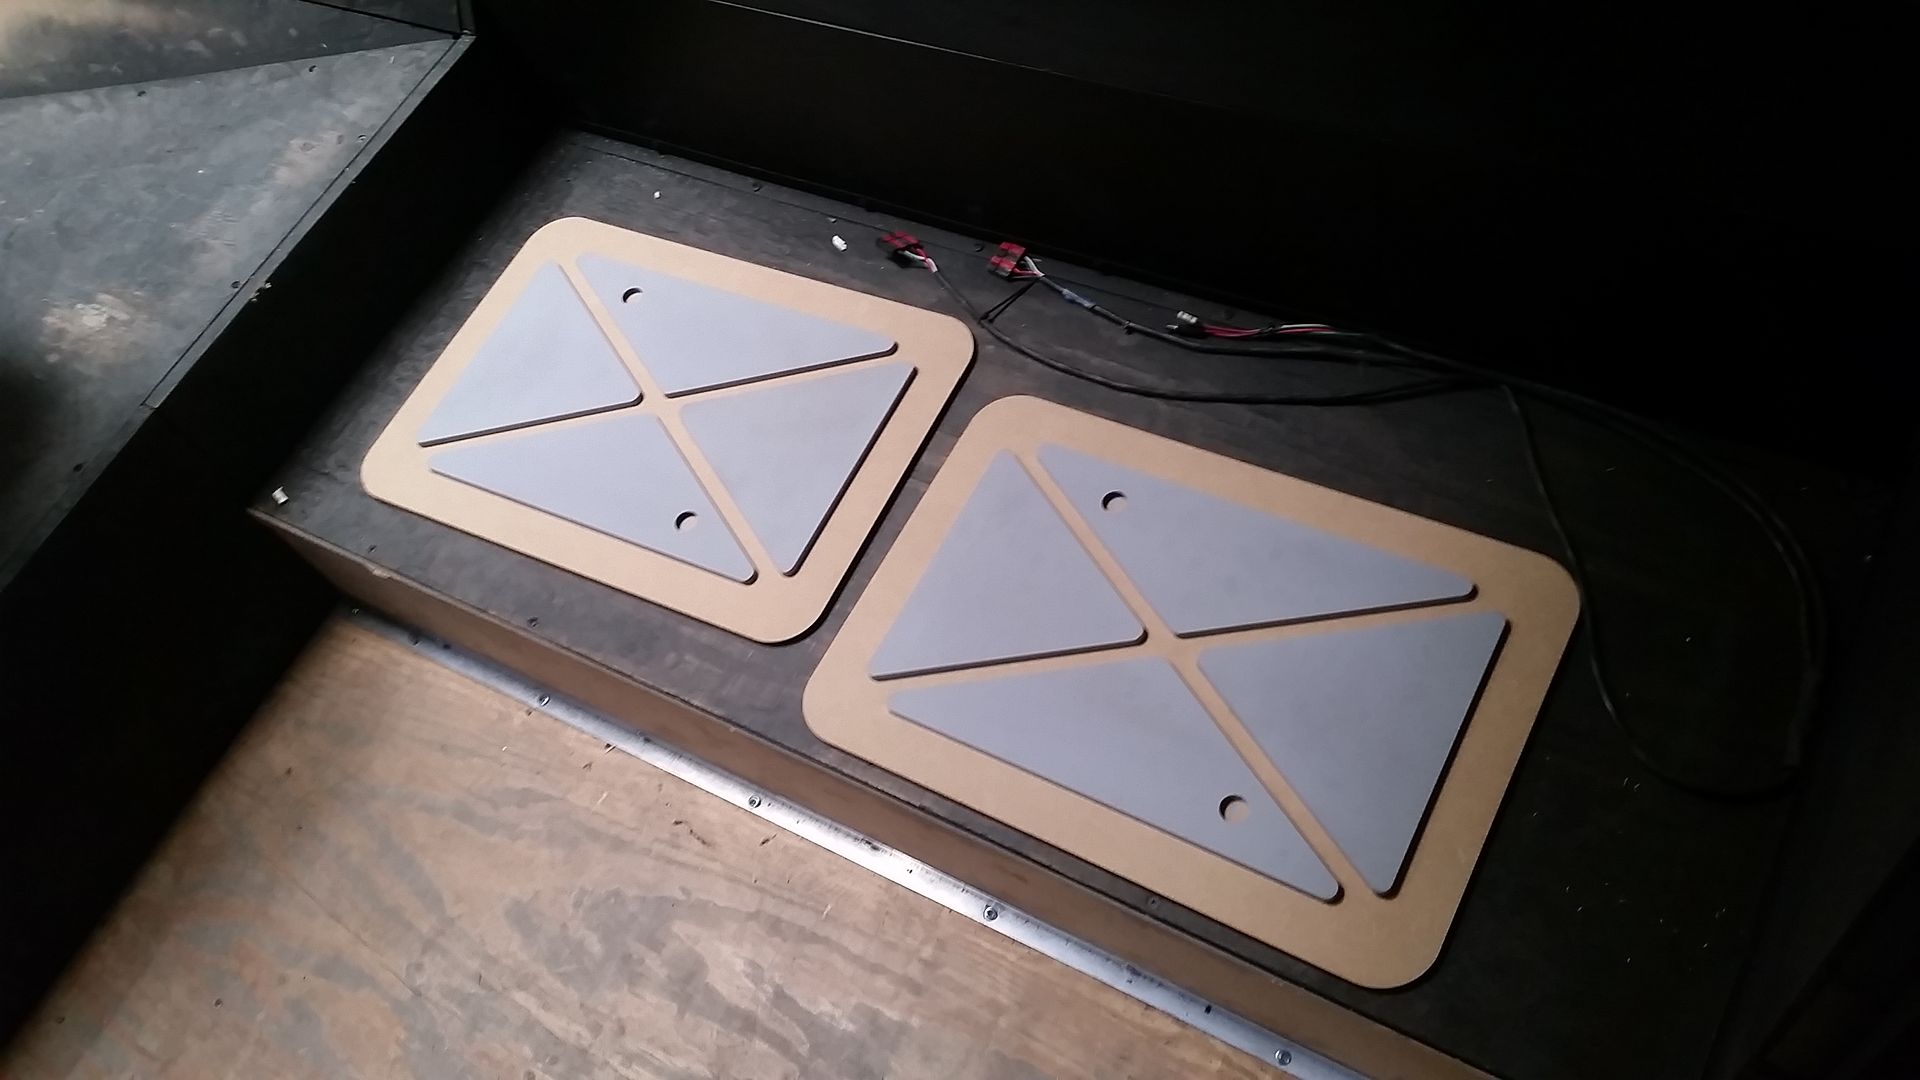
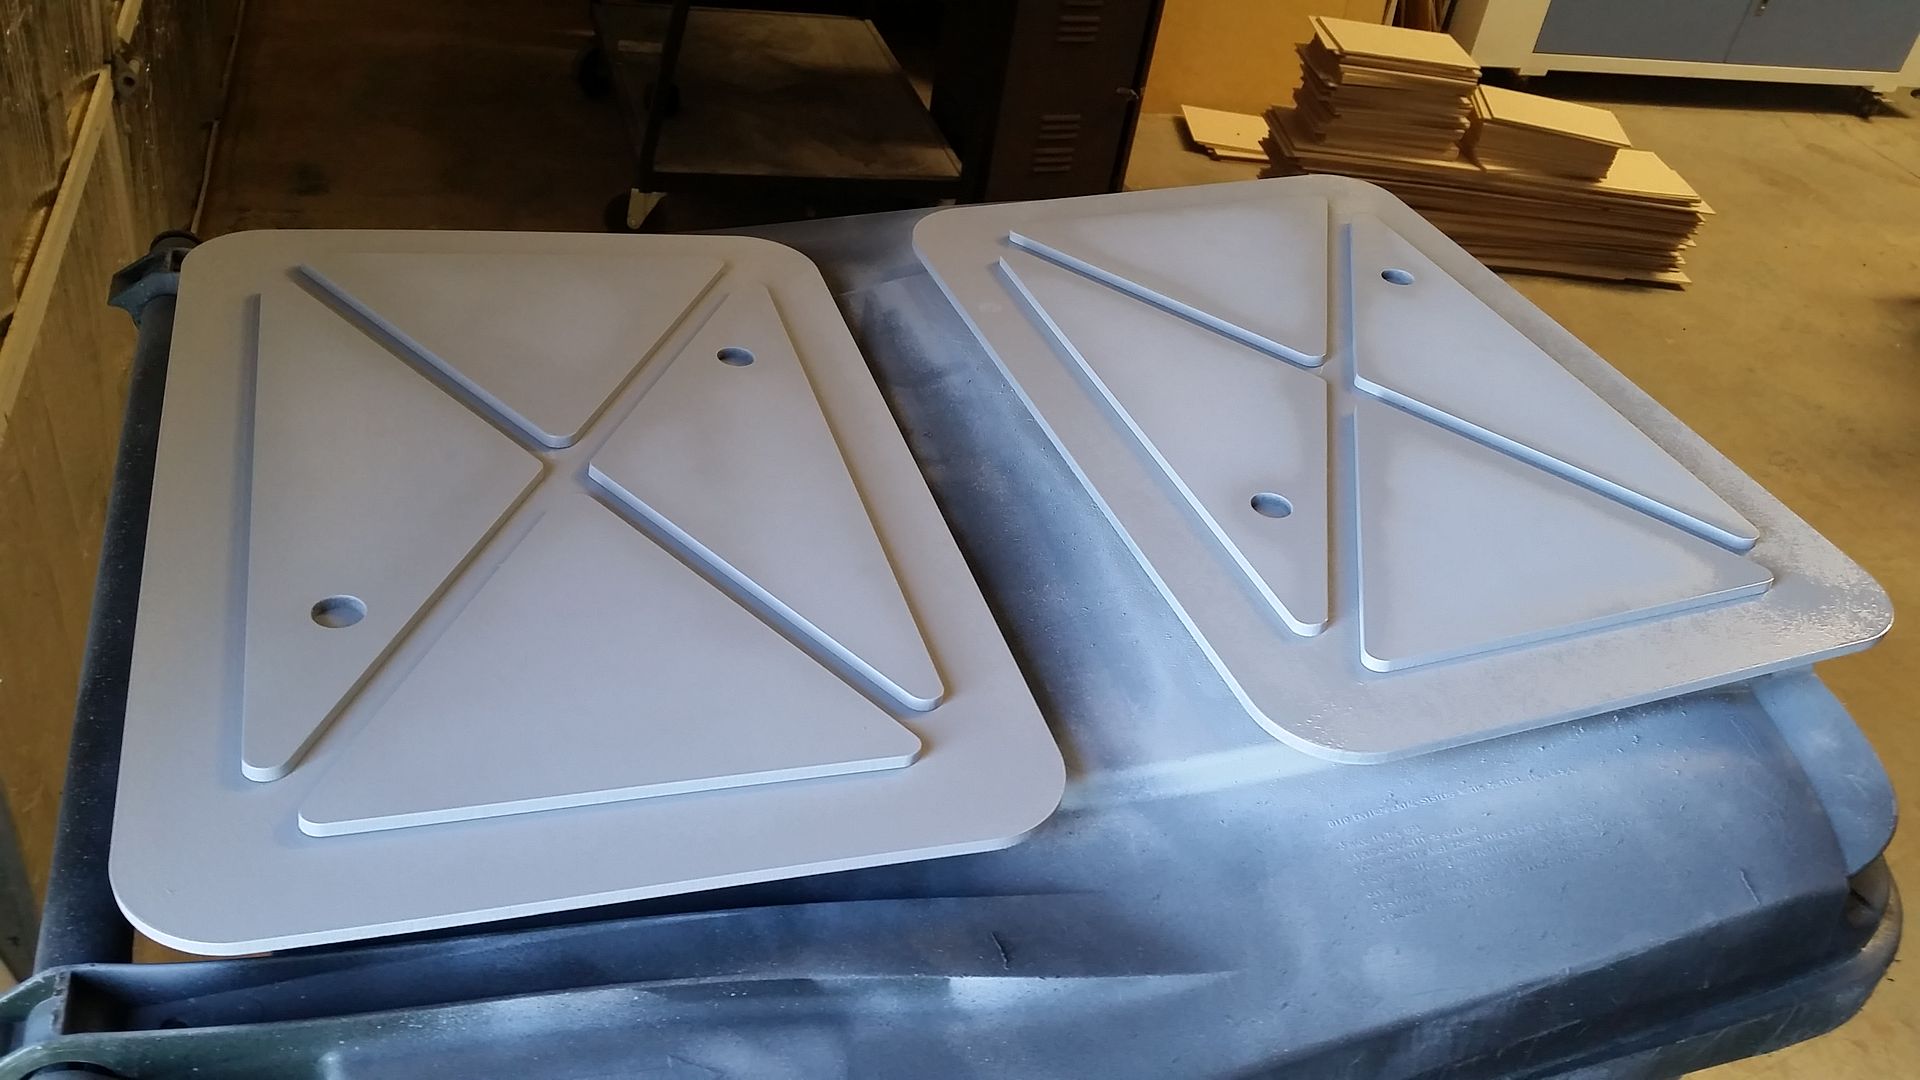
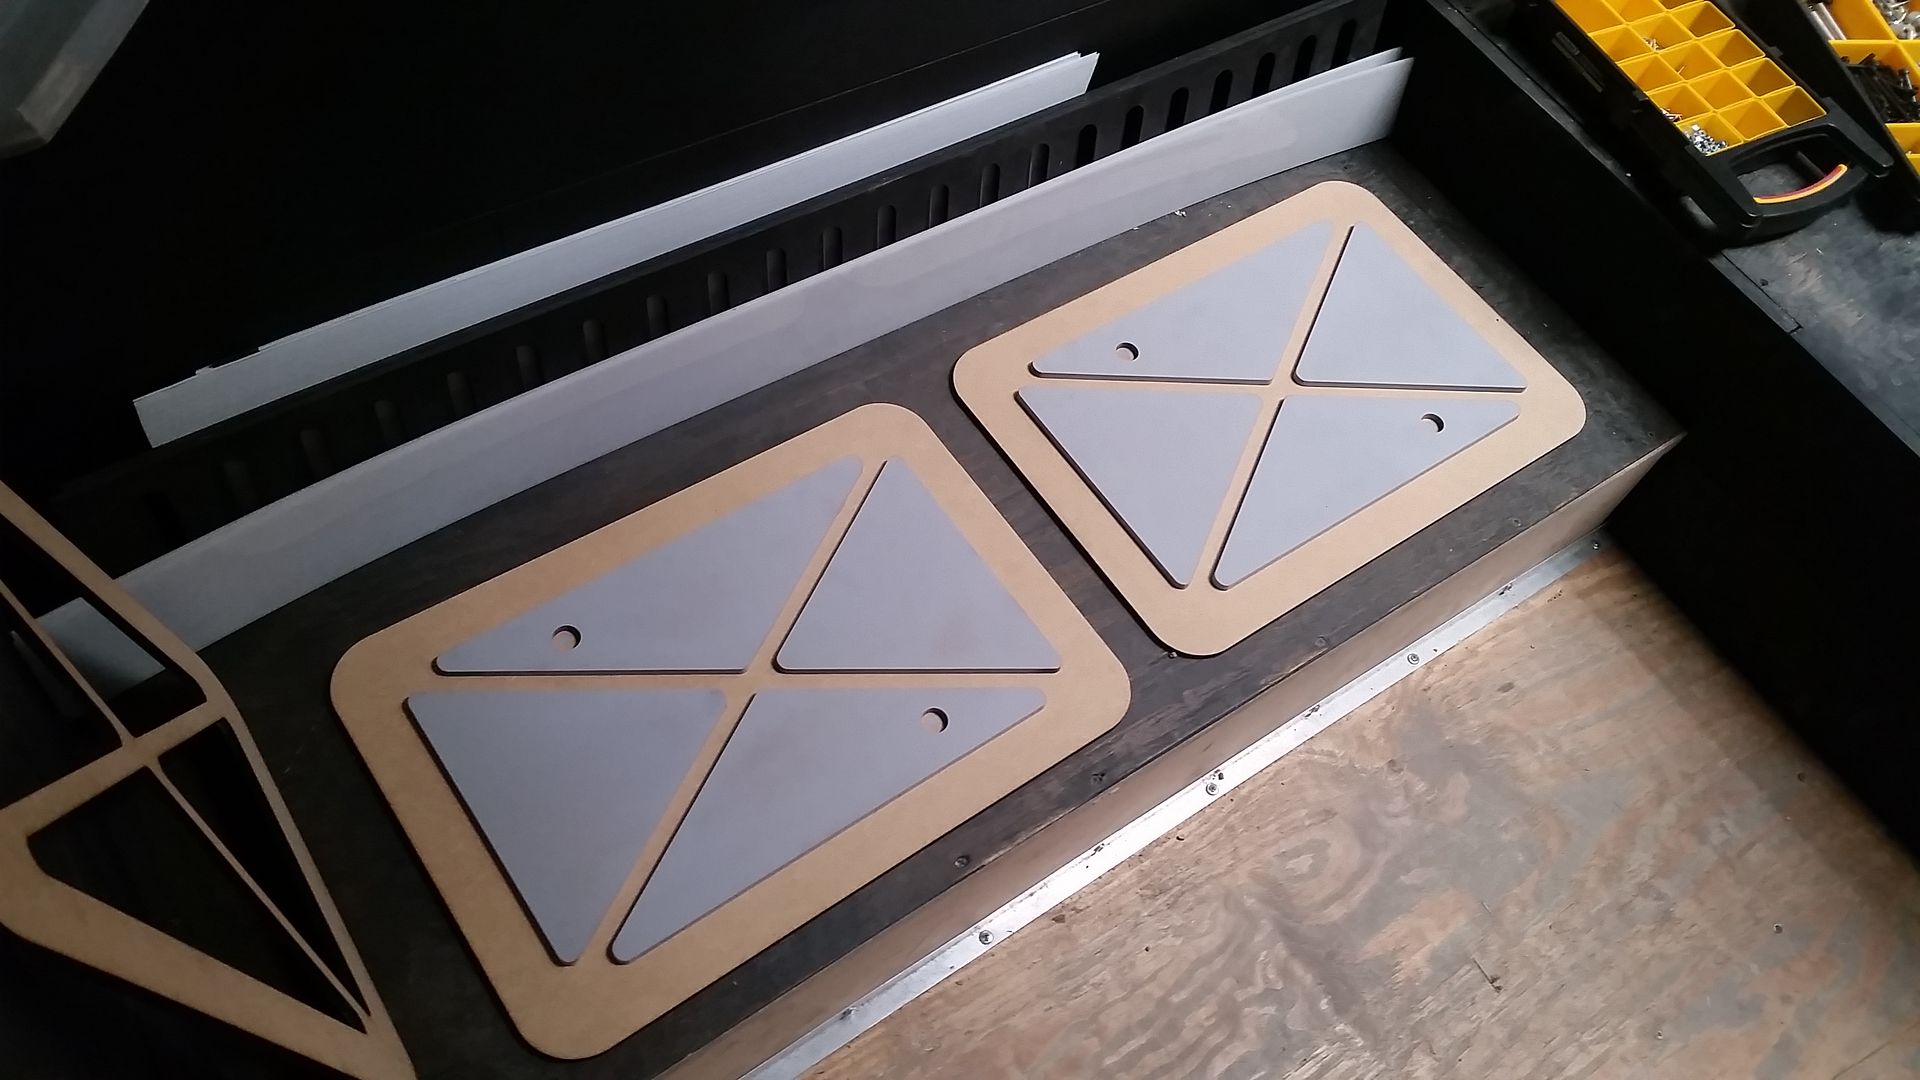
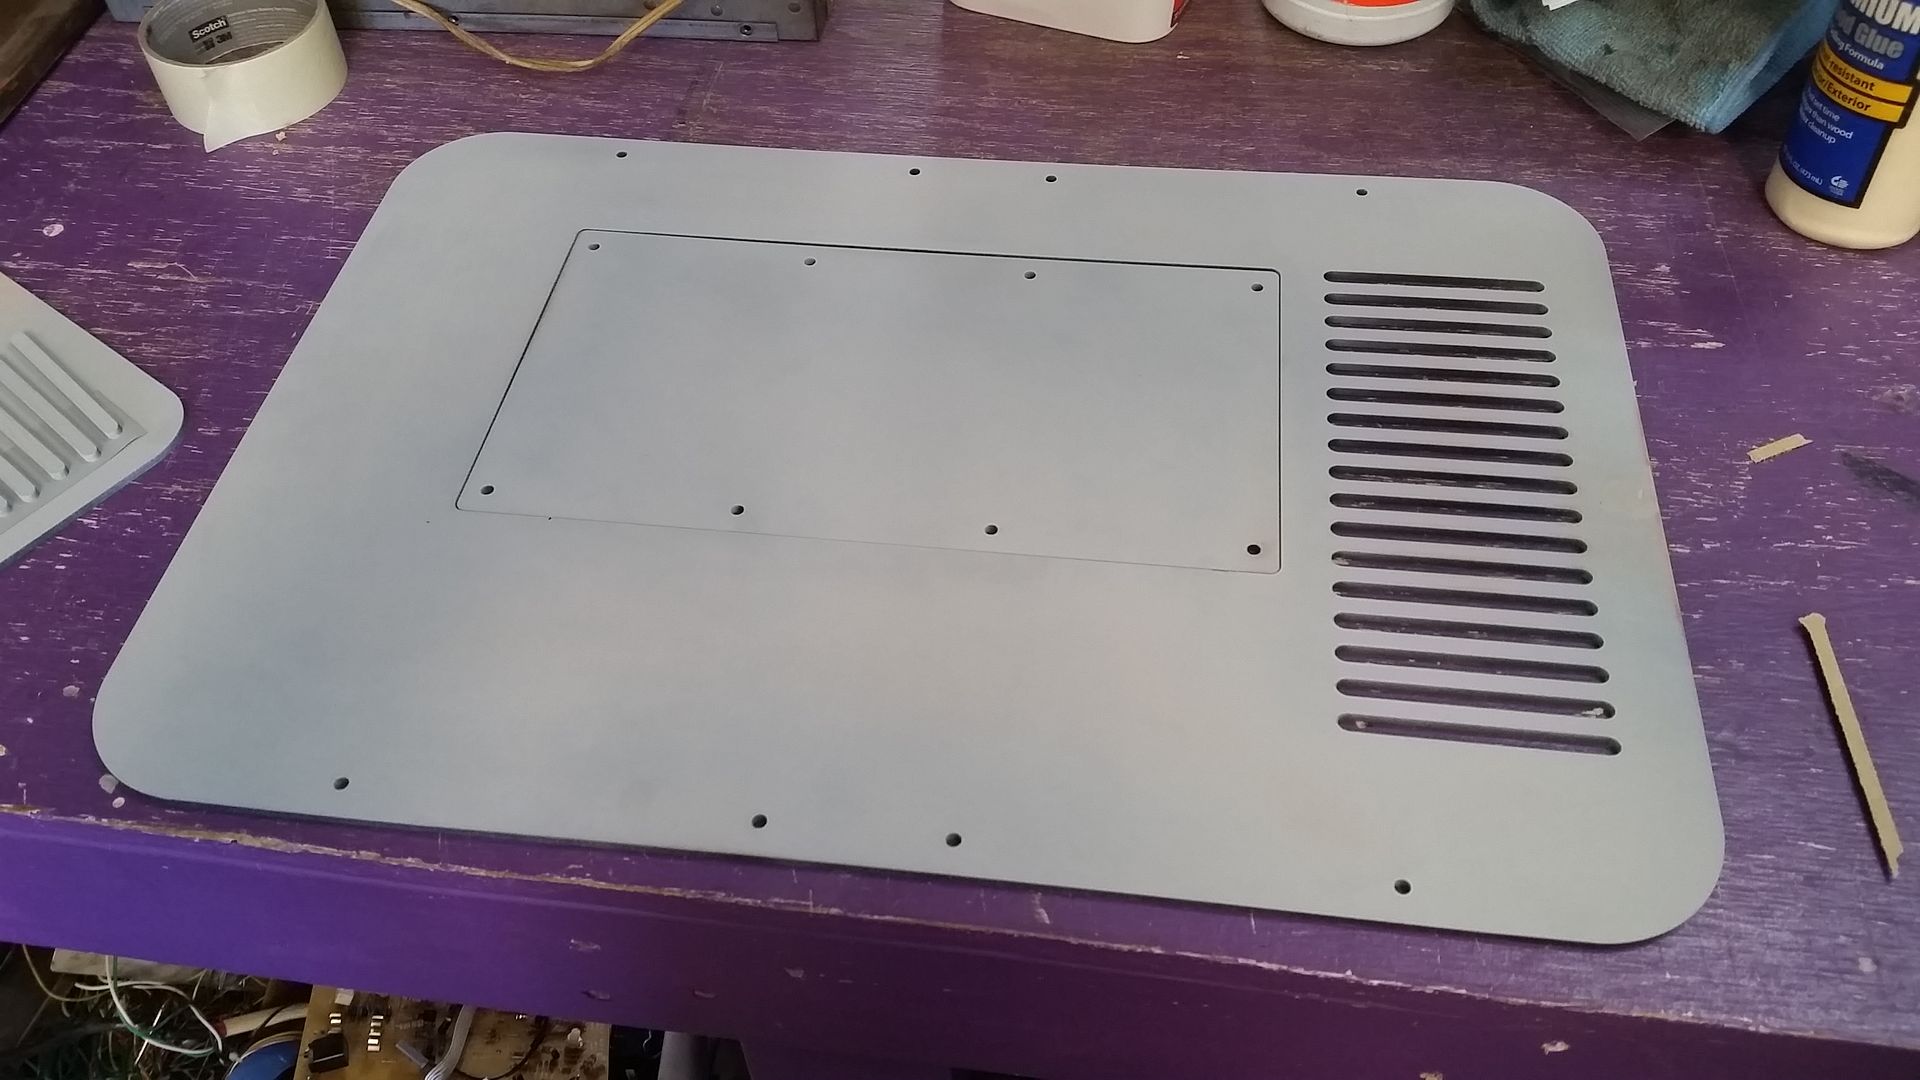
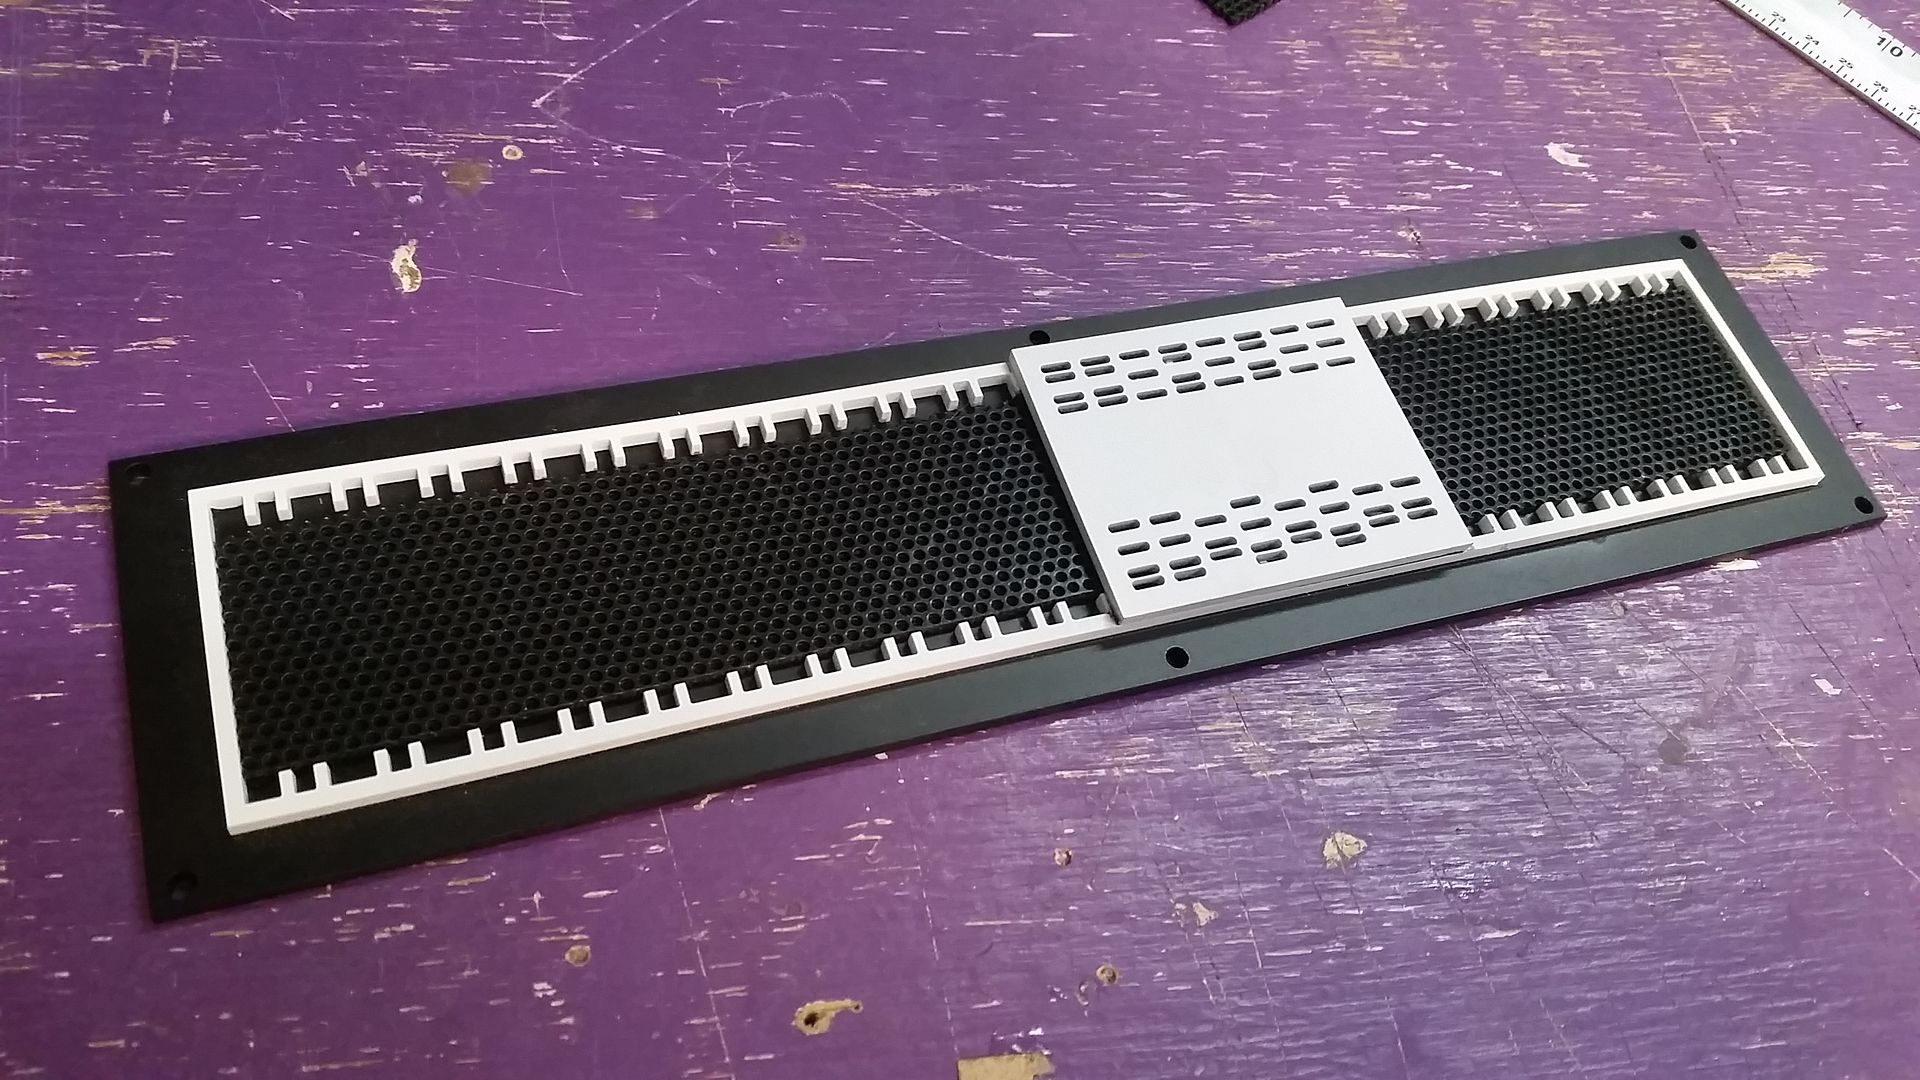
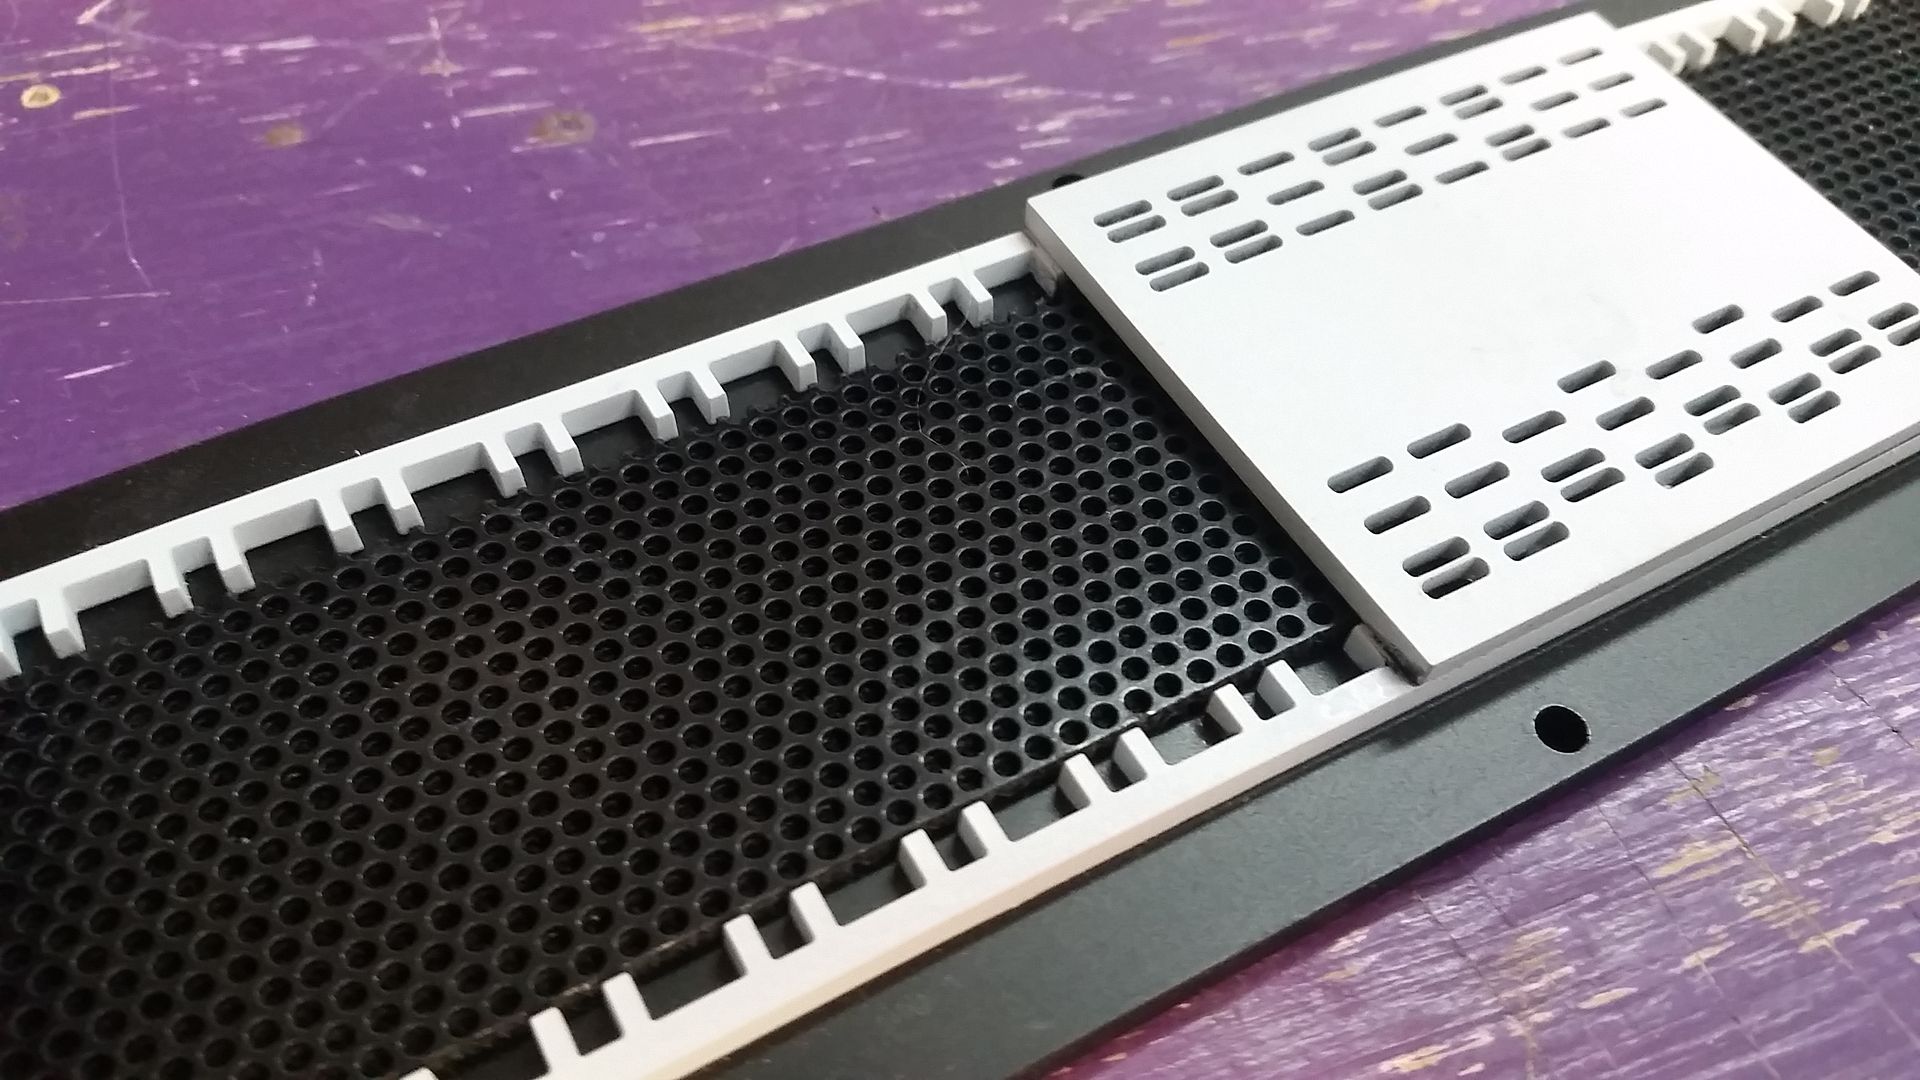
I do too! TFA showed us a few new areas to include the extended corridor past the main hull and of course the panel boxes I'm working on. I'm wondering if we're going to see the actual engine and cargo areas! That would be a LOT of fun!
")