1:1 Millennium Falcon Cockpit Replica - Group Build

Another Quick Update!

OperaScot just forwarded the near final design for the new nose! Check it out!

Boat%20Frame%2001_zpsswlfnr5y.jpg


Boat%20Frame%2002_zpsgaj97ci9.jpg


SWEET!
 

Looks like a whole bunch of work Sofa, but then you never have been someone to back away from that kind of deal, lol!!!! :facepalm


Roughneckone :cool
 
Well you love everything in the morning... it's right after you take your morning meds... they make ya love everything! :)

That's only if there's enough left...

- - - Updated - - -


Those are sexy!

For those of you who don't know, IzzyMel has been gracious enough to volunteer his time to the project! A HUGE THANK YOU to Iz for his continued hard work. Also, we've been working/collaborating on another MF related side project behind the scenes that we will be showcasing VERY soon - but you'll ALL have to wait. More on that when the time is right!

- - - Updated - - -

Looks like a whole bunch of work Sofa, but then you never have been someone to back away from that kind of deal, lol!!!! :facepalm


Roughneckone :cool

Hey R,

LOL A whole bunch of work? That's an understatement! There are currently 5 SW related projects all going on at the same time. And we're having a great time with them all!
 
Hey Guys Mini Update!

Painted the new door greeblies
20151006_151120_zpsikhbvjrx.jpg


20151006_151125_zpsdmiuygxy.jpg


20151006_151139_zpsoqozwufy.jpg


While those dried I got to work sanding down the side panels - this panel is a pain! Sanding + Heat + Enamel Paint = burnt clumps of paint! UGH
20151006_154432_zpstcnbrp1v.jpg


Added more filler to the ext panel seam
20151006_154438_zpszwy76aen.jpg


Sanded and waiting primer
20151006_155909_zpspbxpiof6.jpg


Sanded and primed door trim
20151006_163316_zpsn34sqs6f.jpg


Back plate
20151006_154450_zpsgvelrklc.jpg


Inner trim
20151006_163328_zpseymzjvet.jpg


Console edges are almost finished
20151006_163854_zpsknwklcfi.jpg


Paint dried on the door greeblies
20151006_164941_zpsrlz5w6ks.jpg


Roughing it
20151006_165238_zps50bqmm6v.jpg


I had a few little round greeblies left over. So which design looks best?

1.
20151006_202708_zpsgpfxypuo.jpg


2.
20151006_202719_zpstgncvm7a.jpg


3.
20151006_202729_zpsjjcewjus.jpg


4.
20151006_202749_zpsactxaqft.jpg


5.
20151006_202808_zpsv3umy5pl.jpg


6.
20151006_202844_zpslrox5div.jpg


I'm partial to the last one. It mimics the front door panel leaving a bit of originality :)

More to Follow!
 
Personally... I think on the backside you should add some wires and tubes to set it apart a bit more! I'm sure it would make it look cool, you can do it!
 
Personally... I think on the backside you should add some wires and tubes to set it apart a bit more! I'm sure it would make it look cool, you can do it!

That's a GREAT idea! I still have the lower access panel to address and greeblie as well. The door could DEF use some exposed mechanical / wiring "goings on". Goot put my thinking cap back on!
 
That's a GREAT idea! I still have the lower access panel to address and greeblie as well. The door could DEF use some exposed mechanical / wiring "goings on". Goot put my thinking cap back on!

I suggest removing those main panels in the center and just replacing all of that with wires and conduit piping (maybe a few little greeblies thrown in for fun!) Maybe spell out your name in morse code or something to add a little authenticity and your own signature to it!
 
The piping would make sense if it were a wall or part of the corridor. But being a door think it would be more mechanisms and locks. For example:

https://s-media-cache-ak0.pinimg.com/originals/78/c4/9c/78c49ceef7f00468ea56438b6e359715.jpg

I still like the idea of the exposed wires but I'm going to focus that effort on the lower access panel first - sort of a test. An old printed circuit board with exposed wires might look the part?

Oh yeah... brillant idea... gears with rods that move when the door shuts or opens. Would explain that "whooshing" noise when it opens and closes! OOOOOOOOOOOOOO BABY that would look awesome if you could swing that. I'll see if I can come up with something for ya in 3D and letcha know!
 
Oh yeah... brillant idea... gears with rods that move when the door shuts or opens. Would explain that "whooshing" noise when it opens and closes! OOOOOOOOOOOOOO BABY that would look awesome if you could swing that. I'll see if I can come up with something for ya in 3D and letcha know!

I wouldn't go so far as to make them move, but the basic look, with the SW feel, would be cool. And with so many greeblies showing up over and over - I could attempt to recreate the designers original efforts?

I still think concentrating on the lower panel is the right move. :)
 
I wouldn't go so far as to make them move, but the basic look, with the SW feel, would be cool. And with so many greeblies showing up over and over - I could attempt to recreate the designers original efforts?

I still think concentrating on the lower panel is the right move. :)

Tell ya what... you concentrate on the lower panel... I'll work on the upper and we'll meet in the middle somewhere! :)
 
Lrd takes the high panel and Sofa takes the low panel ....And I'll be in Kessel afore ye.

I should write that down.

The printed greeblie is looking great IzzyMel!
 
Another Early Morning Update!

Applied a bunch of primer filler to the door backside panel trim piece
20151007_160519_zpsws9wstfc.jpg


While that dried I sanded down this edge and applied a coat of black paint to the console instrument panel
20151007_161301_zpsnqjz0hiq.jpg


20151007_162411_zpsshzw0qlj.jpg


20151007_162422_zpsgifoicqn.jpg


20151007_162427_zps9aiaezzh.jpg


When the black dried I screwed the back panels in black for their coat of black
20151007_163040_zpskonz7jsv.jpg


20151007_163049_zps44ihssct.jpg


20151007_163440_zpsz8wvnph4.jpg


20151007_163449_zpstj9ligso.jpg


20151007_163455_zpslpasypyb.jpg


Still lots of sanding to do in between coats of paint and filler
20151007_170802_zpsde41tdyb.jpg


Sanded and added more filler to this lower side panel
20151007_165646_zpsm198wcpp.jpg


I sanded the new lower side risers and added some primer
20151007_170220_zpsrblq15ig.jpg


Just like the old days...
20151007_170757_zpsnhtql3lr.jpg


Painted this panel a gloss white
20151007_164121_zpsjkileltc.jpg


I then sanded down the trim piece - still needs lots of filler
20151007_171349_zpsr8m3pti4.jpg


20151007_171329_zpsjy0cmem5.jpg


20151007_171334_zps5pga6aax.jpg


20151007_171344_zpslh03clry.jpg


Making sure everything still aligns
20151007_171442_zpsqbbrbgtb.jpg


Then added the filler
20151008_051423_zpsm1xyjlnh.jpg


Long holiday weekend coming up! :)
 
Hi Gang,

No updates this morning - it rained most of yesterday and it looks like rain for tonight and part of tomorrow morning. But I am working on another round of laser cut greeblies! So, why not enjoy this...

Blast from the Past! Where were we exactly one year ago today?

20141008_204212_zps1a17004a.jpg


More to Follow!
 
Hi Gang,

Not much of an update... just a few pics here and there...

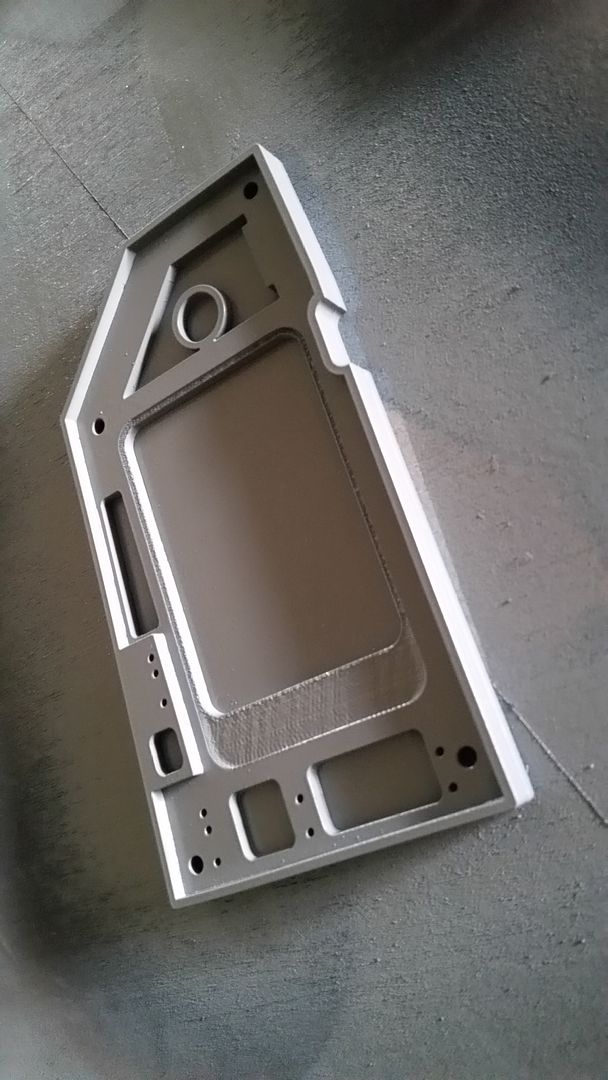
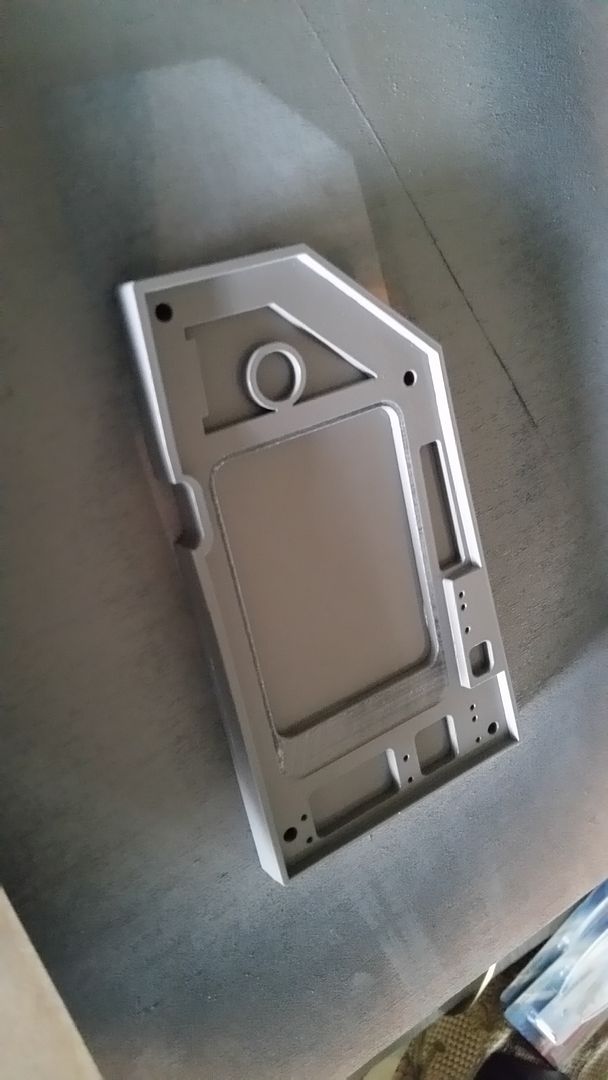
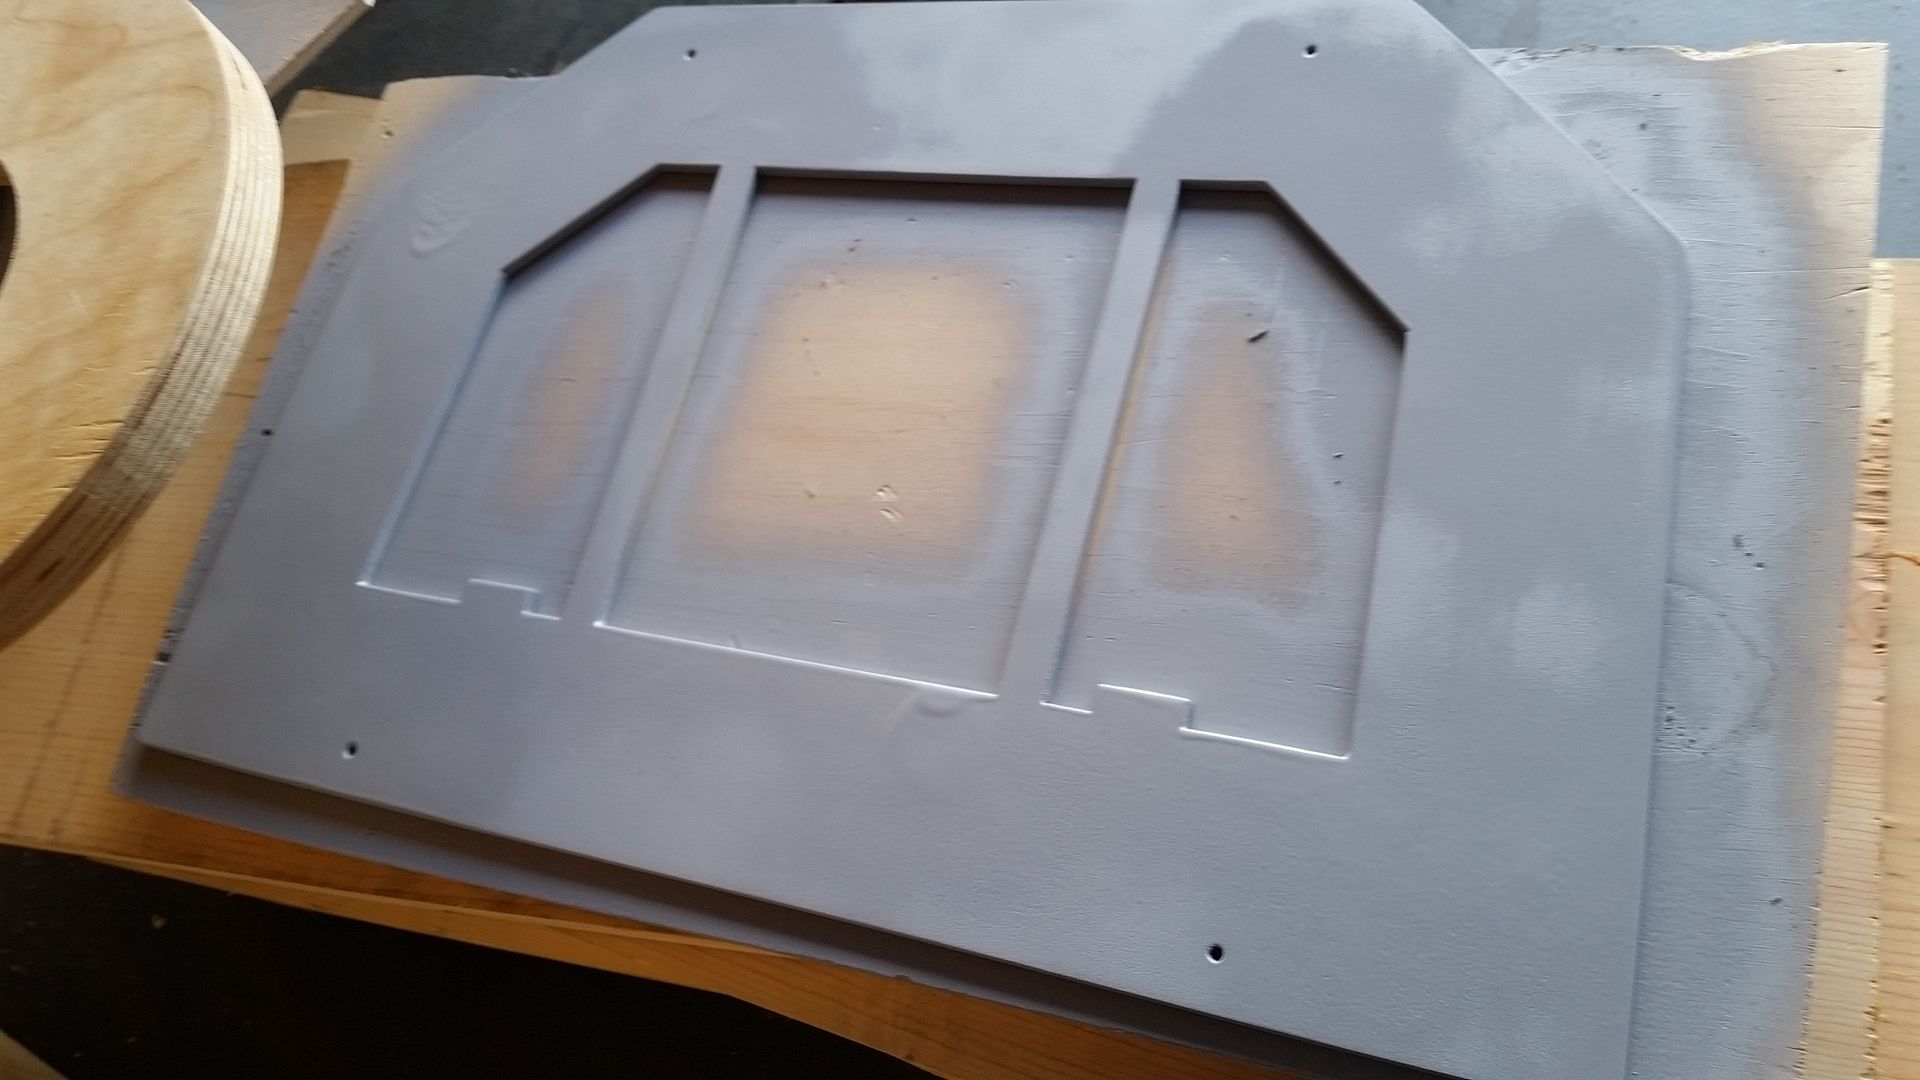
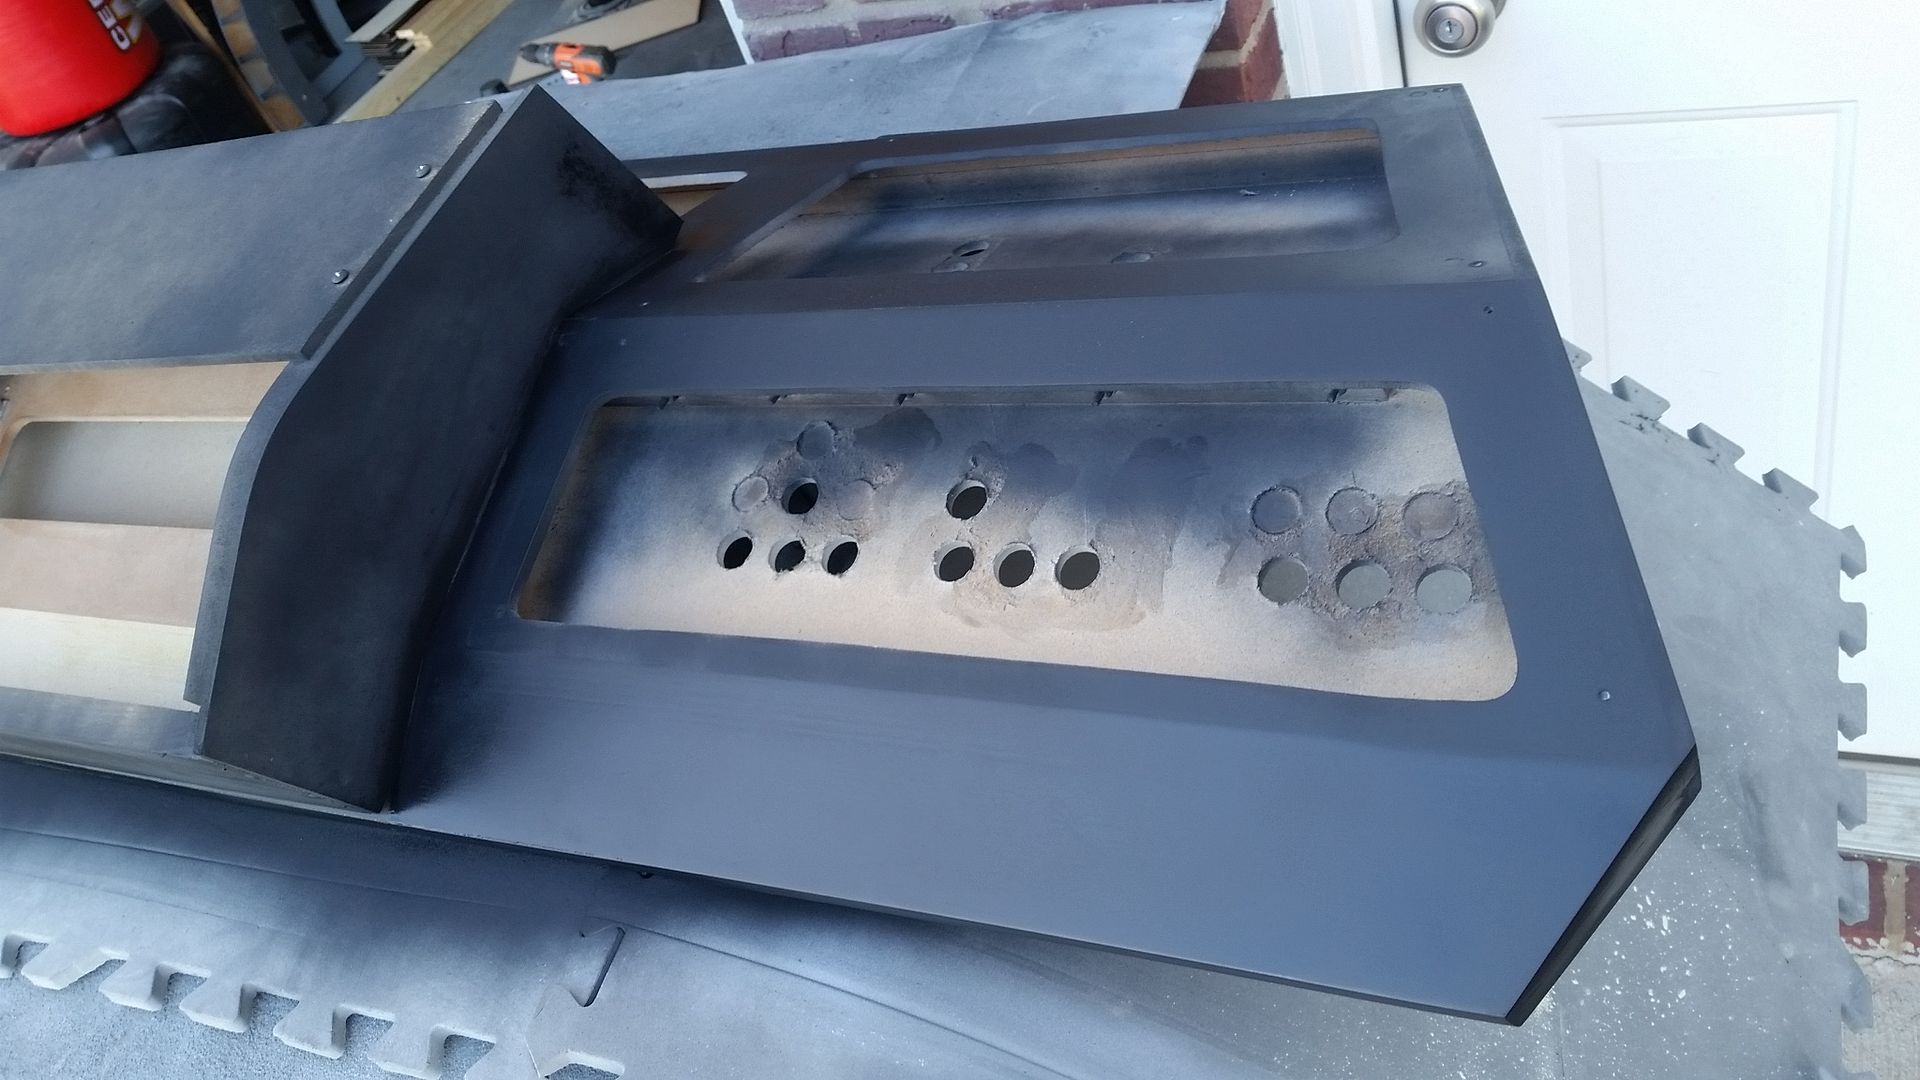
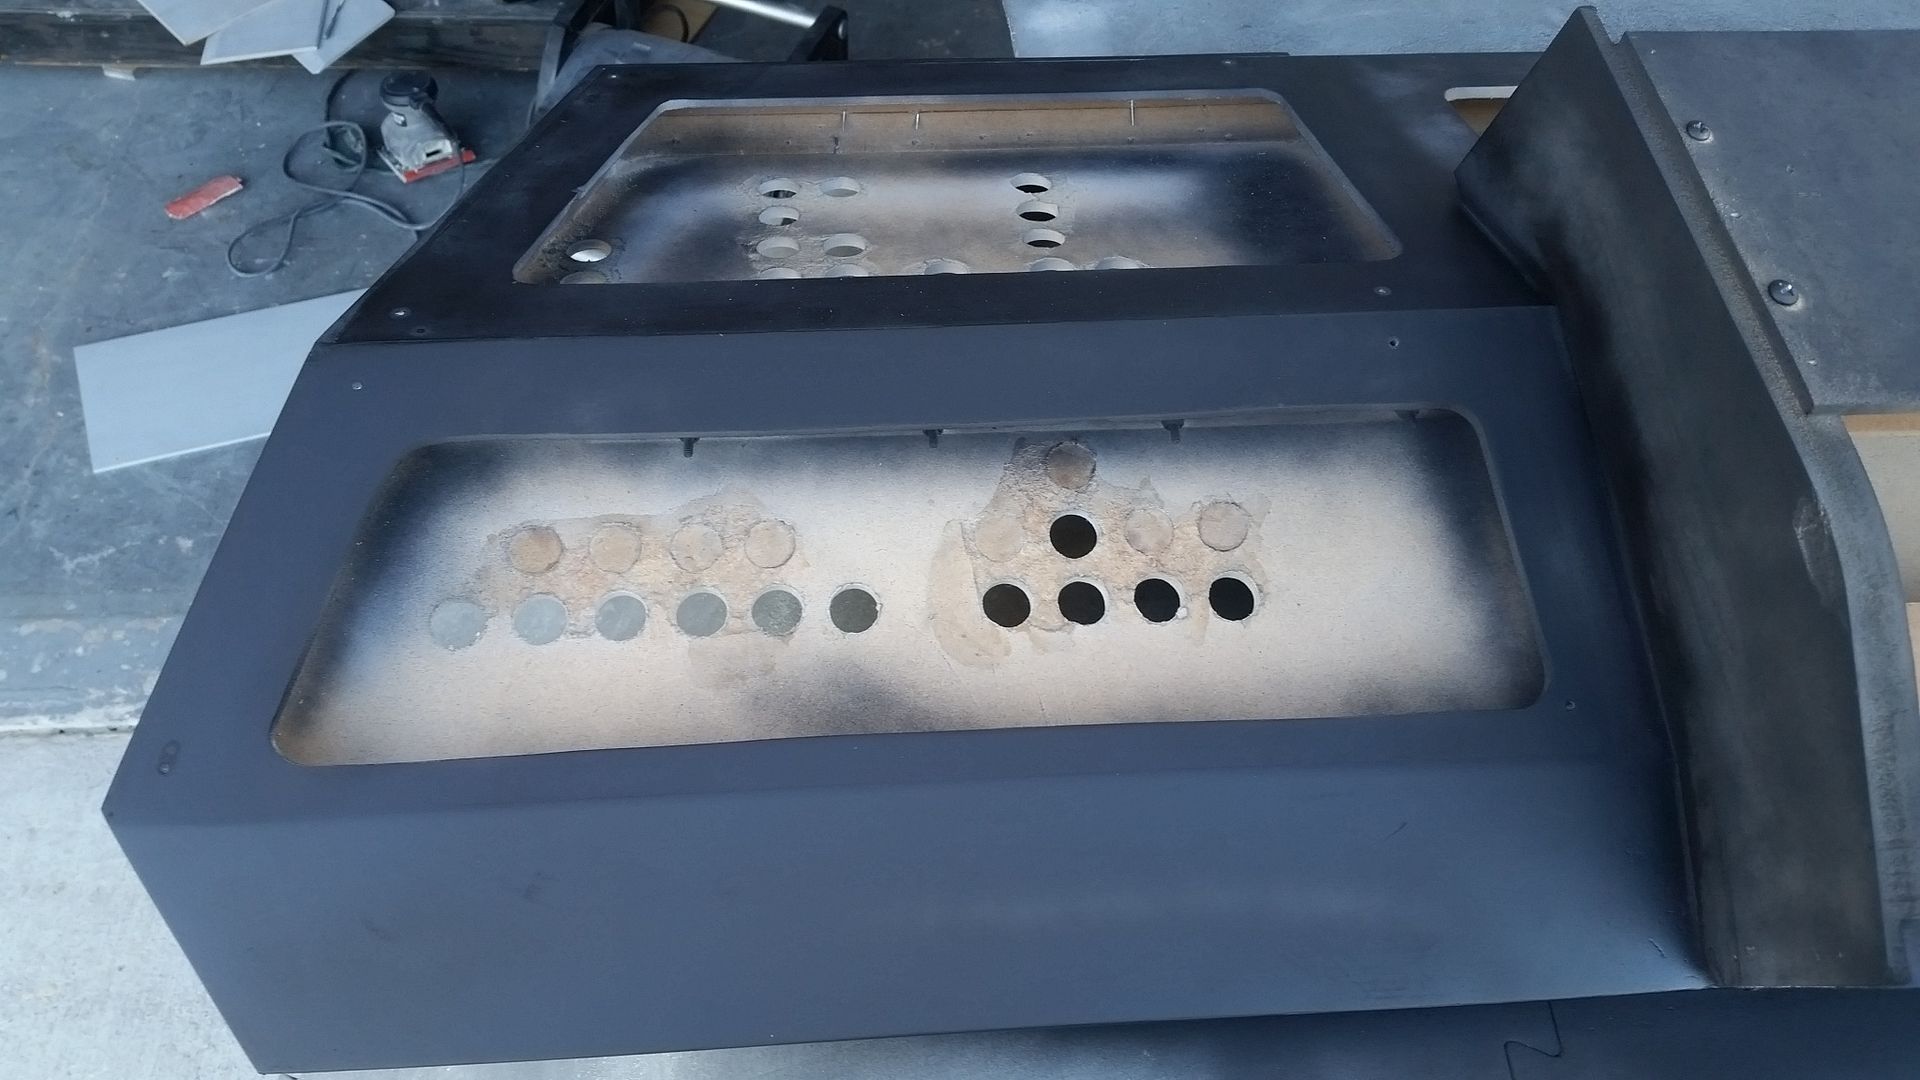
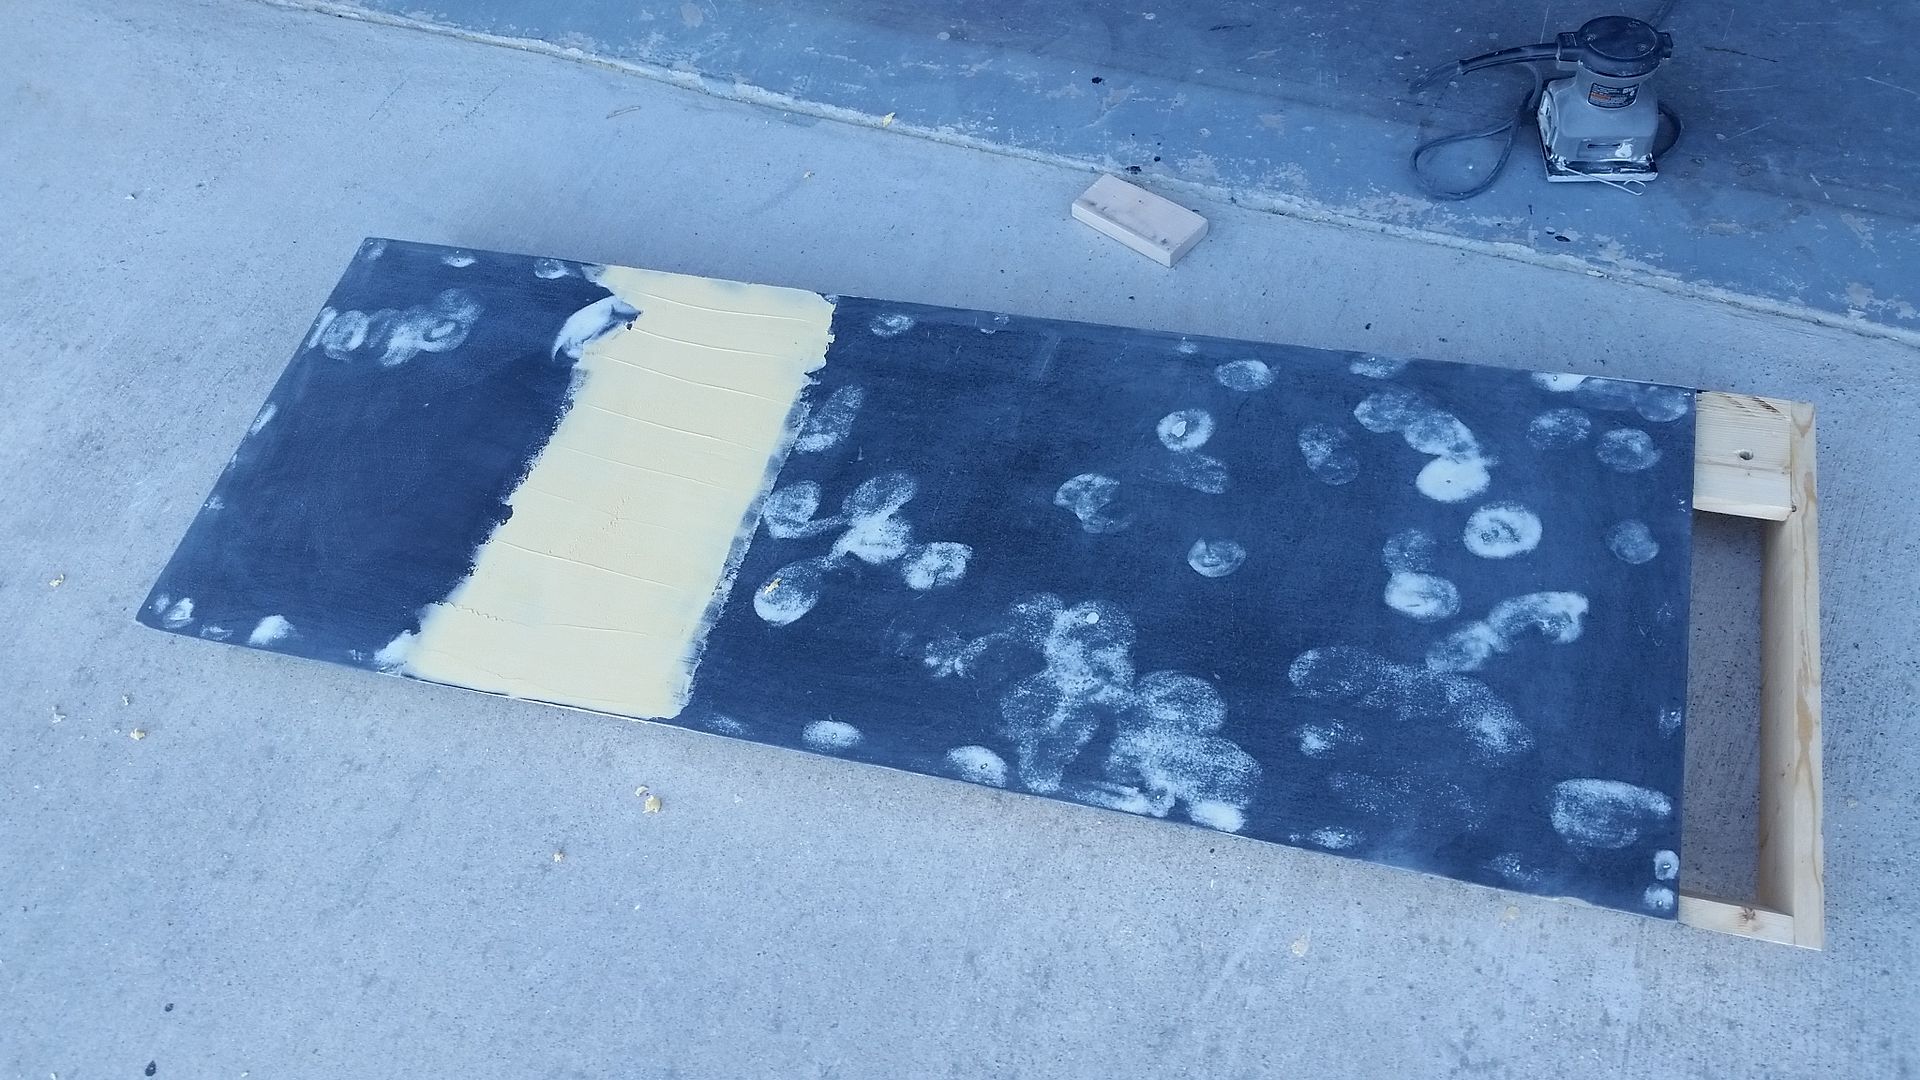
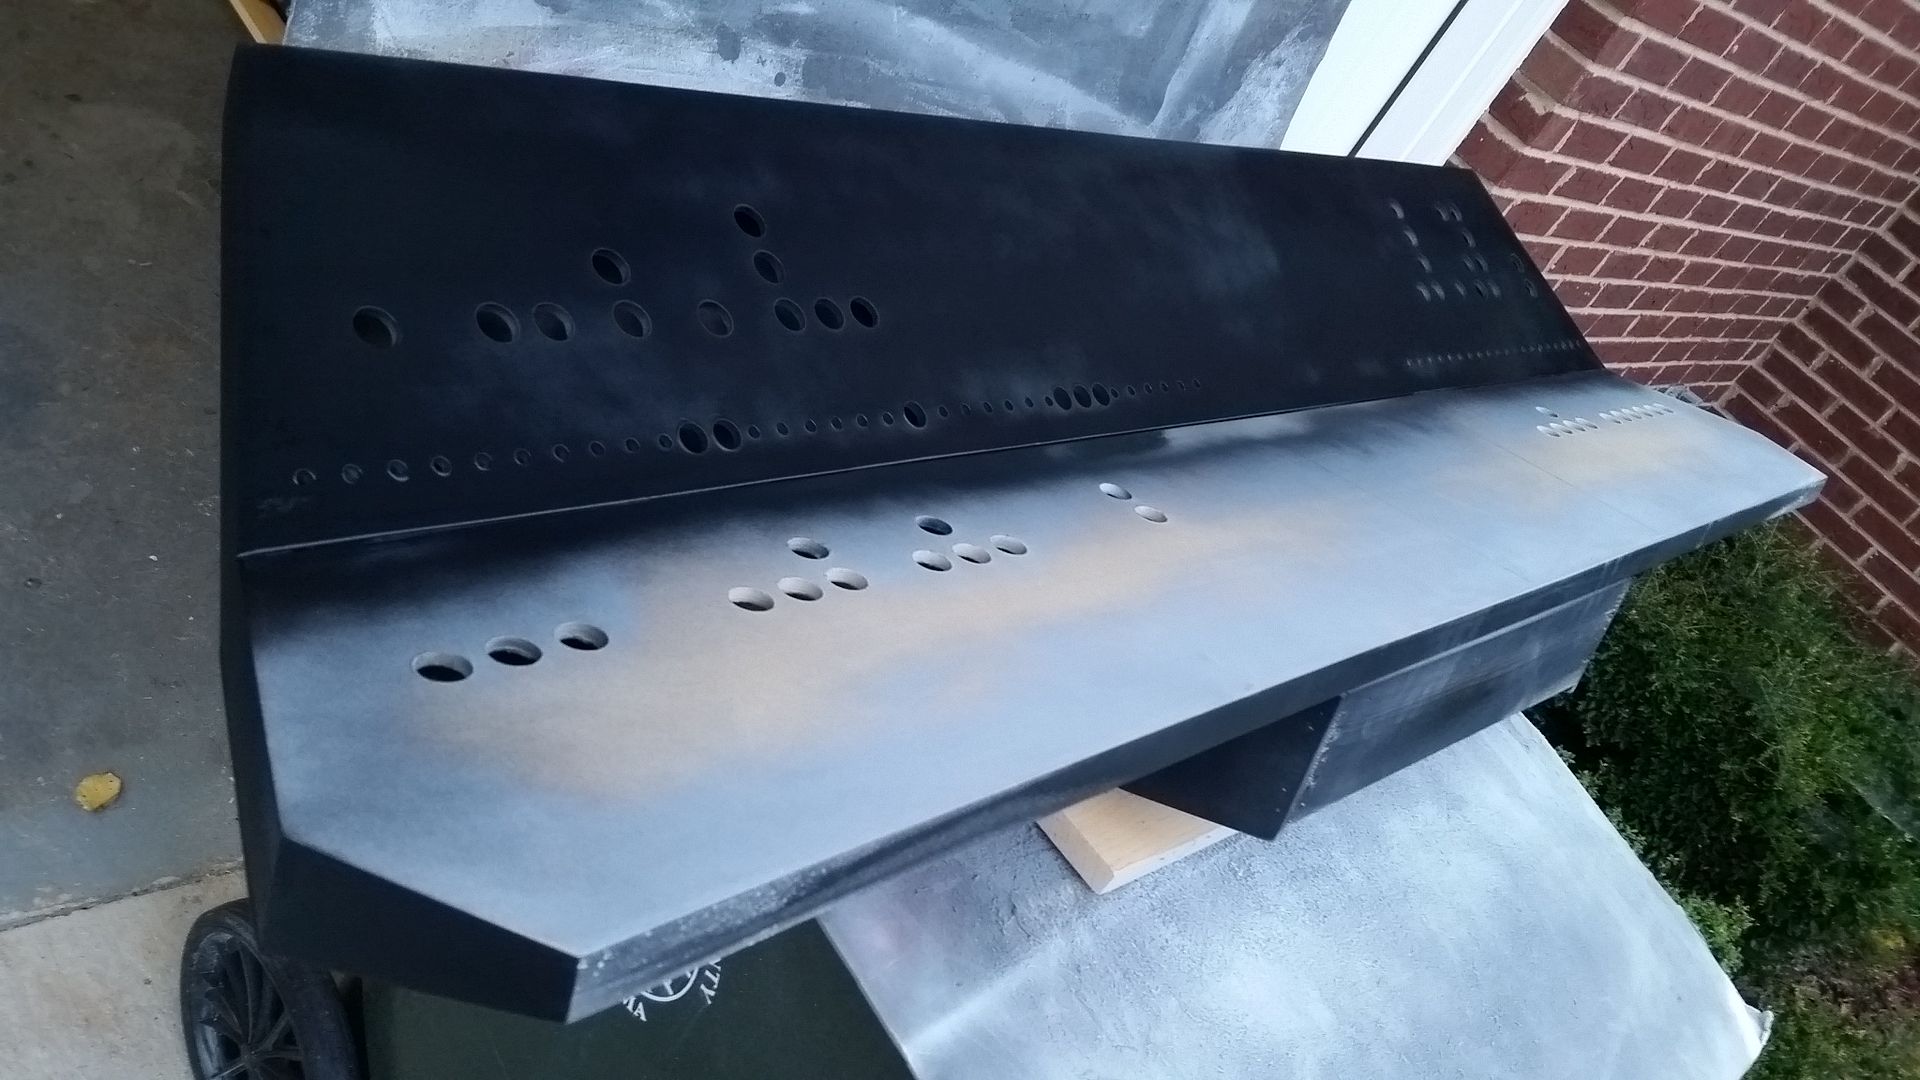
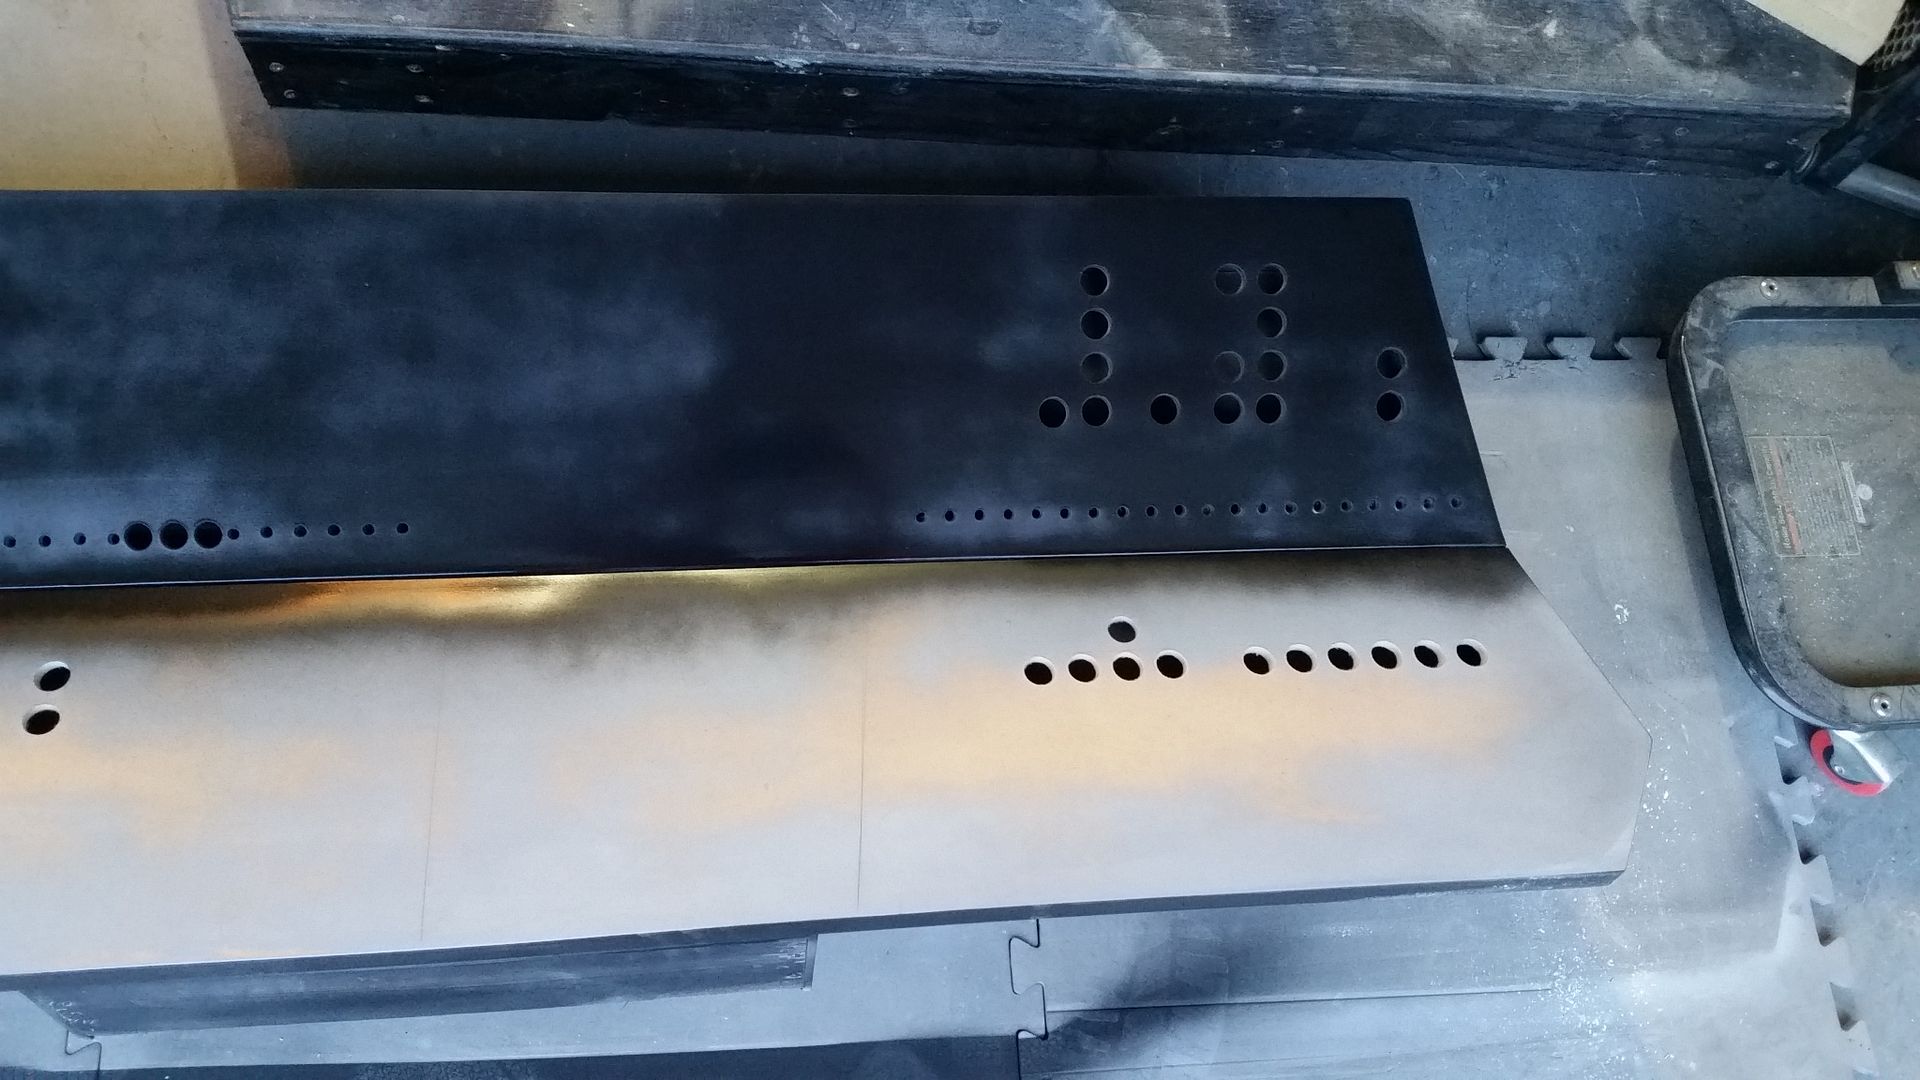
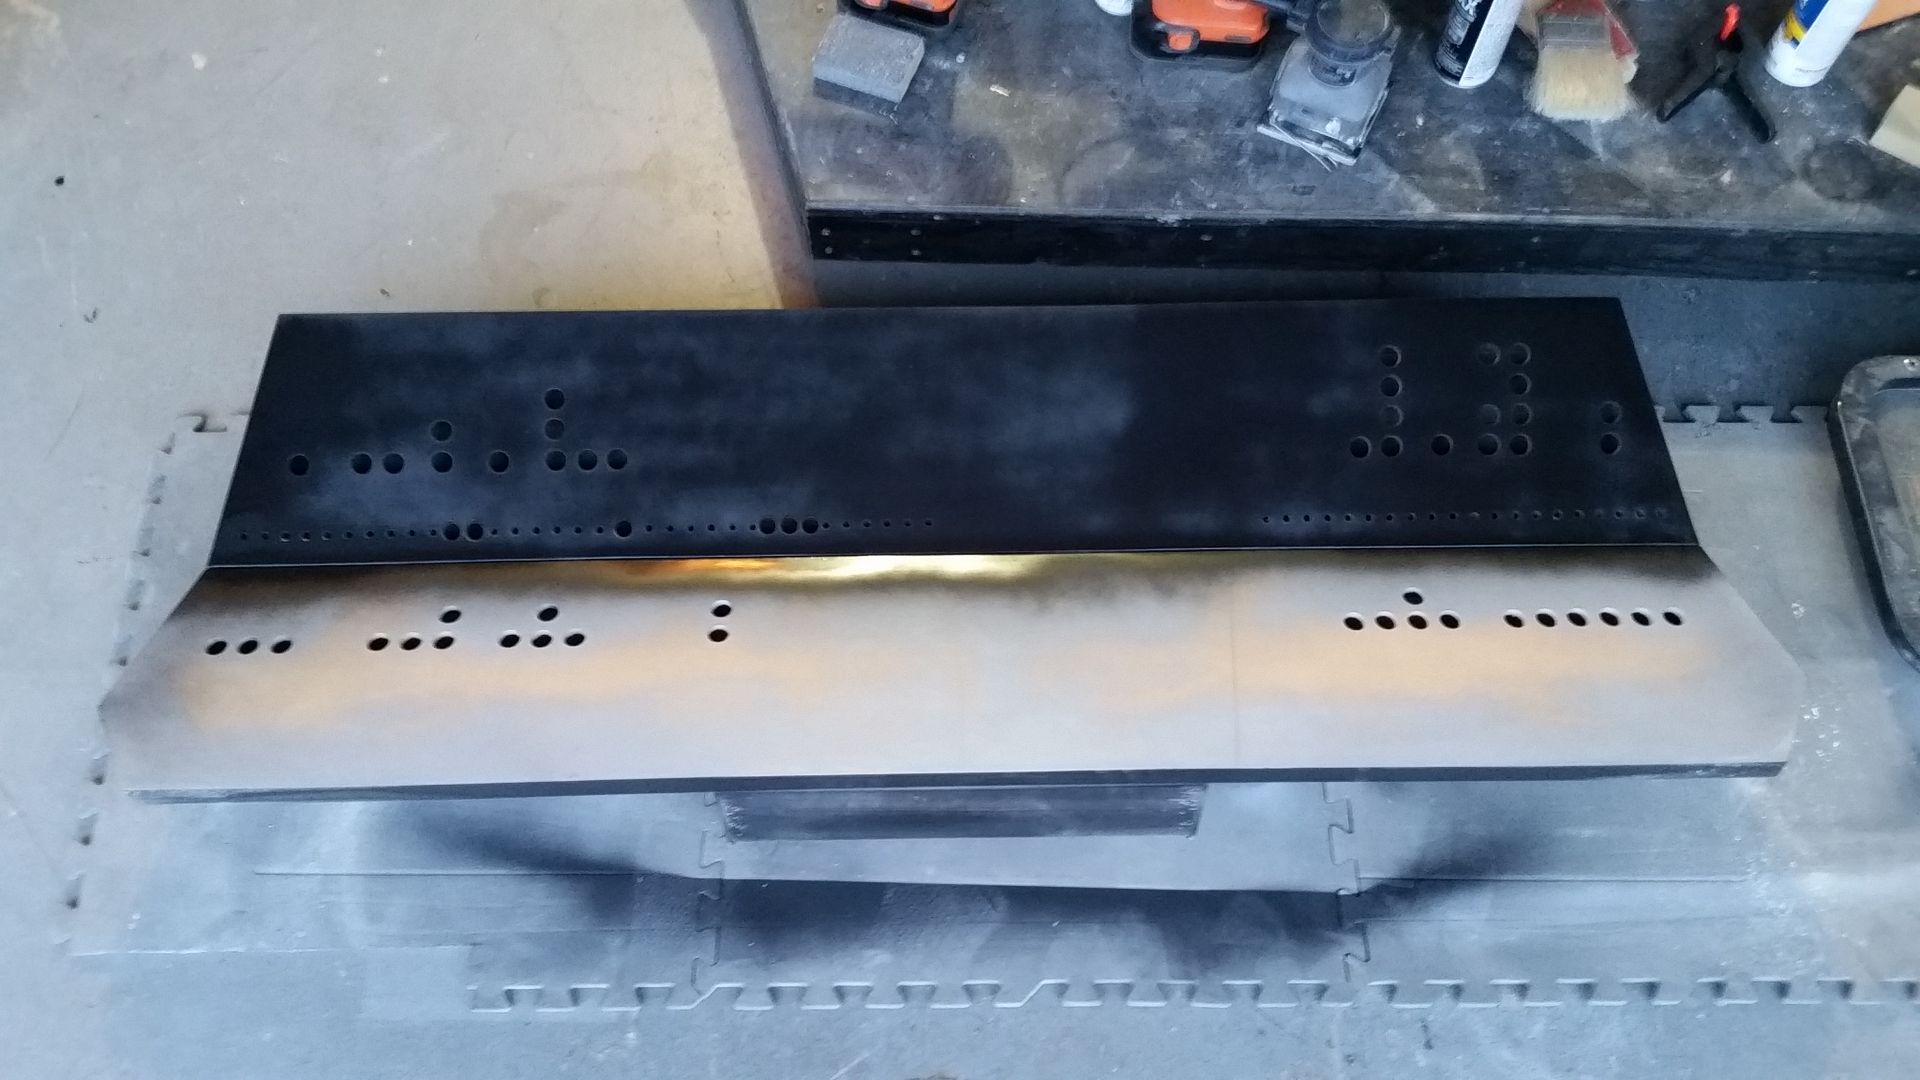
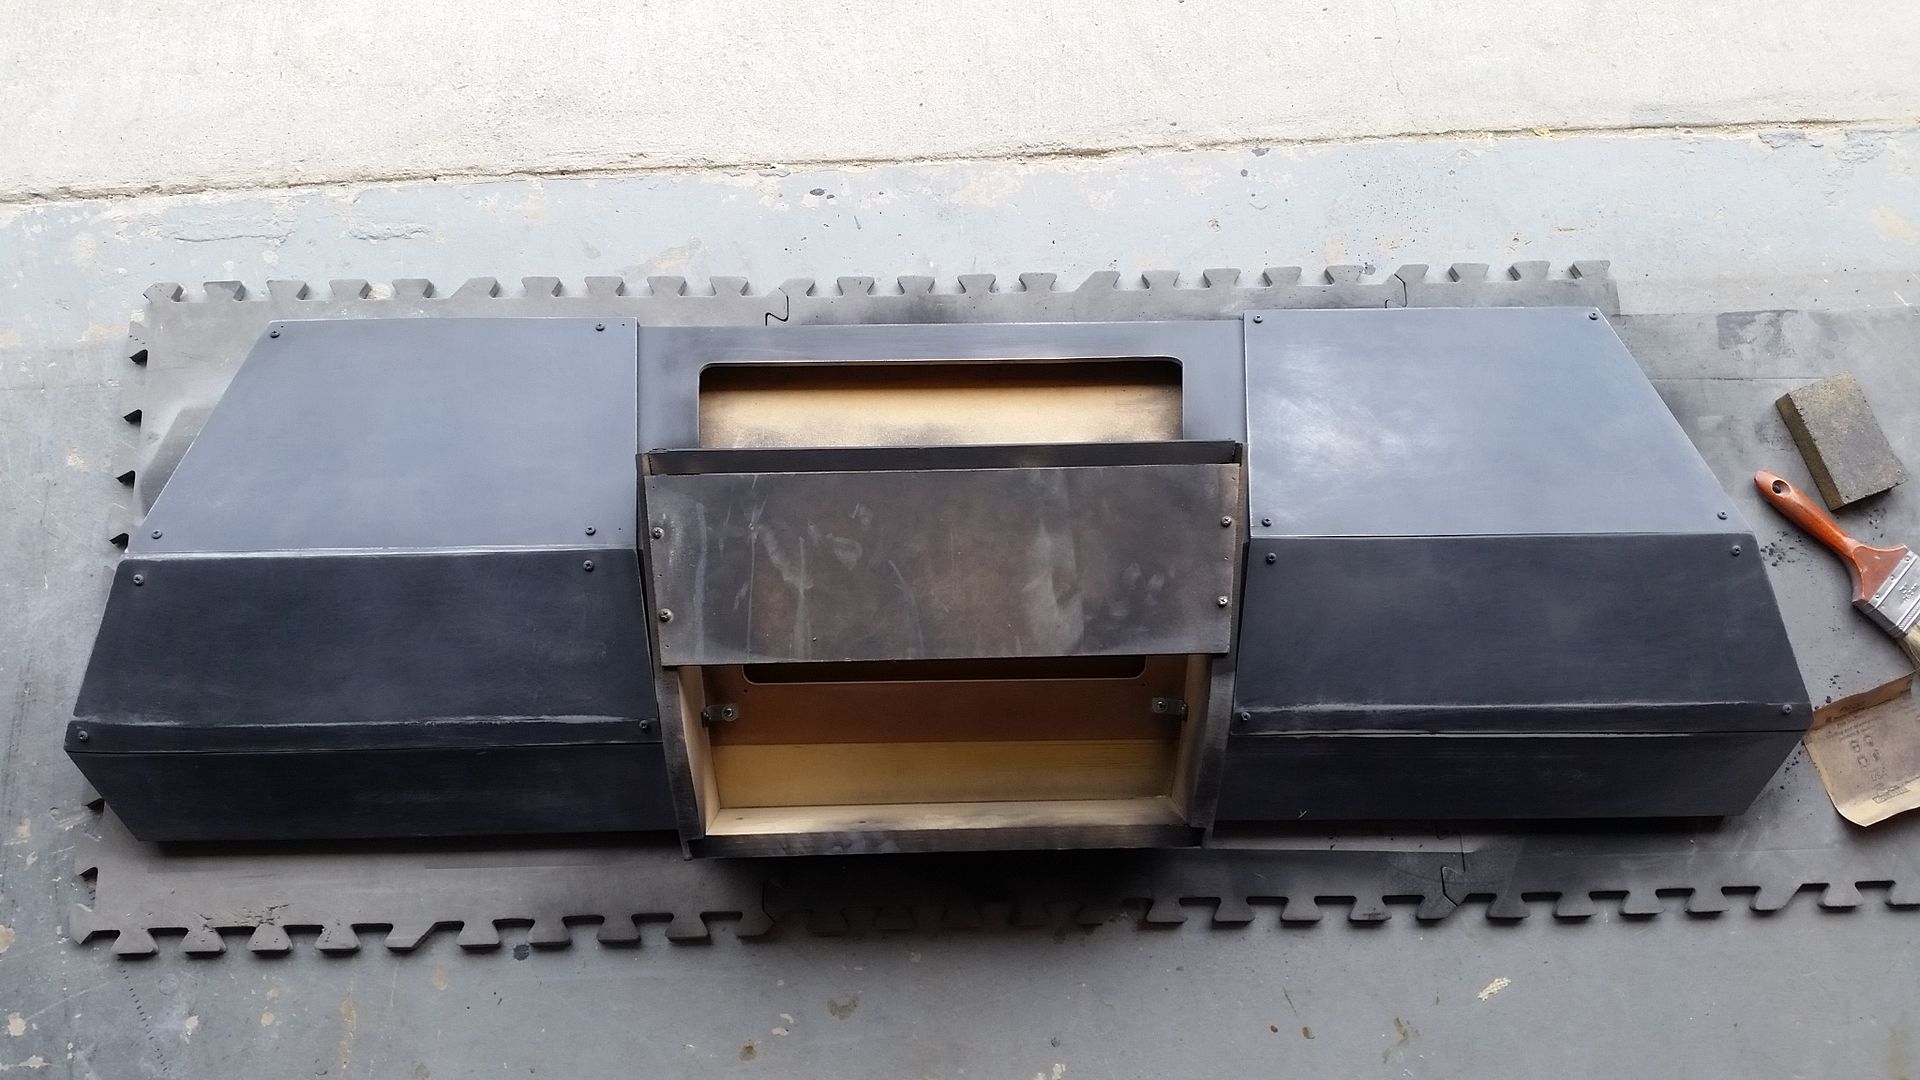
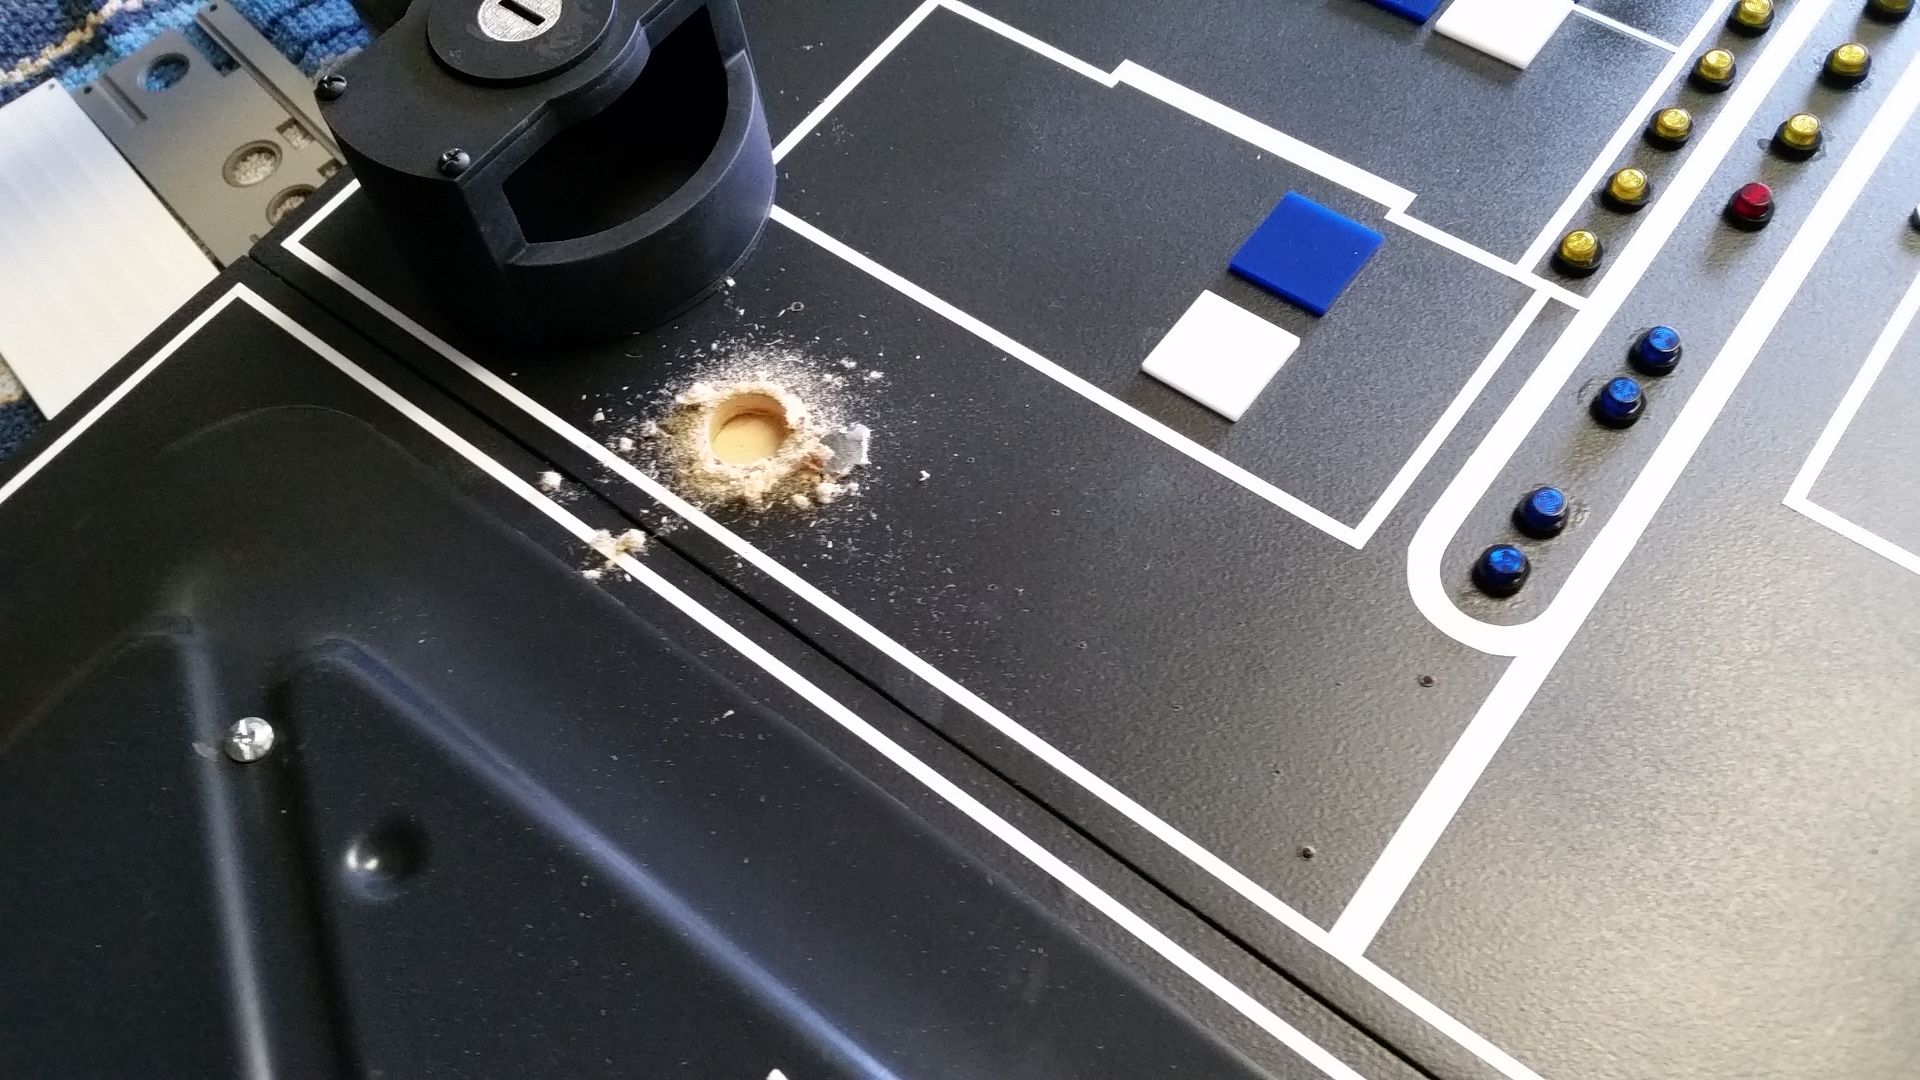
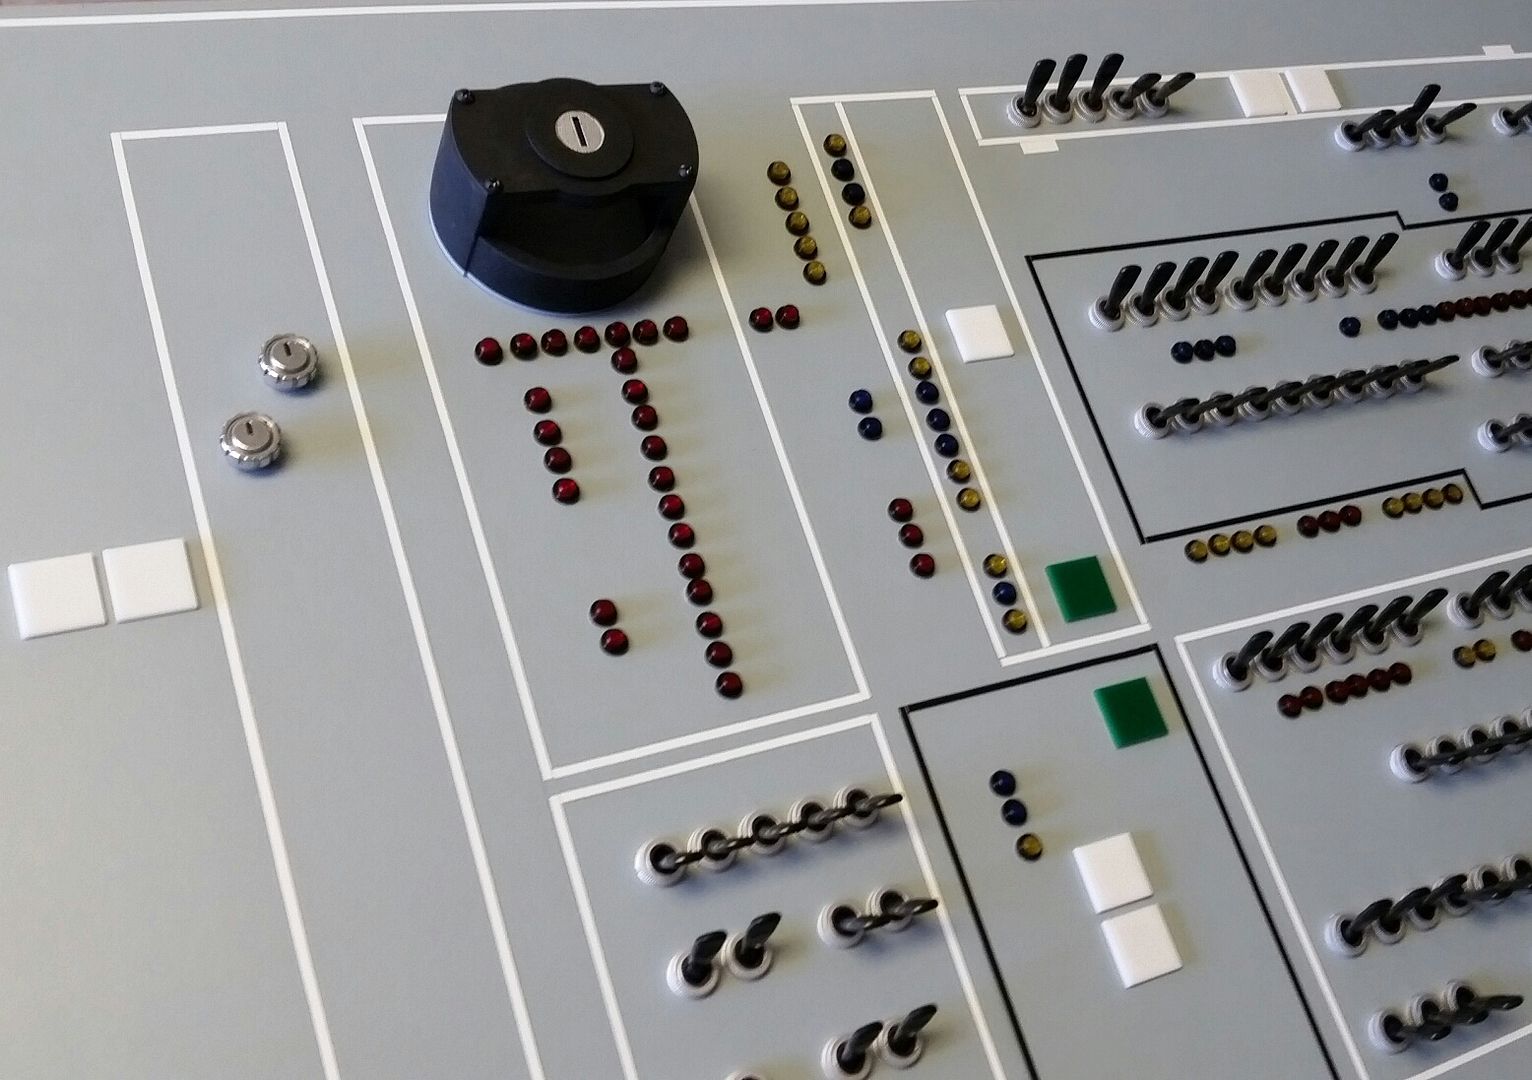
Sat morning started with my painting some black on the instrument panel. I still need to drill several holes for more LEDs before going any further
20151010_072615_zpsuzqp3emx.jpg


20151010_072648_zpsn2bacsp4.jpg


The paint helps me find minor flaws that the primer sometimes doesn't catch
20151010_072652_zps3aslvxph.jpg


20151010_072656_zpslux8thxs.jpg


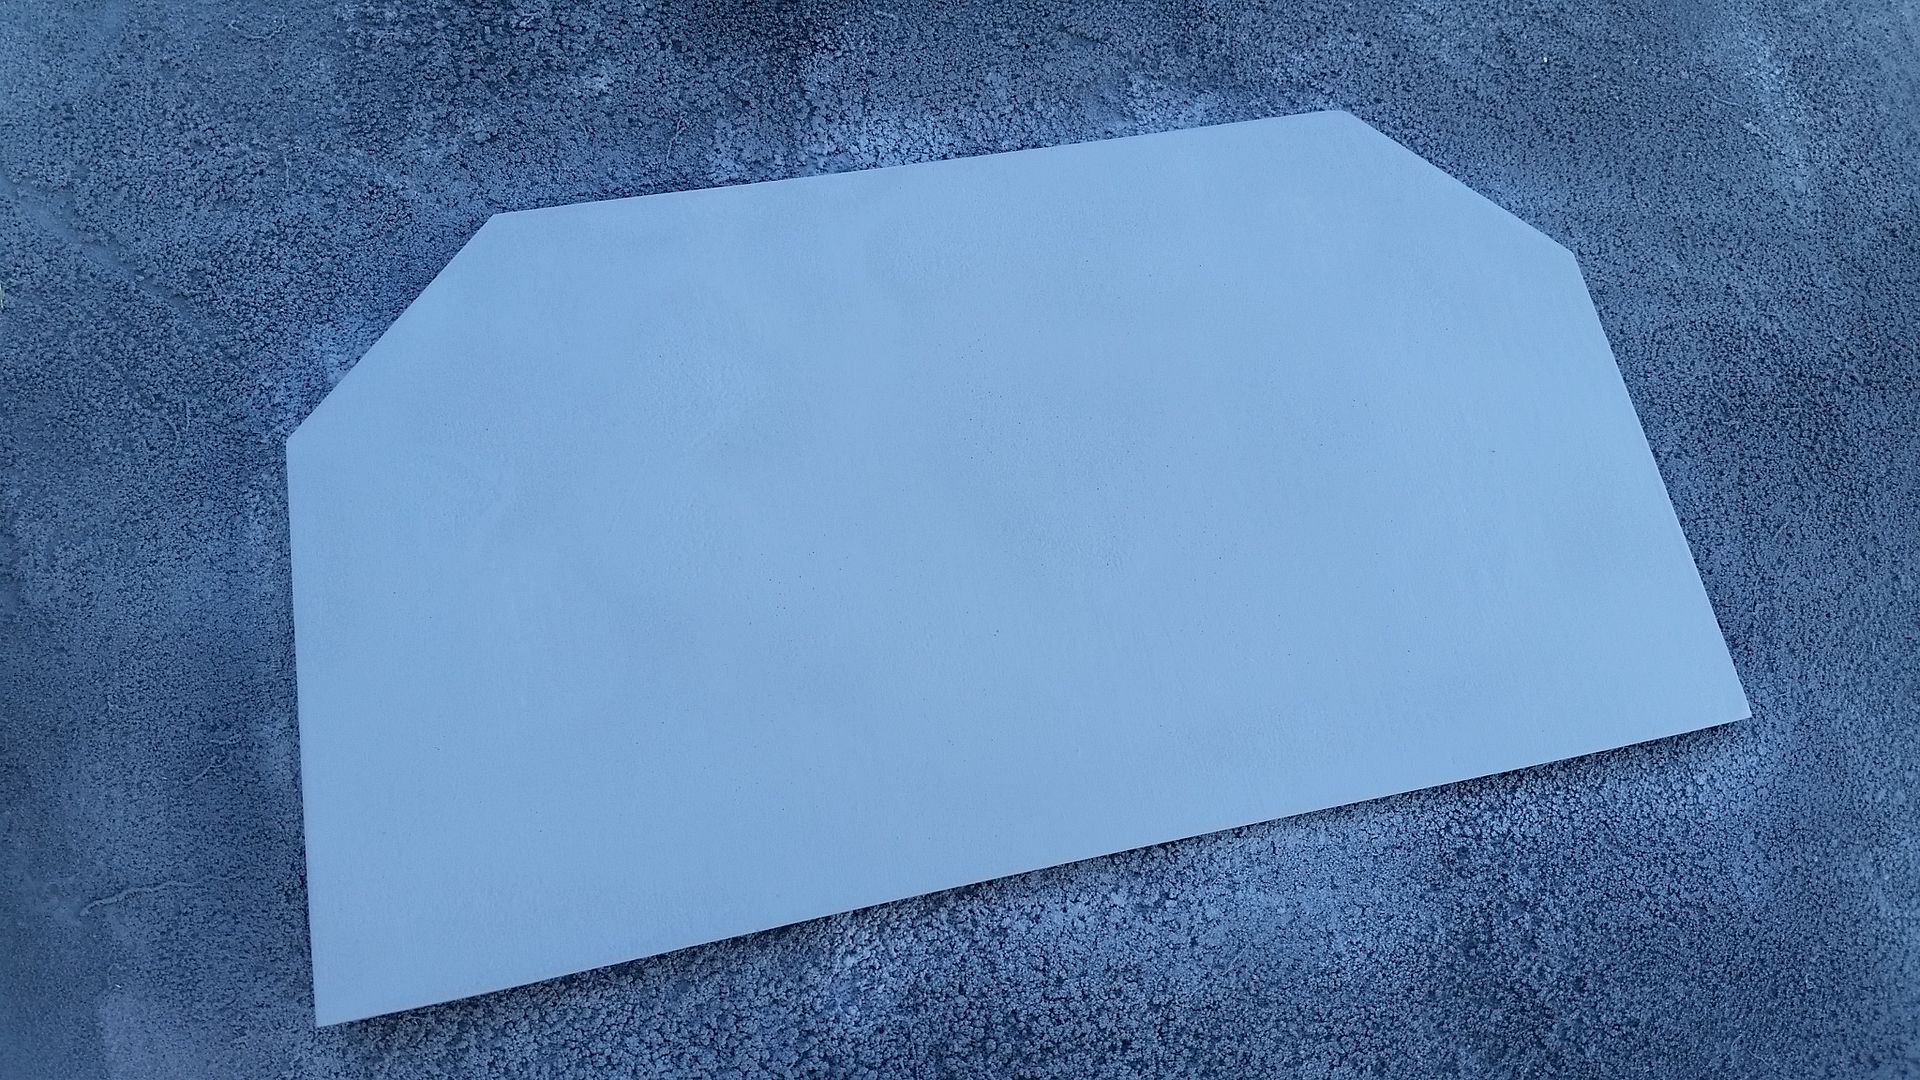
Once the paint dried I gave her a good sanding
20151010_132019_zpsixv0ns2e.jpg


I love that look - very used
20151010_132024_zpsuypfi8yc.jpg


20151010_132028_zpsavcgpkjp.jpg


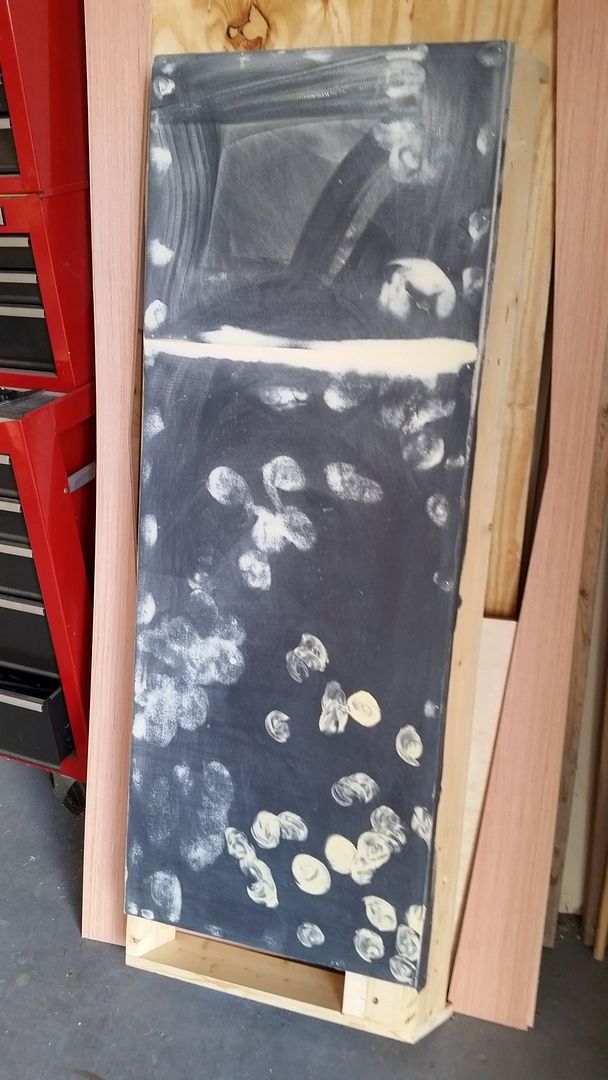
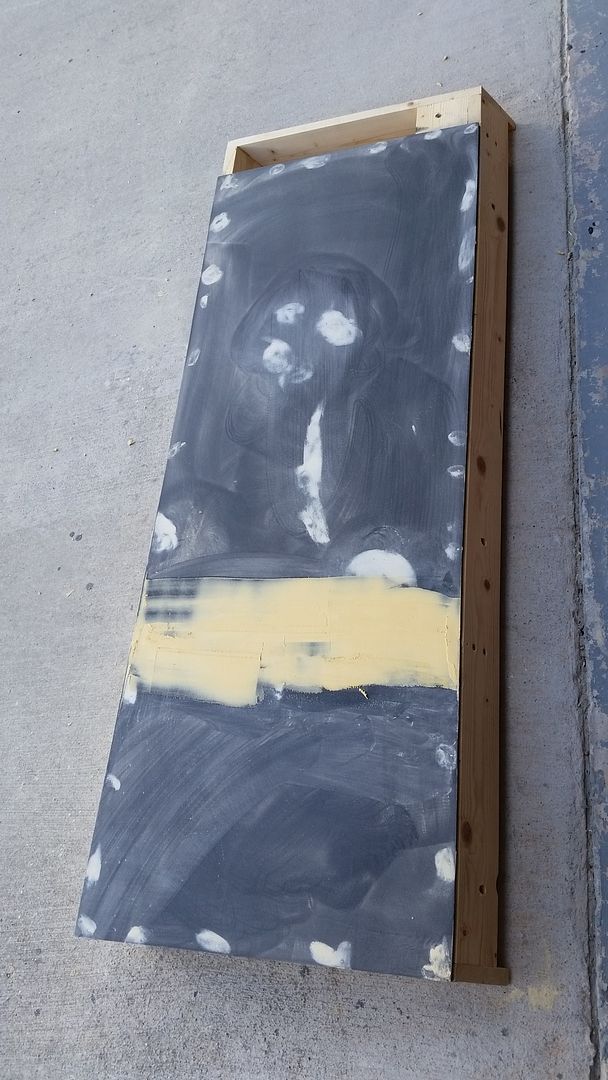
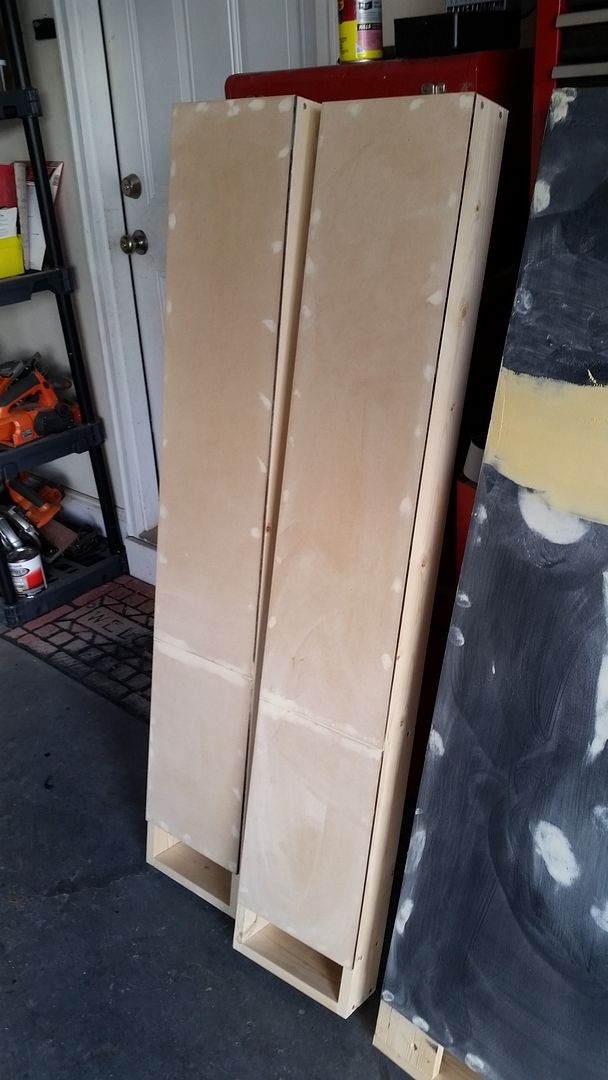
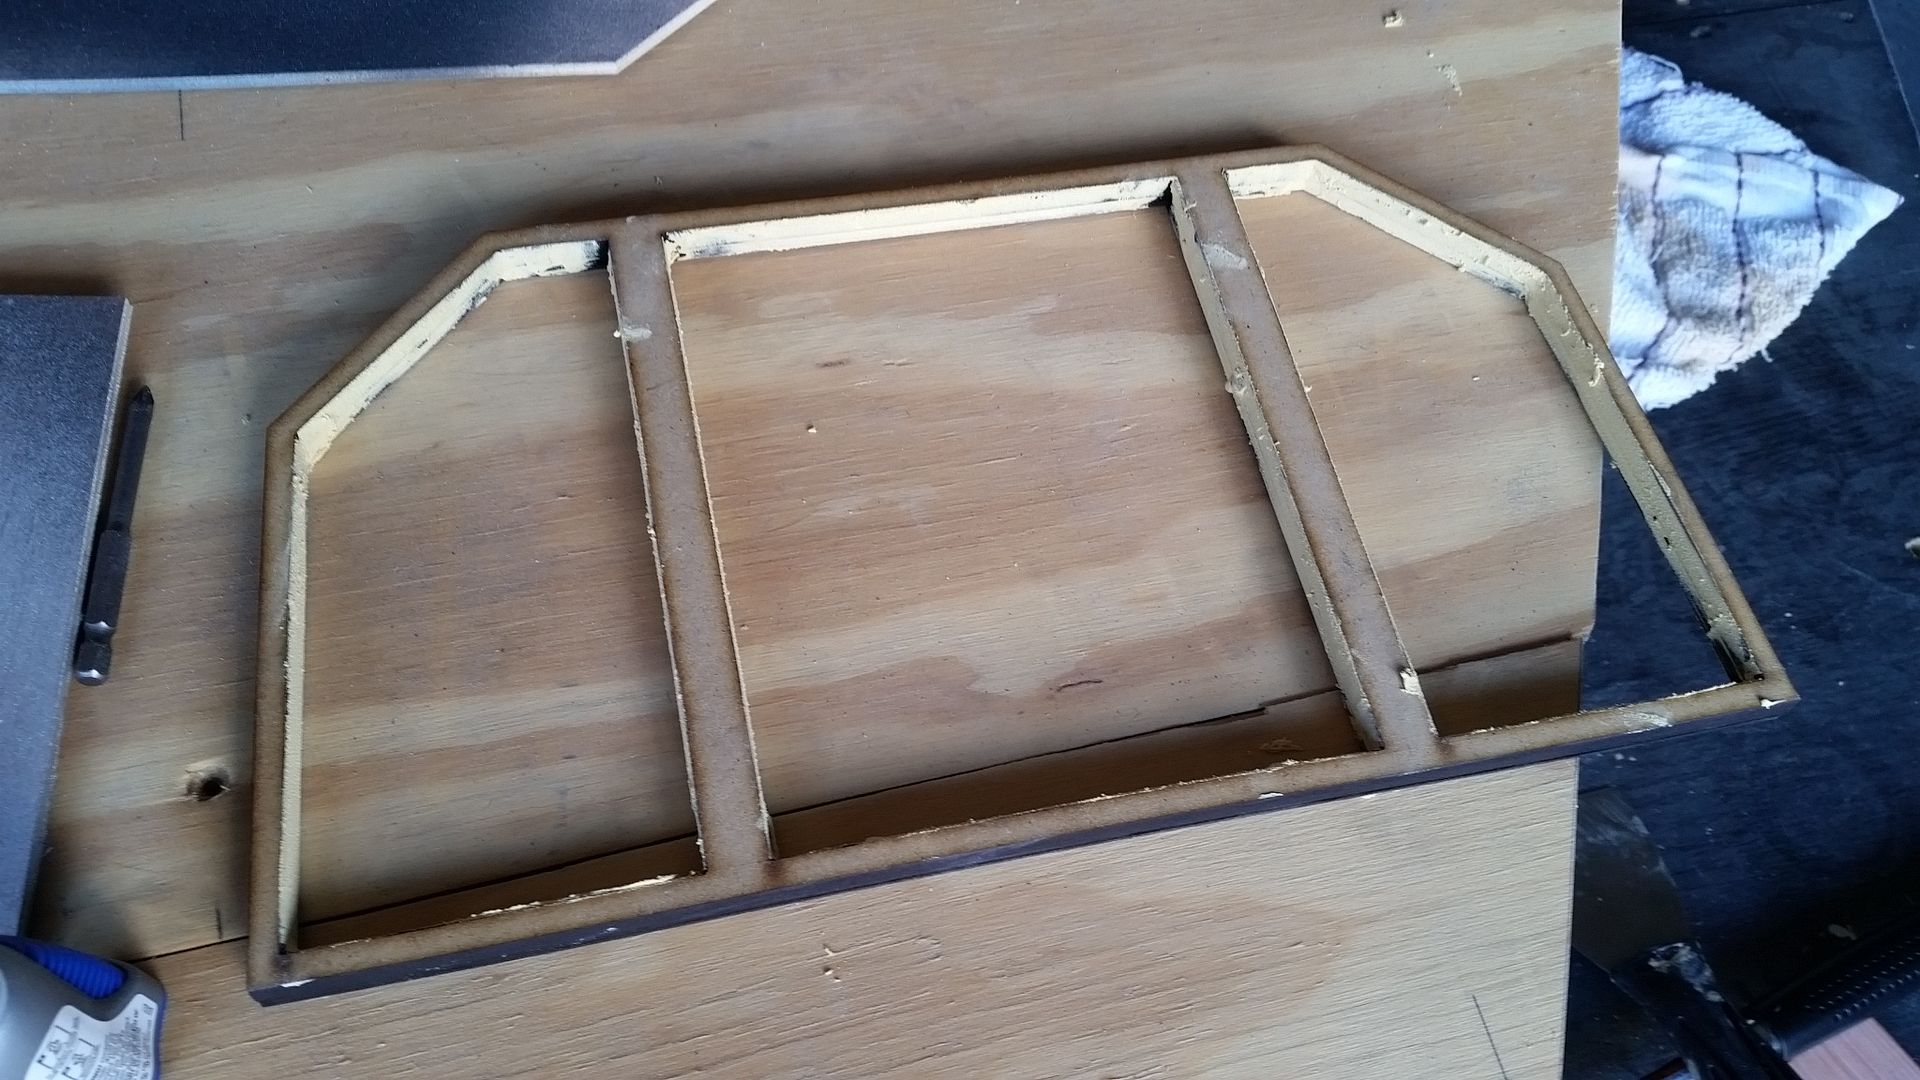
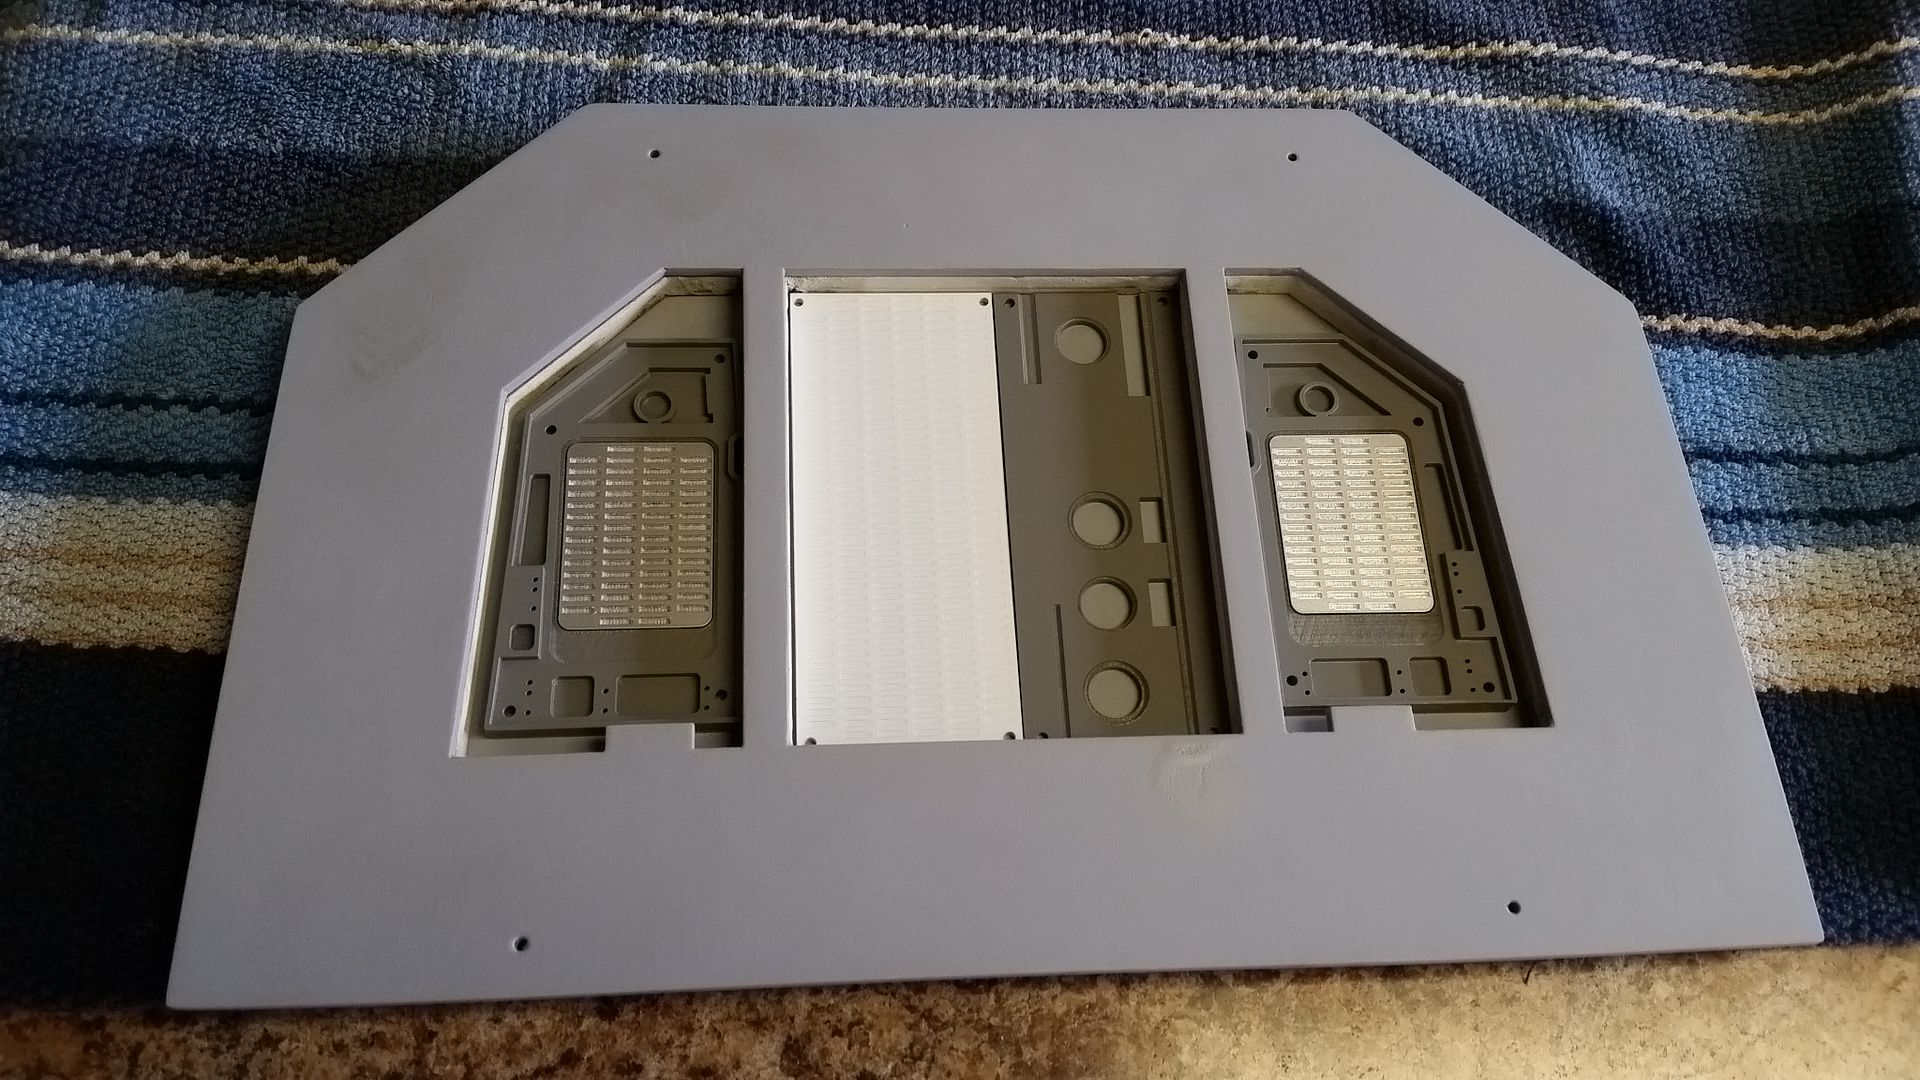
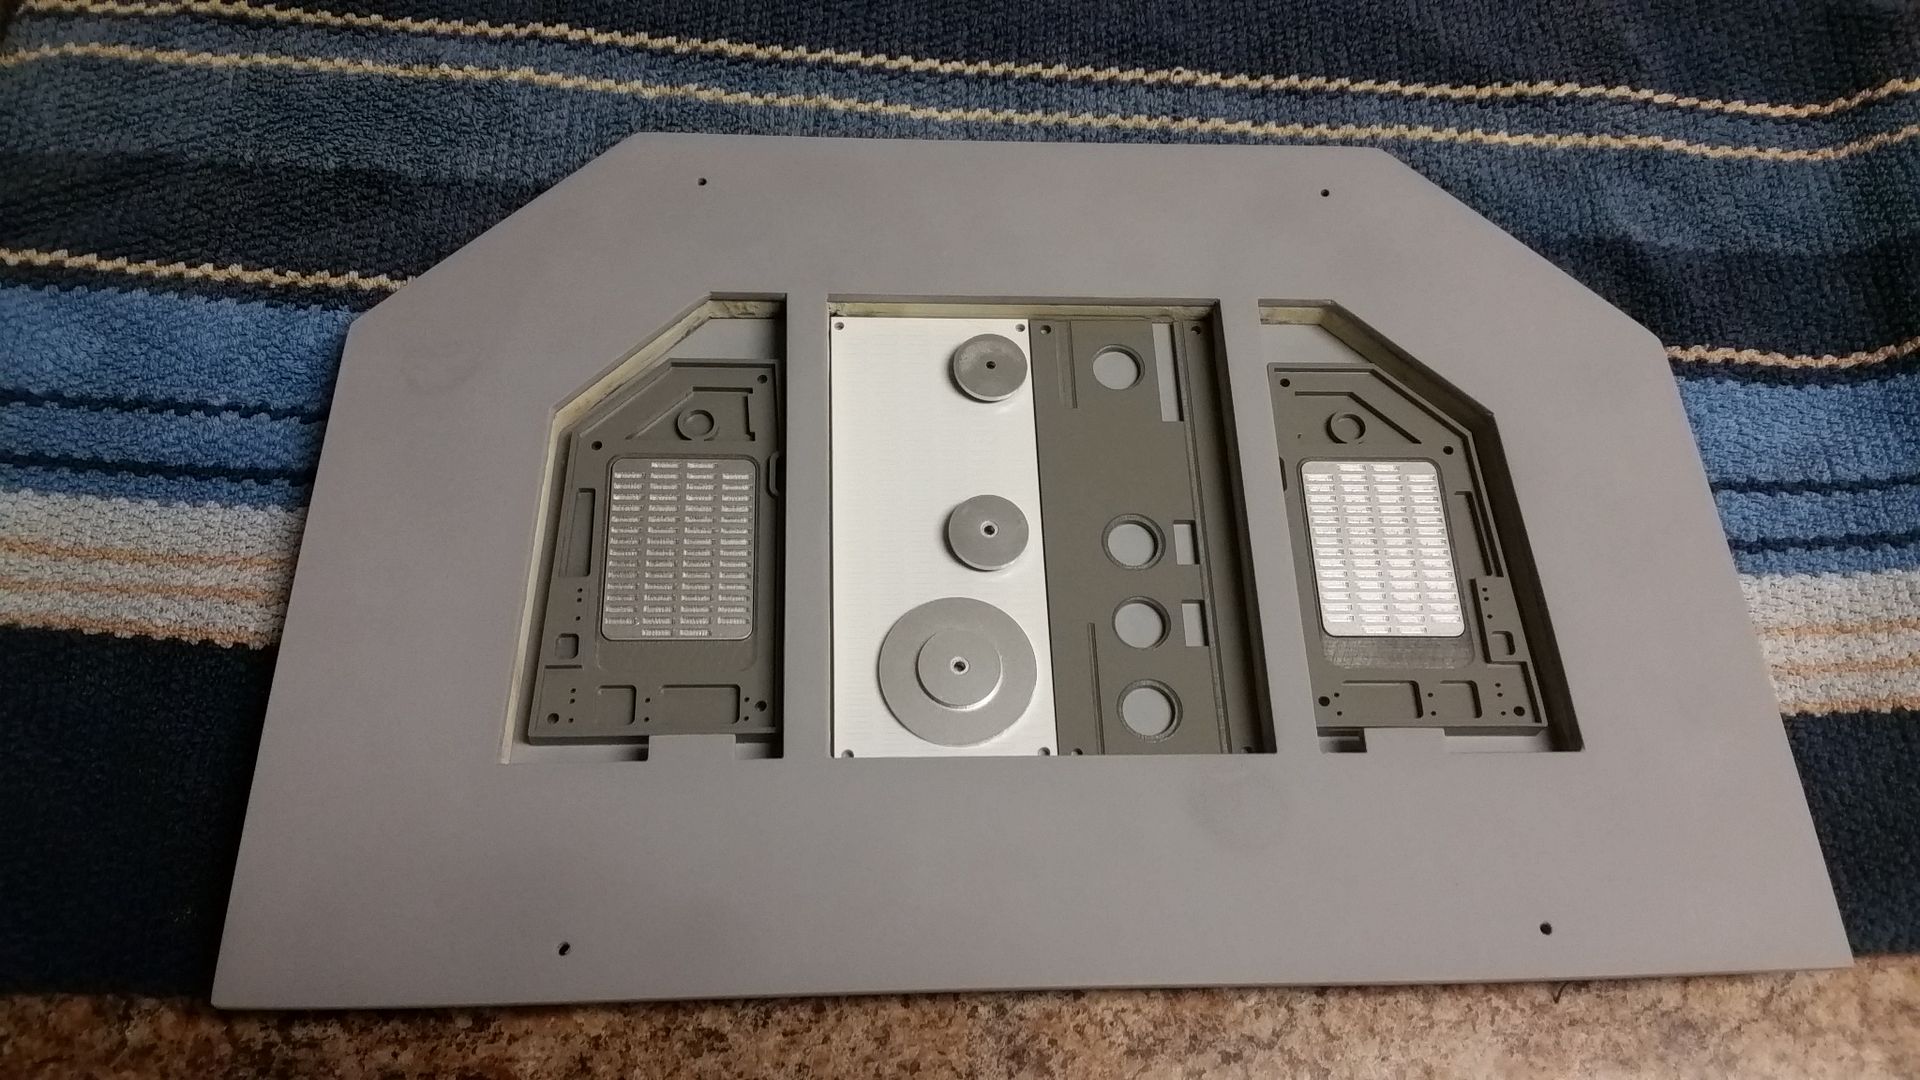
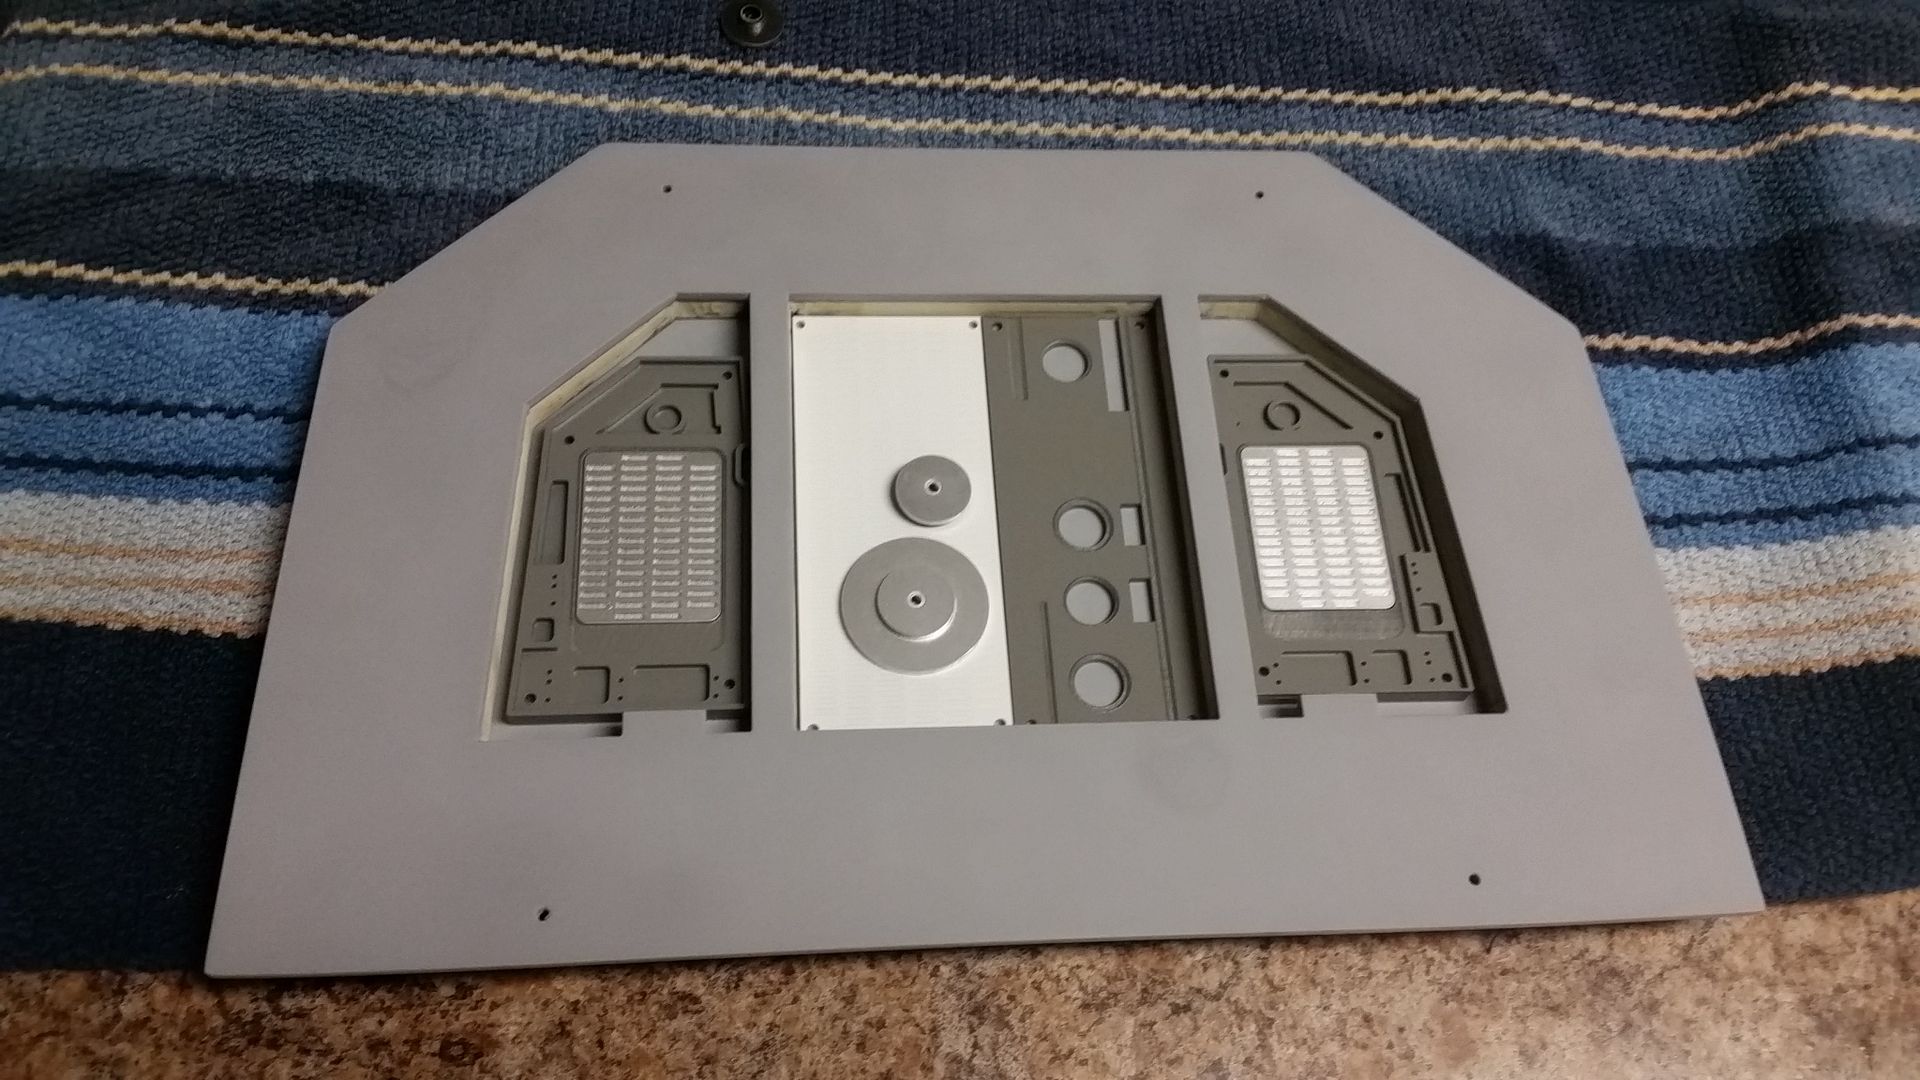
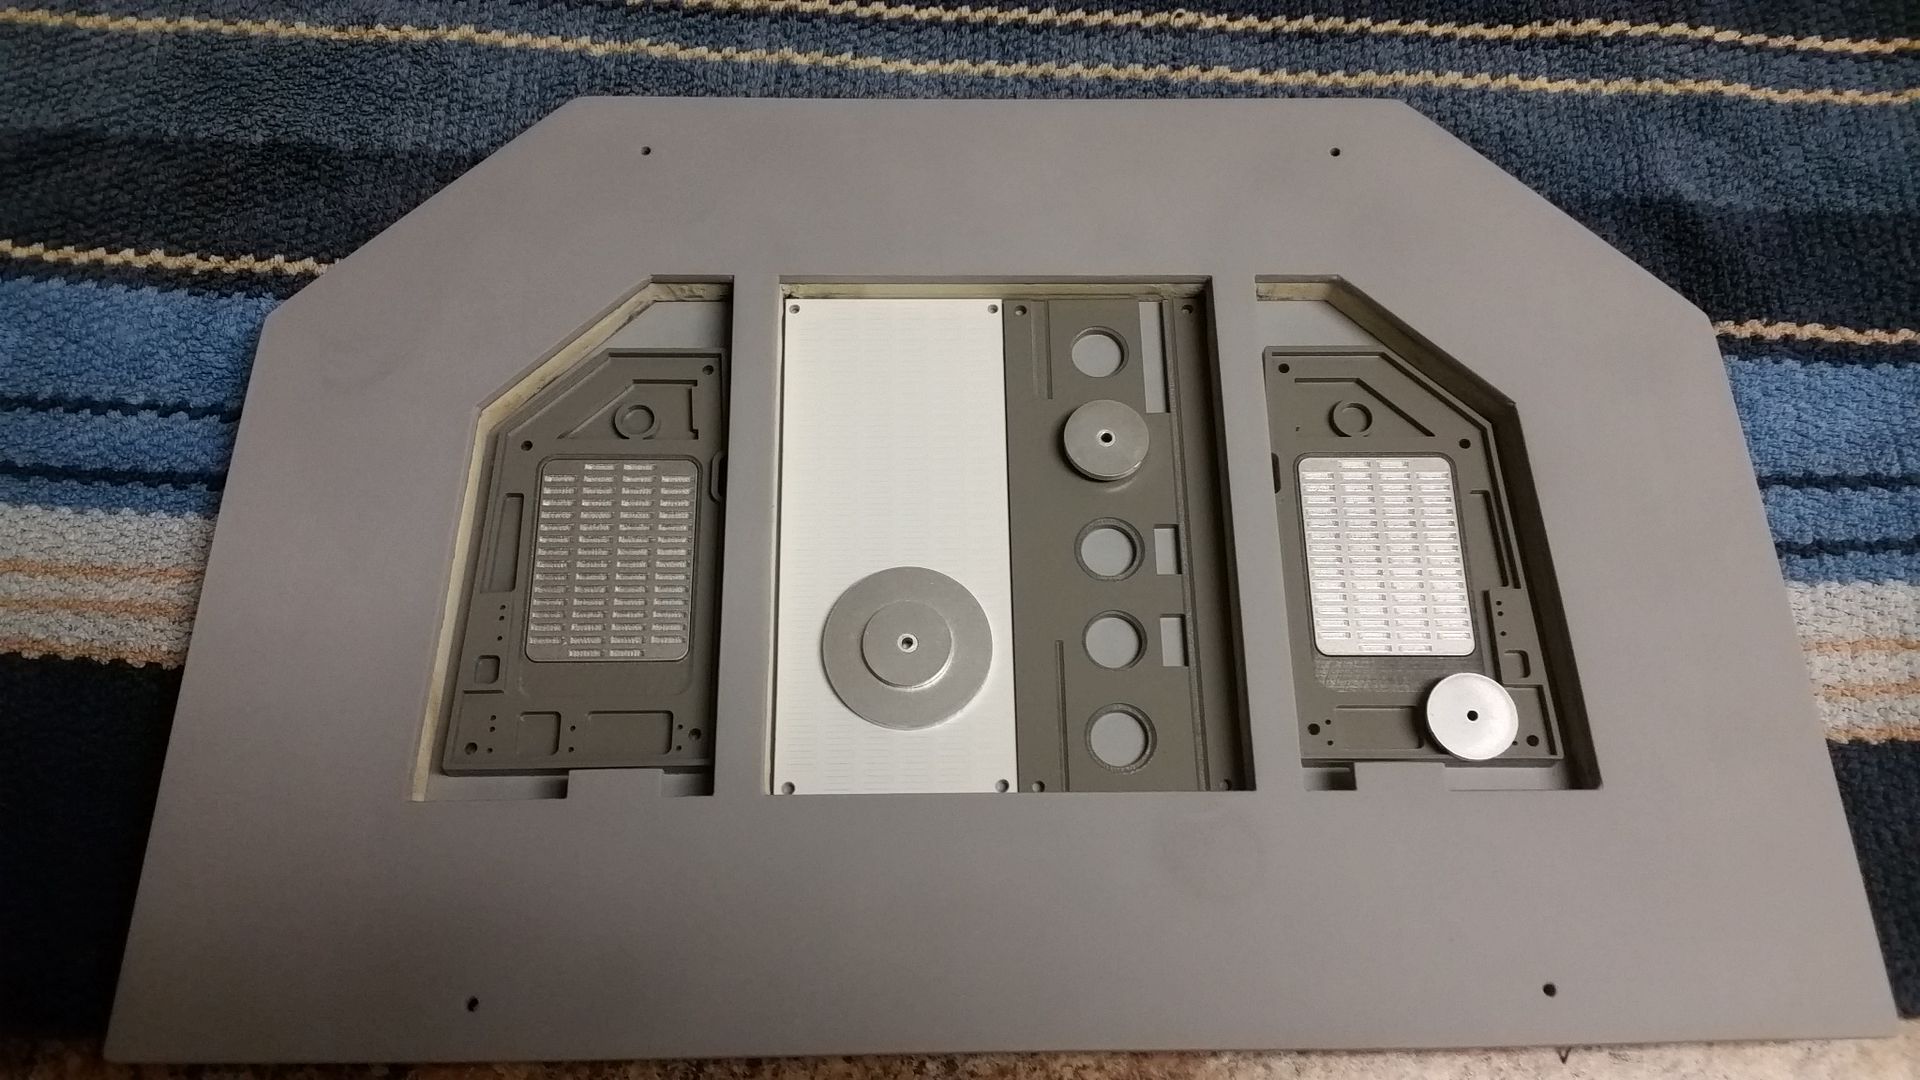
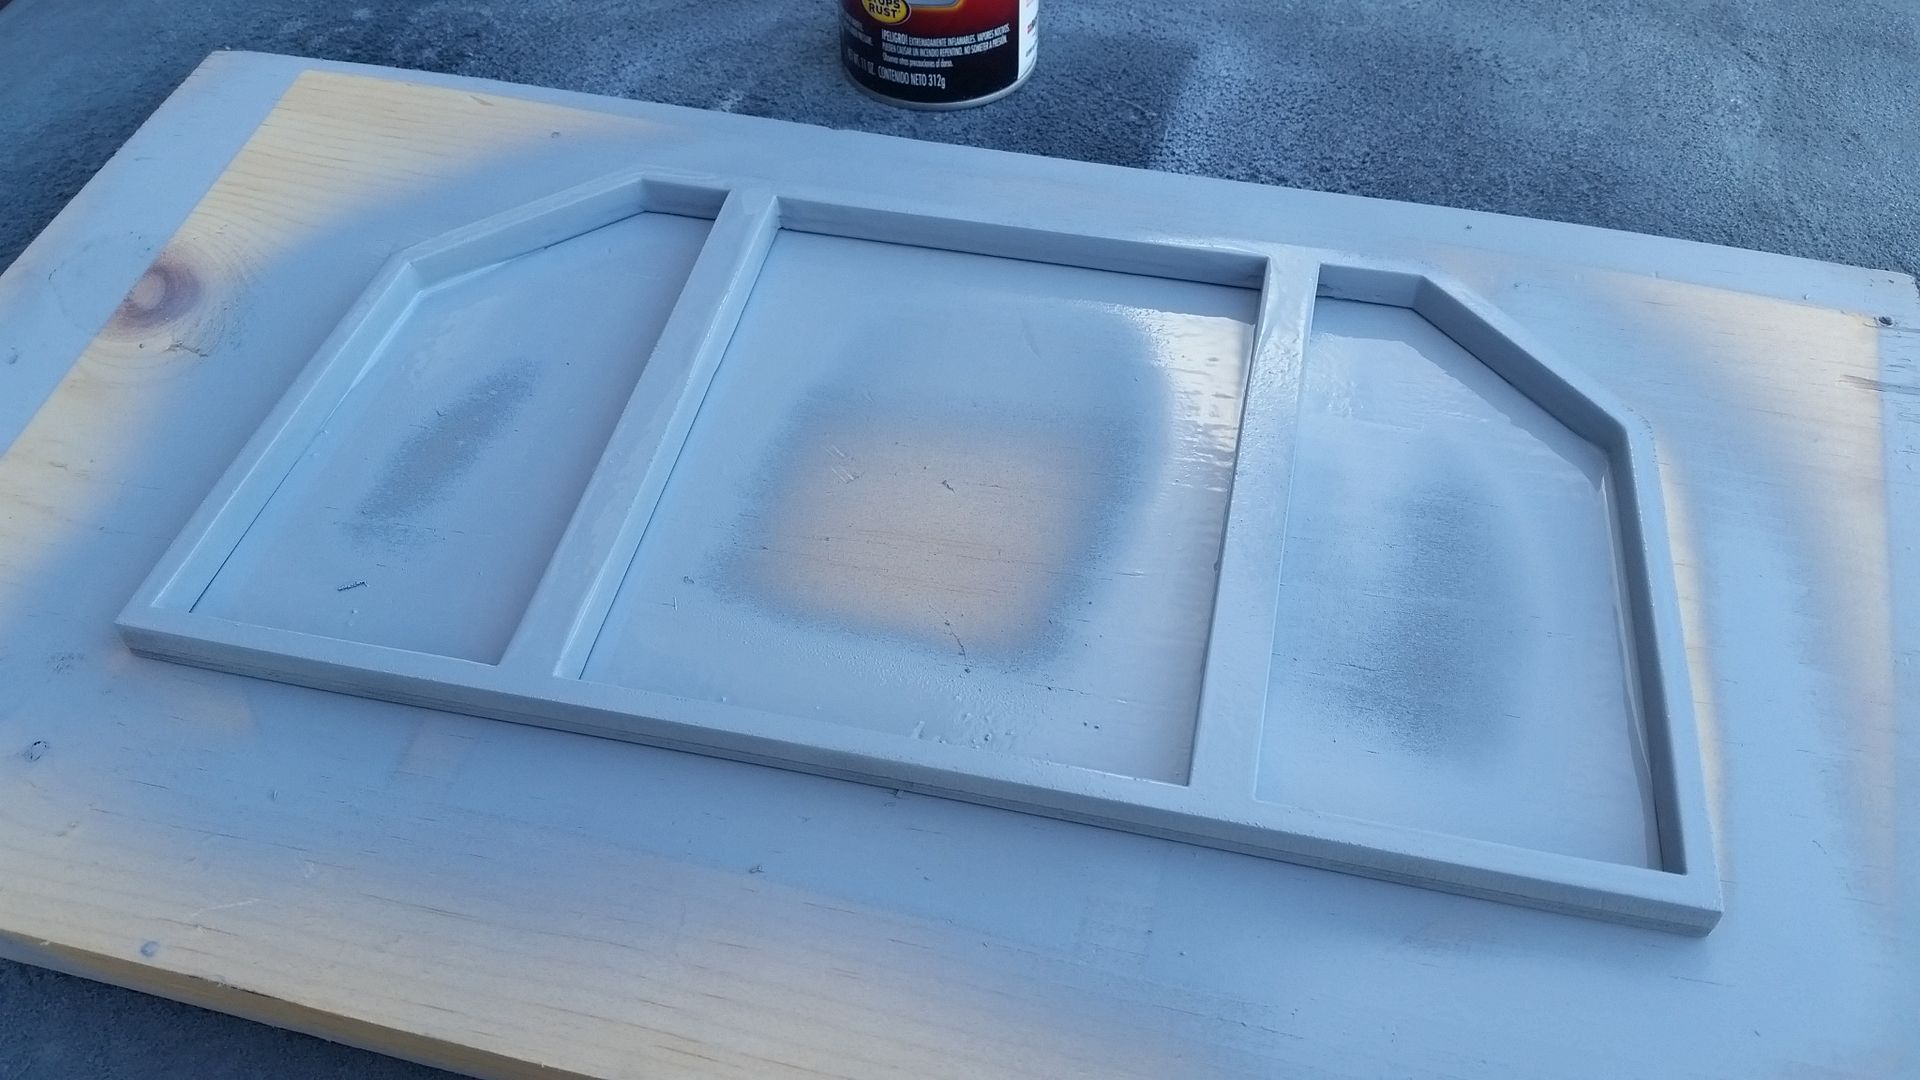
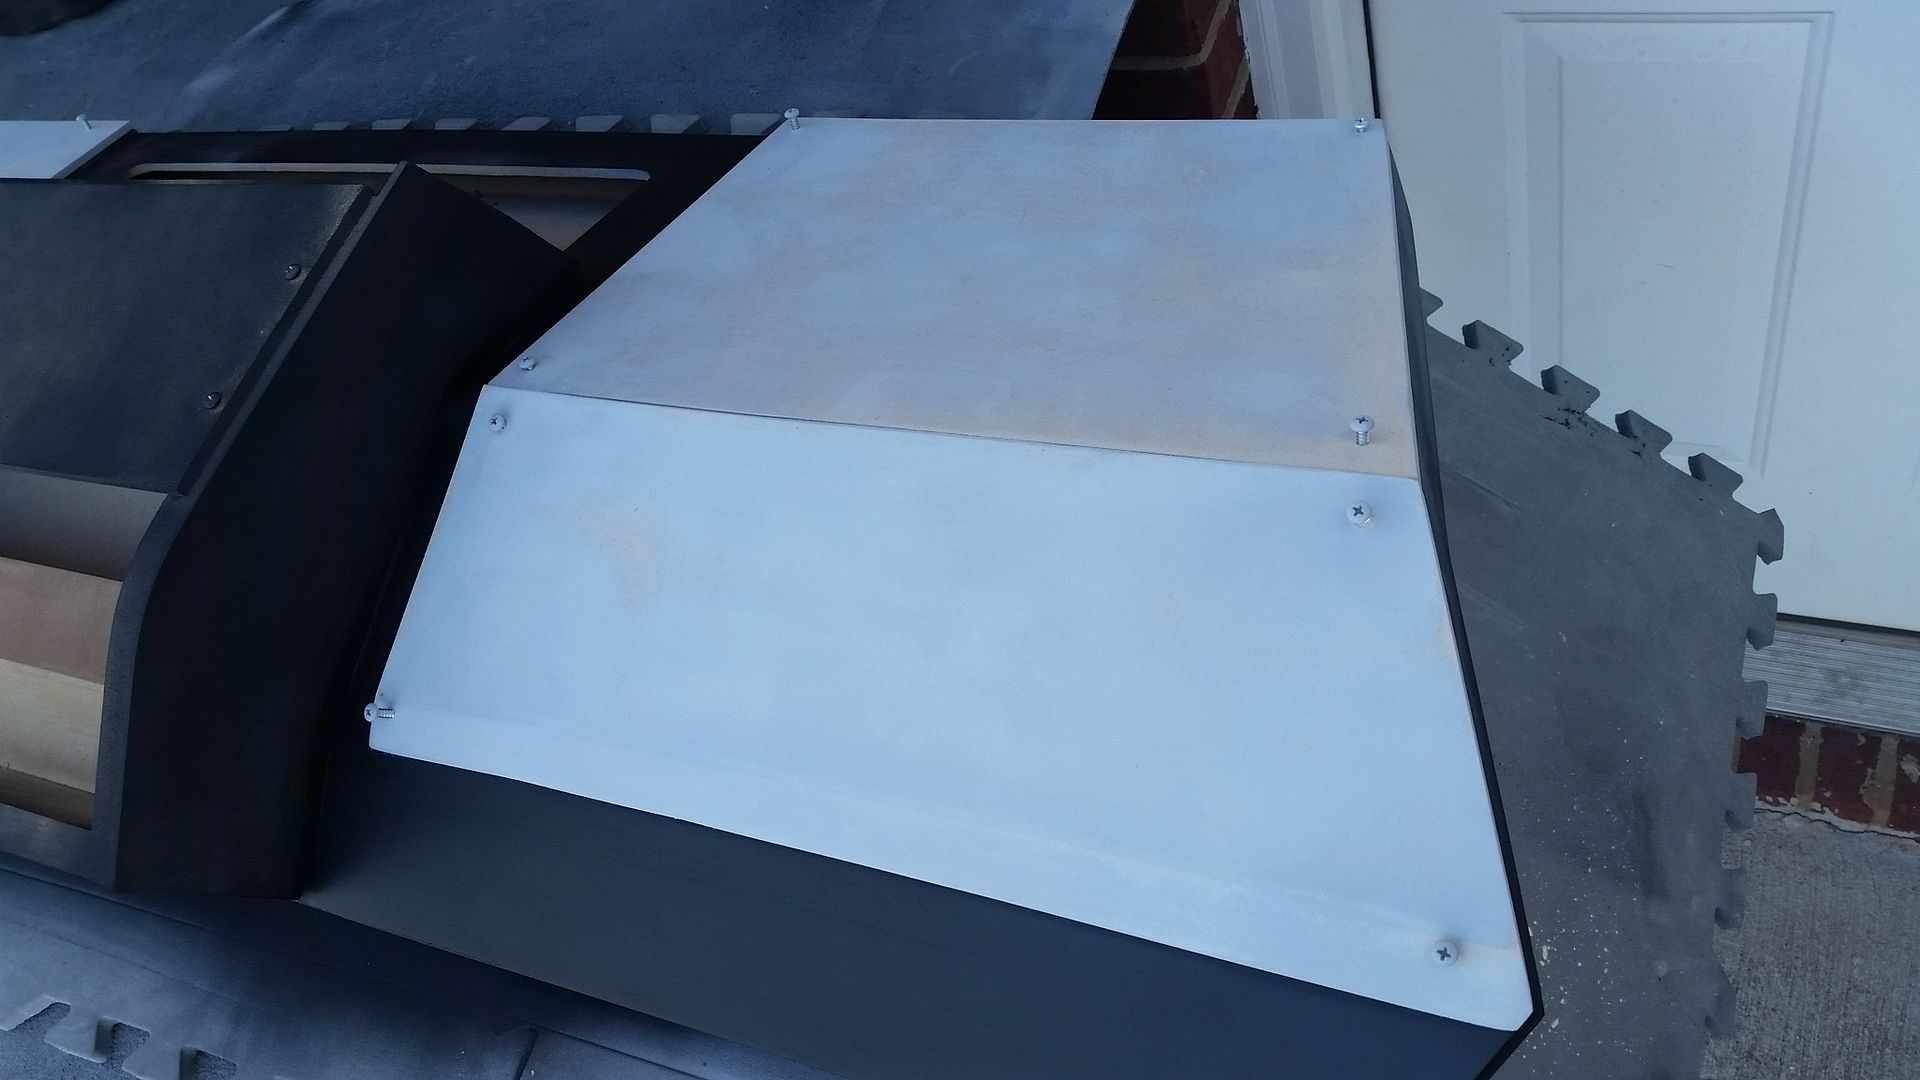
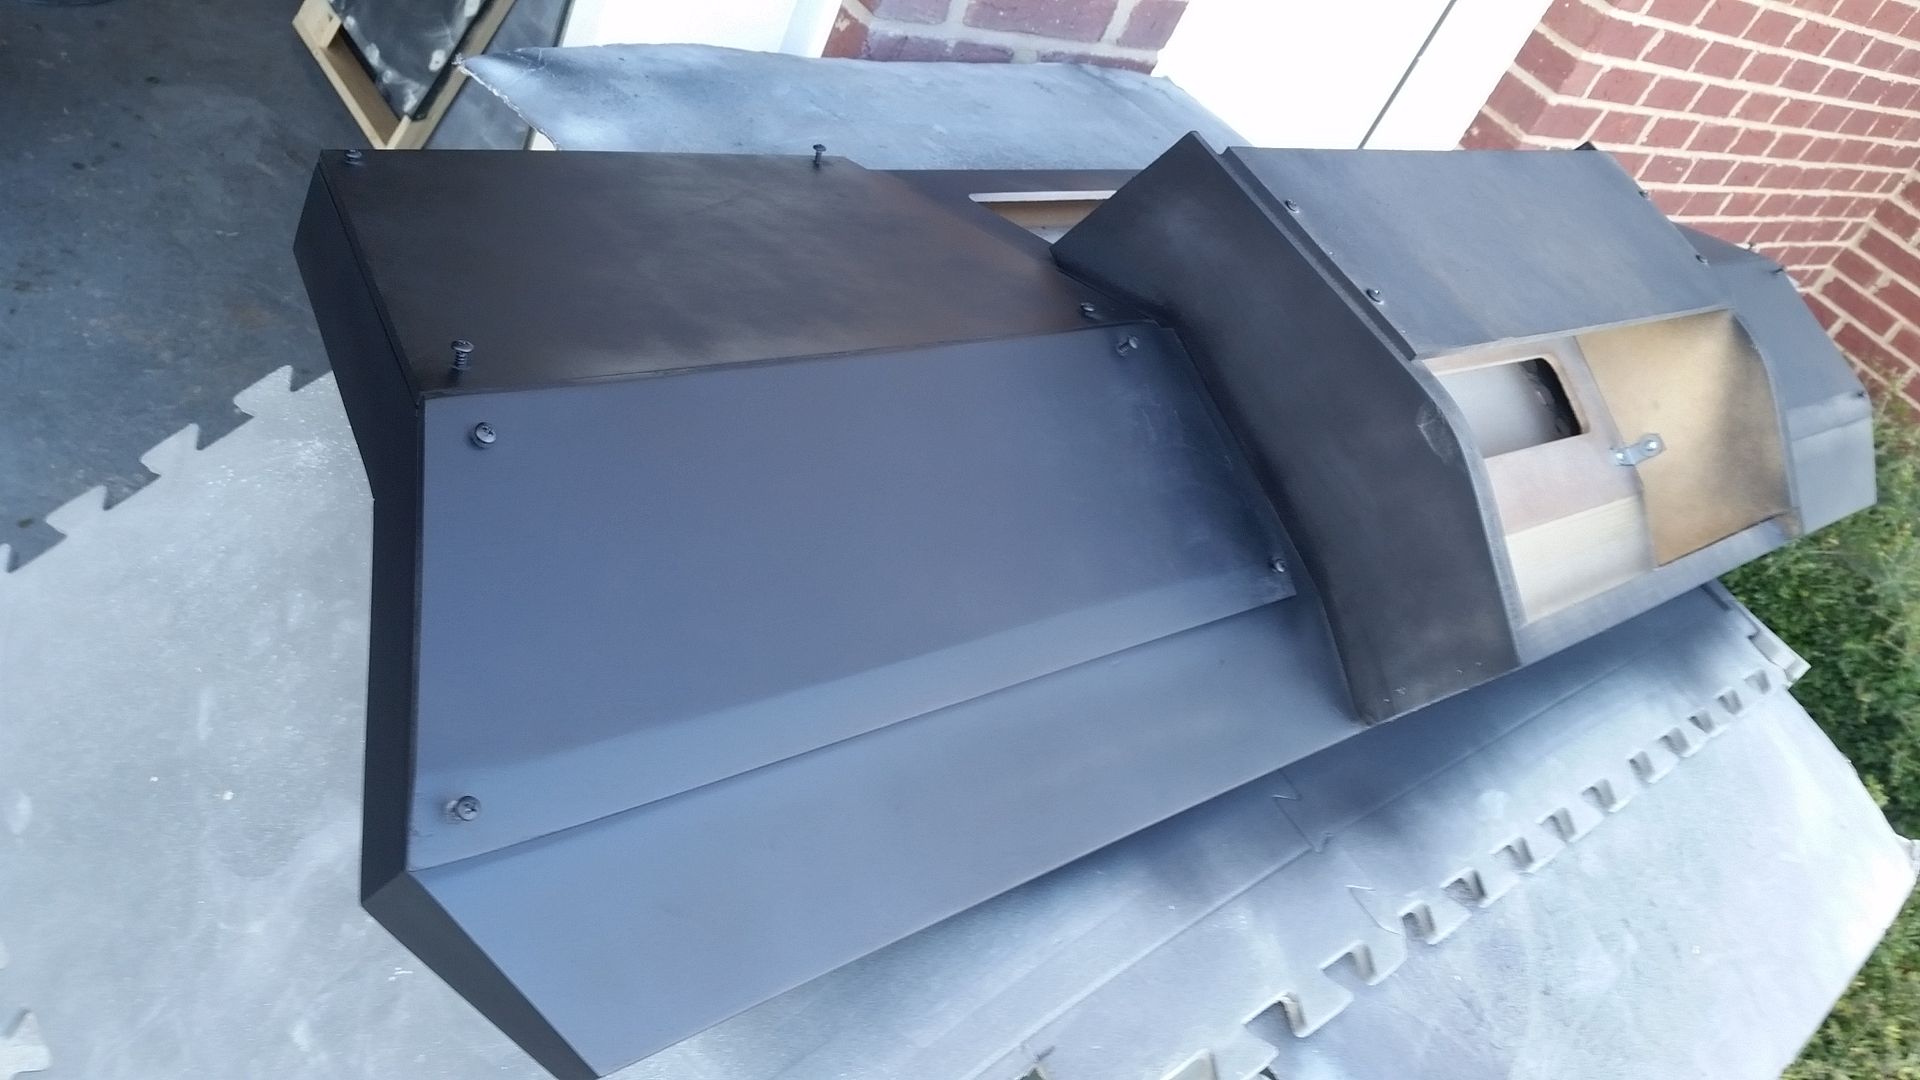
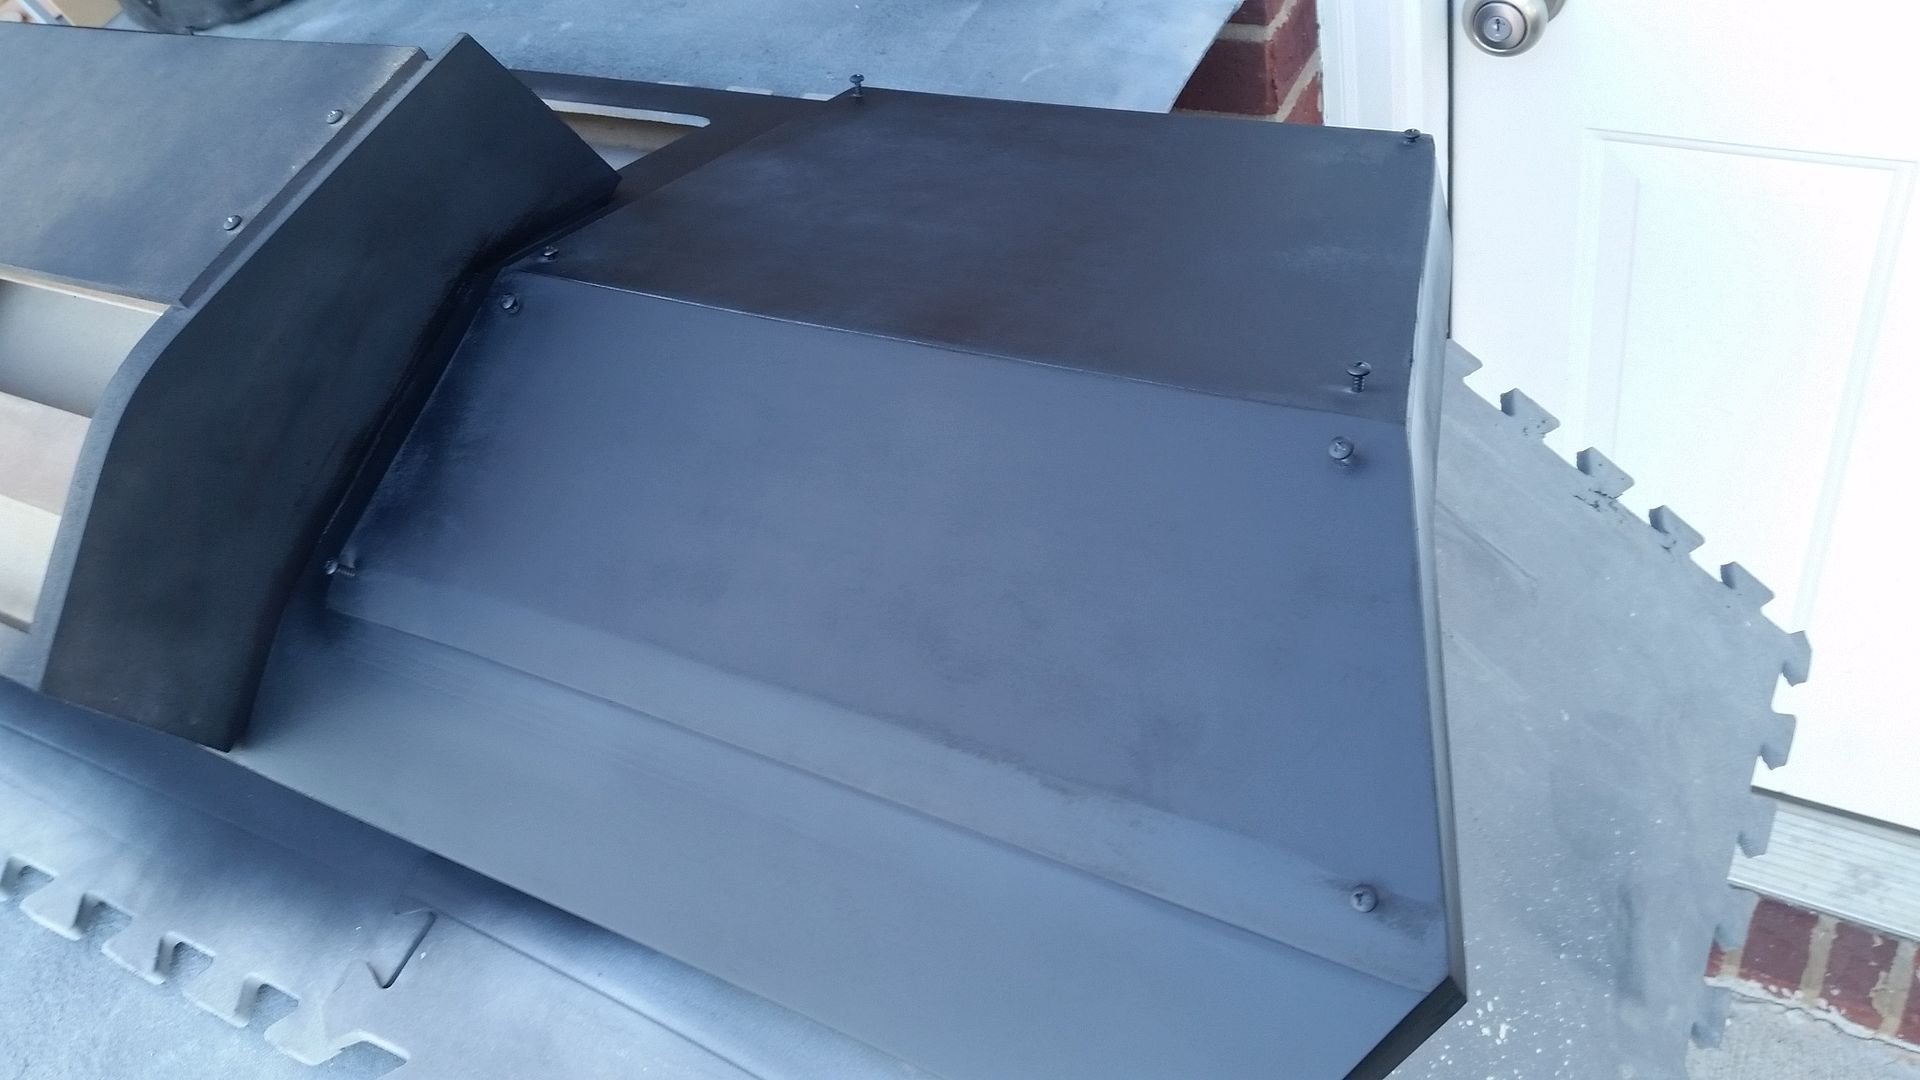
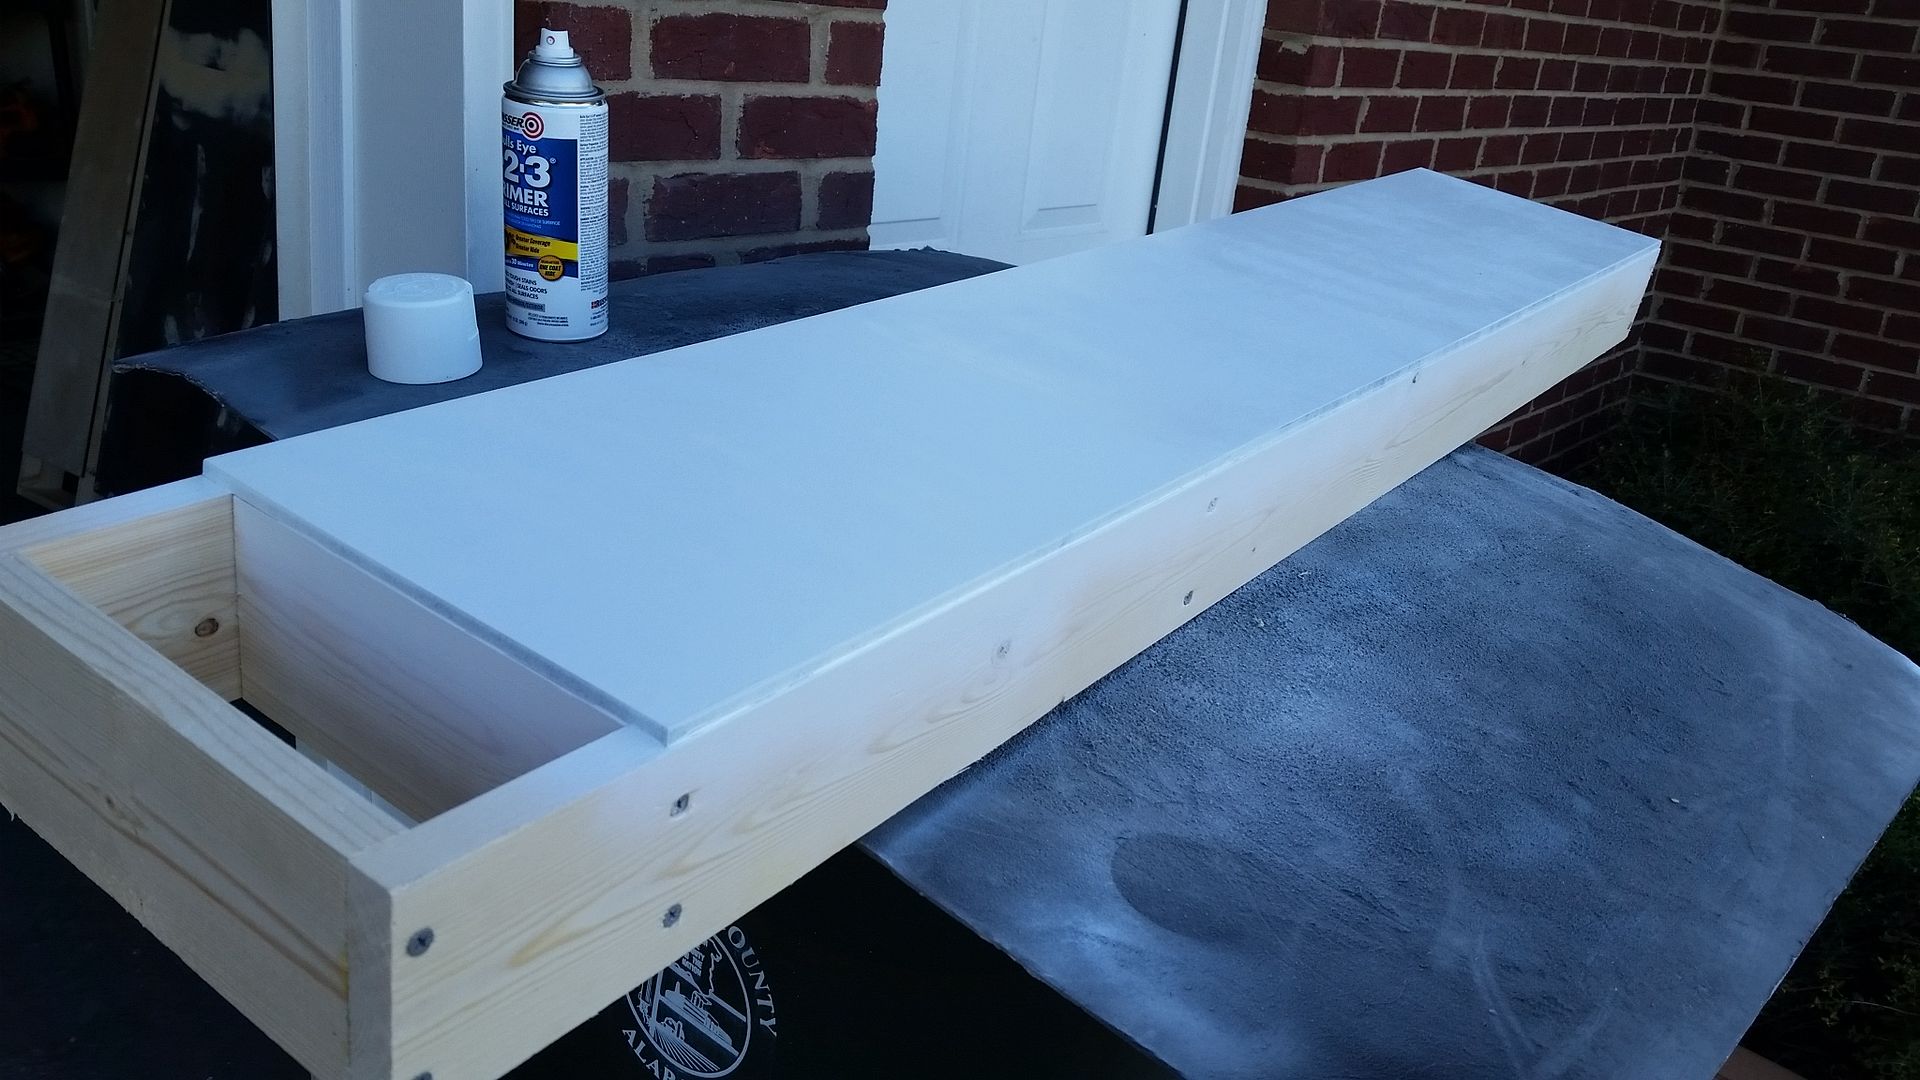
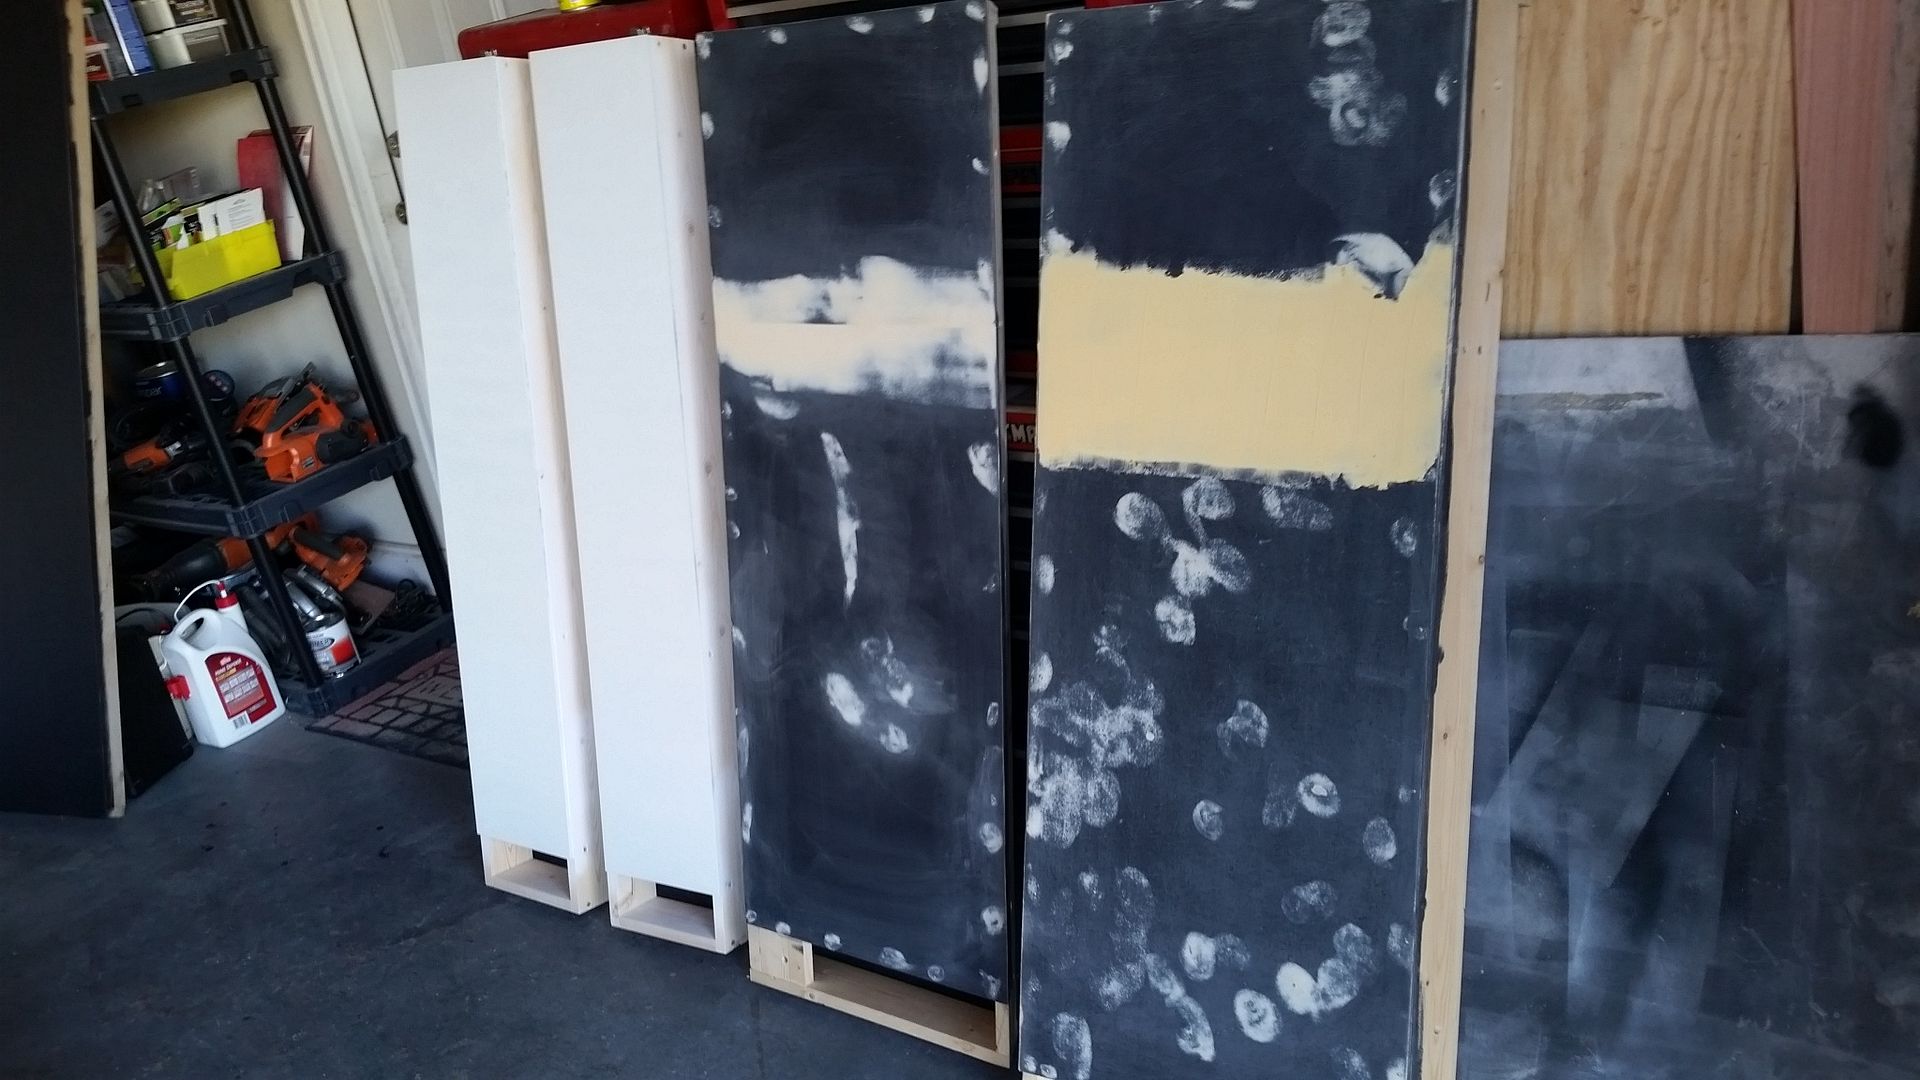
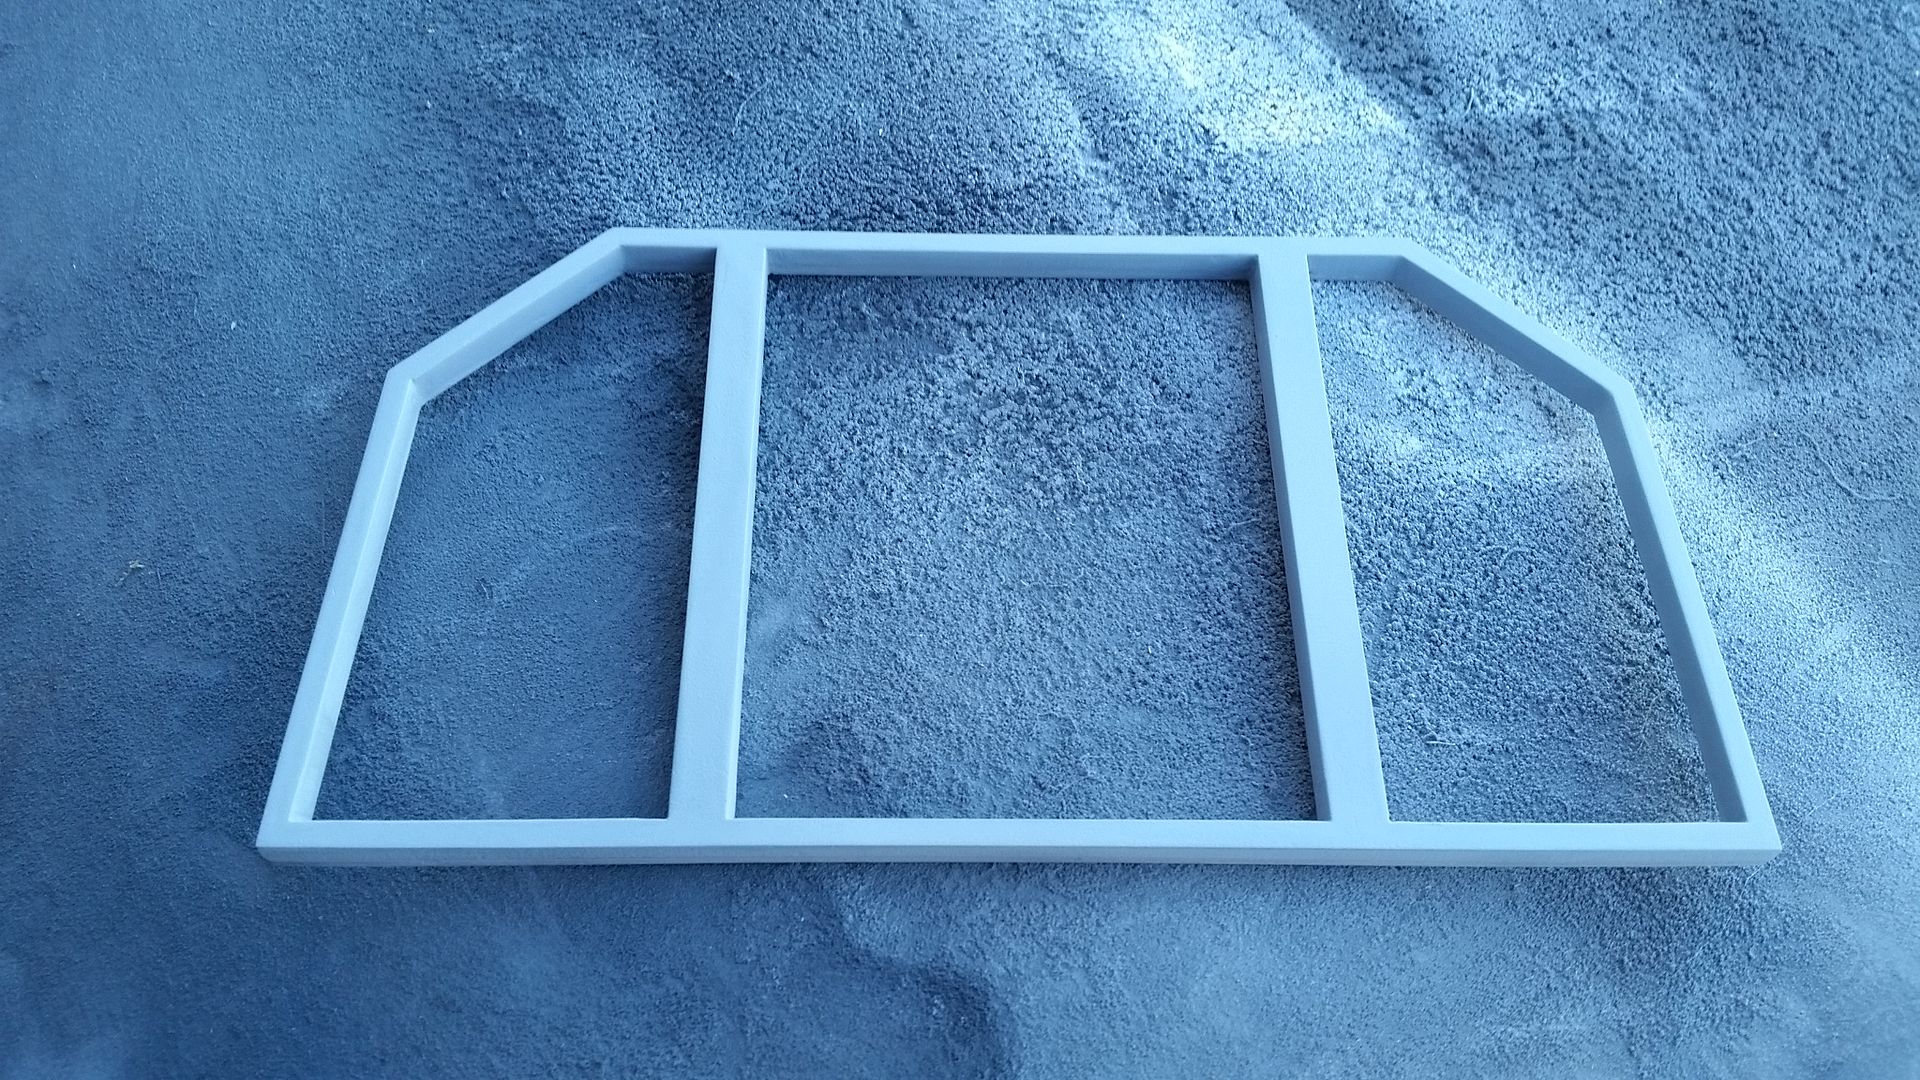
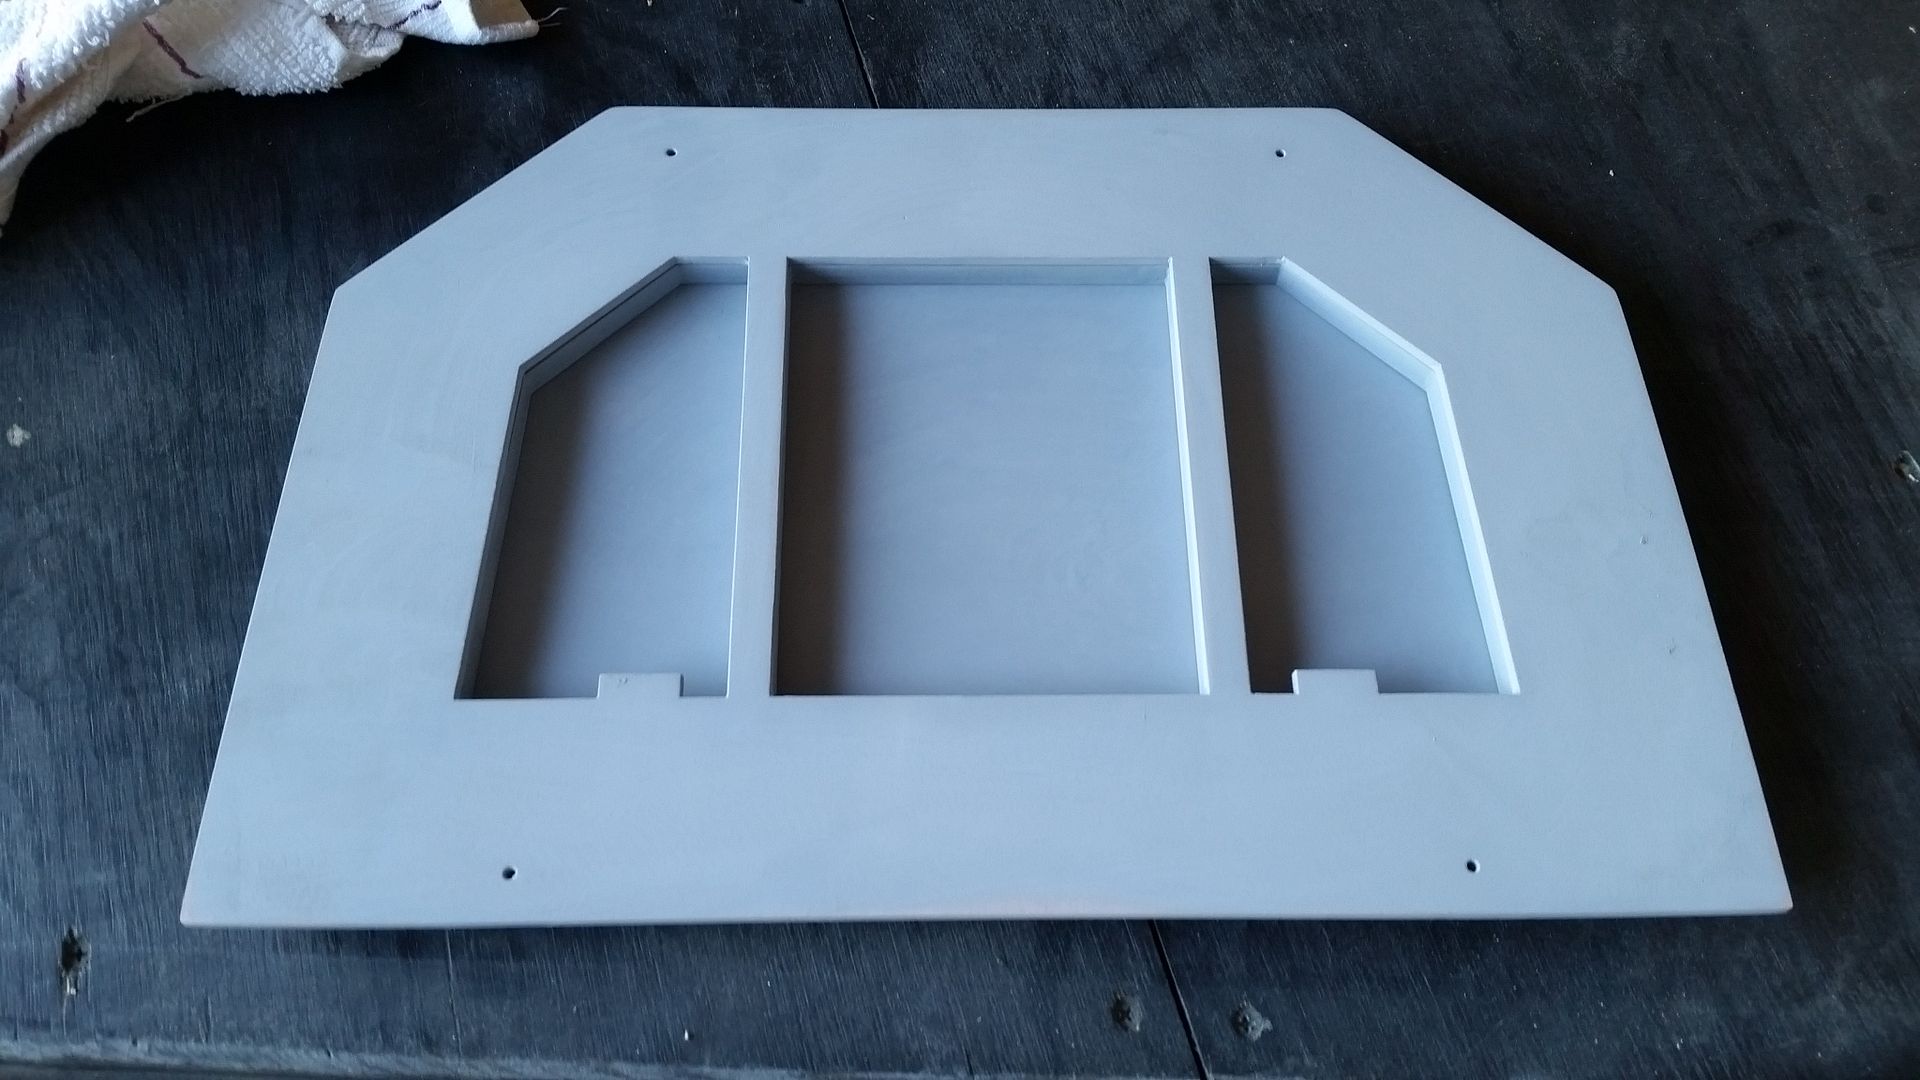
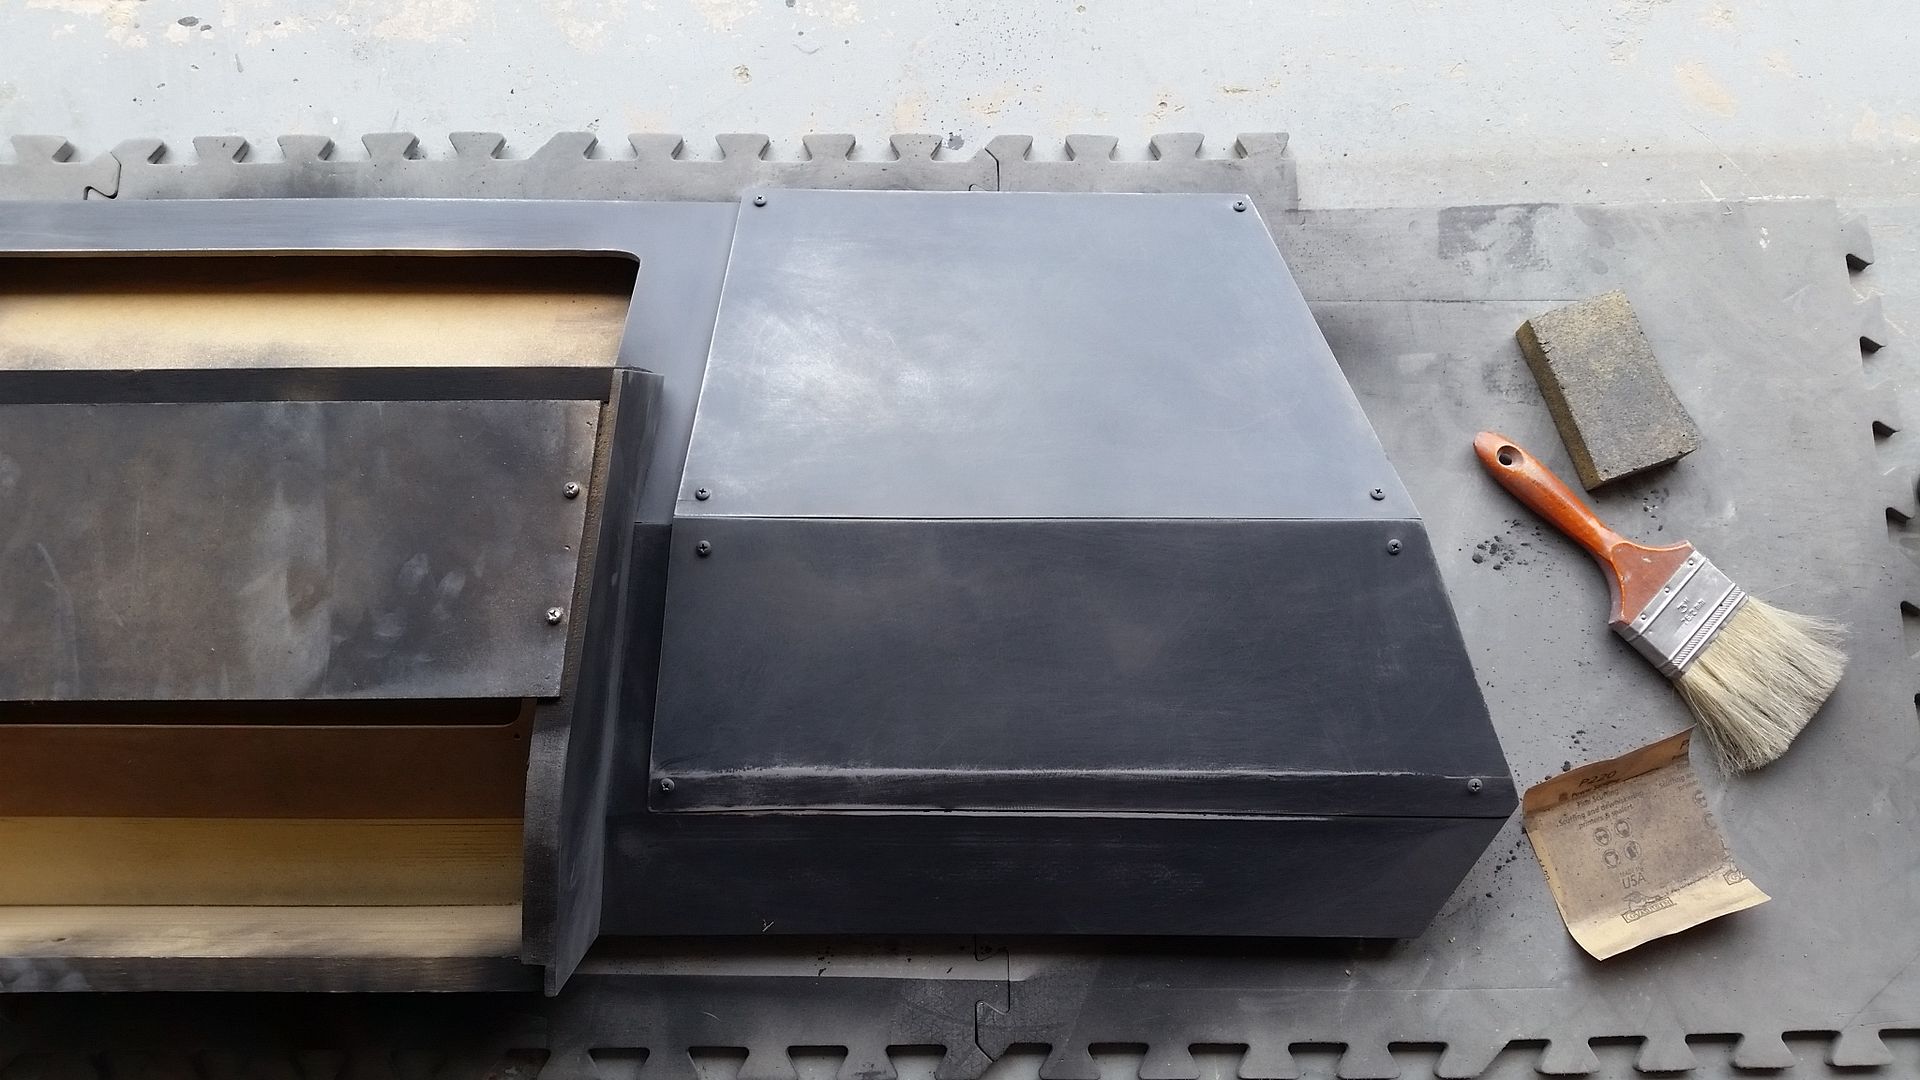
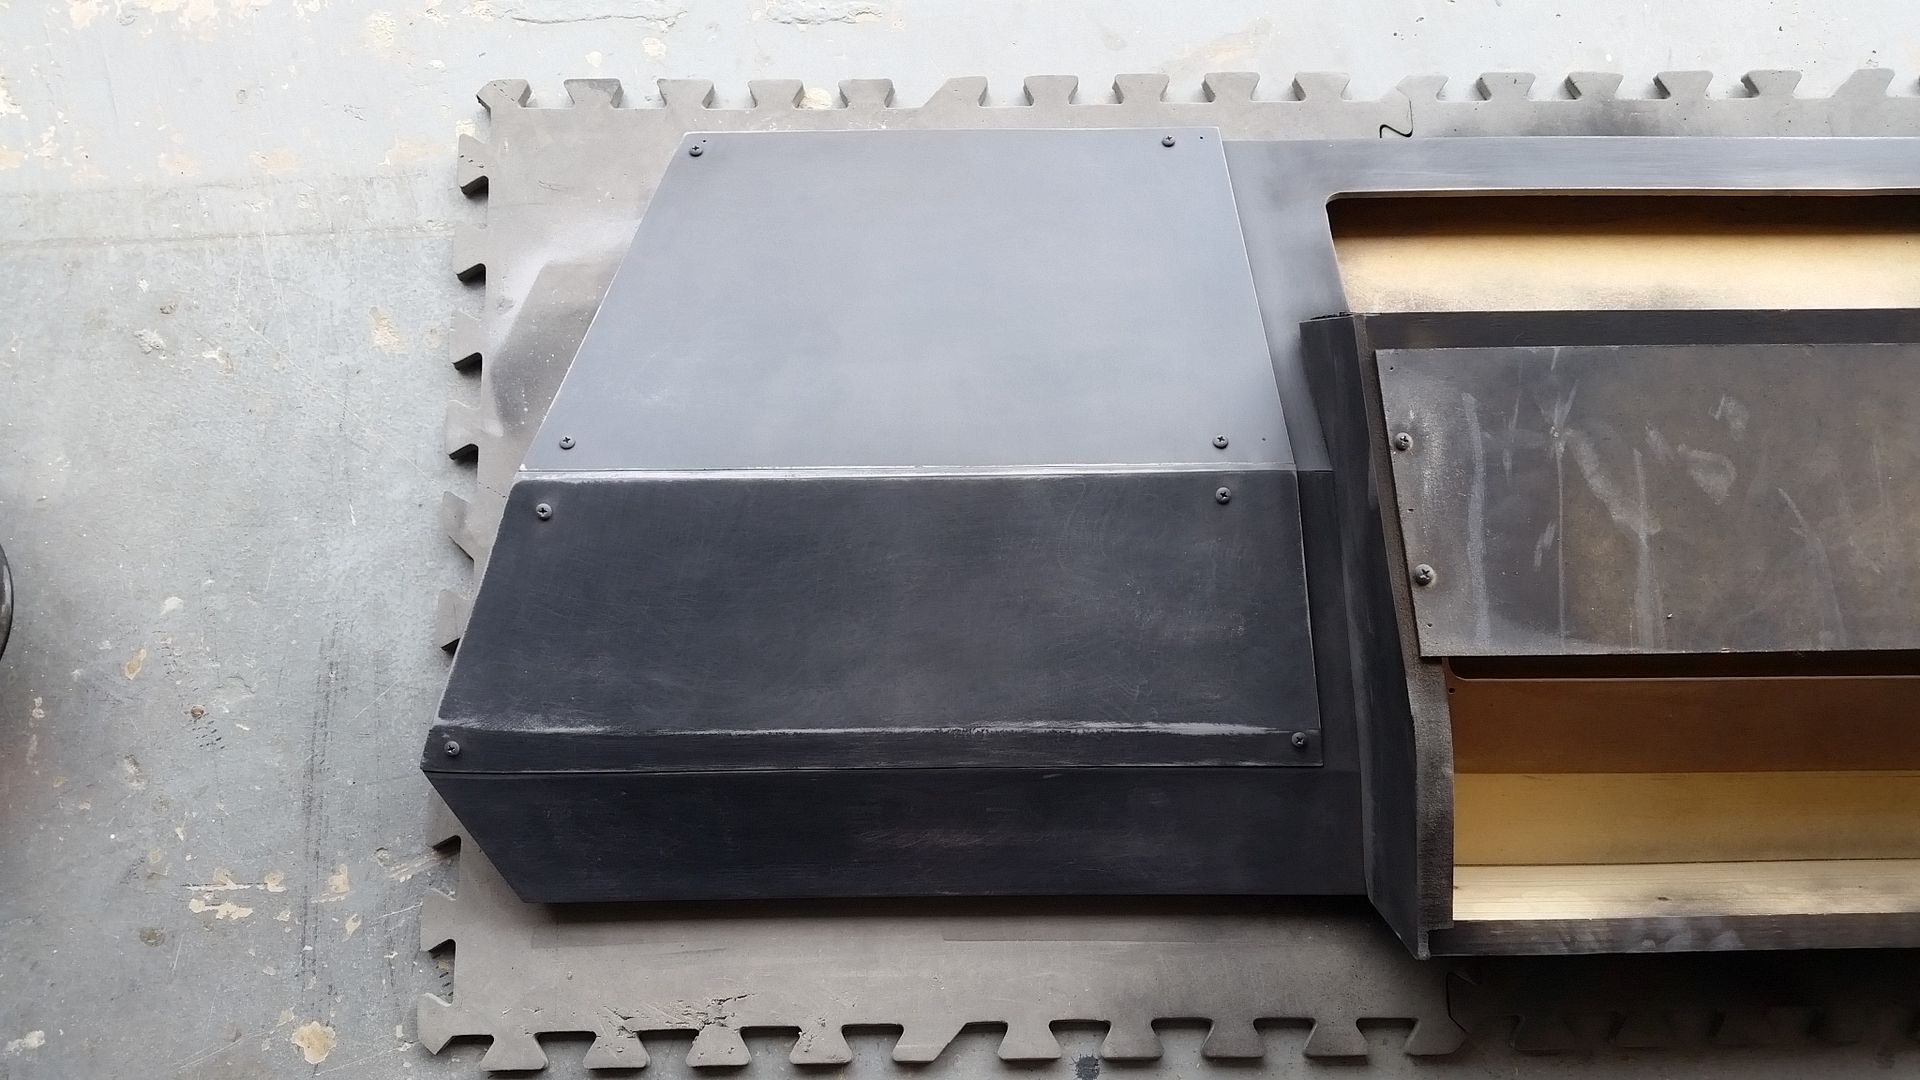
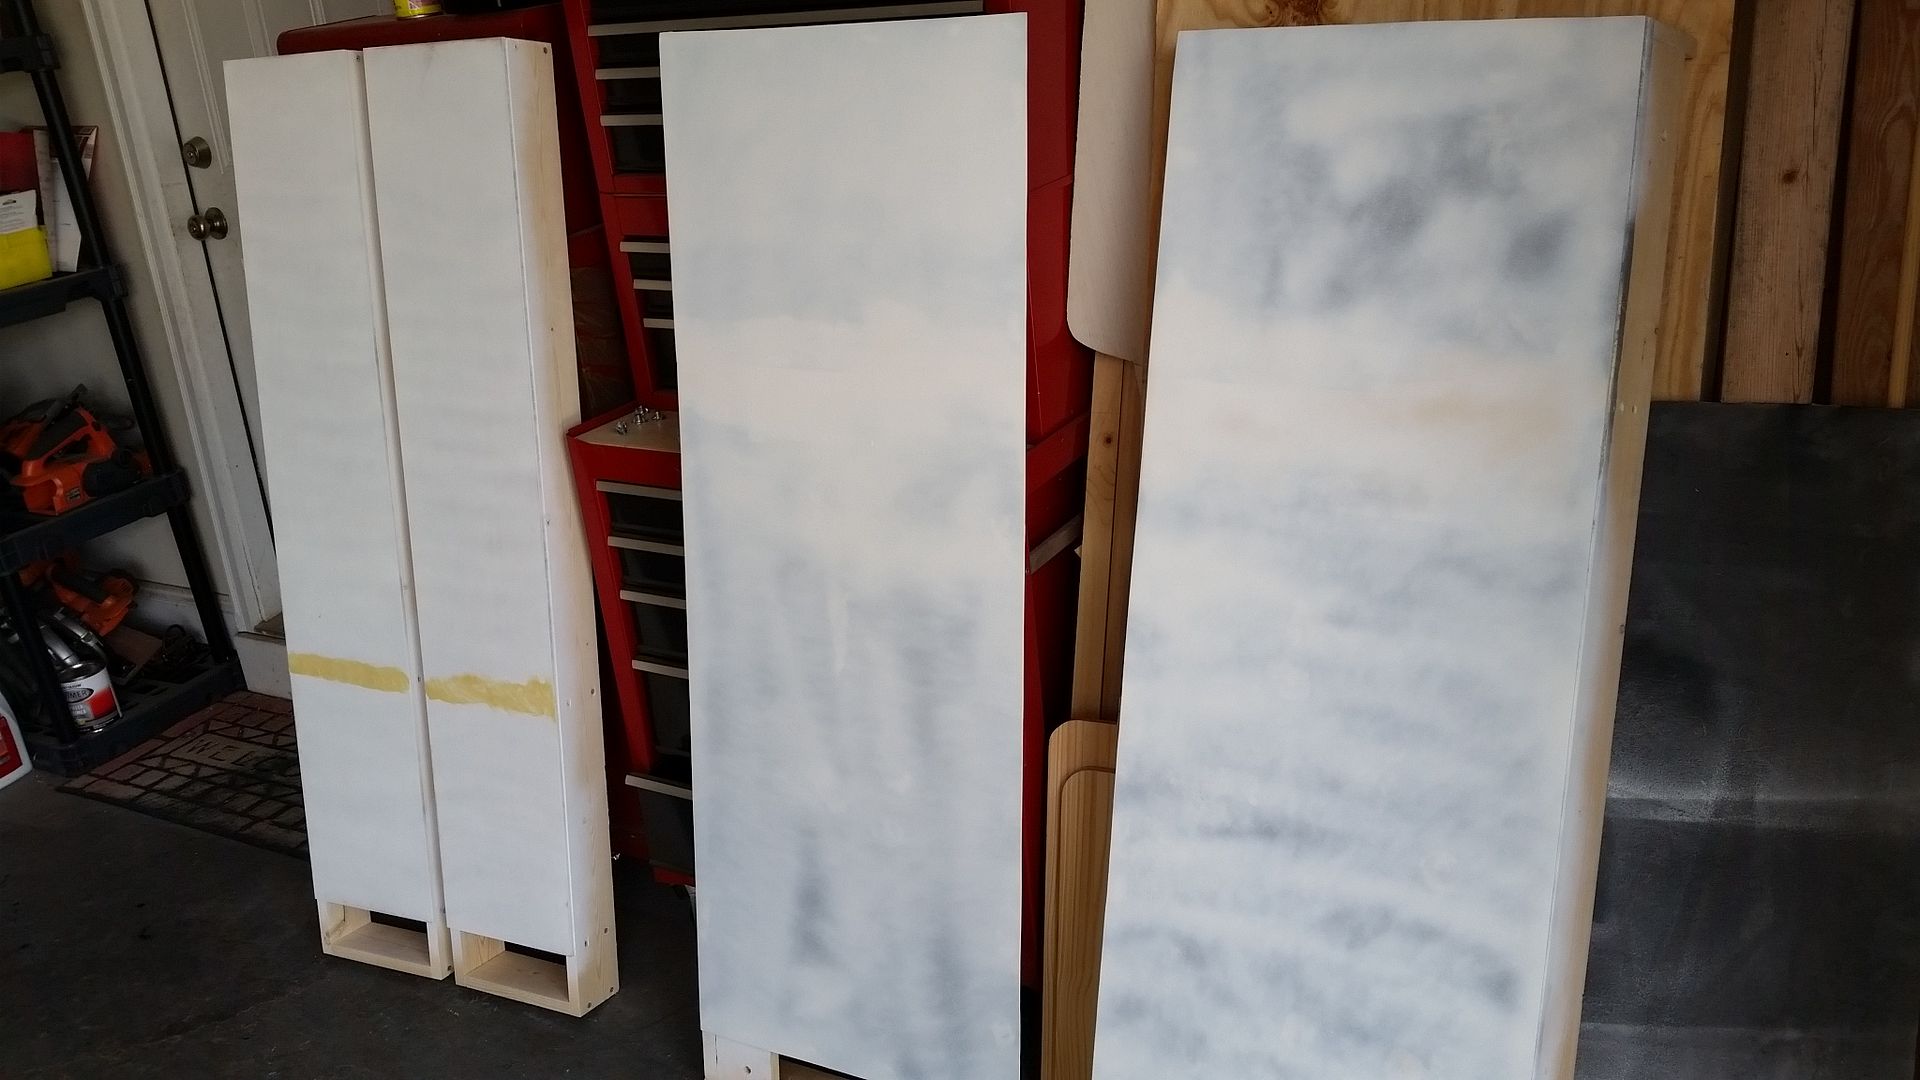
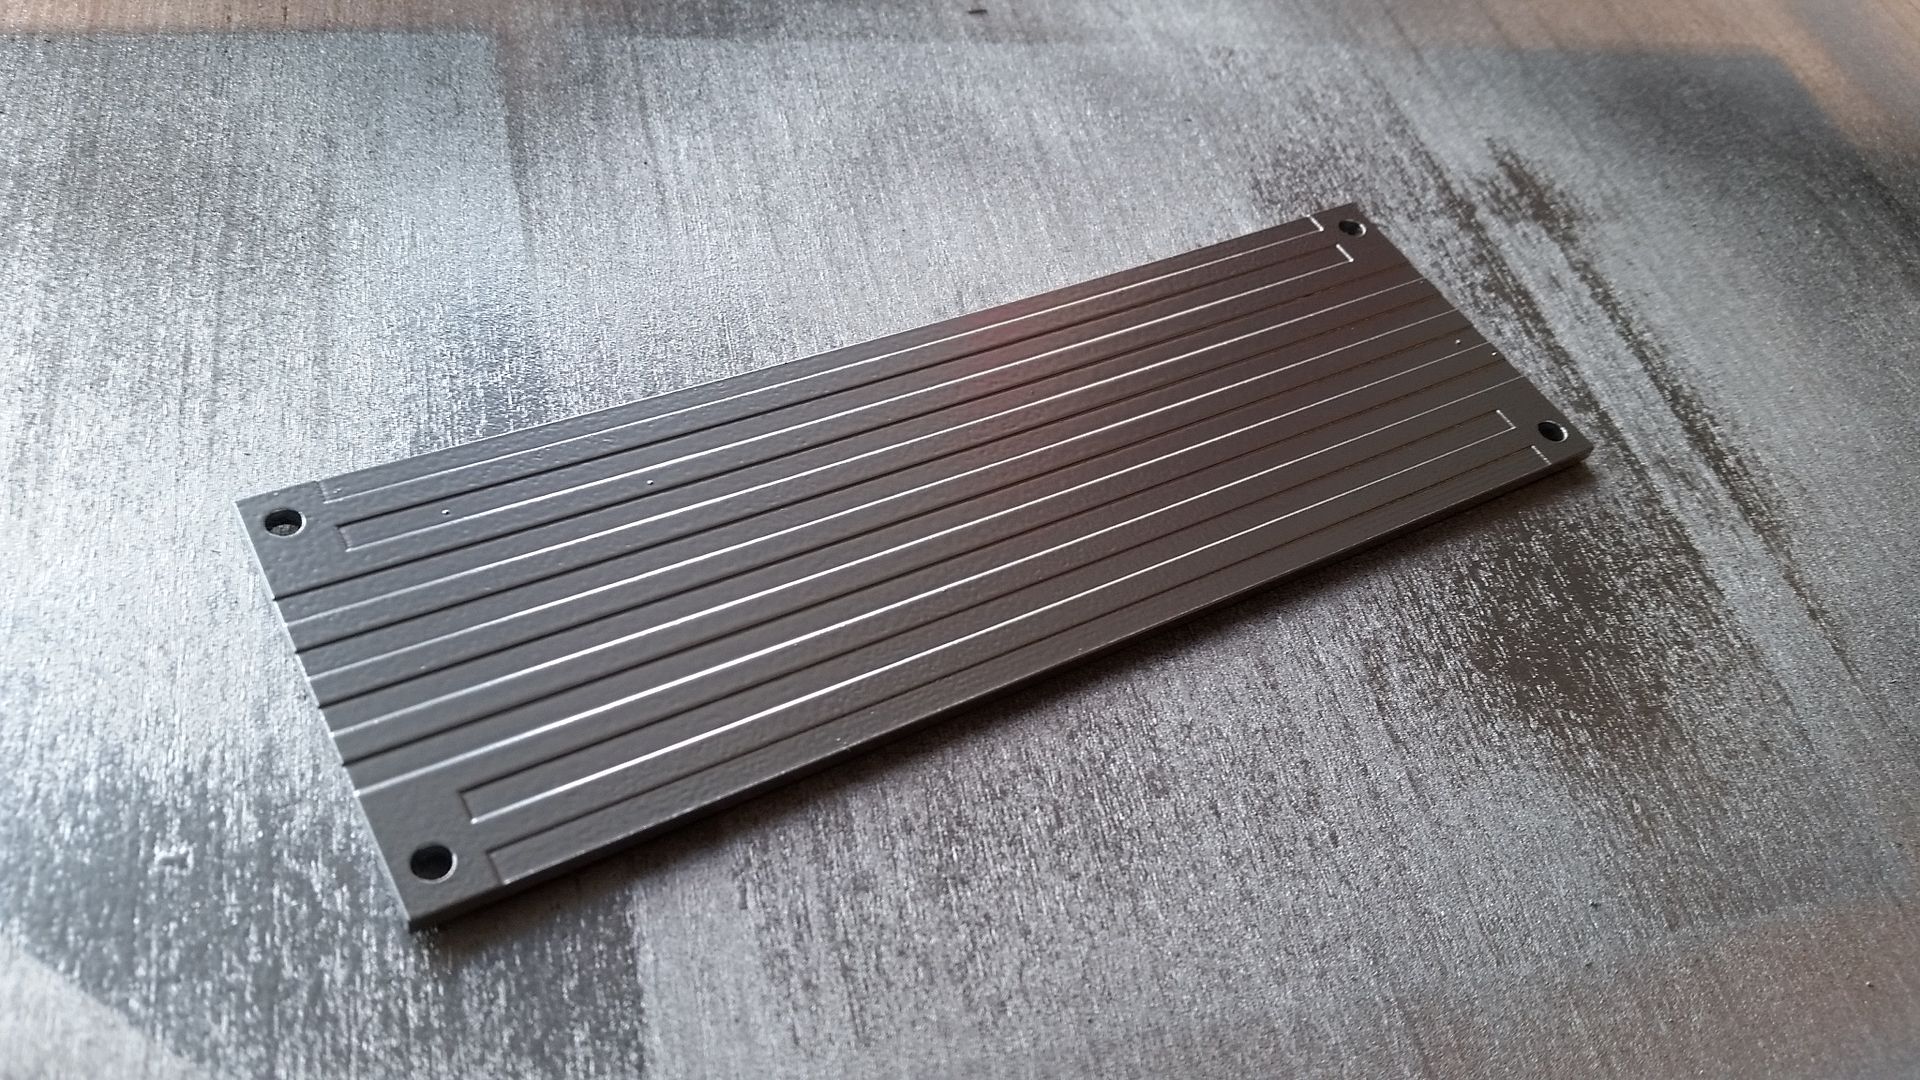
I added more primer and filler to these panels
20151010_124137_zpsqbegtgrc.jpg


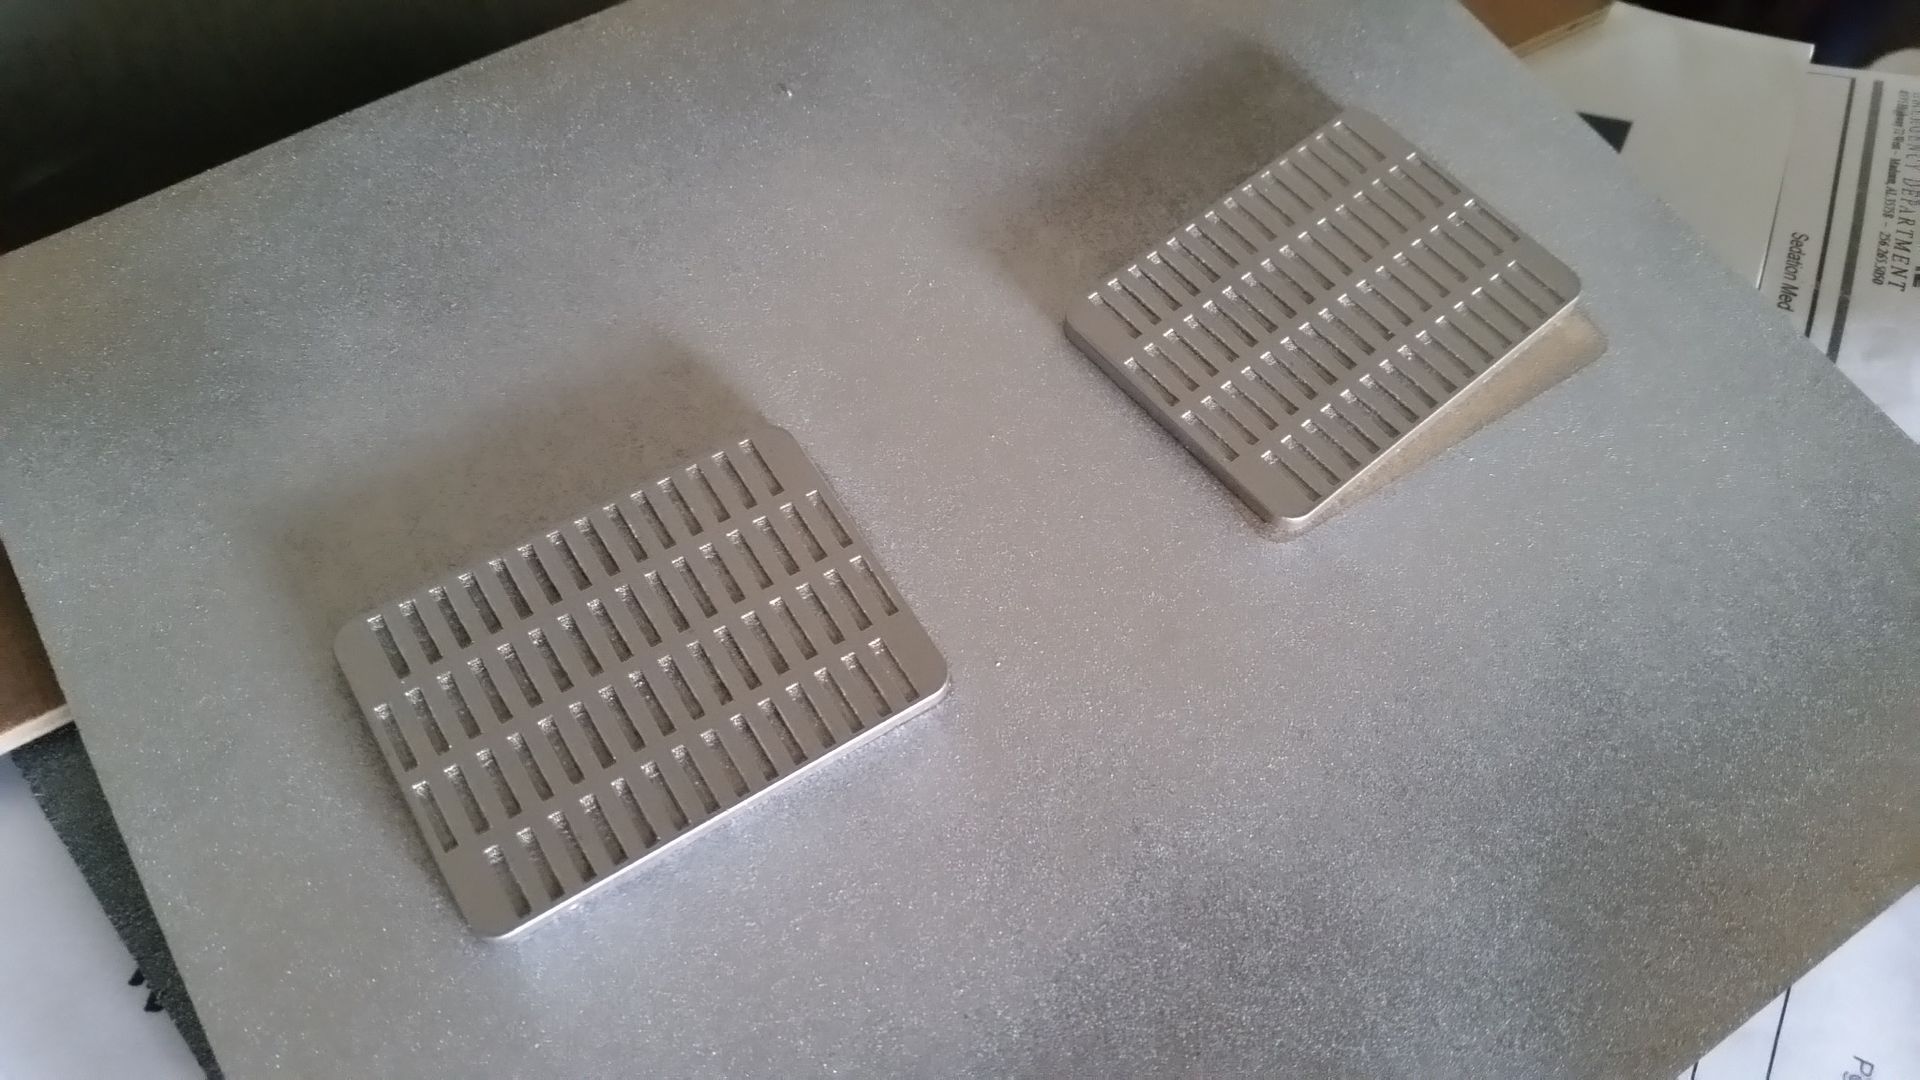
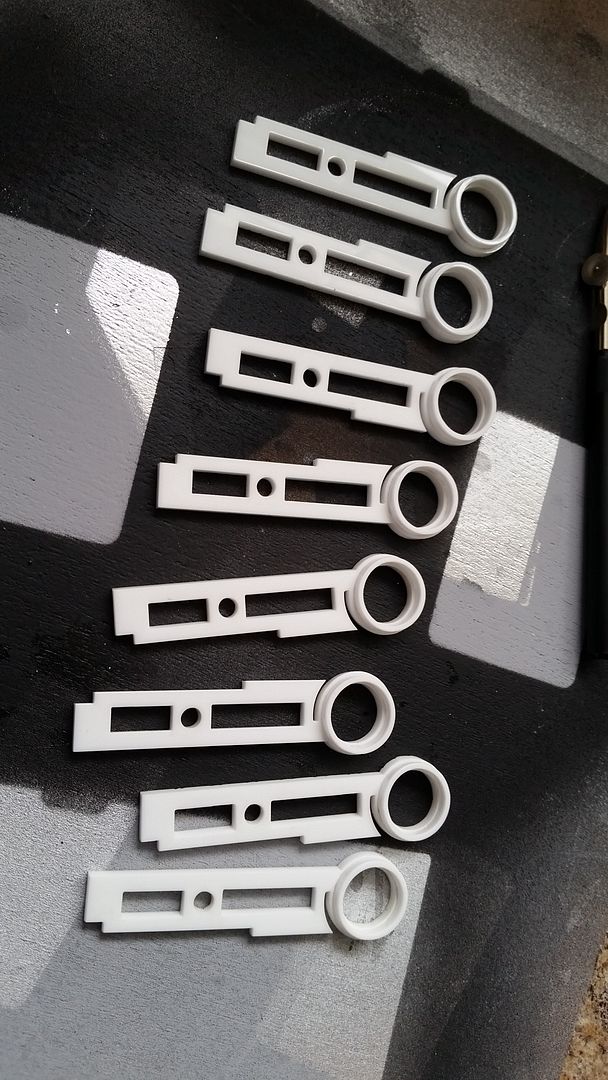
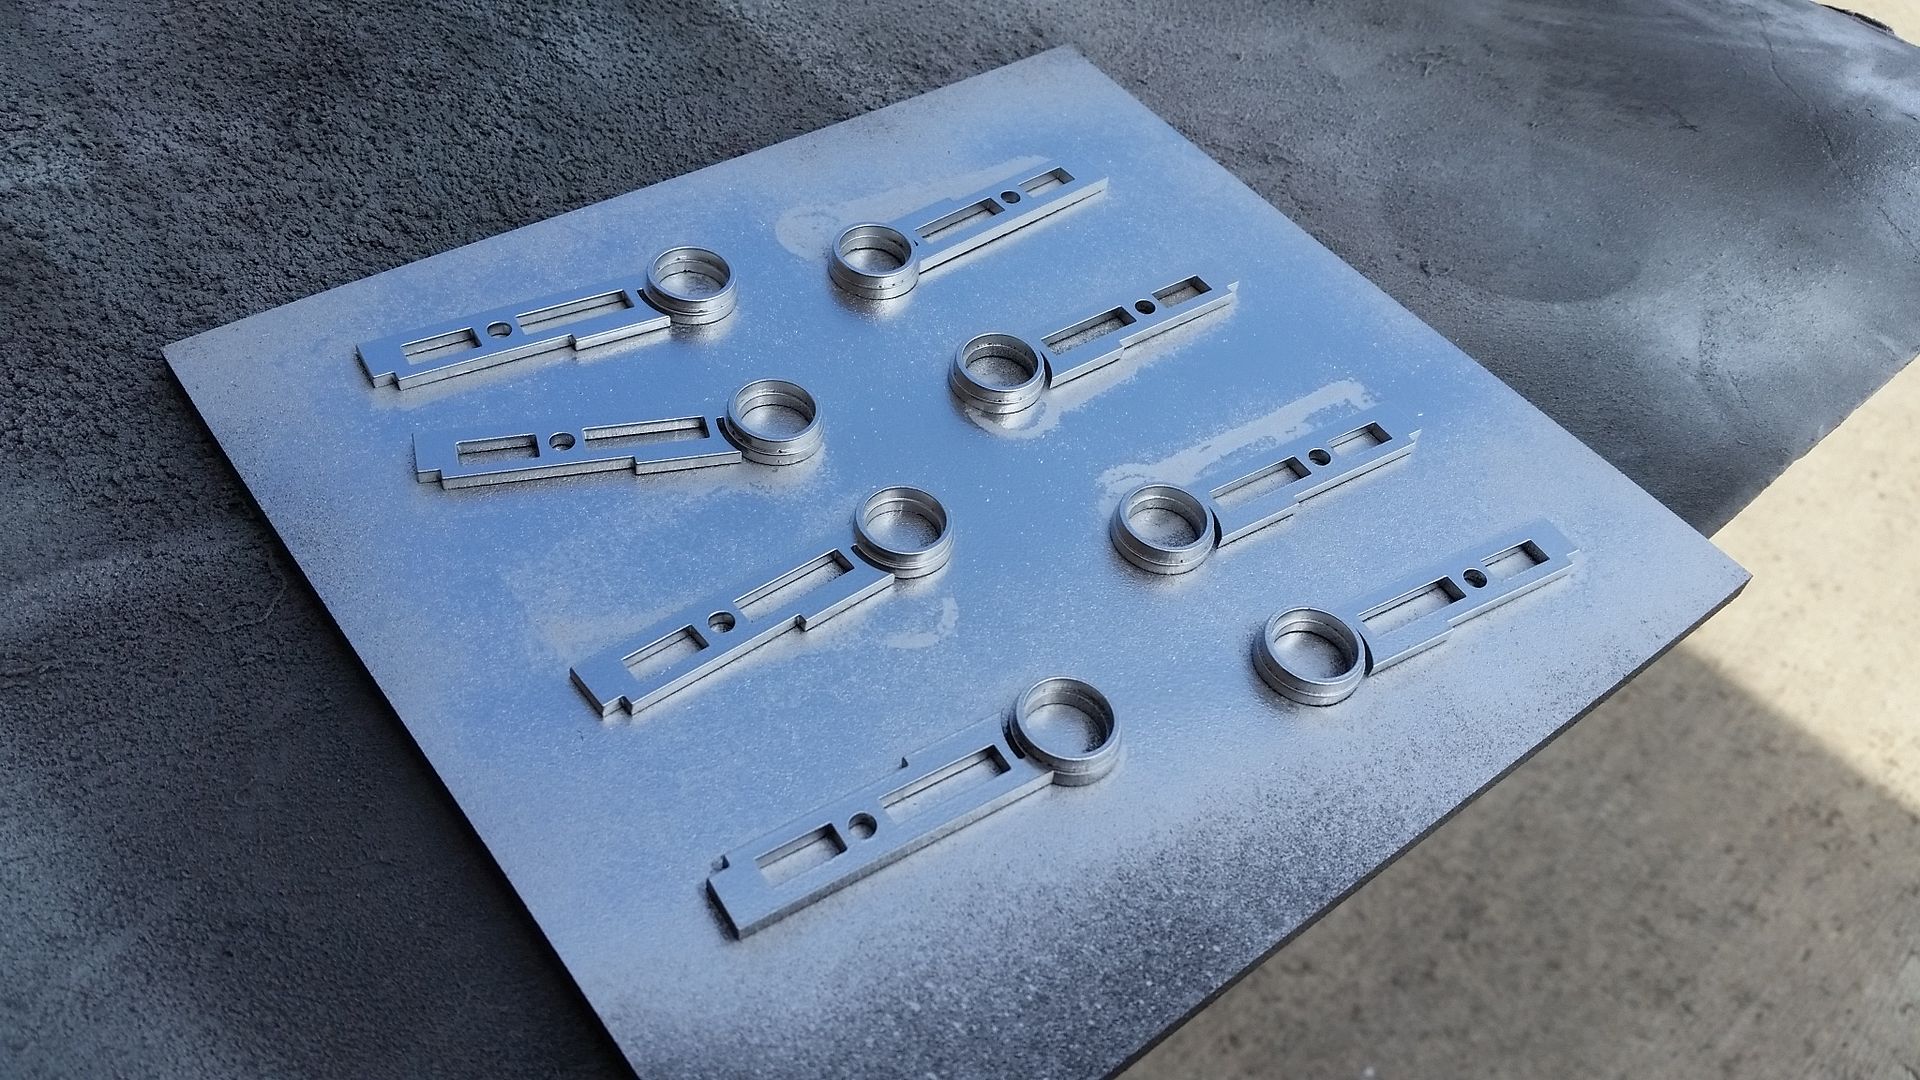
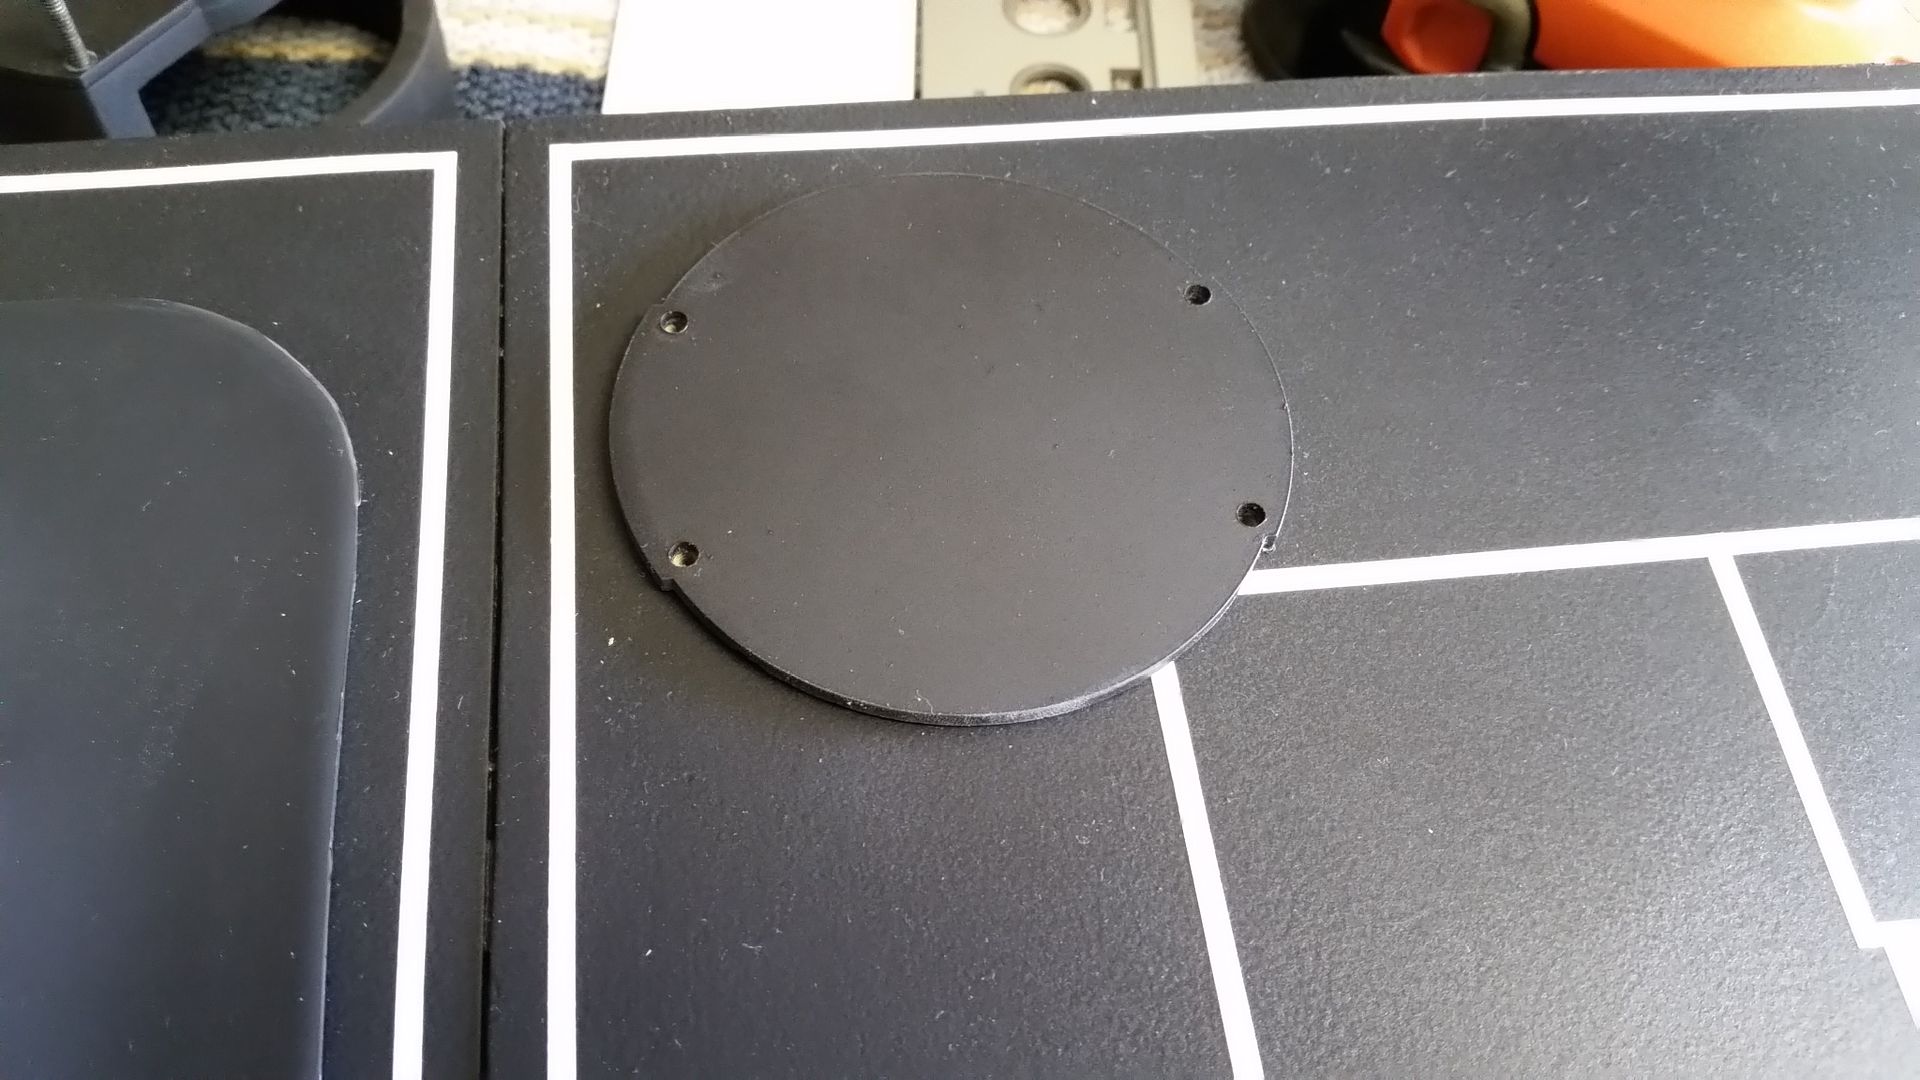
While the paint was drying on the instrument panel I headed over to the makers to use the laser cutter... I cut these
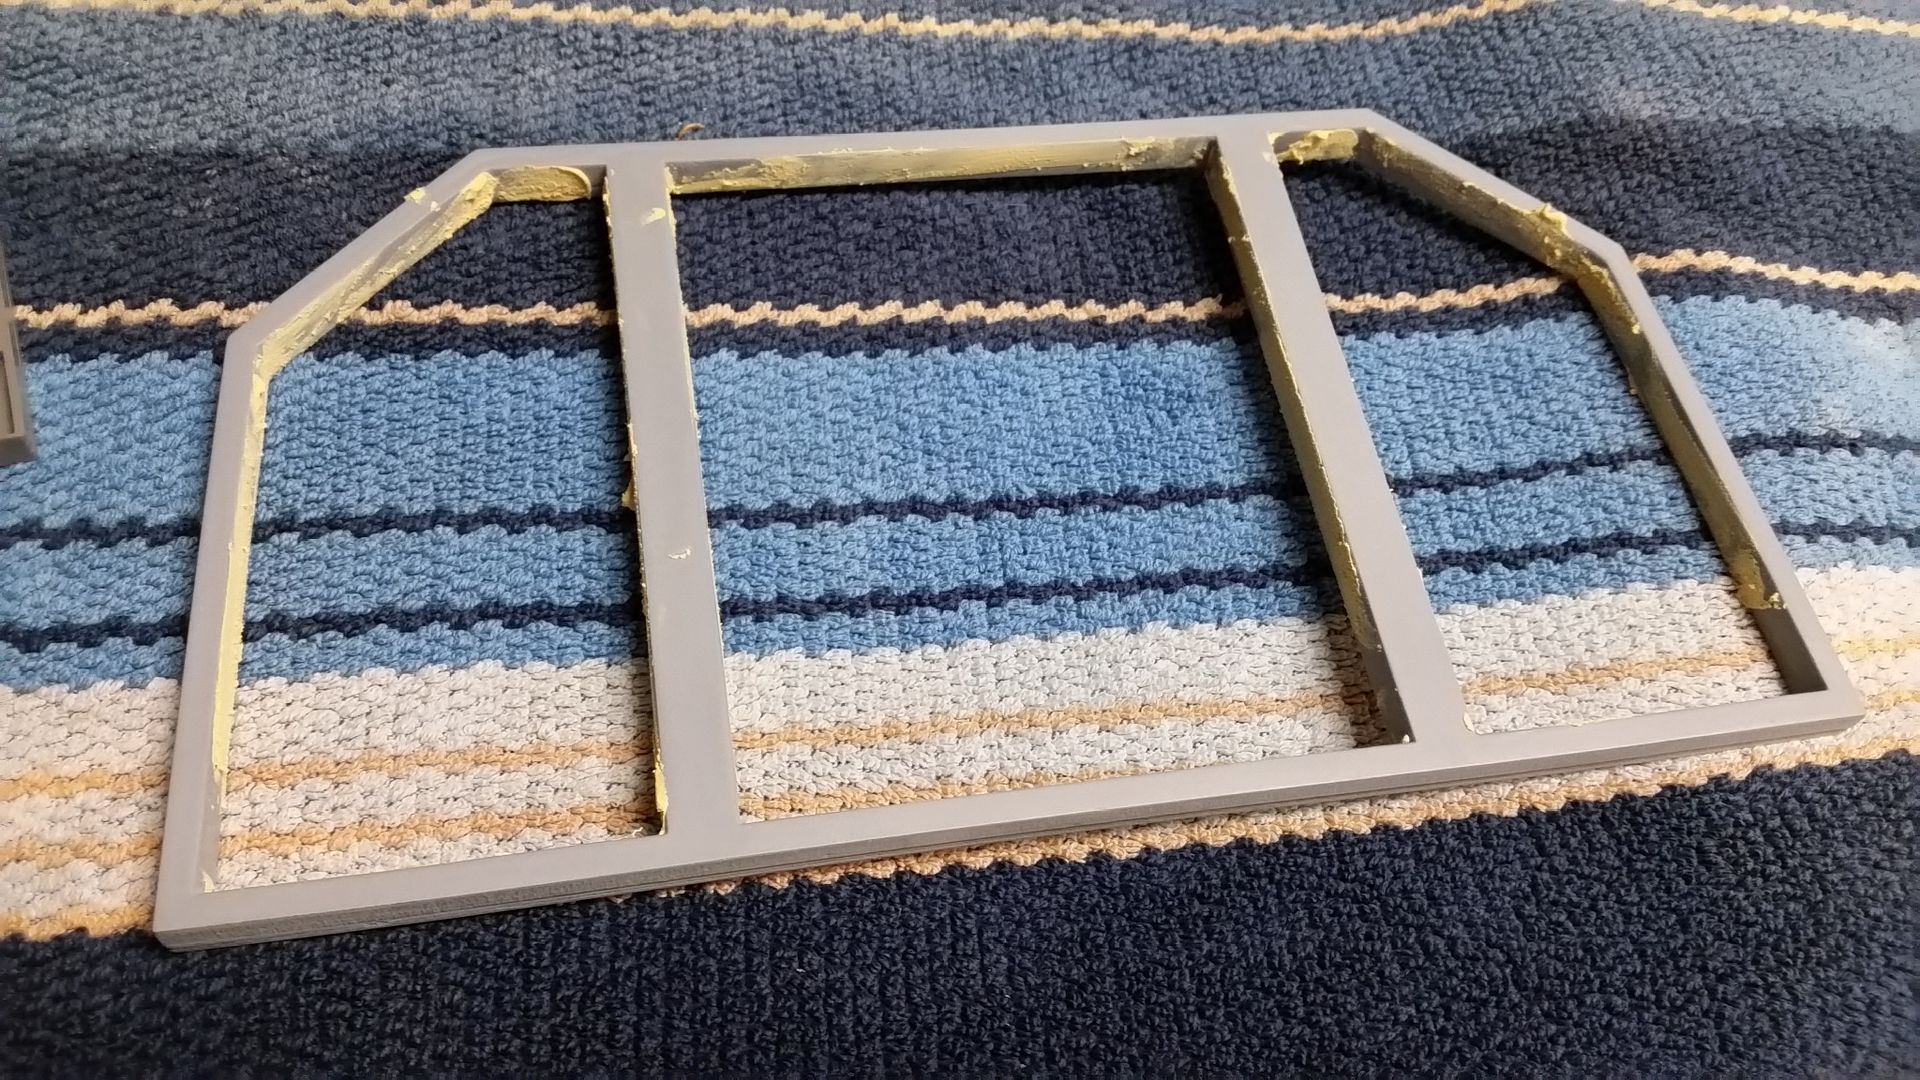
20151010_120952_zpsx9zt8frb.jpg


Added paint
20151010_125916_zpsflzqgmvo.jpg


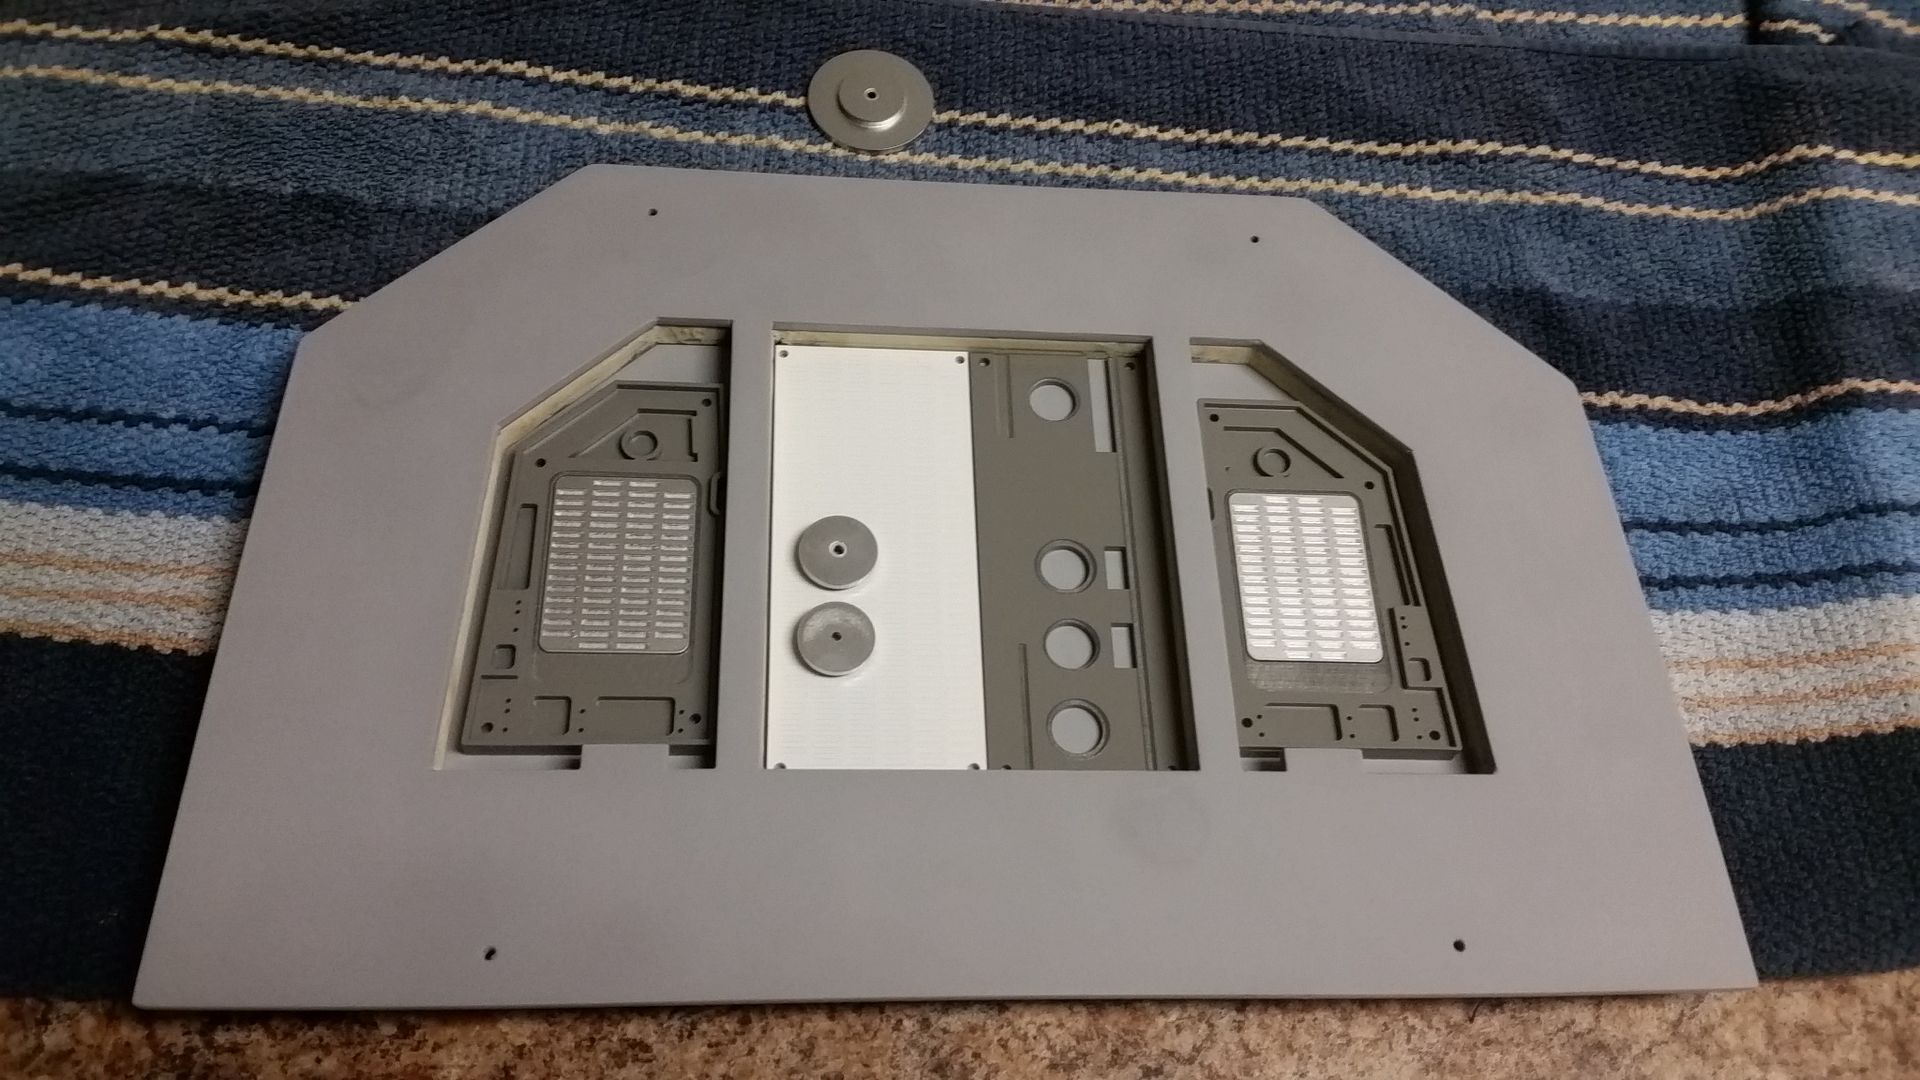
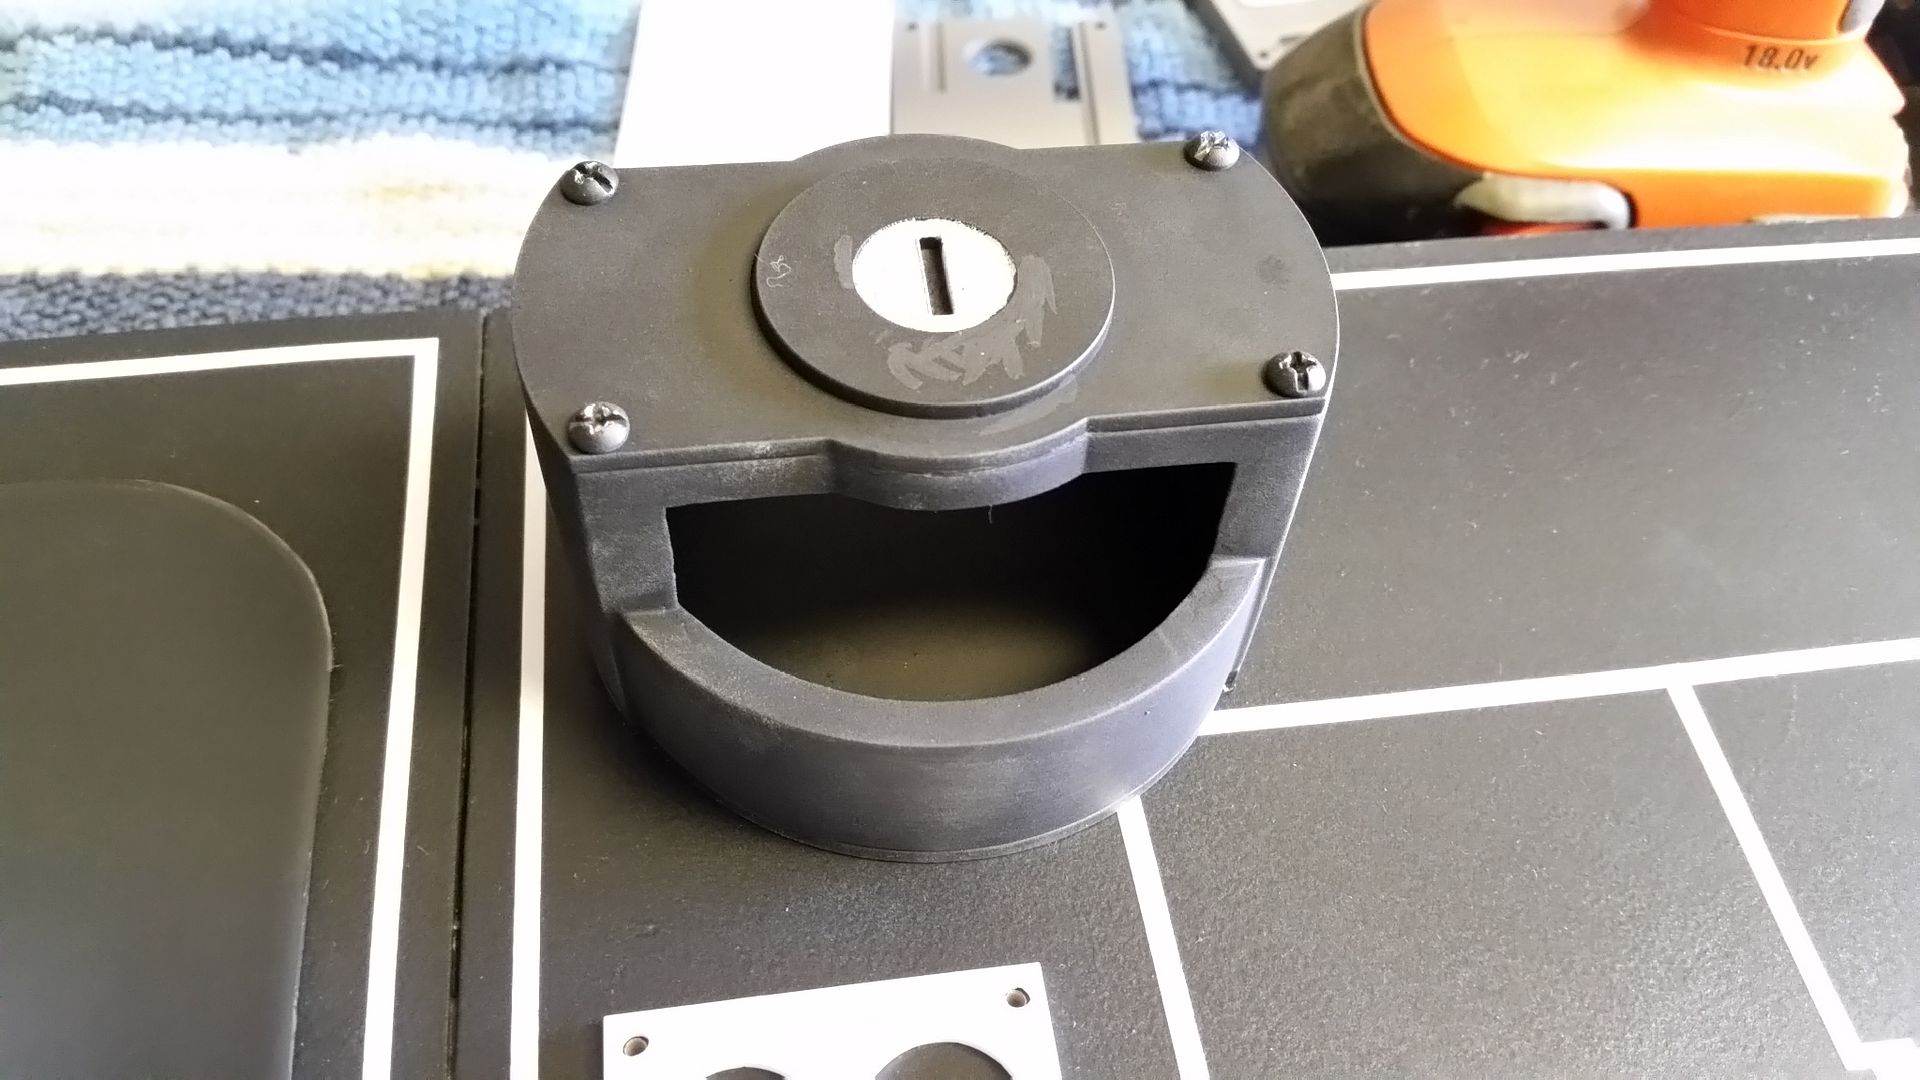
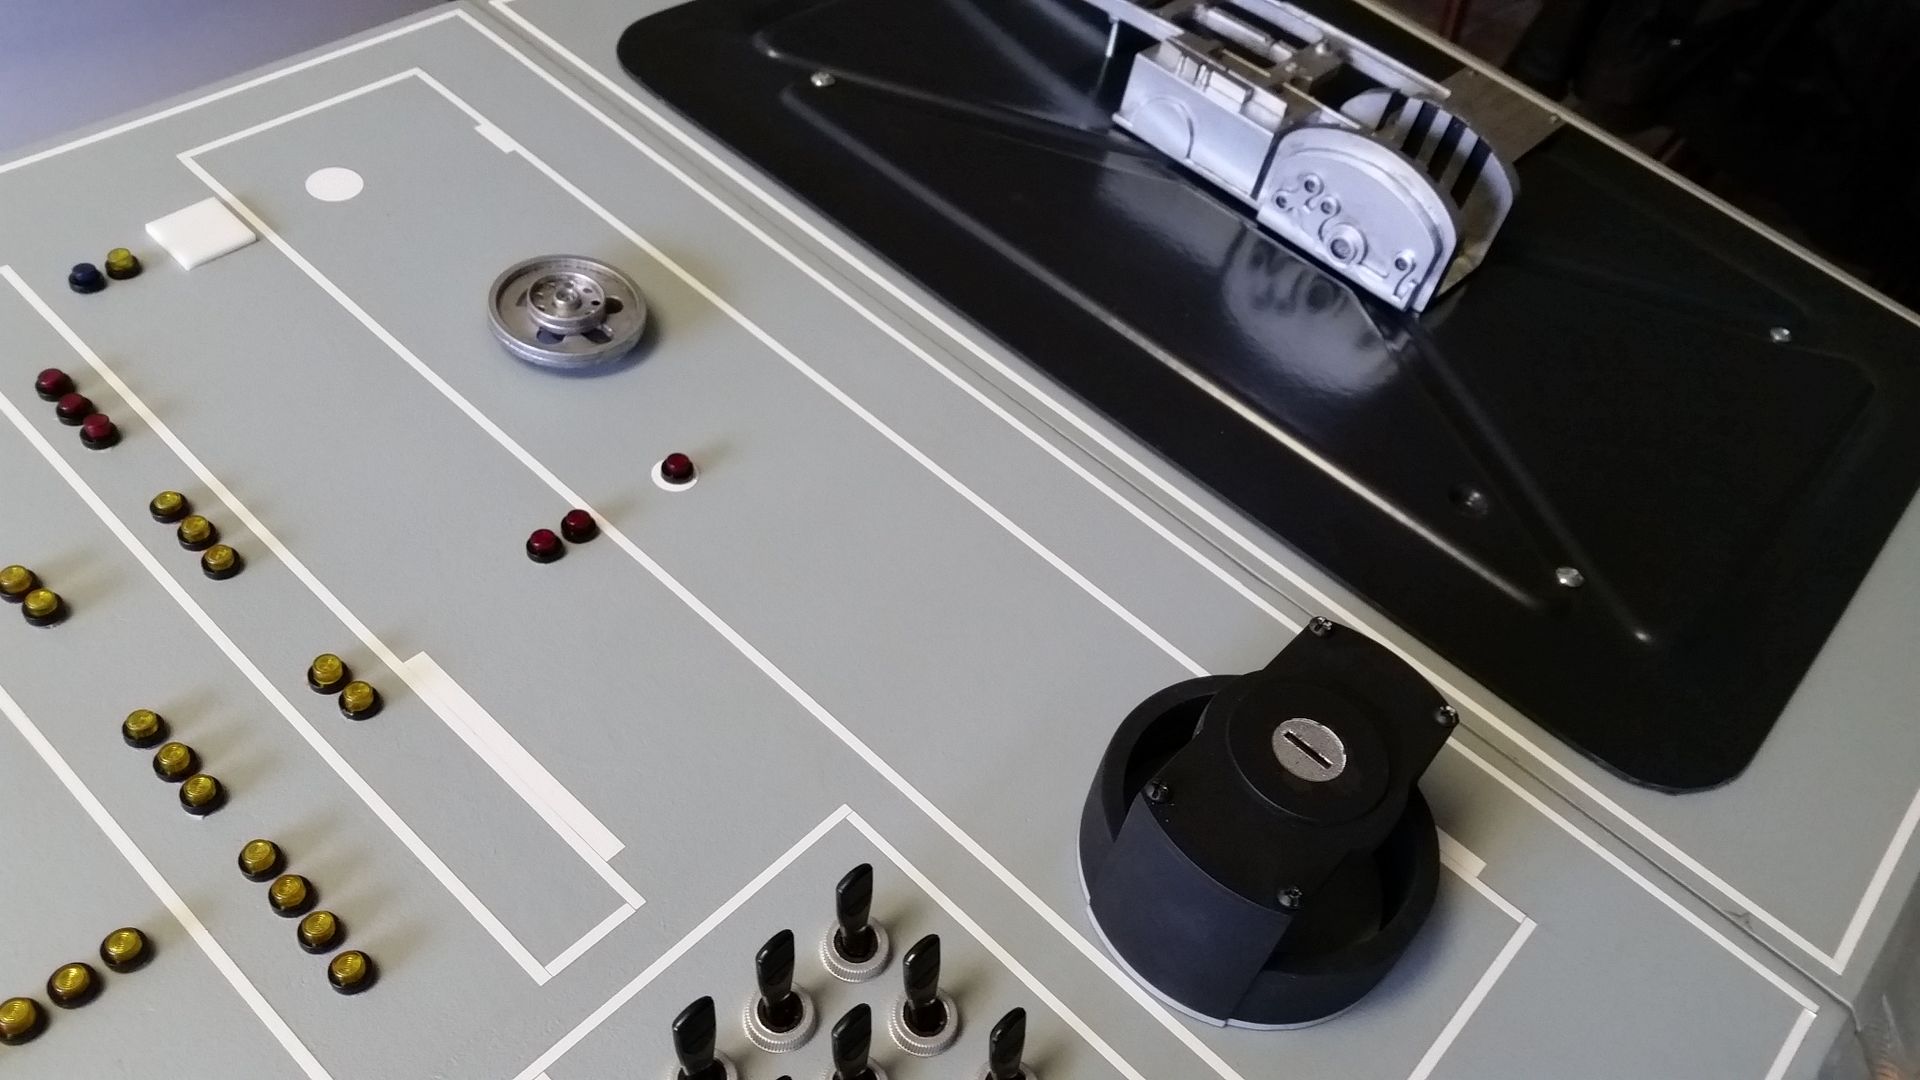
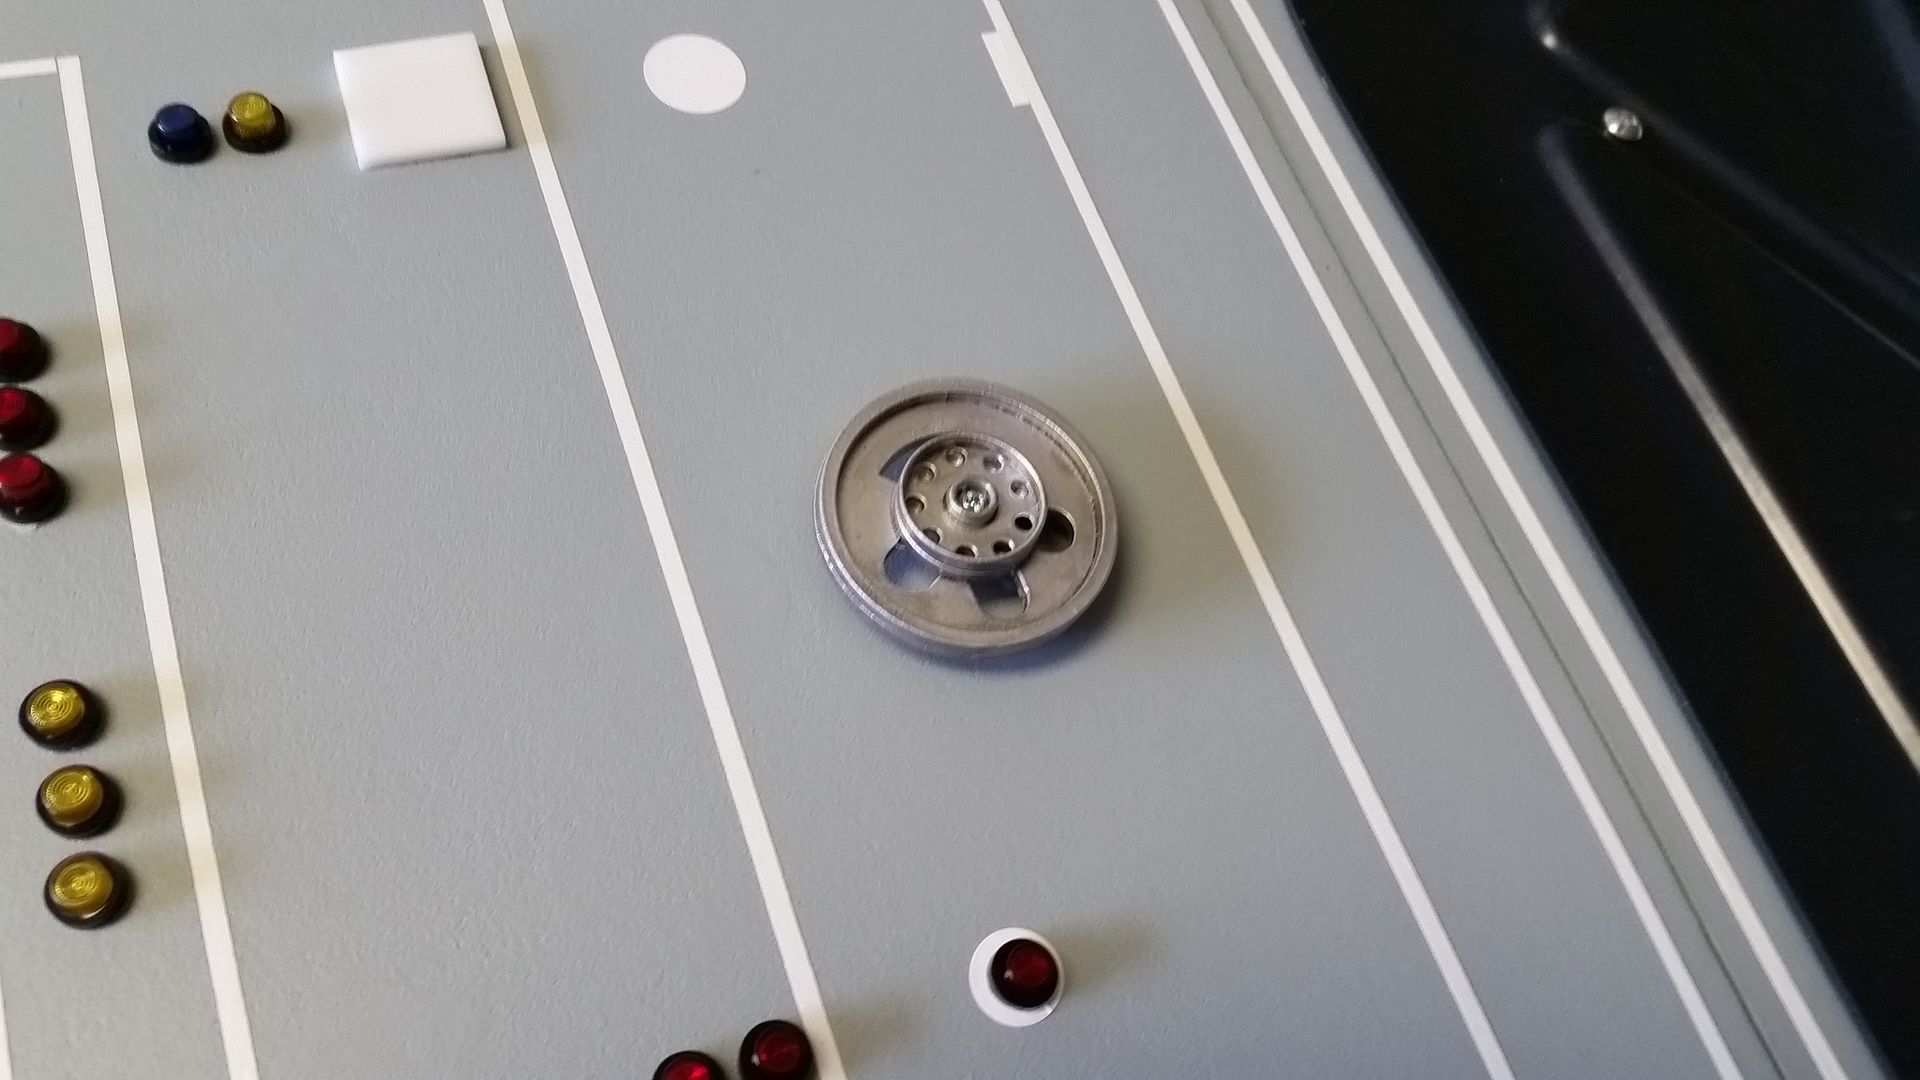
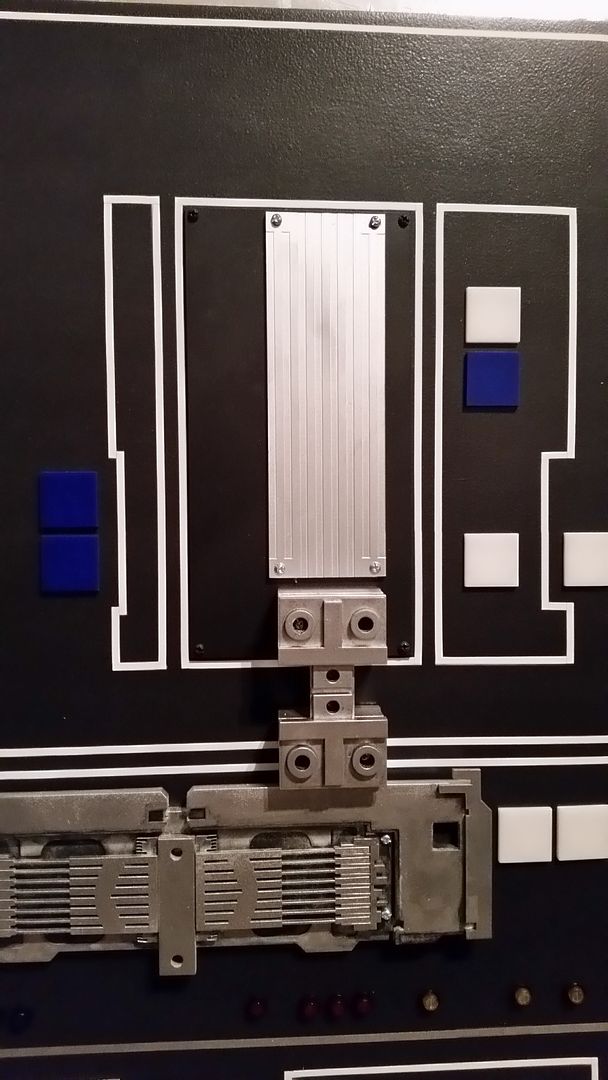
Then chrome - note the smaller hole in the middle
20151010_134157_zpso09c2gk3.jpg


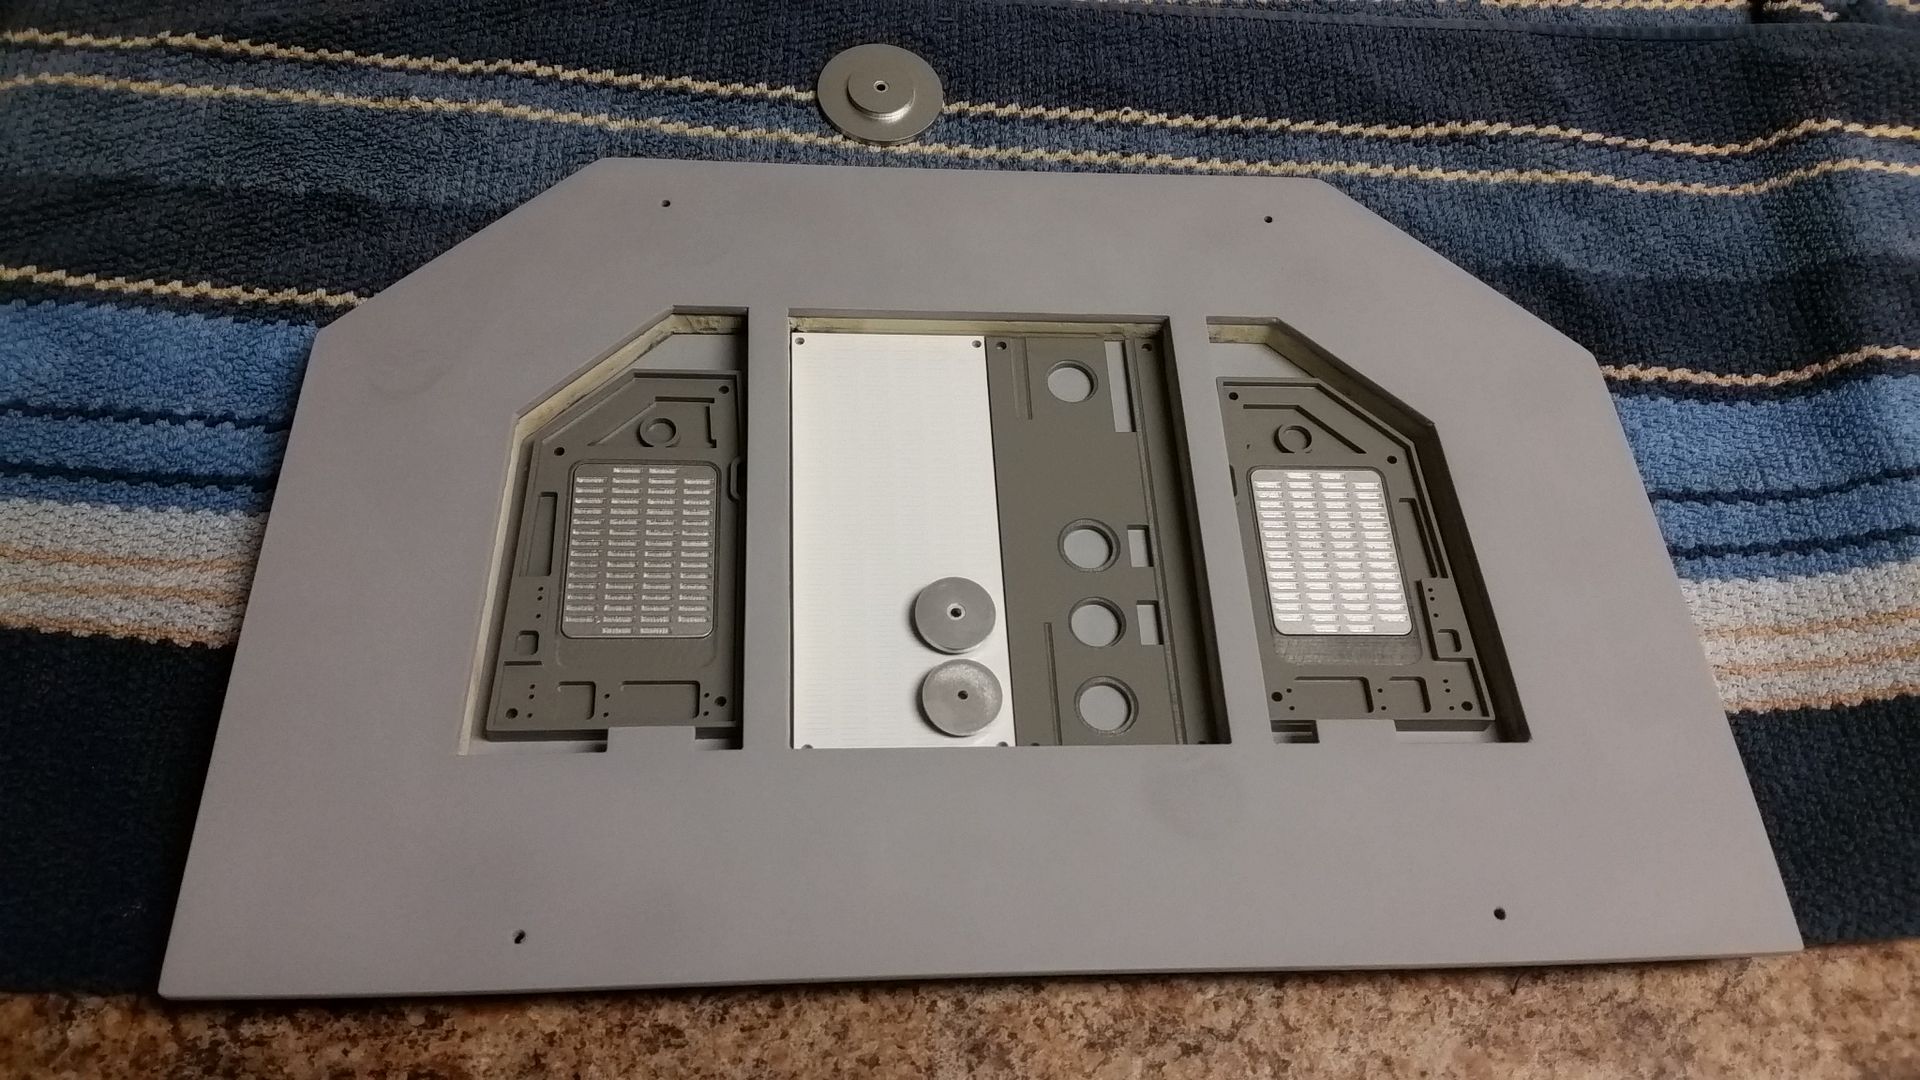
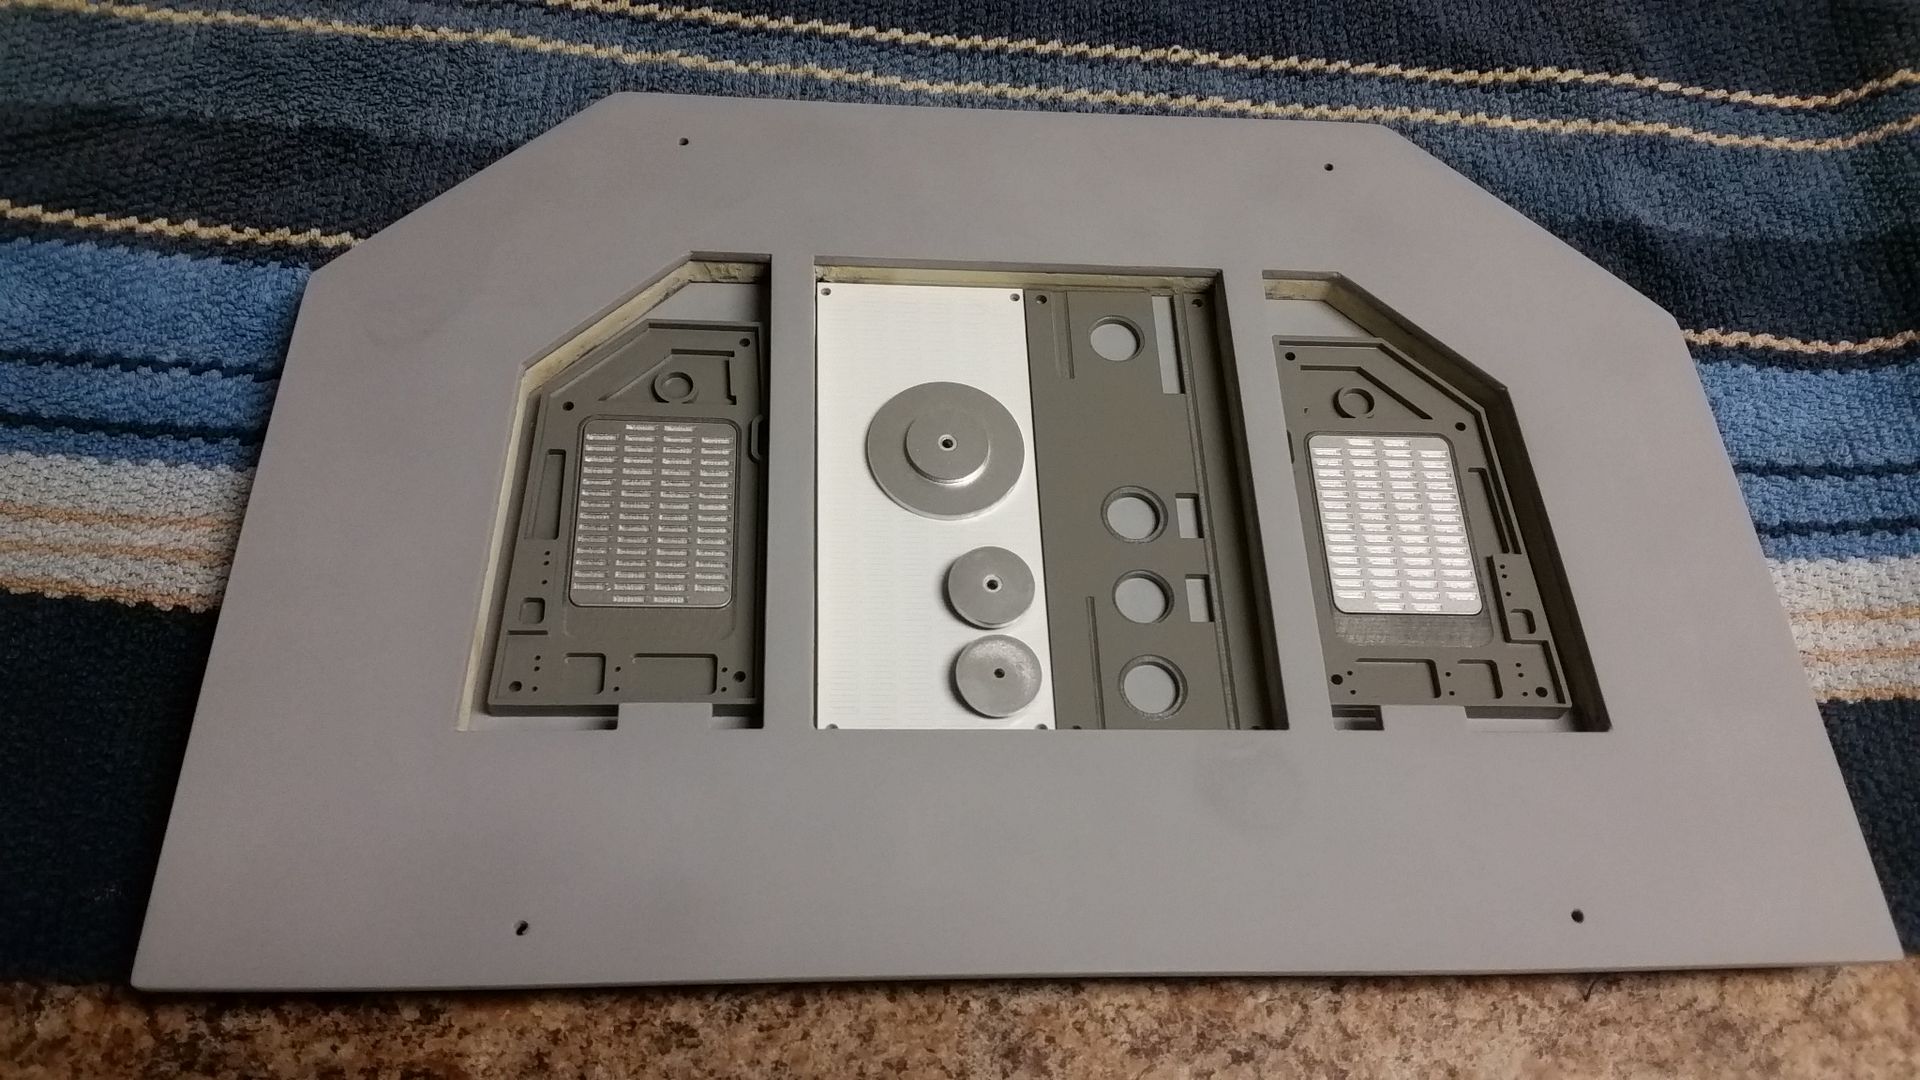
Once the chrome dried... I added another greeblie to the ext panels
20151010_160901_zpsxubv3biw.jpg


20151010_160909_zps2vr95hh8.jpg


20151010_160857_zps3fkhuoer.jpg


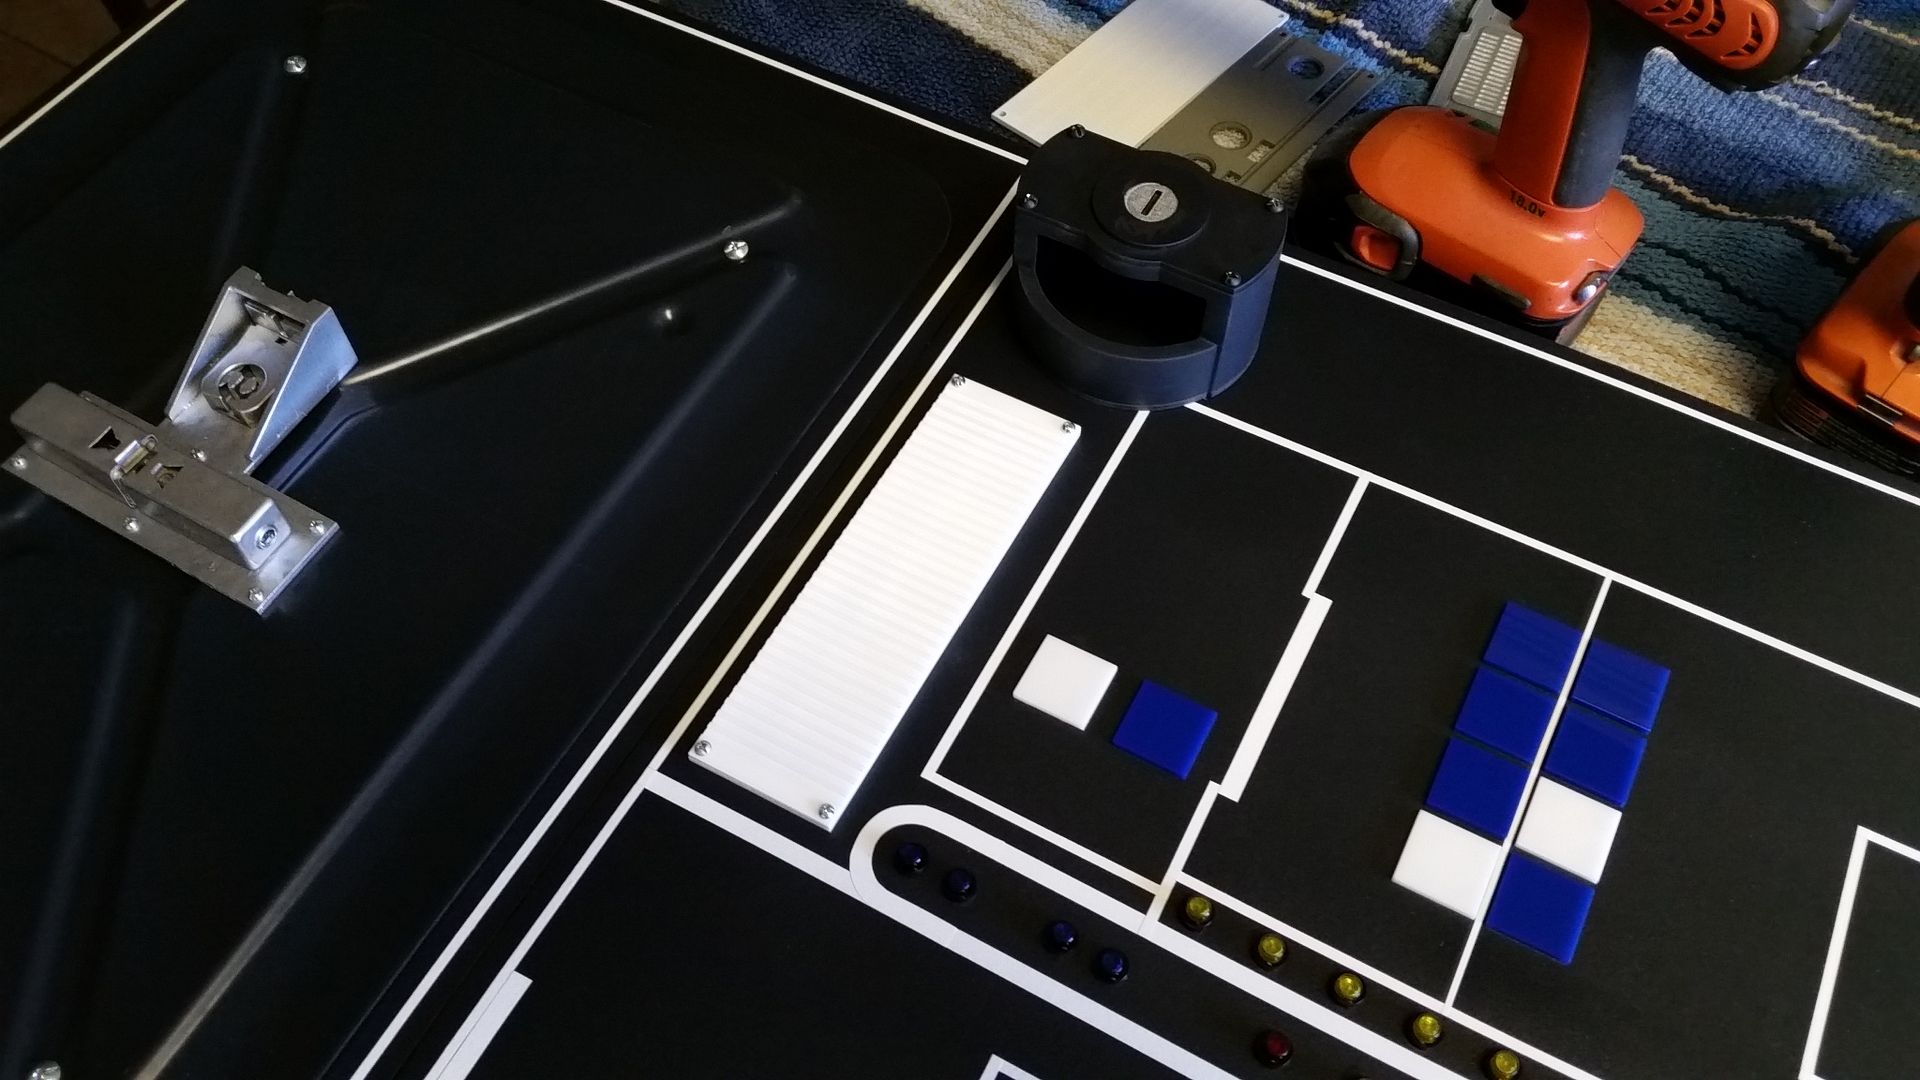
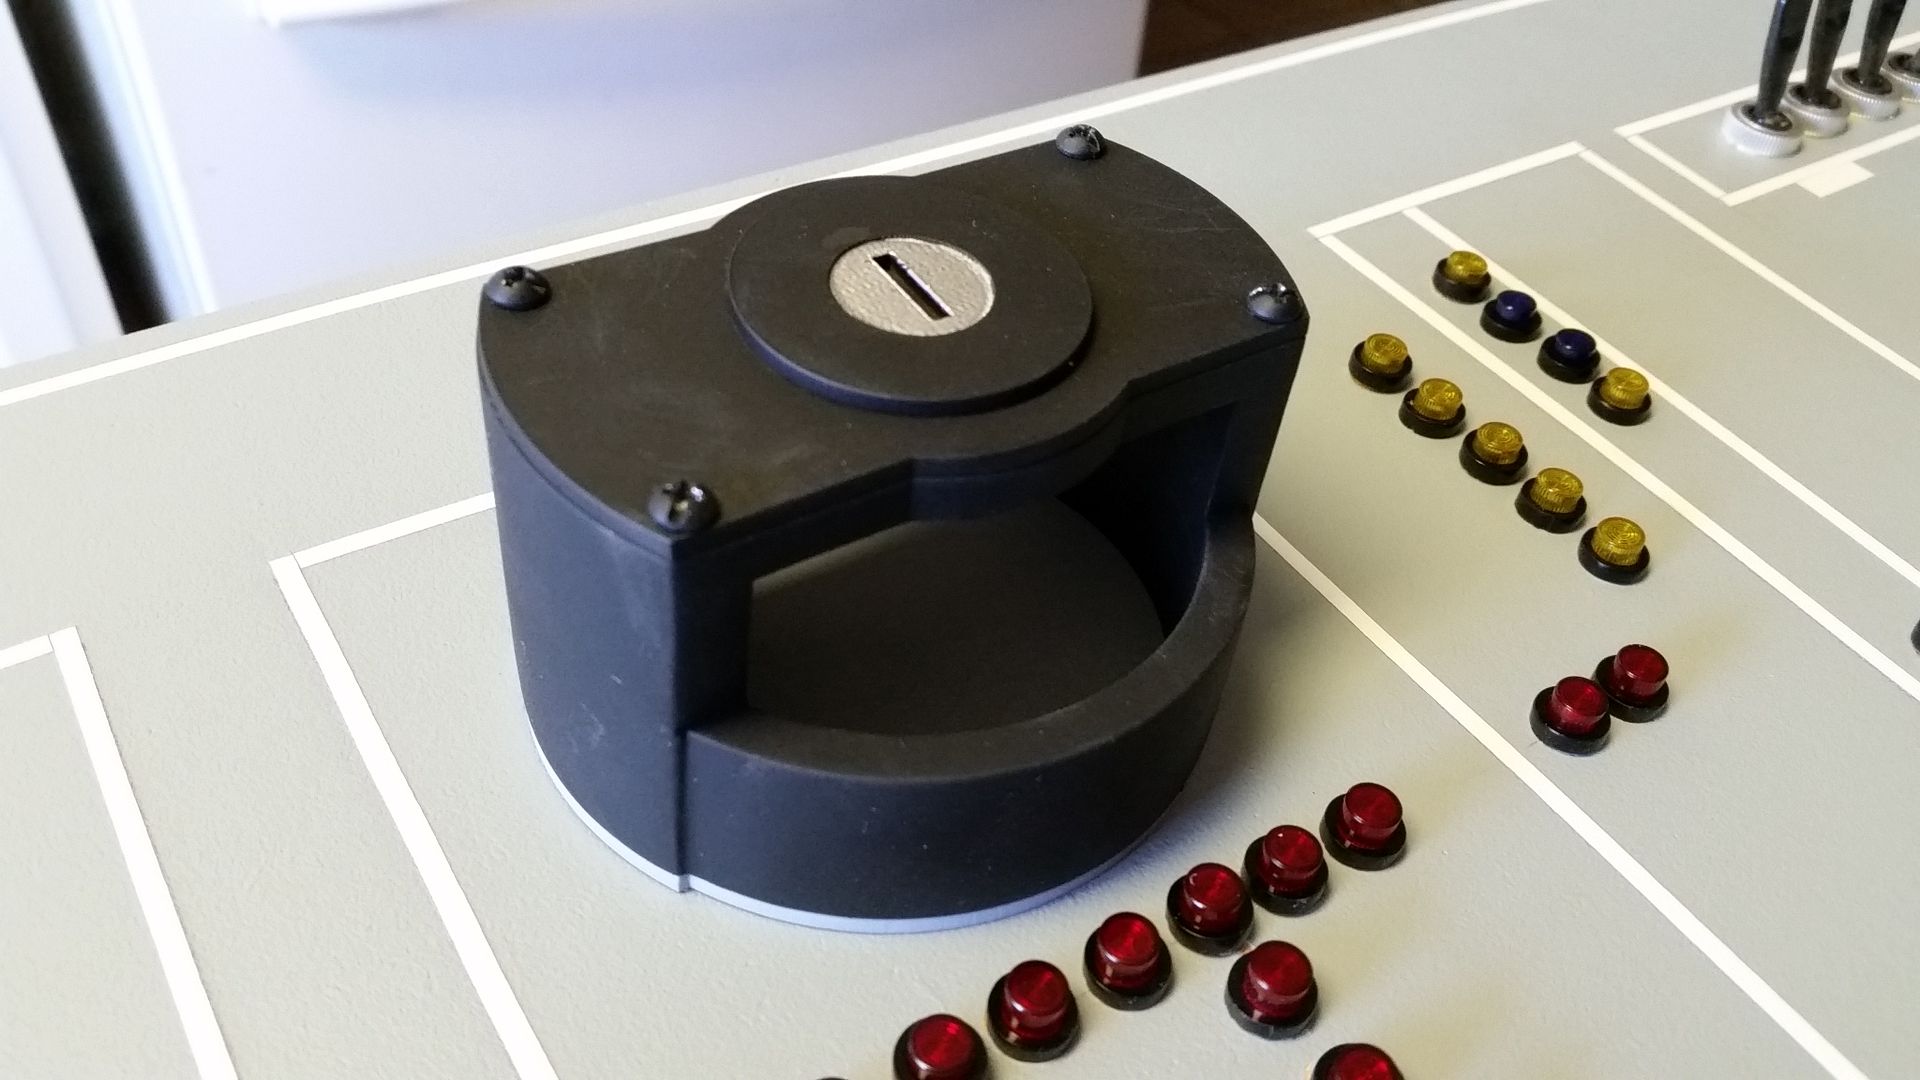
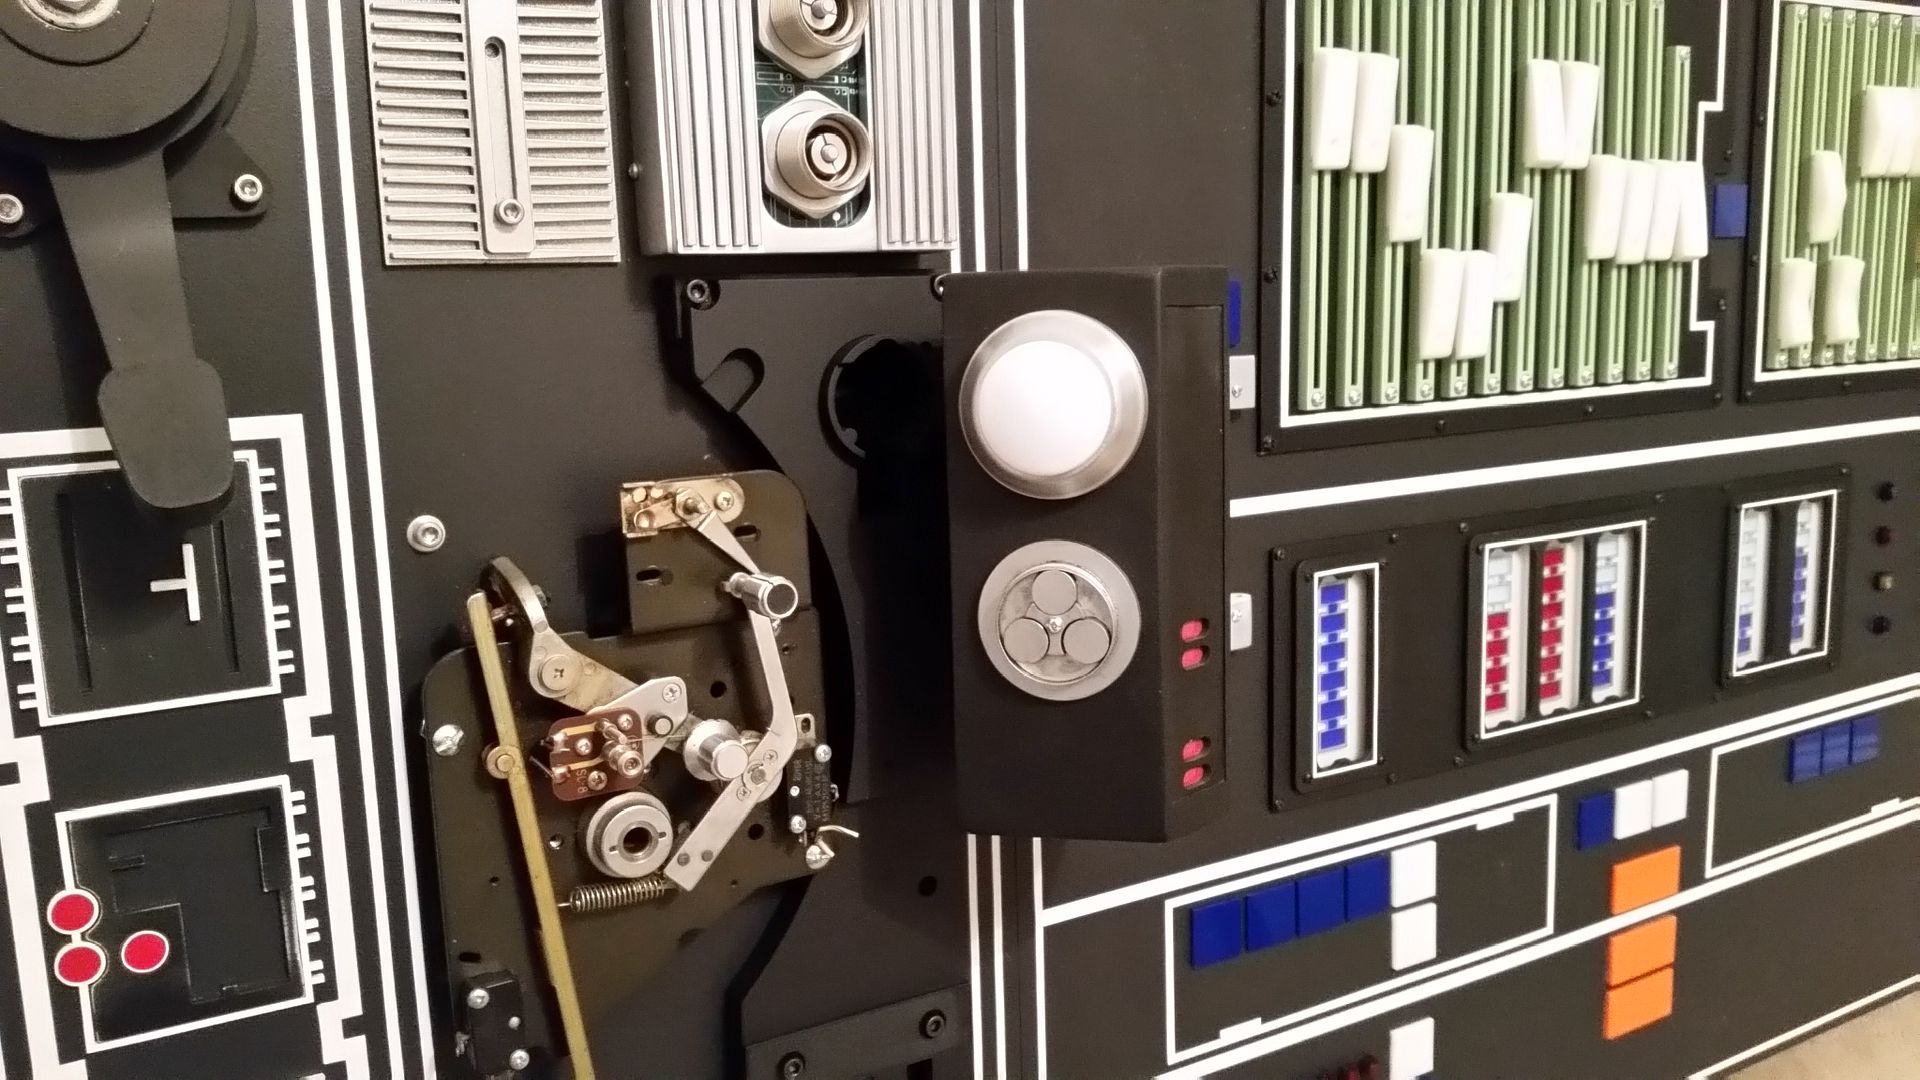
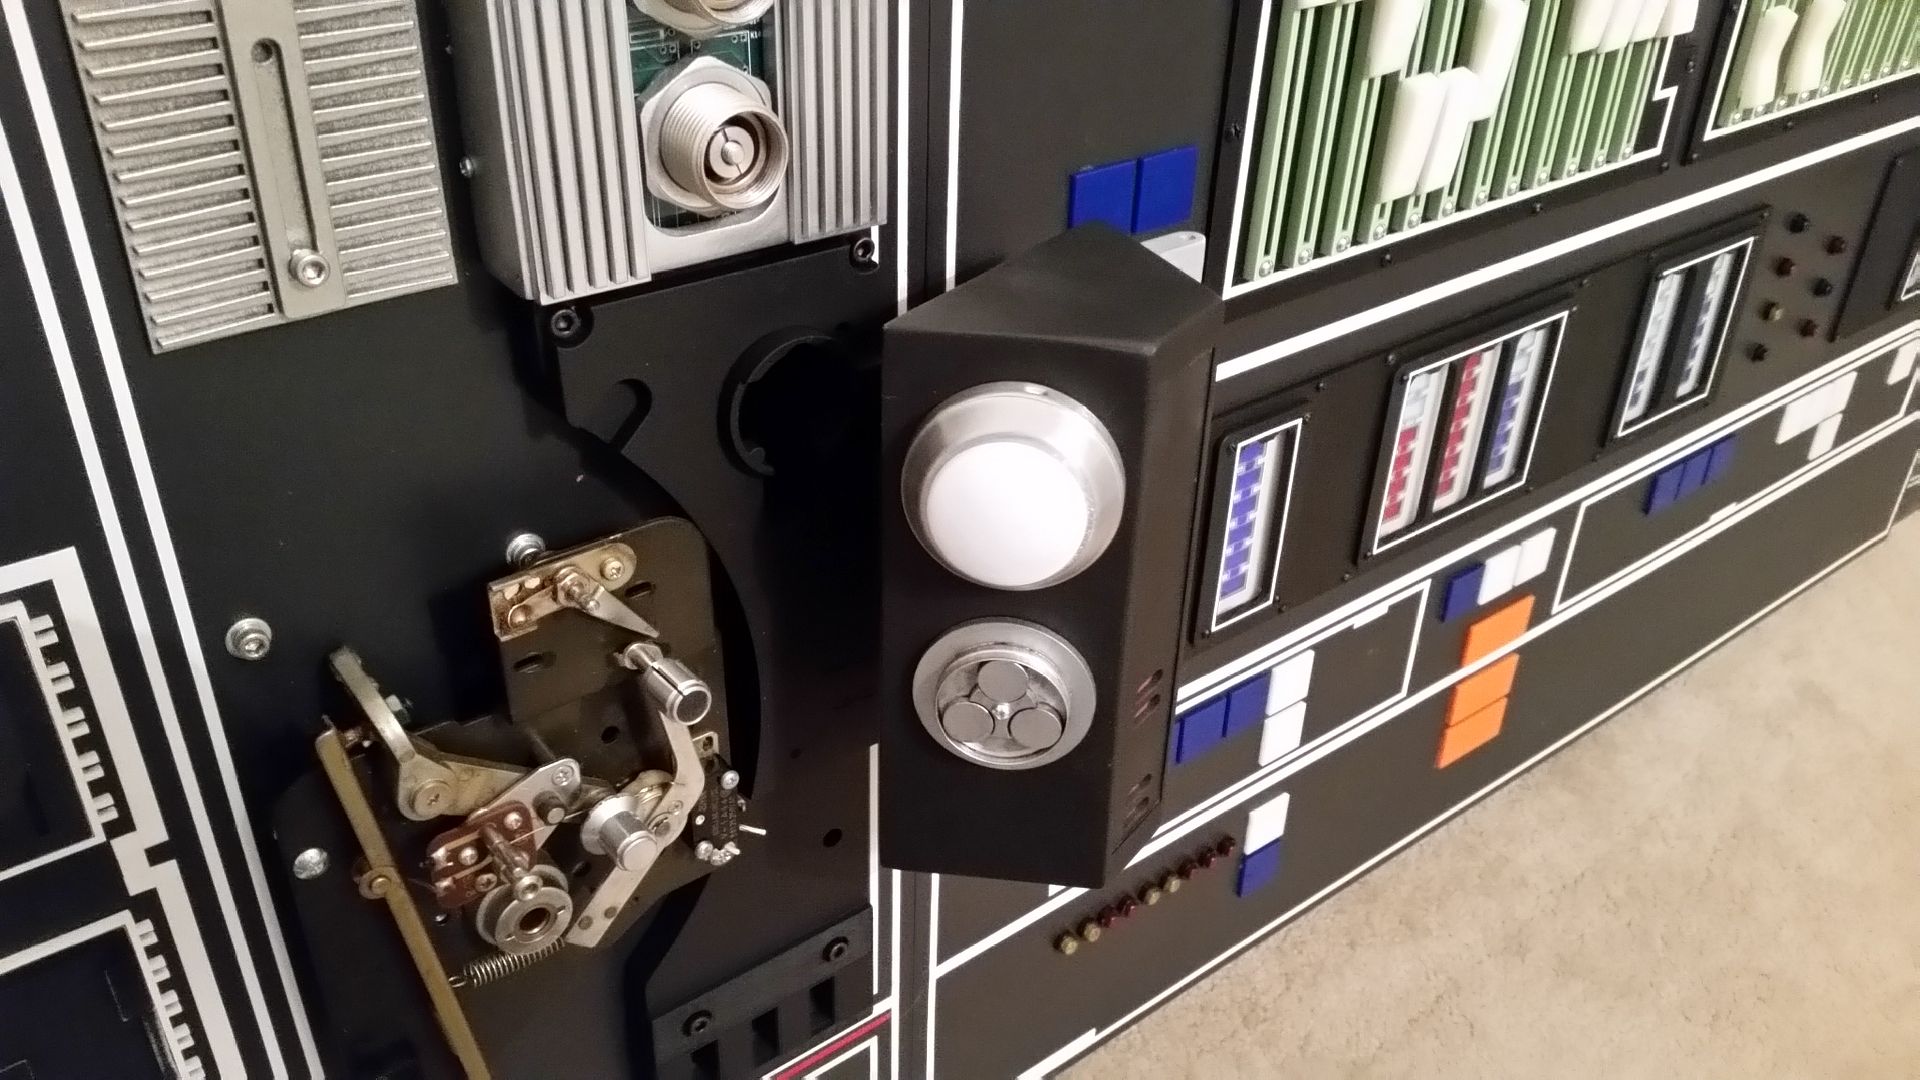
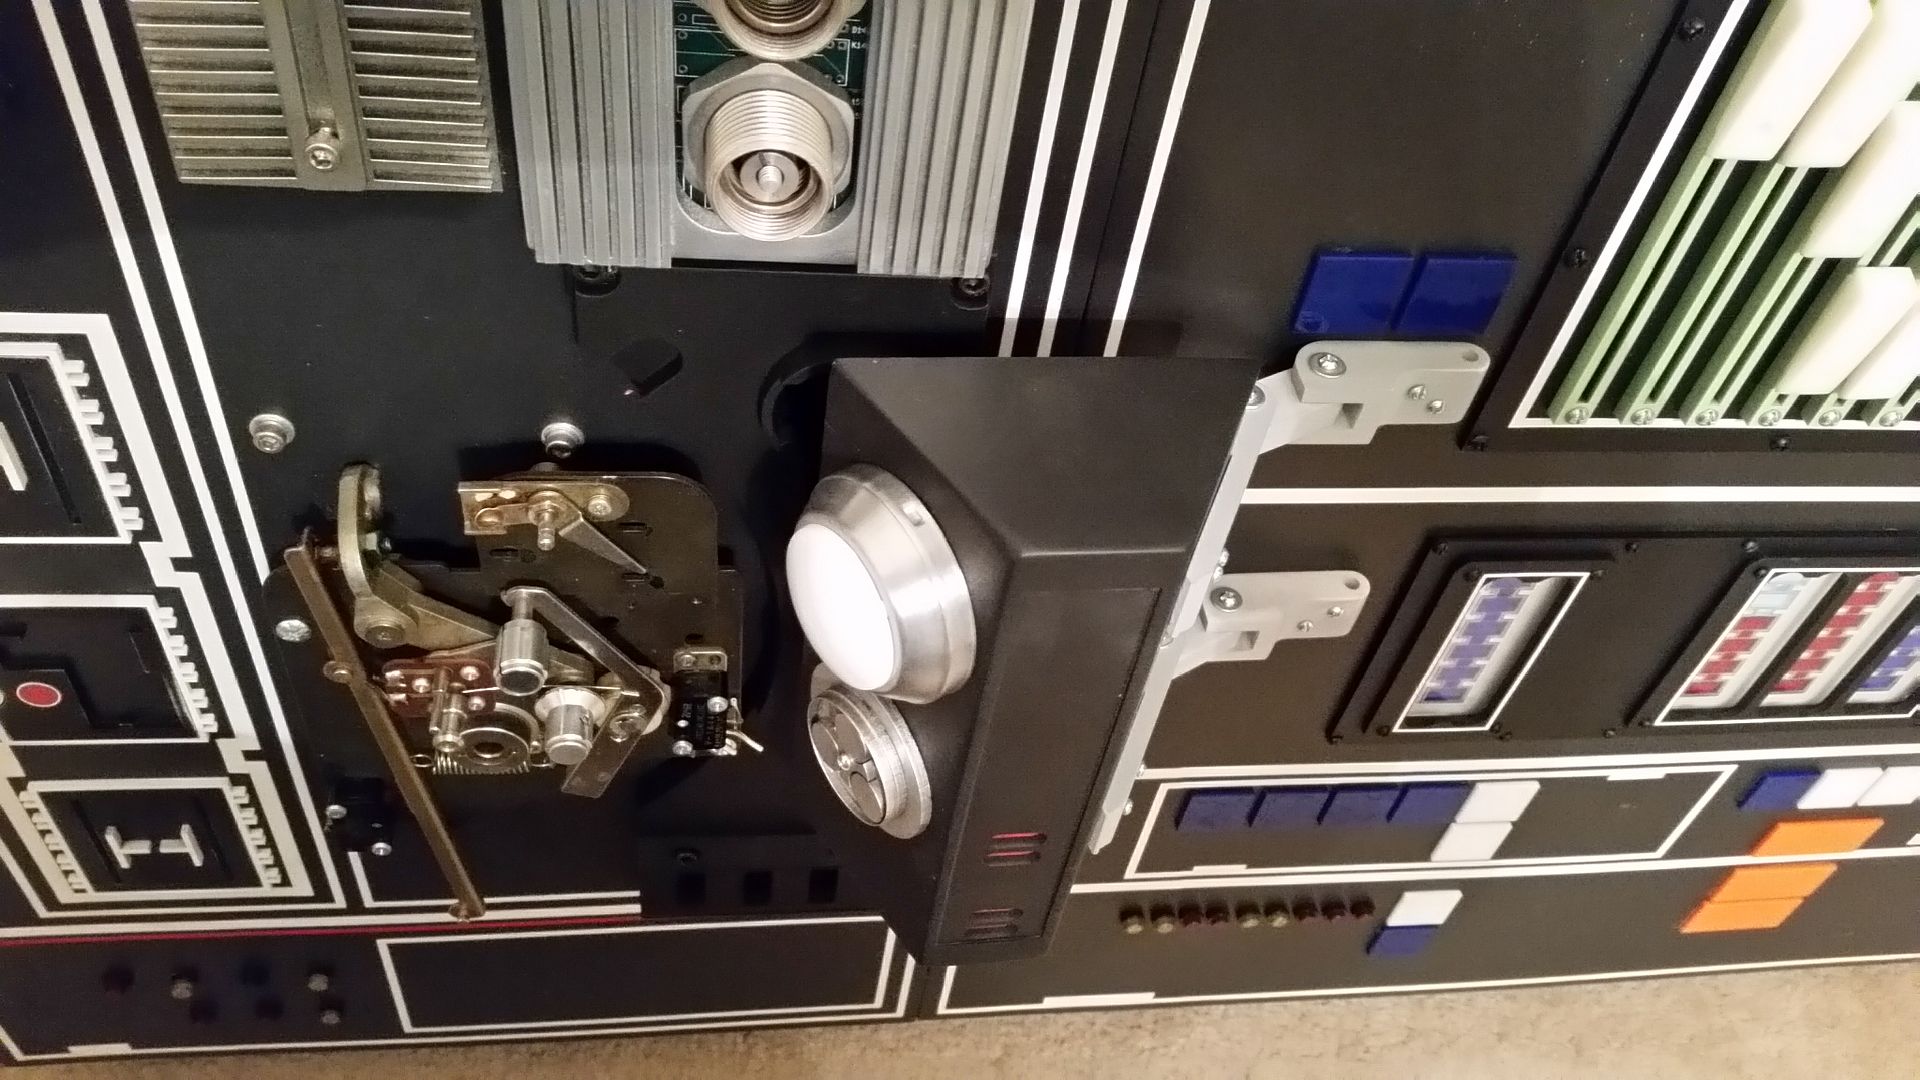
OK... let's talk greeblies!
20151010_134554_zpsnvnujpab.jpg


I mounted this guy
20151010_134903_zpshc5lmm2d.jpg


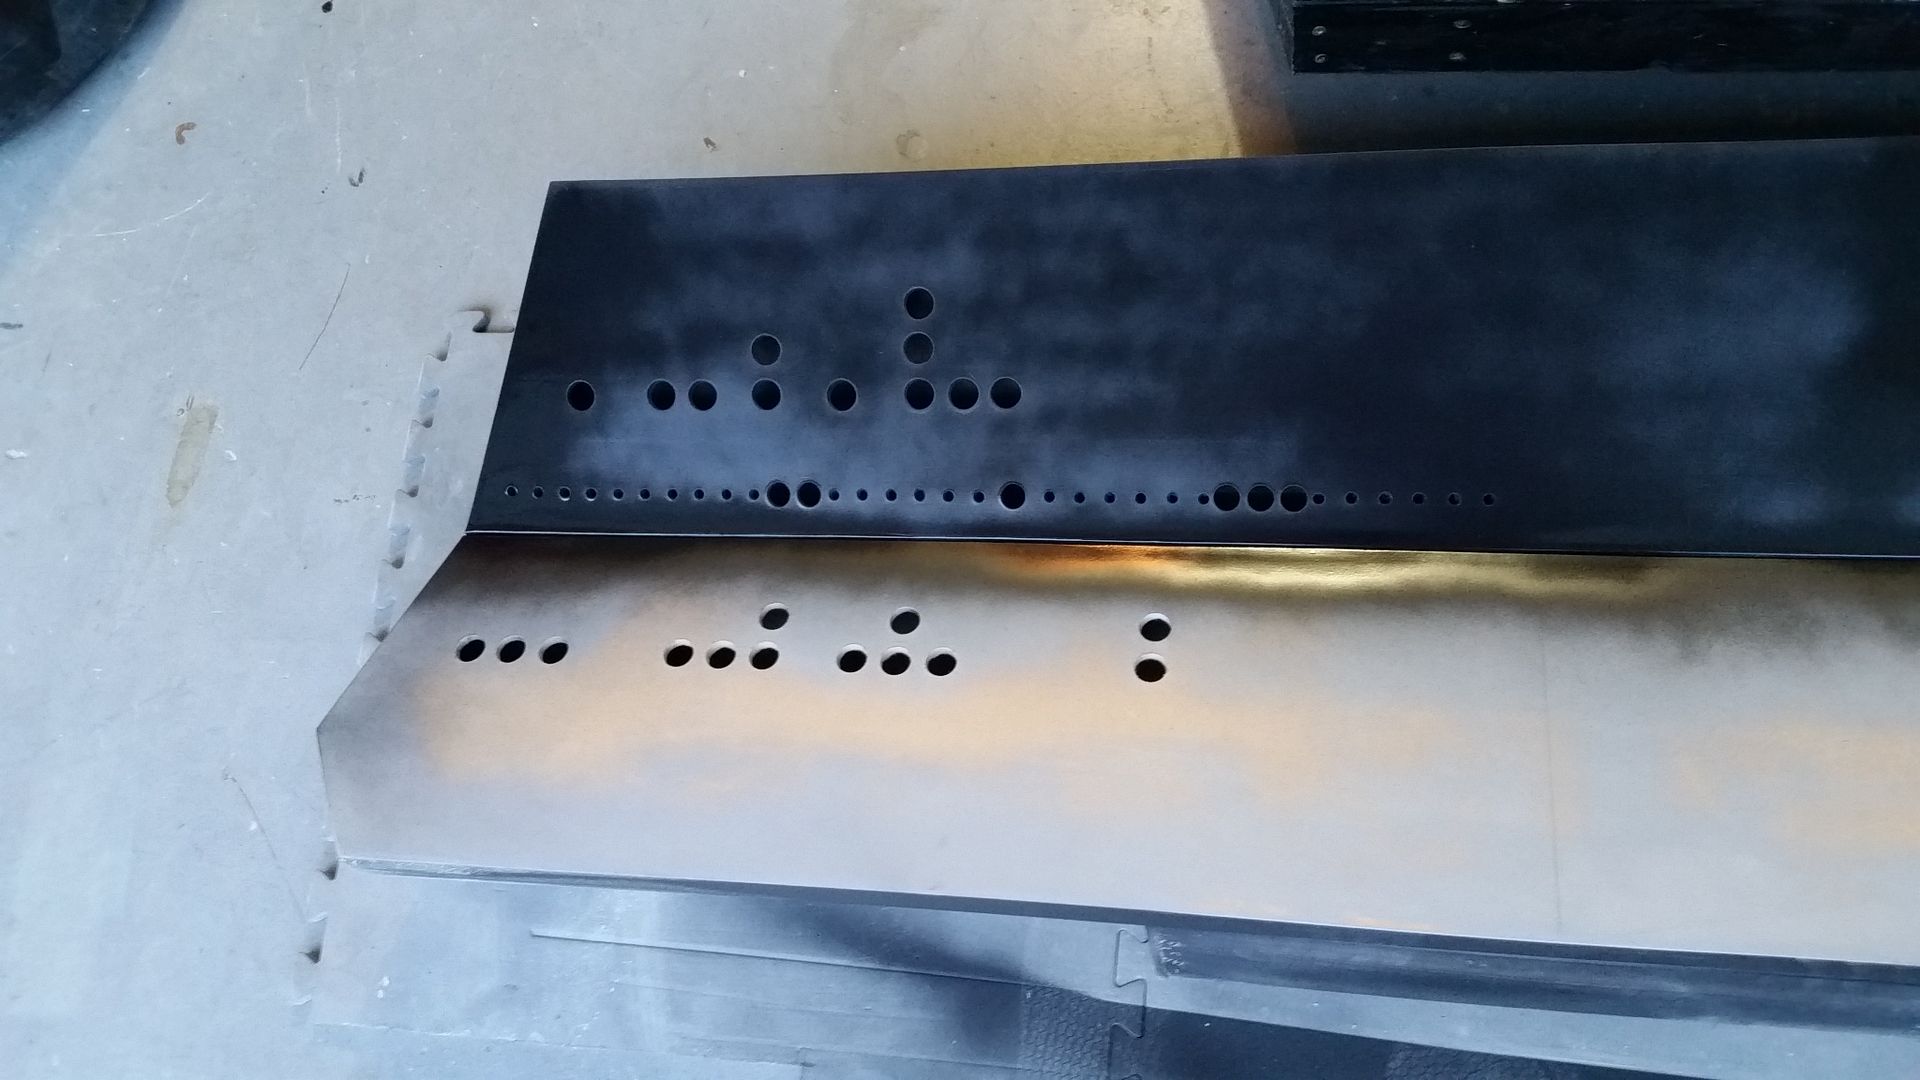
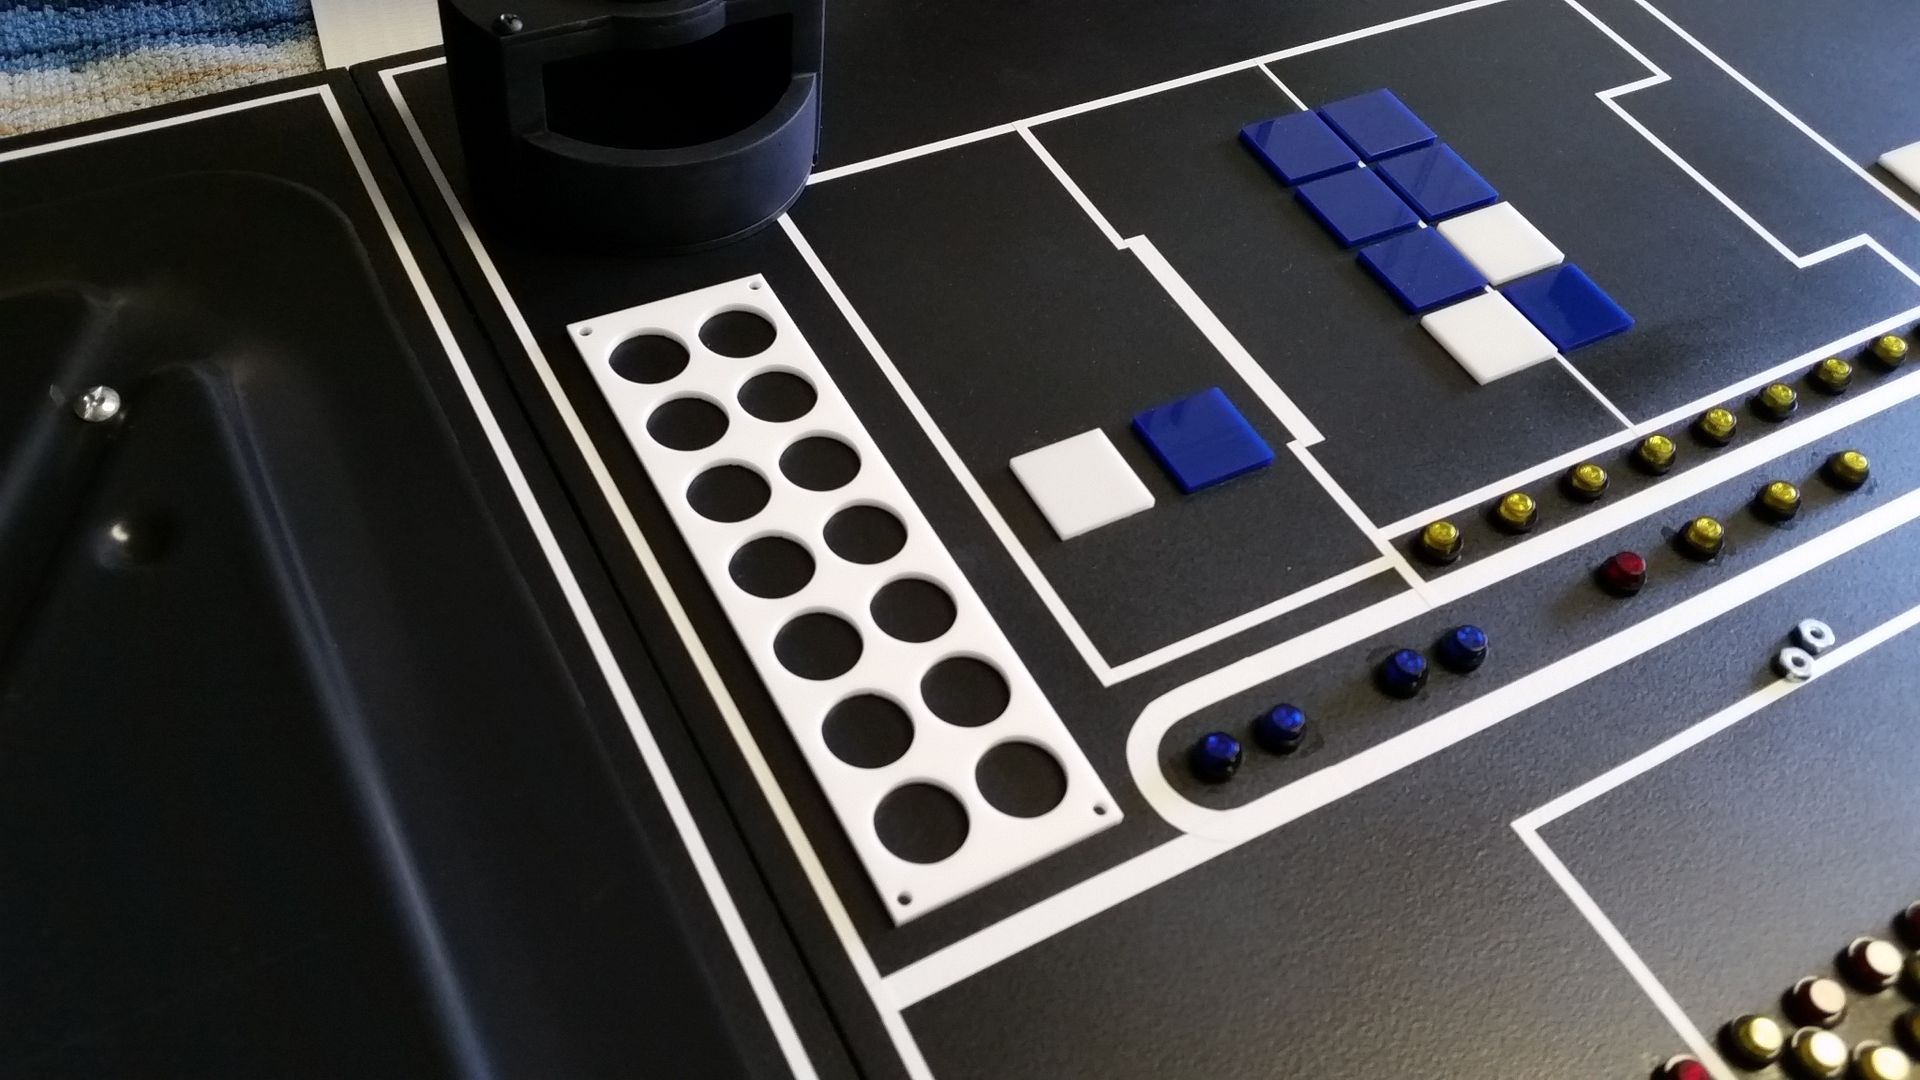
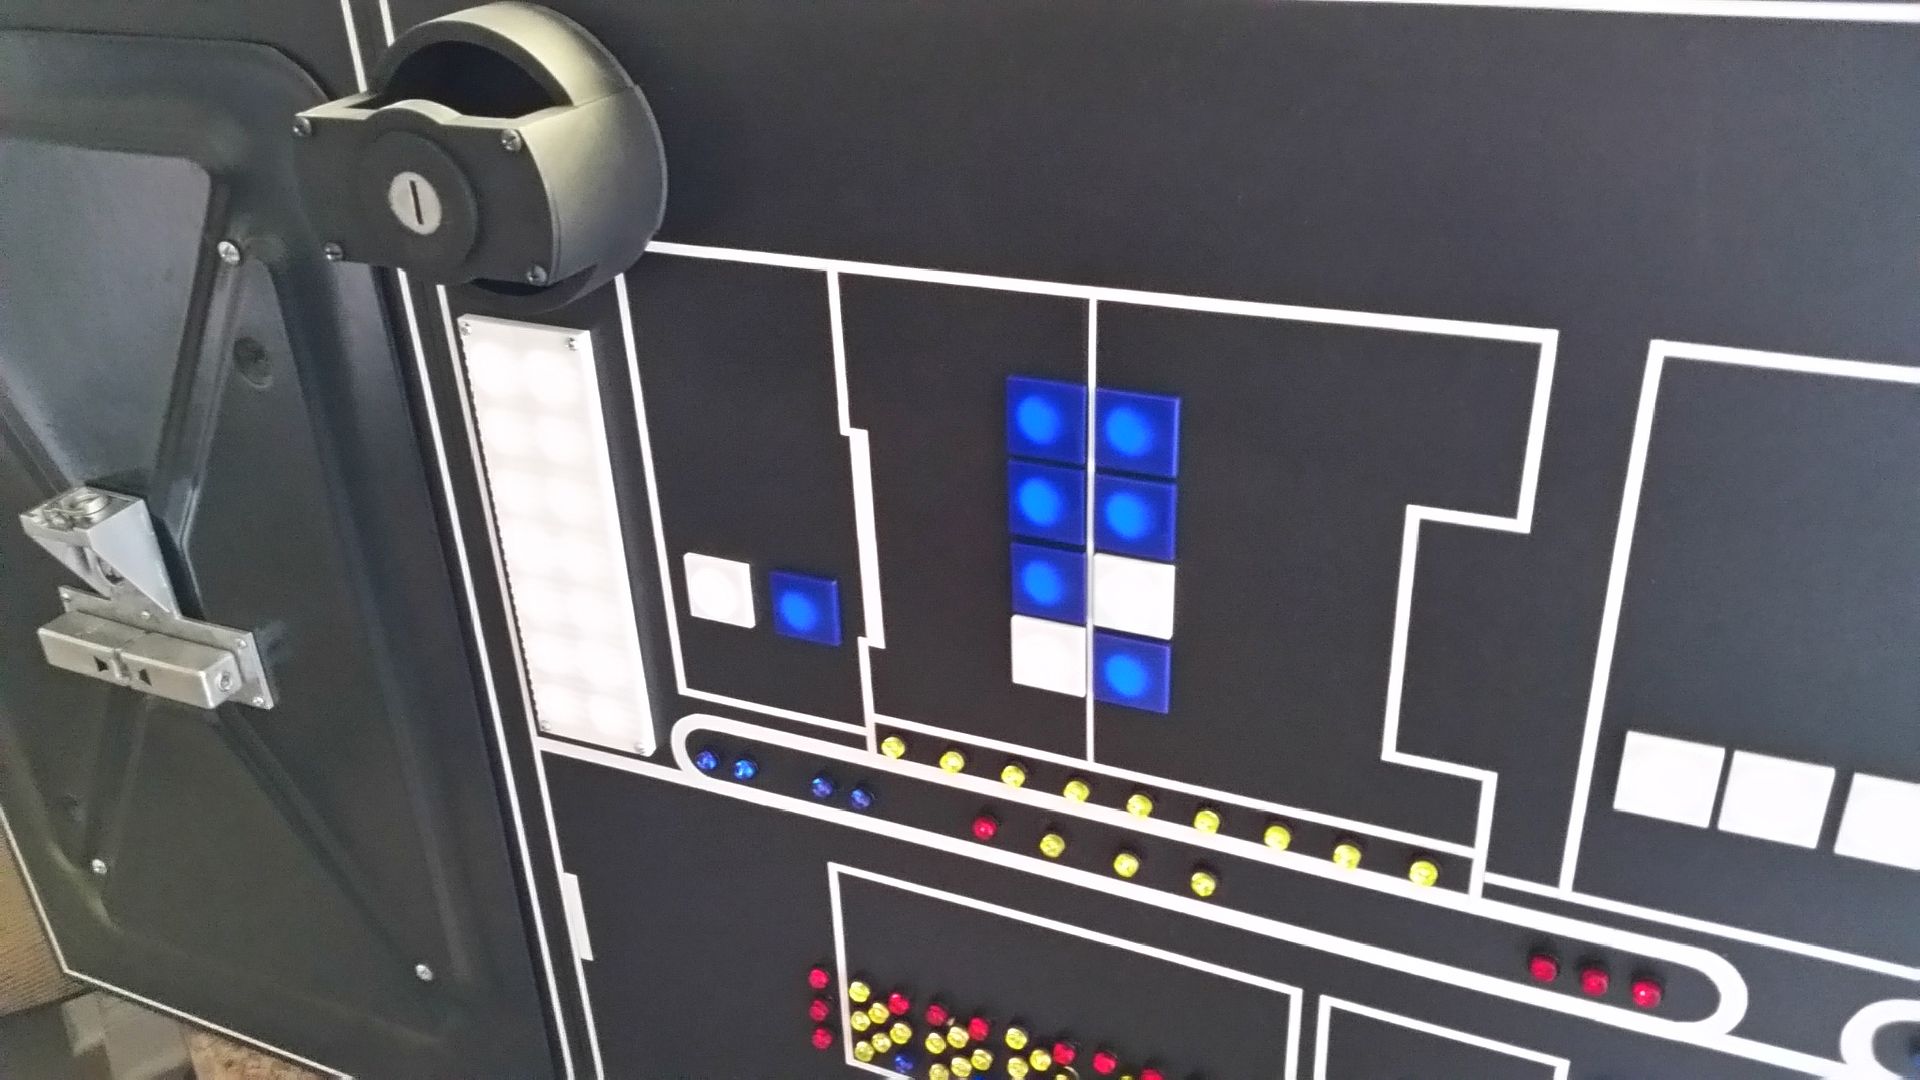
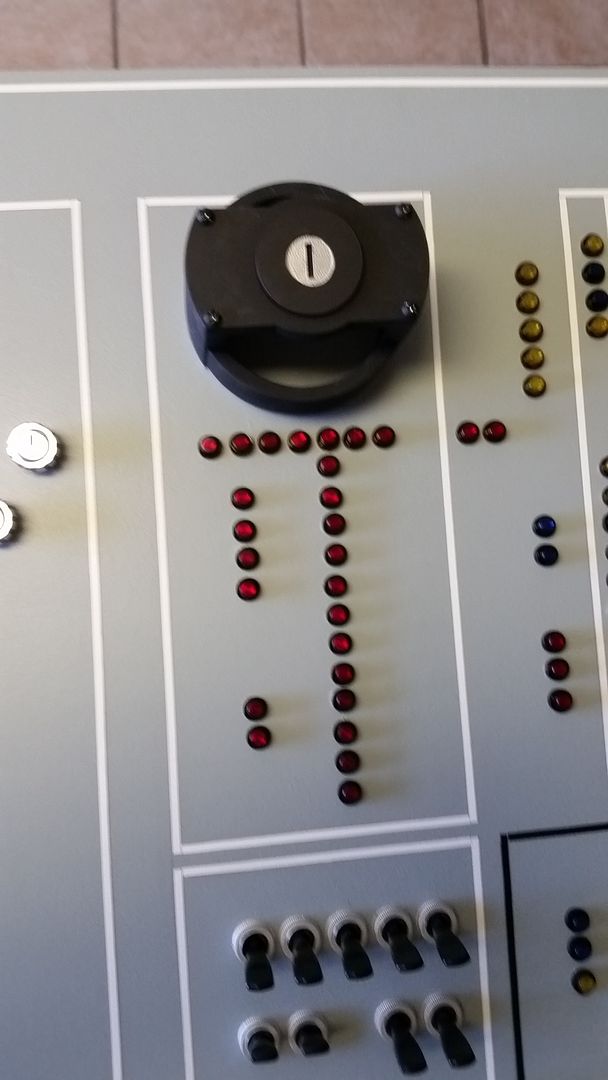
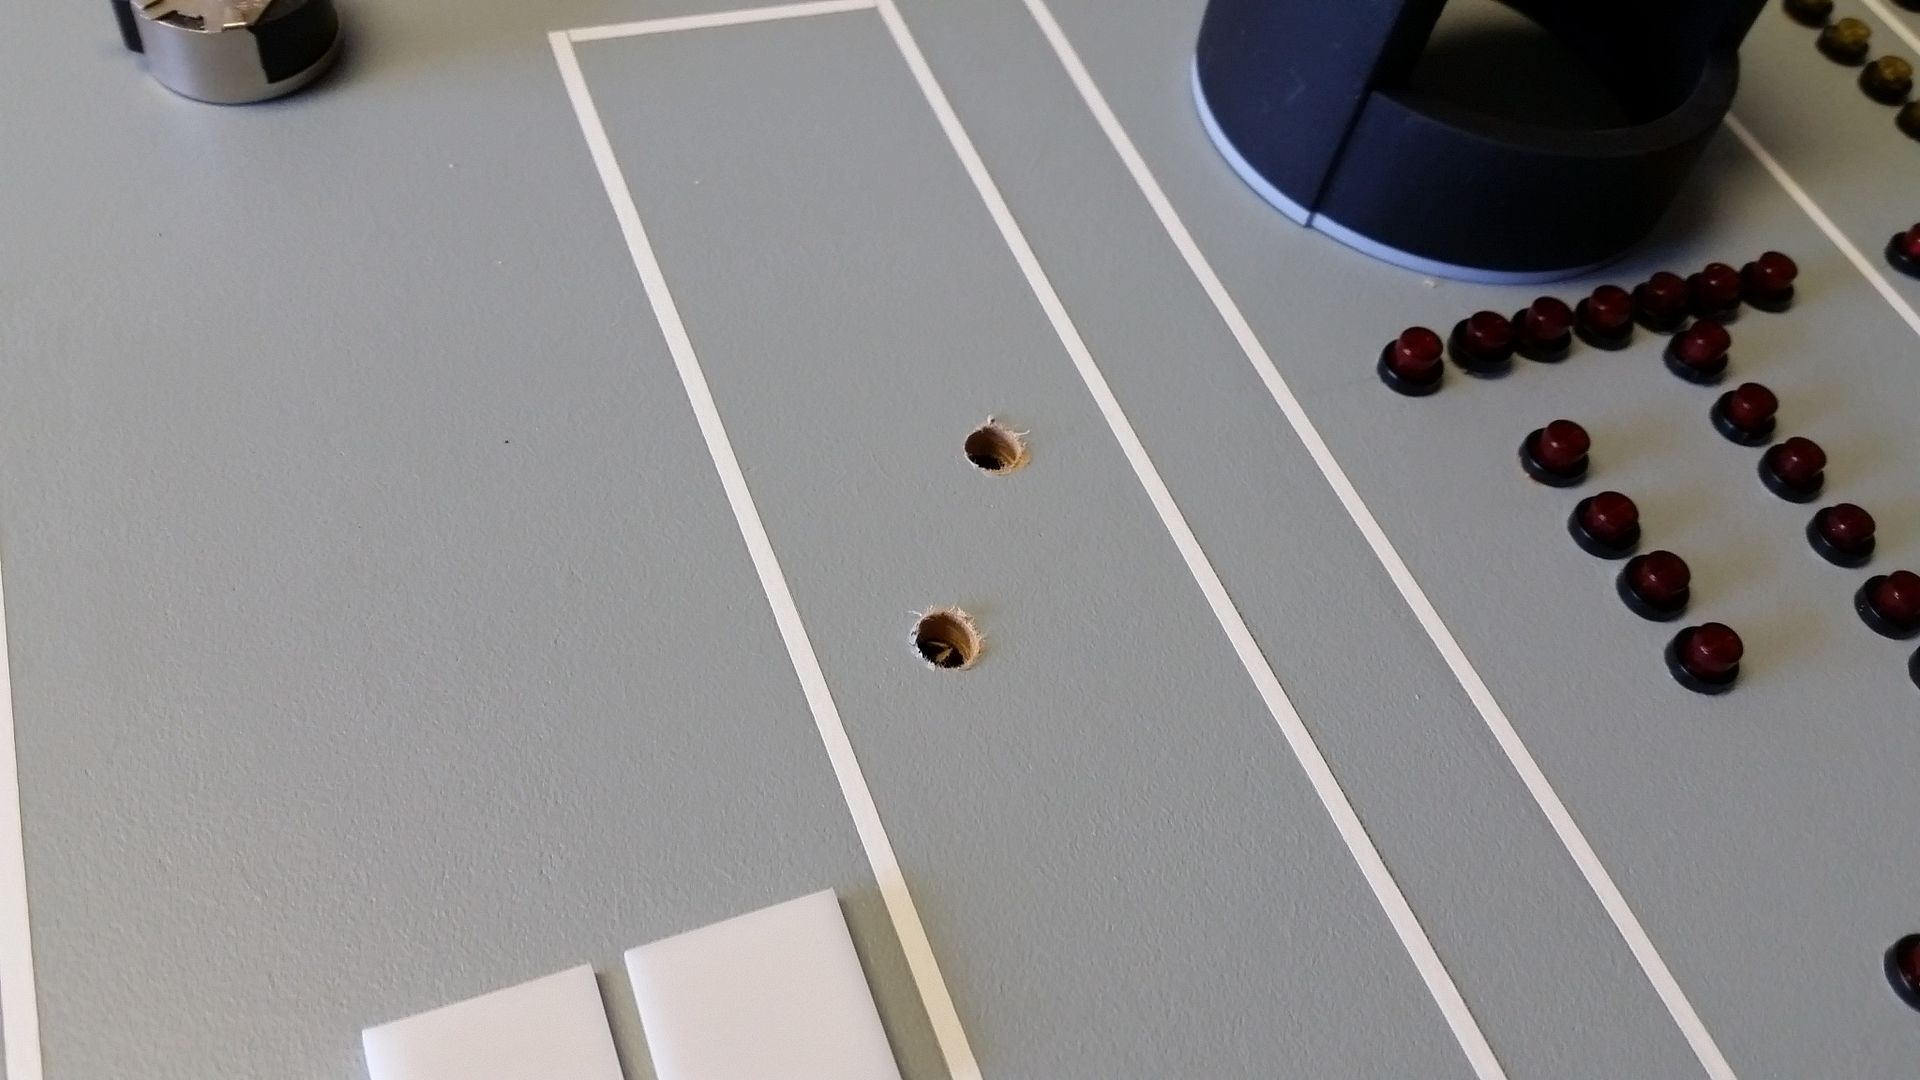
I laser cut a template for more LEDs
20151010_134908_zpsruk1kr5l.jpg


Cut the holes
20151010_135709_zps93qvjdzw.jpg


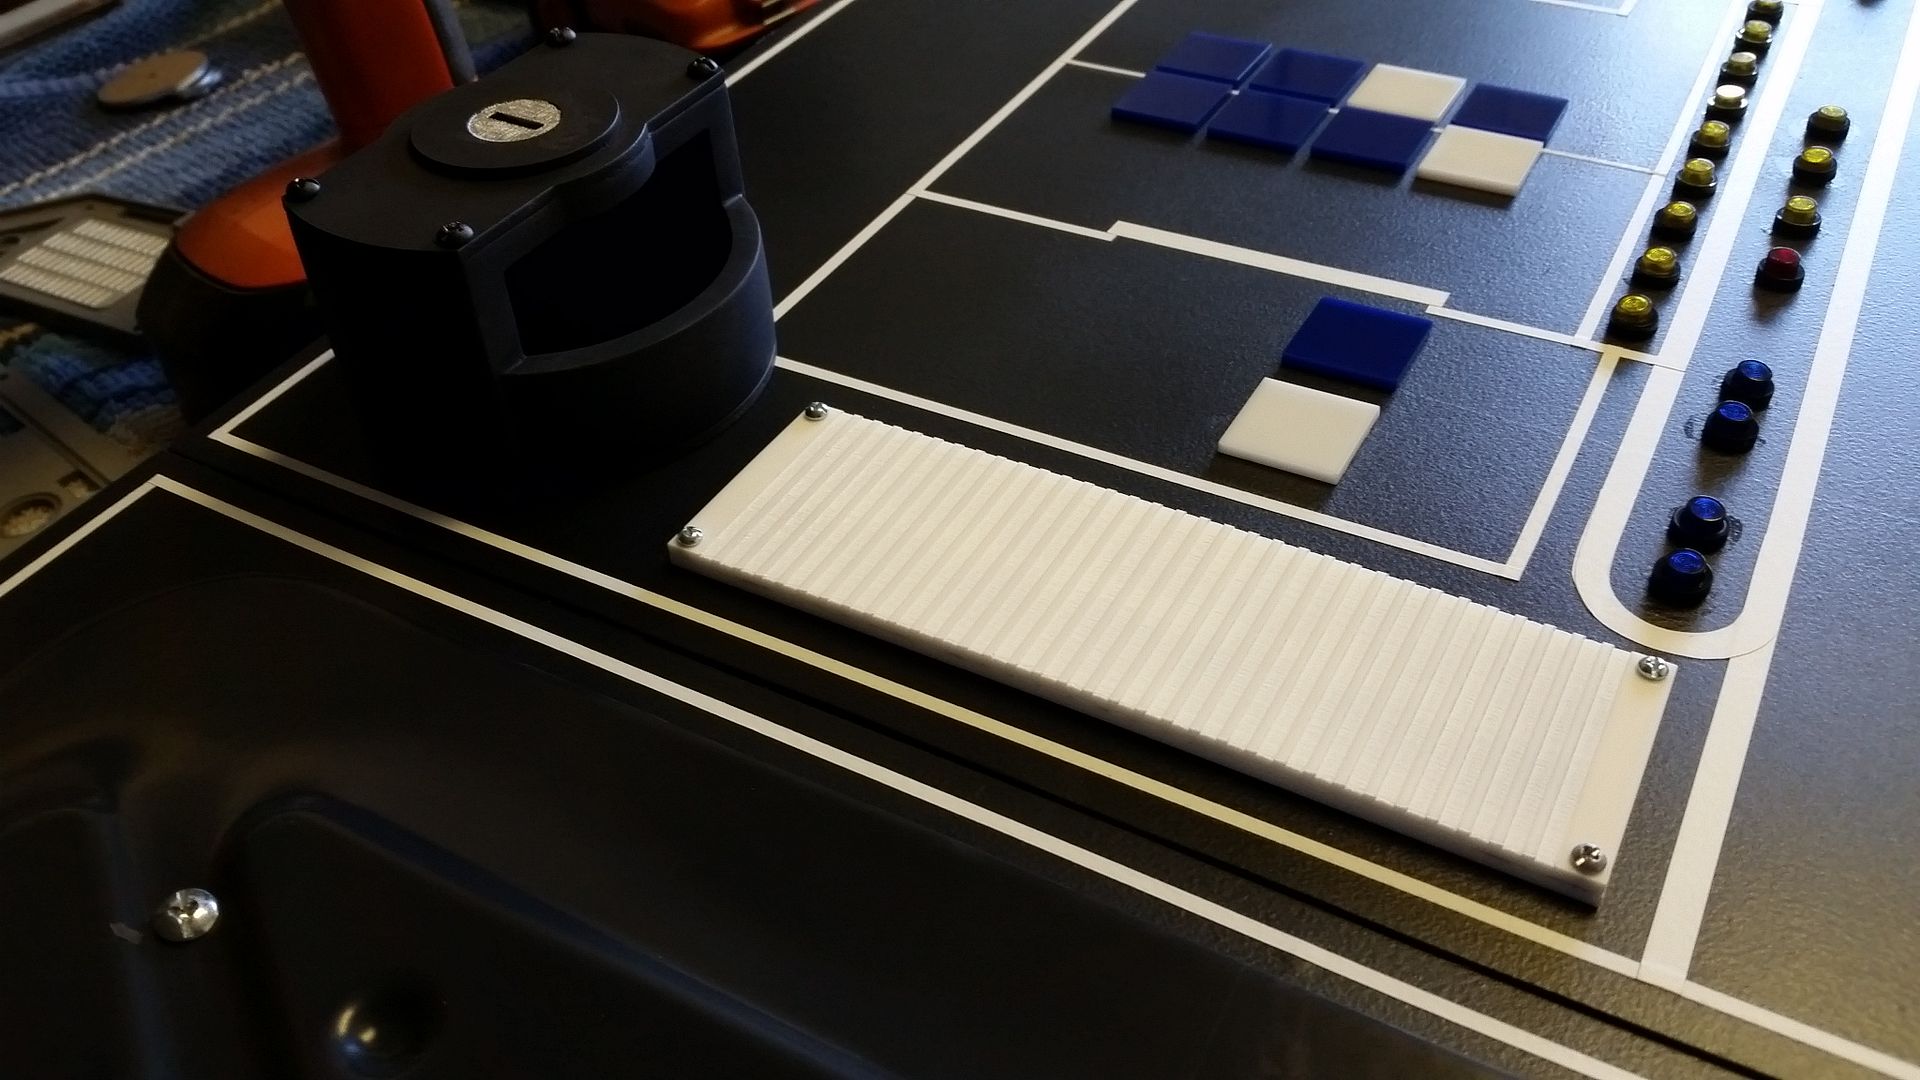
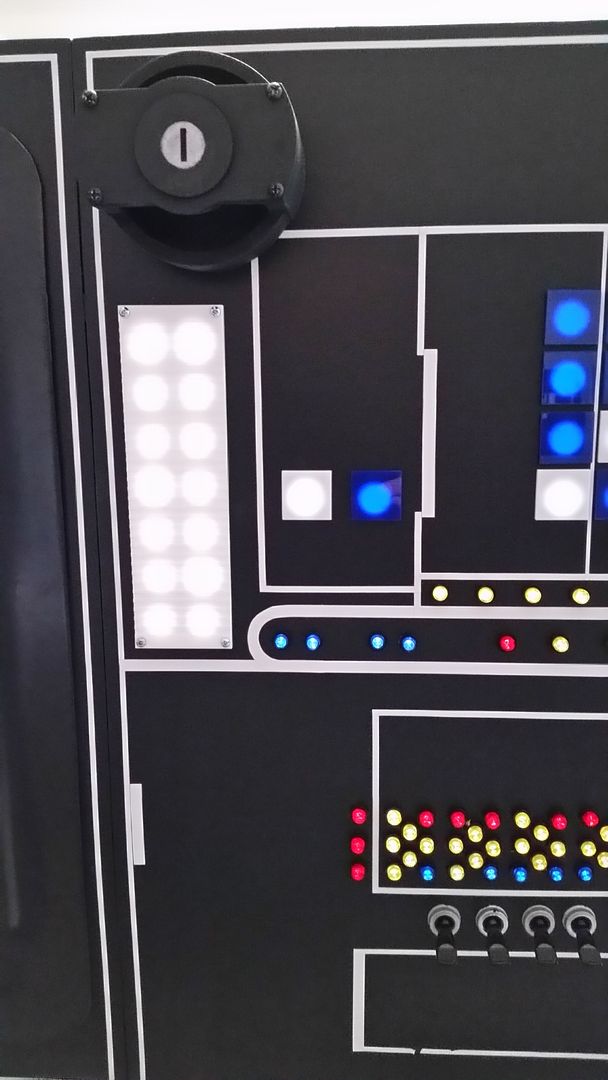
Mounted and ready to be back lit
20151010_141835_zpsrcbtzbbq.jpg


20151010_141844_zpskr7ya6fp.jpg


20151010_142112_zpsnbs63iap.jpg


Tough to see but I varied the hole sizes
20151010_142147_zps0avgwdji.jpg


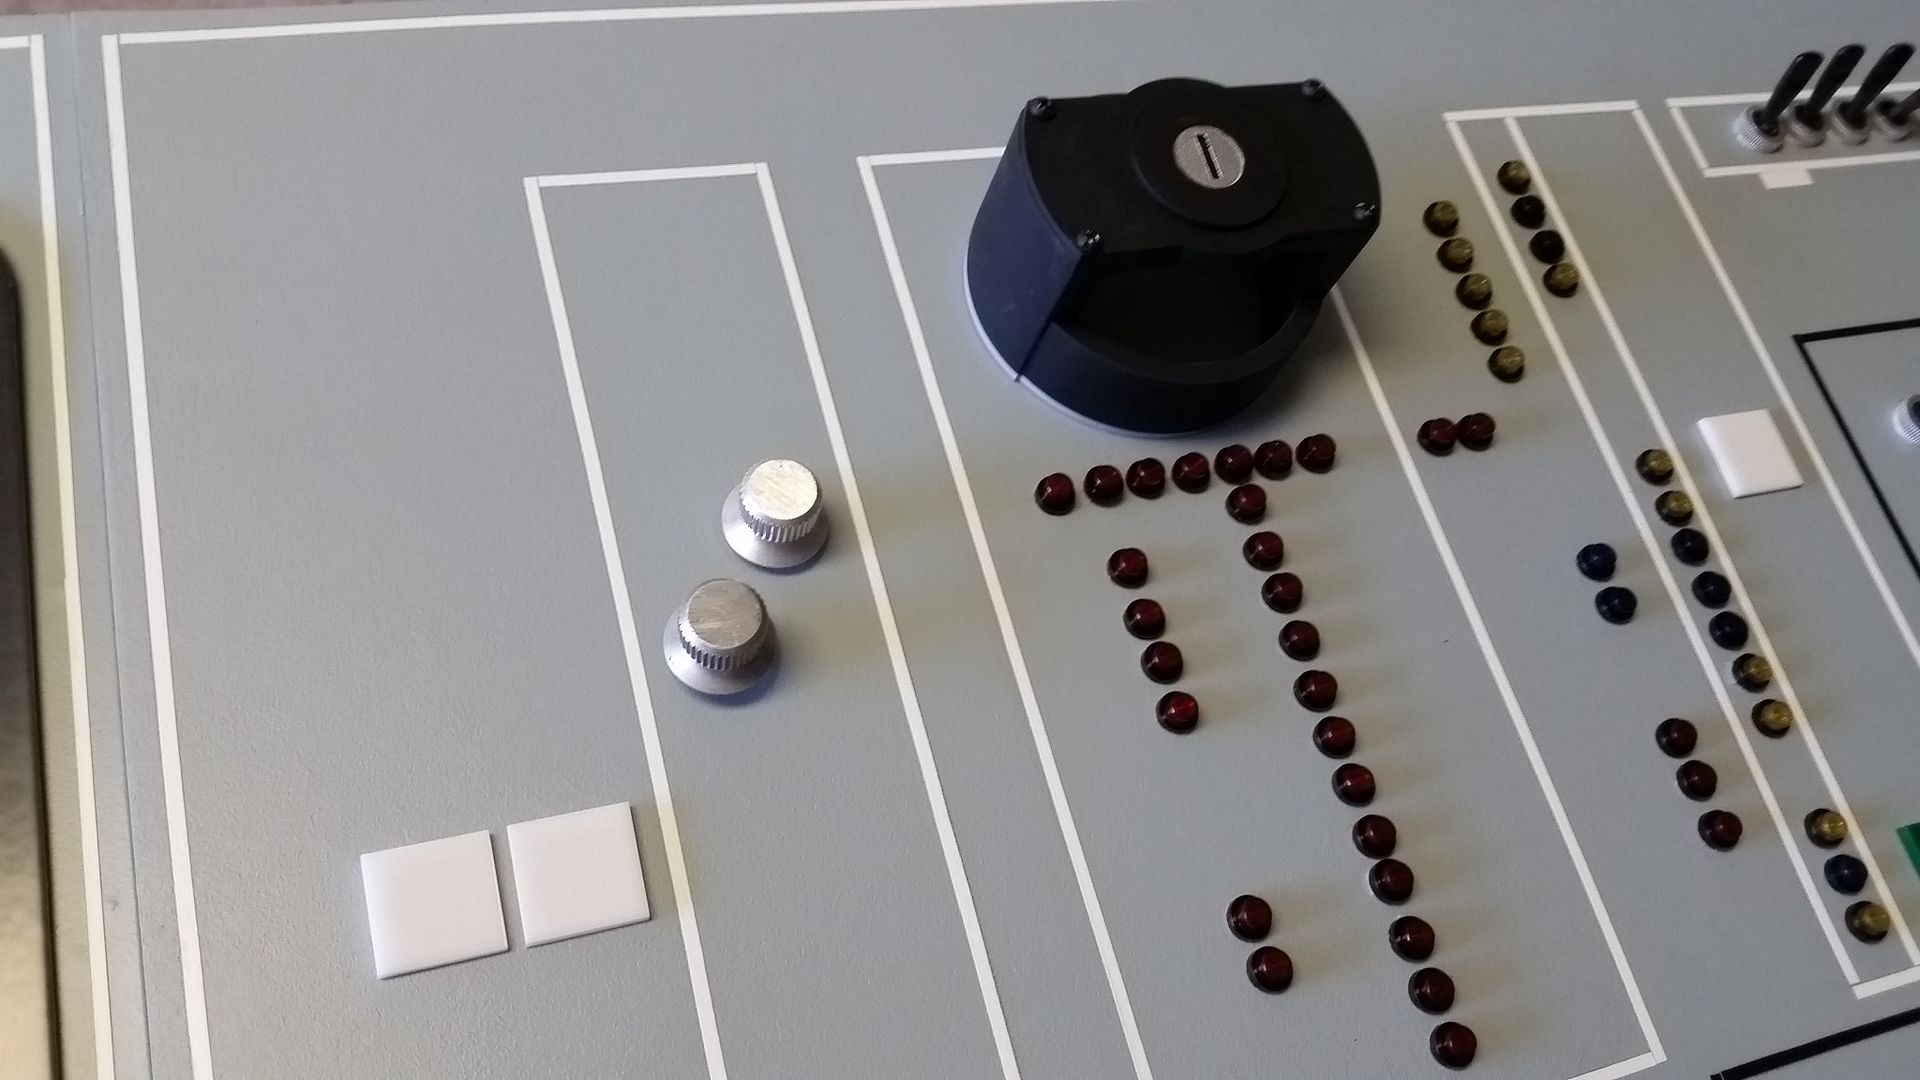
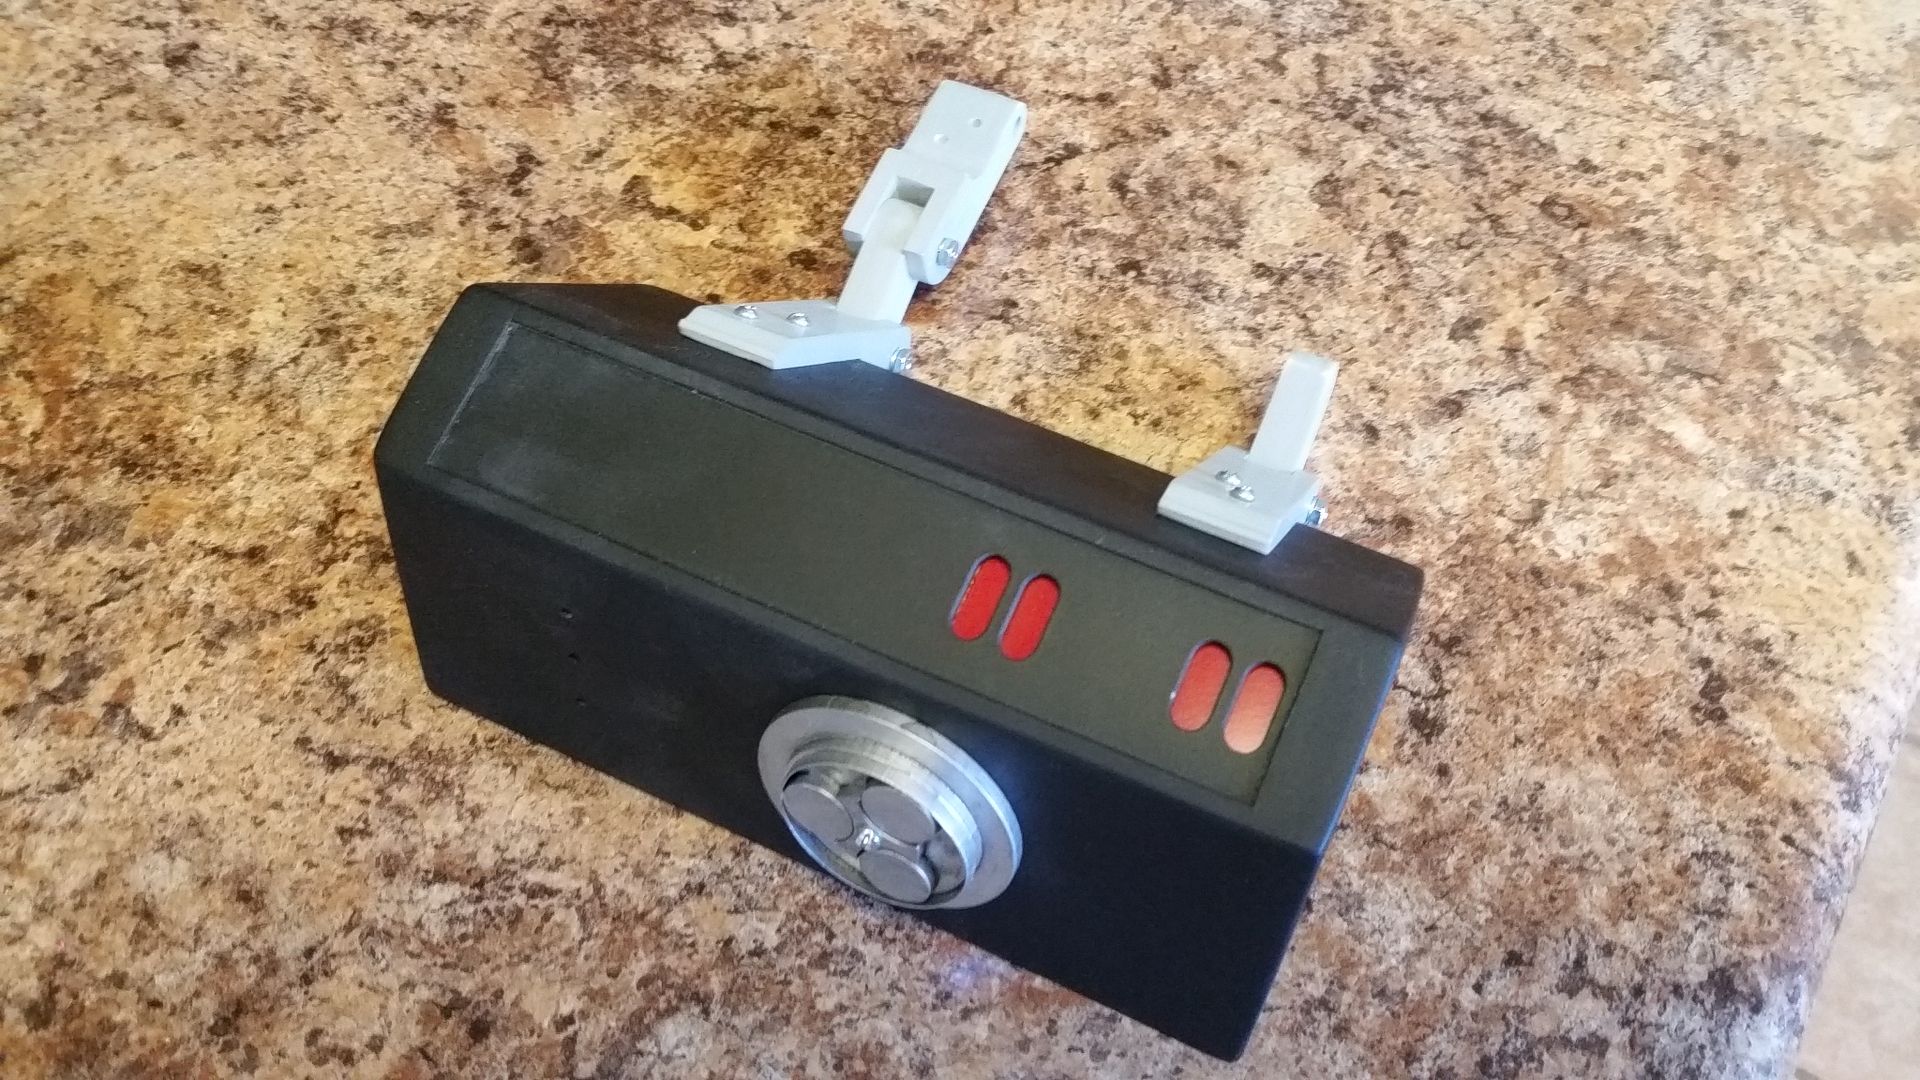
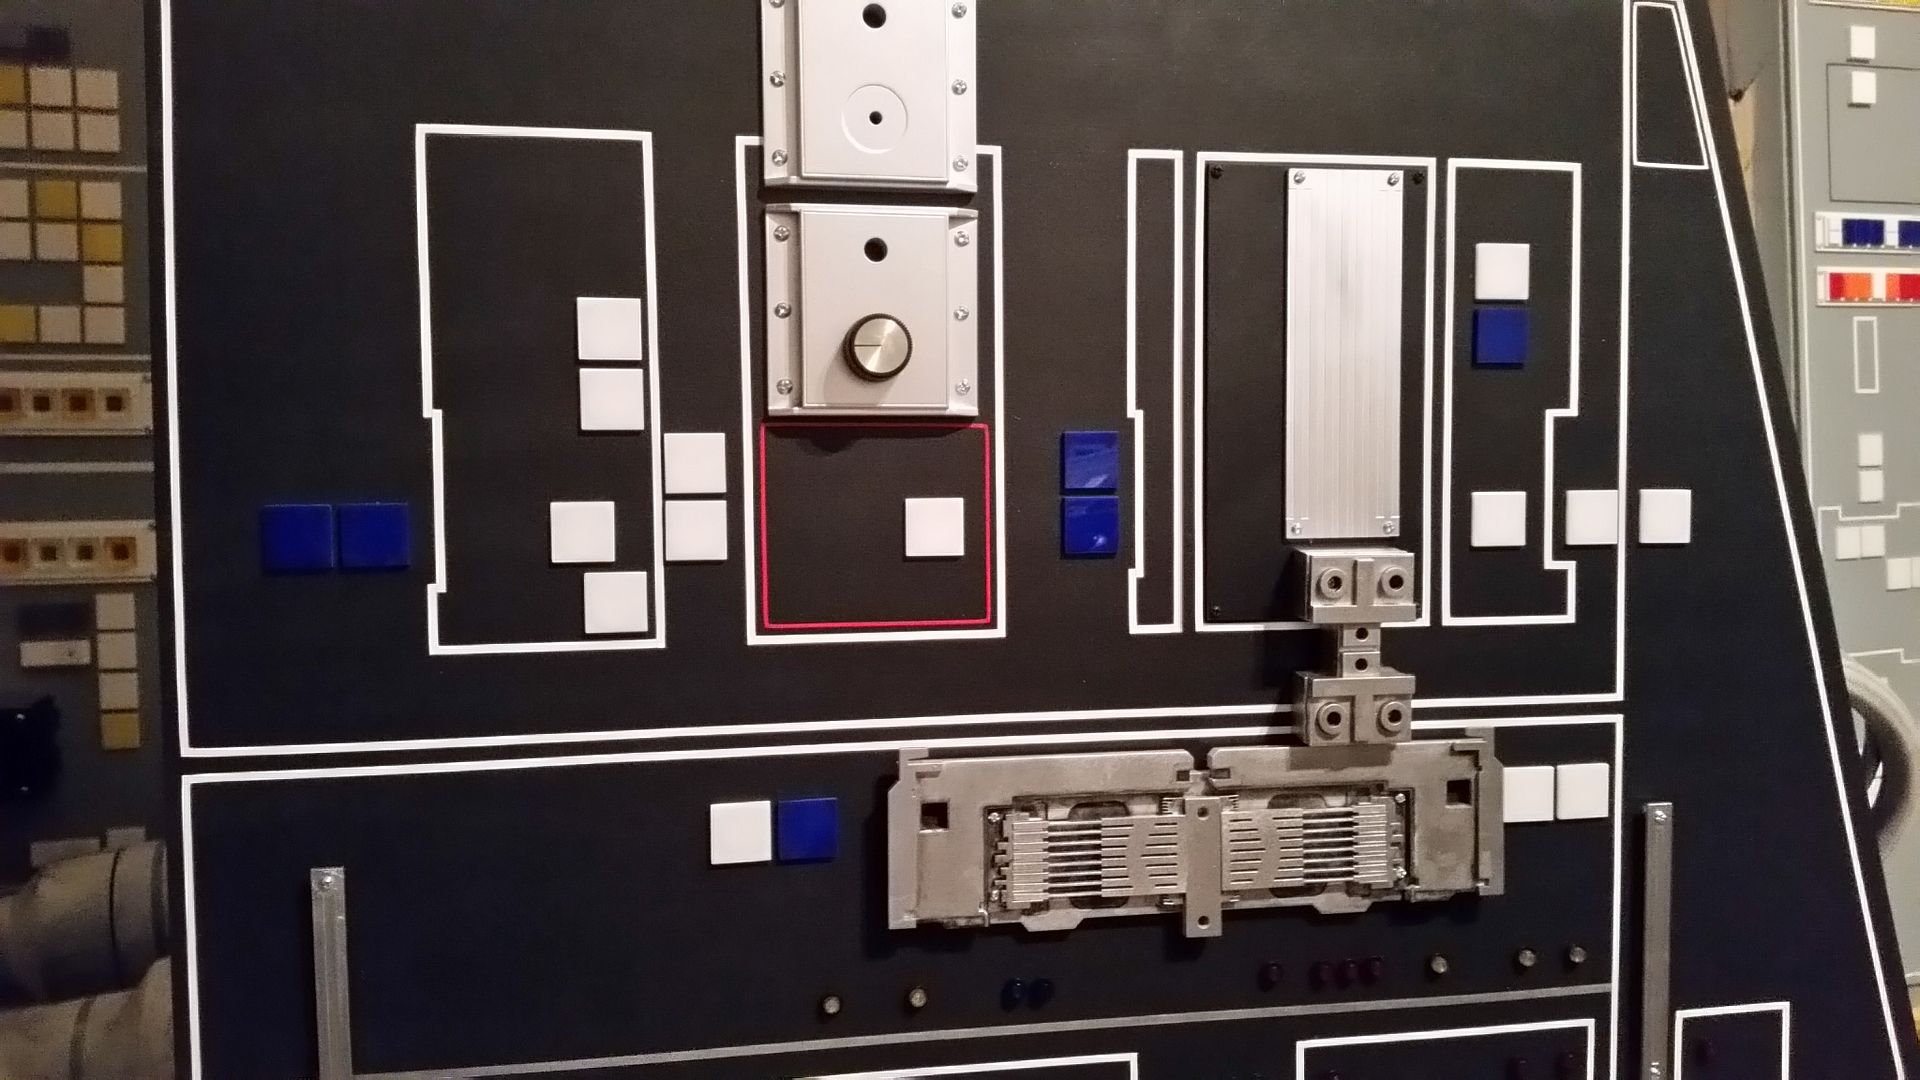
Mounted more greeblies
20151010_142628_zpsxsswjeio.jpg


20151010_142633_zps1cygmorn.jpg


20151010_143424_zps6bo4adll.jpg


20151010_143429_zpsdh5t3xql.jpg


Note the two chrome knobs
20151010_143414-1_zpshfwduy8u.jpg


Time to say goodbye!
20151010_144306_zpsrpacayyg.jpg


And hello functionality!
20151010_145248_zpsw8imubbp.jpg


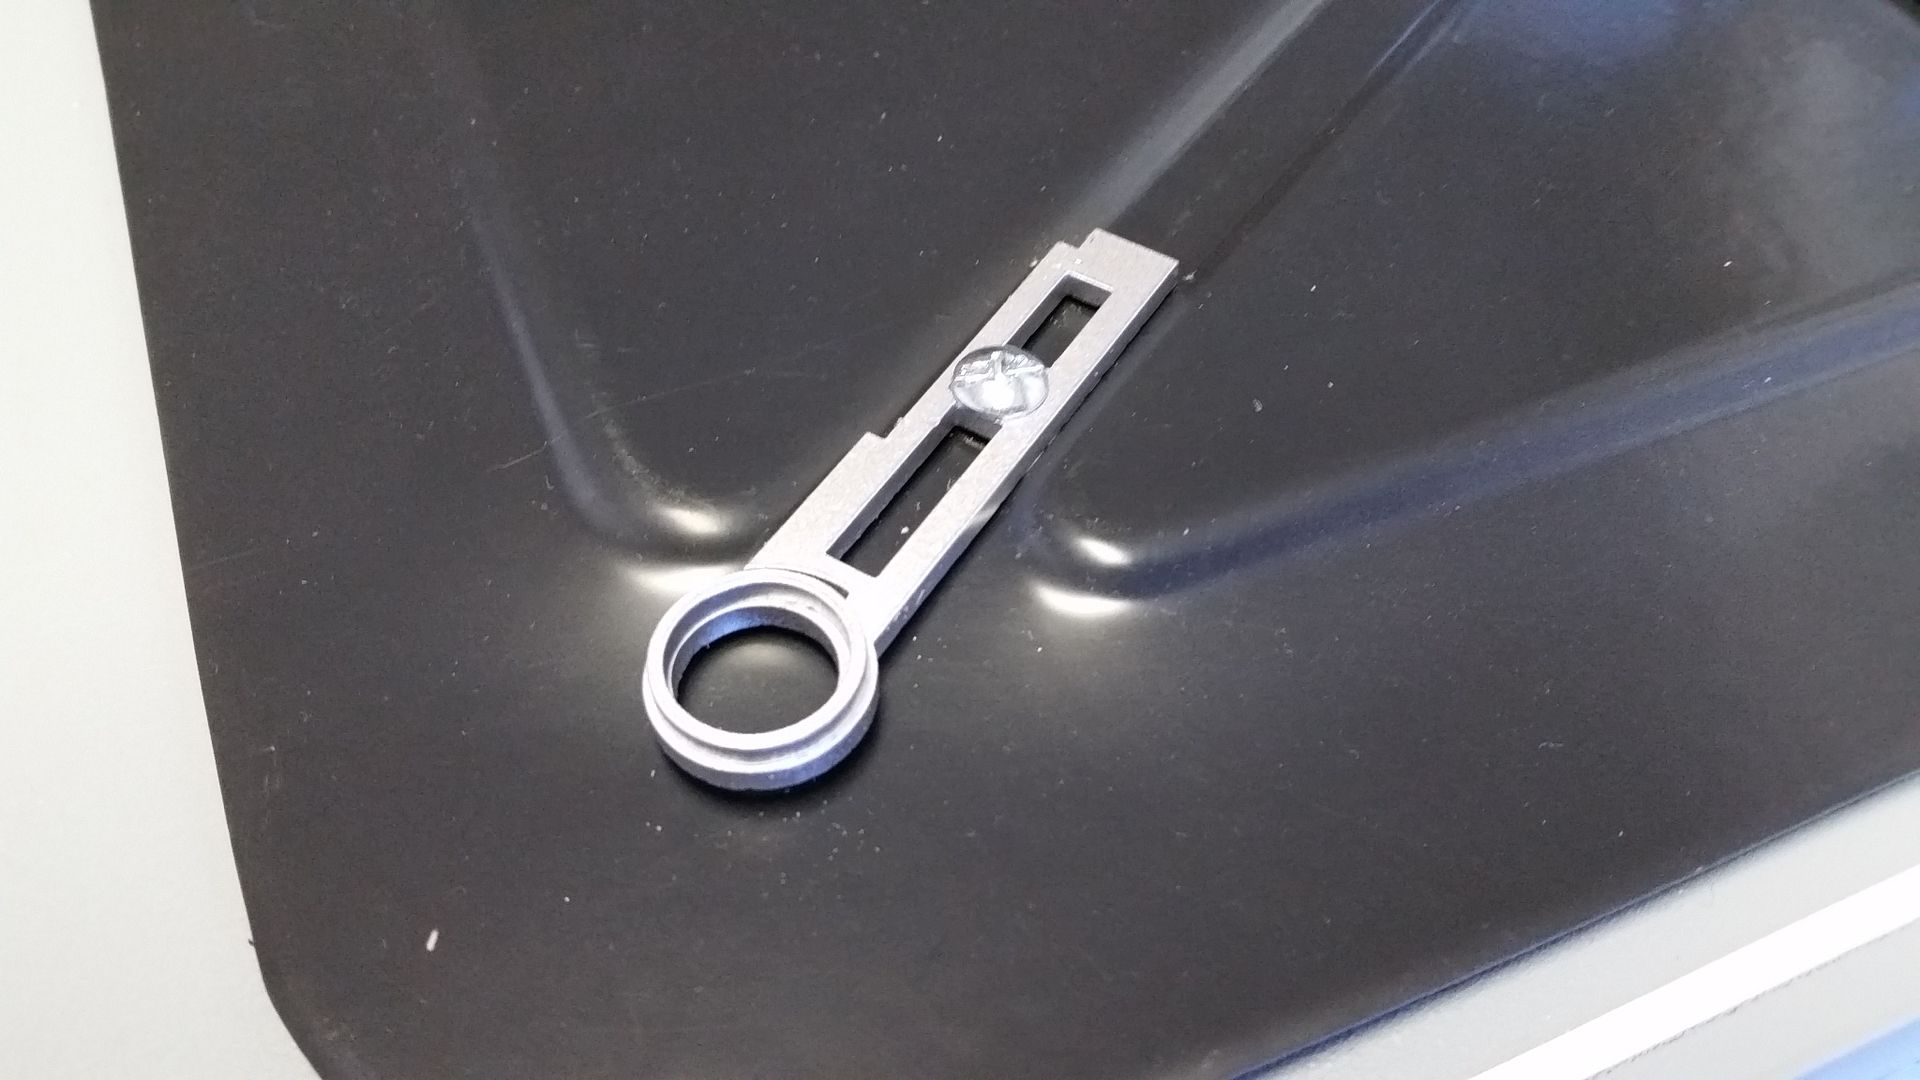
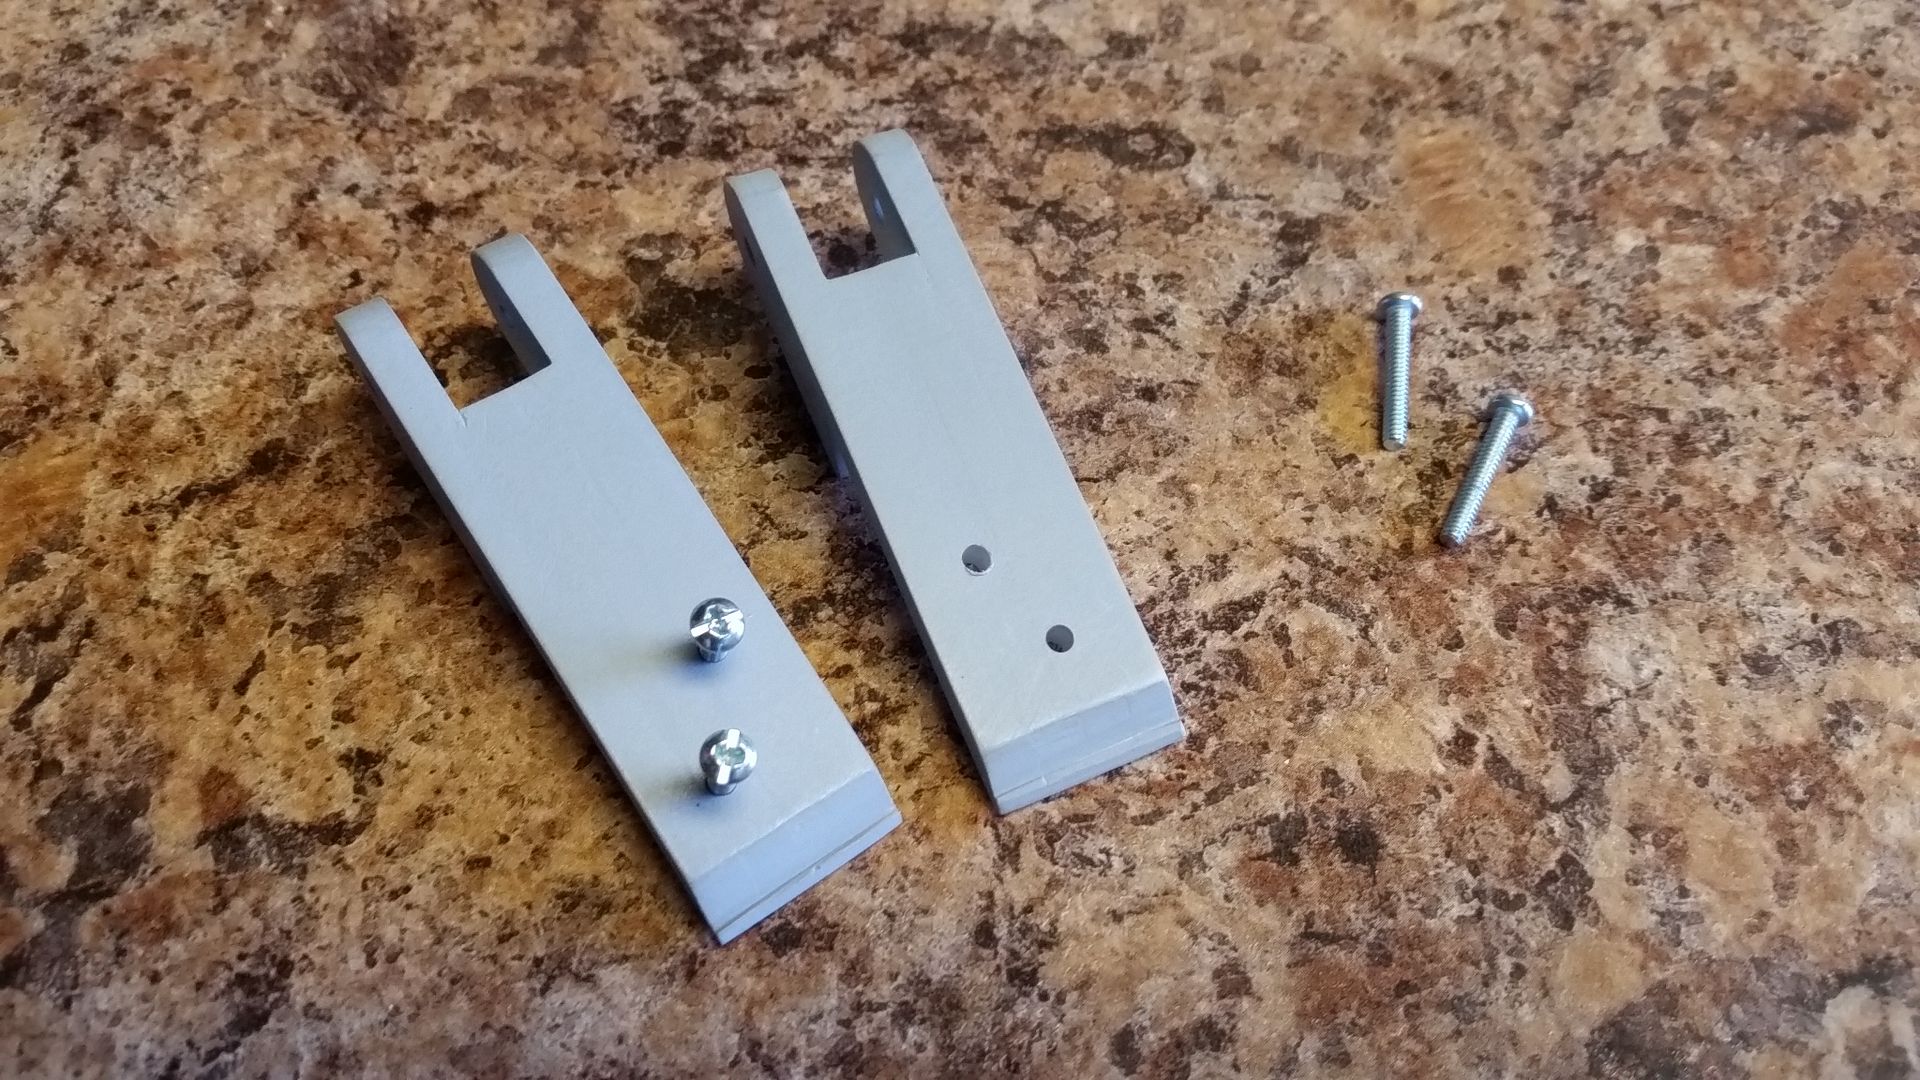
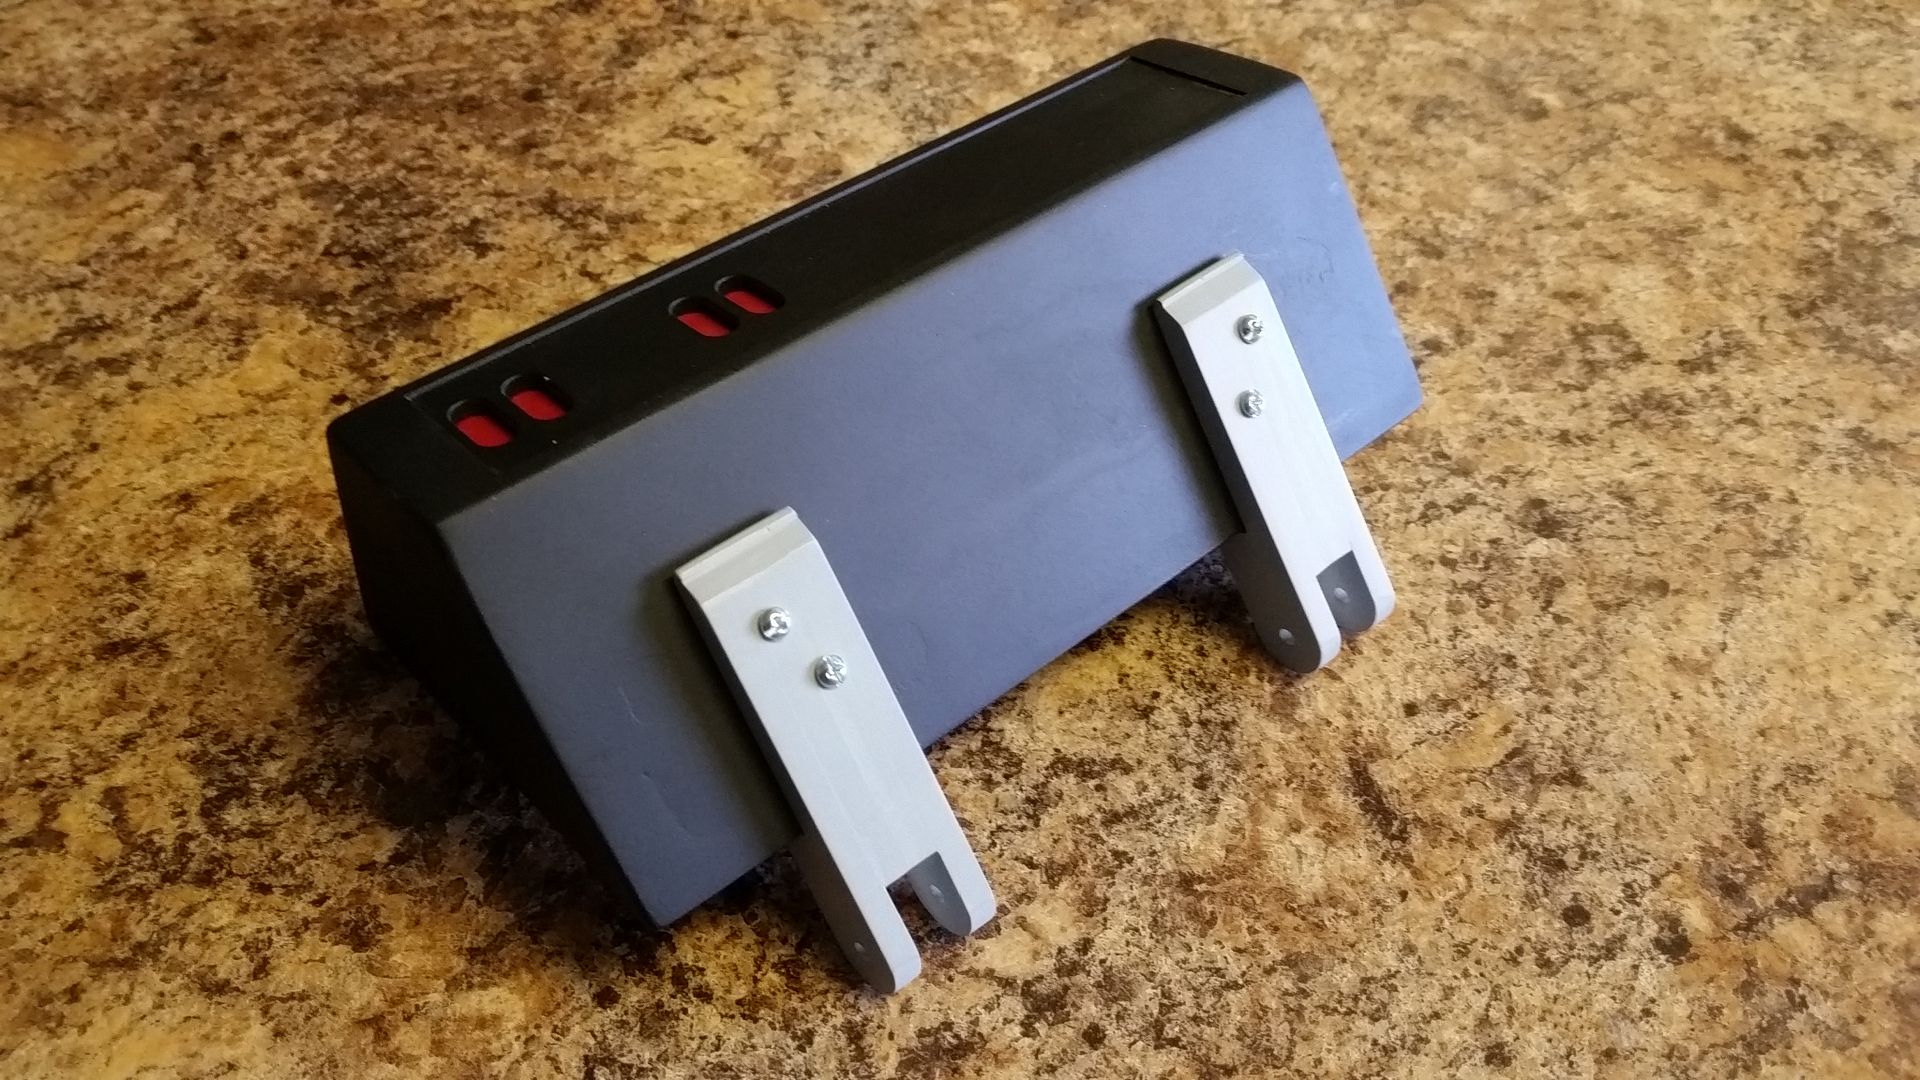
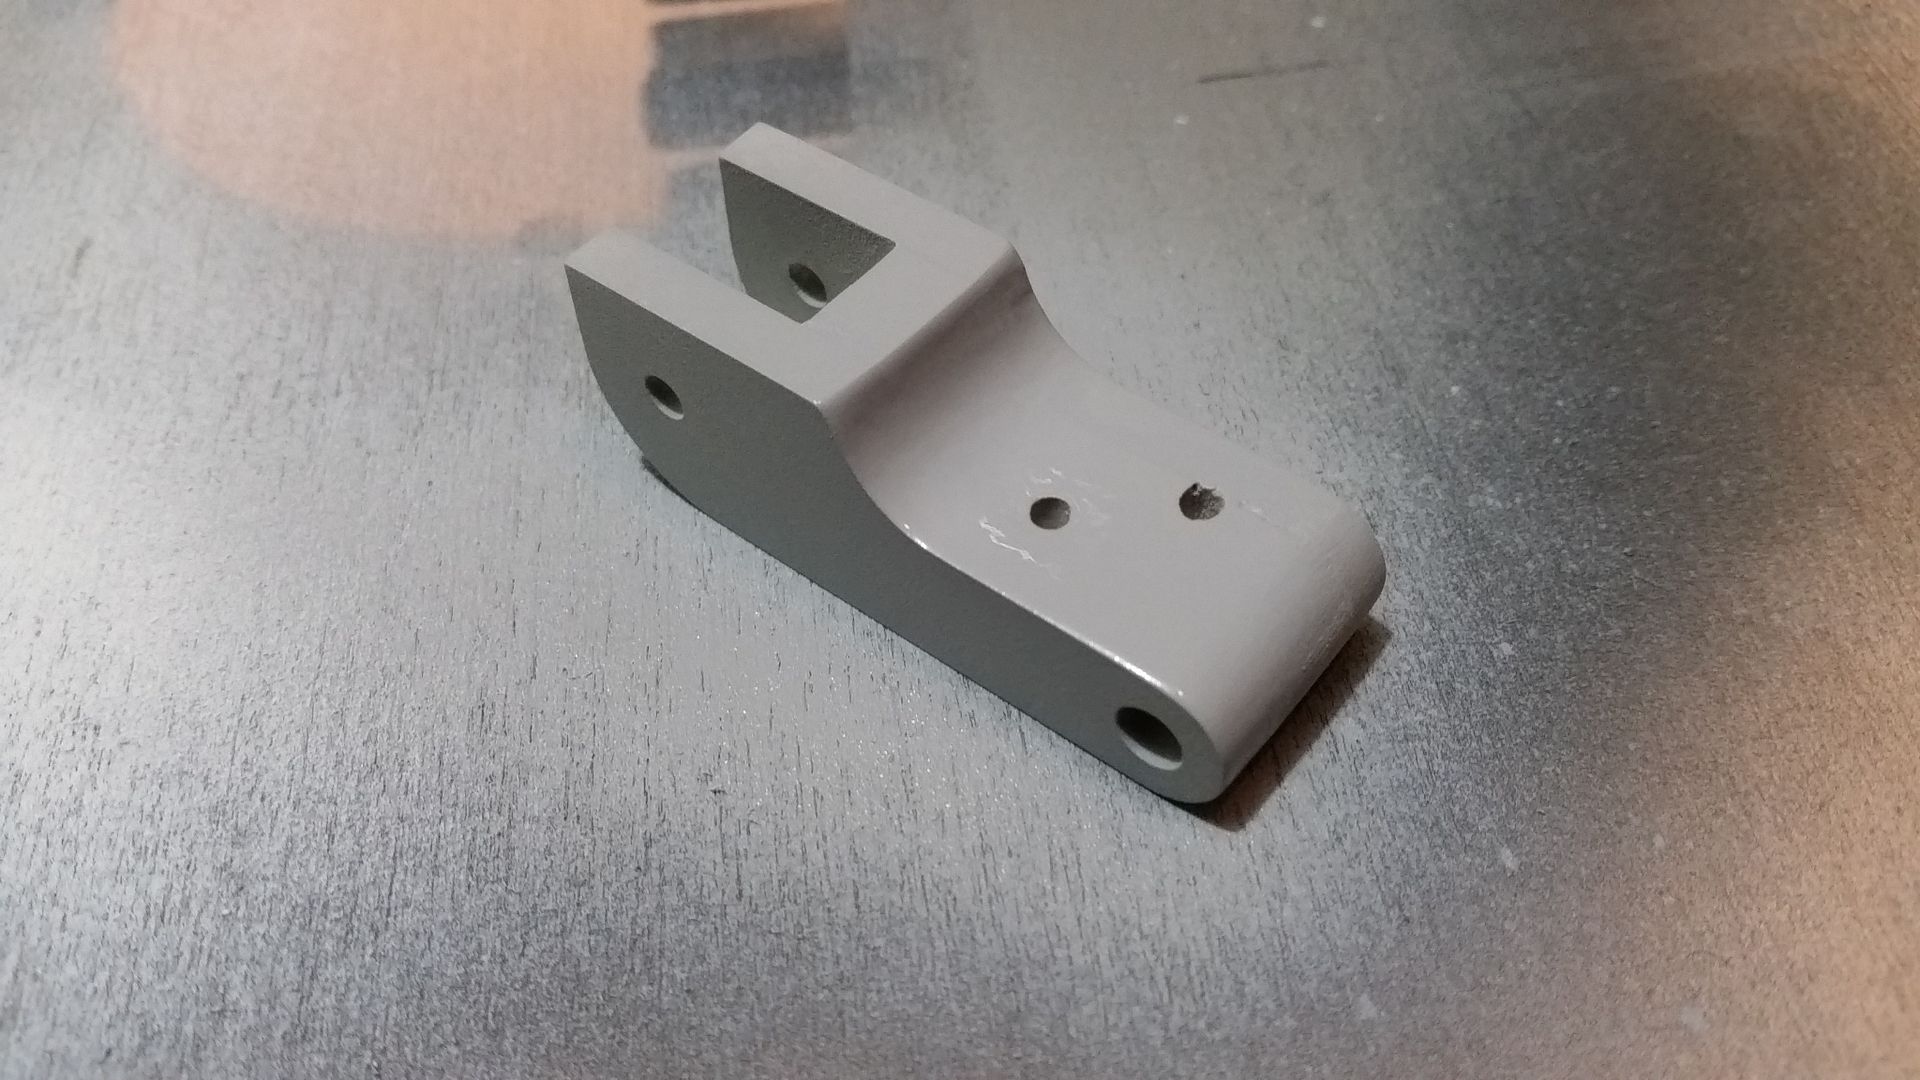
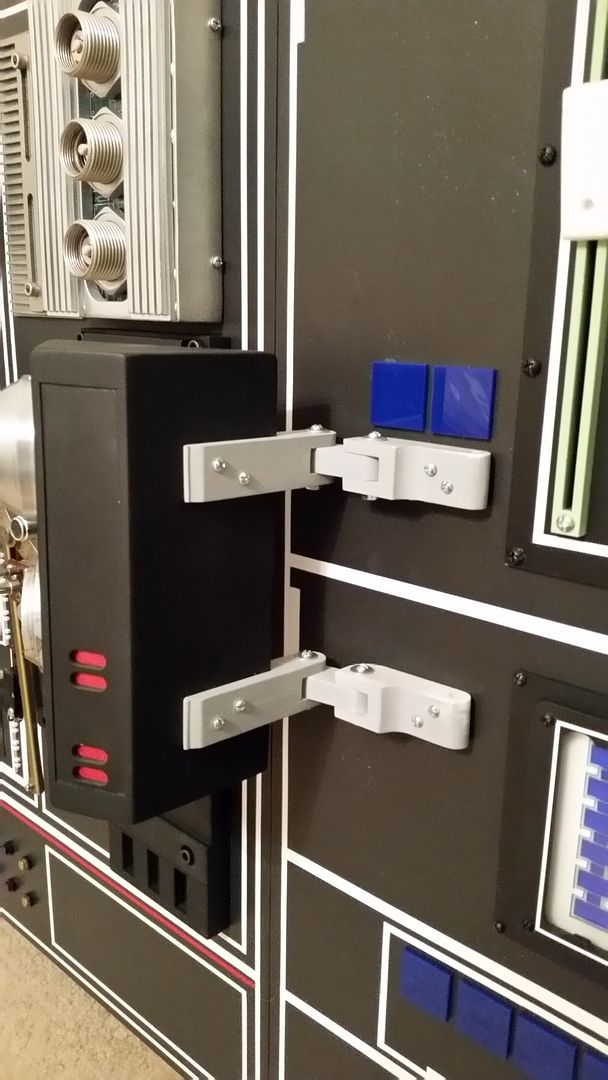
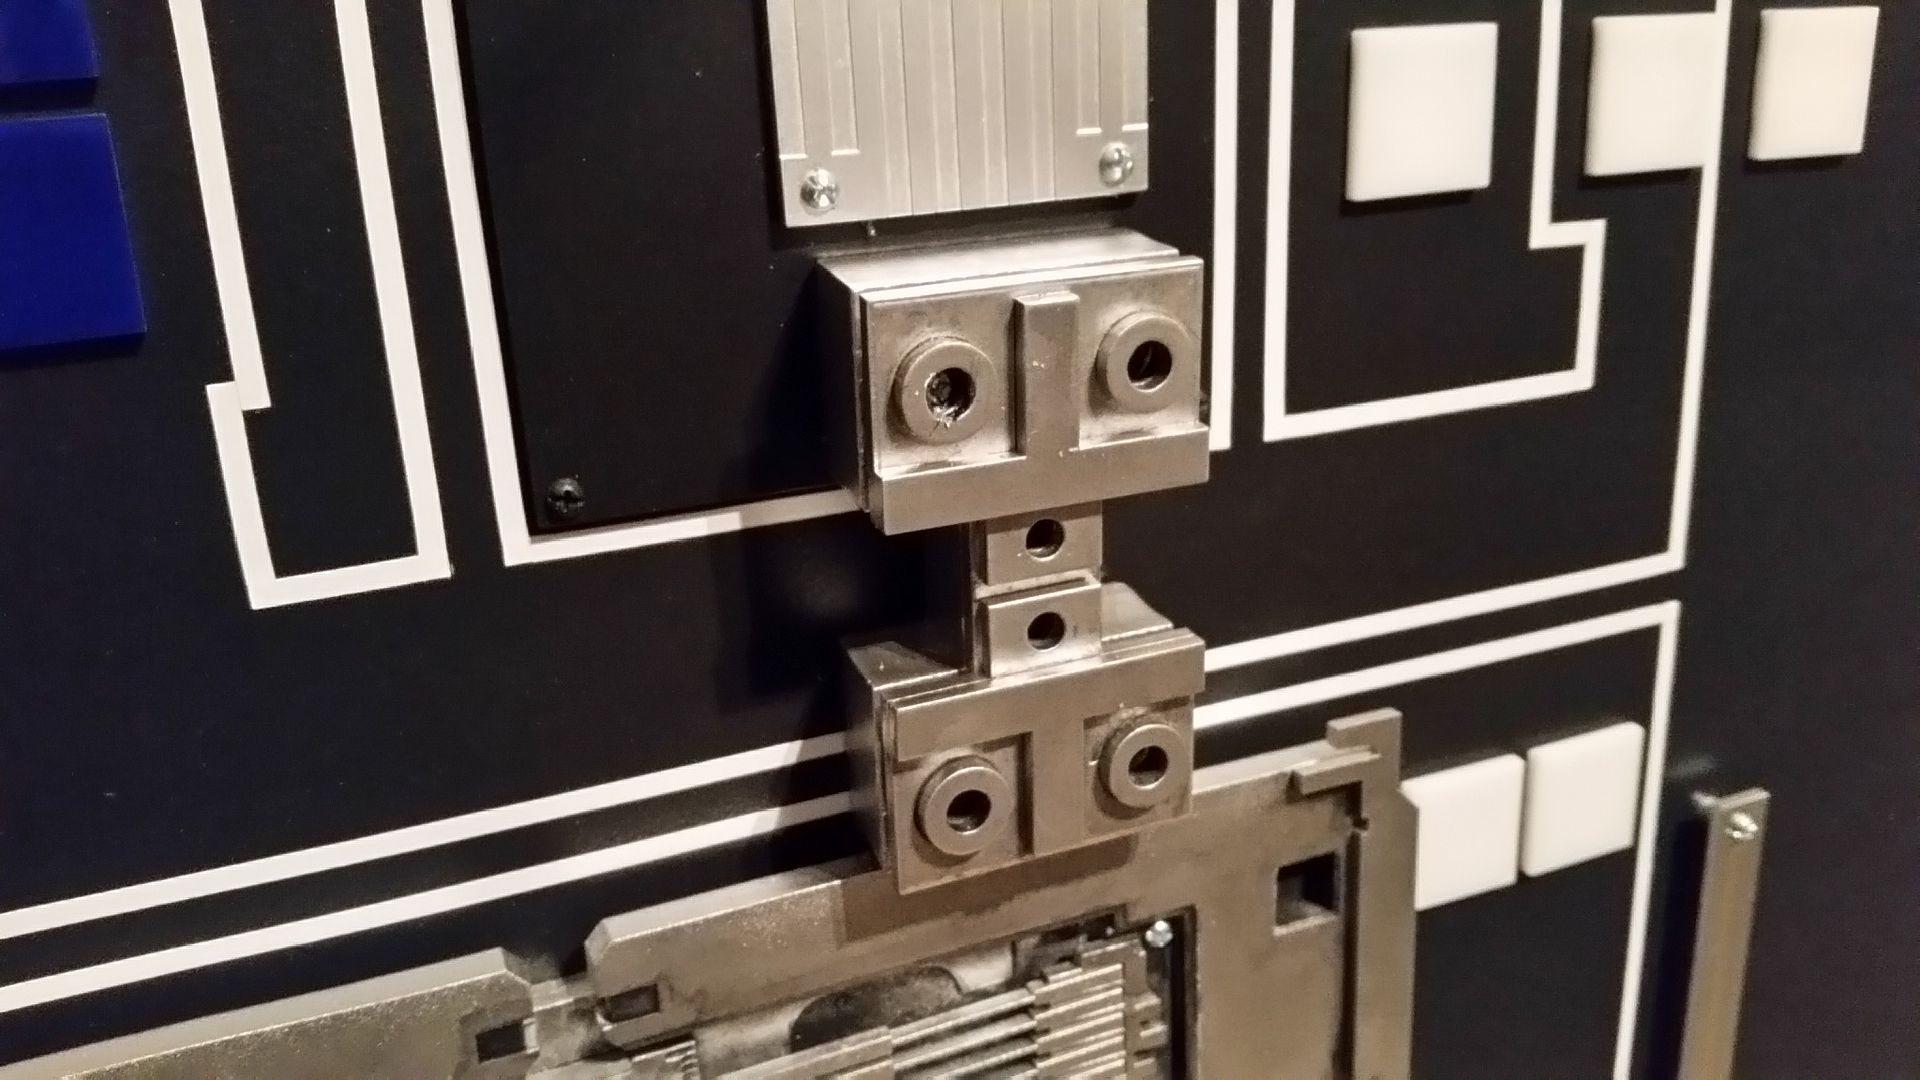
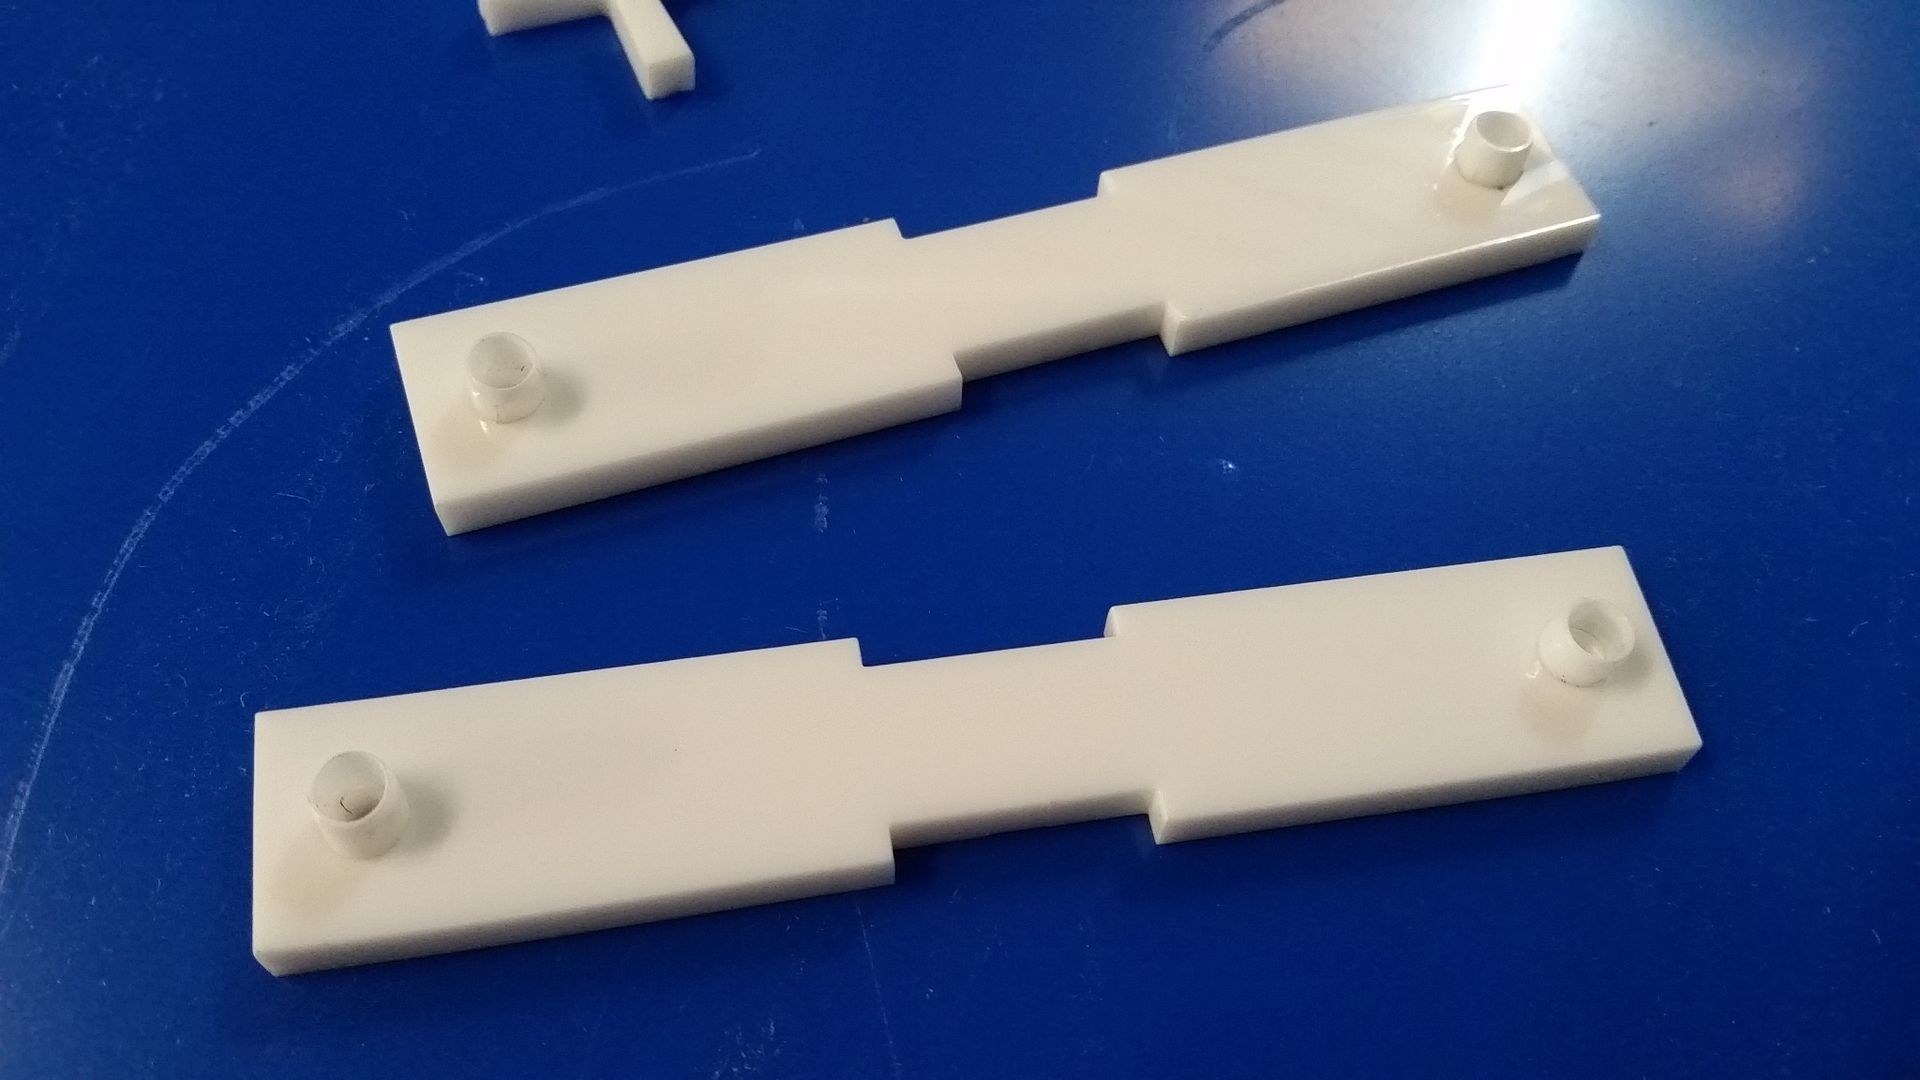
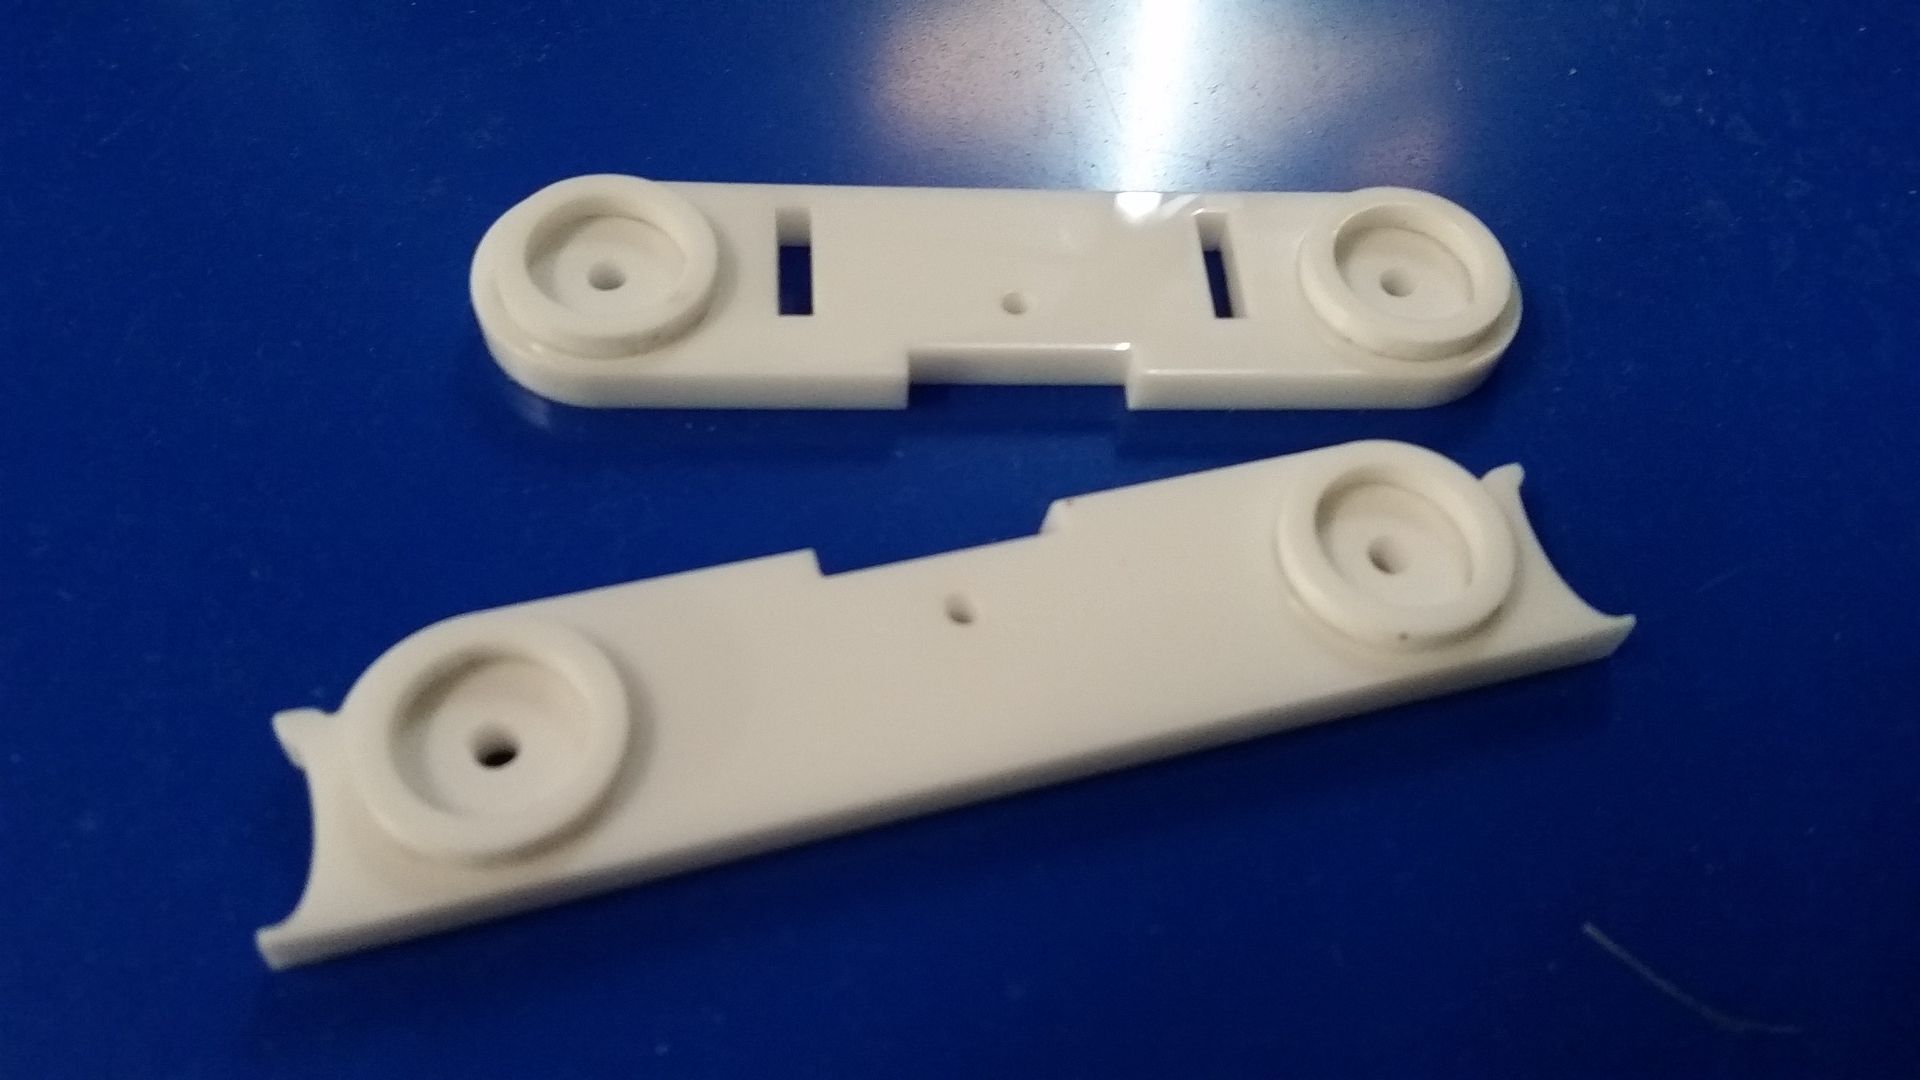
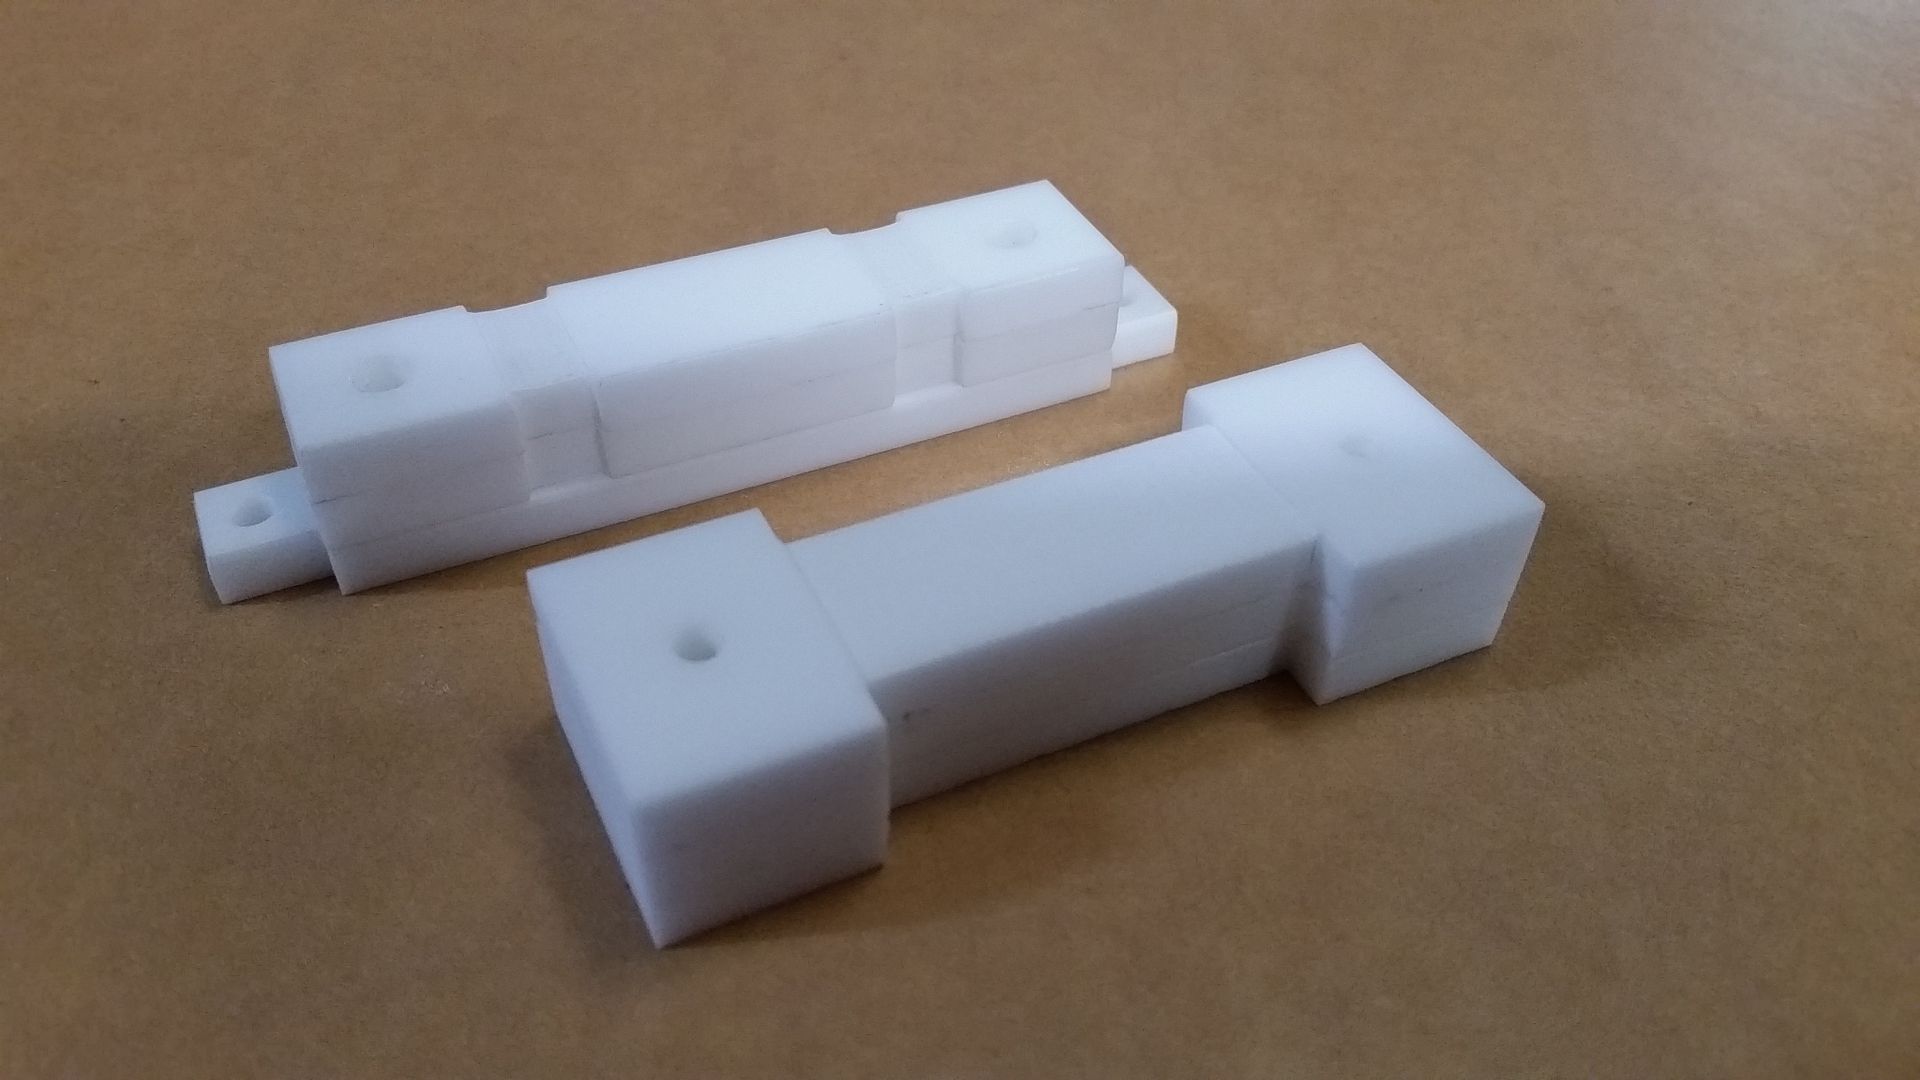
On to one of the COOLER greeblies of the weekend! I drilled the mounting holes in the new latches I created
20151010_150352_zpszezmffzo.jpg


Nice and solid
20151010_151621_zpsnfgjpngd.jpg


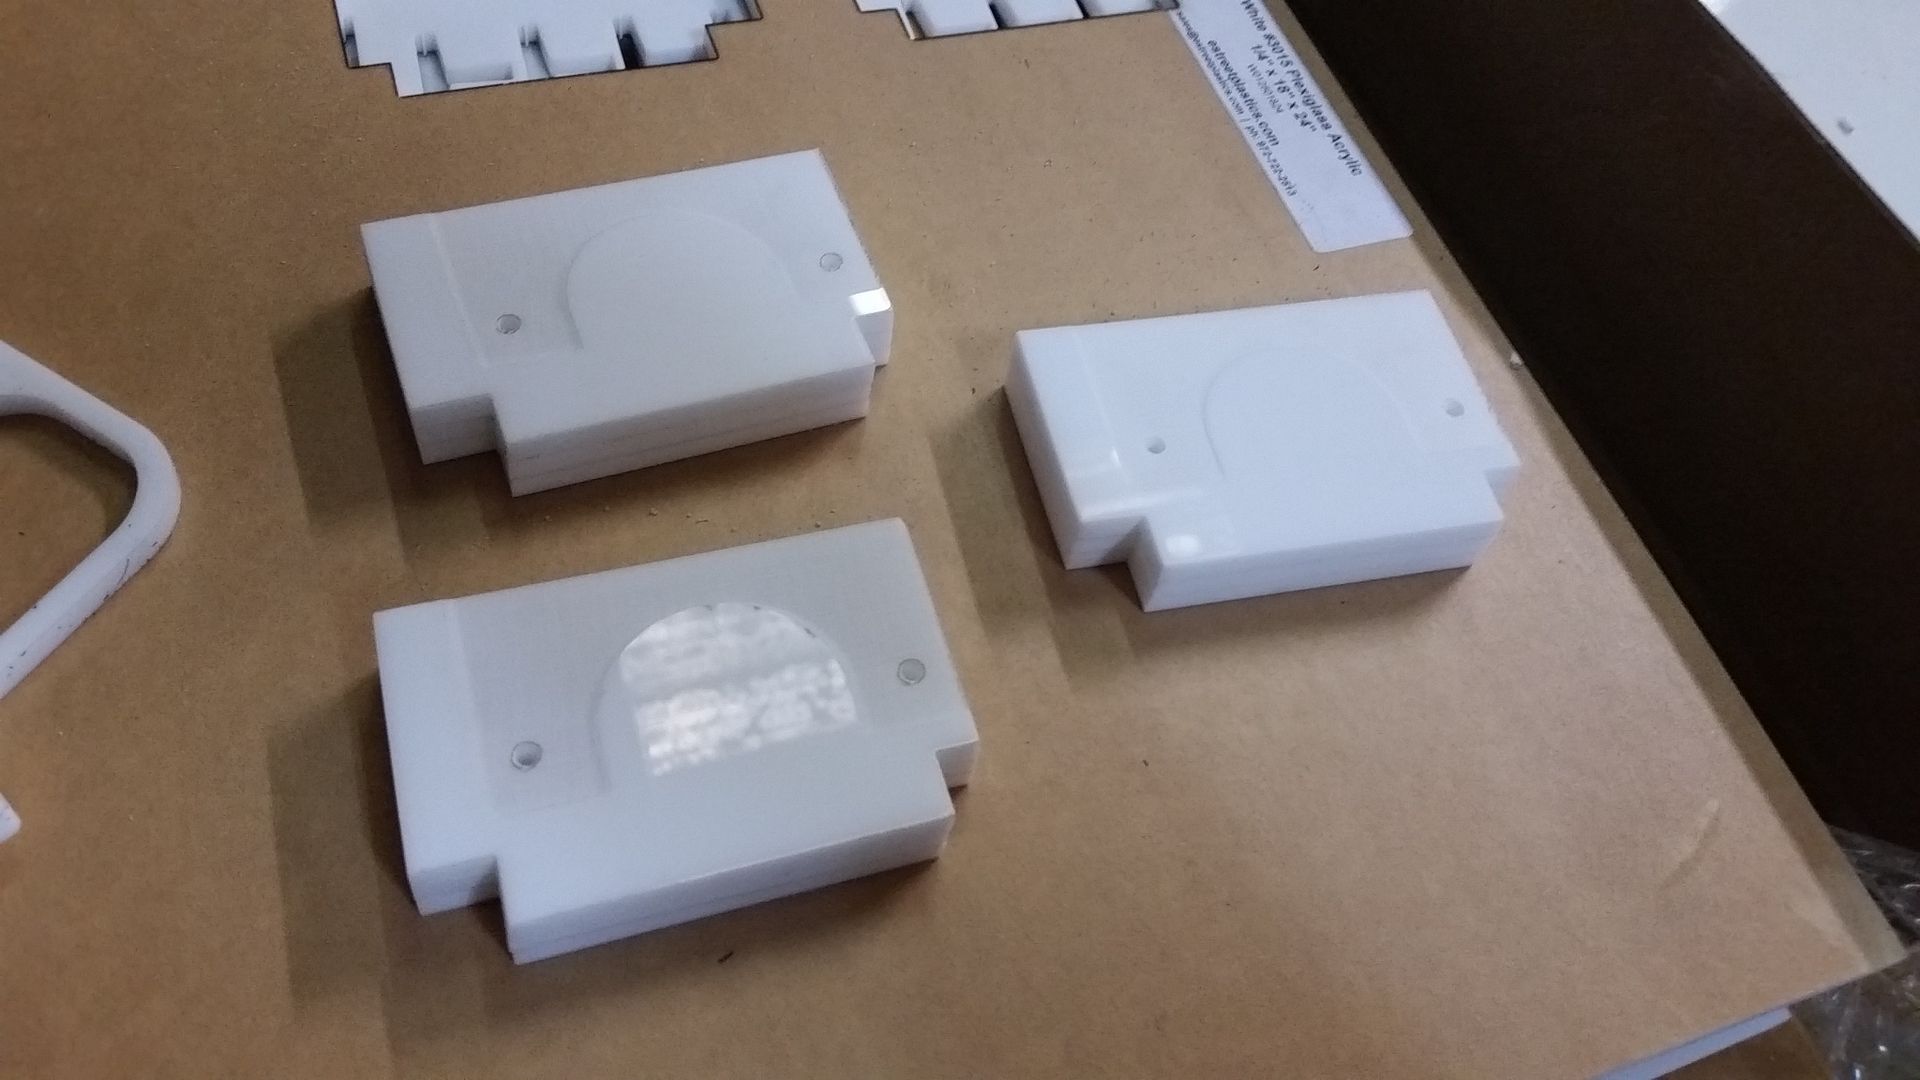
Drilled the holes in the other piece
20151010_152935_zpsbpffdtqo.jpg


20151010_153837_zpswwffaz3f.jpg


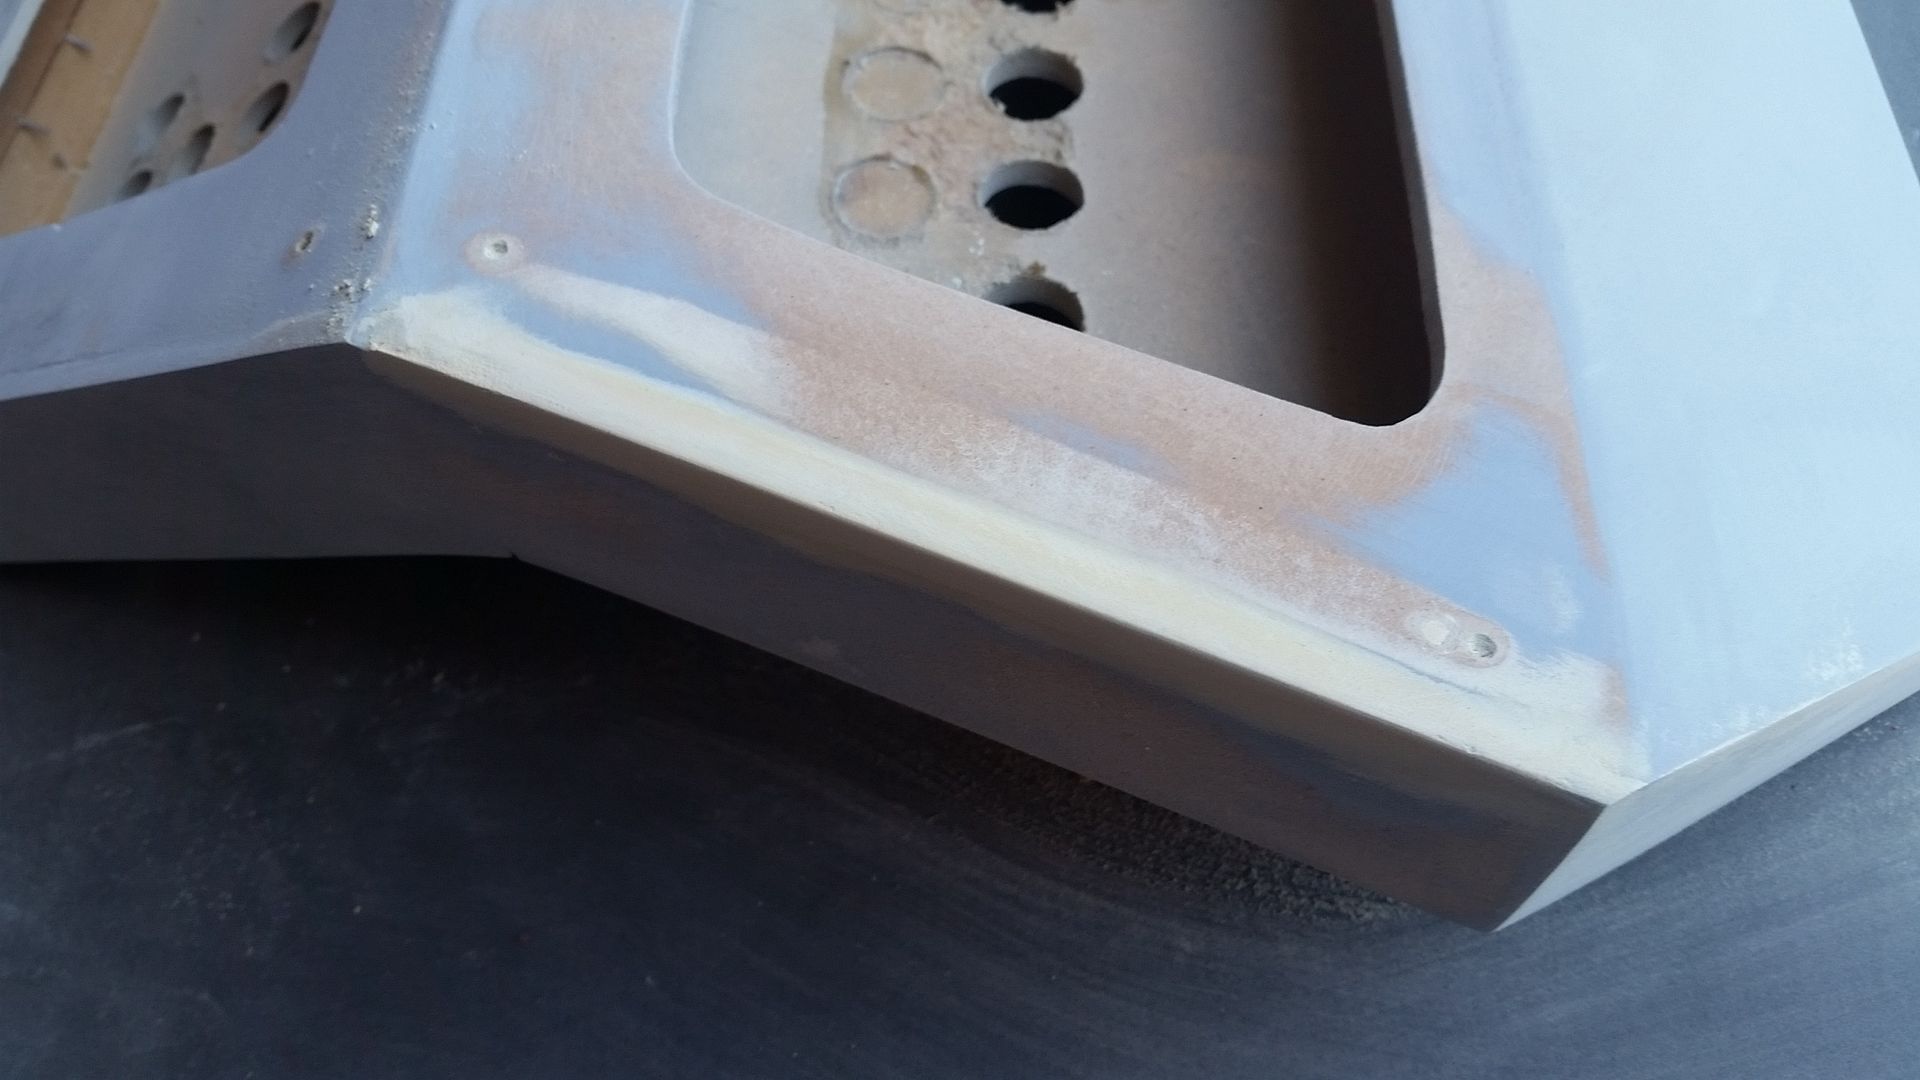
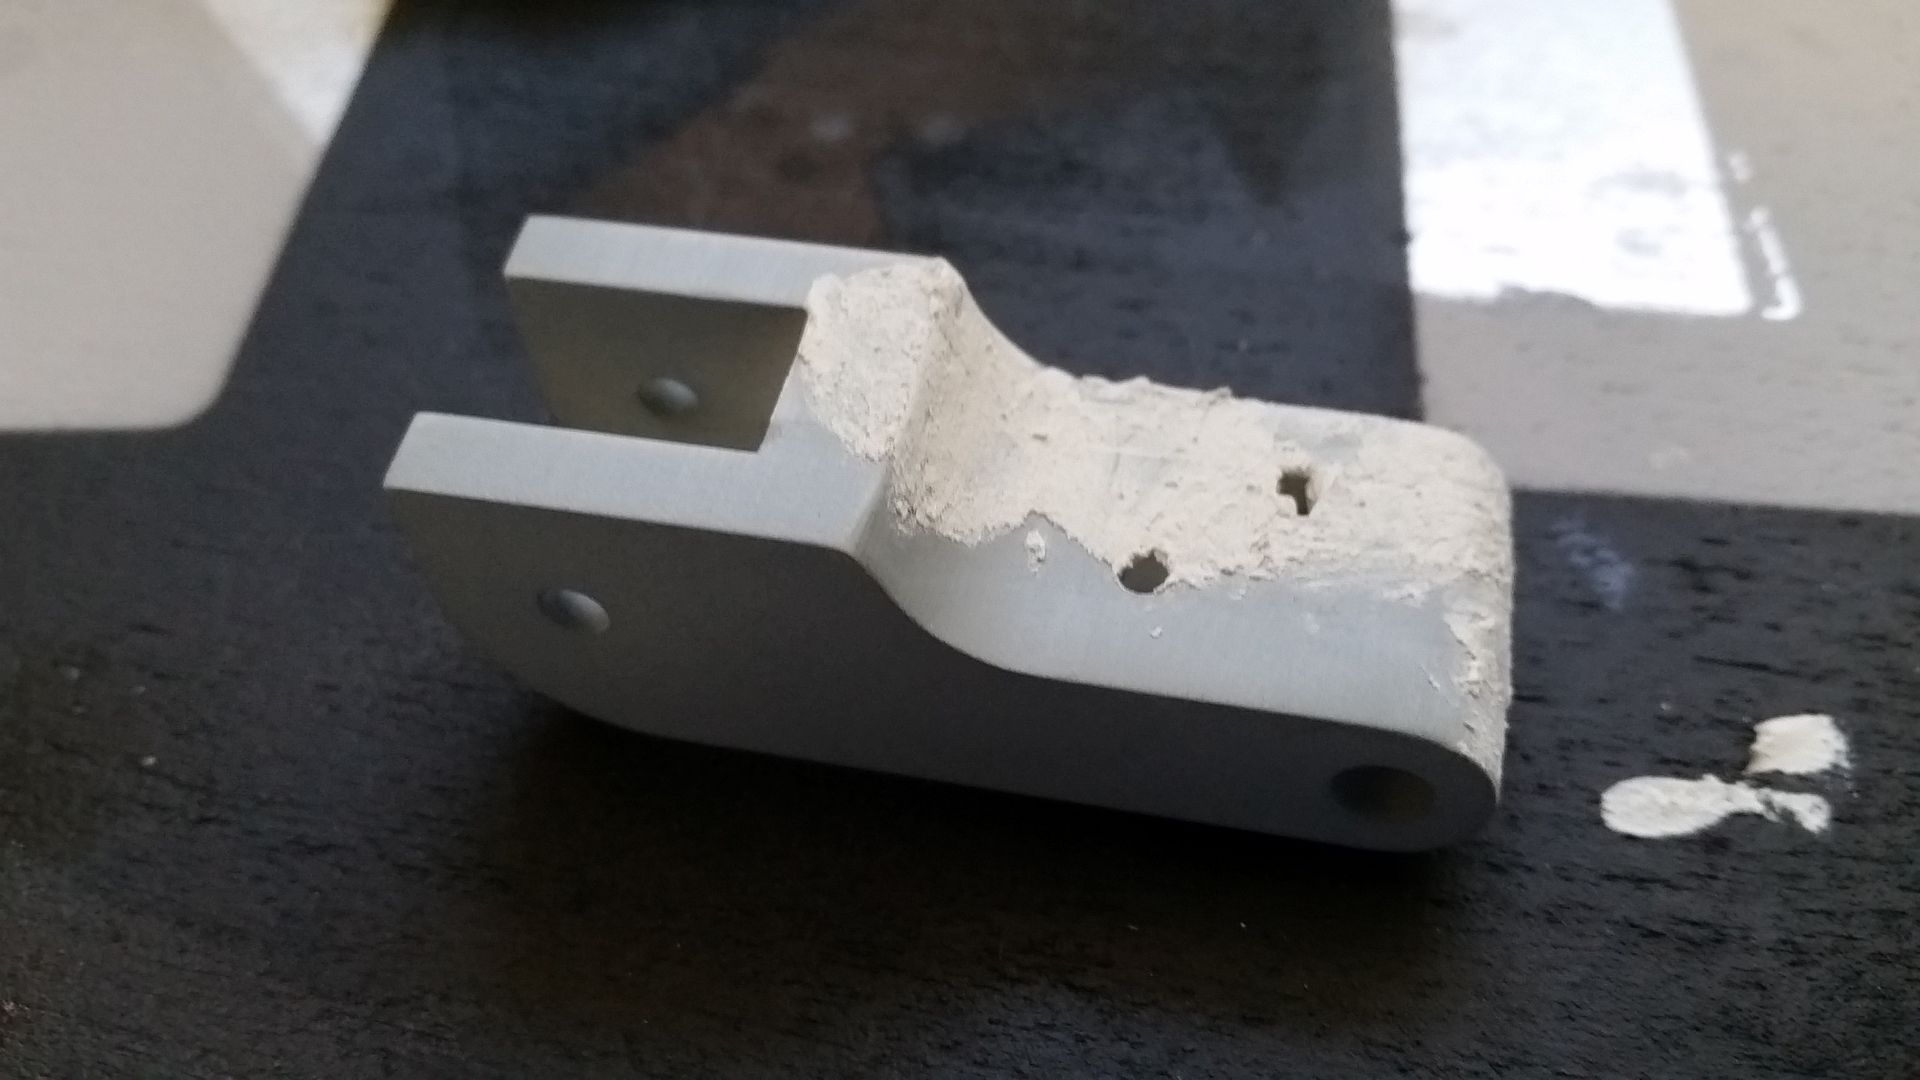
The last hole... CRACK! UGH... Had to break out the adhesive and filler
20151010_153845_zpsuwefc9qr.jpg


When that dried I sanded and added primer
20151010_173327_zpsa220g8tt.jpg


20151010_192916_zps3ewtuqjb.jpg


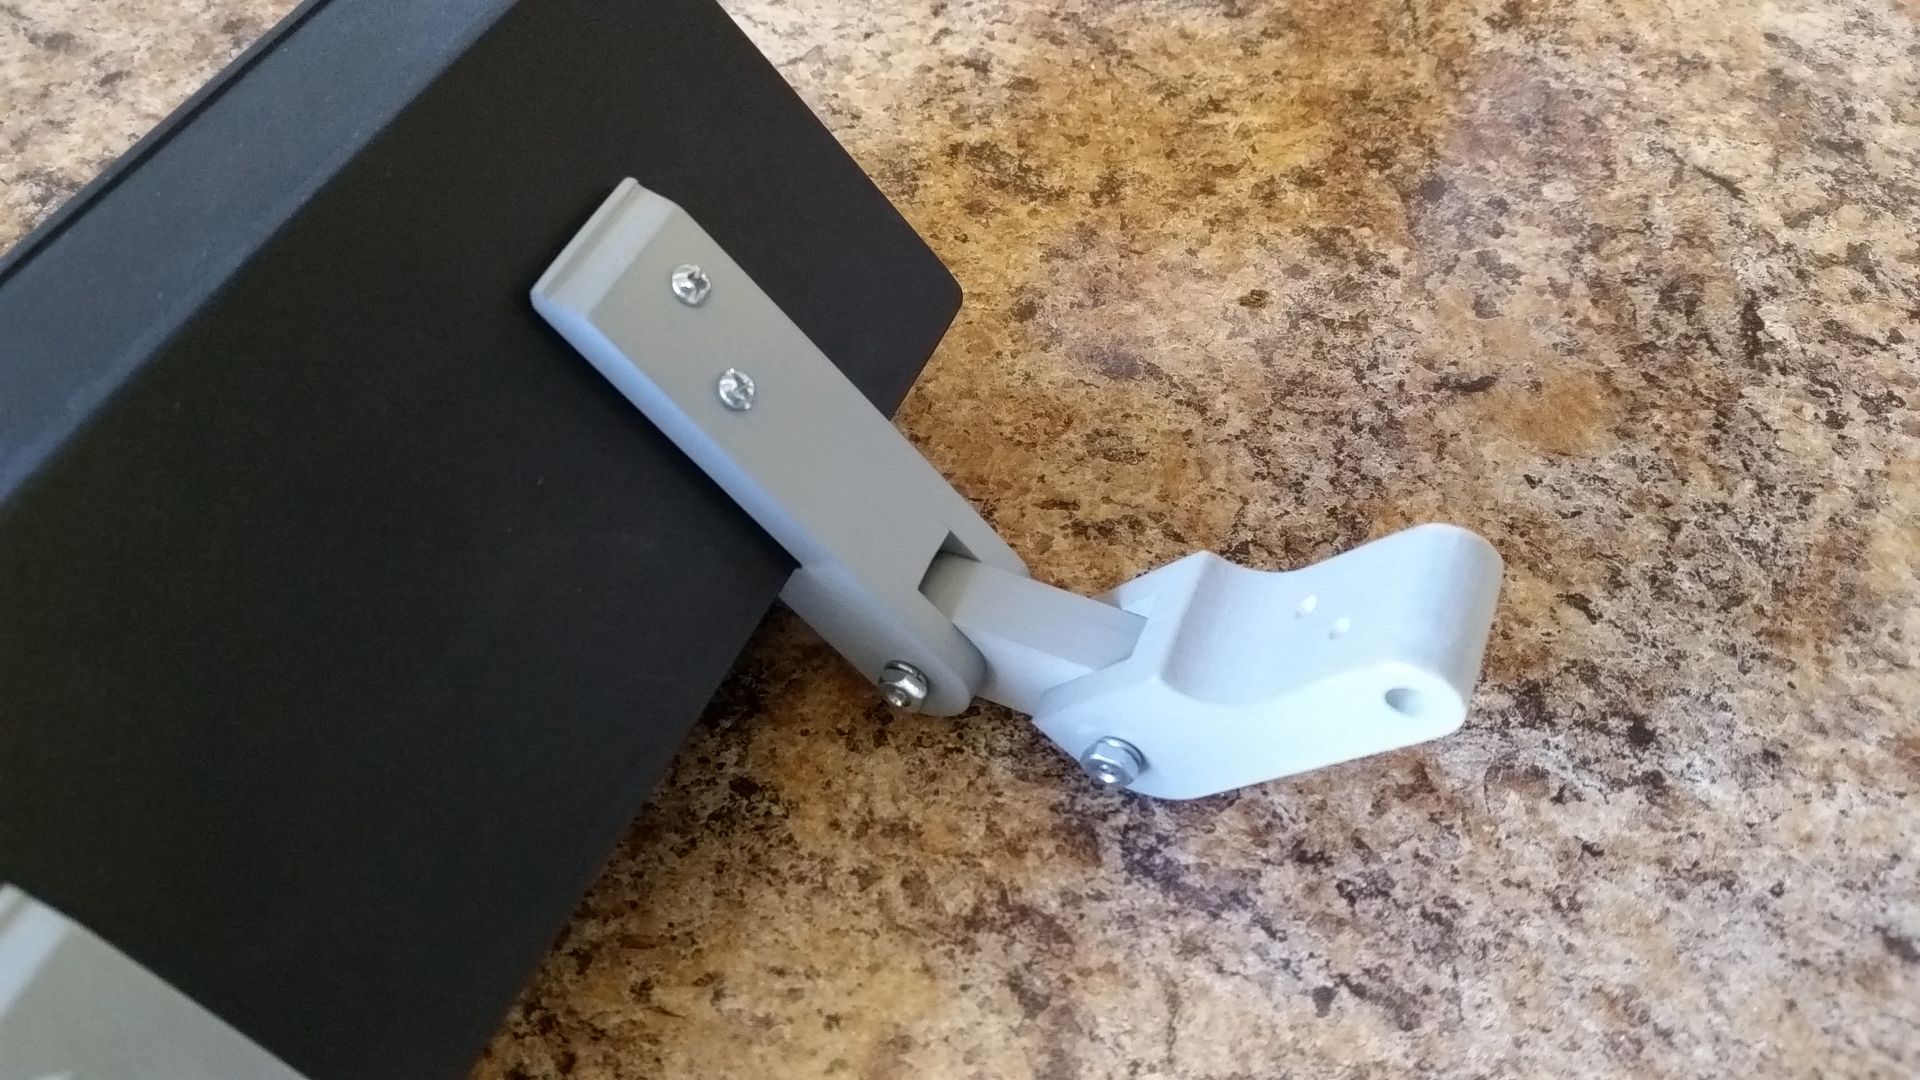
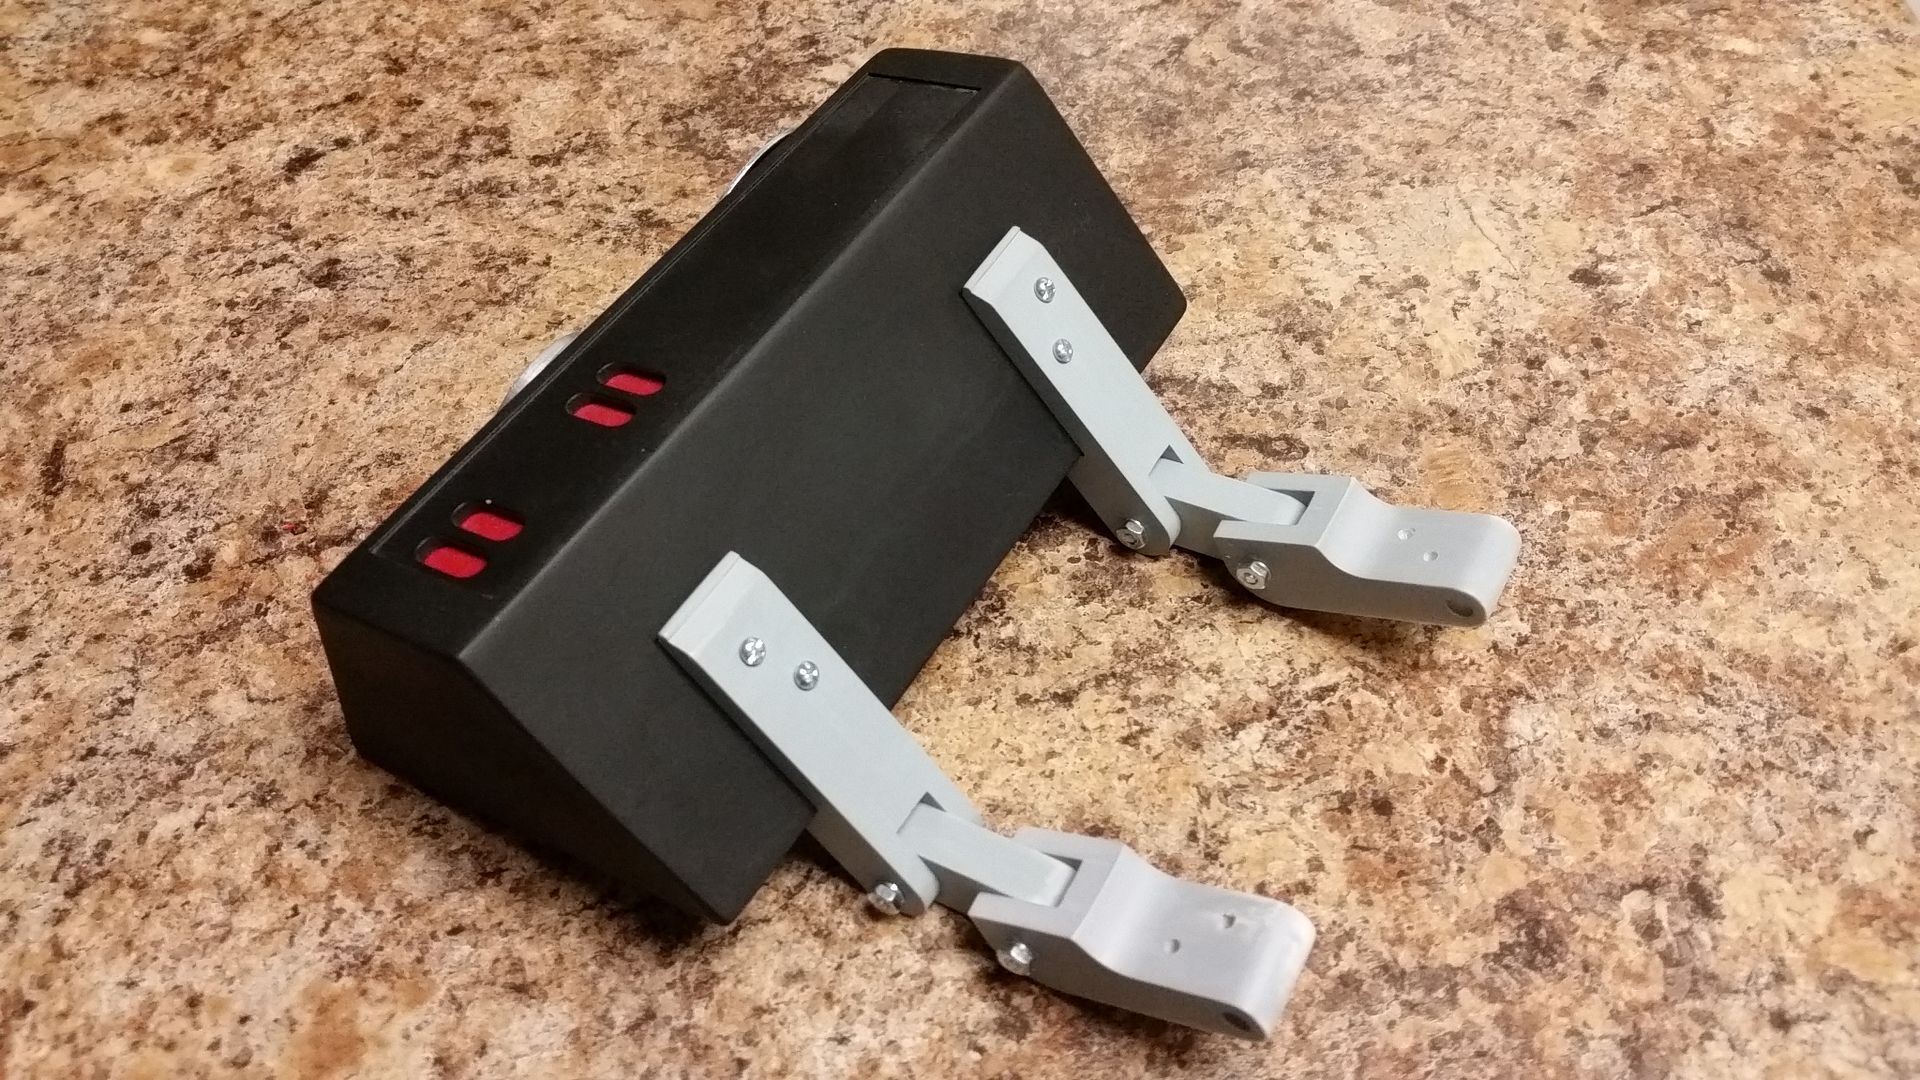
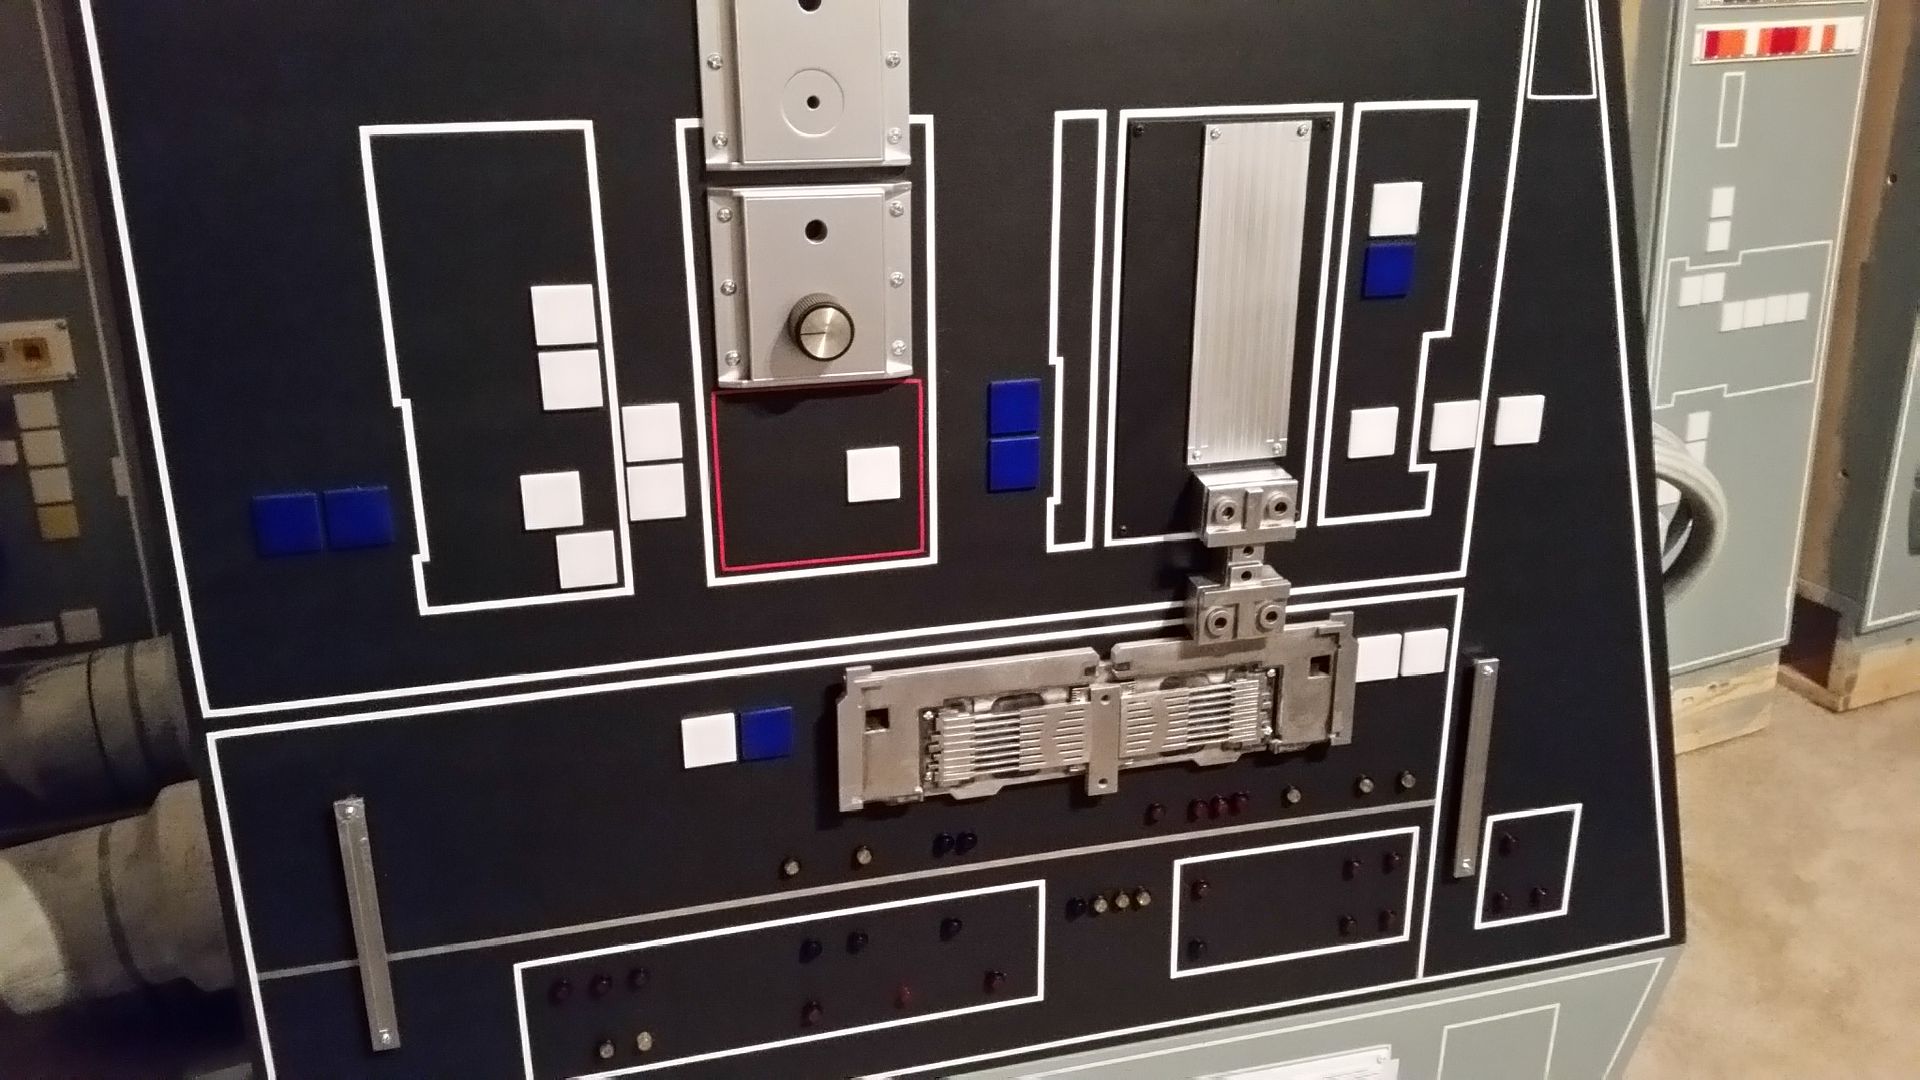
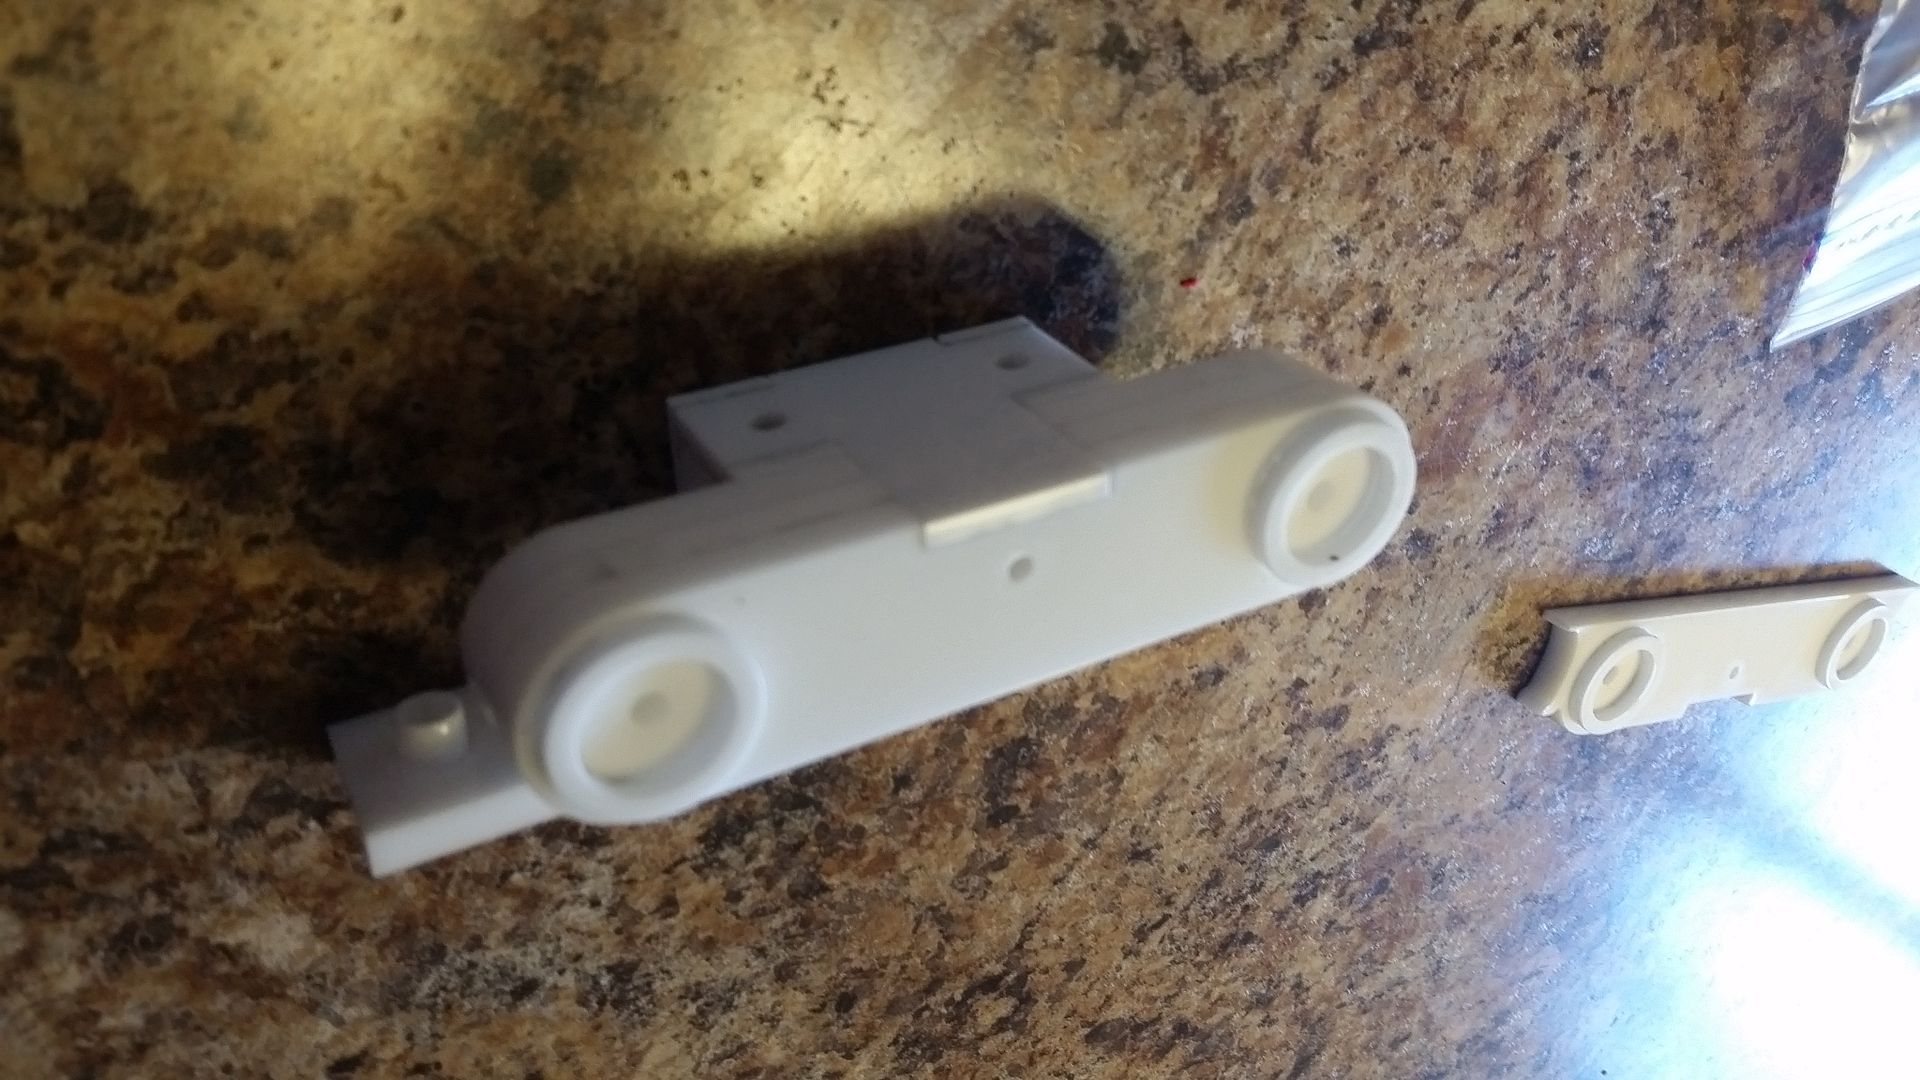
Finding the correct position
20151010_194139_zpsvjgad9eo.jpg


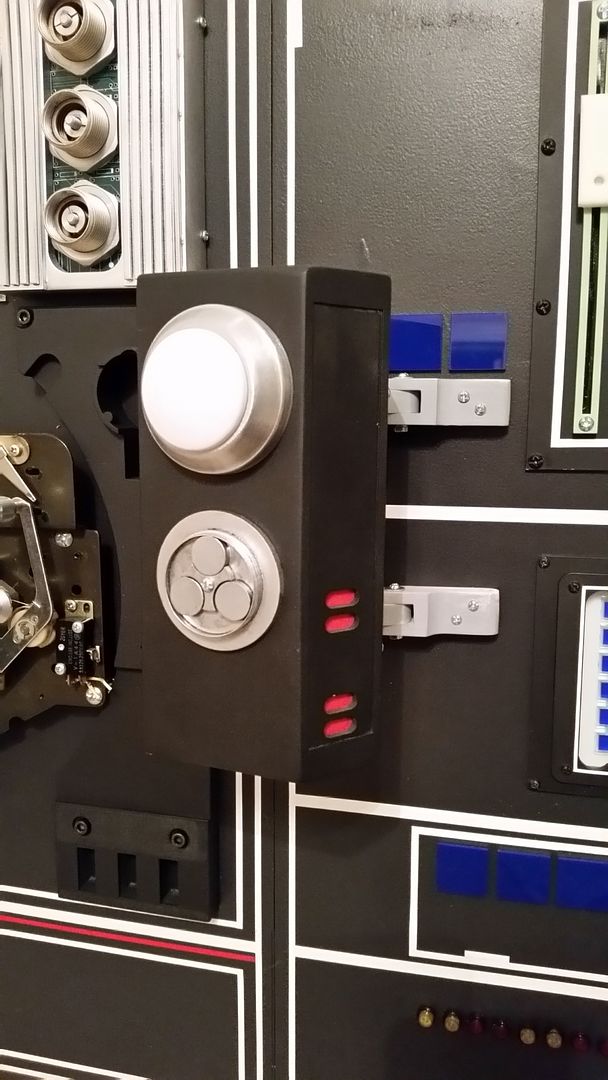
Done! (minus red panel light cover)
20151010_200012_zpsjsgthq7r.jpg


LOVE IT!
20151010_200028_zpsor1ankc1.jpg


20151010_200033_zpsz9e41c4h.jpg


Back side
20151010_200045_zpsobkb0una.jpg


OK... I know... I took a lot of pics of this greeblie
20151010_200058_zpsmrjcccvn.jpg


It just hangs there...
20151010_200126_zps55lvurez.jpg


20151010_200149_zpsvuv0emiu.jpg


I then cut mounting holes into this greeblie
20151010_155256_zpspaketm3u.jpg


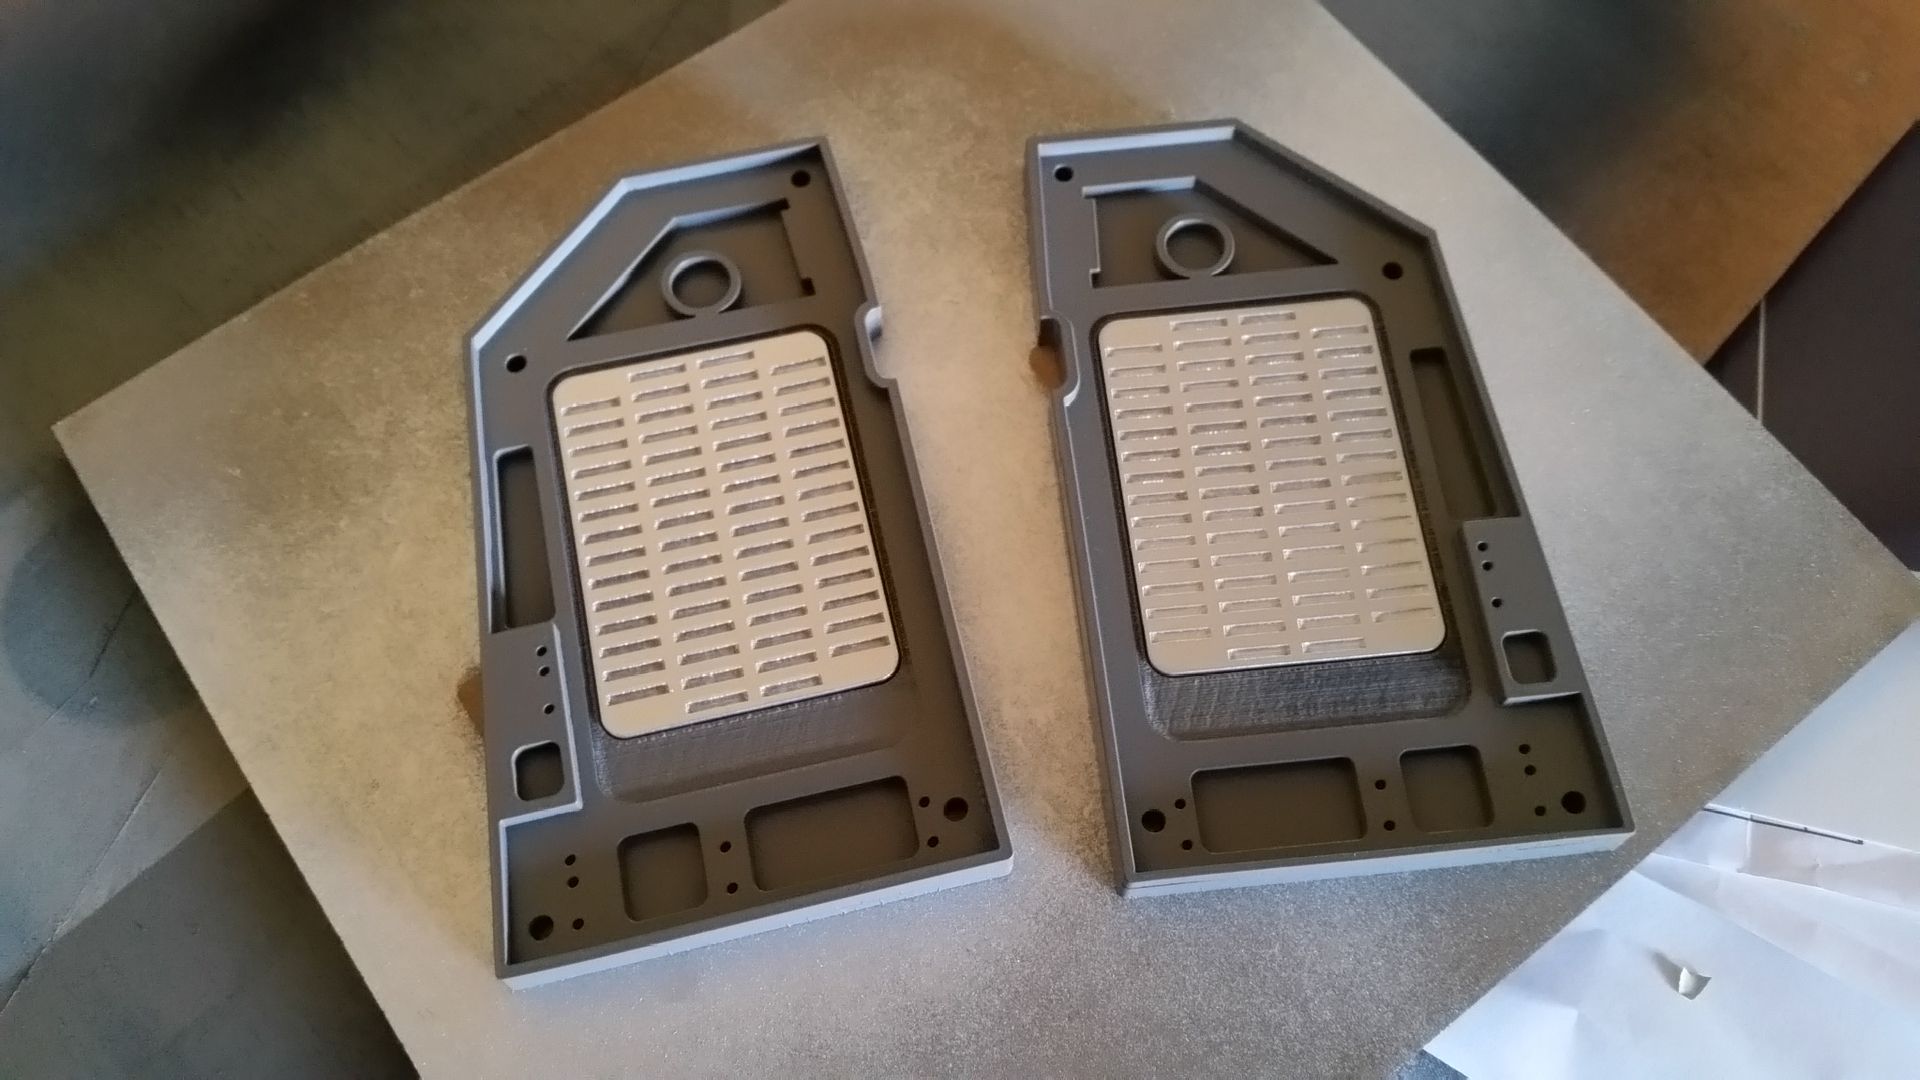
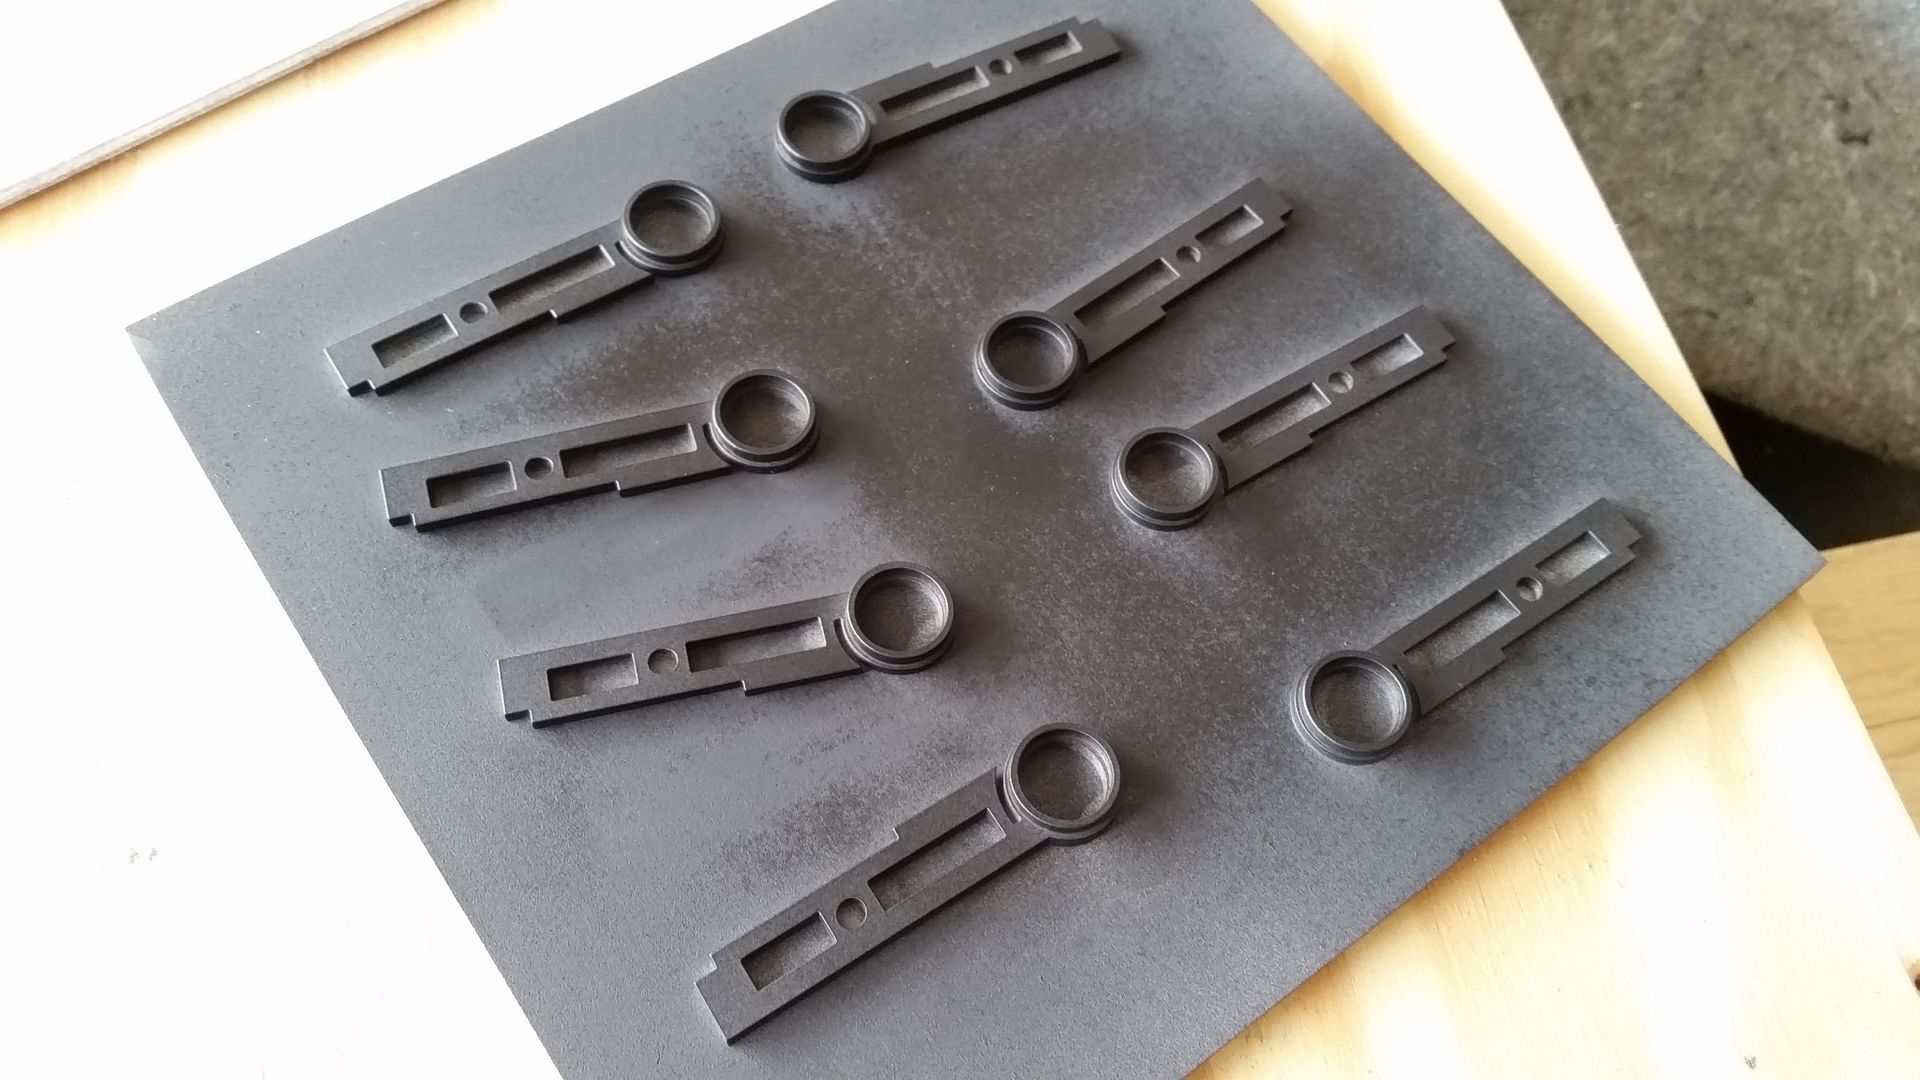
Spray painted its sister greeblie
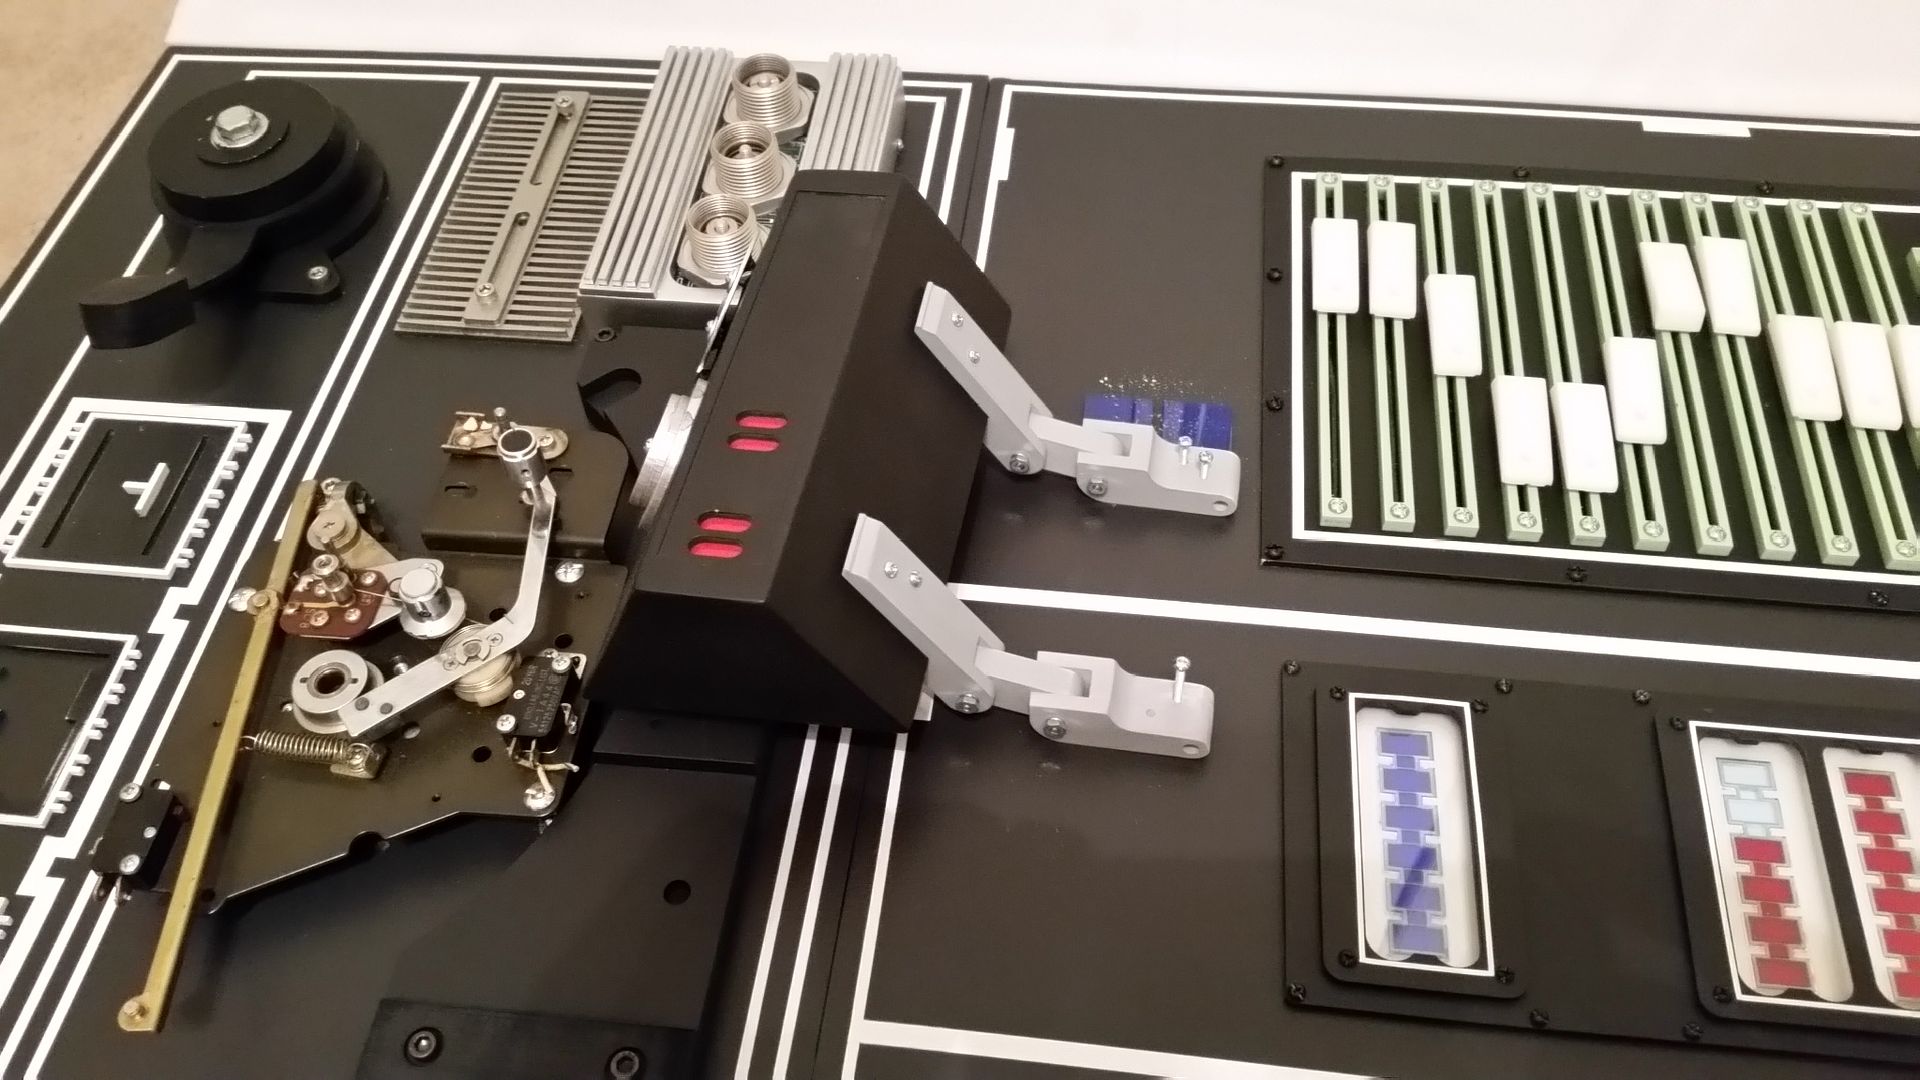
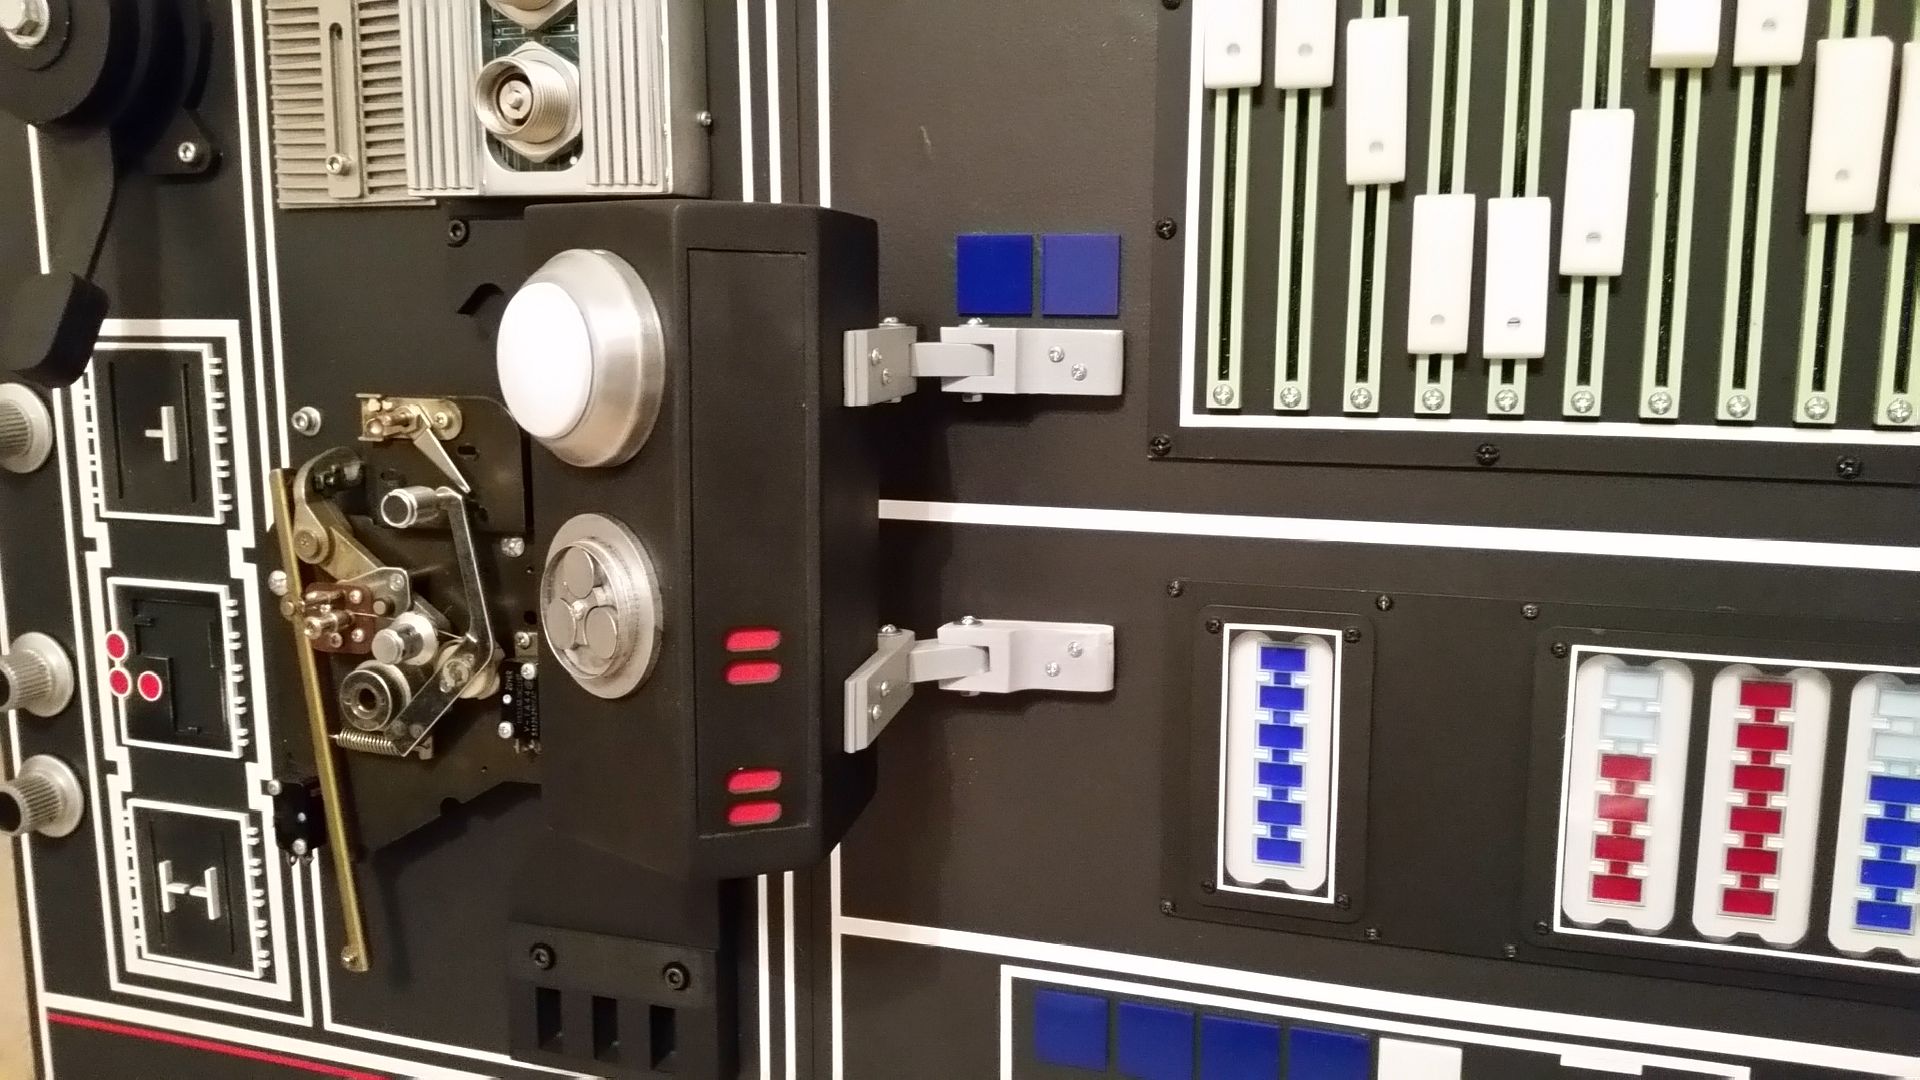
20151010_172631_zpsax7yjox8.jpg


And mounted!
20151010_212503_zpsx2h38m2s.jpg


20151010_212456_zpsqpfigq5d.jpg


20151010_212511_zps2azbizv5.jpg


Other than a few decals I think this panel is officially done!
20151010_212522_zps6ohqlwpx.jpg


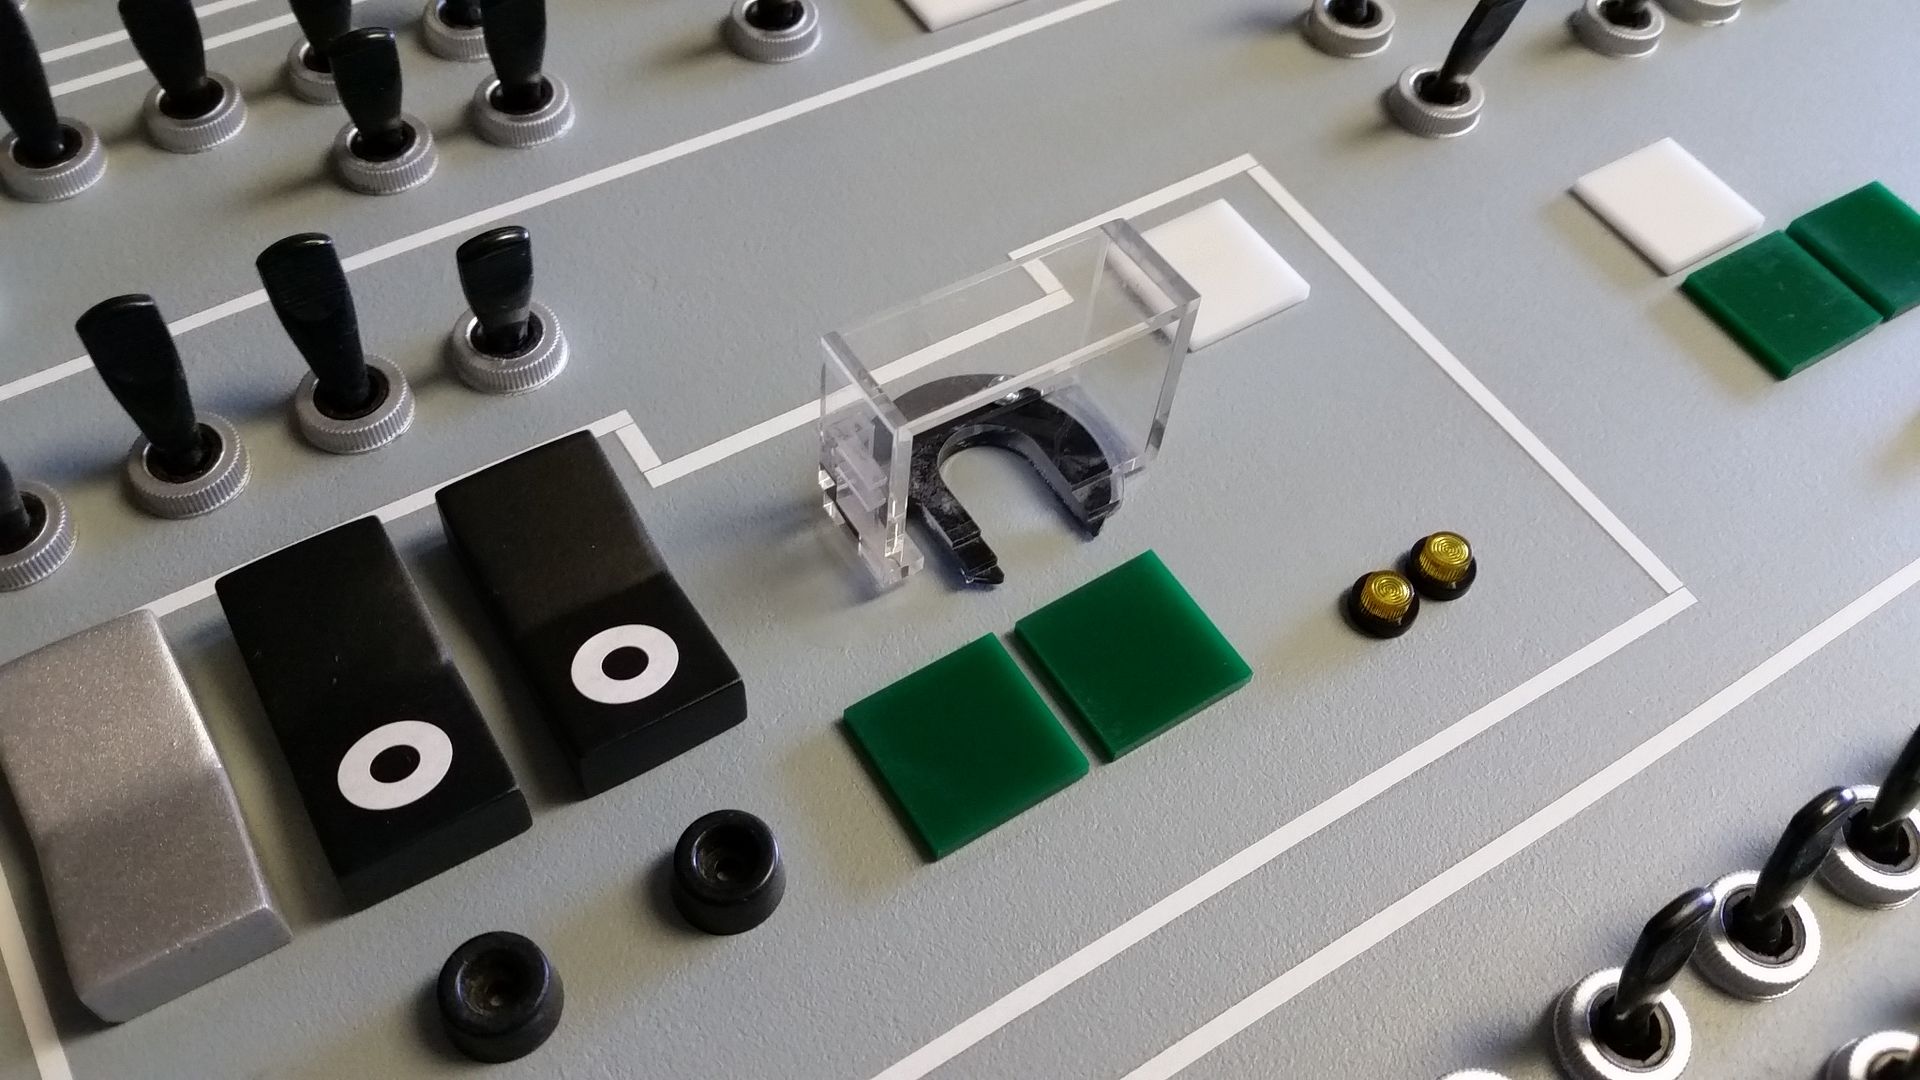
Mounting more greeblies - this panel has a large clear plastic greeblie. I think it's part of the Revel 350 Engine model (MANY piece of the engine are seen within the MF). In it's place I used a part of the Garrard trim plate but I DEF want to find the engine model parts
20151010_161353_zpsmfmnsmy9.jpg


It works for now
20151010_161405_zpsoizh50lf.jpg


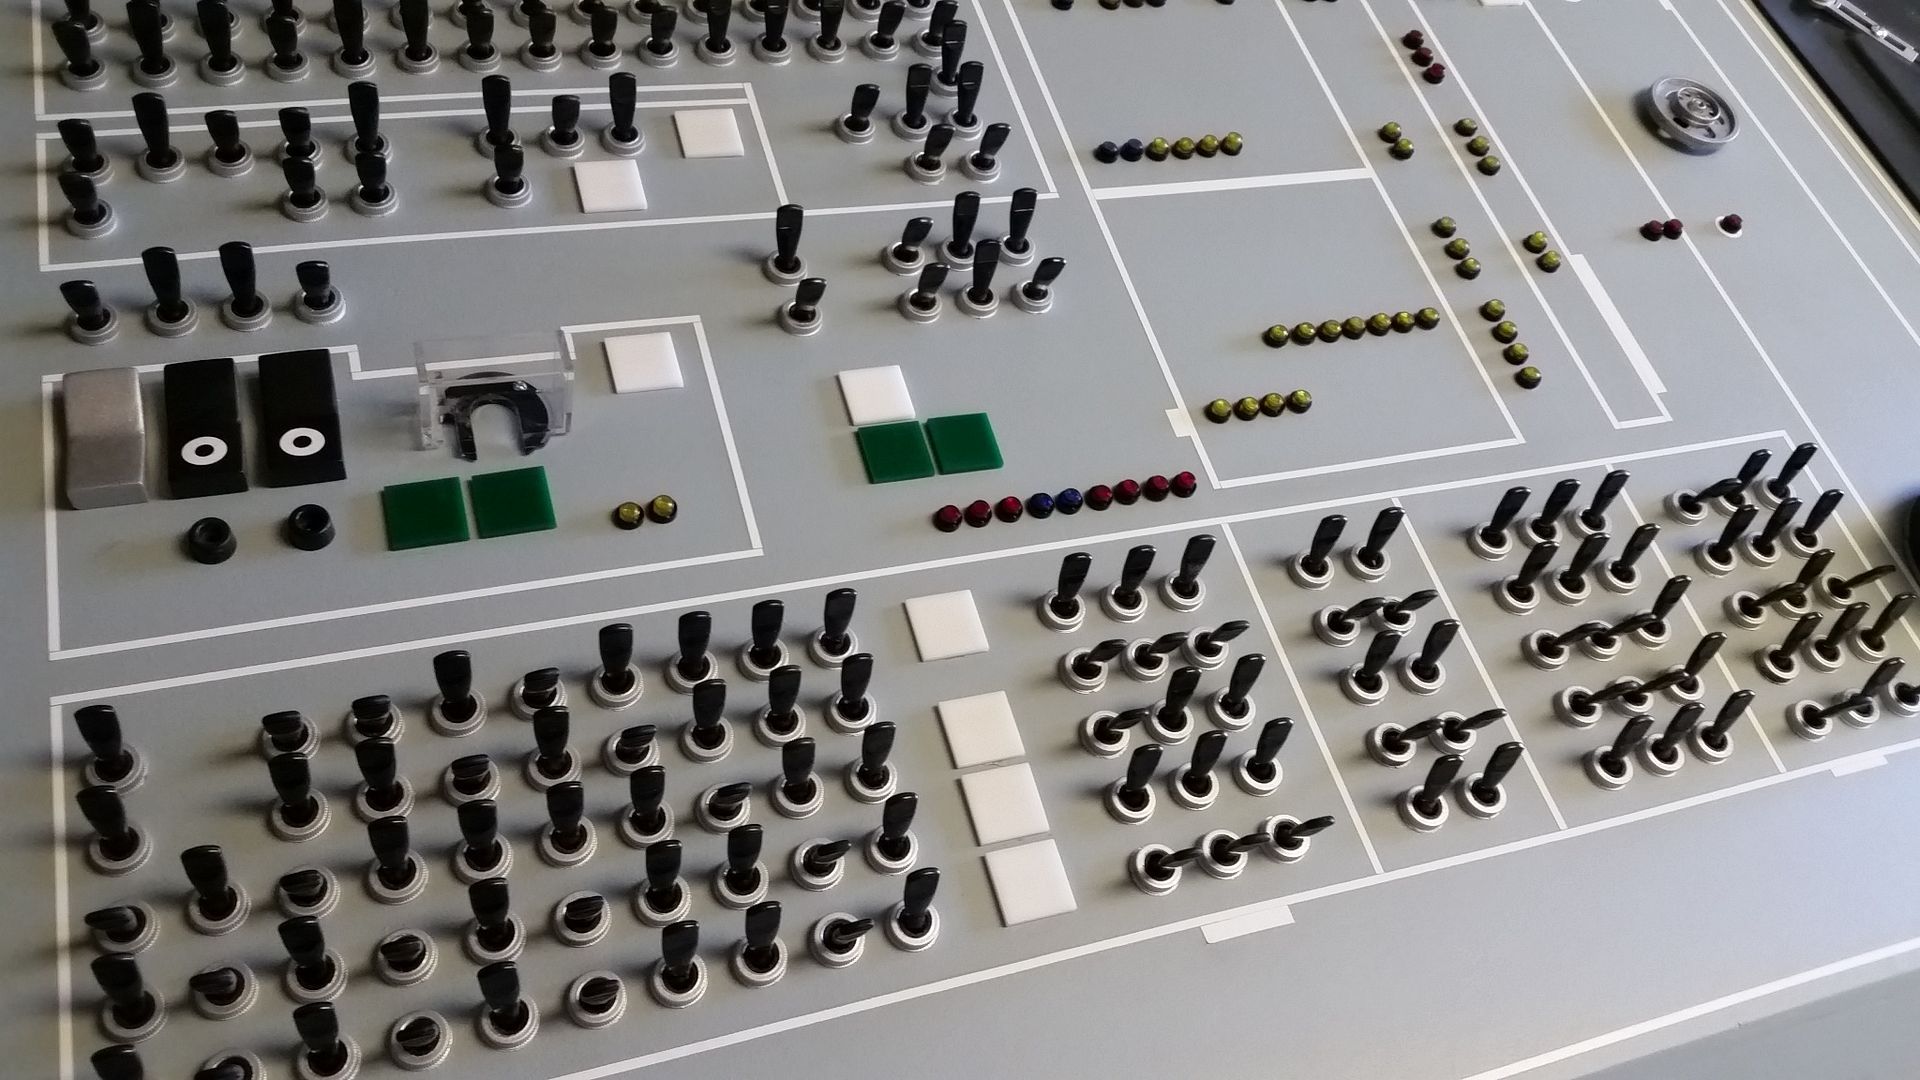
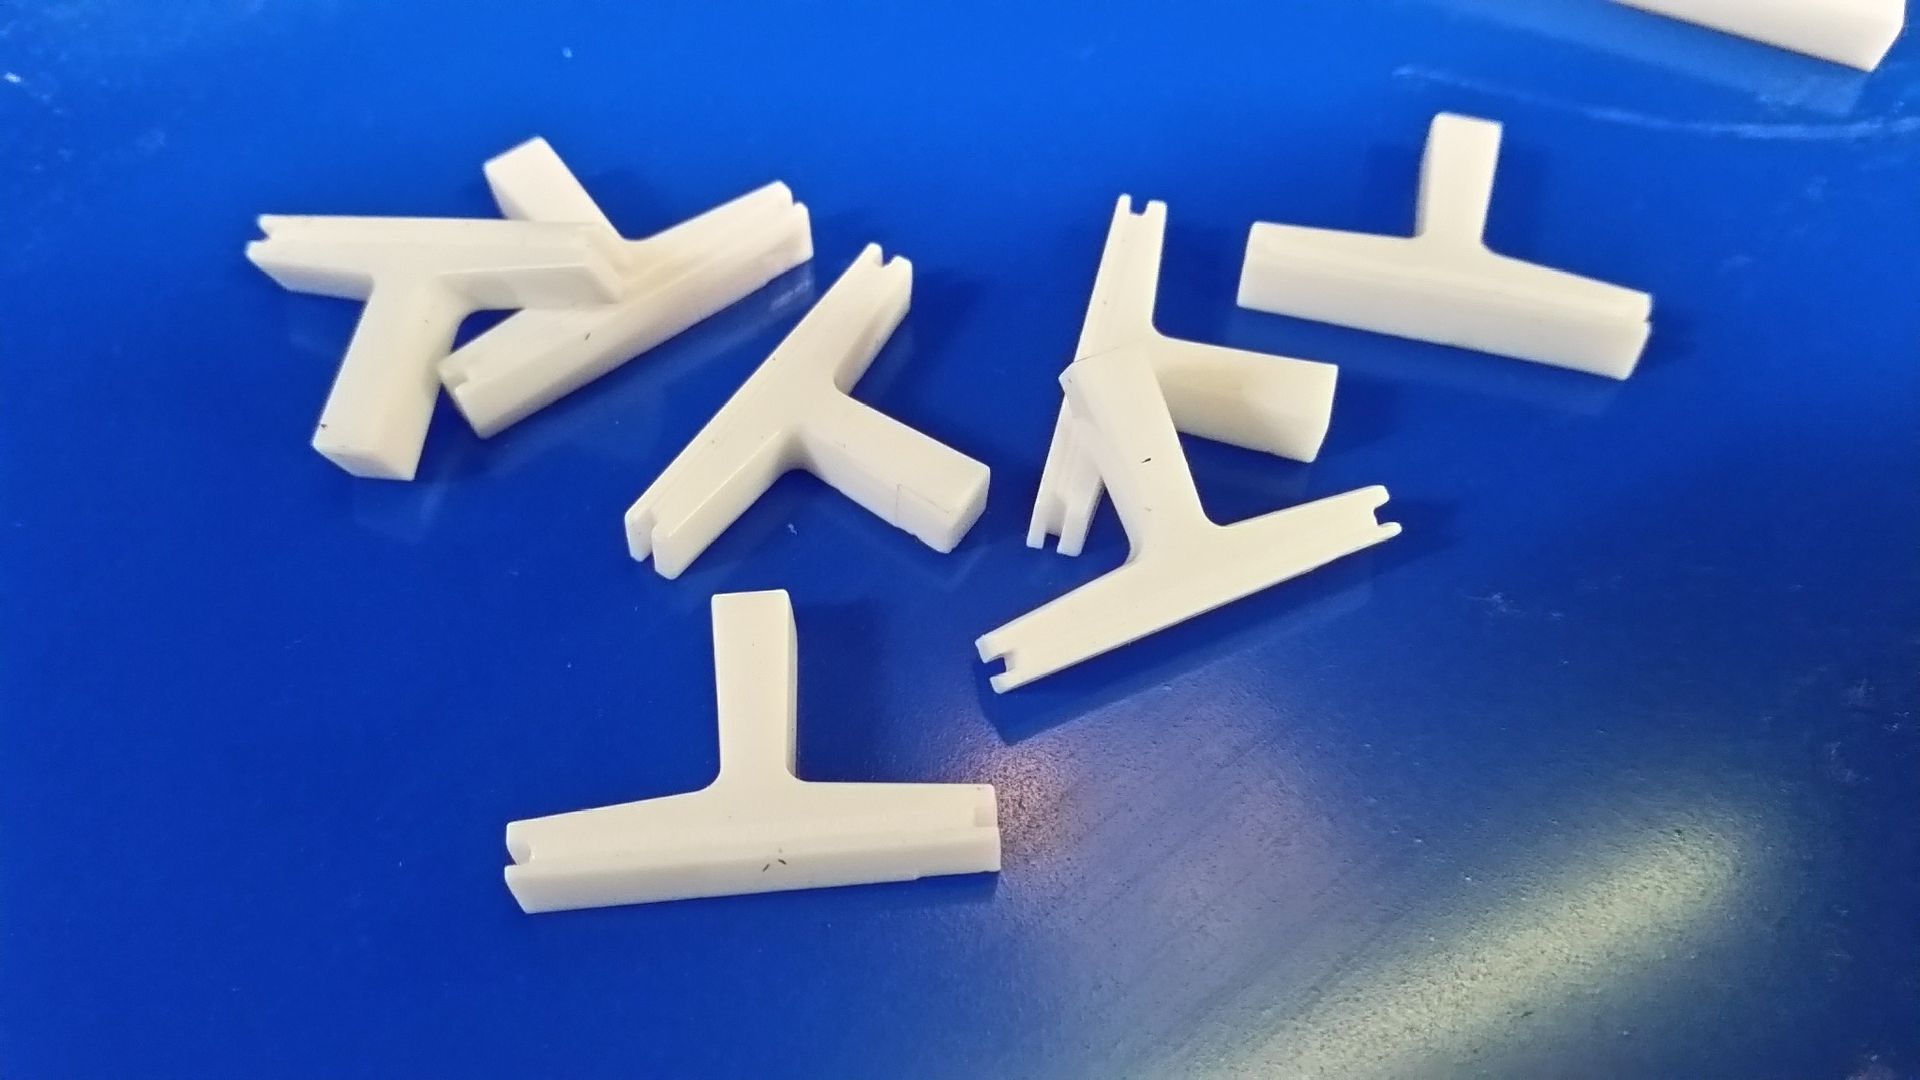
I spent a LOT of time with the laser cutter this weekend. It's very time consuming. Cut more T slider knobs
20151011_094721_zps3ln0ruaw.jpg


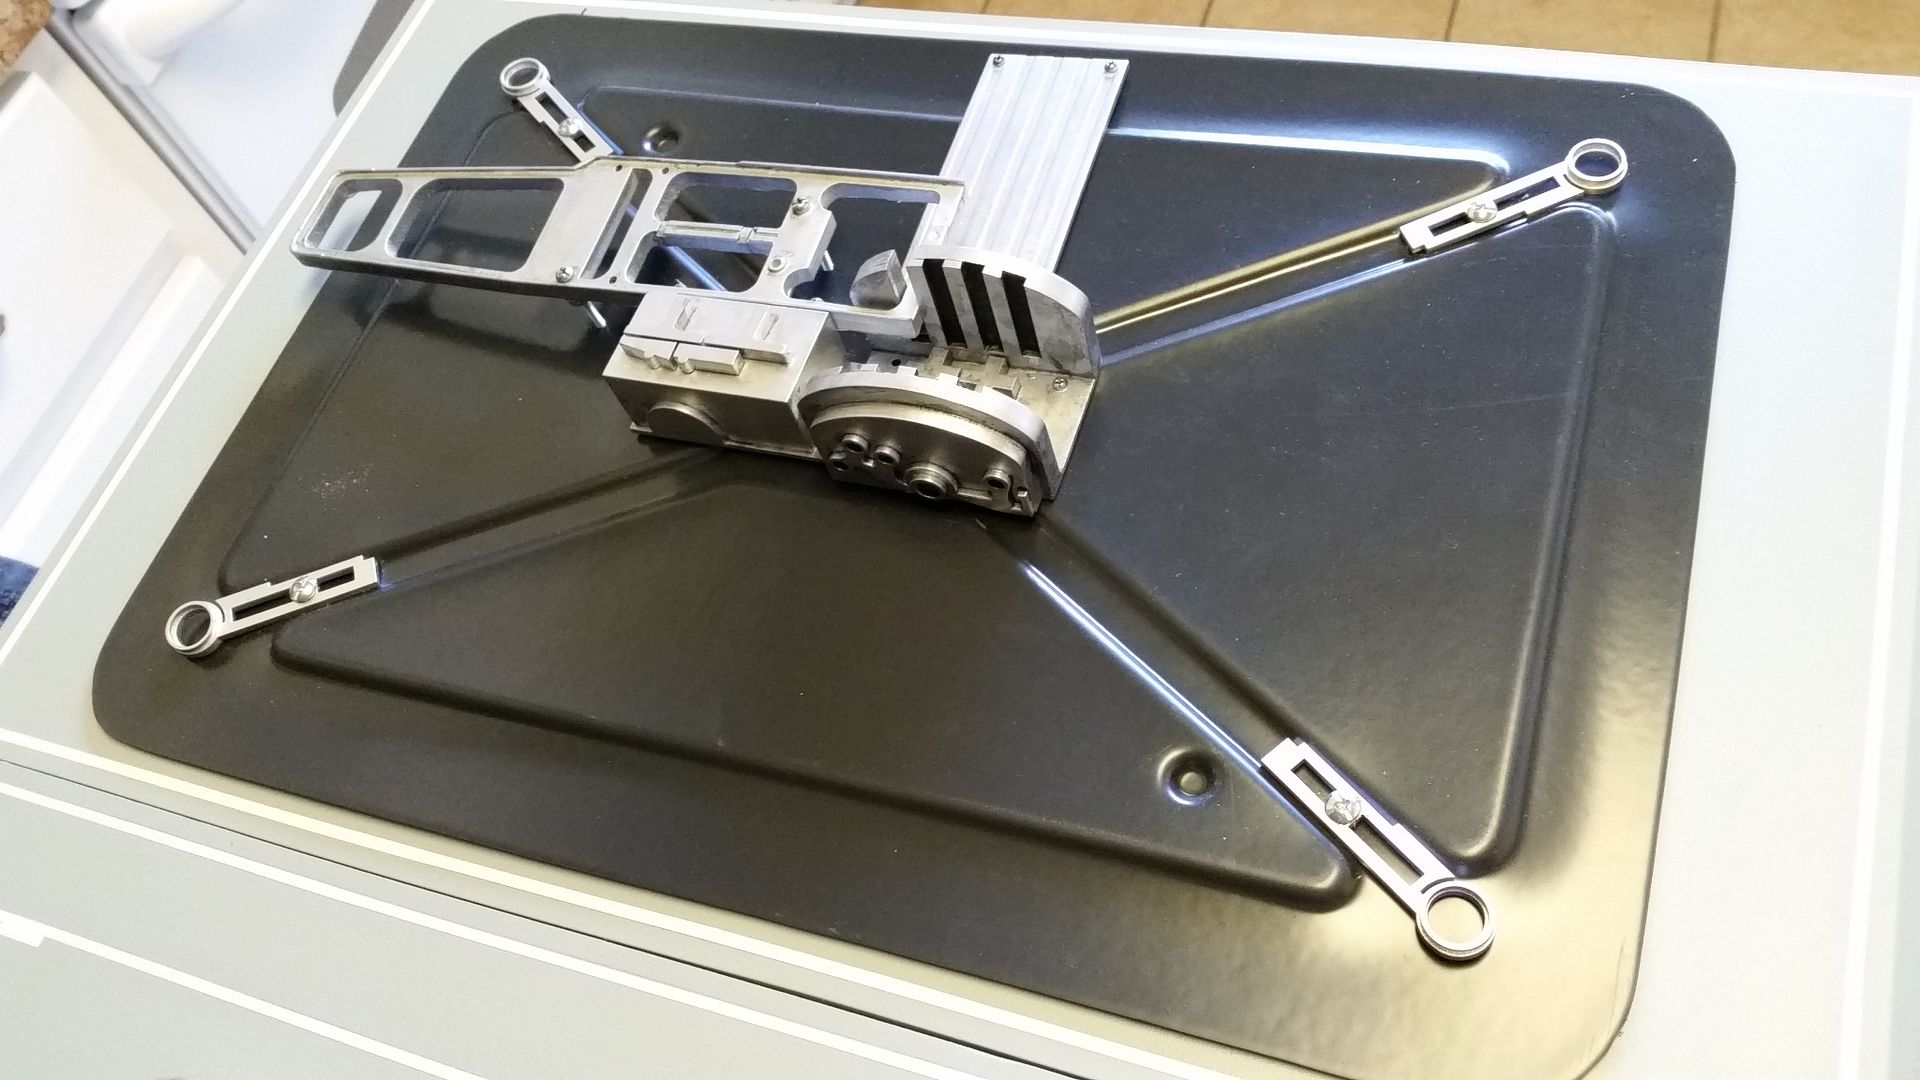
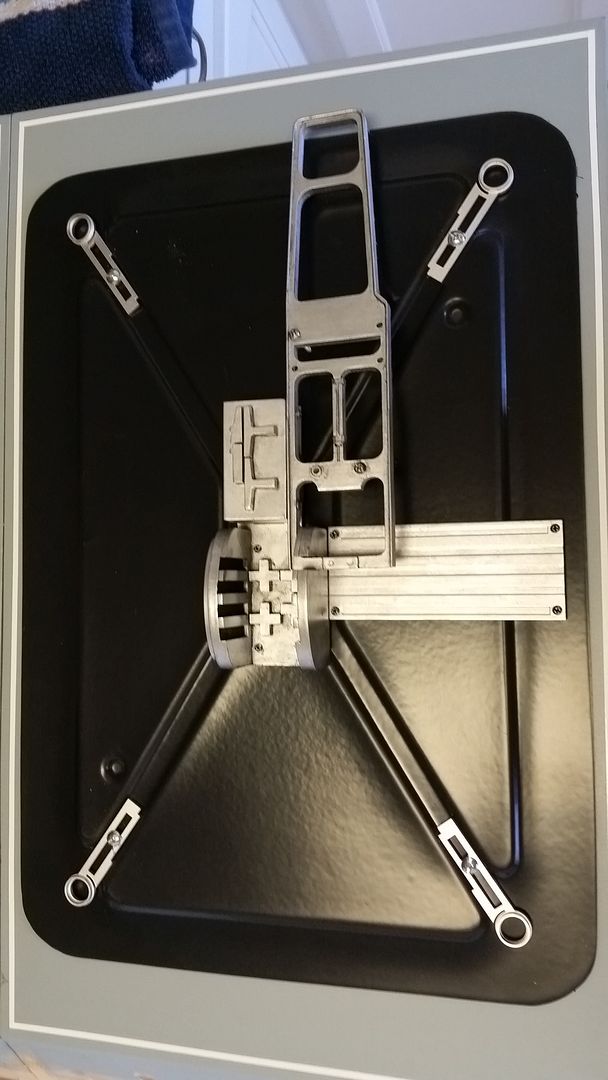
Working new armrest lever bases
20151011_094821_zps77uccp0j.jpg


20151011_094830_zpsomarc8kb.jpg


From what I can see there are two VERY different versions of the lever greeblie - more coming today!
20151011_094844_zpsv9mghhlk.jpg


This is what it looks like - mostly
20151011_171021_zpsnakln5zs.jpg


Not adhered together - still lots of sanding to do
20151011_171031_zpszrgqzryv.jpg


Working on more MISC greeblies found through out the cockpit
20151011_105815_zpsydhp2maq.jpg


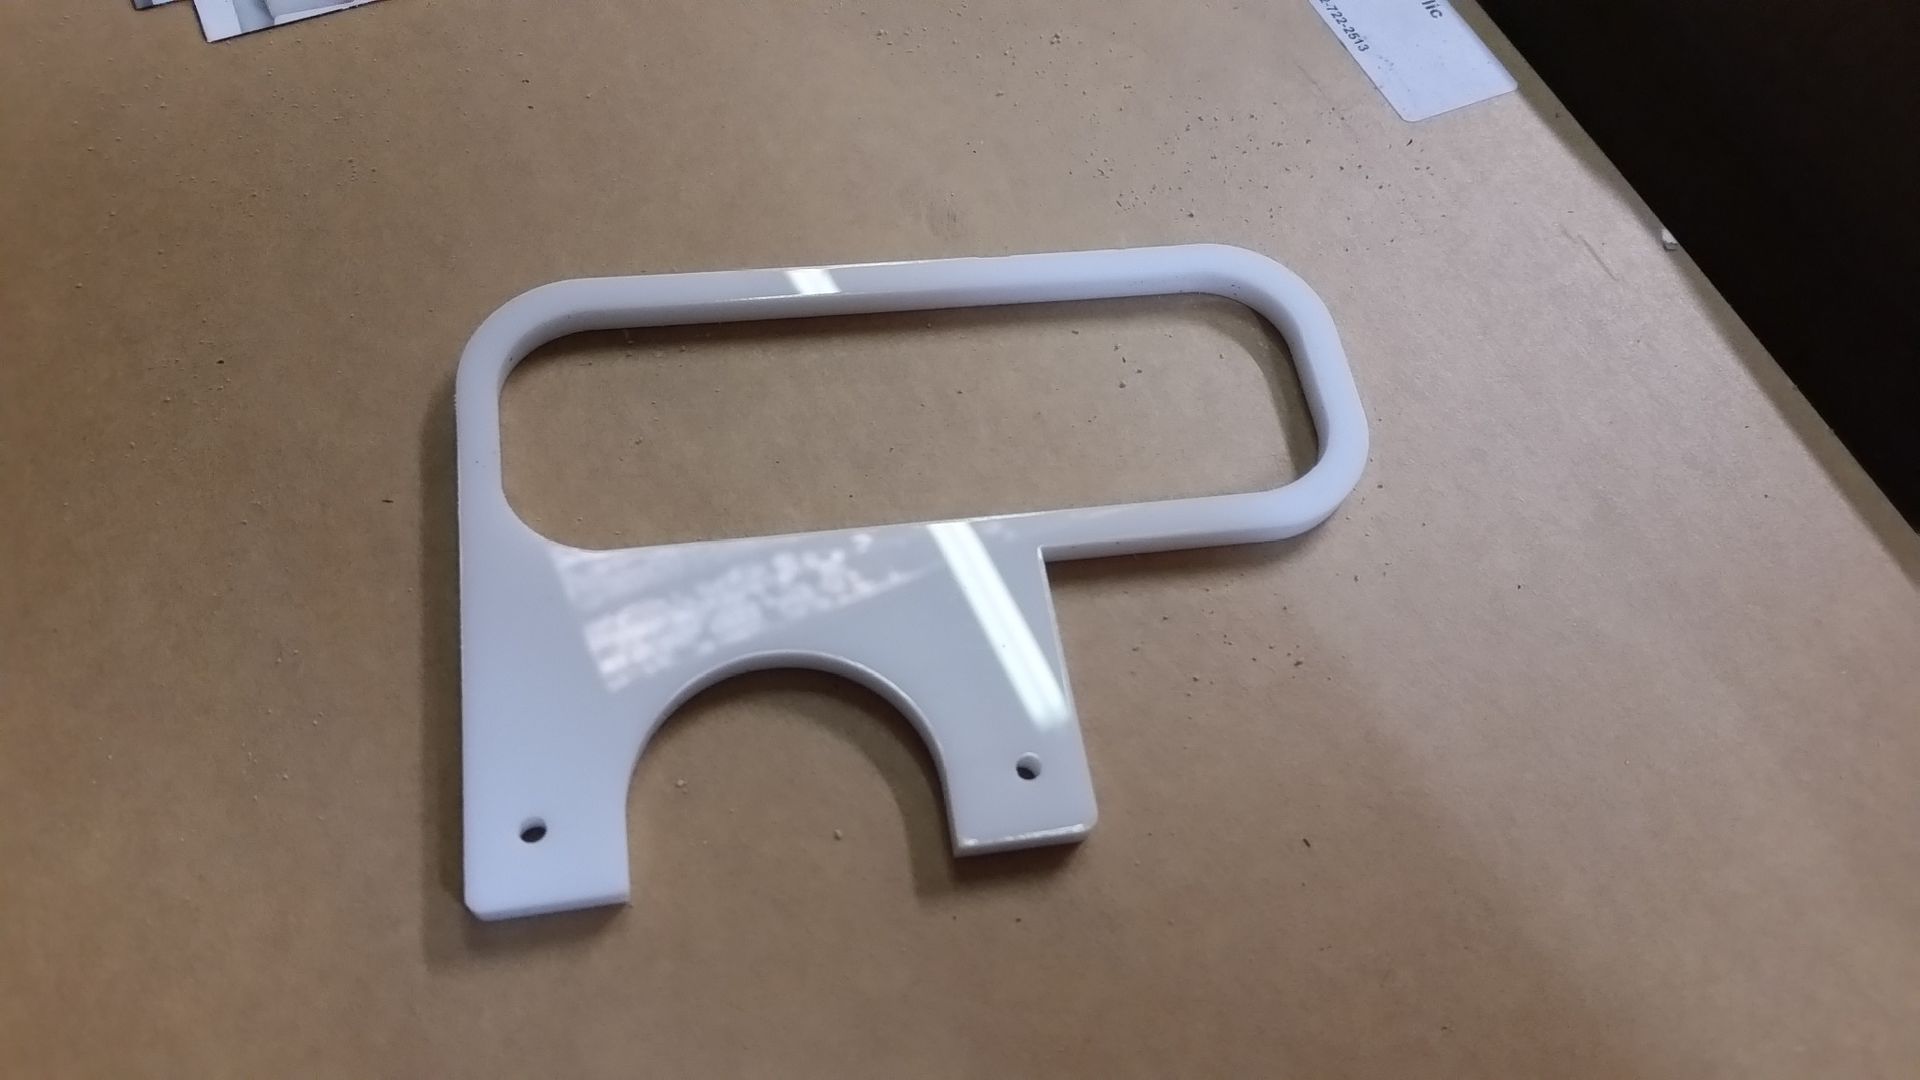
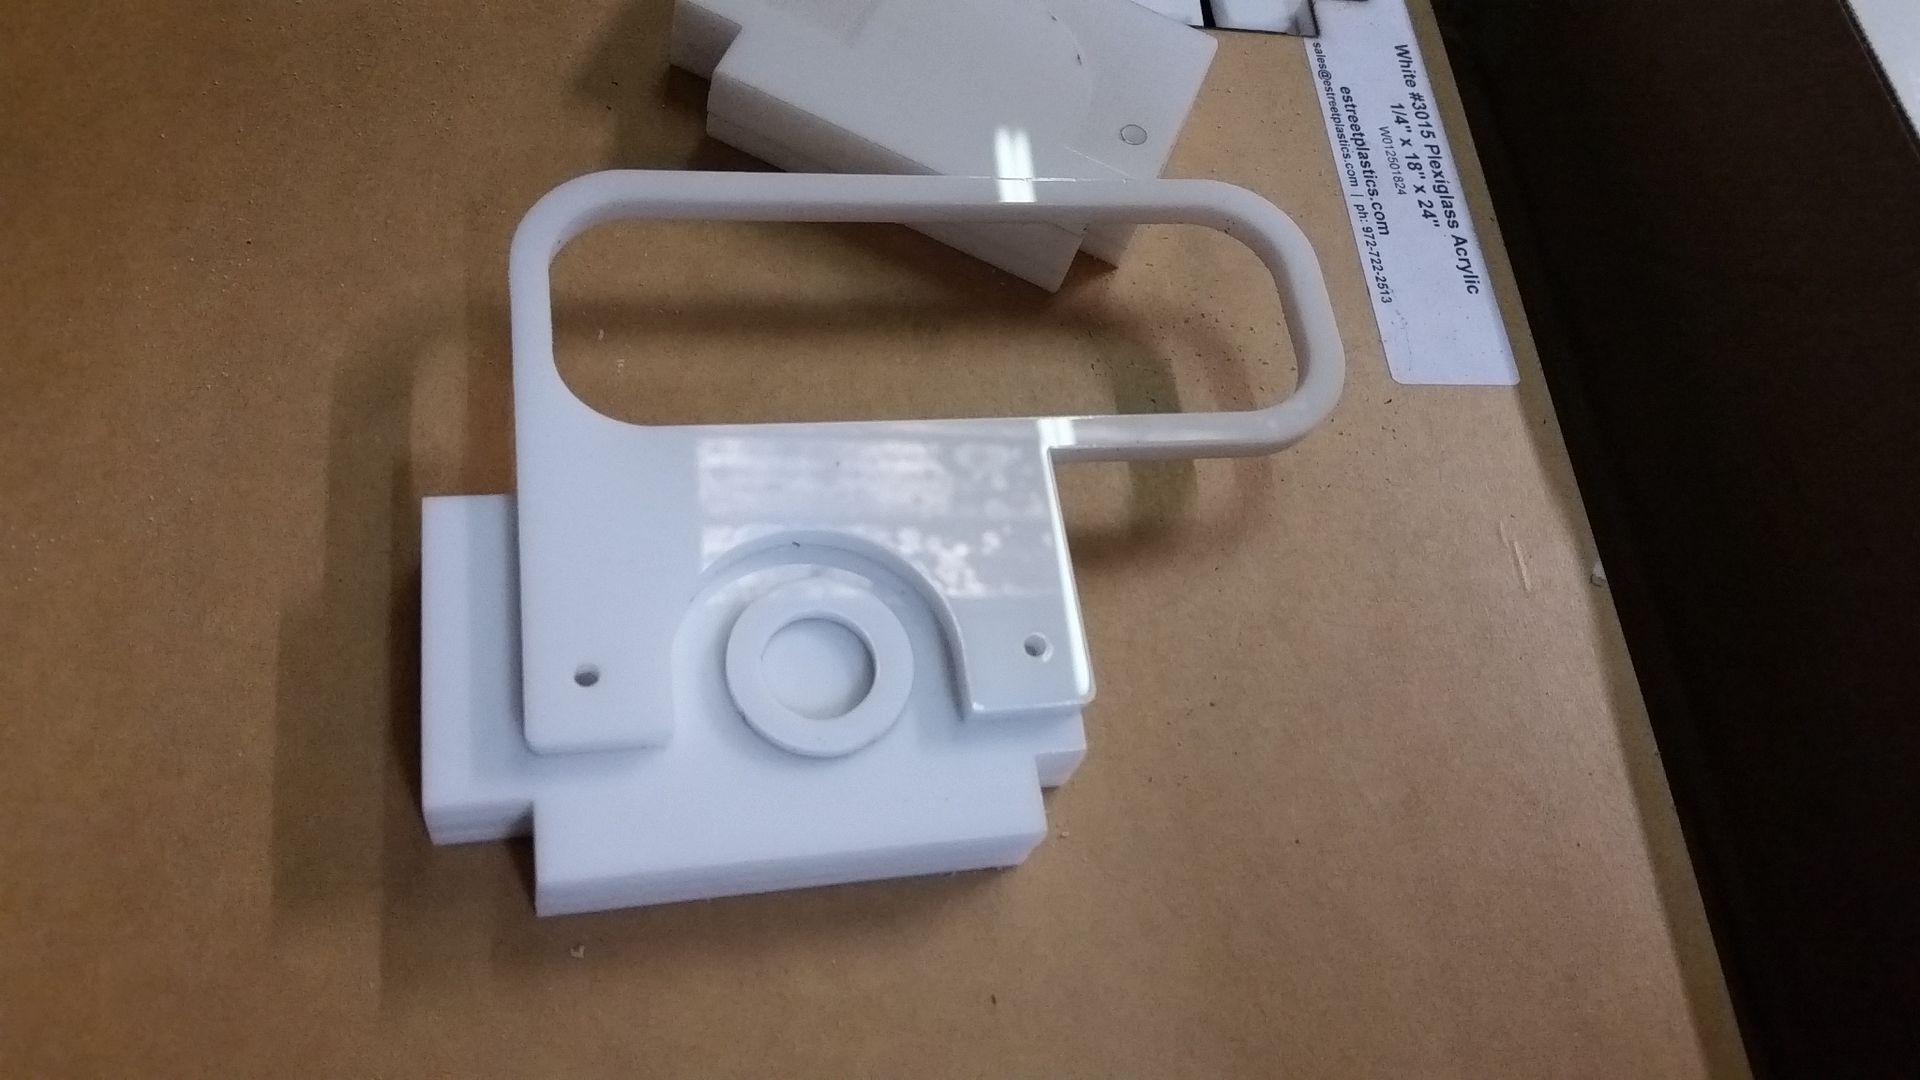
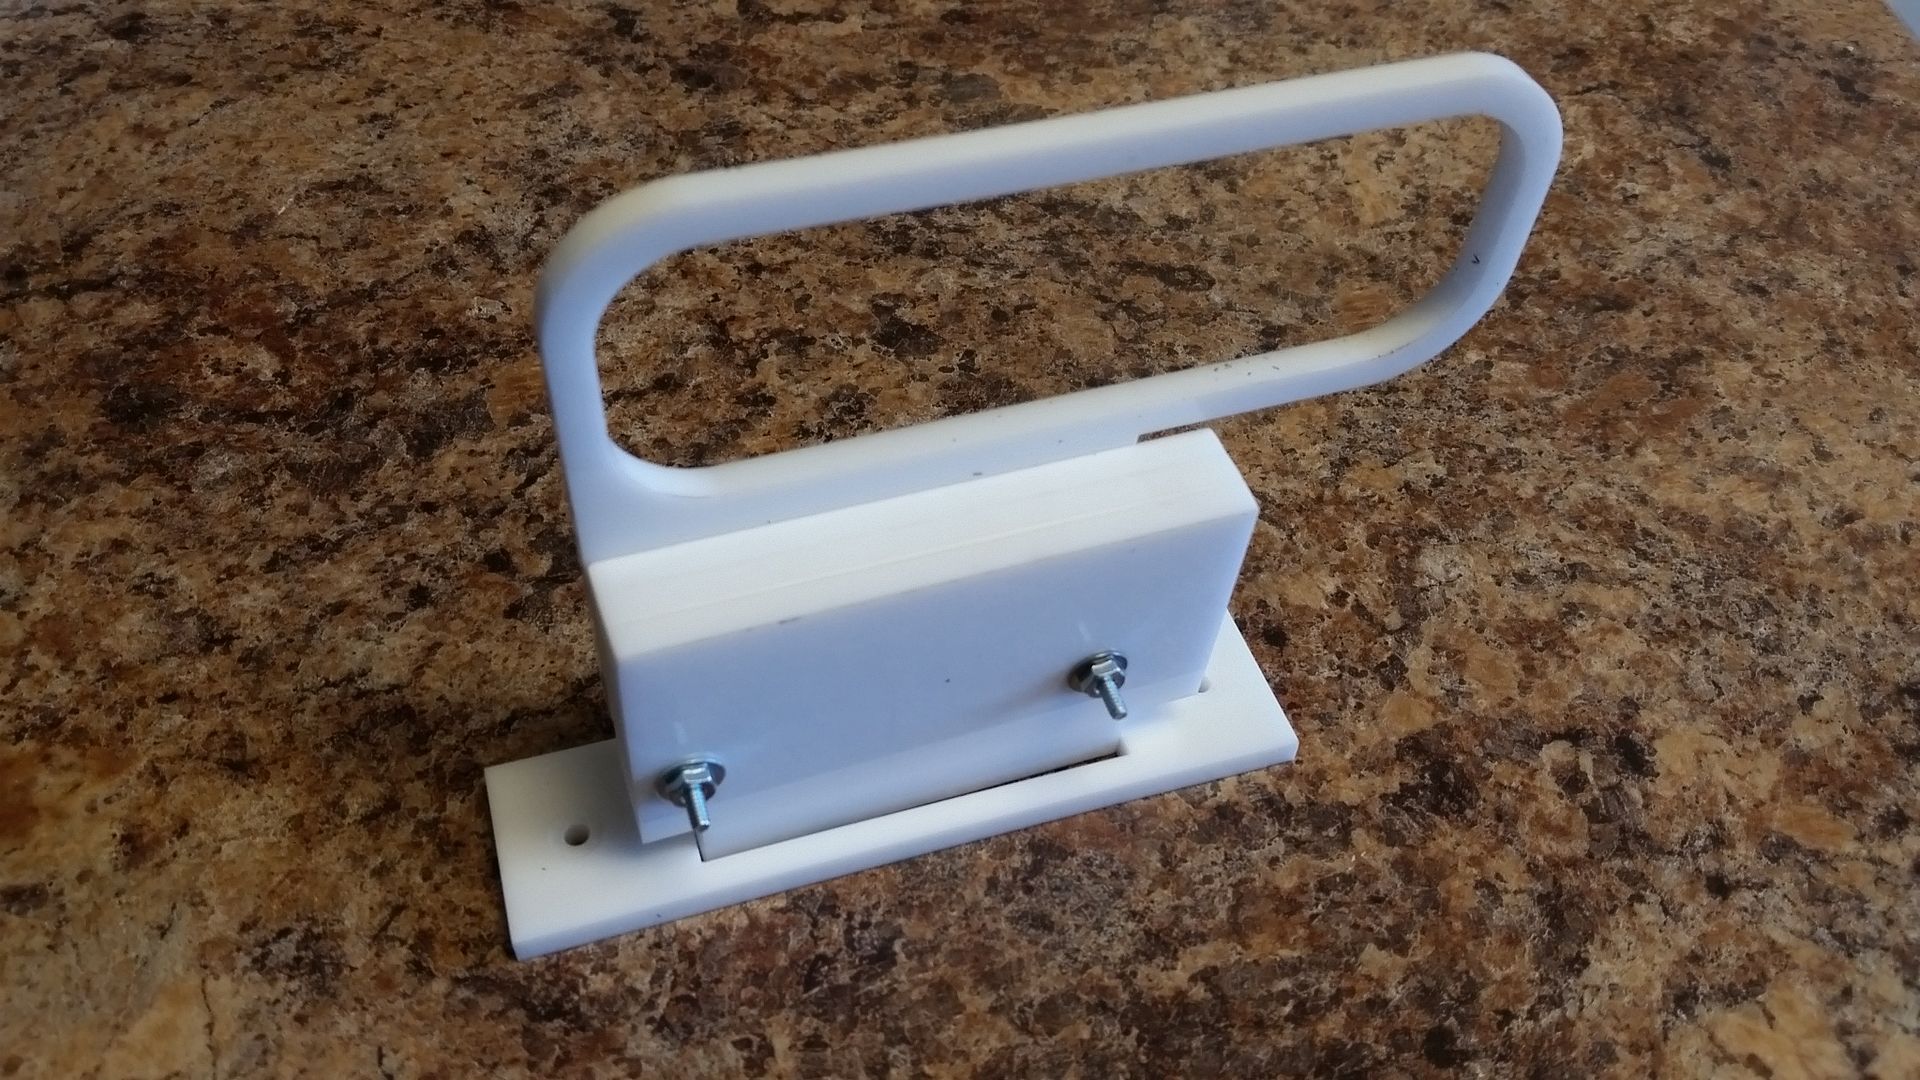
Another greeblie - pull handle base
20151011_140144_zpsheh3tayg.jpg


Handle
20151011_140209_zpsdf8baqtb.jpg


Basic layout
20151011_140257_zpsbjckfnfs.jpg


There just isn't enough info on these handle so I did my best. I'll paint and give them a slight weathering
20151011_171418_zpsj0buvqfa.jpg


20151011_171428_zpsobktskym.jpg


20151011_171600_zpsfokbgk7c.jpg


One of the panels has the clipper guard greeblie and another odd piece that mounts to where 5 or 6 switches used to be so I had to create a cover / mounting plate
20151011_170849_zpsotns0bli.jpg


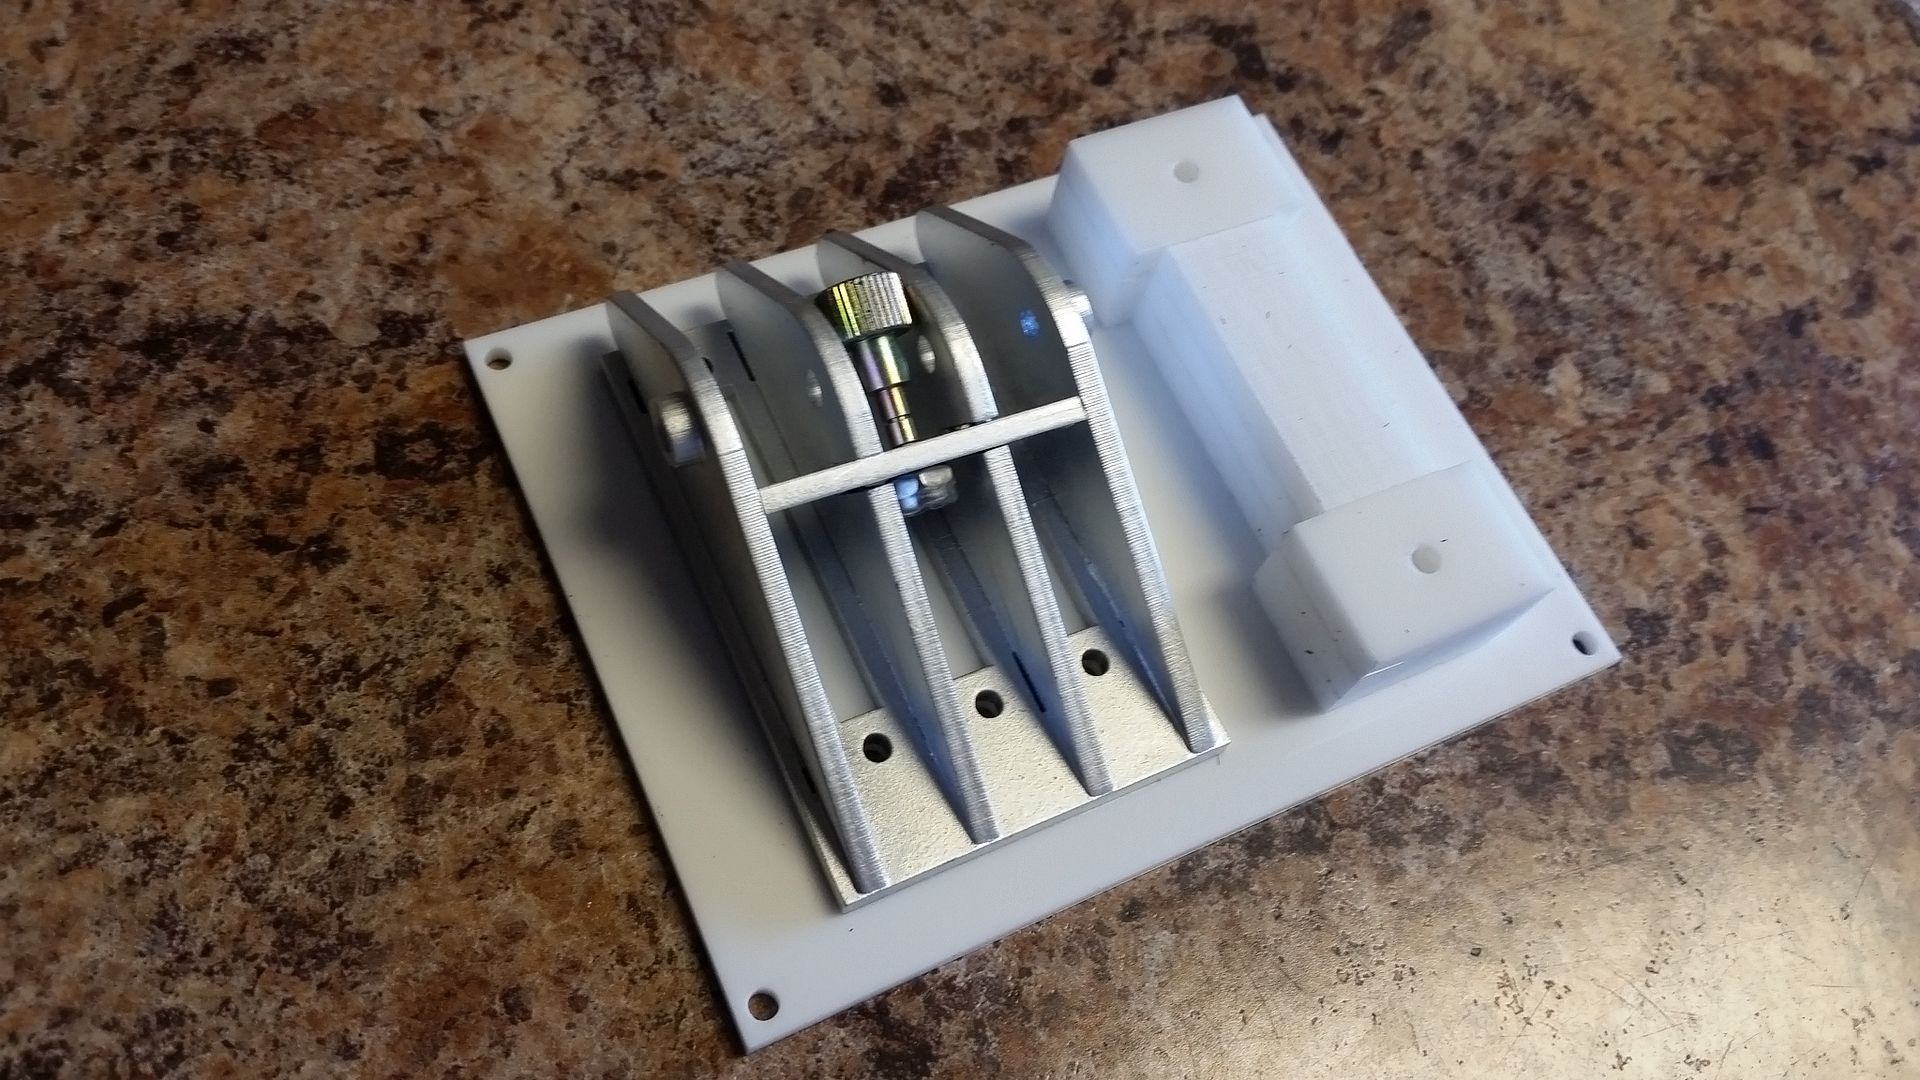
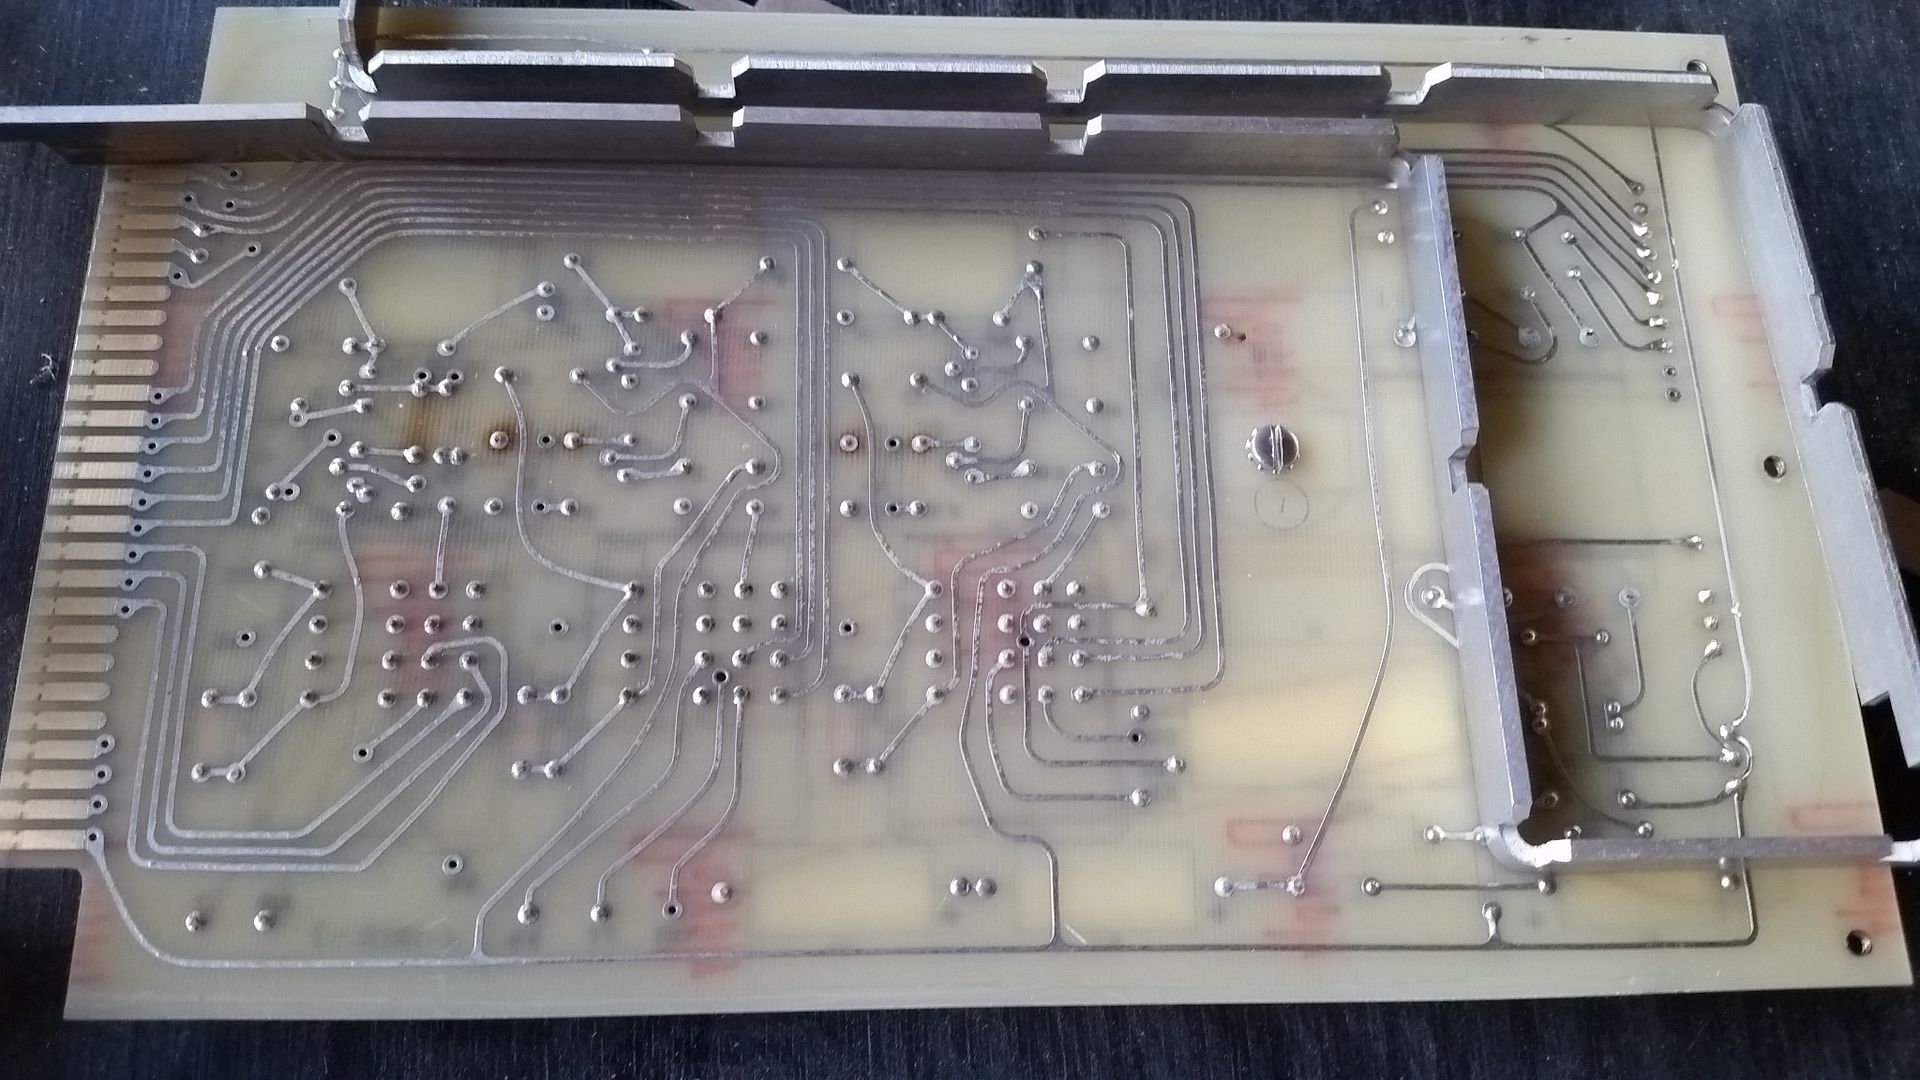
Finally... I tore down an old piece of electronics hardware to salvage a few cool greeblies (Fuzz be on the look out!). One of them being this old board I'm going to use for the second door access panel. Turns out there is LITTLE to NO room for any goodies behind the panel because of the electronics box already mounted. I'll figure something out
20151010_172231_zpsfpj5jcax.jpg


WHEW... Like I said... Not much of any update. I have the day off and I'm headed to back to the laser cutter! :)

More to Follow!
 
Last edited:

Your message may be considered spam for the following reasons:

If you wish to reply despite these issues, check the box below before replying.
Be aware that malicious compliance may result in more severe penalties.
Back
Top