Mass Effect 3: N7 Breather v2

Yodajammies

Sr Member
When Mass Effect 2 came out I got a commission for the N7 breather that Sheppard and some of his crew wears out on missions. Recently I resurrected that project with the goal of restoring the original piece, remolding, and doing a quick run of 10. Now I never was completely satisfied with the overall scale of the piece (it felt a little too bobbleheady), and with the subtle tweaks made for mass effect 3, I've decided to go ahead and completely recut a new helmet. At this point I could spend just as much time patching, repairing, and otherwise salvaging the first version OR I could craft a new piece that's even better than the original. Armed with what I learned from the first build, this one should go much more smoothly and end with an even better product.

Fear not INT thread, I've set aside the week after St. Pattys and we should still be on our original timeline for shipping casts. If this won't work for yall, send me a PM and we'll figure something out.

Original helmet -
5657545527_205357b47b_b.jpg


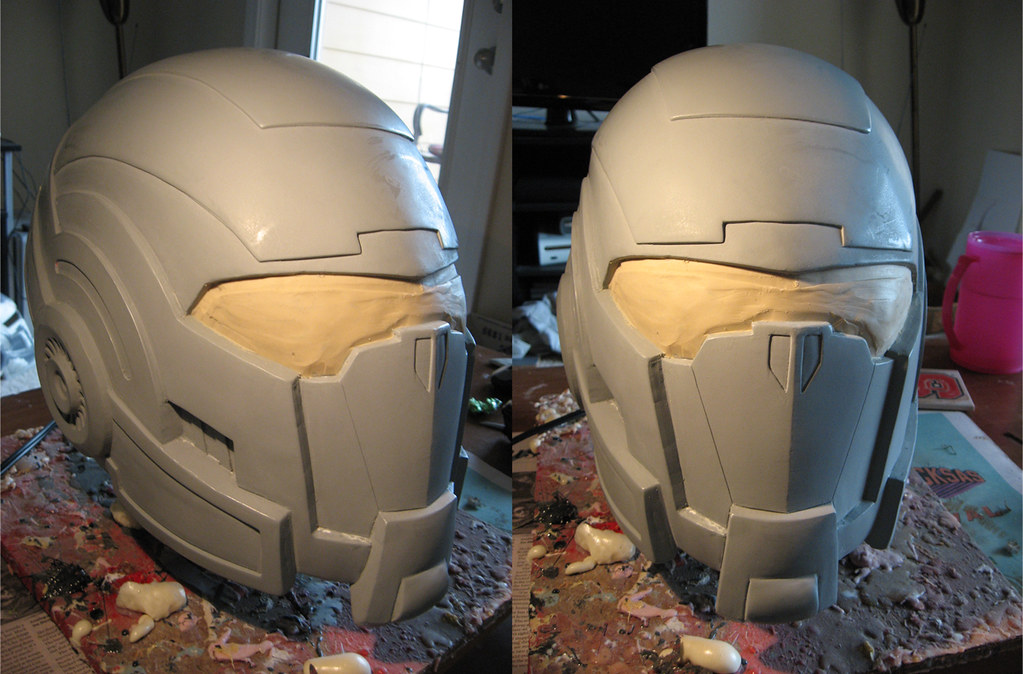
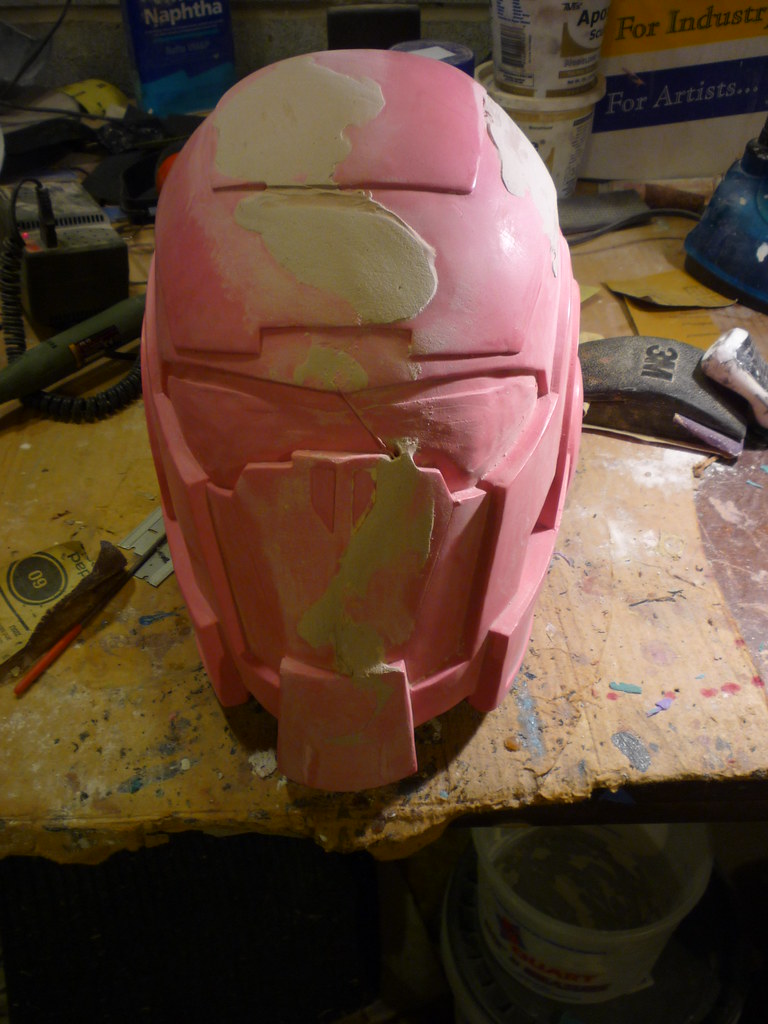
Old and busted (The last cast from the old mold) -
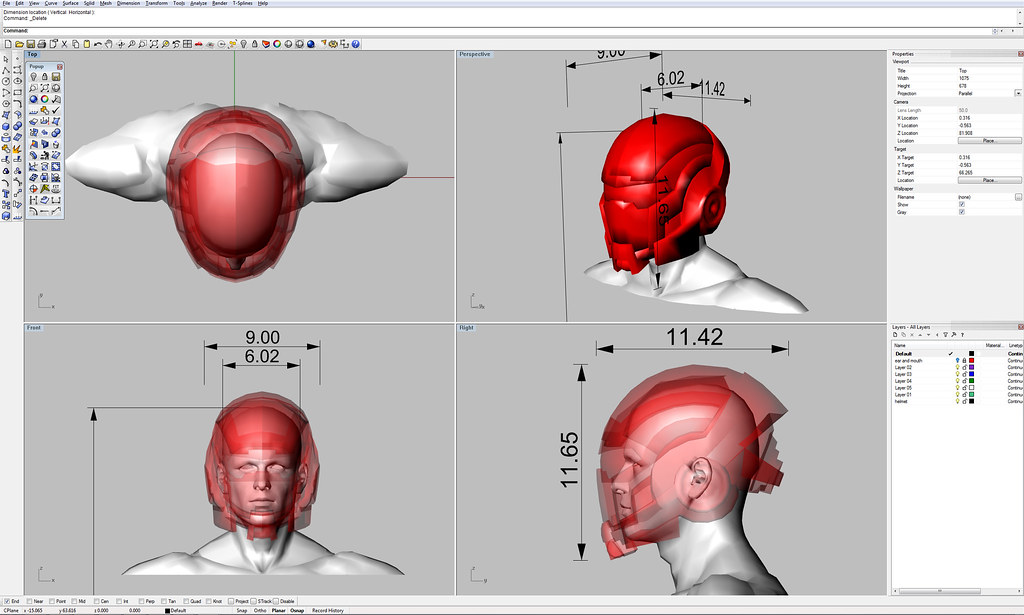
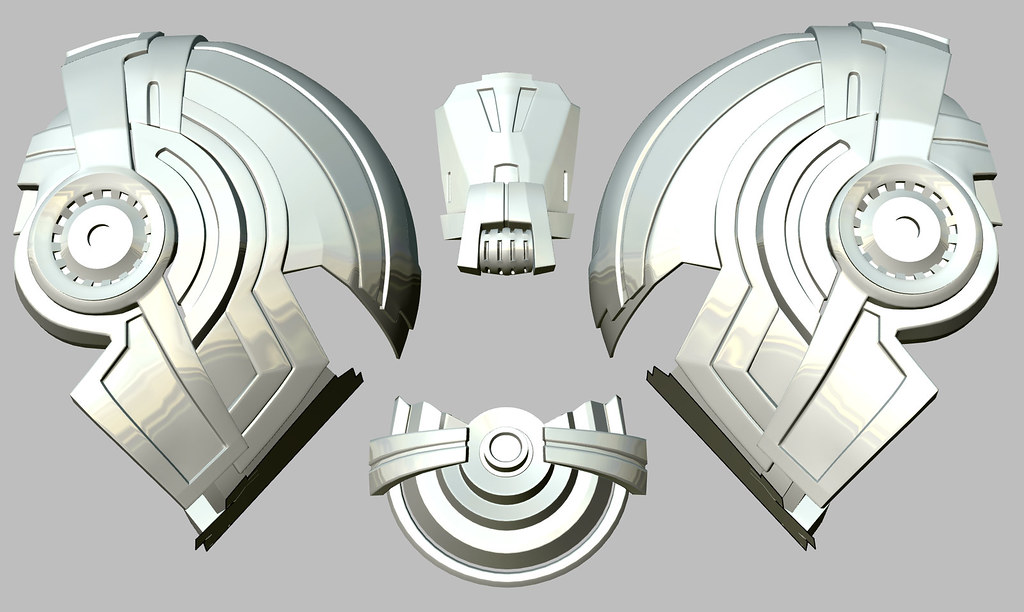
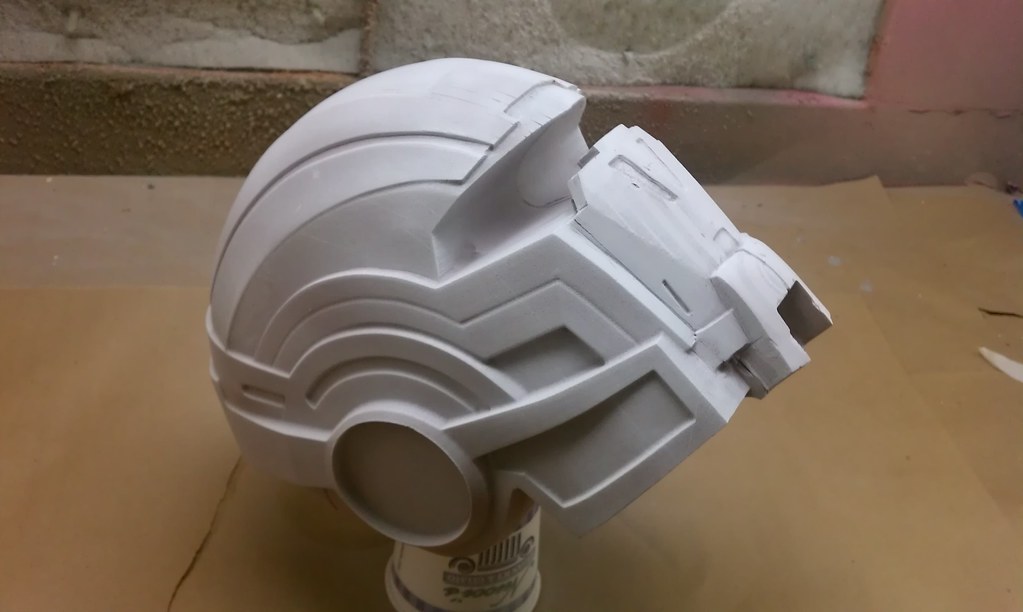
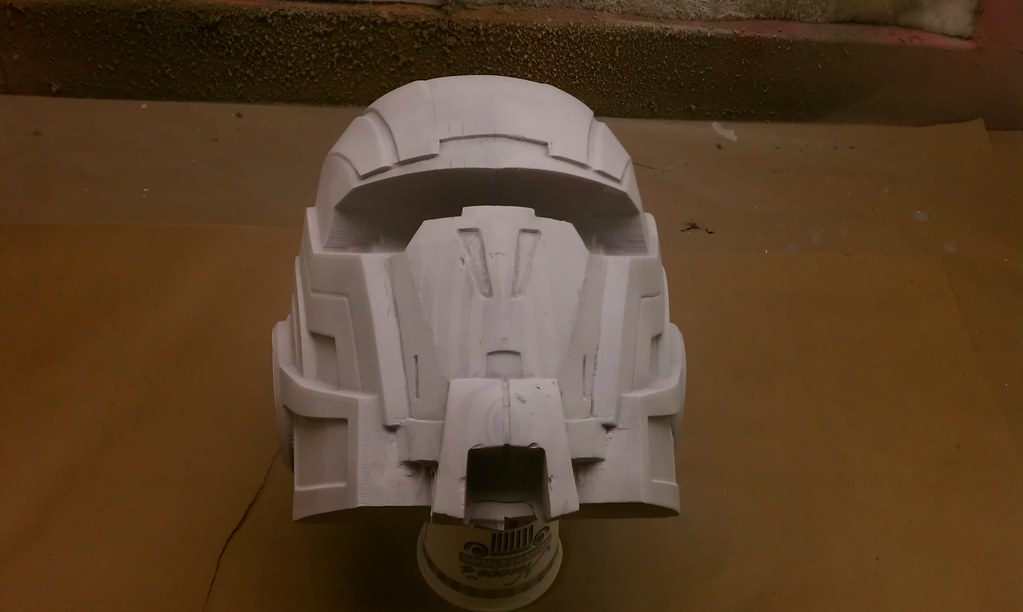
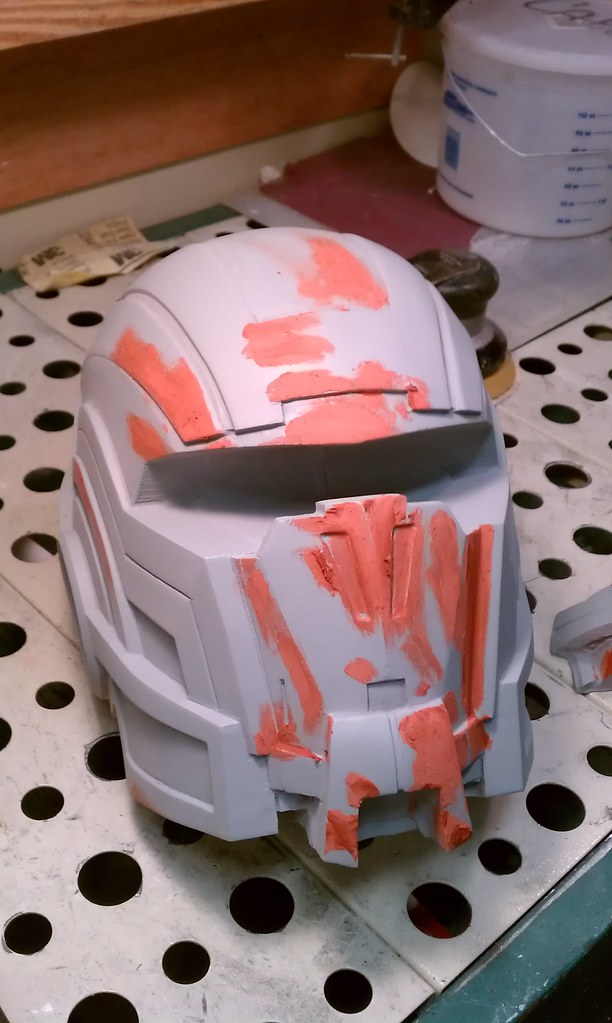
6832966674_ce9f508002_b.jpg


New Hotness -
6982044929_2984a637c8_b.jpg


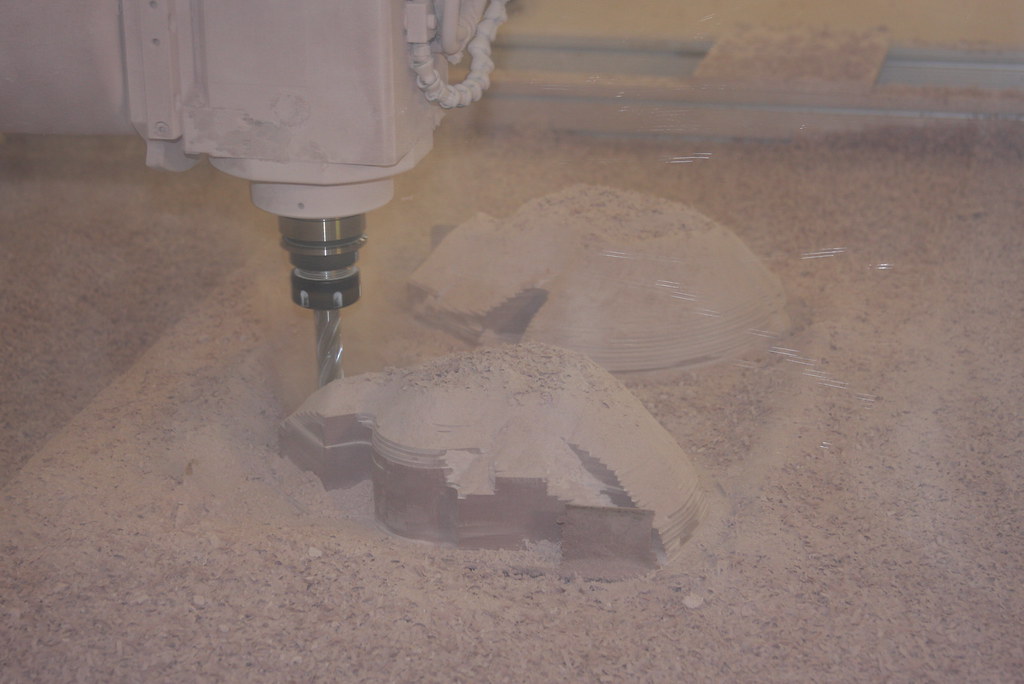
And as always, the illustrious CGJeff will be cranking out the high res 3d model for milling this saturday.

Stay tuned!
 
Very-very nice!
Dont have anything against a better version, even if that means waiting little longer.

But please dont make it smaller than the previous one.
Also since most of us are going to light it you may can take this into account
 
I'm very patient. Obviously I don't claim to speak for everyone, but my $.02 is that you can take as long as you need for new hotness. :D
 
Youve got competition for who can make the most detailed bucket ;)
im a bit ahead of you right now but i think with your fancy cnc you'll be right on my tail in no time :p
and the colour scheme in that render is sooooooooo beautiful!
if you dont mind i think ill be painting mine that way when im finished :p
 
That's actually ripped right from the game. Any color variations are done dynamically in the engine, so if you're looking for the original scheme - THAT'S it.

Your sculpt is coming along beautifully! Don't rush it on my account.
 
haha no rushing is going on, I HAVE to work on this slowly because im away most of the time at boarding school. that render is perfect tho, ive always found it hard to get shots of the detail from all around :lol
 
Any chance that you'll be able to do one with a removable faceplate, since that's the only difference between the base helmet and the breather helmet? While I'm interested either way, if you could do the faceplate as removable (so that I can switch between versions, not just take it out in the initial prep) it'd probably be a definite buy for me and others.

My only concern is that it won't be big enough for my head; how large do you anticipate the bottom opening being? Anything less than 7 1/4" wide is too small for me.
 
So we're flying by the seat of our pants here on this build. CGJeff knocked out the 3d model in two days, and I've spend the past couple hours tweaking, chopping it up, and generally destroying his hard work.

Using the in game model, I dialed in the proper size for the milled part. This always has been the most difficult point in the process for me because if the scale is off the entire part, a lot of time, and a lot of money are wasted. The human analog in this shot has been scaled to 73".

6842294814_6608377a68_b.jpg


The finished high definition 3d model.

6988496417_42565e1d7a_b.jpg


The same model chopped all to bits to run on the mill.

6842294832_82fb93fa8c_b.jpg


I'll be up early in the morning to run this part so I should have a couple new progress shots by sunday. Huzzah!
 
I haven't played any of the mass effect games. I own 2 for the ps3 but I just never got around to actually playing it cause I barely touch my ps3 for some reason. Stupid 400$ paperweight.

That being said... HOLY CRAP THAT LOOKS AWESOME!

Chris
 
Apologies for the radio silence. The 9 to 5 has kept me up to my eyeballs in work.

I finished up the mill job, got the major parts assembled, and hit it with a quick bit of paint. Viola.

It's still pretty rough at this point. The spoil board on the mill wasn't properly fixtured down so a lot of the errors on the front are because of that. It did made an interesting ring pattern on the part that I wish I had taken pictures of. Hmm.

So, I figure it'll take about a week or so to whip this bucket into shape and get it ready for molding. If I haven't updated by next weekend give me an earful.

6861011360_4d06904c19_b.jpg


6861012120_a926a365a7_b.jpg
 
This thread is more than 11 years old.

Your message may be considered spam for the following reasons:

  1. This thread hasn't been active in some time. A new post in this thread might not contribute constructively to this discussion after so long.
If you wish to reply despite these issues, check the box below before replying.
Be aware that malicious compliance may result in more severe penalties.
Back
Top