Re: Space 1999 Eagle Transporter Build Club UPDATE 08/03 (PIC HEAVY!)
09/03/12
I've got that Friday feelin' !
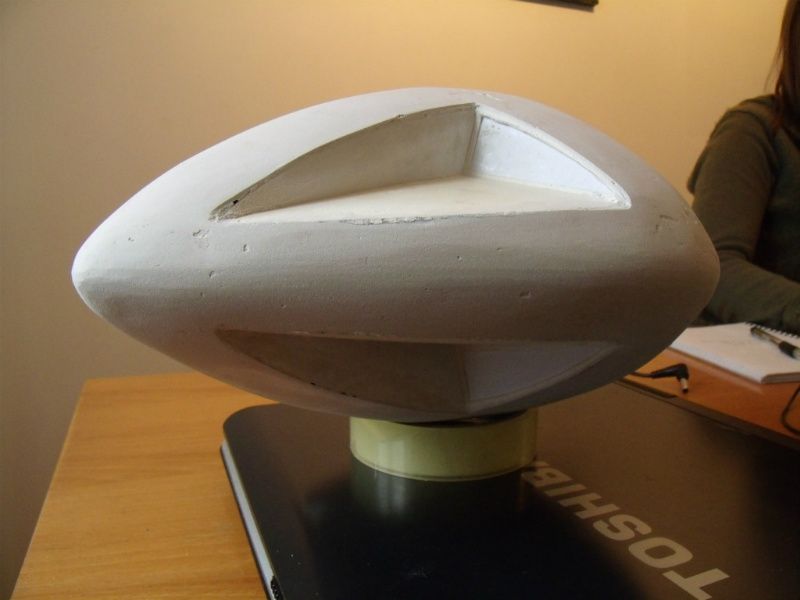
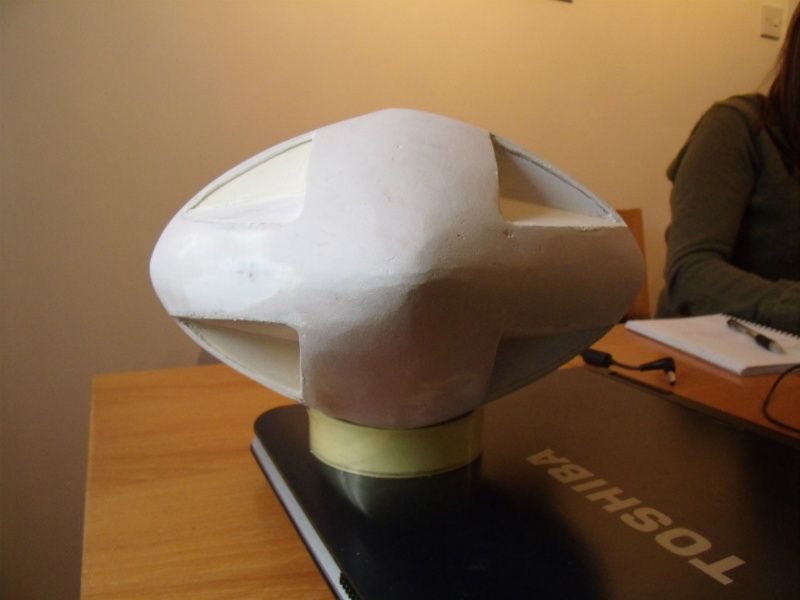
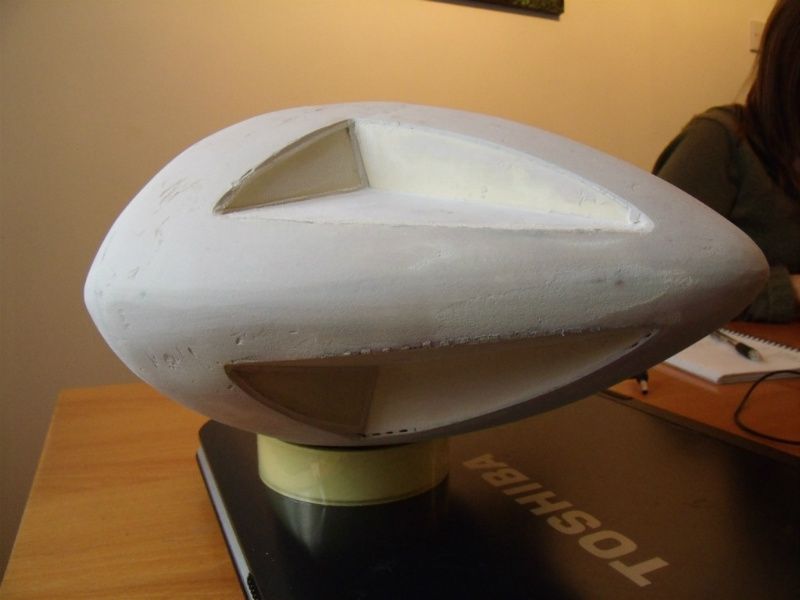
Hi All! here's the latest update on the Eagle Command Module.
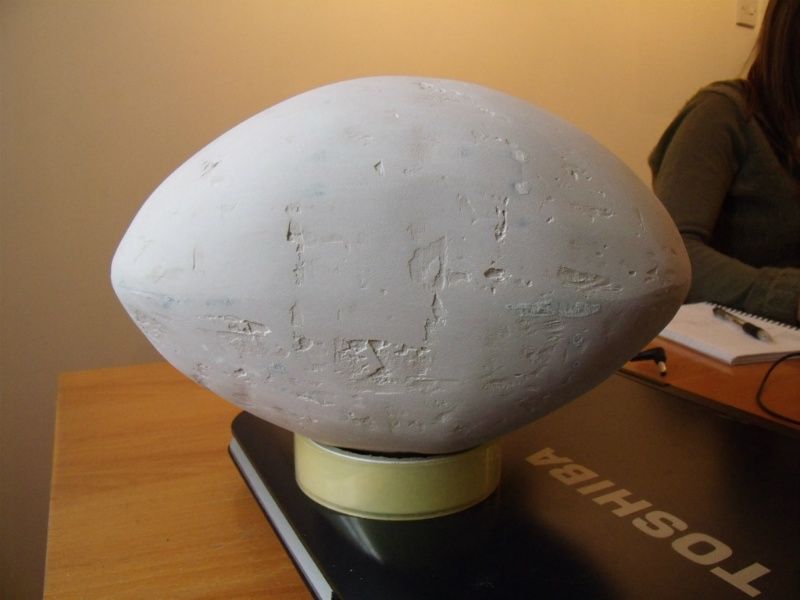
The Car body Filler part is now over, thank heavens! I sanded out the shell this morning and got it to a stage where I just need to give a little more attention to the back and a couple of little areas. In the pics below, the dark areas that look like shadows are just filler that isn't yet dry. Here's how she looks!
I may need to come in with a little more Bondo on the back and in a couple of small areas to iron out some little irregularites, but other than that she is nearly there!
")
I am going to step away from finishing it right now as, I have started to feel a little jaded with it today. I thought therefore, I would have a play with another of the difficult aspects of this build..
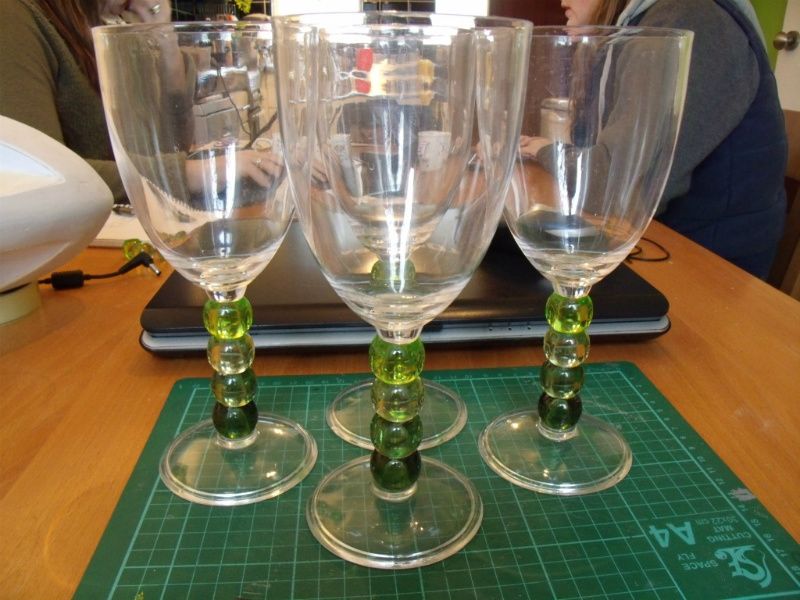
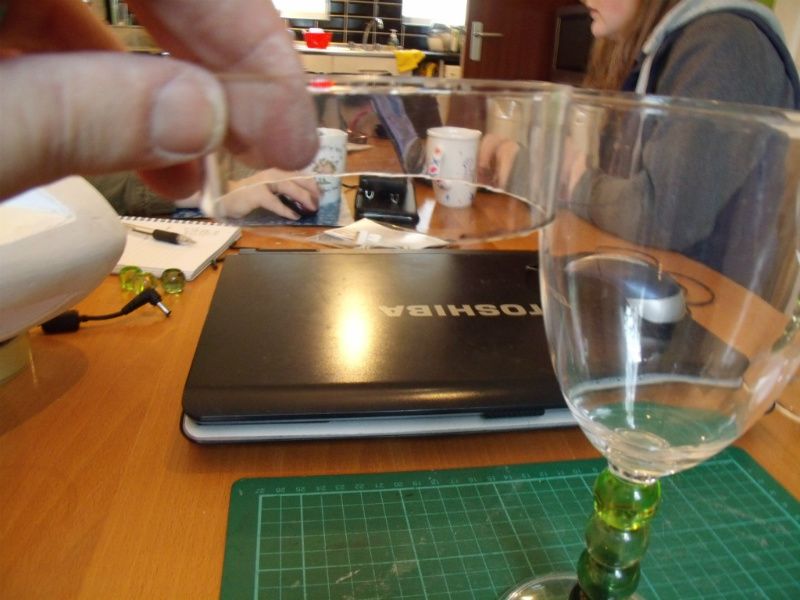
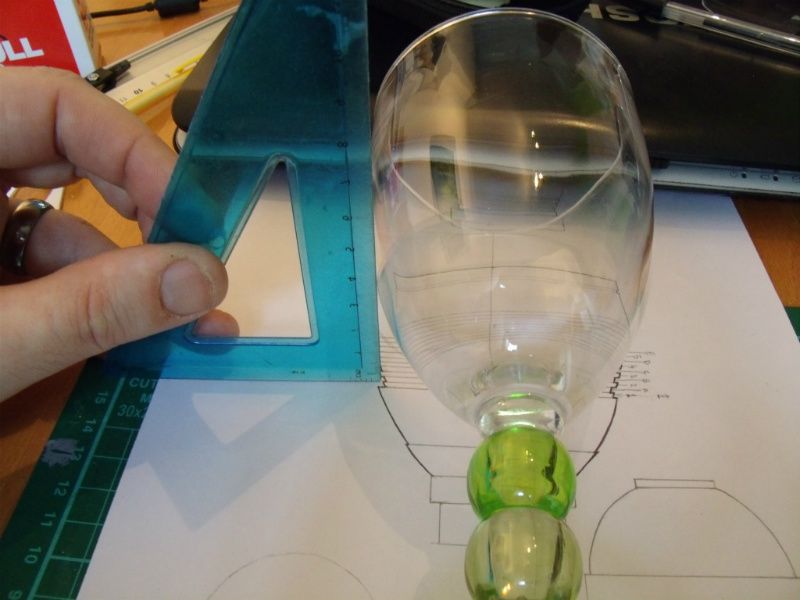
So...here's what I did this afternoon...I took four plastic glasses from the shed, (don't tell the wife!!!) and set about hacking one of them to pieces.
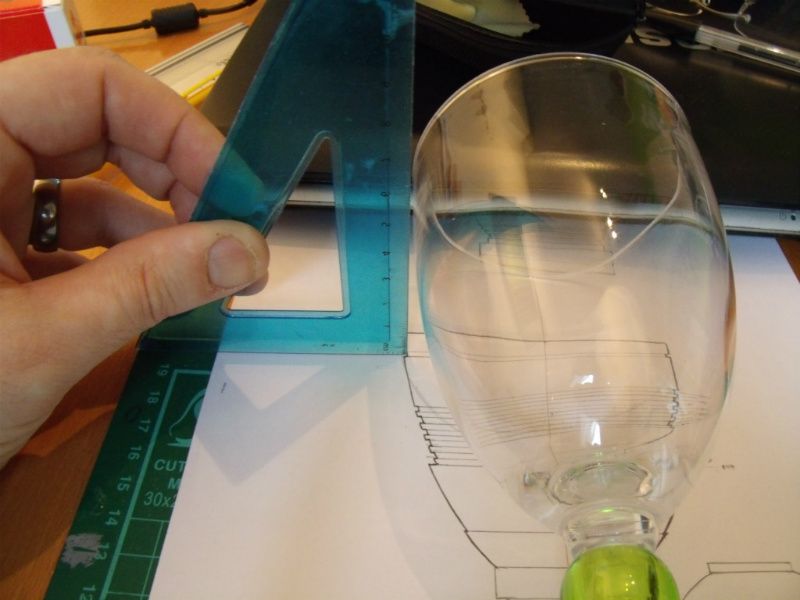
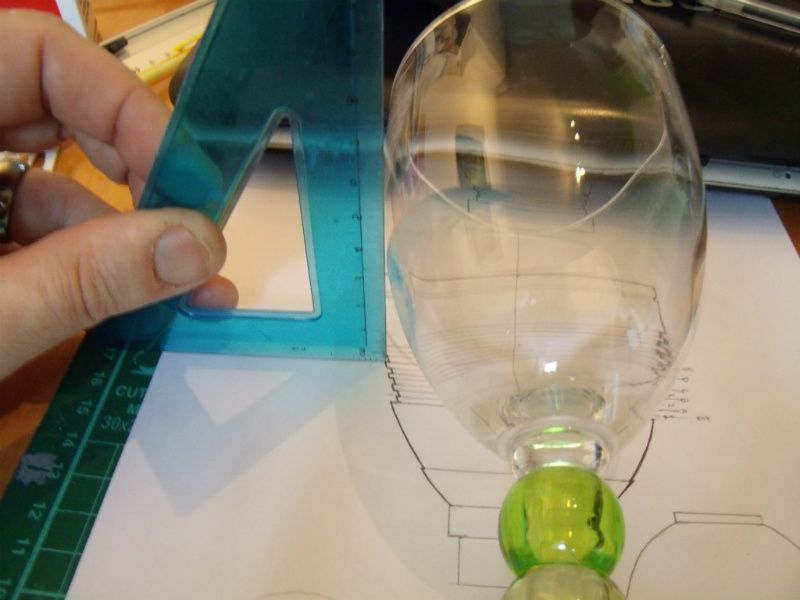
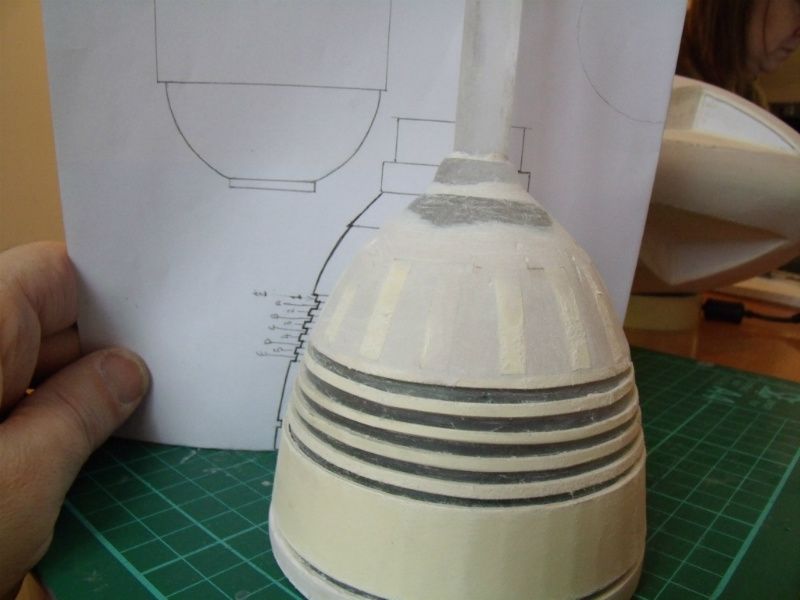
I cannot believe just how close the form of these glasses is to the engine bells on the Eagle. The glass is aligned on the centre line of the bell. I then offered up a set square to see just how close the glass was to the drawing. These three pics show the result. Look at this!
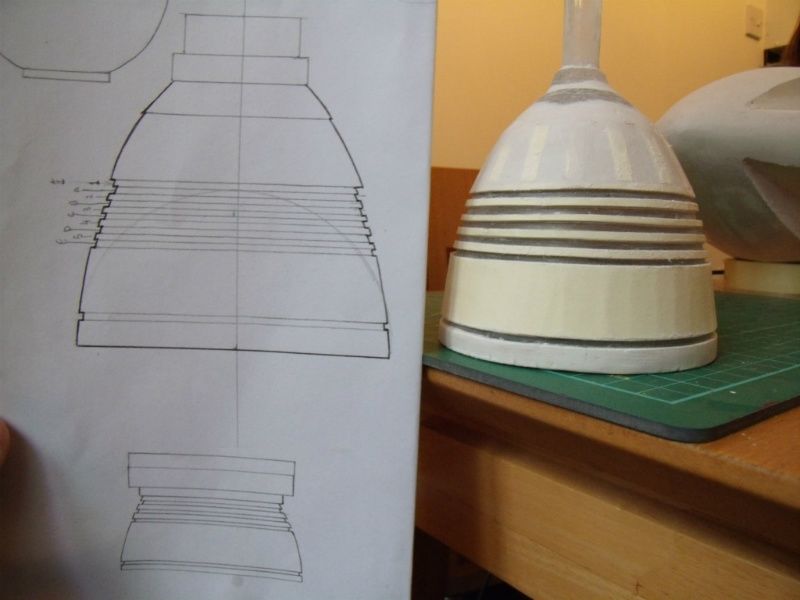
I then sanded the outside of the plastic glass to key the surface. This allowed me to use ordinary PVA glue as my adhesive. Once I had taken precise measurements and marked the glass with measurements of where the detailing goes, I stood it on a flat surface, and poured in water to the lowest mark. The water then acted as a guide to enable me to draw a ring right around the glass and know that it was even and level. I then repeated this by adding more water up to each mark in turn, until each line was drawn. Now I had all the exact positions of the Rings etc that make the Eagle engine bells so distinctive.
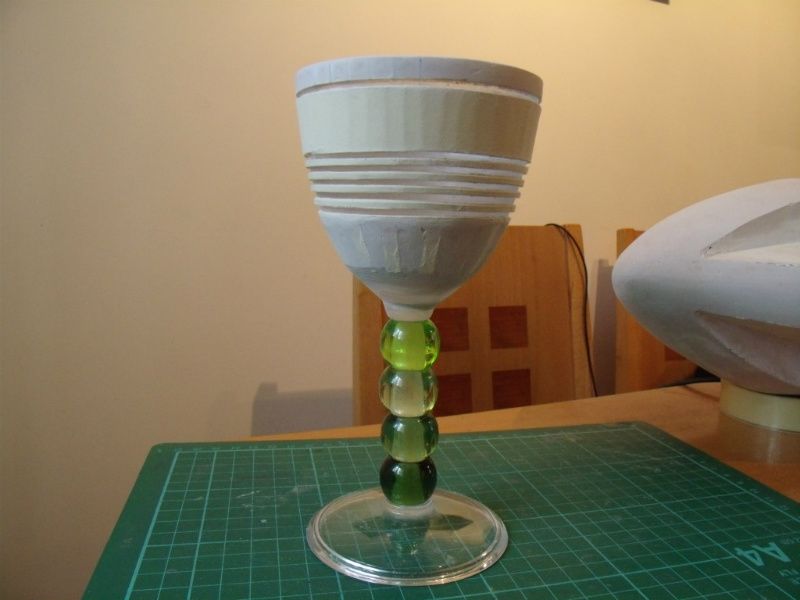
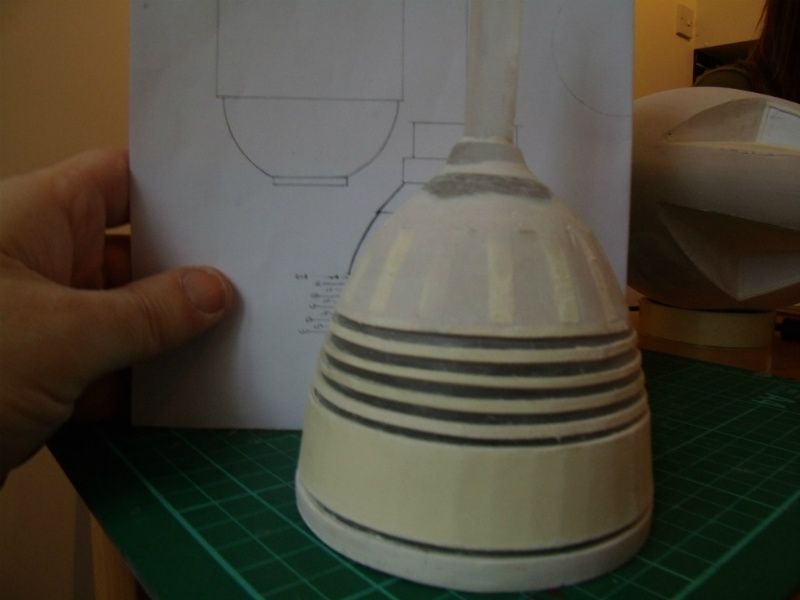
I started cutting and applying card to the glass at the relevant places until all the rings were done. I then filled out the other areas as needed and here is the result.
I need to add a little more filler at the narrow end to cover the card that shows through the body filler but, all in all, I couldn't have wished for a better result. The glasses cost us 50 pence each the summer before last and one was already broken. The size and shape are pretty much exact so I am a happy boy! Three more to go.....:cry
Well that's about it for today. I will try to post again tomorrow if I manage to make any more decent progress....Thanks for looking in!