well, here is the next build....
This time I am building a 52.25 inch Eagle Transporter from the Classic 70's T.V. Series, SPACE 1999.
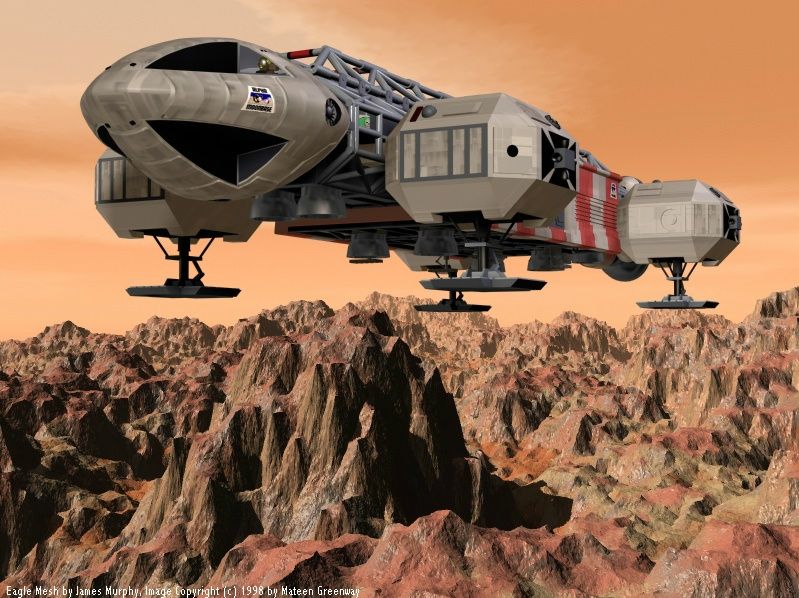
Before anyone shouts it out, I know that the largest studio Eagle was just under 44 inches, but after a lot of research, I found that a 50 inch Eagle would be a better option on many levels. Firstly, at 50 inches, all the dimensions transform beautifully into metric, which allows me to use cheaper materials, such as wooden dowel for the spine etc.. Secondly, I can't ever remember ANYONE having a 50 inch Eagle so, that makes it the biggest to my knowledge.")
Thirdly, I already started my build and it is bigger...ahem........:$
The first two points here are still VERY valid reasons to upscale, so I am going to stick to my guns on this one.
Before I start, I would like to send a HUGE thanks out to GPS for the incredible blueprints, LMFAOSchwarz for the superb Hi resolution reference pics and also Robn1 for his fantastic offer of Bluray caps if needed. You guys ROCK and this build would not happen without you or, for that matter, this superb forum to post the results on! Enough said! On with the build!
OK, I identified pretty early on, that there are three parts to this build , that would prove to be the most difficult to acomplish: the command module, the engine bells and the 'spine' which runs down the length of the Eagle. The Command Module doesn't have a single solitary straight line on it and the spine has to be built cheaply but still be strong and durable. As for the Engine bells.....Not a clue at this point! Out of these three, I chose to start on the command Module as, I believe it to be the most difficult part of the build - I am ALL for getting the worst bits done first!
COMMAND MODULE
I started by drawing out the three 2D images necessary to create a 3D form: Plan, Side elevation and rear elevation. I then transferred these images to card, cut them out and glued them together...
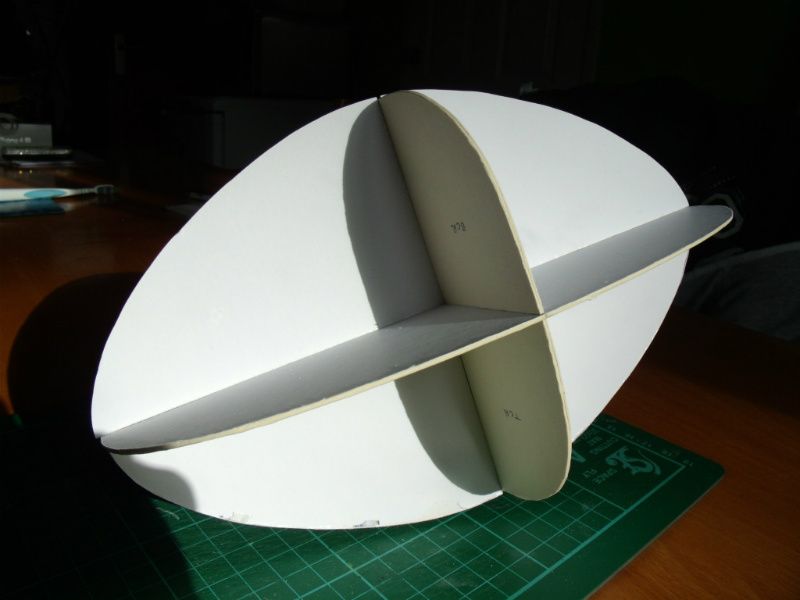
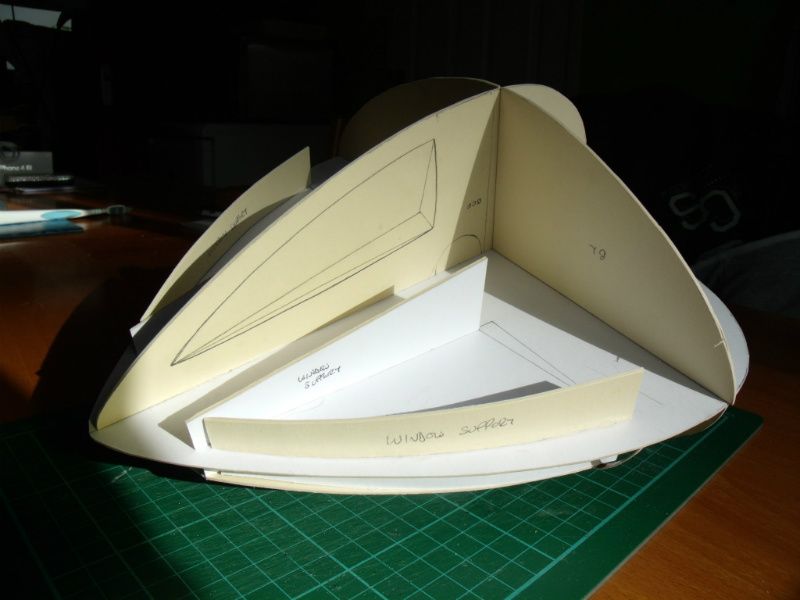
I have had to cut and glue the extra pieces onto the flat white area to support the 'cutaway' window appertures.
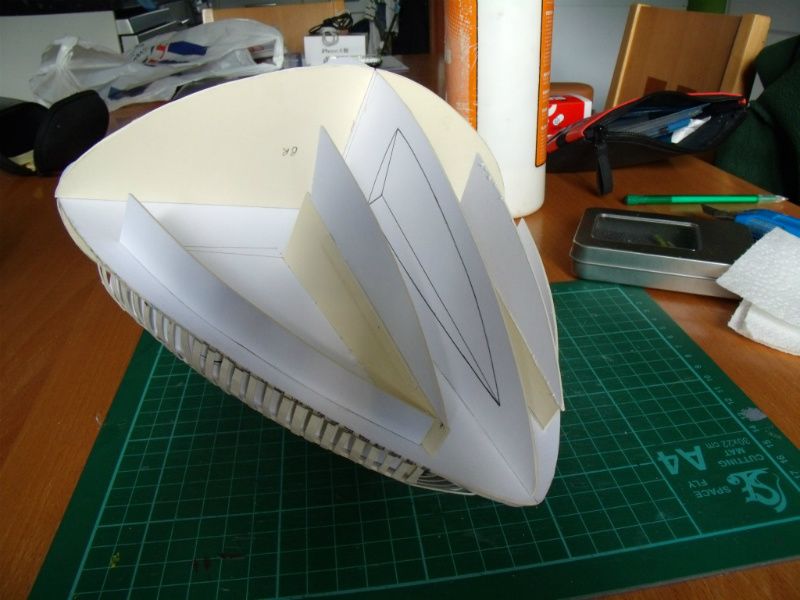
these appertures will structurally support the rest of the command module shell so they have to be sturdy in their construction.
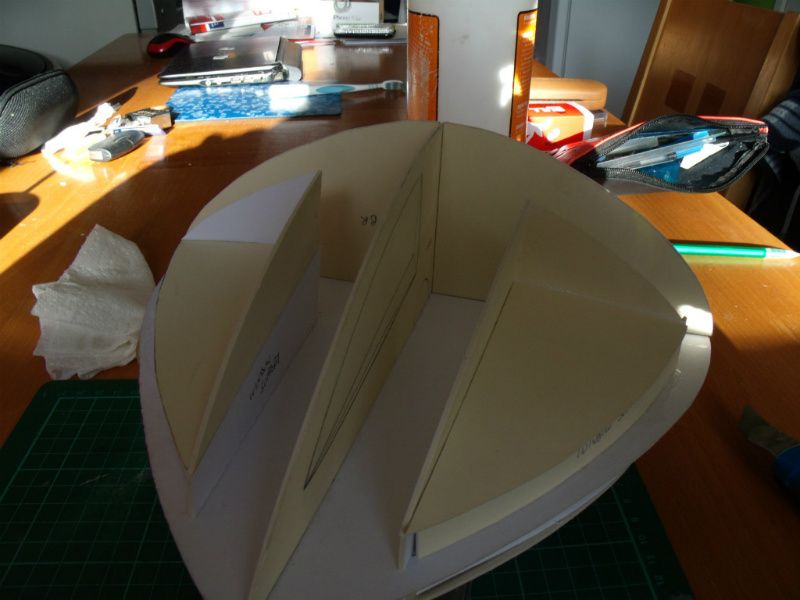
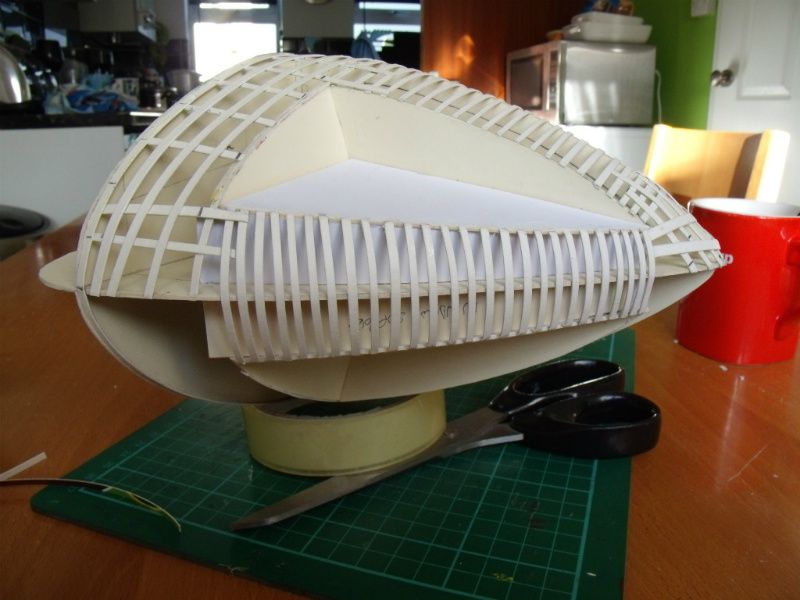
The next stage was to start the ribbing, which allows me to form surfaces that curve left to right as well as front to back. Once completed, these ribs will receive two layers of papier mache, and a coat of resin, before i apply a thin coat of bondo to smooth it out. The detailing will then be fixed to the smoothed out bondo.
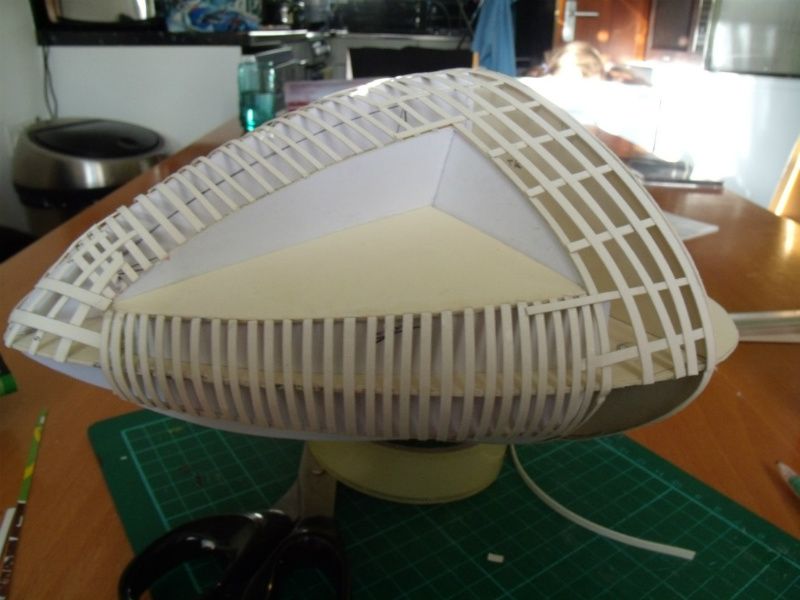
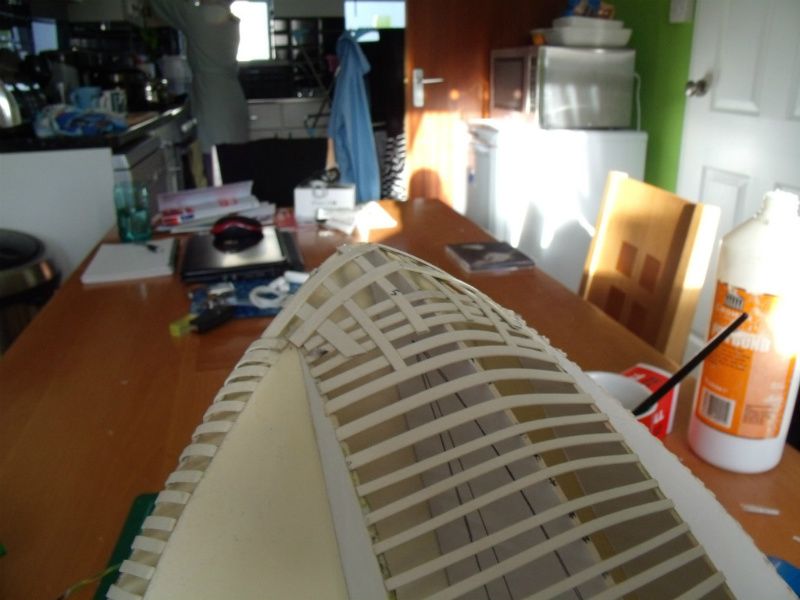
Here are some shots of the ribbing as it progresses.
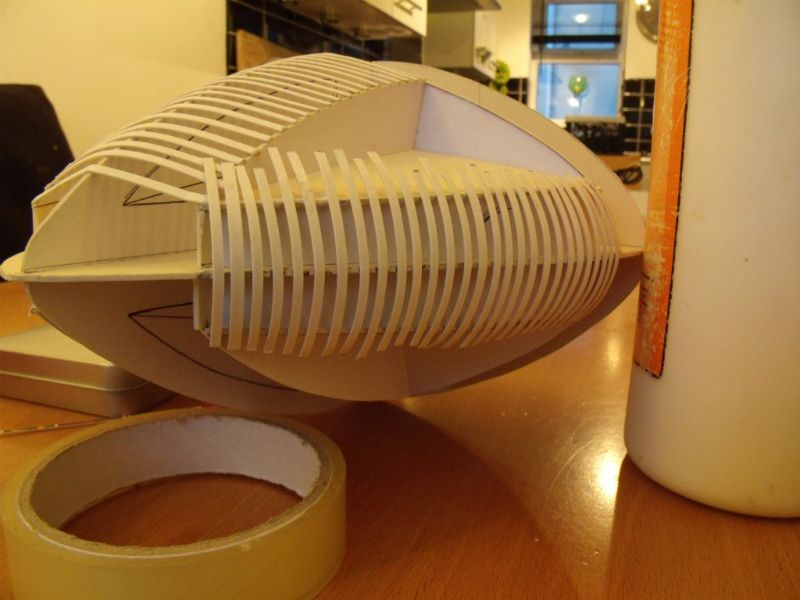
Those untrimmed ribs really make me think of a huge carcass! It certainly has a very organic feel about it!

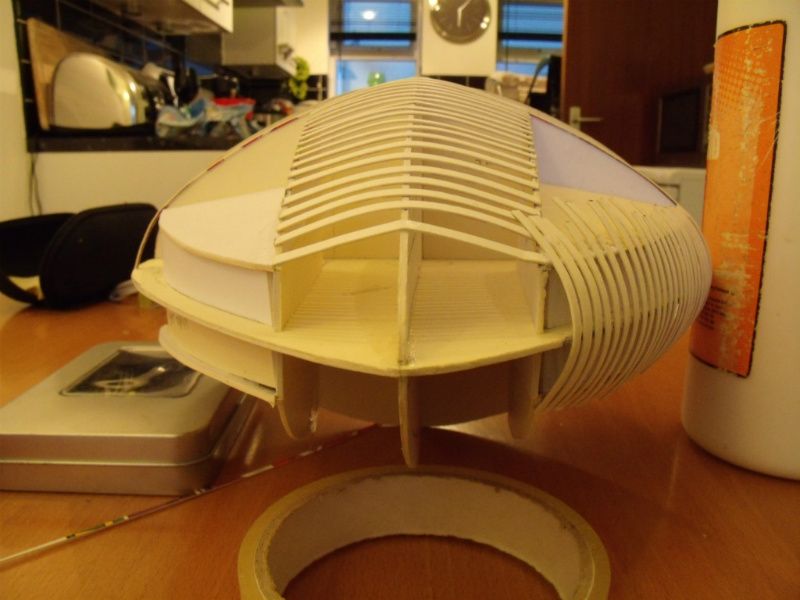
The ribbing for the point of the nose may not look too pretty but when it is covered, no-one will see it!
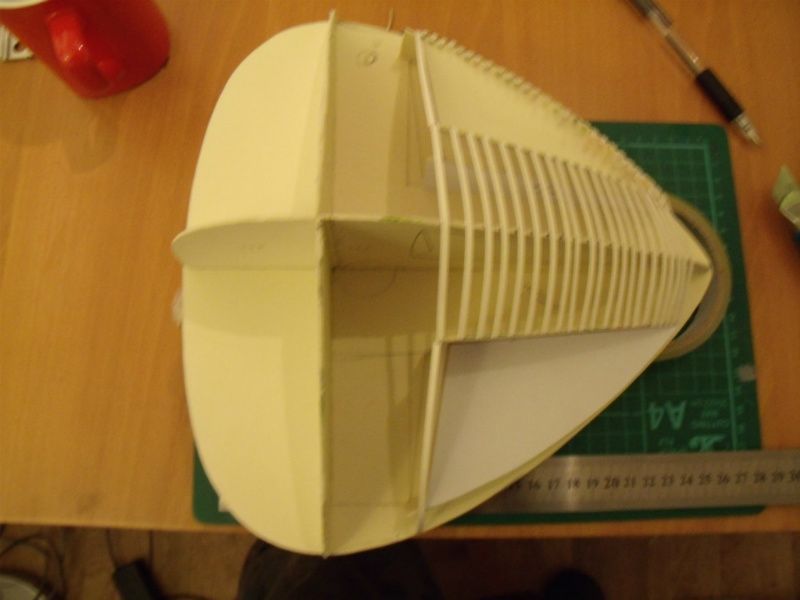
The bottom centre section is also now ribbed and That just leaves the arc behind the windows, on the under section to do.
I hope that you will enjoy this first installment and that you will all leave a comment to encourage me. I will post again as soon as I have an update and in the meantime here are a couple of shots to leave you with.
Bye for now and thanks for looking in!
07/03/12
This time I am building a 52.25 inch Eagle Transporter from the Classic 70's T.V. Series, SPACE 1999.
Before anyone shouts it out, I know that the largest studio Eagle was just under 44 inches, but after a lot of research, I found that a 50 inch Eagle would be a better option on many levels. Firstly, at 50 inches, all the dimensions transform beautifully into metric, which allows me to use cheaper materials, such as wooden dowel for the spine etc.. Secondly, I can't ever remember ANYONE having a 50 inch Eagle so, that makes it the biggest to my knowledge.
Thirdly, I already started my build and it is bigger...ahem........:$
The first two points here are still VERY valid reasons to upscale, so I am going to stick to my guns on this one.
Before I start, I would like to send a HUGE thanks out to GPS for the incredible blueprints, LMFAOSchwarz for the superb Hi resolution reference pics and also Robn1 for his fantastic offer of Bluray caps if needed. You guys ROCK and this build would not happen without you or, for that matter, this superb forum to post the results on! Enough said! On with the build!
OK, I identified pretty early on, that there are three parts to this build , that would prove to be the most difficult to acomplish: the command module, the engine bells and the 'spine' which runs down the length of the Eagle. The Command Module doesn't have a single solitary straight line on it and the spine has to be built cheaply but still be strong and durable. As for the Engine bells.....Not a clue at this point! Out of these three, I chose to start on the command Module as, I believe it to be the most difficult part of the build - I am ALL for getting the worst bits done first!
COMMAND MODULE
I started by drawing out the three 2D images necessary to create a 3D form: Plan, Side elevation and rear elevation. I then transferred these images to card, cut them out and glued them together...
I have had to cut and glue the extra pieces onto the flat white area to support the 'cutaway' window appertures.
these appertures will structurally support the rest of the command module shell so they have to be sturdy in their construction.
The next stage was to start the ribbing, which allows me to form surfaces that curve left to right as well as front to back. Once completed, these ribs will receive two layers of papier mache, and a coat of resin, before i apply a thin coat of bondo to smooth it out. The detailing will then be fixed to the smoothed out bondo.
Here are some shots of the ribbing as it progresses.
Those untrimmed ribs really make me think of a huge carcass! It certainly has a very organic feel about it!
The ribbing for the point of the nose may not look too pretty but when it is covered, no-one will see it!
The bottom centre section is also now ribbed and That just leaves the arc behind the windows, on the under section to do.
I hope that you will enjoy this first installment and that you will all leave a comment to encourage me. I will post again as soon as I have an update and in the meantime here are a couple of shots to leave you with.
Bye for now and thanks for looking in!
07/03/12
Last edited: