Re: Rumpelstiltskin from OUAT WIP - PIC HEAVY!!
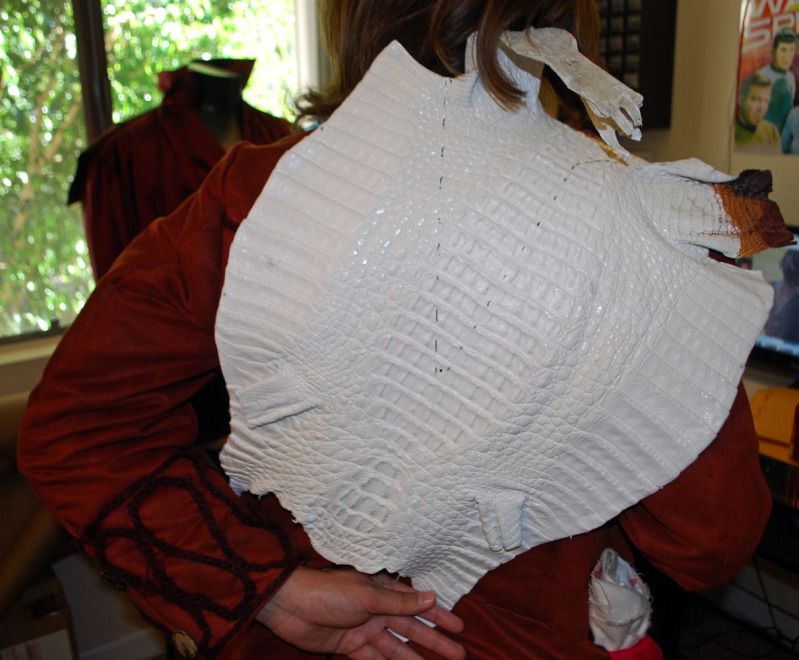
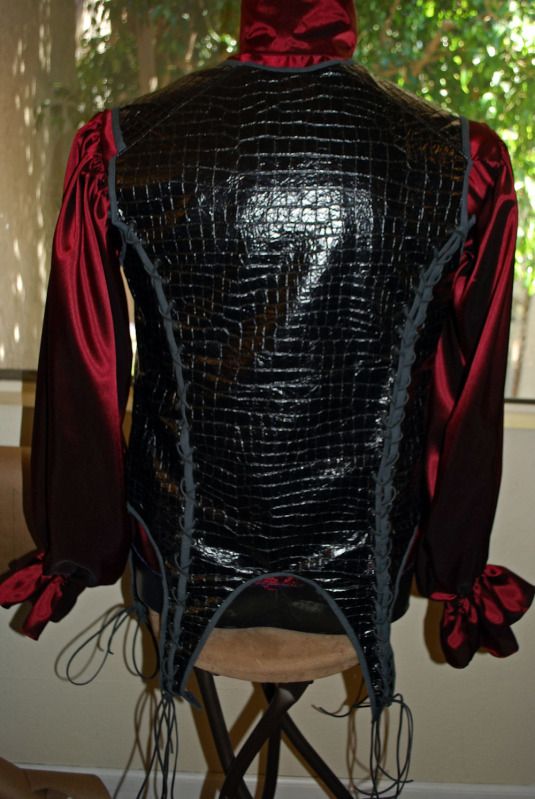
Alright! Loads of WIP photos of the collar. Basically this is what we did today (and are still doing). We laid the croc skin on him and drew out where the cuts need to be made. Then we cut it out and flipped it so it mirrored the other hide and we traced the design out on the other hide as we want them to be pretty symmetrical. The photos are basically the progress of the hides in the original state to slowly cutting them out into their final pieces before being dyed and sewn together. Hopefully they make sense but I'll try and explain as I go along.
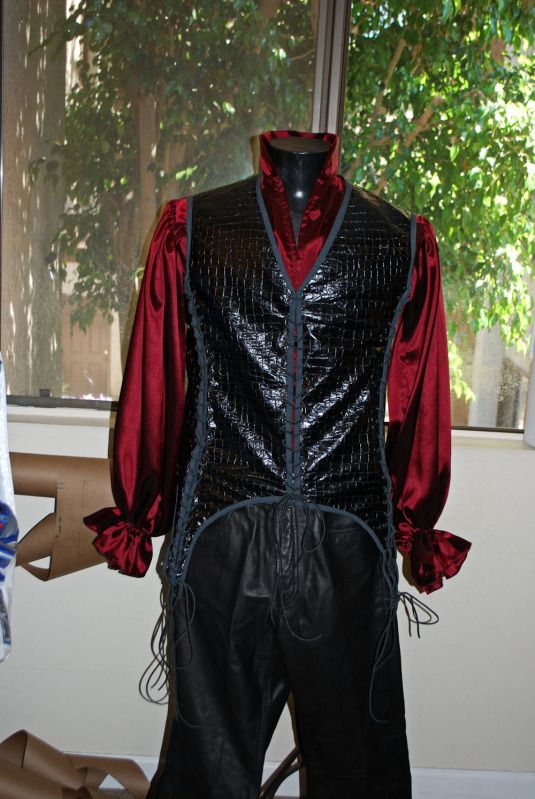
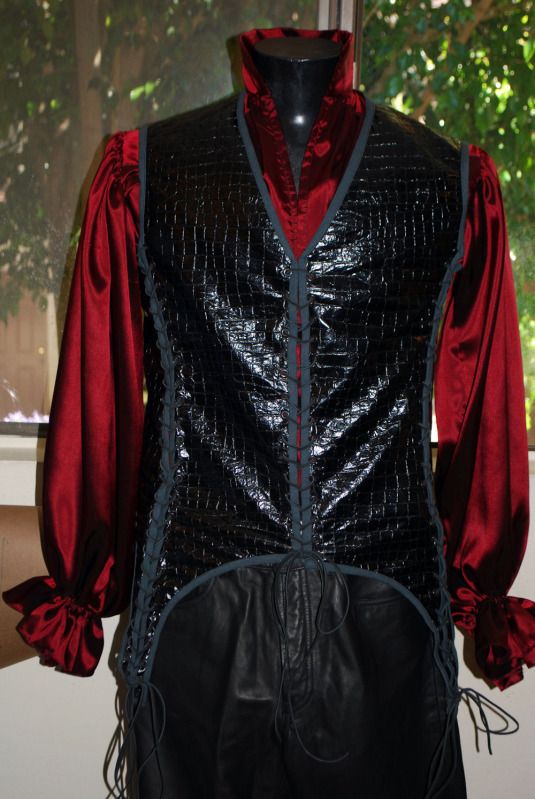
Did it over our Mad Hatter jacket since it's a similar style and fabric as his jacket.
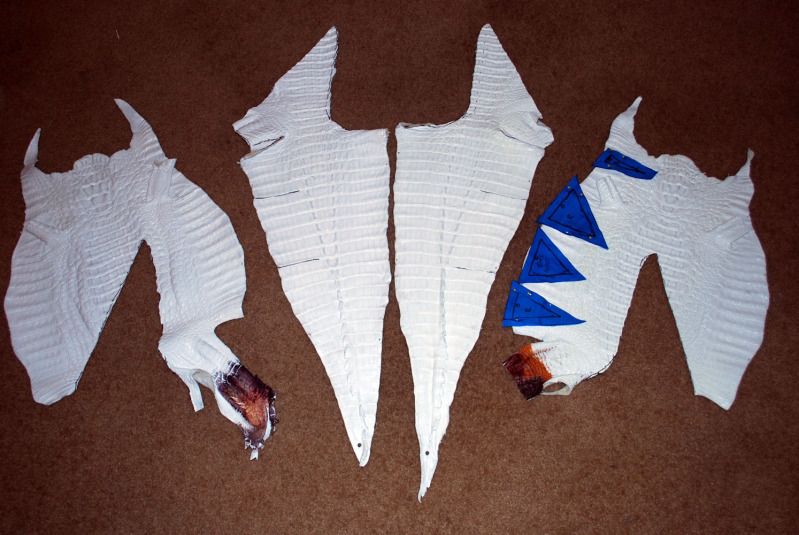
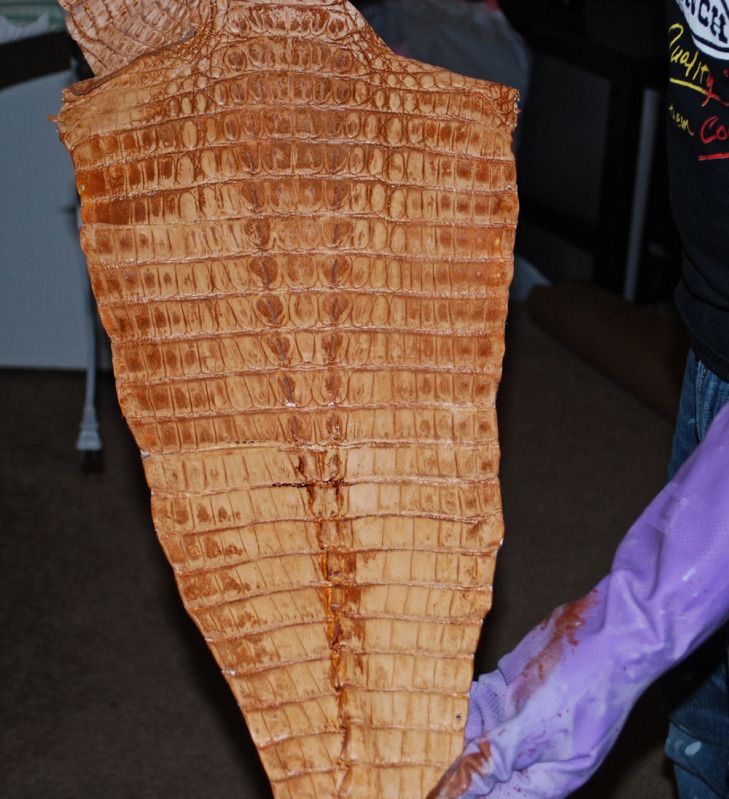
You can see the sharpie markings as well as on the leg are the colors that were bought and tested for the real deal. That leg was stripped using acetone and the 3 colors that will be blended are saddletan (the lightest), mahogany and chocolate.
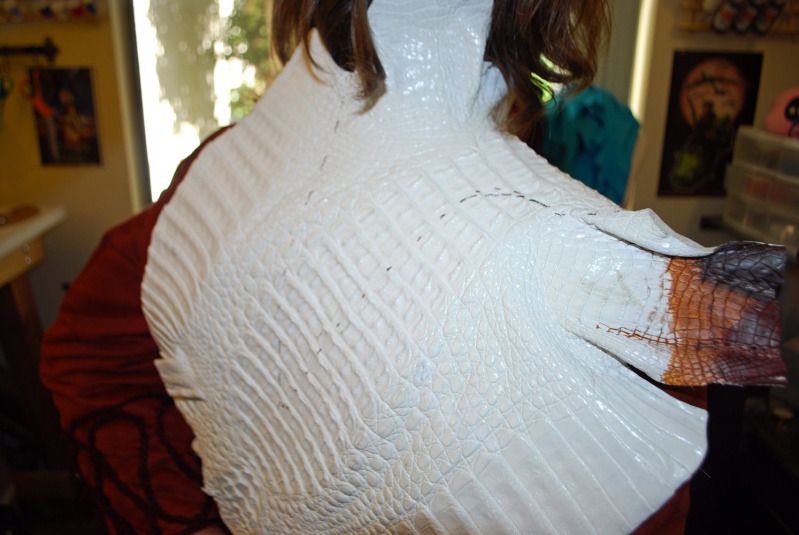
The piece cut out with the gusset areas sliced open. This was the Right side.
Tracing it onto the other hide
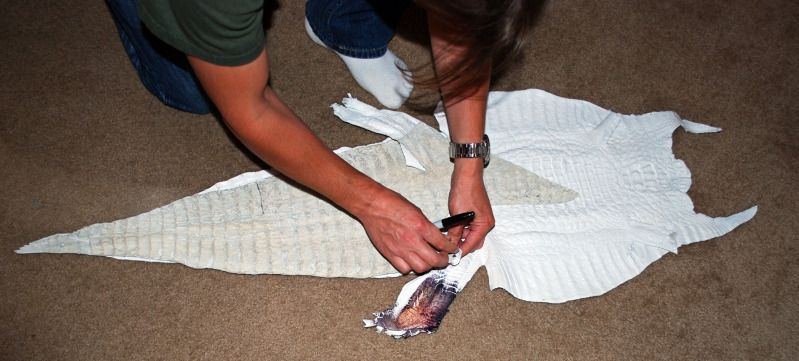
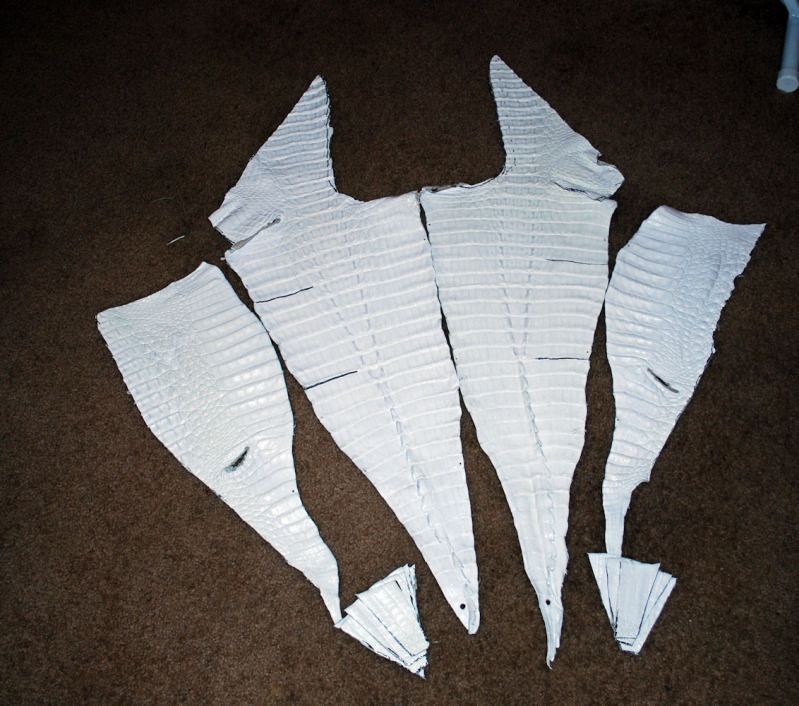
Both main pieces cut out and then laying out the pattern pieces for the actual gusset inserts. The rest of the hide will be used for the facing.
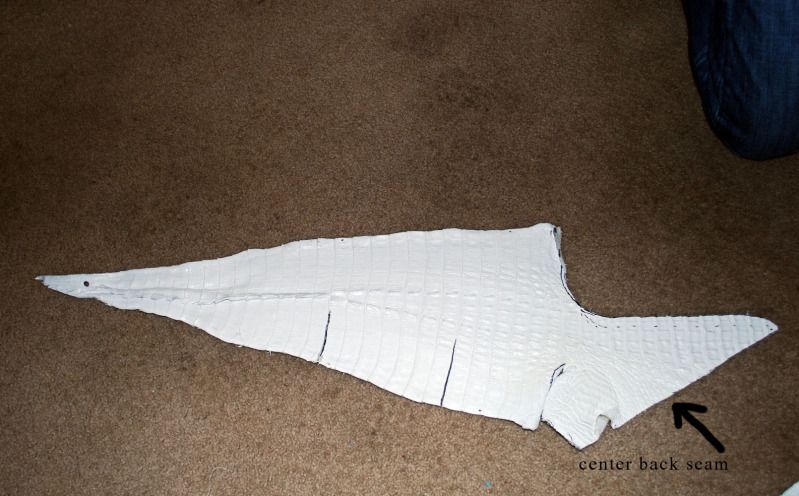
The two main pieces which are touching at the center back seam and the facings which will go on the inside and the gusset inserts for both sides and center back.
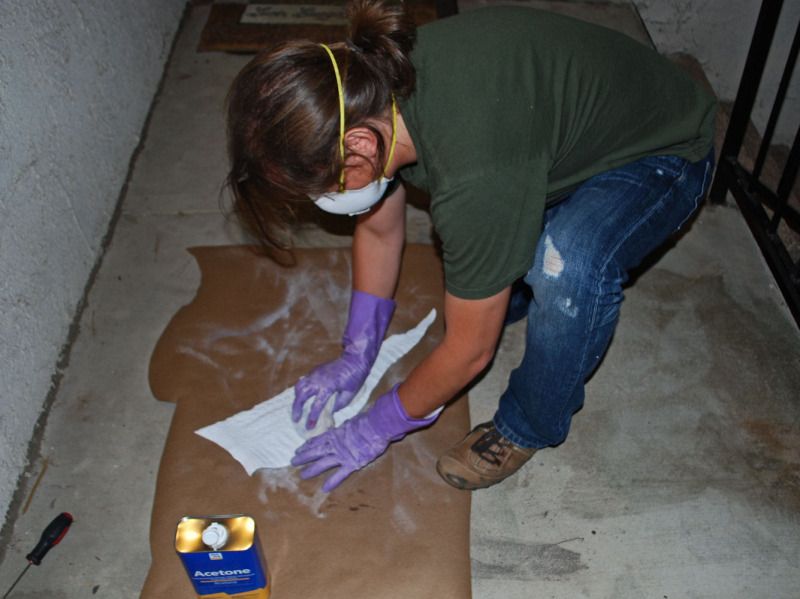
Using acetone to strip the glaze off the hide with a soft cloth
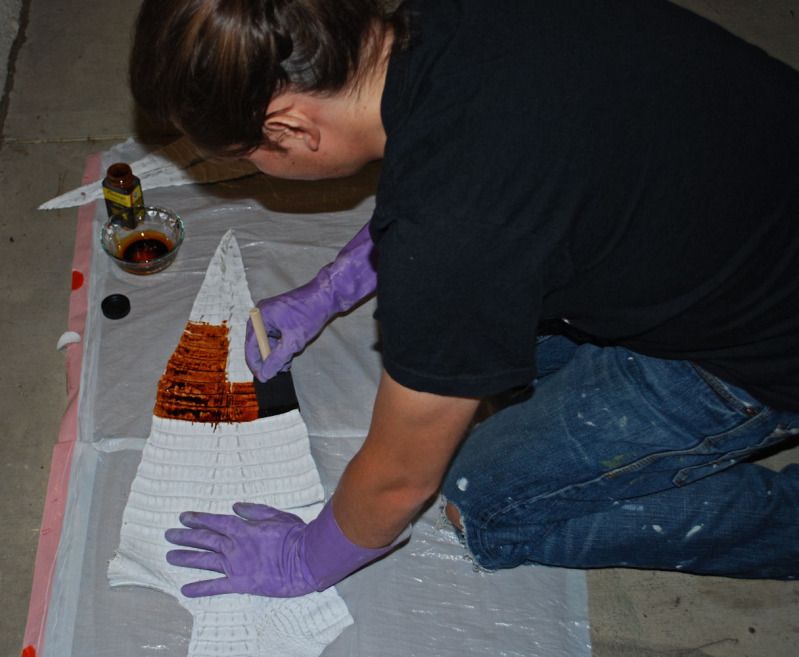
First coat of dye using Fiebings saddle tan dye.
First layer of dye. We're really liking how it's somewhat mottled. Maybe that's a repercussion of using acetone or maybe that's just how the croc hide sort of dyes. Either way, it makes it seem super natural and rough. We're going to do at least another layer of the saddle tan and then the mahogany next and then the chocolate.