Bizarro Lois
Sr Member
Re: Rahm Kota TFU2 - WIP
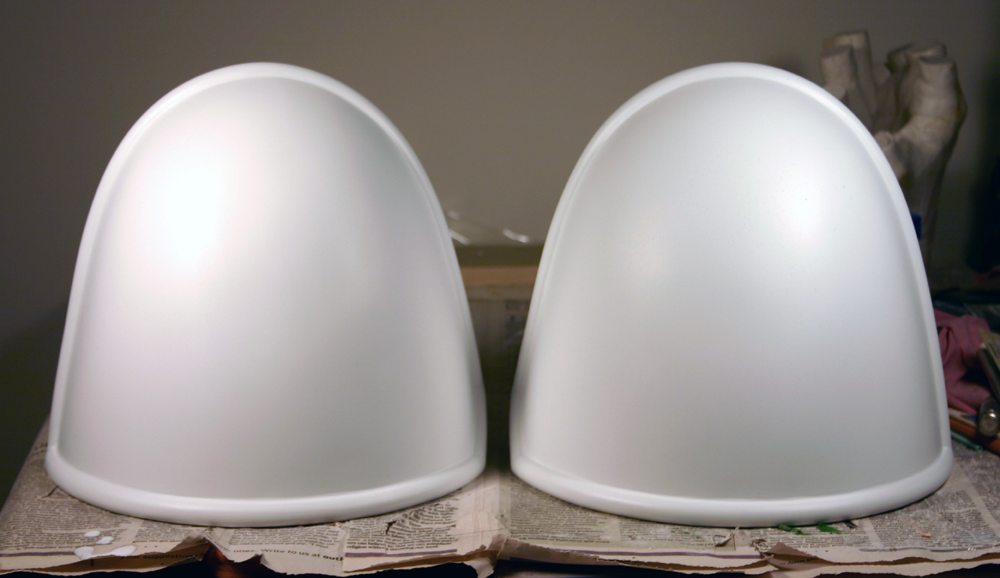
I love seeing your progress pics. Nice work! I hope to someday use mold processes like this for projects, so thank you for sharing. What events will you be wearing this to? Since we're in the same general area and I've seen you at Baltimore Comicon in your first version, I hope to see this one in person as well.
I love seeing your progress pics. Nice work! I hope to someday use mold processes like this for projects, so thank you for sharing. What events will you be wearing this to? Since we're in the same general area and I've seen you at Baltimore Comicon in your first version, I hope to see this one in person as well.