Boba Fett's Slave I Build (by Fine Molds)

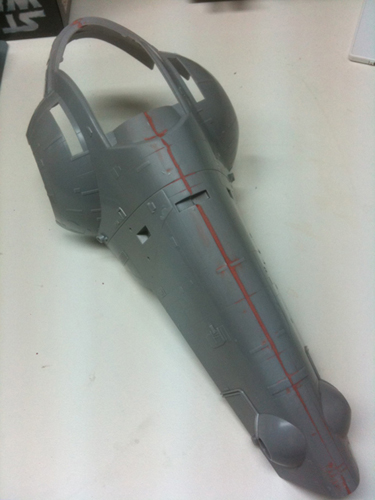
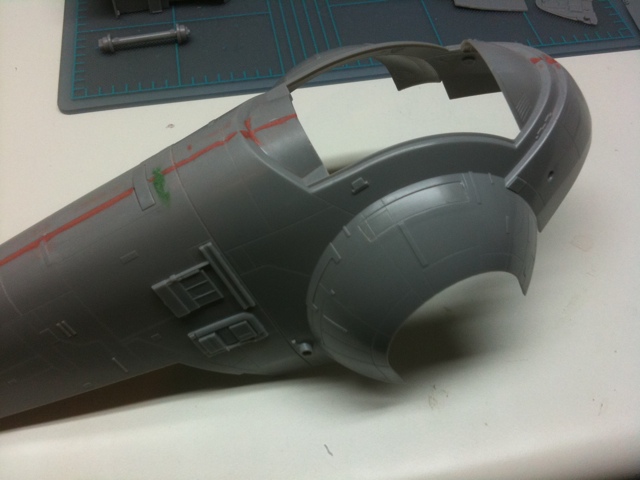
Generally, I think the Fine Mold models are known to be of pretty good accuracy. Obviously, it's not 100% accurate, but I'd say it's pretty close. If you read some of the reviews at Starship Modeler, it rates around a 8.5 out of 10.

Sean
 
hows the accuracy on this kit?


Well its basically a repainted Jango, with a few more parts. Some panellines and details (and scale!) are off compaired to the Boba studio model, probably because its modeled after the Jango version. Some are easy to fix, others are more tricky. Heres one Ive built. Look around the dish.

under6.jpg


I just filled the hatches, rescribed most of the wrong lines, and added some tiny squares.

slaveklar7.jpg


Its a nice kit for sure, and very fun to paint. They could have nailed it with better details though.
 
Last edited:
Thanks again for the tip, Nazgul. I have Sculpting a Galaxy on my bookshelf. I'll be sure to check it out for painting reference. As for the build, I think I'm just going to stick with an out-of-the-box build.

Next up are the wings. Each wing is comprised of three subassemblies: what I’ll call the outer wing, the strut, and the inner wing. There are a handful of parts for each subassembly, so progress was a little slower today, but I managed to get one wing assembled. Following the advice of this article at Starship Modeler, I decided to keep the three parts separated until after painting.

20110213-040029.jpg


Sean
 
What a friggen nightmare of a buiild that was... I think I went thru two tubes of Testors putty to fill in all the seams and cracks because the two halves never did fit together properly.
And that's the reason I suggested it (aside from crackin' wise, that is). Fine Molds' kits are engineered so well that masterjedi322 won't learn much about using putty to hide seams by building one of their kits. The MPC/AMT kits, on the other hand...some are better than others, but they all require at least a little extra work to make 'em shine.
 
Today, I finished up the right wing subassemblies, which are basically a mirror image of the left side I completed earlier. Each wing has a rod that is to slide through the support strut into the third piece, which I’ll refer to as the wing mount. The wing is supposed to rotate freely through the support strut so that the wings can be displayed in either the horizontal or vertical positions. A quick test-fit showed the fit through the strut was a little tight, so I had to file down the rod and the inner diameter of the strut section to get a good fit.
20110219-032724.jpg


After the wings were finished, I moved onto the fuselage. I separated the two halves from the sprue, and filed down the minor flash that was left over. Overall, the two pieces look pretty good, although the right half does have some rough spots around the upper canopy area that I’ll mostly likely need to putty over. This isn’t a huge deal as I plan on puttying over the seam that will run down the length of the fuselage once the two halves have been put together. I’ll leave that for next time though.
20110219-032930.jpg


It looks I'm also going to need a panel-line scribing tool to restore any lines that may get puttied over when I join the two halves together. Does anyone have any recommendations?

Sean
 
For the deep line where the halves meet, I used reg superglue with baking soda (dont let it cure to long as it gets really hard.)

Ive used auto putty too, but it can be tricky to scribe.
 
After a small hiatus, I’m back to Slave I. Today, I decide to join the two halves of the fuselage together. I first attempted to do so using the Tamiya Thin Cement, which I’ve been using throughout the build. However, the cement didn’t quite have the hold I needed it to. Nor did it provide me with enough time to get the two halves aligned and joined. Instead, I used some of my old, trusty, Testor’s modeling cement. This stuff is a bit thicker and slower-setting, but it worked perfectly for my application. After the cement had a chance to cure, I went down the seam with some automotive spot putty, being careful to minimize any excess. After that has sufficiently dried, I’ll need to sand down the seam and restore some of the panel lines and detailing that was covered by the putty, but I’ll have to save that for next time.
20110319-100949.jpg


While I was waiting for the fuselage halves to set, I decided to assemble the two lower laser cannons. These went together relatively quickly, as they’re composed of just three, small pieces. They’ll mount to the two hemispheres you see at the bottom of the main fuselage.
cannons.jpg


Sean
 
Today I started sanding the seam of the fuselage. I started with some 215 grit paper and moved onto 400 before finishing up with some 600. I used the wet-sanding method to help prevent any additional scratches, and it seemed to work well. I won’t know for sure until I prime.

Next, I’ll need to restore some of the panel lines that were puttied over.

Can anyone recommend some good tools & techniques for doing panel lines?
sanded_seam.jpg


Sean
 
I use an old exacto knife blade to groove panel lines. Start the line by pulling the blade carefully a few times to create the new panel line. Once you have a line grooved, then you can go ahead and push the blade through the groove to clear out some of the plastic you want to may want to remove and give you the depth of the line you want.
 
It’s hard to believe it’s been almost three months since I’ve been at my workbench, but such is life…

Anyway, I managed to get back to Slave I today. After having puttied and sanded the main seam between the fuselage halves, I had to rescribe some panel lines. I did this using a Tamiya scriber and a flexible ruler I picked up at Staples to use as a guide. It looks pretty good, but I won’t know for certain how well it worked until I apply the primer later on.

Next, I added some of the detailing pieces along the hull, and I also attached the small piece that over-hangs the main cockpit area. Due to some misalignment I had with the fuselage halves, this piece didn’t sit quite right. I soaked it in some hot water until it softened, and then gently bent it into shape before gluing it into place.
20110610-094418.jpg


Sean
 
Looking great! Being based on the Jango version, some of the panel lines and the hatches are wrong. If you want to correct those, nows the best time for it.

Oh, and my lifes the same. Havent had time nor extra money for a while.
 
This thread is more than 8 years old.

Your message may be considered spam for the following reasons:

  1. This thread hasn't been active in some time. A new post in this thread might not contribute constructively to this discussion after so long.
If you wish to reply despite these issues, check the box below before replying.
Be aware that malicious compliance may result in more severe penalties.
Back
Top