Nerf Gun Props? YES!

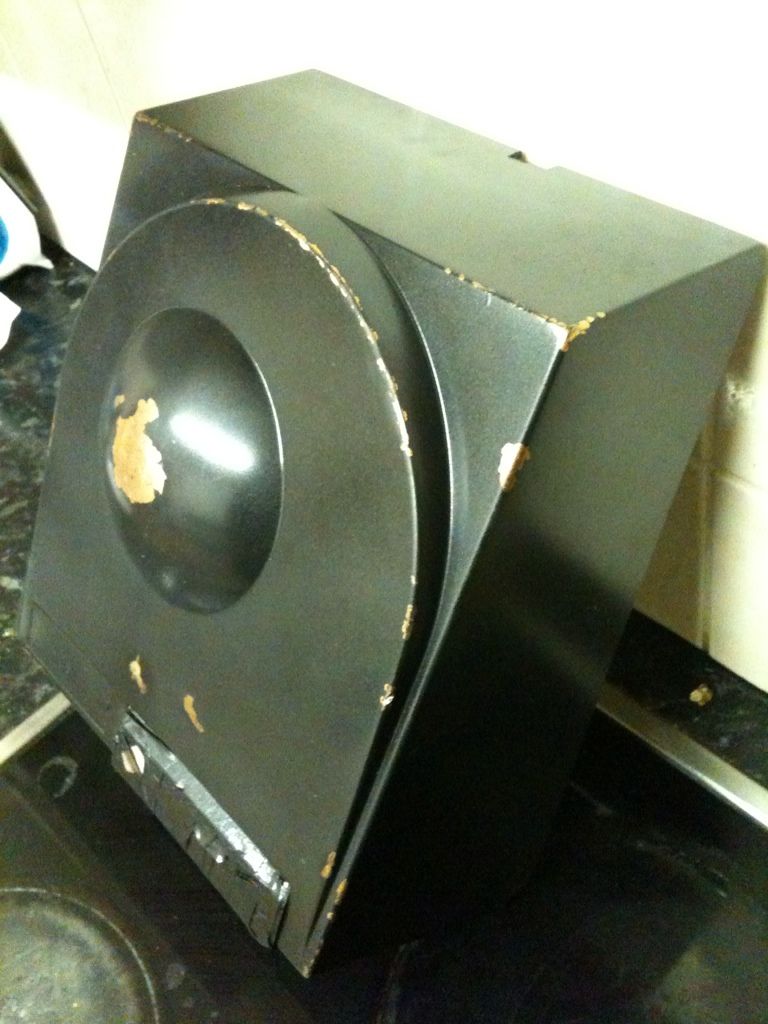
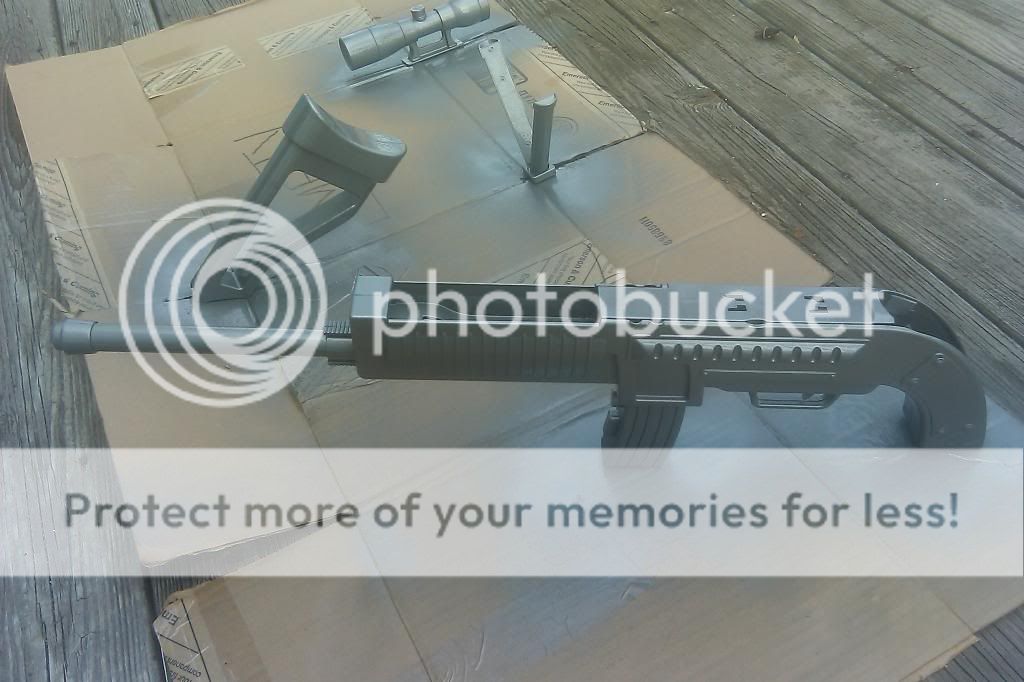
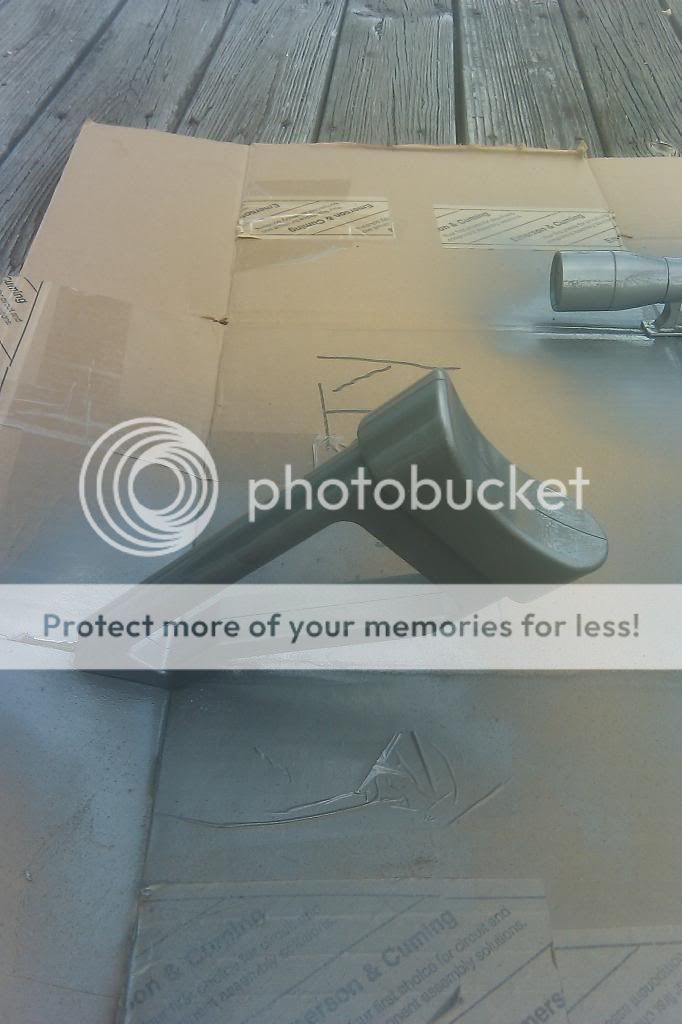
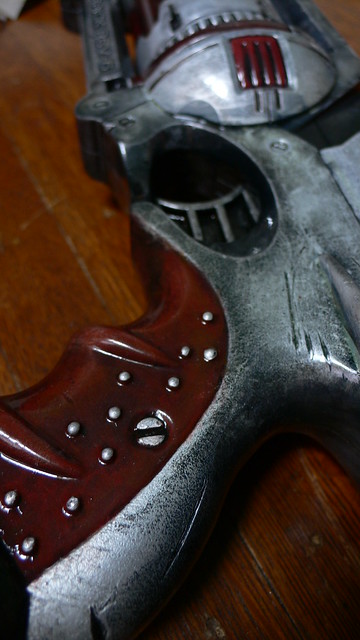
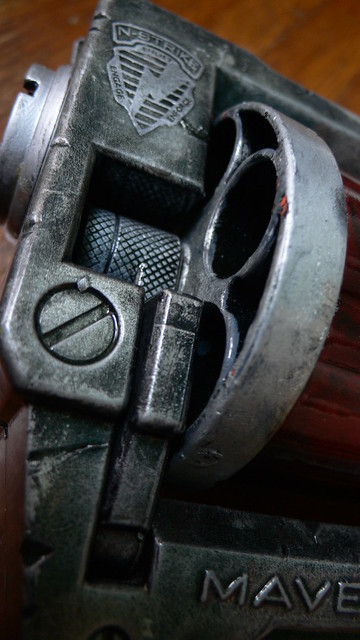
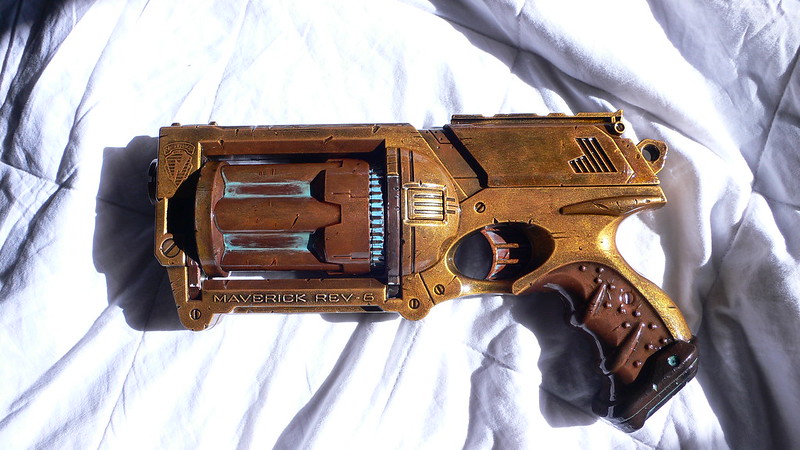
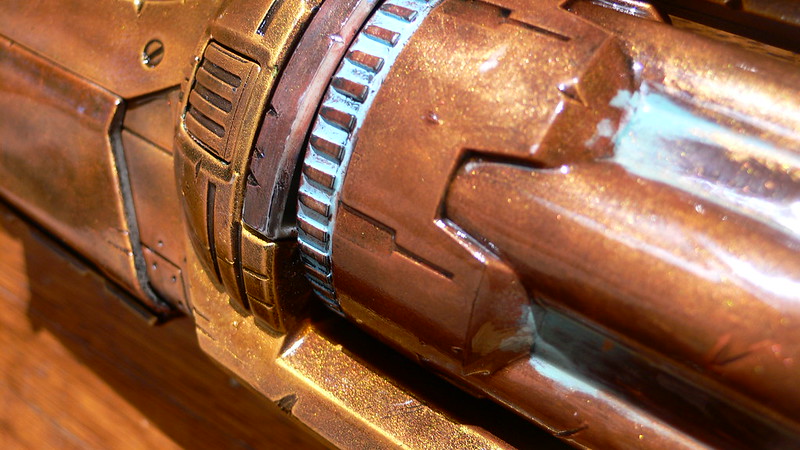
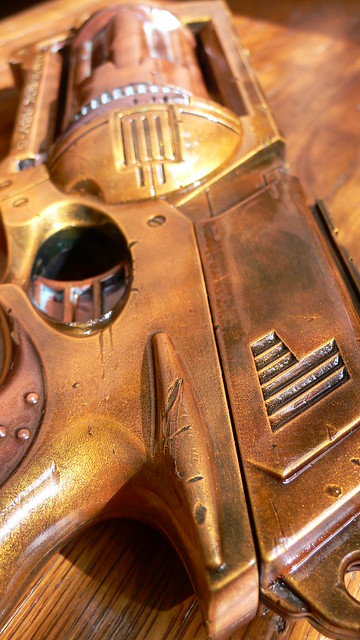
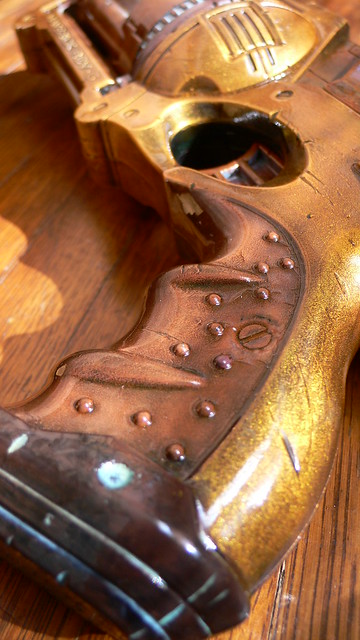
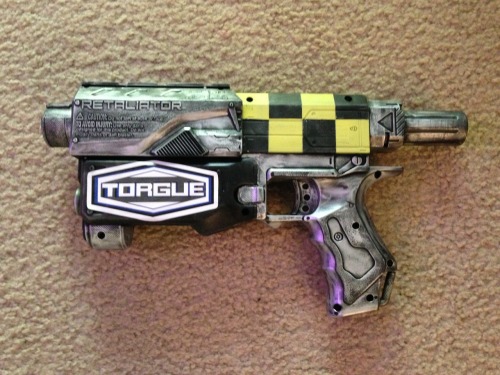
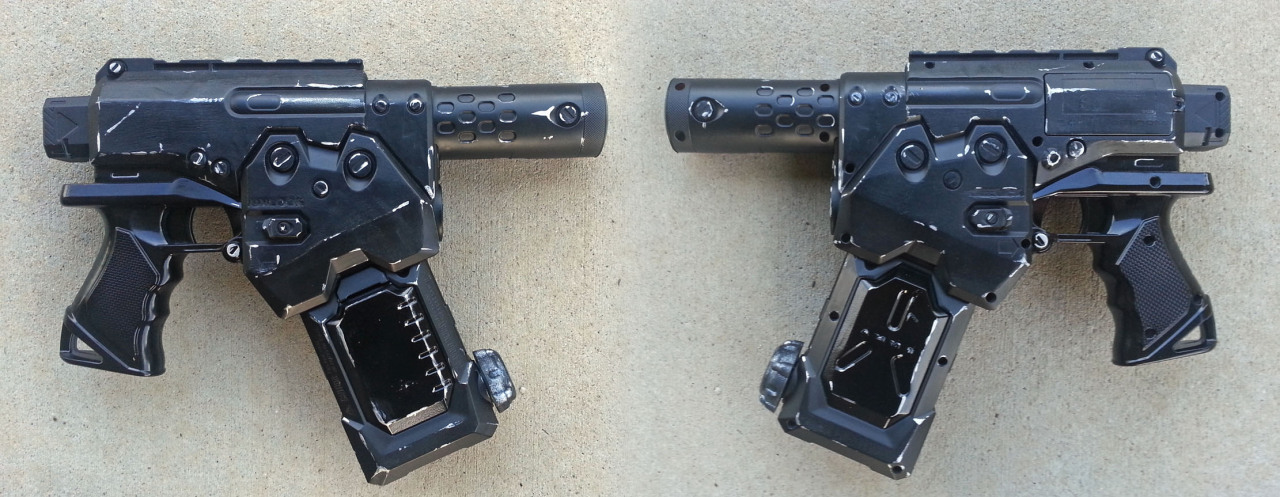
Here are two of my nerf projects from a few years back:
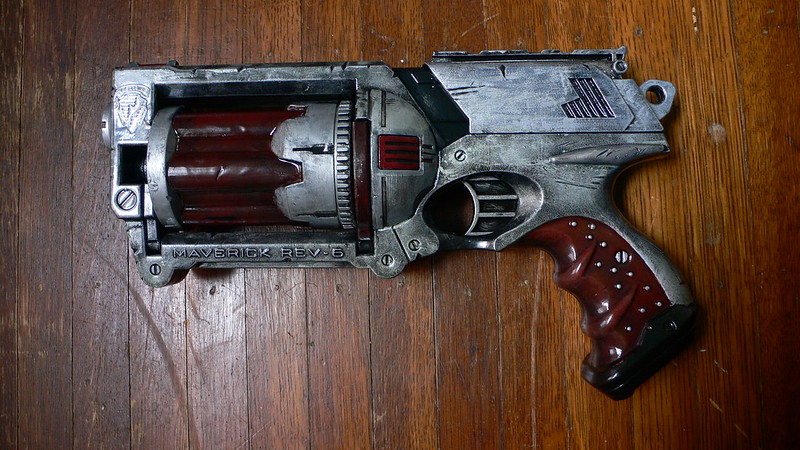
8625302986_01eda1018e_c.jpg


8625300726_354d28b78f_z.jpg


8624194027_d5866c2bcf_z.jpg


8625297606_e4c5fb493e_c.jpg


8625295606_c4a351f394_c.jpg


8625292464_aaa6cbf680_z.jpg


8624185291_ce667702f3_z.jpg
 
I thought I'd share a Borderlands inspired one I'm working on right now. It's still a work in progress, but I just got the "Torgue" stickers in today so it's looking much better.

tumblr_mkwb19WuDP1qksmqao1_500.jpg
 
Awesome work guys, keep em coming :)

@copperwatt - love the brass maverick, the weathering on it is spot on :thumbsup
 
Not a Nerf gun, but a fake gun no less. I'm painting up this Wii-Mote sniper rifle that's been sitting on top of my media shelf for a year to look more real.

aa0de6eb-0694-4948-85ea-ea1a6b34f961_zpsf15b73ec.jpg


11296d15-be87-47a8-b3d3-cdbaa42d9763_zps92d2b698.jpg


I removed some stickers and filled all of the screw holes with hot glue, the grooved lines in the mag on either side of the two screws there I carved out the dried hot glue with a file. Next up is to sand and give a first coat of Rust-Oleum hammered Steel and depending on that a final coat of hammered Gold followed by weathering.
 
@SupaTrooper
That is looking fab! I love all the detail with the chipping. Did you do that with a texta? Are you intending on using it as a water blaster or is it for display? If it were mine and for display I'd have probably cut the cap off.

Looking forward to seeing what the scope looks like too :)
 
Rough sanded it today and laid down two coats of the hammered steel, I'm thinking one more coat of steel then it's time for the top coat of hammered gold/copper. The plan is to sand off the gold in areas to expose the "bare metal" to give it some weathering.

IMAG0492_zps66104d06.jpg


IMAG0491_zps137679e0.jpg


IMAG0490_zpsf04e0462.jpg


IMAG0489_zpsea59b9c7.jpg
 
I know this is a stupid question, but I am new to this (currently making Arc Reactor and Sniper Rifle props) What do I use to get that nice real metal look? and what paint do I use?
 
I know this is a stupid question, but I am new to this (currently making Arc Reactor and Sniper Rifle props) What do I use to get that nice real metal look? and what paint do I use?

There are tons of metalic paints out there, for the sniper I'm doing a few posts above I'm using Rust-Oleum Hammered. It's meant for patio furniture, doesn't require primer and is meant to hide flaws. Plus it dries looking pitted giving it a used look right off the bat.
 
I know this is a stupid question, but I am new to this (currently making Arc Reactor and Sniper Rifle props) What do I use to get that nice real metal look? and what paint do I use?


Most people use "hammered texture" silver spray paint. To "weather" it (make it look like old used metal), first take some black paint, wipe it onto a portion of the gun, then use a cloth to wipe it off immediately. That is called a "wash", and it leaves a thin layer of black in all the nooks and crannies, giving it a dirty look. Then, take a paintbrush, load it up with silver paint and wipe most of it off on a piece of paper till you have just a barely-there thin coating staying behind--and drag the brush very lightly along all the high points on the gun. This is called "dry-brushing", and it leaves behind a nice "worn" look to it.
 
Another technique is to paint the item in its representative metal colour first (chrome, brass, gun metal etc etc), once properly dry, seal that with a clear/top coat.

The idea is to mask off all the scratches/chips and the like, then give the item its proper paint job leaving the masked areas on.

A favorite mask of mine is latex, I can use all my paint brushes with it including fine grades (as long as I wash them before it cures), and a hairdryer speeds things up considerably. Others have used hairspray to good effect, vasaline is also used, though I've not bothered with that one as its a pain to cleen up after.

Each produces different types of results, it all depends on how uou see the item being used to have aquired the weathering you give it.

Once you have given the item its main paintwork, and prior to washes, remove most of the masks from the item to reveal the metal paint job underneath. I like to leave one or two till the very end after ive finised weathering it as washes will dull the metal paintwork some (older chips/scratches), so by leaving one or two till then, they look like new chips/scratches :thumbsup

Here is a pic of a hand dryer cover I did for a friends steam punk café using the above technique:
e5559ad9.jpg
 
ok finally got a camera so here's my steampunk lighting blaster. note the flashes in the lighning generation chamber inthe 2nd picture. that's 5 randomly flashing leds buried inside a bunch of transparent blue lego bits
 
Last edited:

Your message may be considered spam for the following reasons:

If you wish to reply despite these issues, check the box below before replying.
Be aware that malicious compliance may result in more severe penalties.
Back
Top