1:1 Millennium Falcon Cockpit Replica - Group Build

approx 45 individual panels

I was actually wondering about the individual components that make it up. Just that console lever assembly must have 50 or so.
I love how this thread is like a walkthrough of every detail of the cockpit. Filling in the gaps in my mental image of what the Falcon is like. It seems like a more real place.
Thanks again.
I found some more pics too...
falconshake4.jpgfalconset3.jpgfalconset2.jpgfalcon-set.jpg
They were here:
http://www.blueharvest.net/images/falcon.shtml
 
I was actually wondering about the individual components that make it up. Just that console lever assembly must have 50 or so.
I love how this thread is like a walkthrough of every detail of the cockpit. Filling in the gaps in my mental image of what the Falcon is like. It seems like a more real place.
Thanks again.
I found some more pics too...
View attachment 440320View attachment 440319View attachment 440318View attachment 440317
They were here:
http://www.blueharvest.net/images/falcon.shtml

Hi C,

I never really thought about it the way you described... but yes, each panel has its own individual parts and greeblies created just for that particular panel. It's really hard to wrap my head around the number of parts used. Many of the parts we've had to fabricate from nothing more than MDF and Acrylic. I think the most complex panel would be either the Silder/Vertical Gauge panel or the nose panels - all the greeblies on those panels were hand fabricated and the parts HAVE to be in the high 100s.

Part of the fun is fabricating everything. I would prefer we knew what the original designers used, find the part and slap it on... but we are having a LOT of fun building everything. :)
 
Yeah, I understand Sofa...here in the Ottawa region (Canada) we had crappy temps the whole month of Feb (-40 C with the wind factor:angry)...oh well, no spraying for me.
Thank God, I'm painting the scaffolding part of my Space Station by hand...inside!

Hey J,

WHOA! -40?! I think you sent us your weather. This morning our temp read 1 degree! Sure, a little warmer than -43. But I don't think either one of us will be doing work outside. ;)

Your 2001 SS is simply brilliant! I admire the dedication and SCALE of the build! LOVE IT!

- - - Updated - - -

29 C here in Brisbane Queensland but a possible Cyclone up north. 300mm - 12" of rain on the way to Brisbane.
Hey J,

12" of rain and a cyclone? Keep your head down and be safe! :)
 
Hi Gang,

The weather has been in the single digits - COLD! There just hasn't been any opportunity to do much of anything. But here is a little minor update! Not much... but an update none-the-less! :)

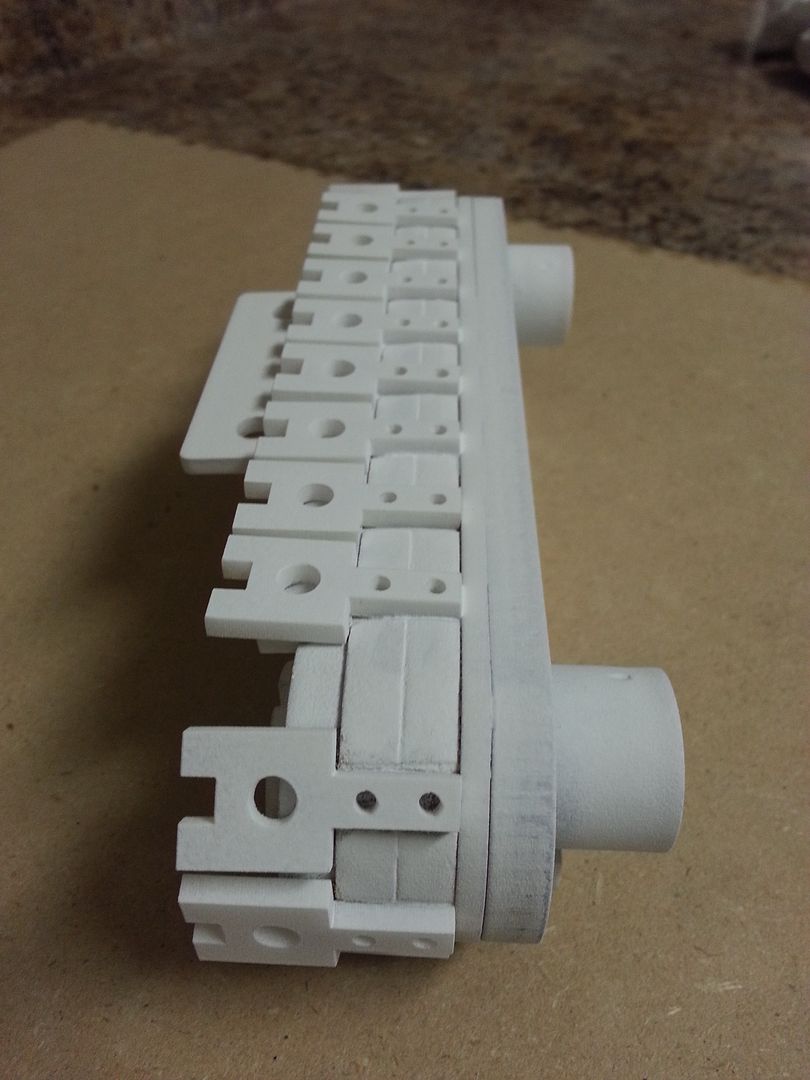
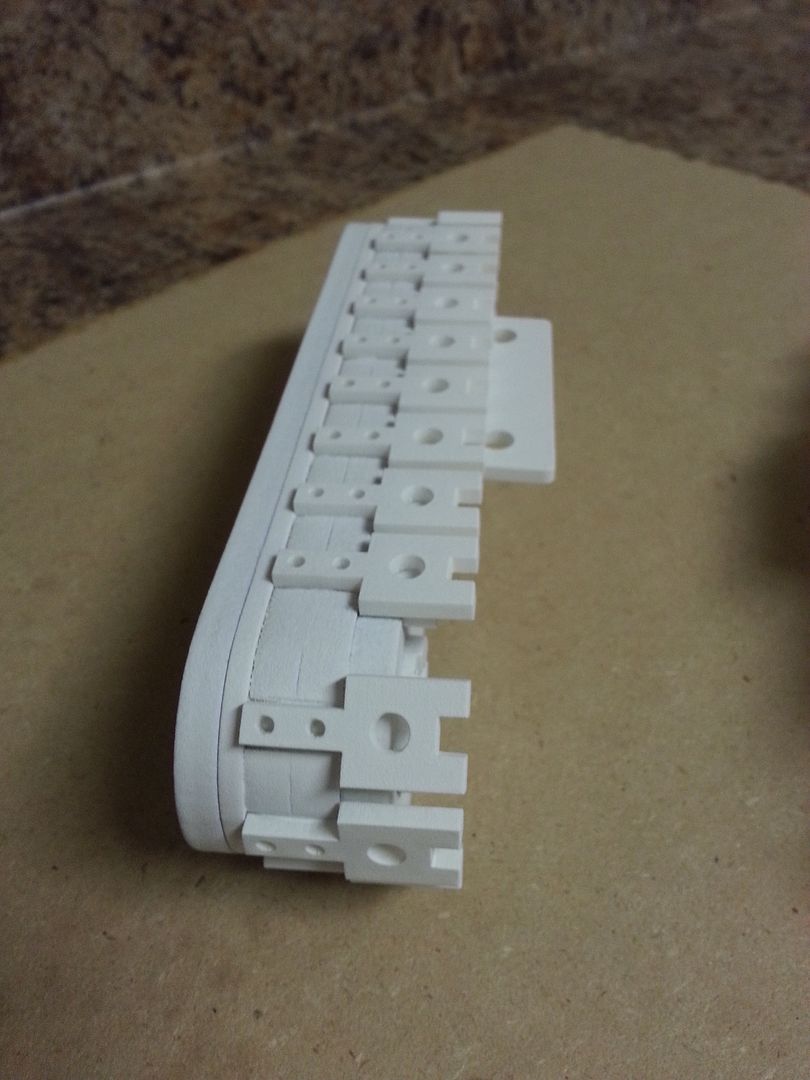
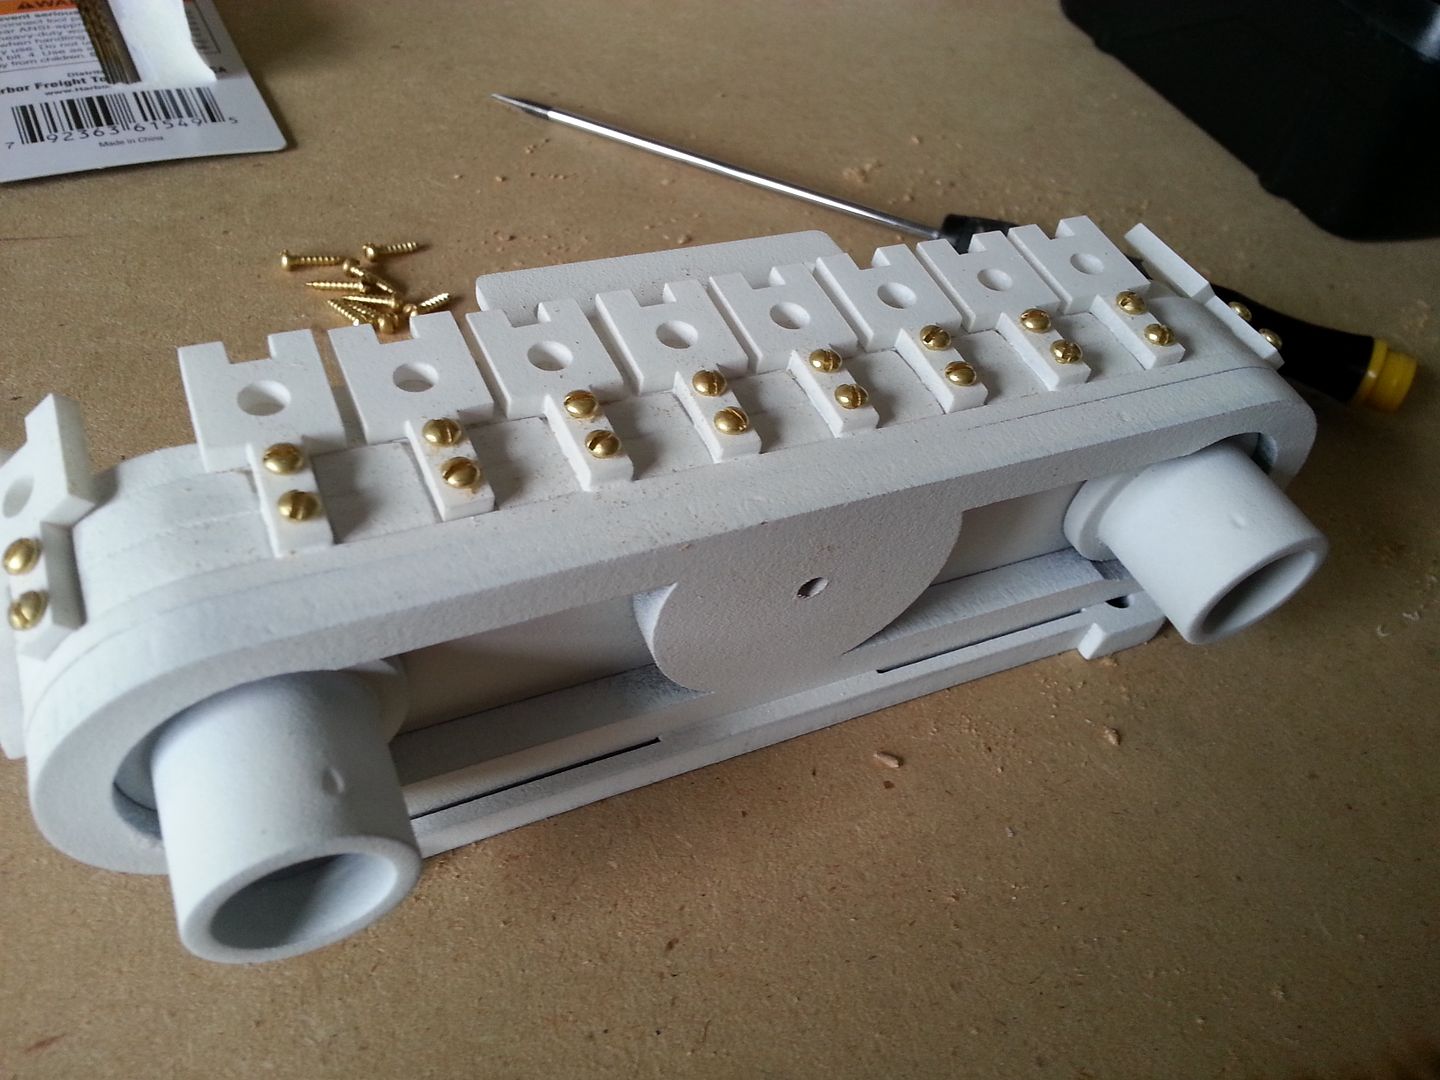
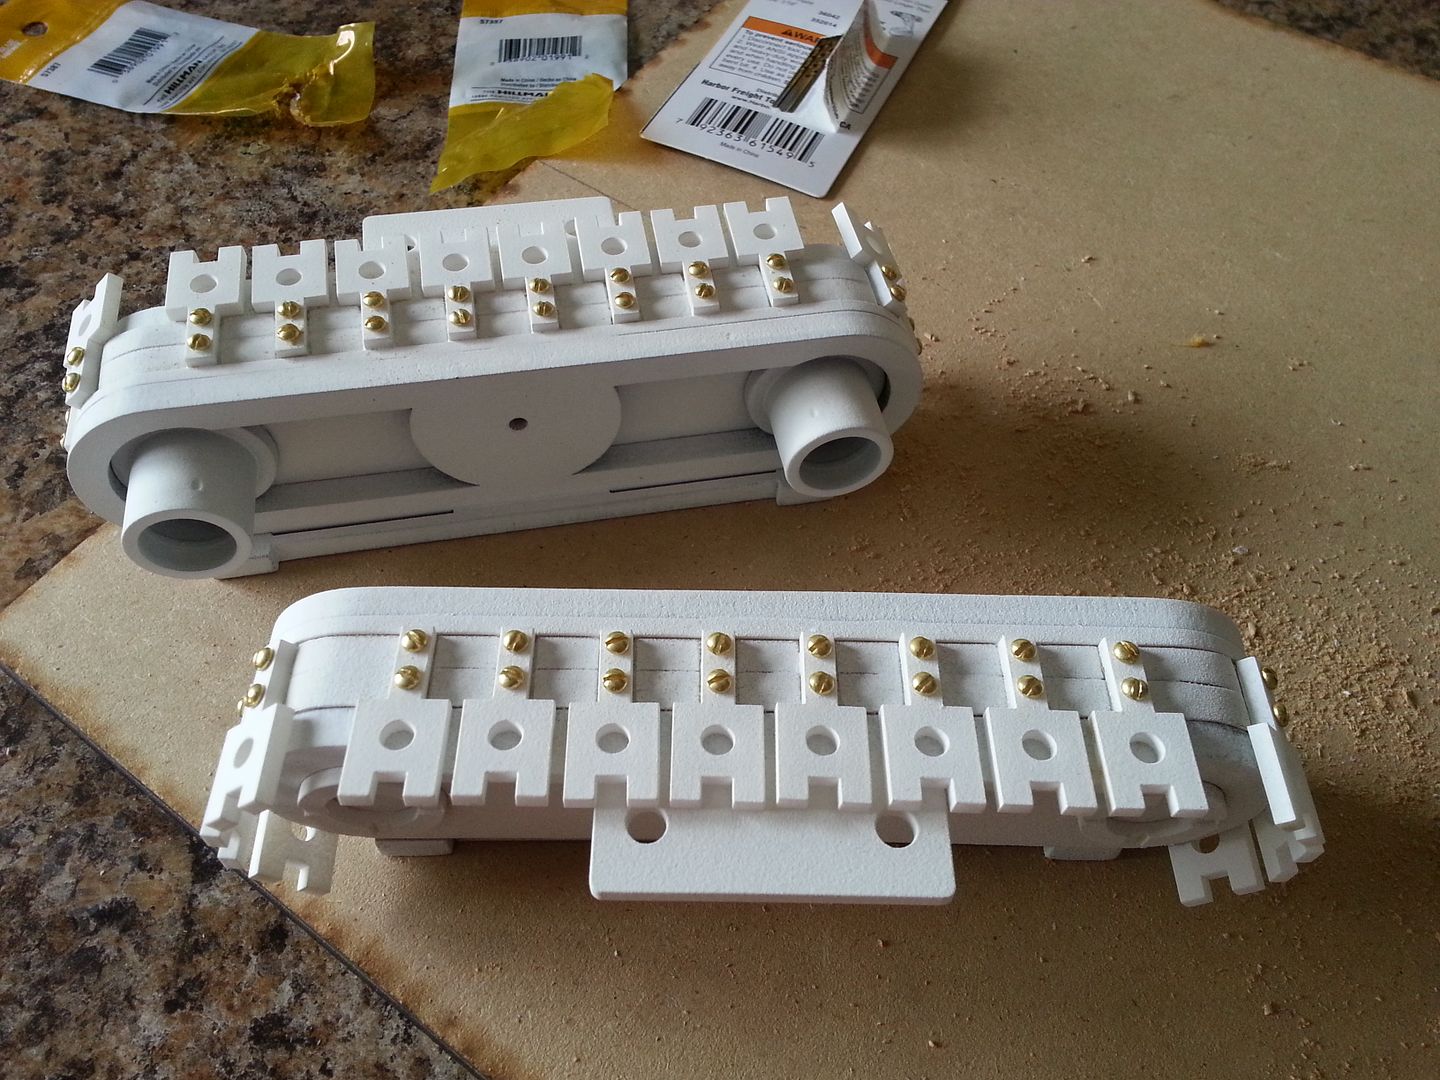
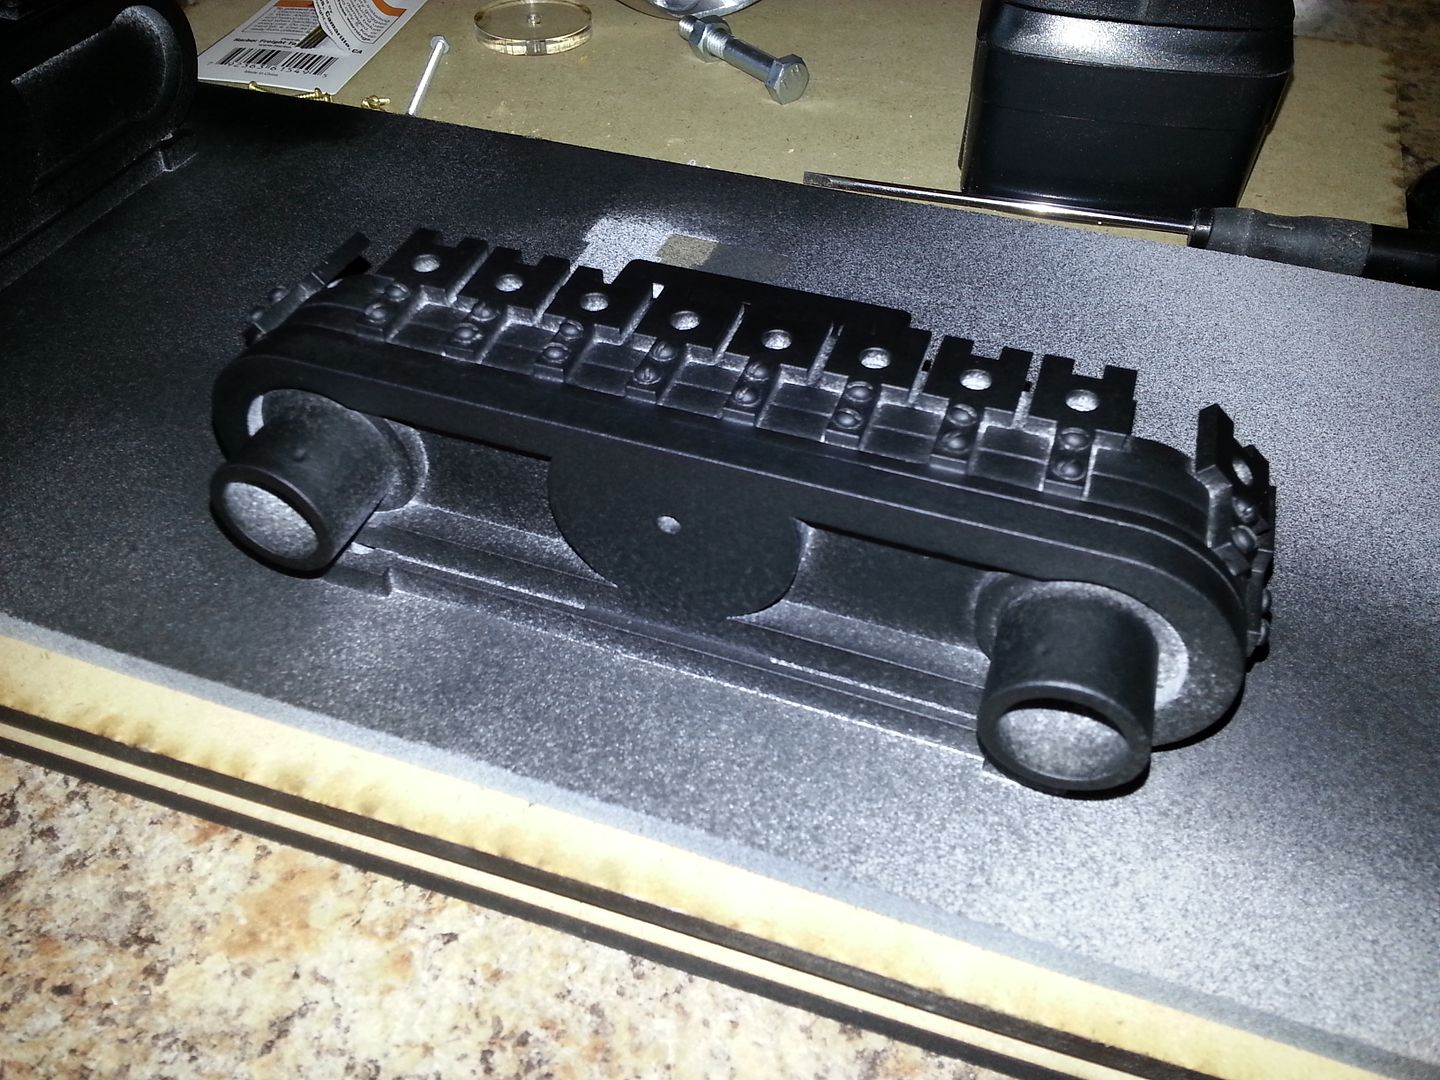
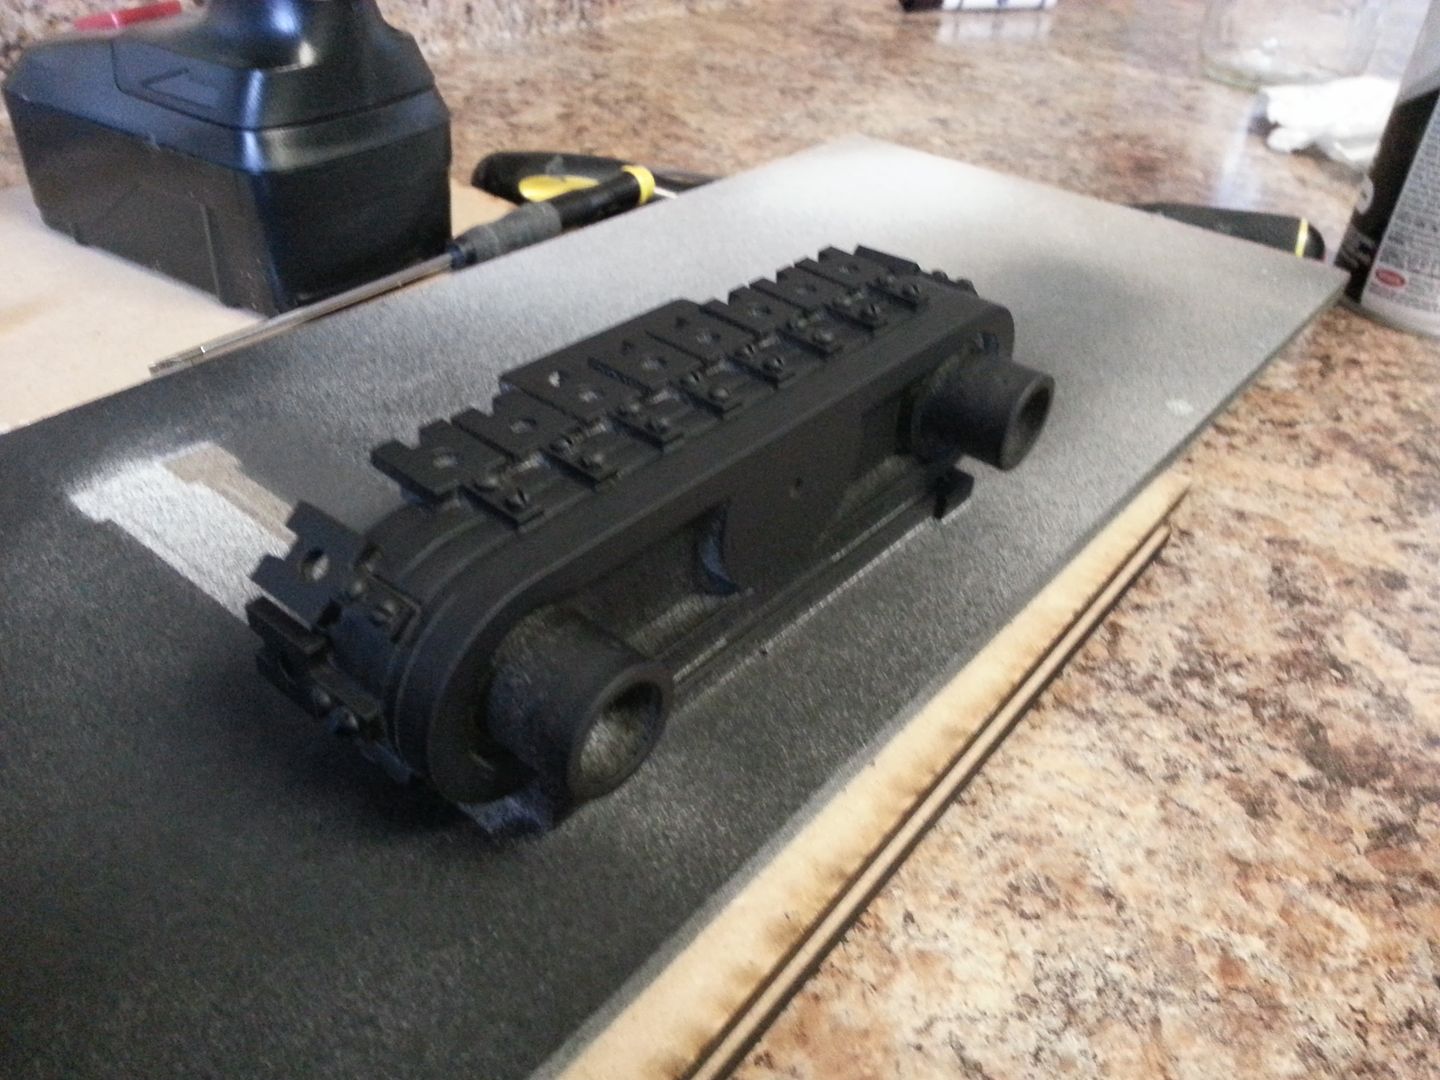
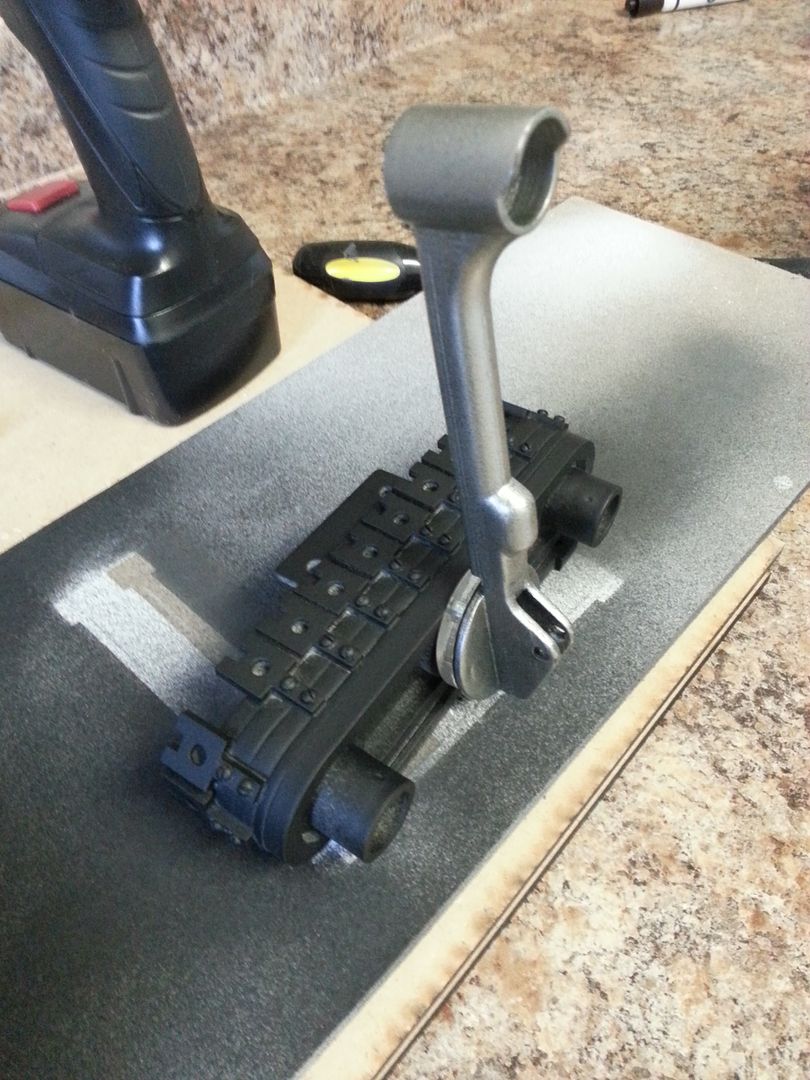
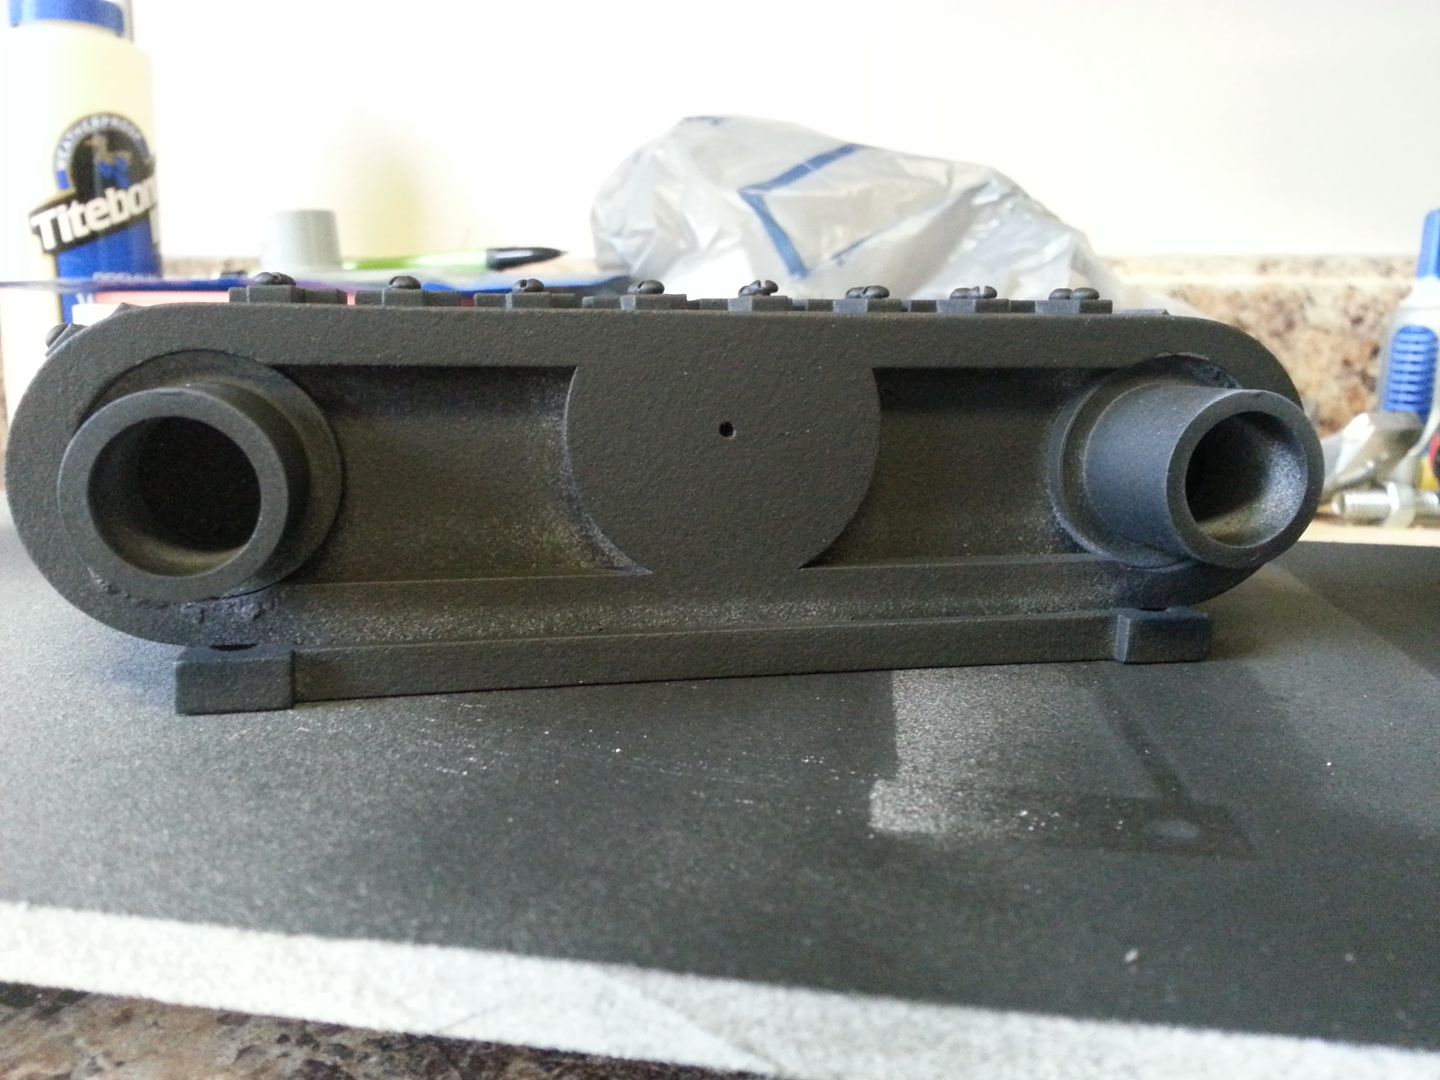
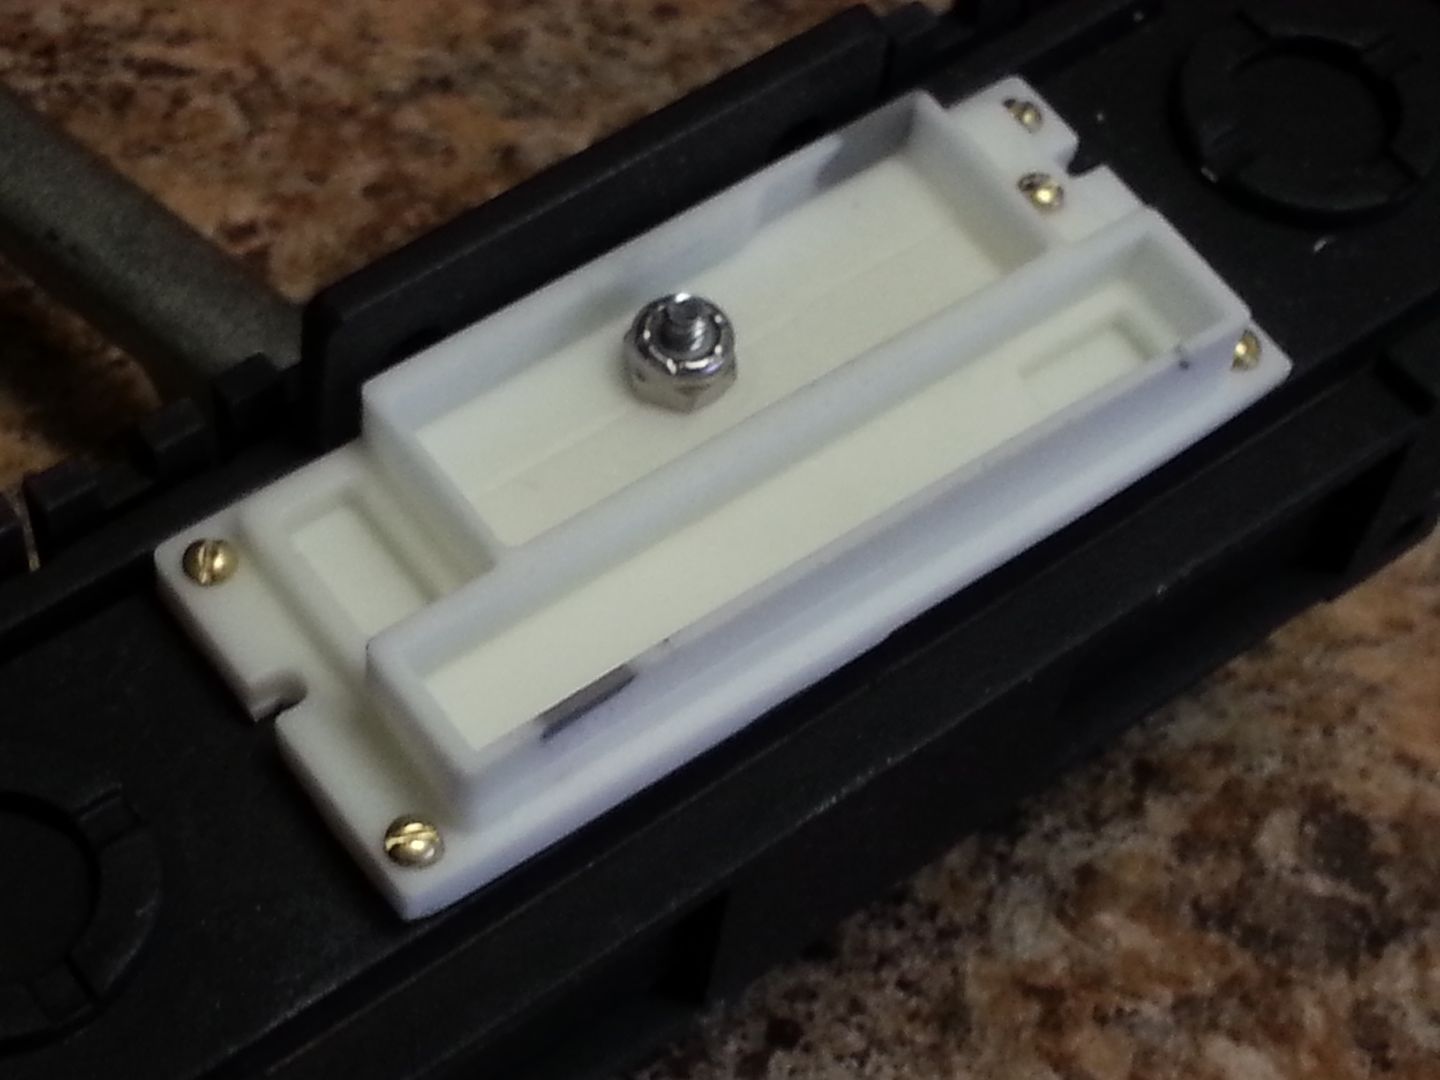
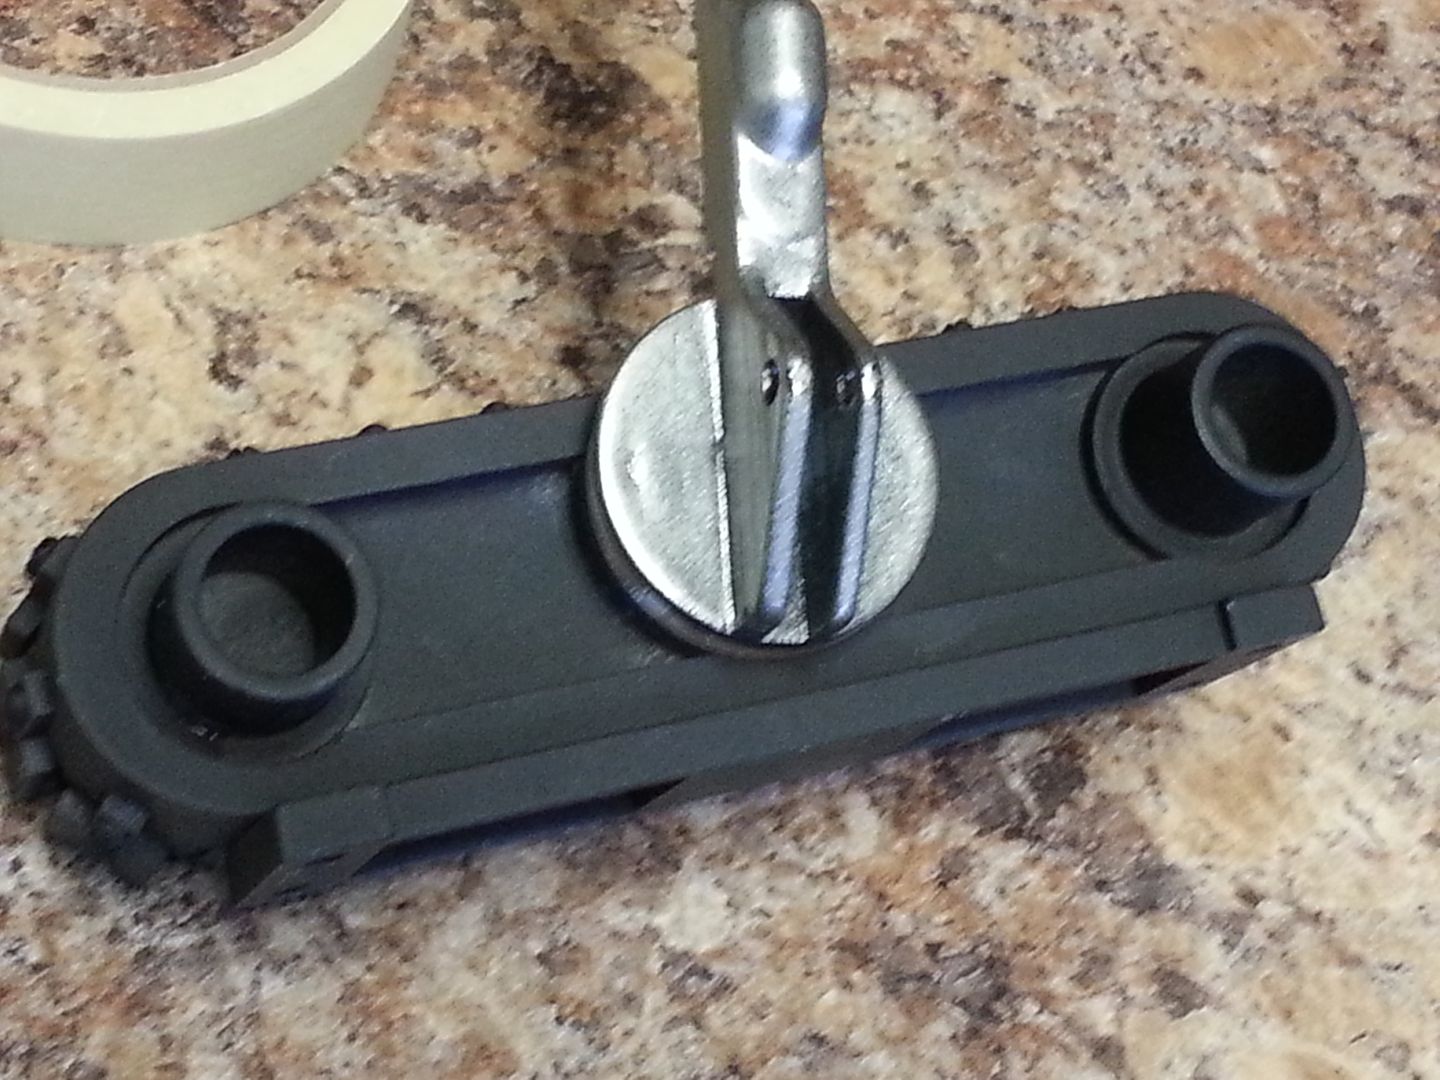
Sprayed some primer on the new armrest console levers
20150215_060229_zpsm0mhebxu.jpg


20150215_060238_zps4tv363ru.jpg


20150215_060248_zps7hngen80.jpg


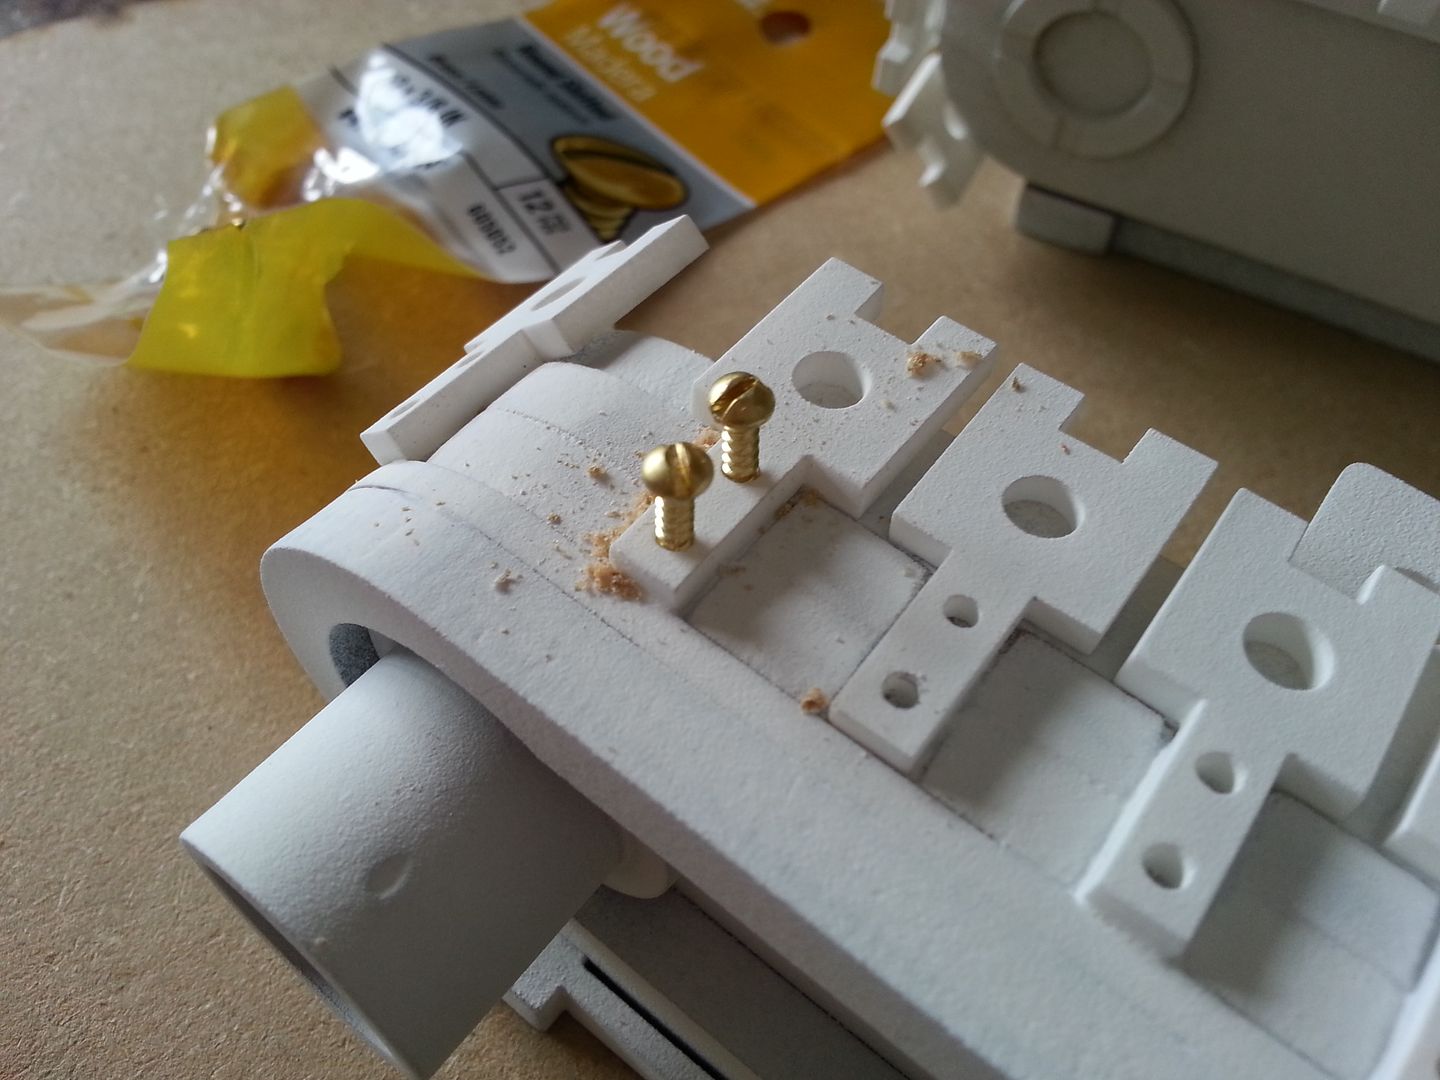
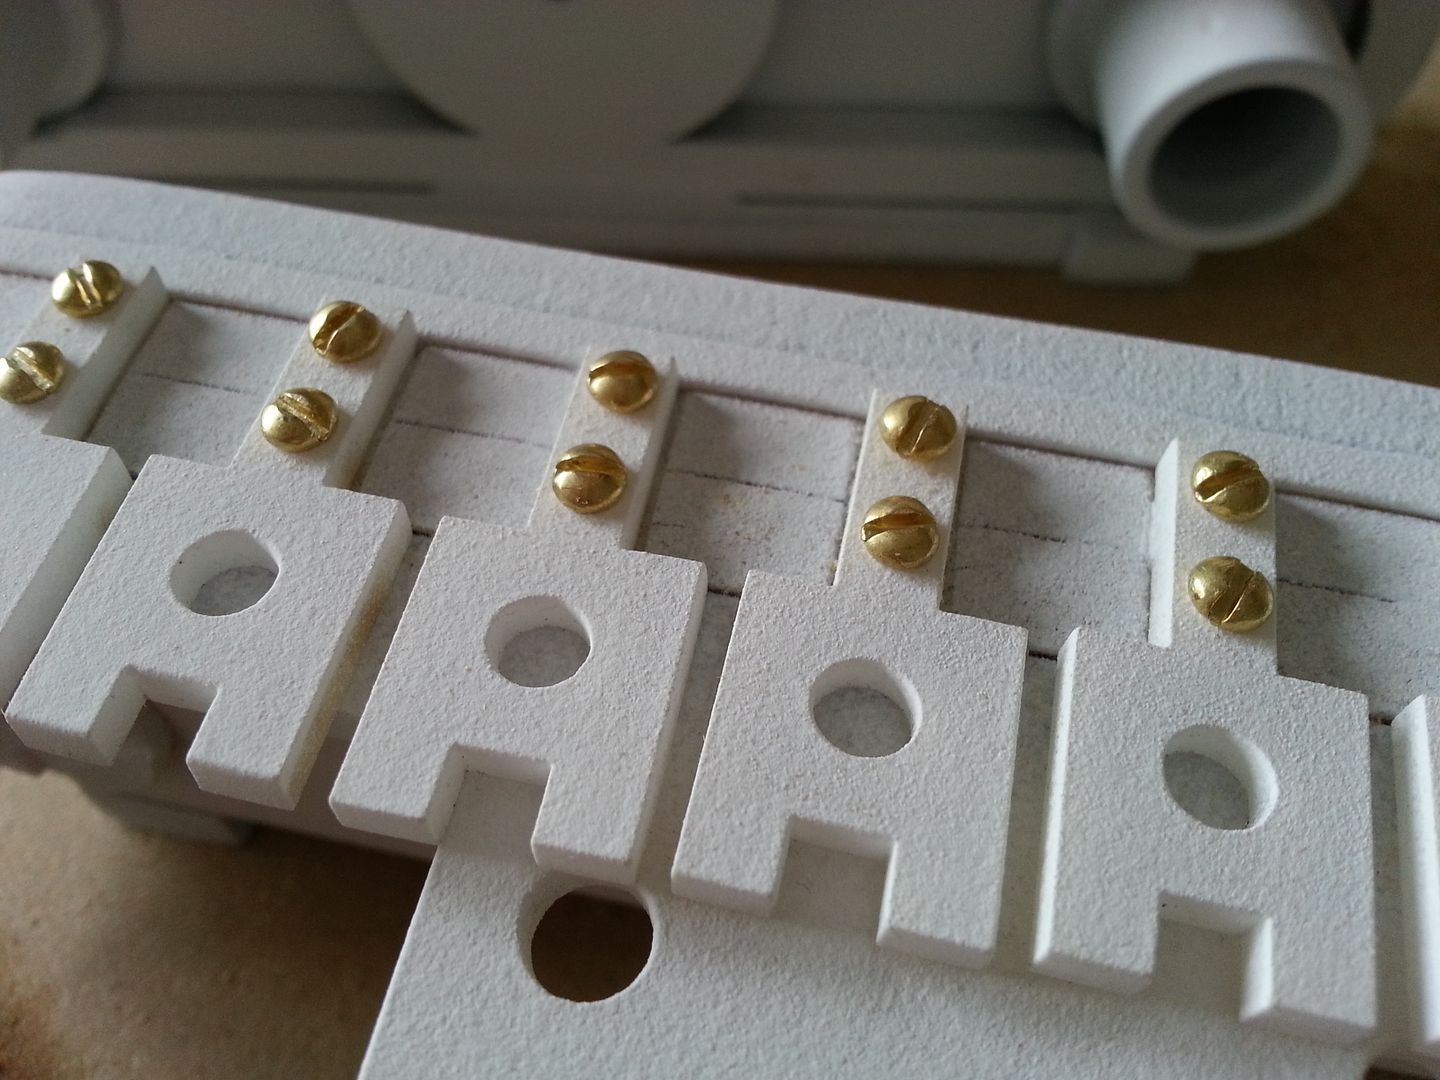
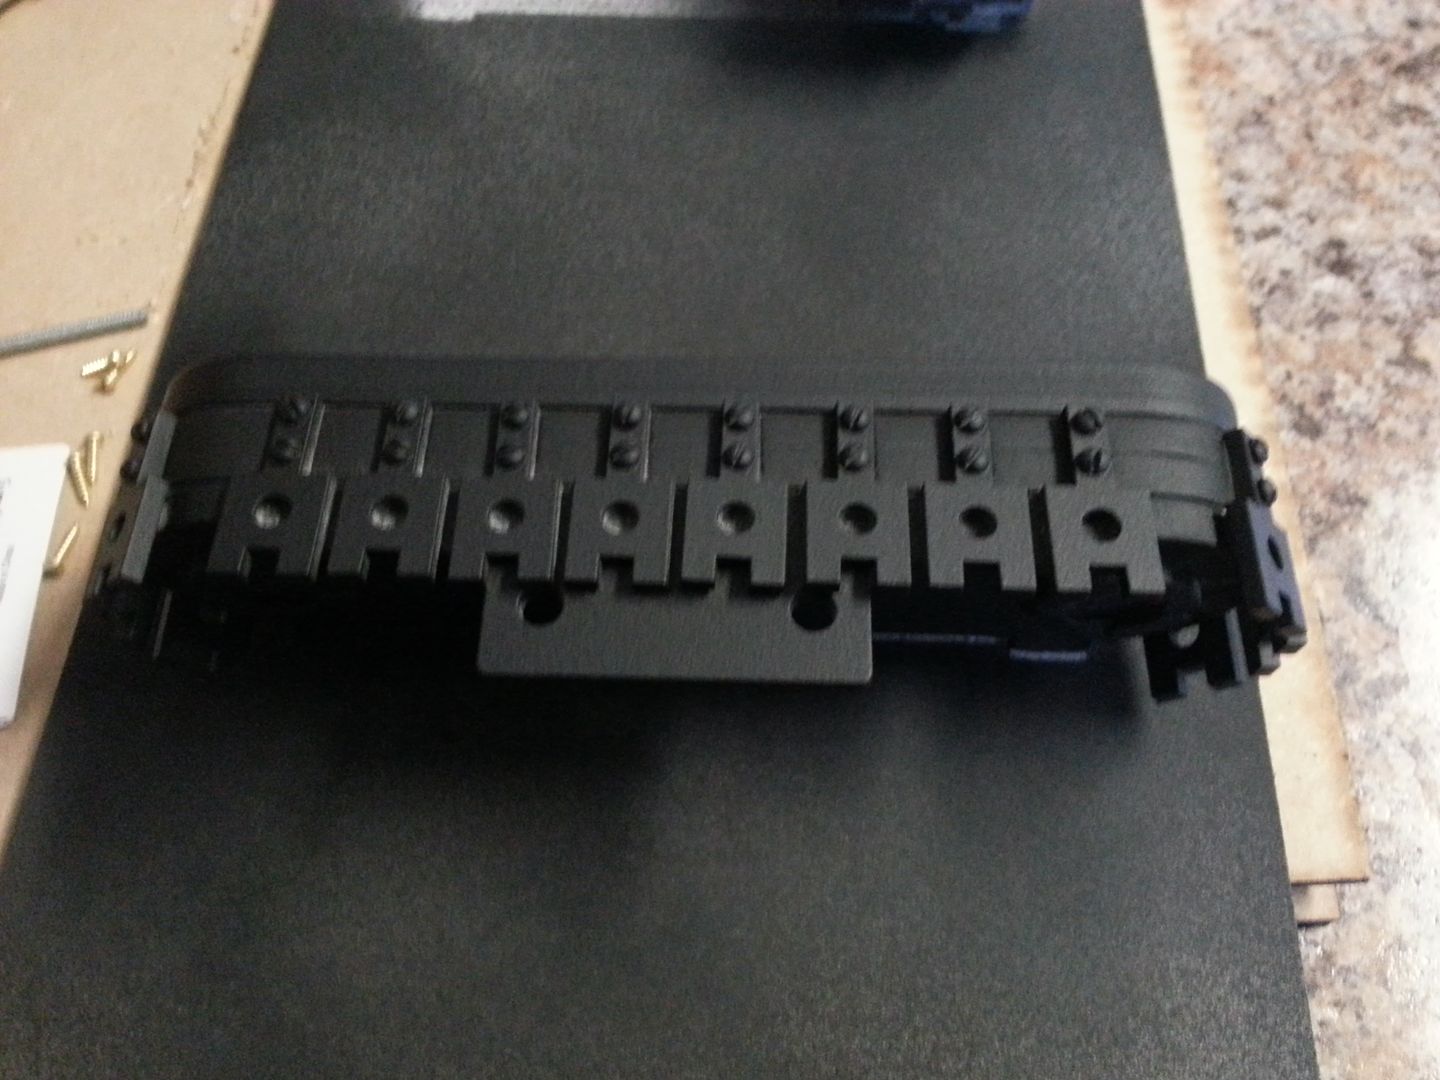
I then drilled holes to keep the little "field goal" pieces in place
20150215_060254_zpszepqugoh.jpg


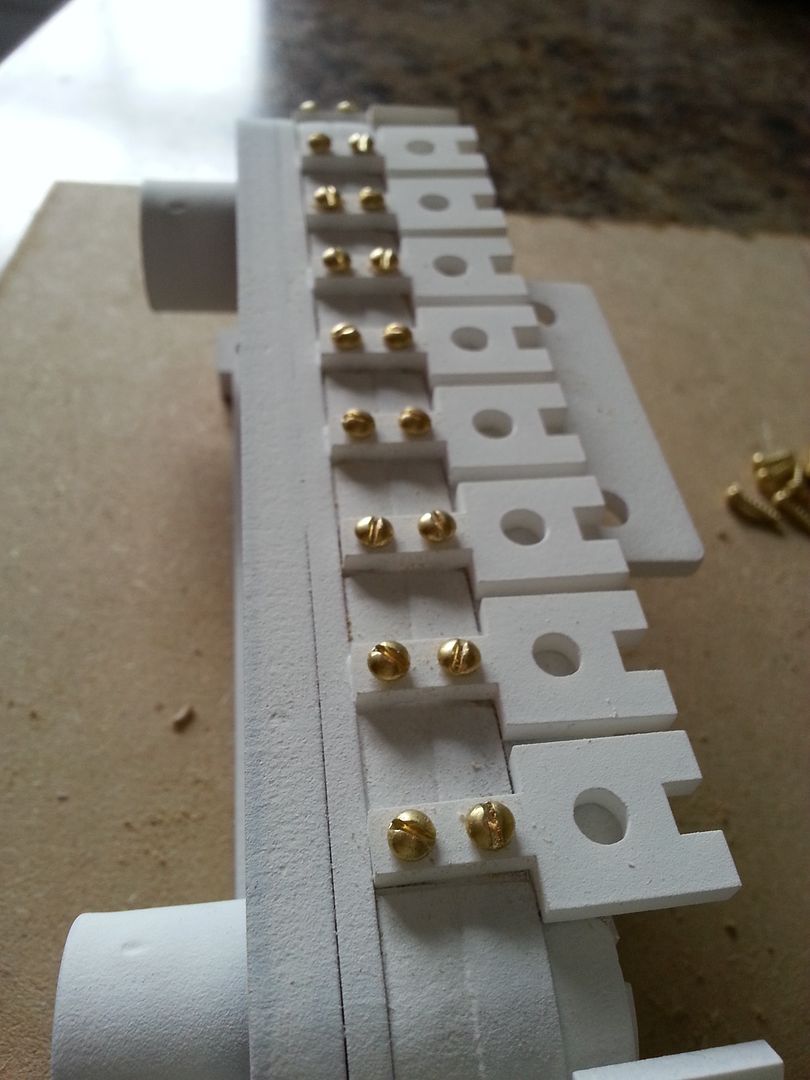
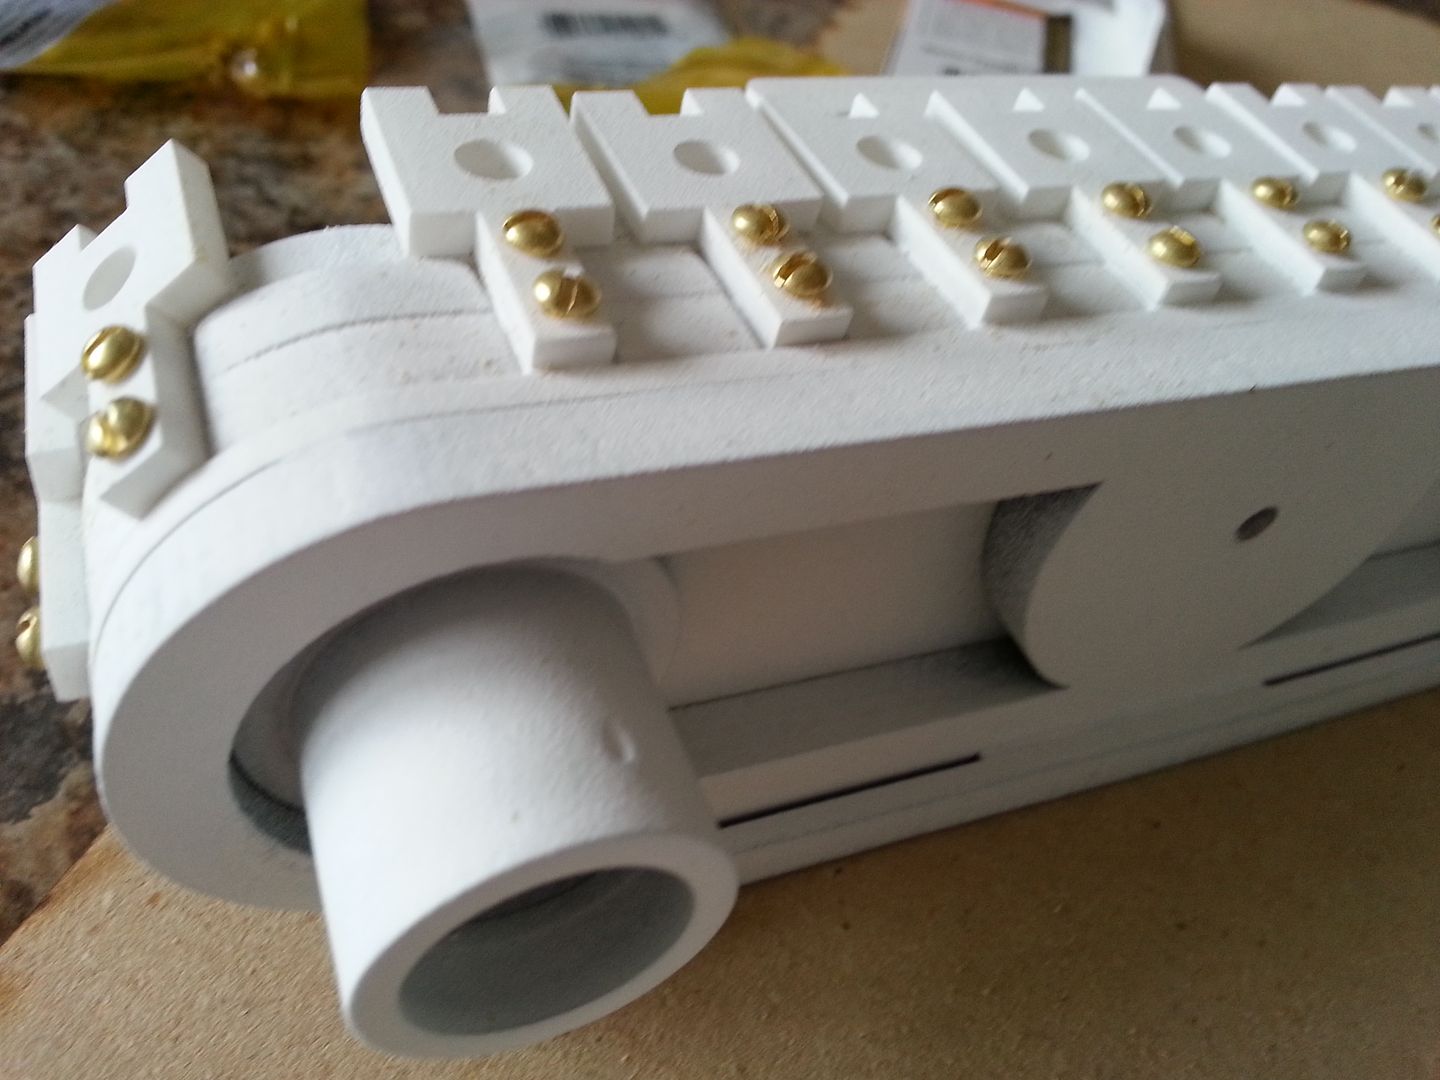
And screwed into place
20150215_112403_zpsohuriwdh.jpg


20150215_113920_zpsfwtd6mfj.jpg


20150215_113925_zpsyajb01qp.jpg


20150215_115121_zps7etr3zfh.jpg


20150215_115126_zpsxjnebito.jpg


20150215_115130_zpslqbtwwvp.jpg


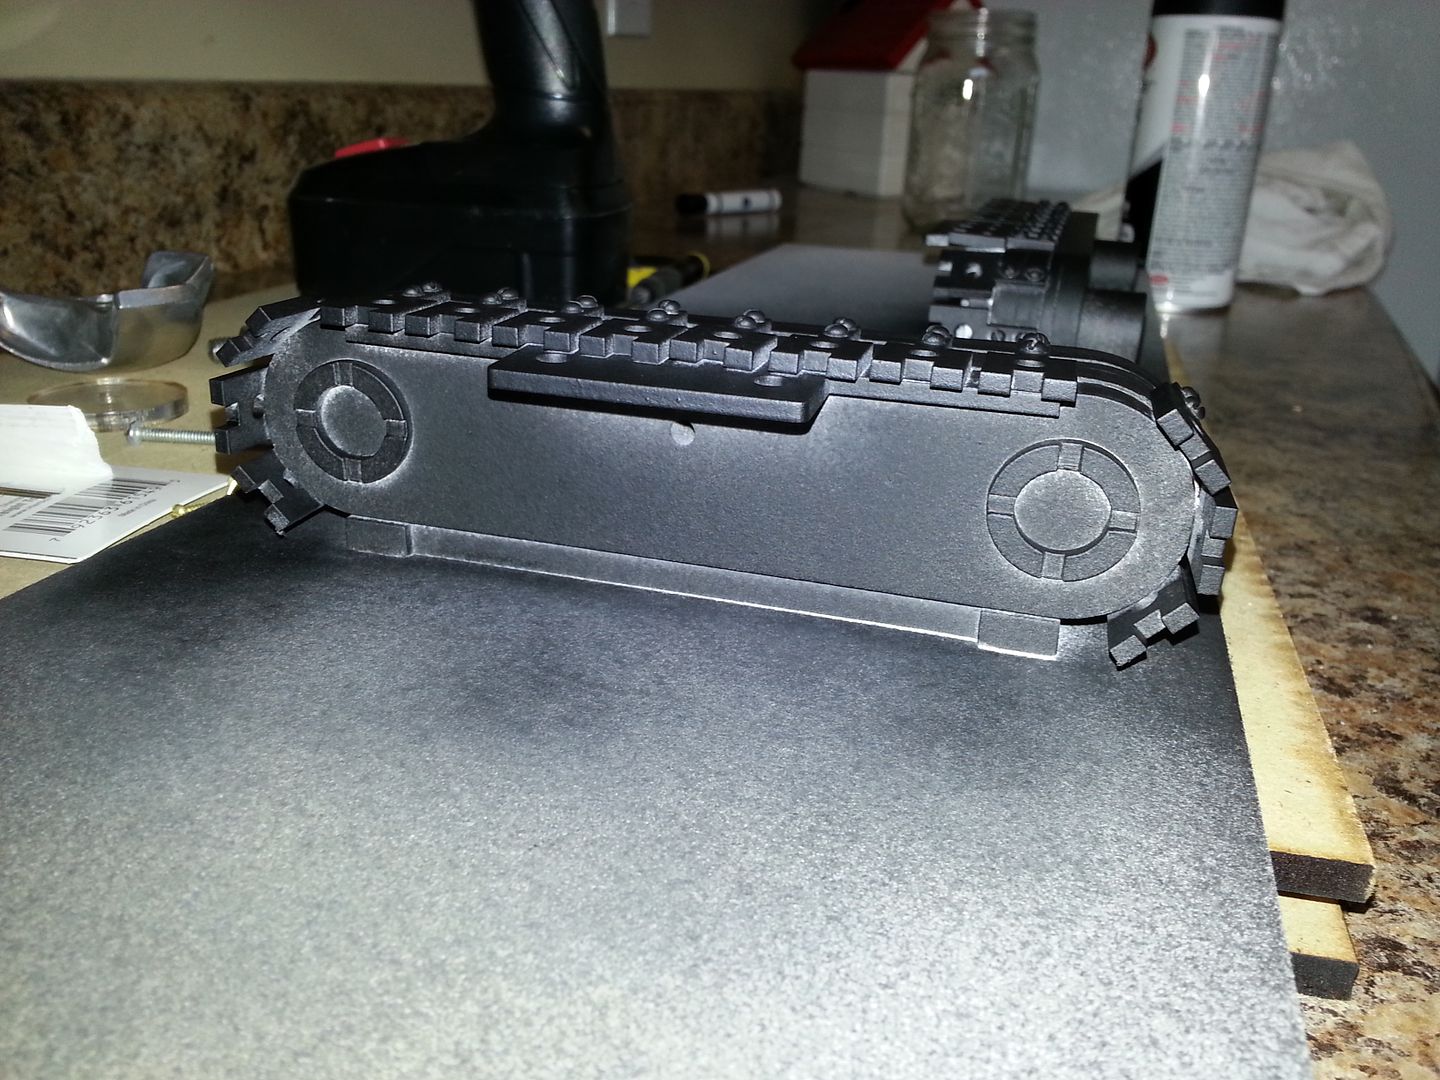
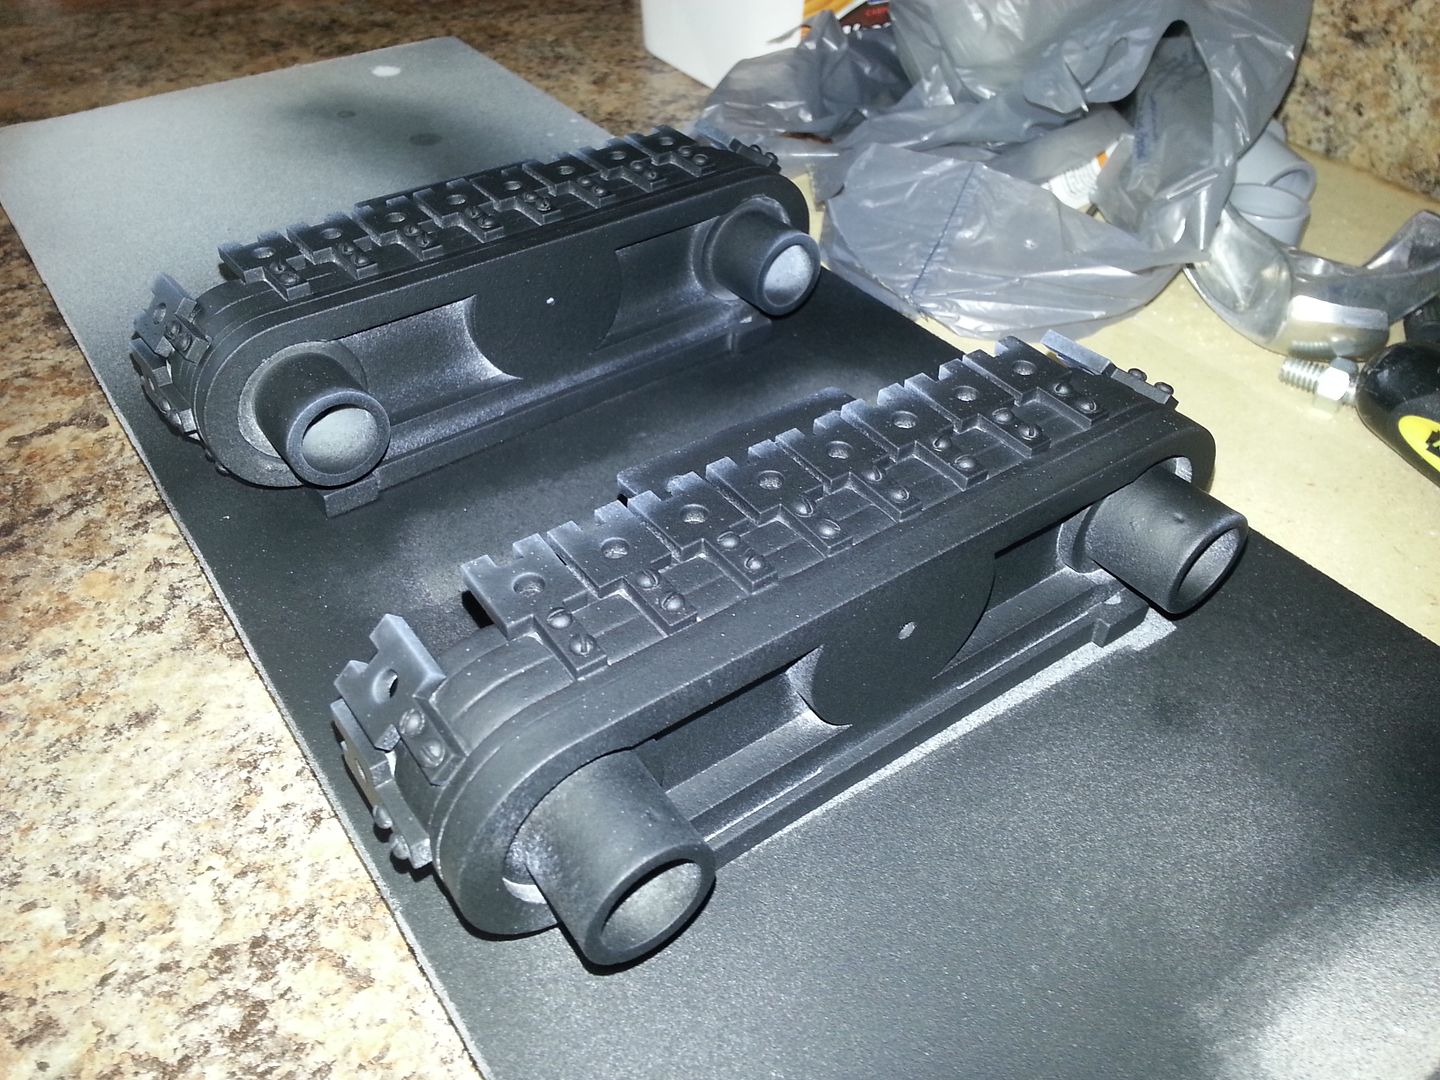
I was able to get a thin layer of black. When the weather warms up today... another layer!
20150217_164921_zps0hwxtchi.jpg


20150217_164928_zpska6x1tgk.jpg


20150217_164936_zpsiifsfzk5.jpg


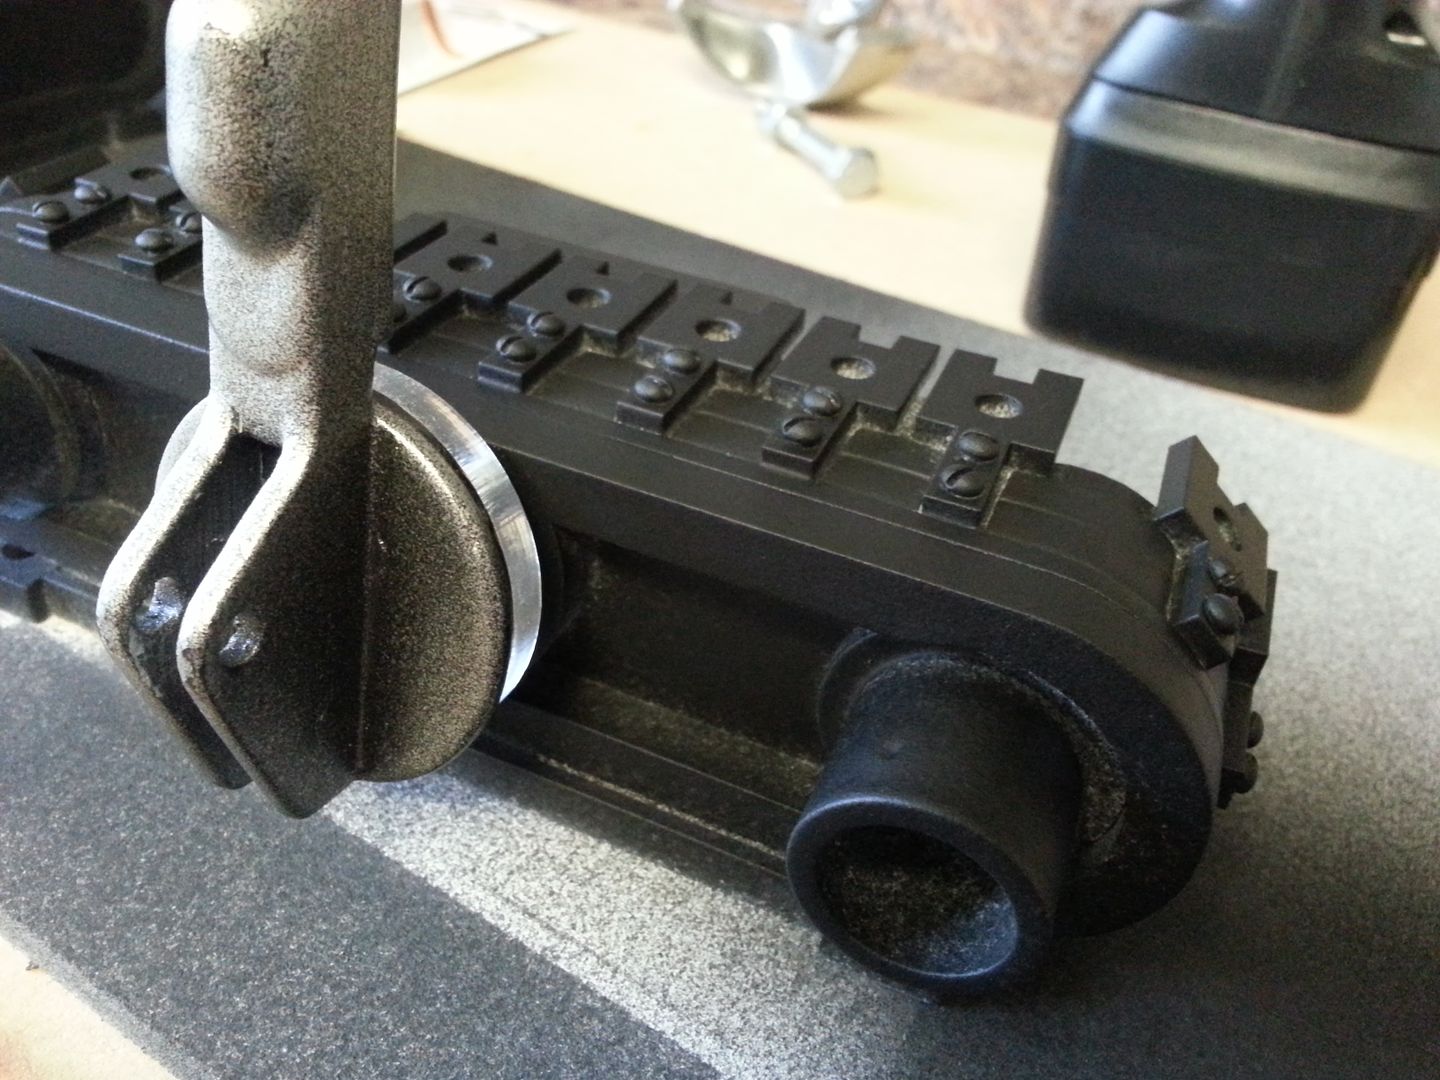
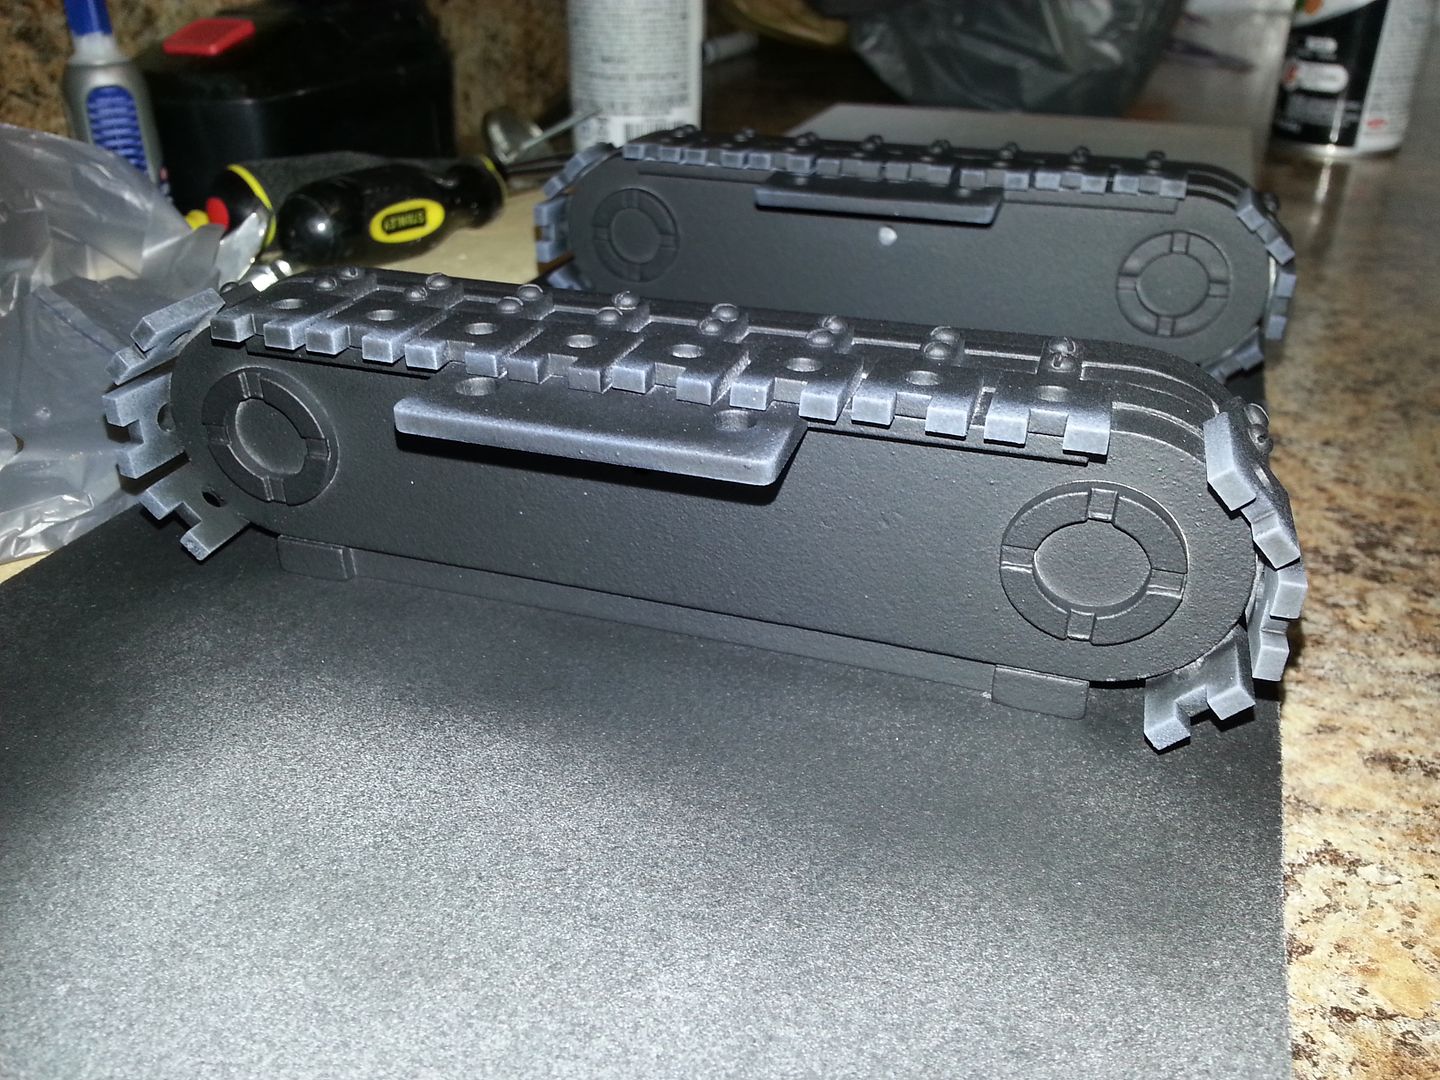
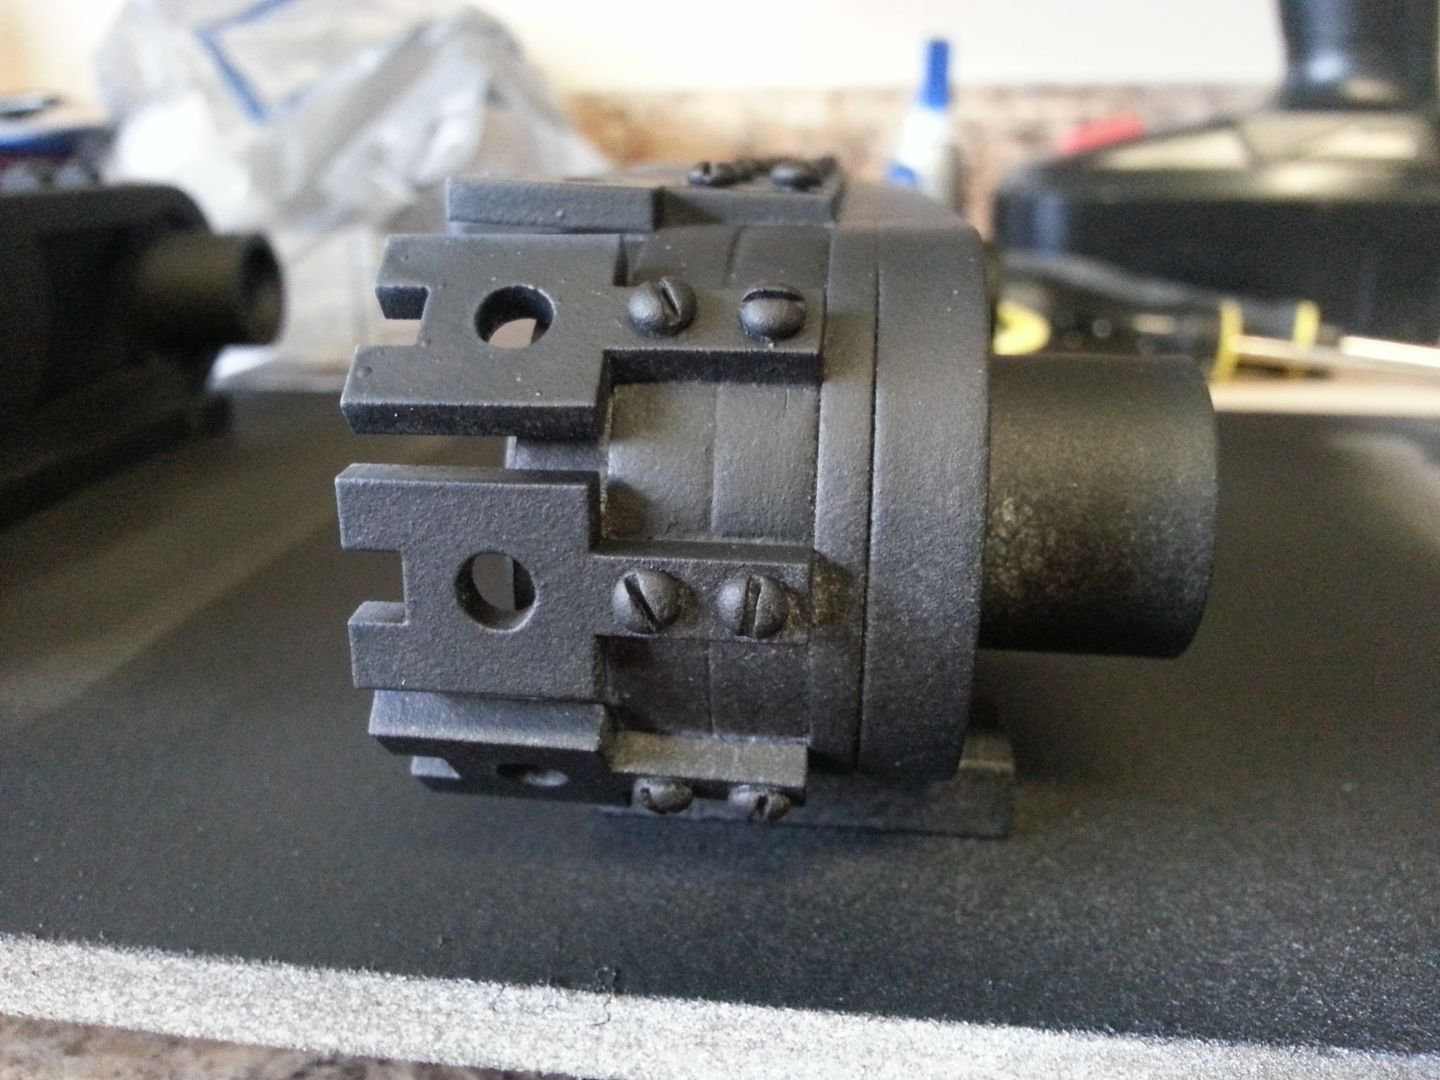
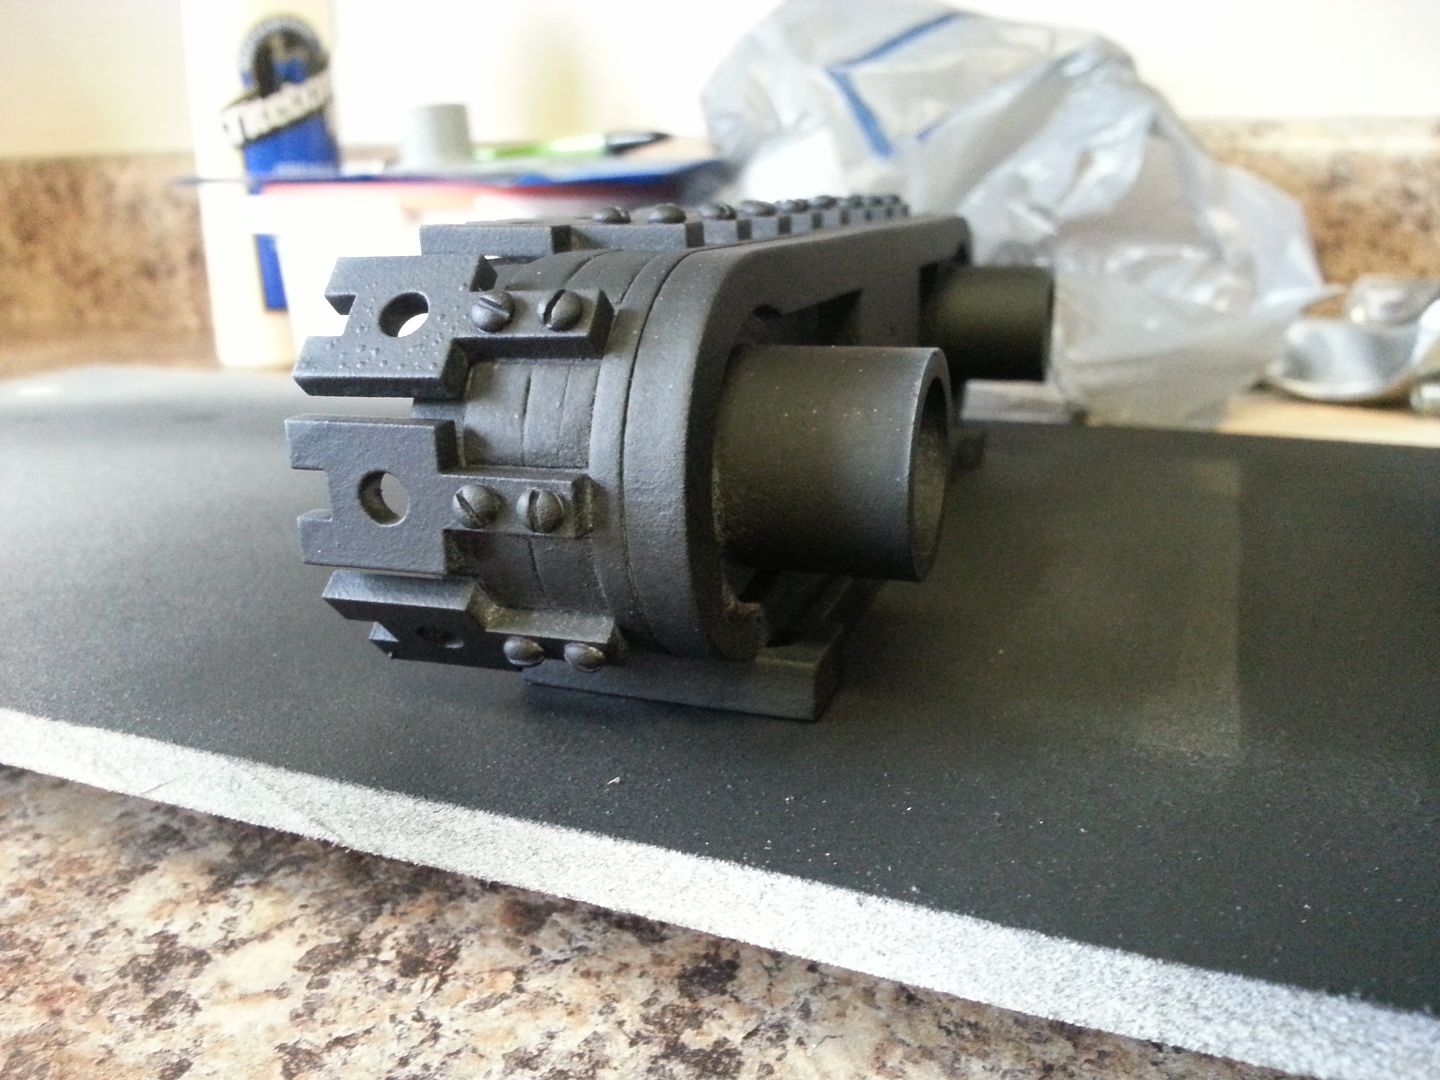
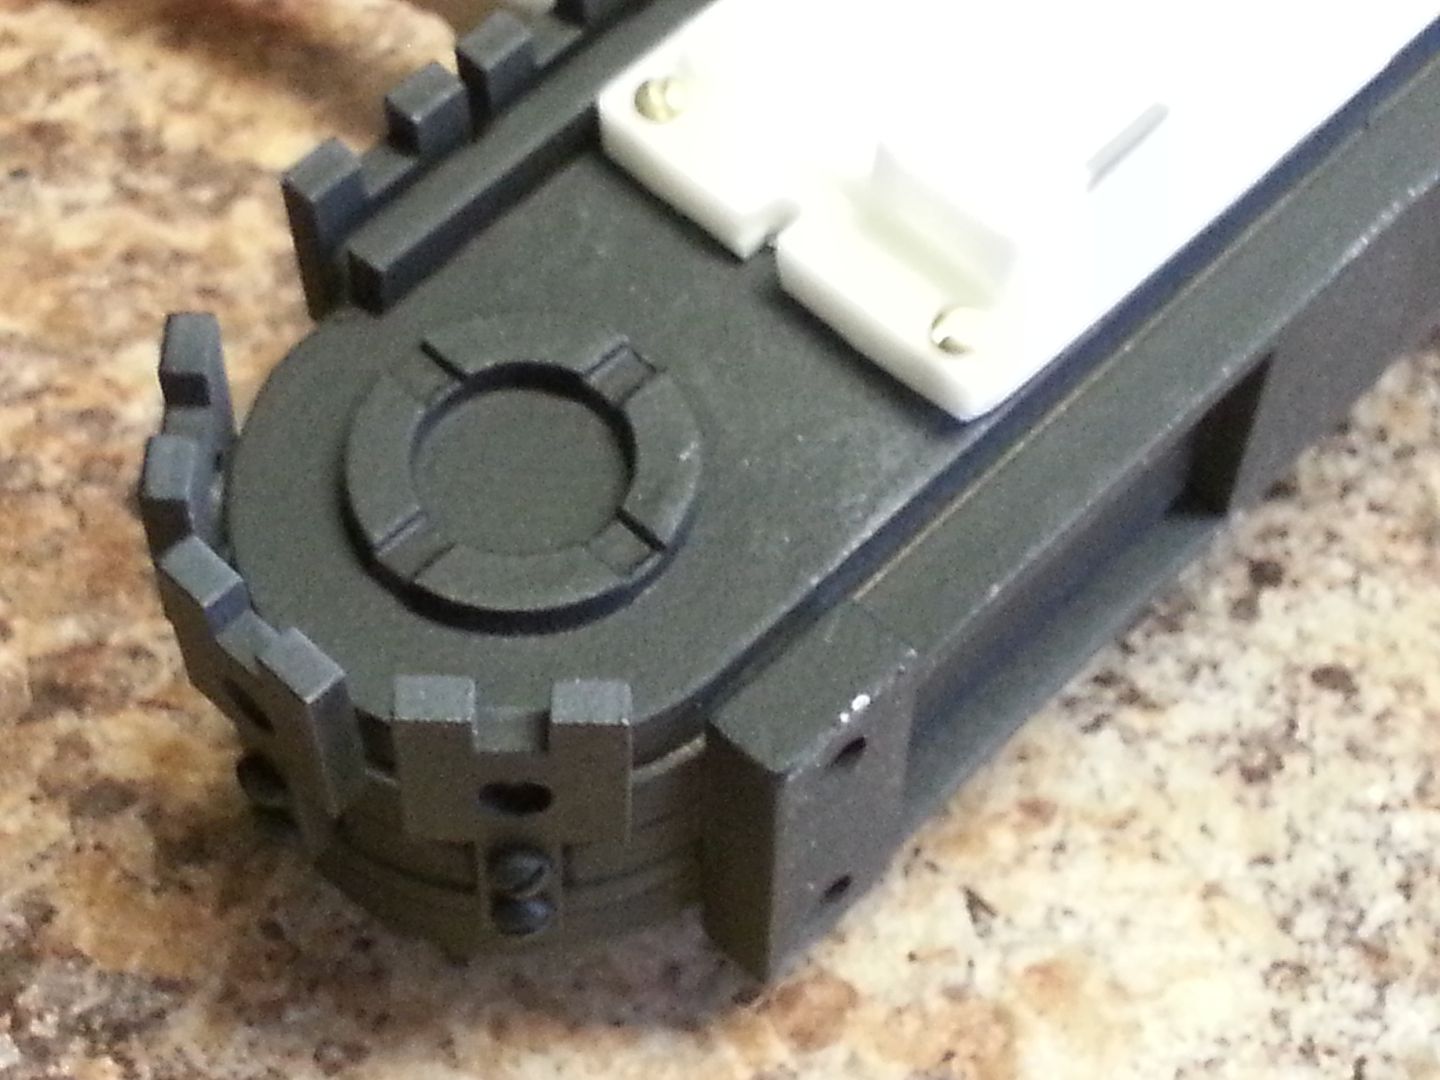
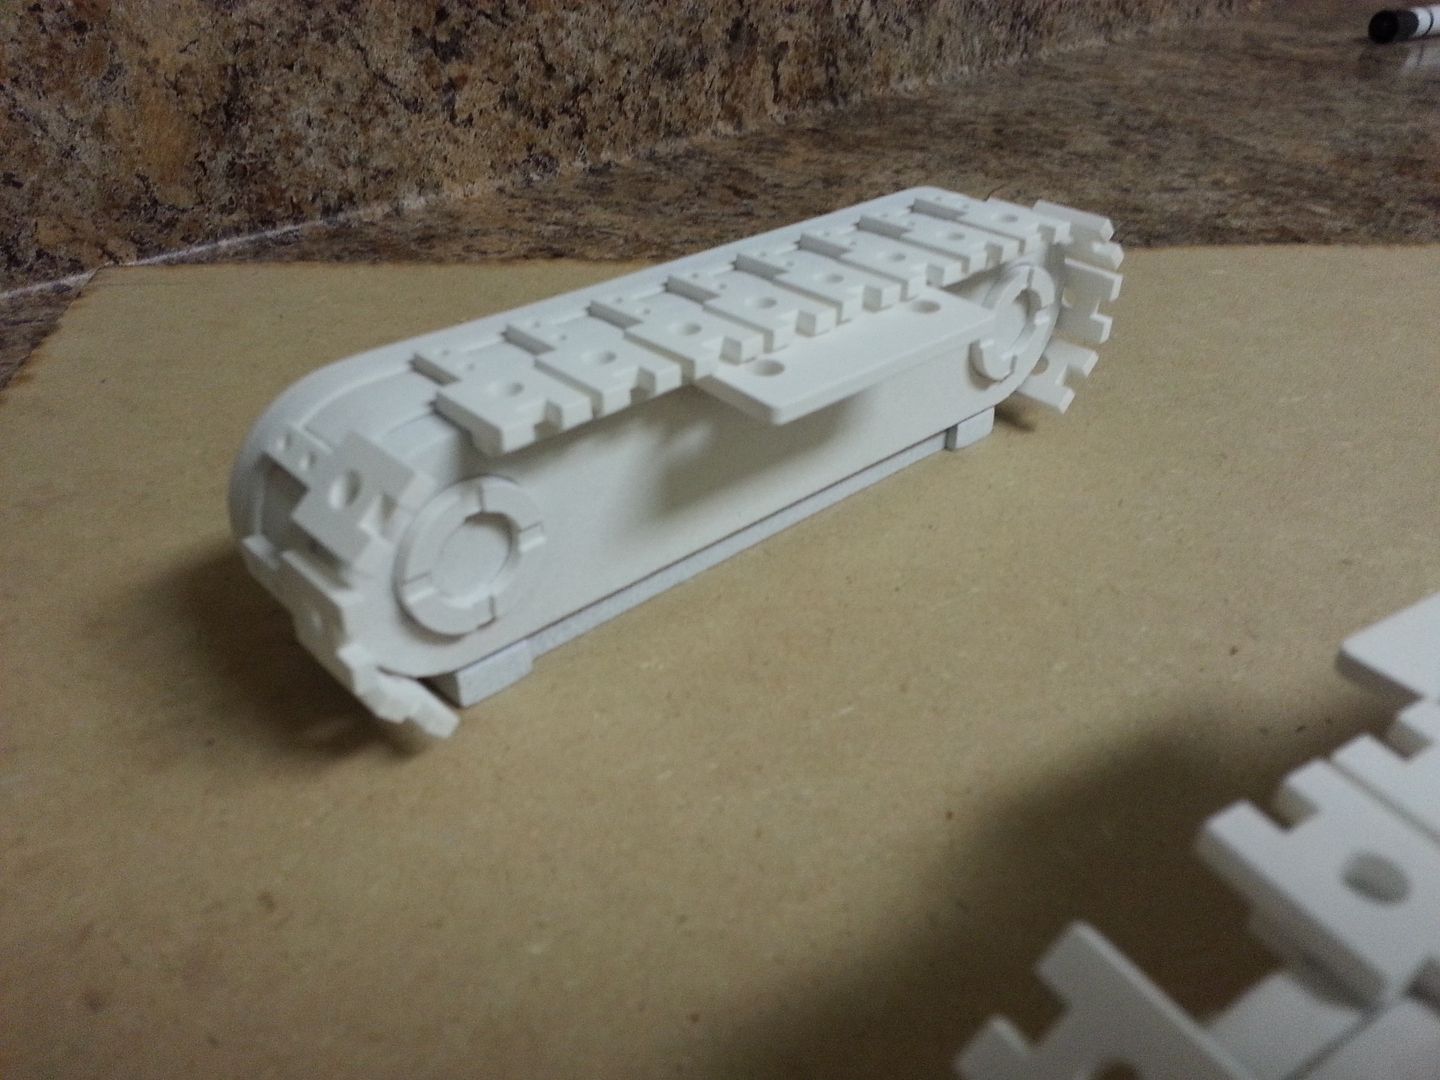
They look like tank treads
20150217_164943_zpshodfzwtw.jpg


20150217_165050_zpsobqit4ws.jpg


After the black paint dries a layer of the silver paint and then this greeblie is done!
20150217_165106_zps6qggazfl.jpg


More to follow!
 
Hey, folks,

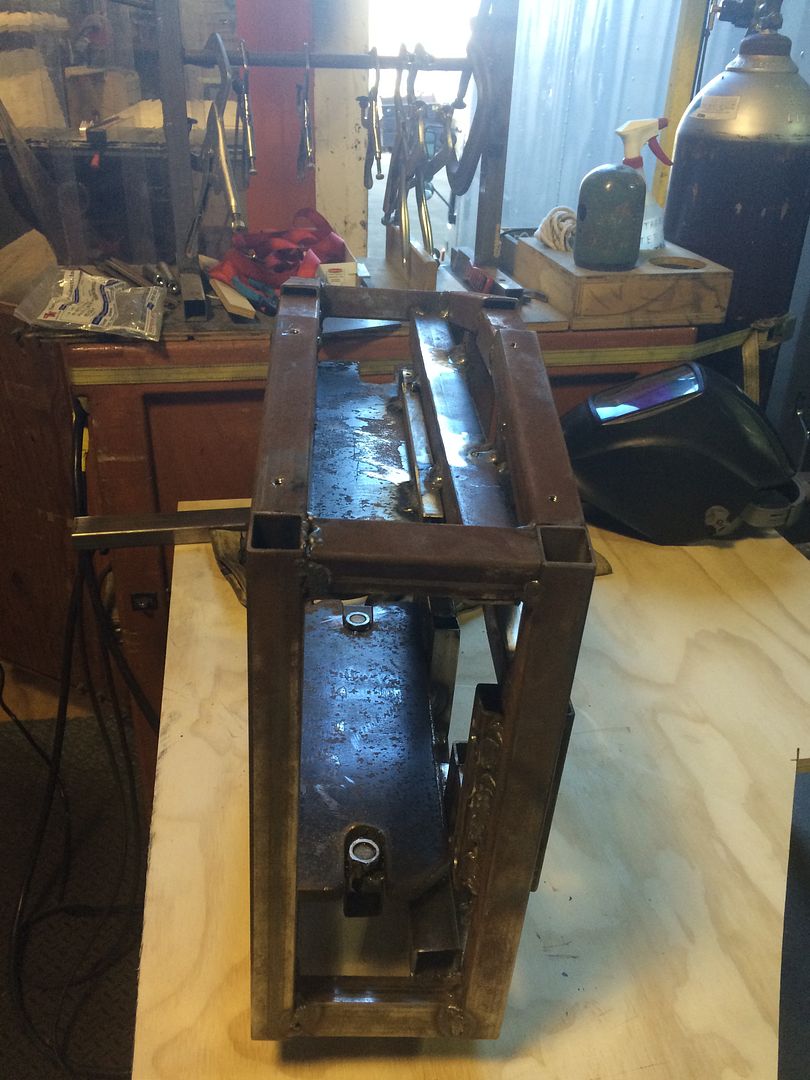
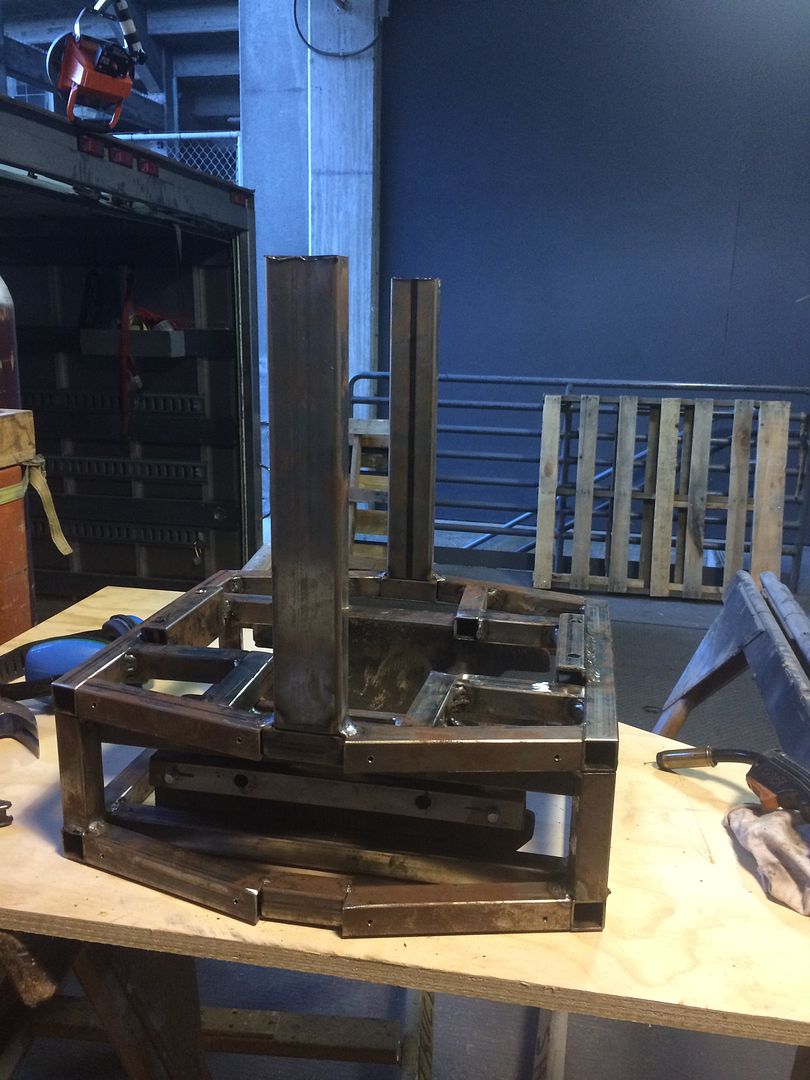
I've got a couple of bits of progress on the quad. One of the issues I wanted to change was the location of the ballast- I want the quad to stay at an elevation I set it to rather than always returning to parallel with the ground. that means redoing how the weights mount in the back end. As part of that, I also wanted to put some support for the top and bottom mandibles.

A913B33A-371E-4491-AB11-096EBB80D979_zpsqdzulzsc.jpg


You can see the cut off pieces of pipe that hels the bricks in line here. Also, you can see a 1/4 brick (thickness) welded to the underside of the top.

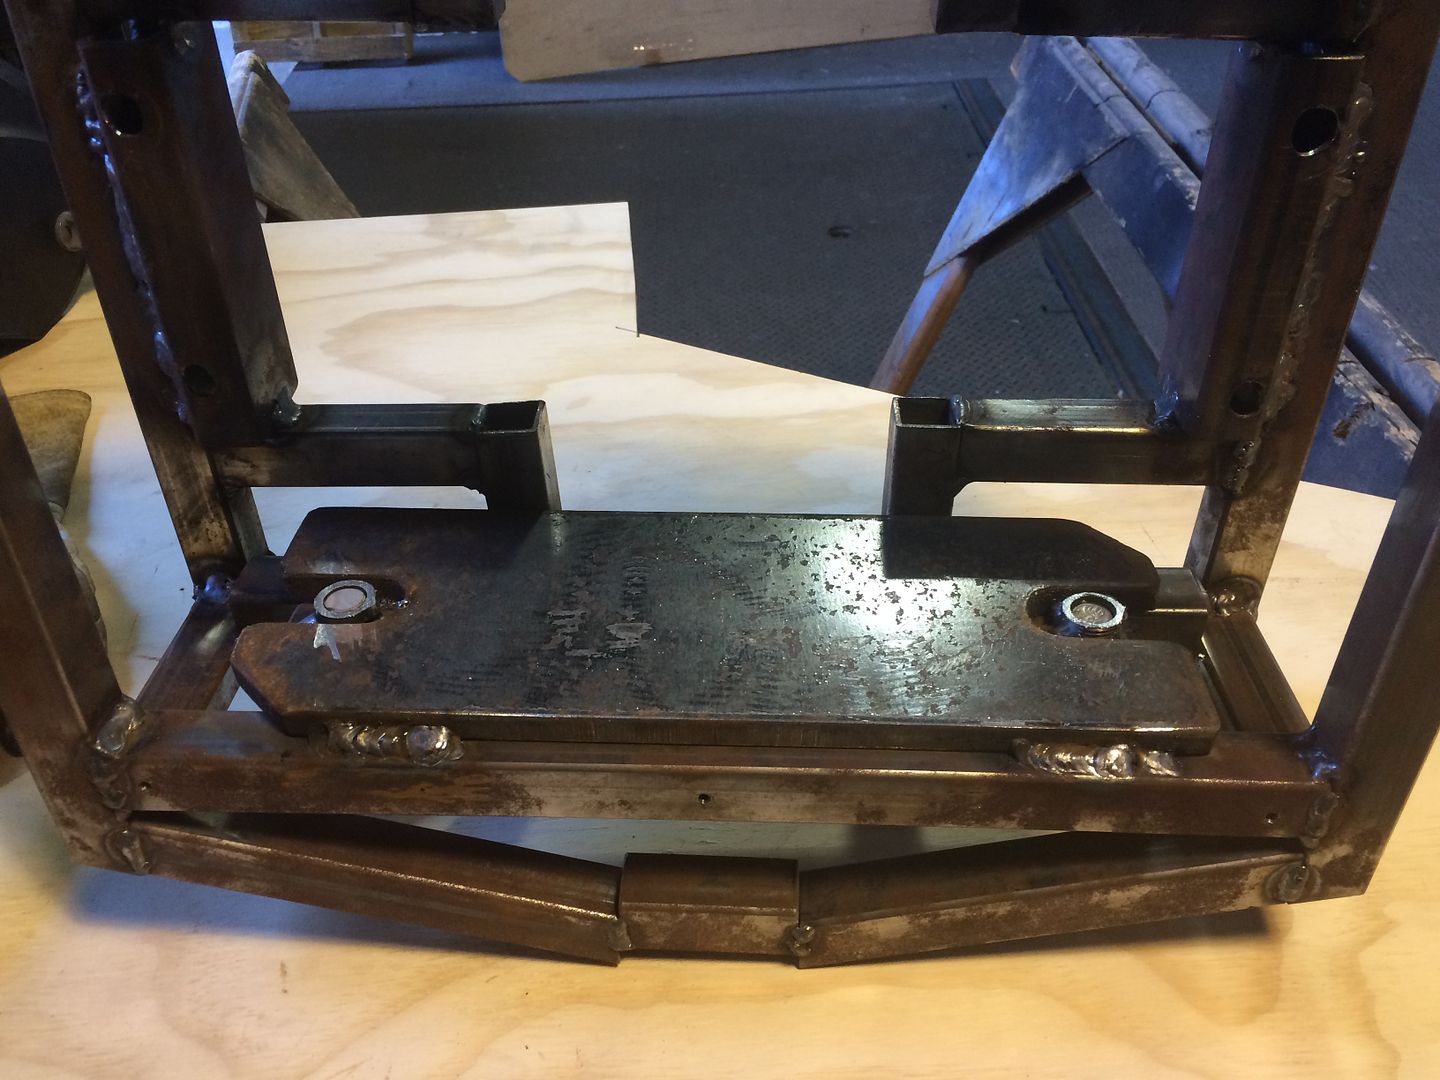
AF9DD950-E40D-40EC-9F20-5D940A93FA28_zpsbeieskbj.jpg


Adding the steel for inside the mandibles.

C0F73936-BDEB-41E3-B91F-474048876DE4_zpsdwoanwi8.jpg


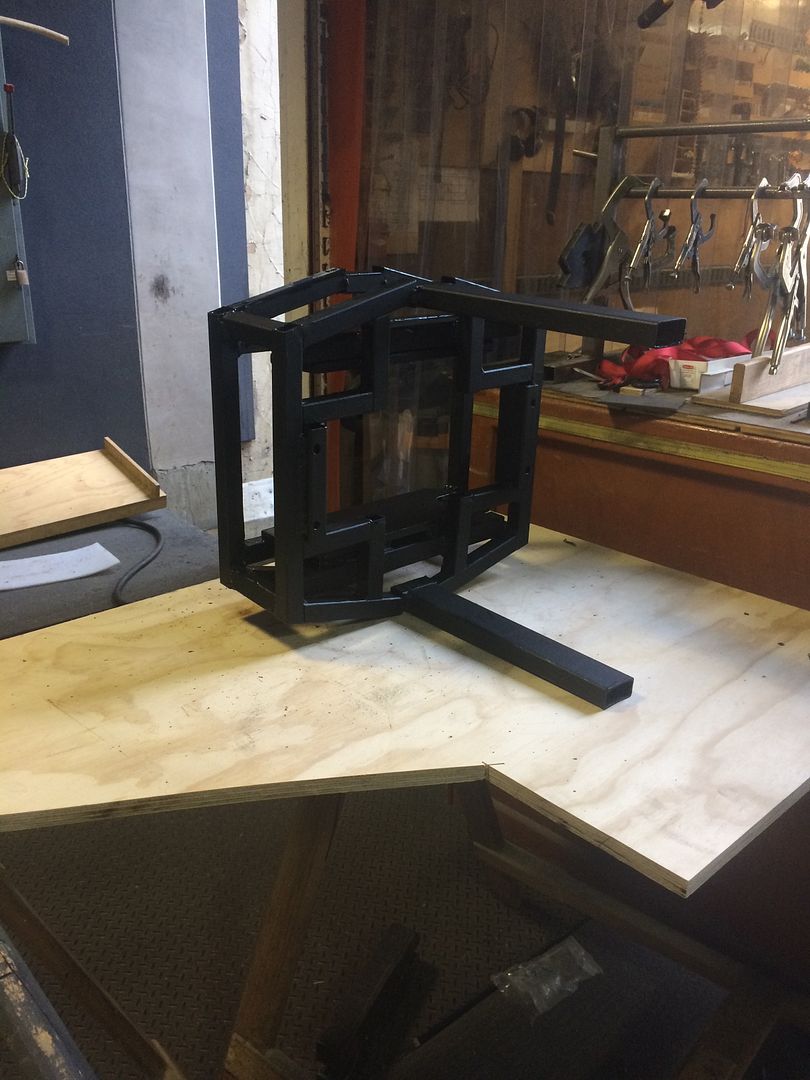
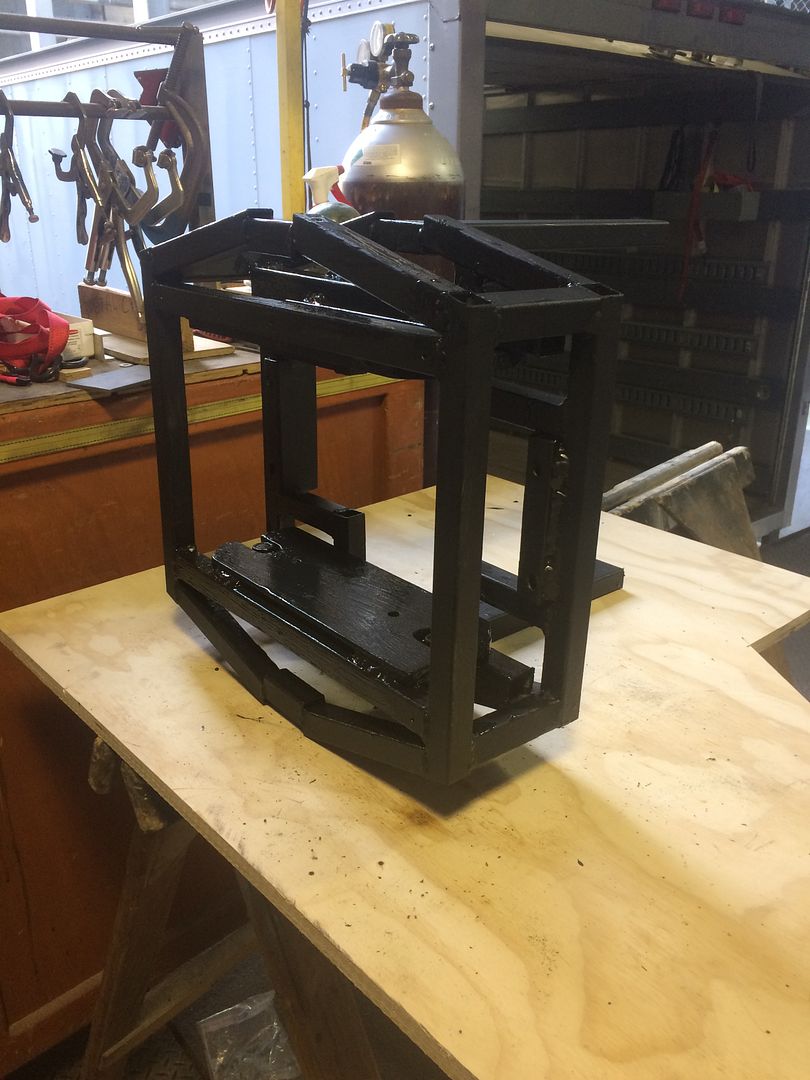
The quad sat a little expose to the moisture of a Seattle January, and there was a lot of surface rust. A little ferrochem, and that gets protection. And, from a stagehand perspective, everything looks sleeker when it gets a coat of black.

4274B8FD-01C0-4C66-AF59-6BBF873E902A_zpstdbqapby.jpg
CDF506F6-E5CA-453D-B0E5-BC60D8C6C1E3_zpszc8bzsa0.jpg


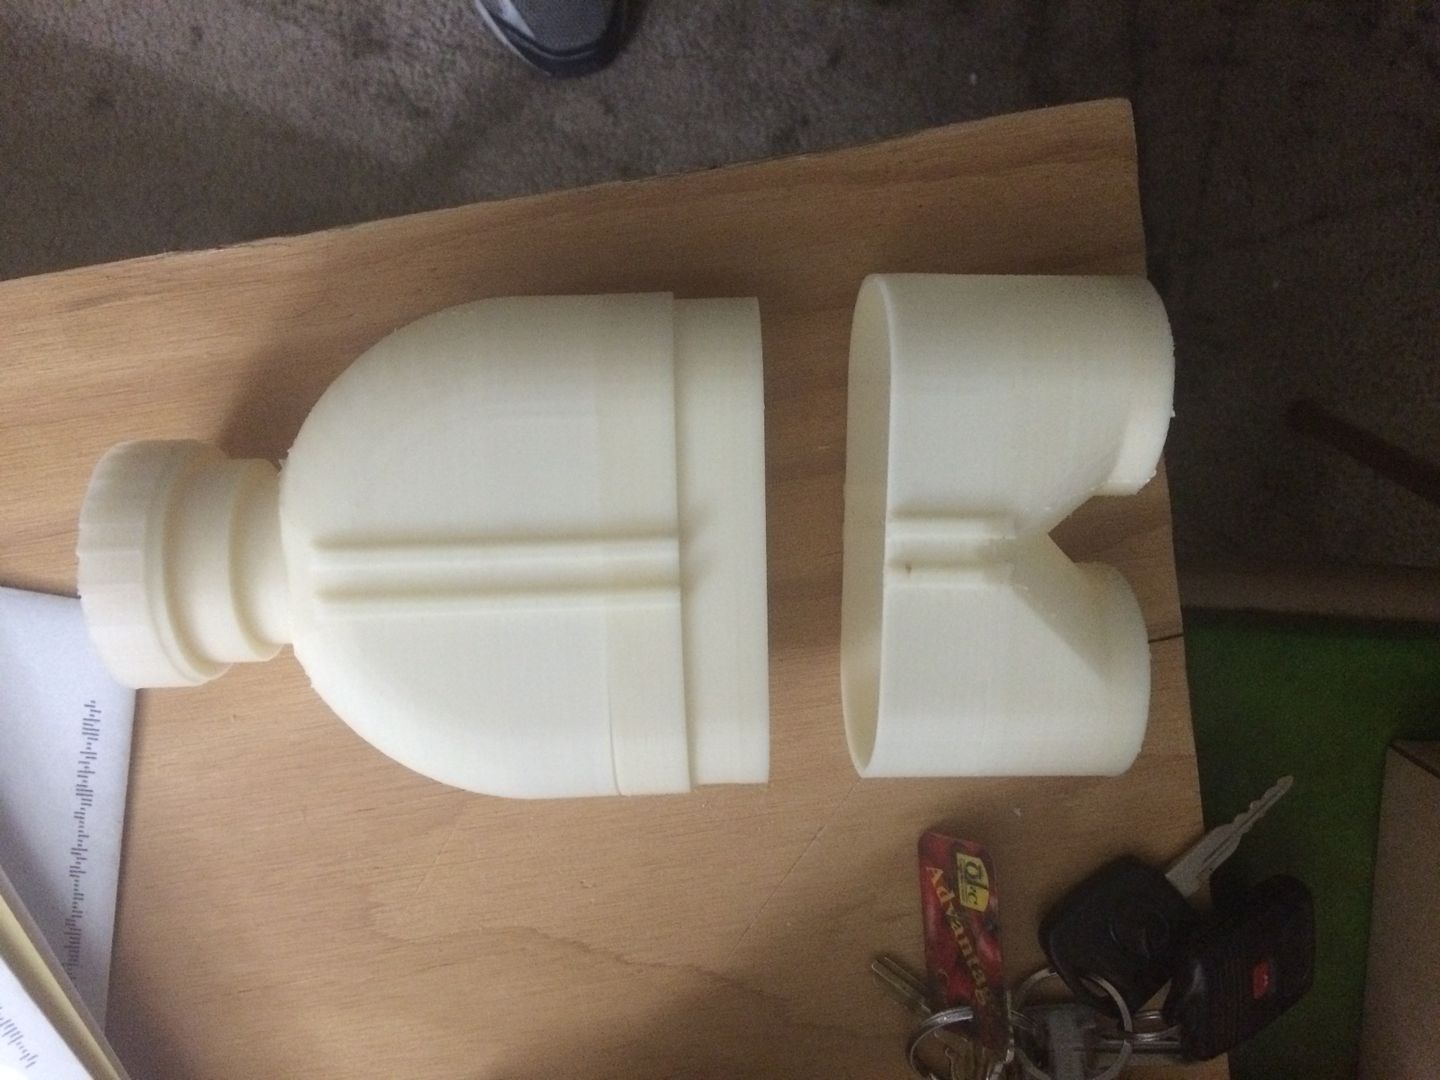
Separate from this, I also redesigned the muzzle pieces. They were way too heavy, and I still didn't know exactly how I was going to get them cleanly seamed together.

A new print, waiting to be molded
3E06CD09-78D3-4270-ACB9-FBFE11C7D5EE_zpsj3ntkjea.jpg


Oops, still some support material to get rid of at the back end.

Have fun
 
Hi Gang,

Another update from OperaScot means another step closer to awesome! :) LOVE IT!

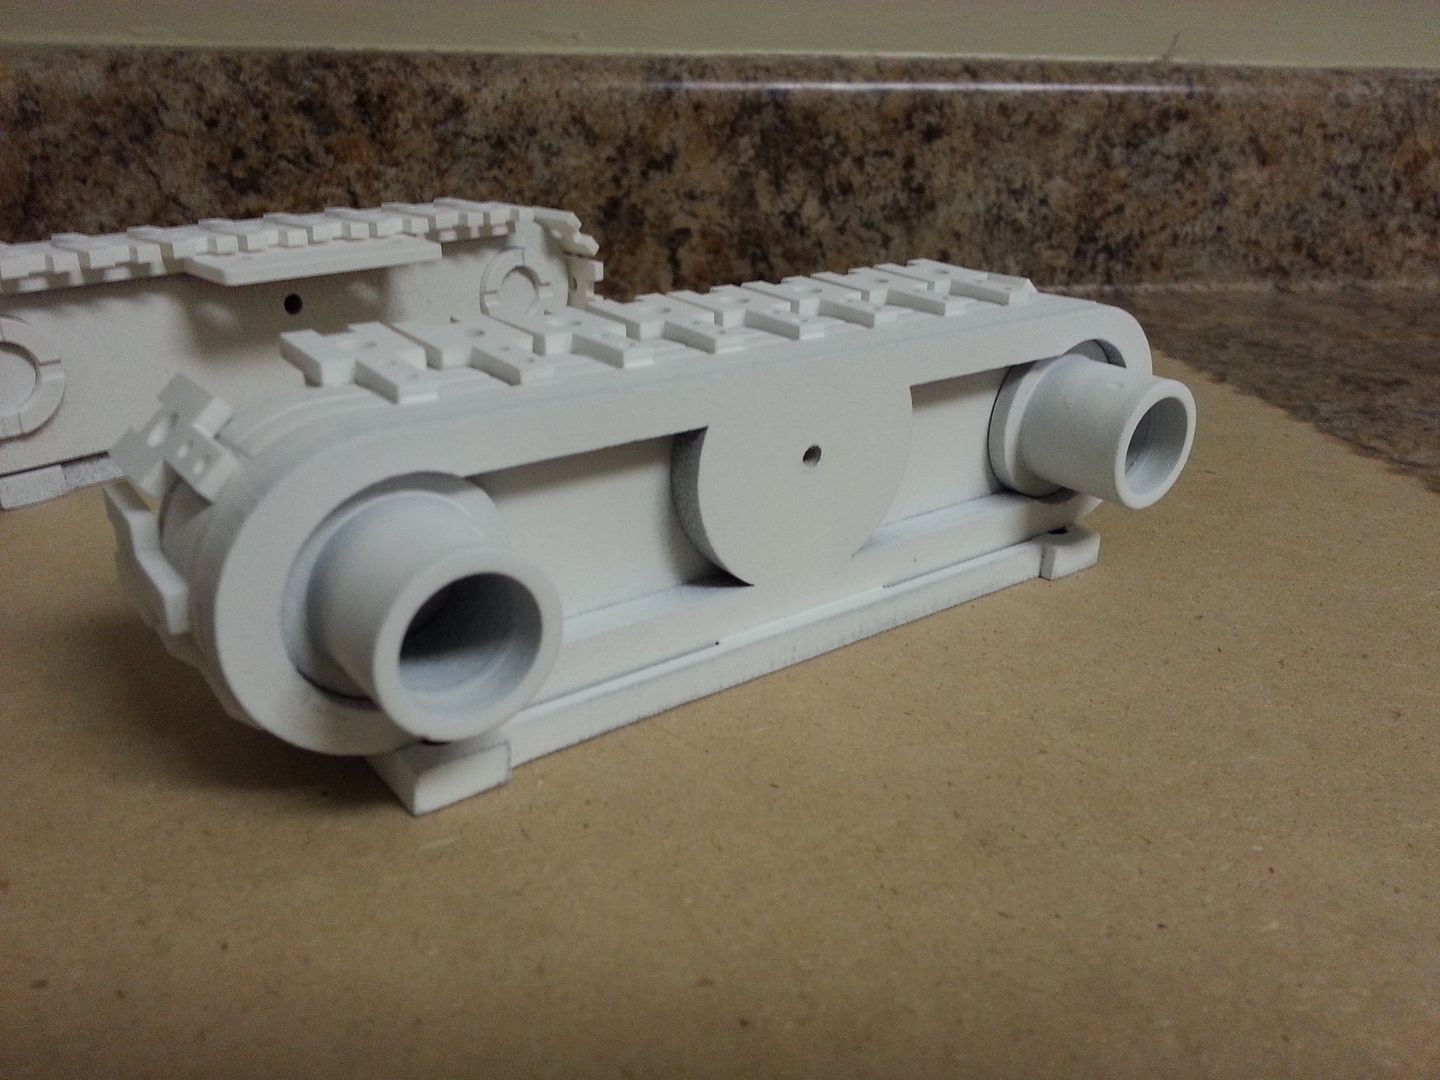
The bad weather continued over the weekend but I did manage to get another few more coats of paint on the new armrest lever base
20150222_120424_zpsawfwgj1p.jpg


20150222_120437_zpssseg6bua.jpg


20150222_120448_zpsyw8wvlwz.jpg


20150222_120455_zps3nf6mx8f.jpg


20150222_120508_zpsjc06ciwp.jpg


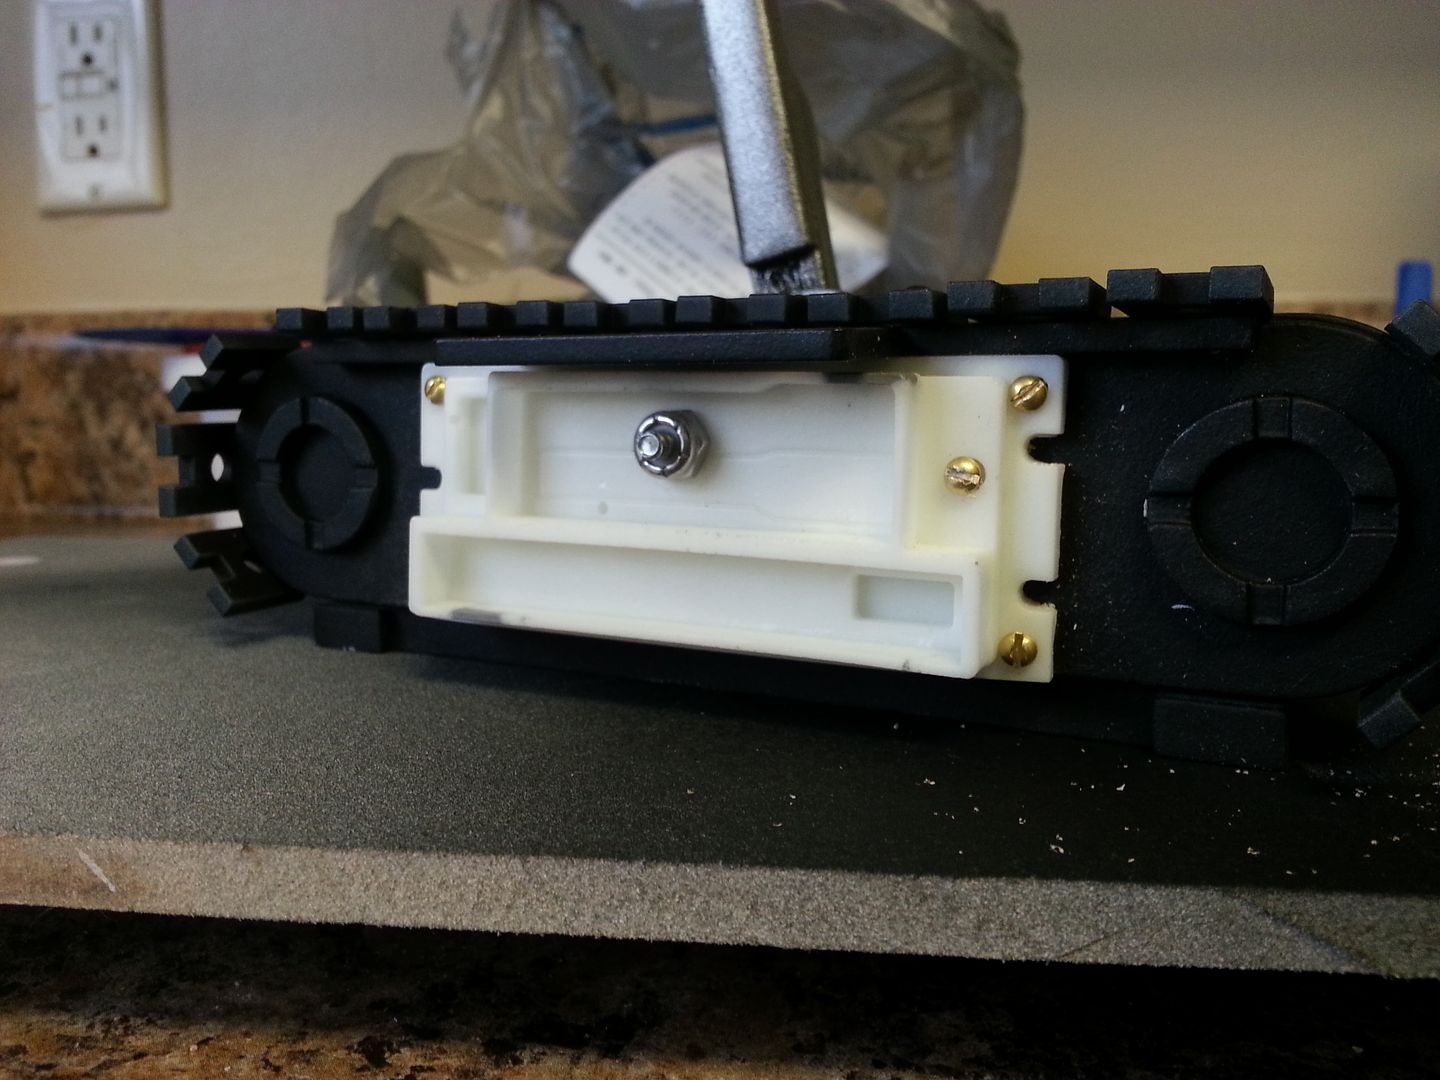
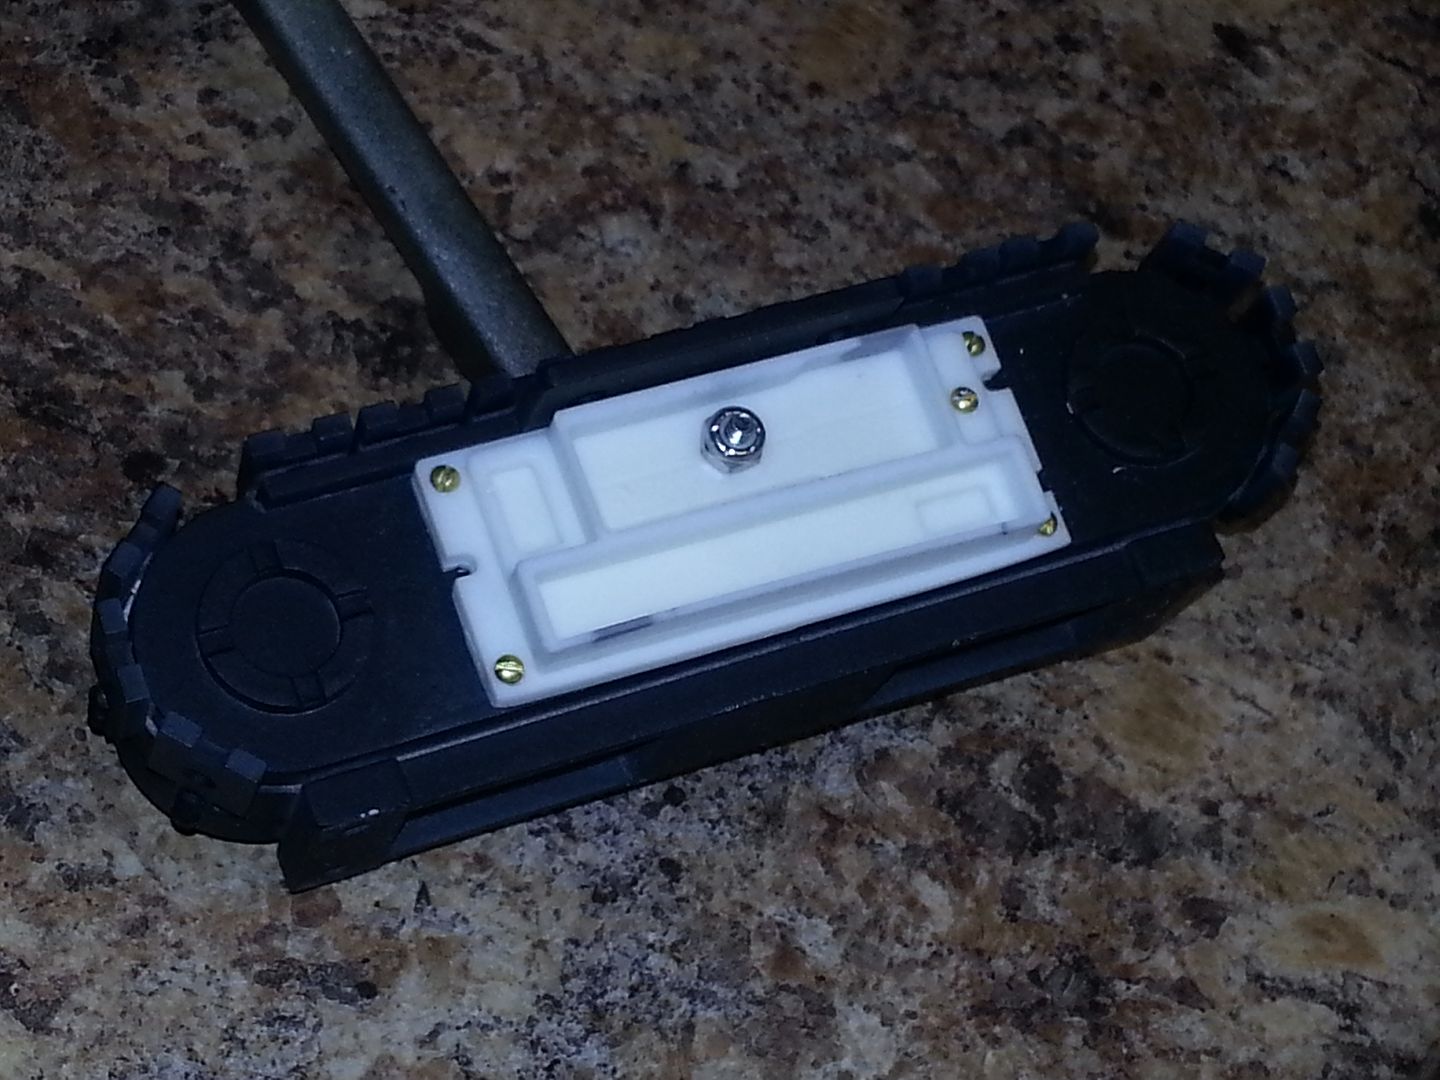
The backside seemed a little boring to me so after digging through boxes of greeblies I decided on the "cassette" face greeblie.
20150222_161247_zpshecyjaje.jpg


20150222_161334_zpsdayxfjtj.jpg


20150222_161348_zps2ldkvgpc.jpg


Still needs a layer of black and silver
20150222_161358_zpsuq0yv1fy.jpg


Jessie is modeling a new lever to 3D print that will make it easier to attach the 3 prong handles! More to come on that!
20150222_161424_zpsqnxozse0.jpg


Stay Tuned!
 
Last edited:
Marvellous updates guys!

Had an idea as to what this small but eye-catching part might be. Pics are a tad blurred, as is always the case, however....

MF canopy Greeb ORIG1.png

....I think this could be the missing transceiver dial from the Landspeeder dashboard panel - the part that was replaced by a toy tractor tyre. The dimensions and profile seem to be approximately right, so far.

MF canopy Greeb.jpg
 
Hey, guys.
I have remodeled the lever that is used on the armrest of the console. The end is slightly redesigned to better fit the handle that goes onto it. The model is a little rough in some parts (thank you 3ds max) but we can fix those parts once it's printed out.
HNDL1.pngHNDL2.pngHNDL3.png

- Jessie
 
Great update Sofa (and thanks for the comment about my 2001 SS...compared to your build, mine is minor)...and Wavey, I think you're on to something!!
 
Hey guys,

Haven't posted much. I need to but catching the flu has really stopped me from doing much of anything useful.

I wanted to share this with everyone. Sparkfun has joined the full scale falcon project and immediately donated 12 Arduinos and 12 prototype screw down shields. Basically one per panel in the cockpit which has electronics. This allows us to configure each panel individually and network the Arduinos together for ease of triggering events like the engine stalling or an all on for photos etc. who knows what we'll do with programming on it but this is a hell of a start and I can't thank my friends at Sparkfun enough for this fantastic contribution.

We've got a boatload of soldering to do but the electronics just got a kickstart :)

image.jpgimage.jpg
 
Jessie,
2 thoughts:

1) Cool!
2) I'm a little surprised that you're using 3ds for this, as opposed to a CAD application, like SolidWorks, or even Inventor. Just curious.
 
Marvellous updates guys!

Had an idea as to what this small but eye-catching part might be. Pics are a tad blurred, as is always the case, however....

View attachment 442794

....I think this could be the missing transceiver dial from the Landspeeder dashboard panel - the part that was replaced by a toy tractor tyre. The dimensions and profile seem to be approximately right, so far.
[/QUOTE

That piece is actually the disc greeblie from the back of C-3PO's head.
 

Your message may be considered spam for the following reasons:

If you wish to reply despite these issues, check the box below before replying.
Be aware that malicious compliance may result in more severe penalties.
Back
Top