1:1 Millennium Falcon Cockpit Replica - Group Build

If by mica you mean formica (a plastic, mica is a natural mineral), then yes, cutting it with laser is a straight forward process. It should be no different than cutting acrylic. There's also melamine, which have similar properties.

Formica comes in all kinds of colours. If you have the funds, you could check out if they come in a colour you can use directly. That would save a lot of work.

Hey FF,

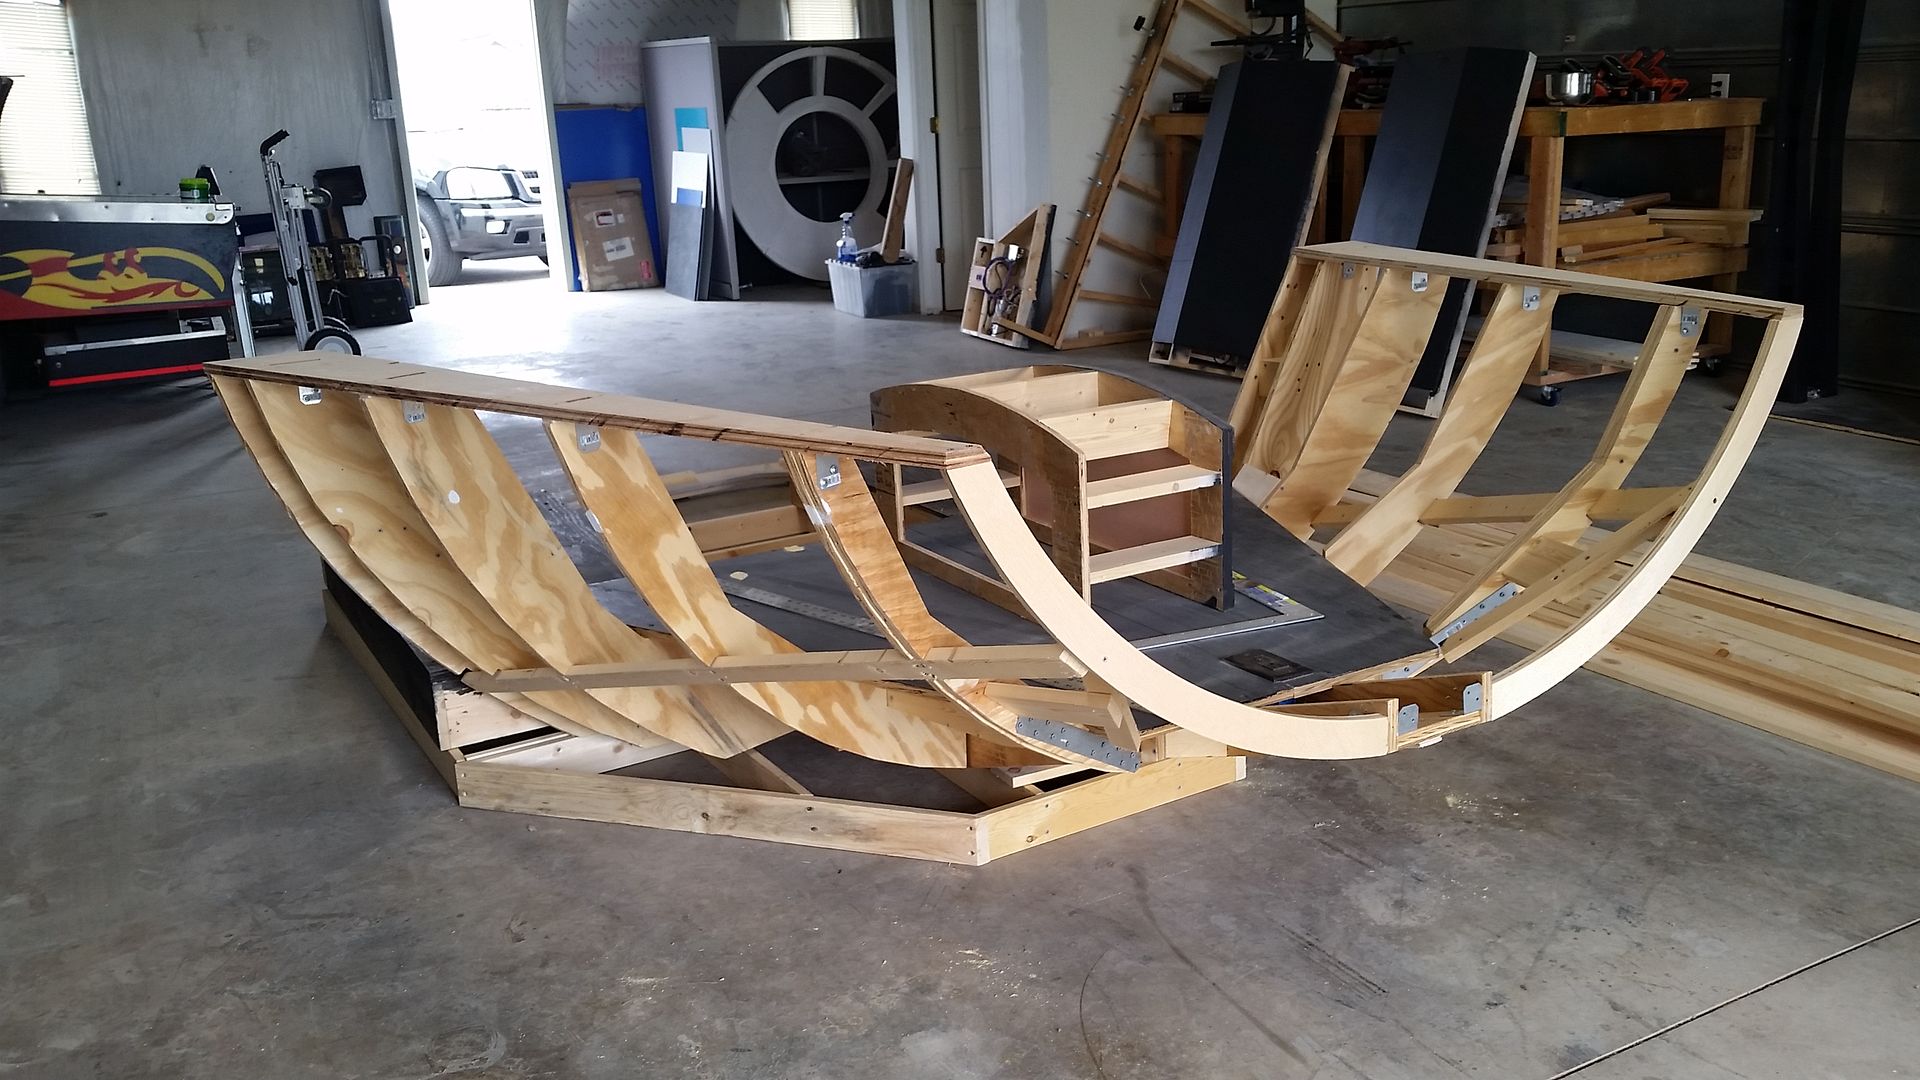
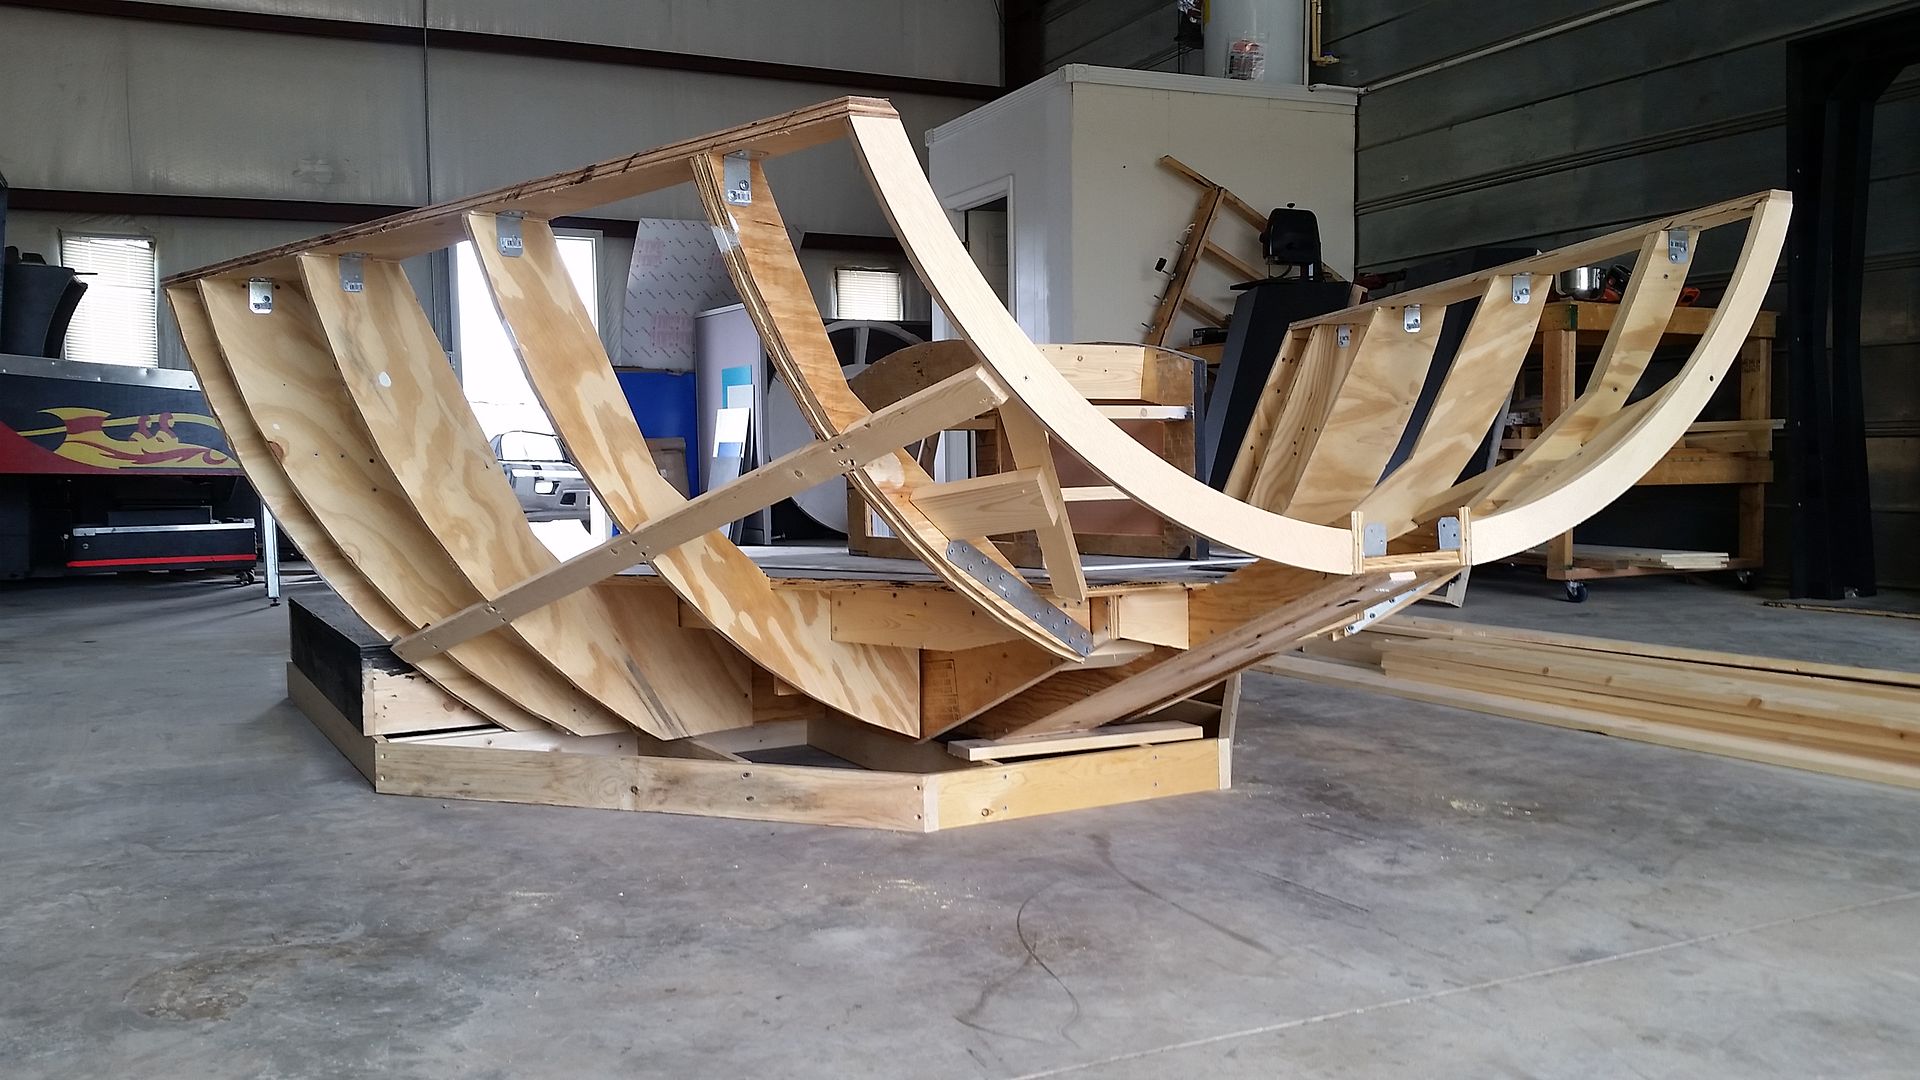
I've been poking around and it appears Formica comes with an ENDLESS color palette! I'm seriously leaning toward using the Formica for the next round. Since I'm considering building a 1/4 scale cockpit, I might use the Formica as a good practice run!

THANKS! :)
 
Formica sounds like a great option as it comes in all kinds of textures as well, but would the burn marks from the laser cutter be easily removable without damaging the formica's finish? Obviously this isn't an issue when you're painting, though the appeal here is to NOT have to paint the panels. Just a thought though, I've never worked with a laser cutter!
 
Formica sounds like a great option as it comes in all kinds of textures as well, but would the burn marks from the laser cutter be easily removable without damaging the formica's finish? Obviously this isn't an issue when you're painting, though the appeal here is to NOT have to paint the panels. Just a thought though, I've never worked with a laser cutter!

Hey M,

You make a VERY GOOD point! Most acrylic has a sticky paper backing on both sides to protect the acrylic from burning. Depending on the LC settings a burn could still happen. MDF burns more on the backside than the front but the sides are always nice charcoaly :)

I'm going to see if any of the home improvement stores have any scrap pieces of Formica they're willing to let go or sell cheap for me to test with. Should be fun!
 
I think the burn marks only appear on wood or wood derivatives like MDF. I'm more unsure whether gluing plywood/MDF and formica will be practical.

Hey FF,

As I mentioned above, the burn mark happens depending on the LC settings to include how far the laser is from the actual surface of the material. Whether wood, MDF, acrylic, EVA foam, etc... any material can have a surface burn or melt. Acrylic burn marks do happen but those are easily sanded/polished out if the protective paper backing was removed. BUT acrylic also has a tendency to melt... again that is depending on the settings and how intricate the design might be. Once it melts... gotta start over. ;)
 
That make sense, thanks!

I suppose the sticky point is finding a setting that will cut formica and plywood/MDF cleanly.

It really all depends on the laser cutter. 1/8th, 1/4 and 1/2" MDF is pretty straight forward - I'm sure you've seen some of the images I've posted of the cut MDF. We tried 3/4" MDF with zero success. Again, I'm sure we just have to find the right settings and the number passes. Plywood in a bit tougher. We've had success with 3 layer ply but anything above that and our 100w laser cutter struggles. The adhesive in between the layers heats up and the laser is reflected / absorbed by the adhesive making it tough to cut through the ply. We gave up trying to cut 1/2 and 3/4" ply. BUT... we do create outlines / cut guides from time to time making it much easier to cut the ply by hand.
 
Hi sofa
The gas main you have picture of there looks very similar to the 5k per hour propane regulators I sell at work

https://www.caravanaccessoryshop.co.uk/product/propane-regulator-5kg-hr/691

These are commonly used on static caravan/ holiday homes

I word scout around for a old 1 at 1 point we had a old second hand 1 in that was bigger and rustic looking also keep cost down.

As said common over here on static vans have you got a trailer park near you might be 1 laying around or speak to your local gas engineer he might be able to sort you out.

Loosebruce
 
Hi Gang,

No picture updates this morning but there is SO MUCH going on! We're really excited and can't wait to unveil another large scope project we're working to include the new 1/4 Scale cockpit I'm also working on.

Stay Tuned!
 
Hi sofa
The gas main you have picture of there looks very similar to the 5k per hour propane regulators I sell at work

https://www.caravanaccessoryshop.co.uk/product/propane-regulator-5kg-hr/691

These are commonly used on static caravan/ holiday homes

I word scout around for a old 1 at 1 point we had a old second hand 1 in that was bigger and rustic looking also keep cost down.

As said common over here on static vans have you got a trailer park near you might be 1 laying around or speak to your local gas engineer he might be able to sort you out.

Loosebruce

Hey LB,

WOW! I think we're DEF on the right track! I couldn't get to the site - connection failed but I'll try again from home. Fingers crossed we're able to track down another original part!

Now... who can I talk to that sells propane and propane accessories? ;)
 
Hi sofa
The gas main you have picture of there looks very similar to the 5k per hour propane regulators I sell at work

https://www.caravanaccessoryshop.co.uk/product/propane-regulator-5kg-hr/691

I think you are on to something about this being some sort of regulator. I did some picture searches for "propane regulator" and "cast gas regulator", which brought up a lot of greebly-ish things looking somewhat like the one Sofaking is building. Non of them had asymmetrical inlet (or outlet) that Sofakings grebly has though. Could it be it is a piece filling a similar role to the gas regulator, only with different fuel, oil or benzine for instance? I found this image of a methane regulator, which has the asymmetry, but lack the overall likeness of the propane regulator:

$_10.jpg

it's called a Methane CNG Aspirated Regulator Reducer, I don't know it it will help Sofaking along.

$_10.jpg
 
Last edited by a moderator:
Last edited:
Dude!! you beat me by two hours! I saw it and I instantly thought of all of you guys!!!! that build is basically what the guys at fullscalefalcon are working on! wouldn't it be great if someone could purchase that set, so that it doesn't go to waste??? *wink wink*. Just look!
head over there to see more!


Holy crap!!! BEAUTIFUL detail, most of which will never make it to the movie screen unfortunately. That was one of the problems with TFA. I didn't feel they showed the exterior full-size set very well. At least, not long enough, and not the best camera angles. Now if I were directing, I would remedy that situation, much like Irvin Kirshner did on Empire..

Dimension-wise, parts of the exterior look a little clunky, especially in the front, but overall it looks good.

Click the direct link for more pics, including one amazing shot of the interior. Looks very spacious. Too bad that's the only shot of the inside.

EDIT: Even more pics here... http://www.starwarsnewsnet.com/2016/05/leak-new-photos-from-the-millennium-falcon-set.html
 
Last edited:
As much of a SW fan as I am & these pic's are great! I can't help but think the guy's who took them & posted them on the net have crossed a line :unsure
I don't mean to be a party pooper but I think there should be a limit & a bit more respect for the makers of the films we love.

I just hope there are no significant repercussions.


Looking forward to some more pics from sofaking01 :)
Keep up the good work guy's :thumbsup
 
Last edited:
Hi Gang,

Not much of a "Monday Morning Update". There was SO MUCH related and unrelated goings on this weekend. Still working the 1/4 scale cockpit. This is a good thing as it's helping me figure out new and more efficient techniques which will in turn be used on the new full scale cockpit. :)

Did a little work on the 1/4 scale door and panels - LOTS of design work and recuts have gone into these parts
20160521_065353_zpskrko2hrf.jpg


Garrard Trim Plate - 1/4 scale
20160521_065419_zpsnb2ycrc1.jpg


These had to be redesigned twice in order to find the perfect balance between getting the fine detail and the ability of the laser cutter
20160521_065424_zpsa7445z4z.jpg


20160521_065427_zpsoo9pi9if.jpg


1/4 scale panels
20160522_175040_zpsiyoy9yzz.jpg


20160522_175043_zpsw4okl7xw.jpg


20160522_175045_zpsvb39uc1g.jpg


Back panel has holes cut for LEDs and Fiber Optics, the top panel holds the acrylic blue and white tiles in place
20160522_175114_zpsjos7ohst.jpg


20160522_175130_zps21jdjfoc.jpg


Our newest member Mitchell stopped by to discuss several Falcon related welding projects and also helped me with the new nose platform
20160521_121921_zpsx8hrry2h.jpg


The older platform had outlived its purpose and was too heavy to transport
20160521_122616_zpsskhchexa.jpg


20160521_122621_zpsrq6nimxx.jpg


20160521_122632_zpsited7ws6.jpg


3 Day weekend coming up so I'm hoping to take total advantage and make some real forward progress!
20160521_172306_zpsb3rcvqyj.jpg


Kinda boring... Sorry gang. Stay Tuned! :)
 
Last edited:

Your message may be considered spam for the following reasons:

If you wish to reply despite these issues, check the box below before replying.
Be aware that malicious compliance may result in more severe penalties.
Back
Top