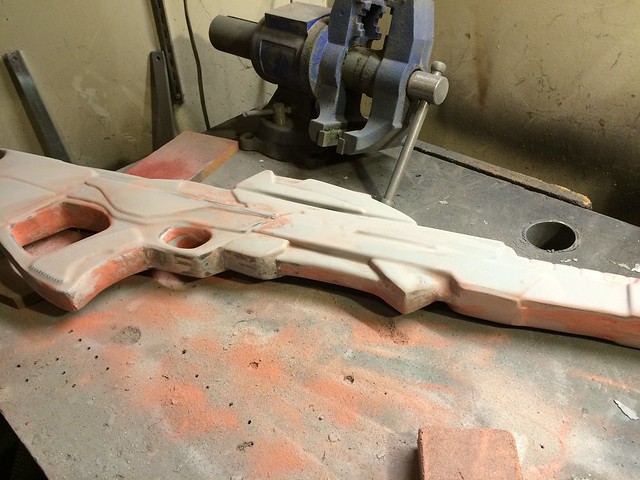
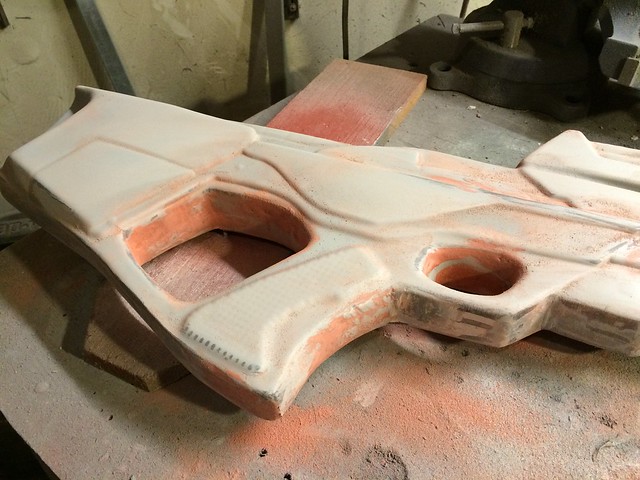
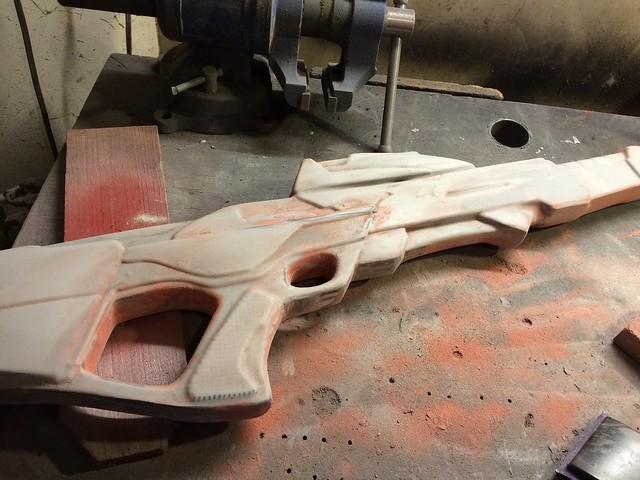
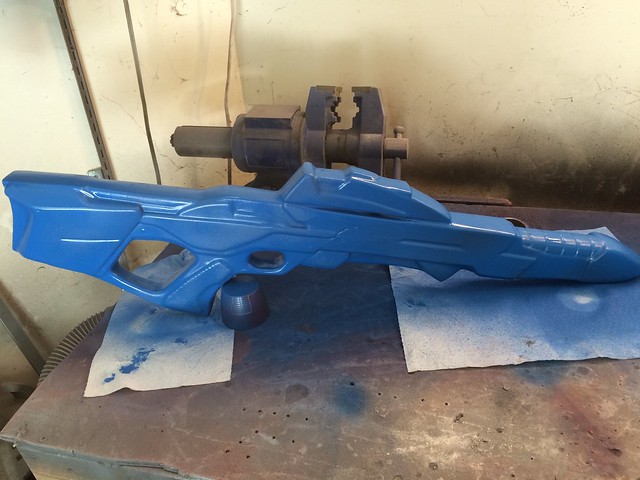
Re: Star Trek TNG First Contact Type III Phaser Rifle - Let's Paint!
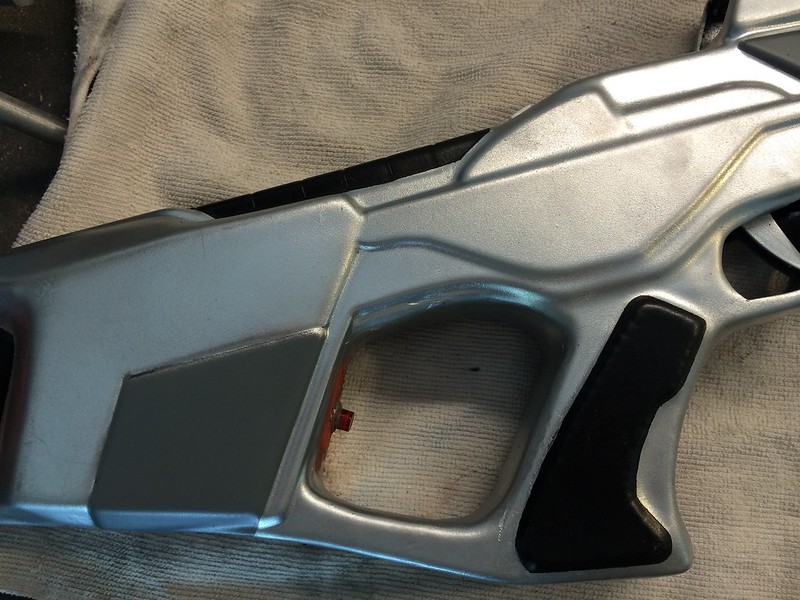
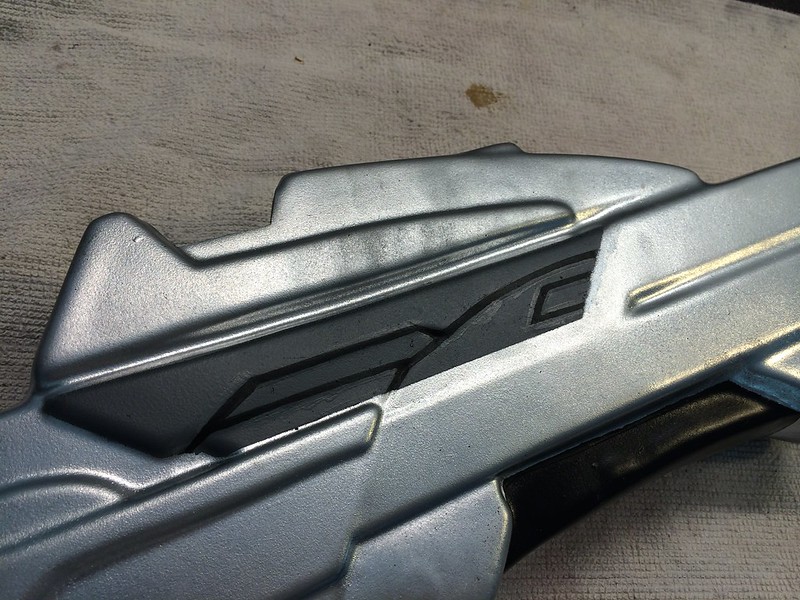
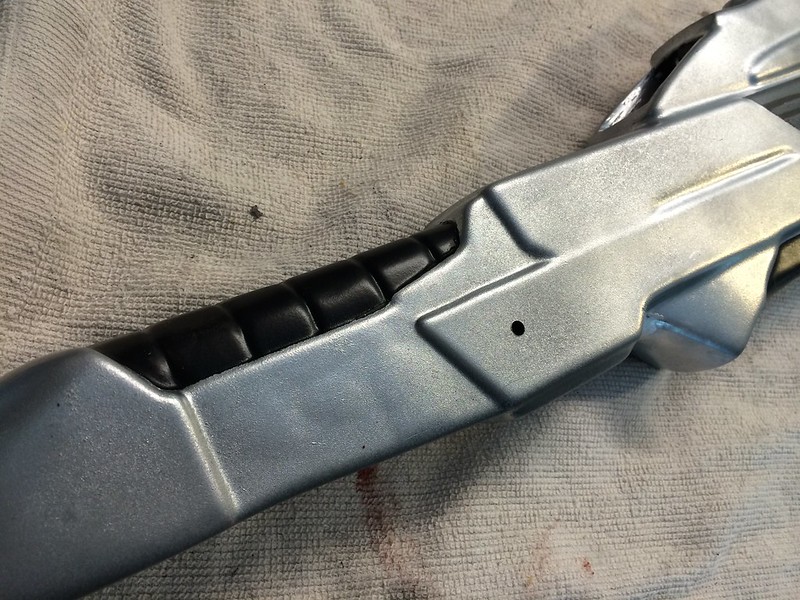
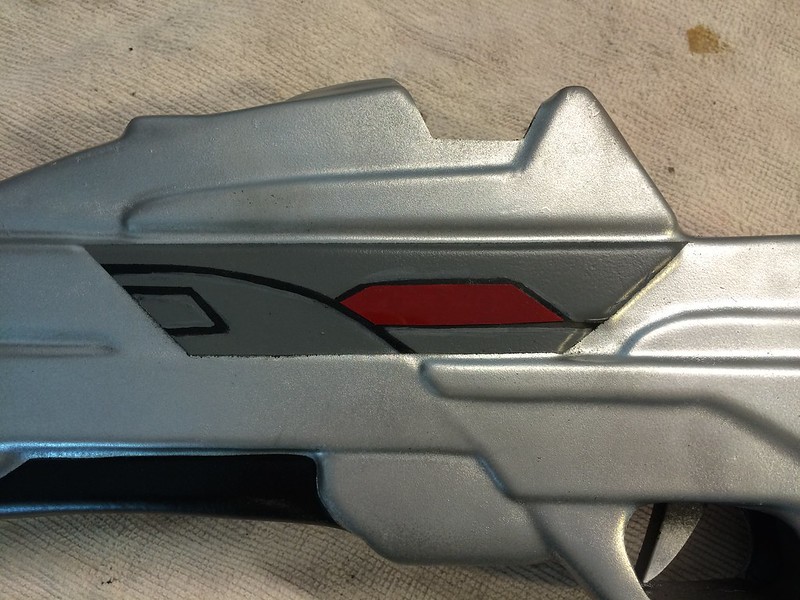
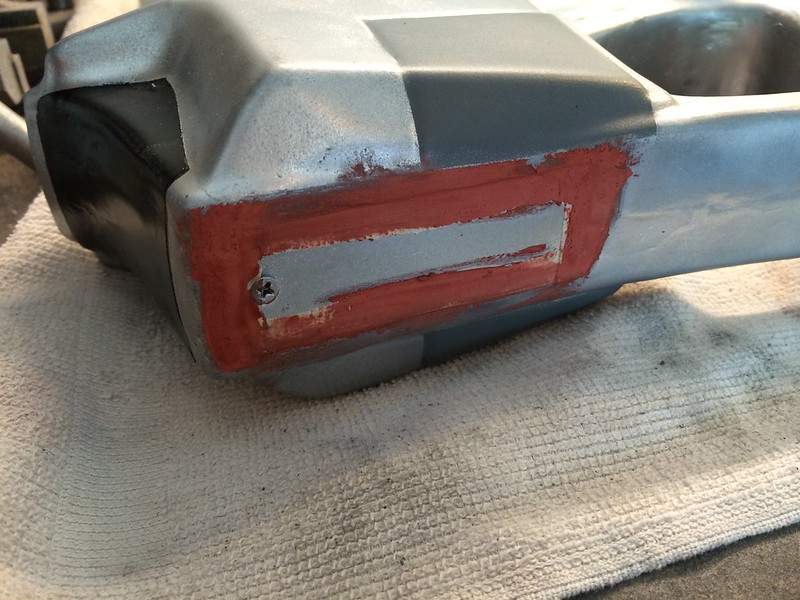
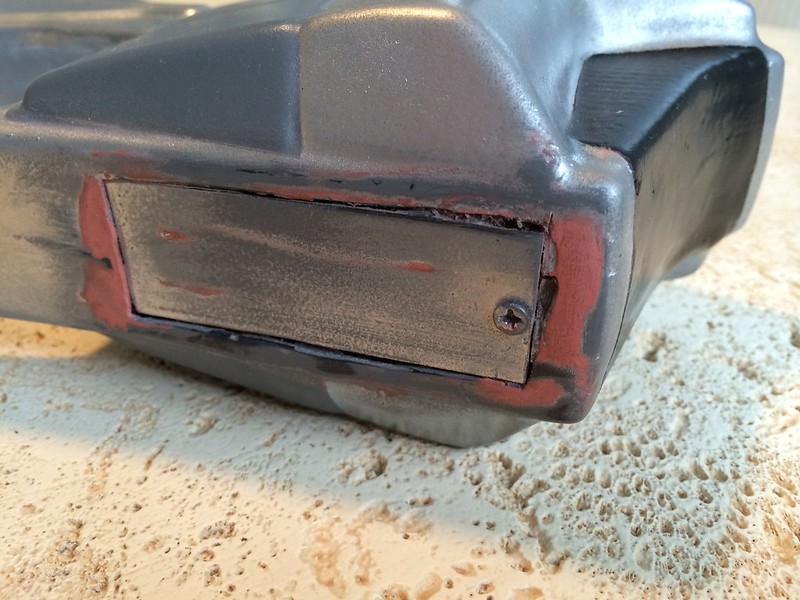
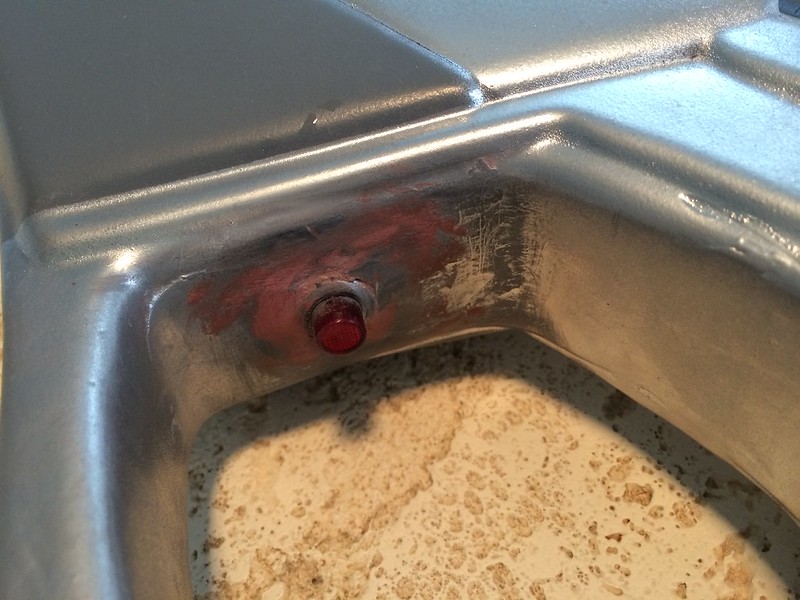
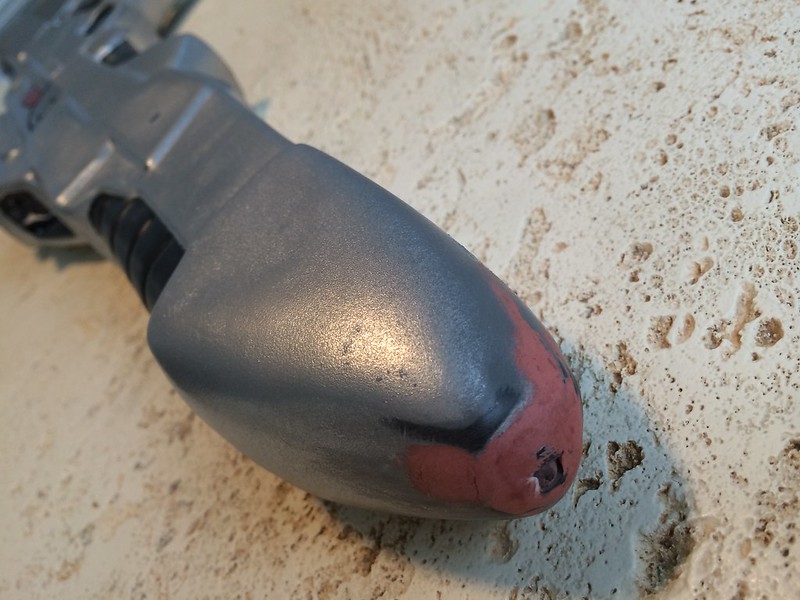
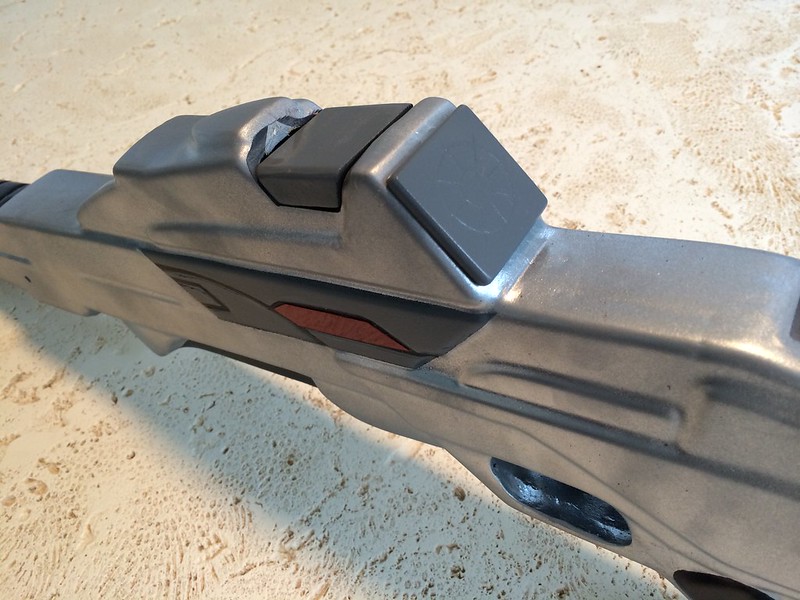
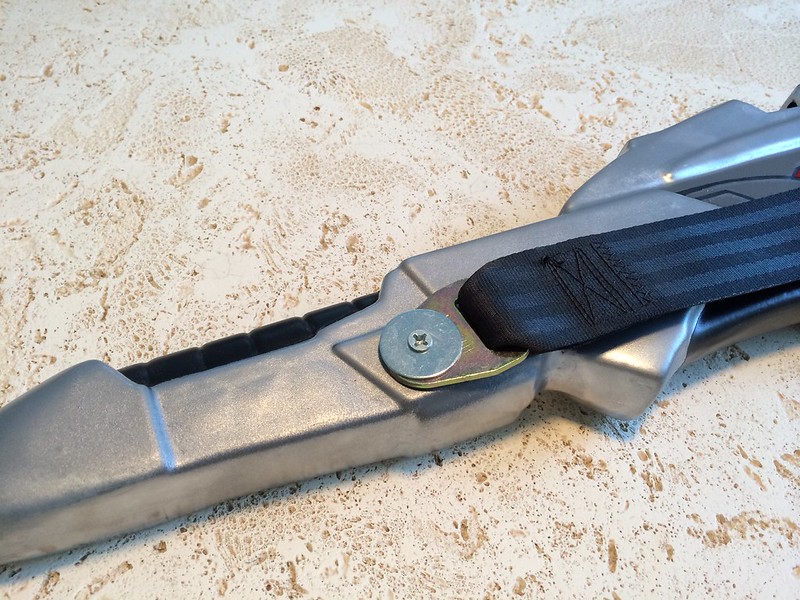
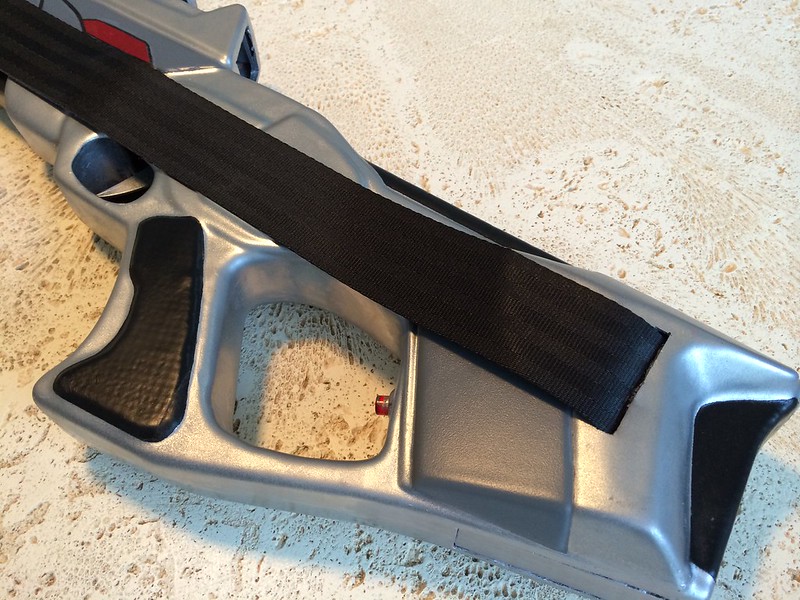
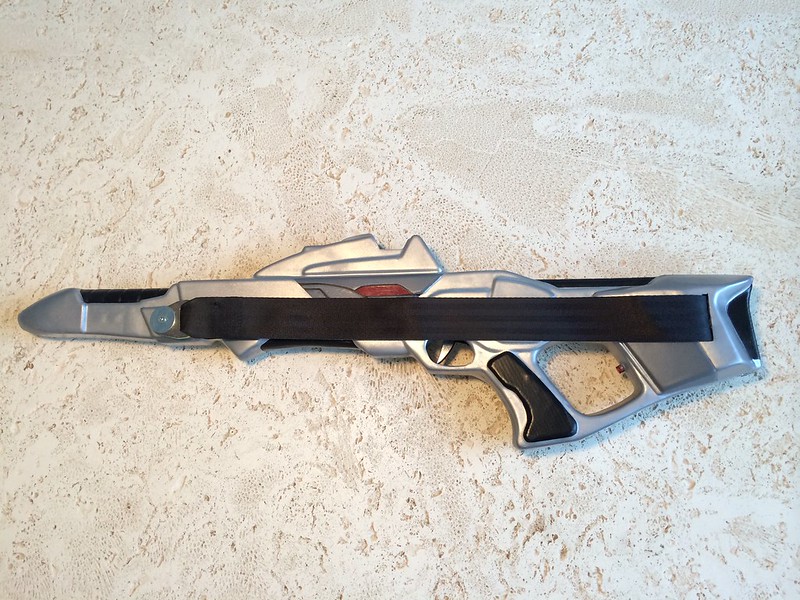
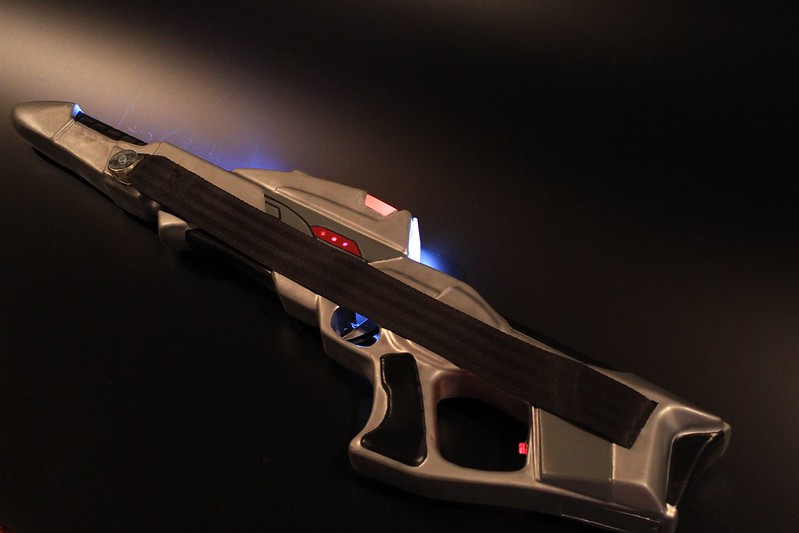
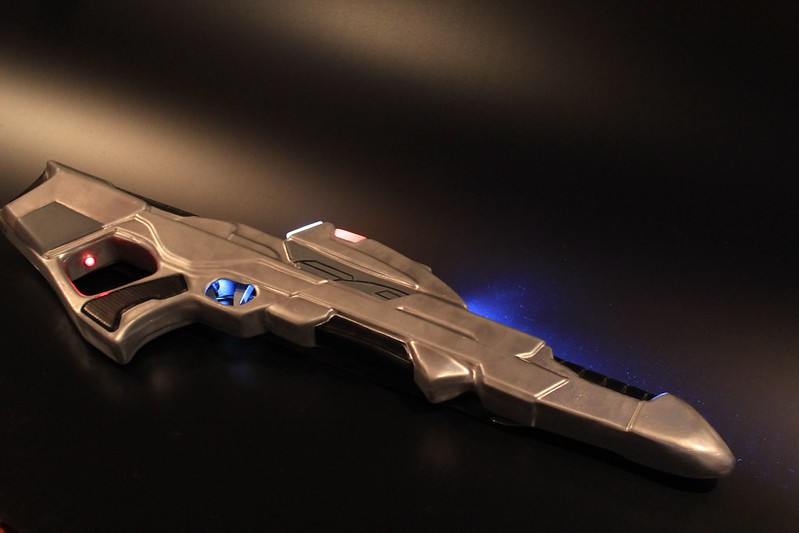
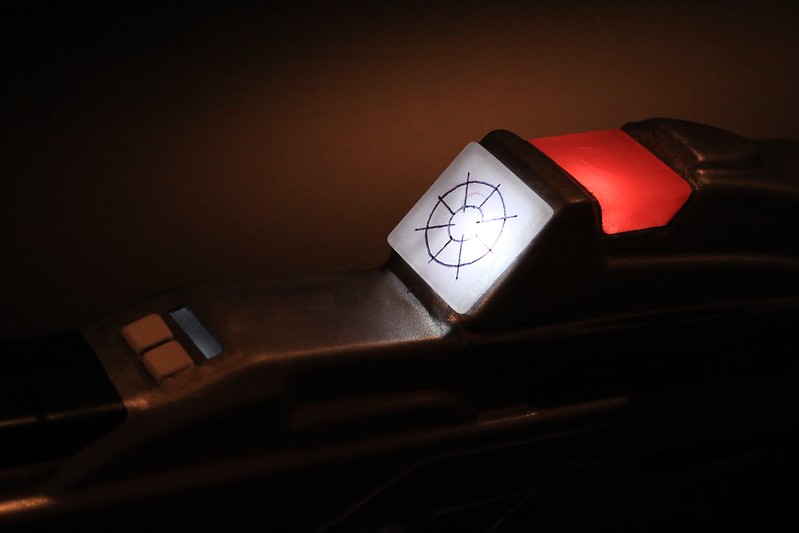
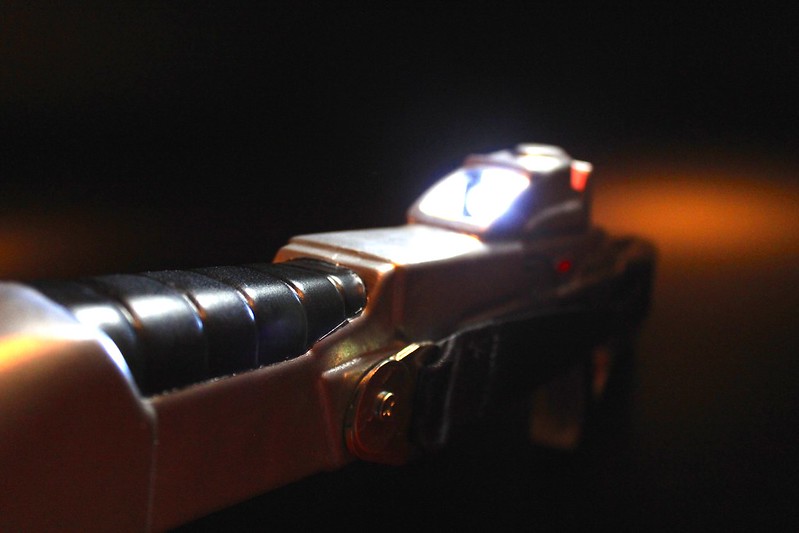
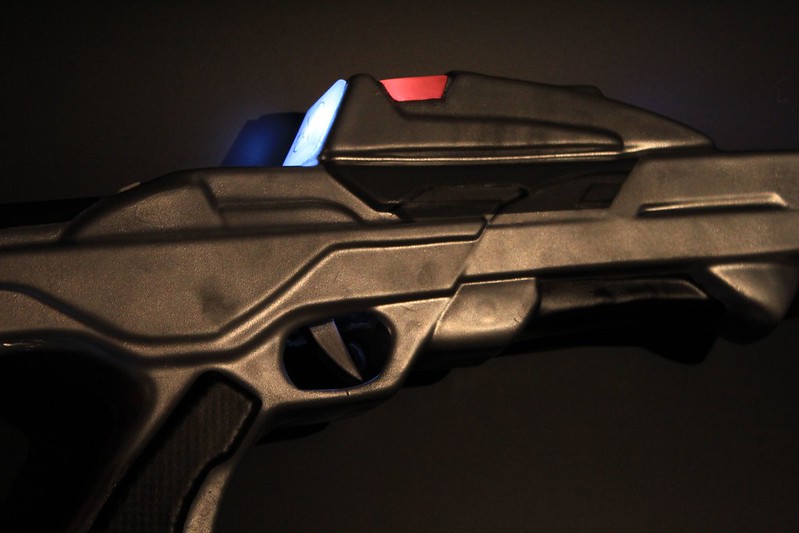
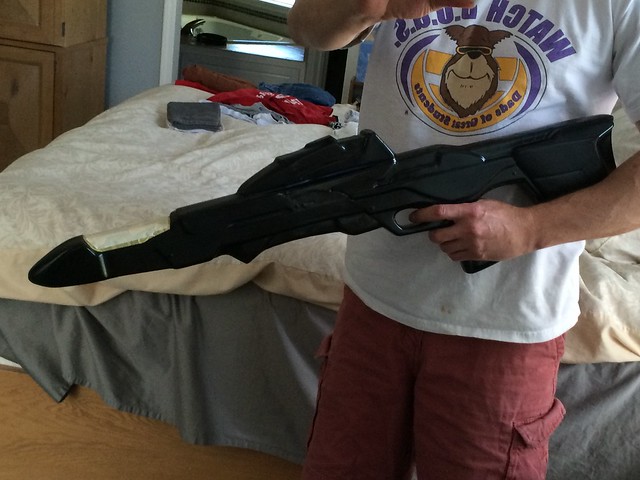
While had the paints out I took a little detour to another project...
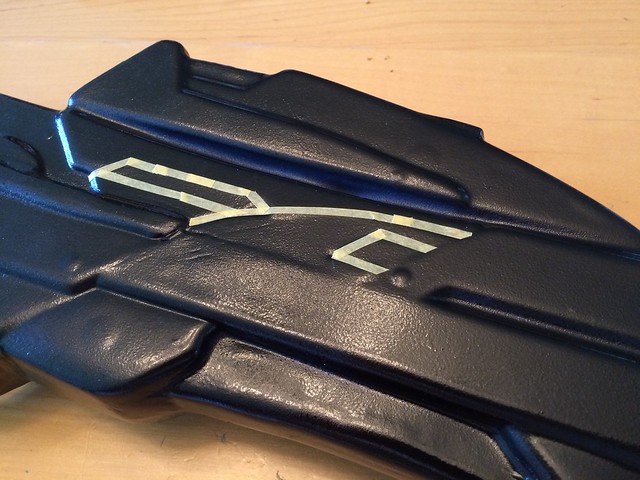
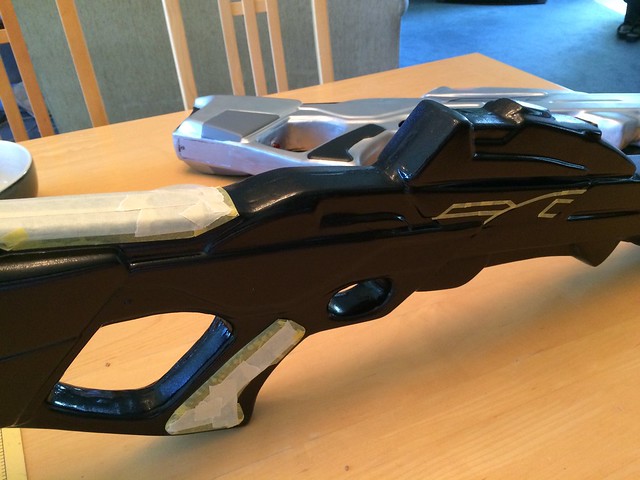
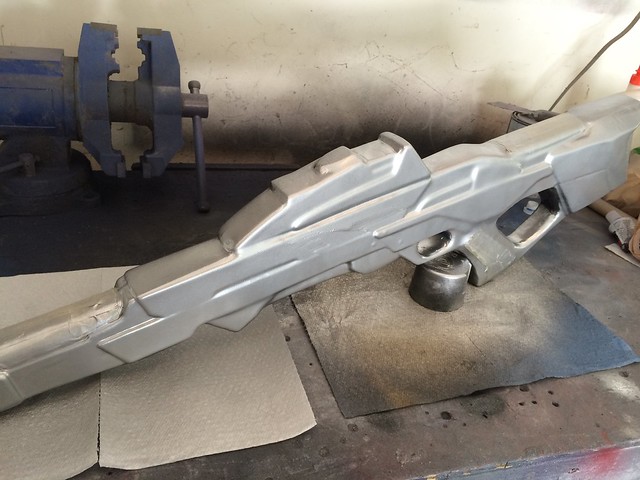
I picked up a Nerf gun at our annual neighborhood garage sale.
First time attempting a repaint and I'm pleased. Done with rattle can black and silver, hit the black with steel wool and finished the silver with several black washes. I sanded most of the text off, leaving just the Nerf logo.

That looks very,very good
Thanks to you both! As so many others have said, the positive comments really help fuel the build.That is looking fantastic!
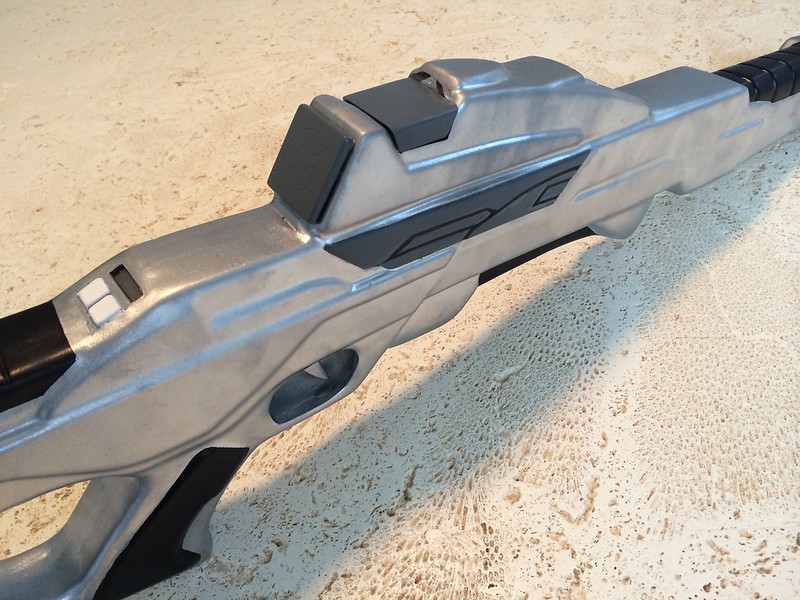
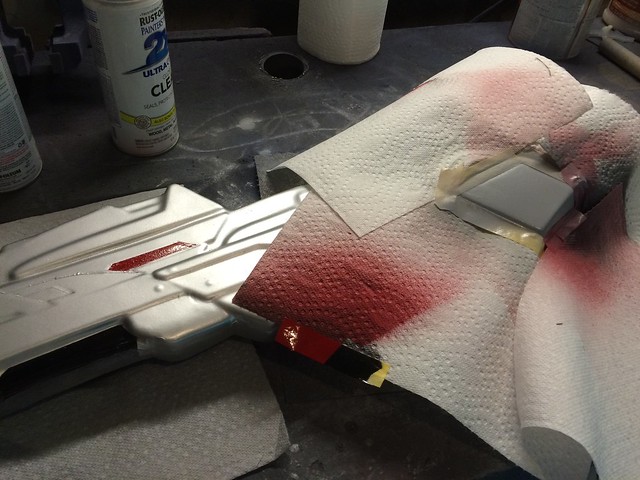
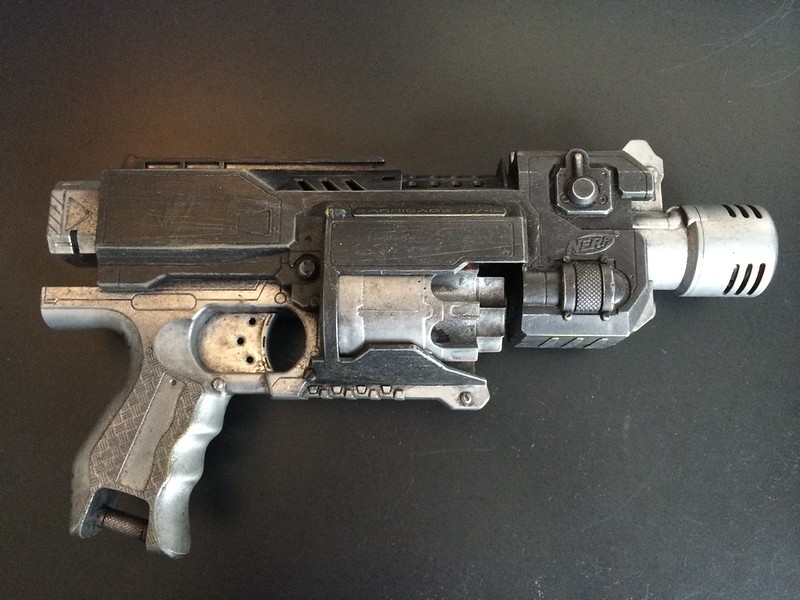
While had the paints out I took a little detour to another project...
I picked up a Nerf gun at our annual neighborhood garage sale.
First time attempting a repaint and I'm pleased. Done with rattle can black and silver, hit the black with steel wool and finished the silver with several black washes. I sanded most of the text off, leaving just the Nerf logo.
Last edited:


")