Universal Studios Extreme Pack Resto Mod

nstevic01

Well-Known Member
Been away for a long while, been busy building packs and other stuff. A friend of mine came to me and asked if I would do some work on a pack that he acquired. Turns out it was one of the packs used in the street show/ride arounds over at Universal Studios. From what I understand, this was the ONLY Extreme pack to make it out of the park and avoid destruction. We all know there were a couple of other USF packs to make it out, but they were themed after the movie.

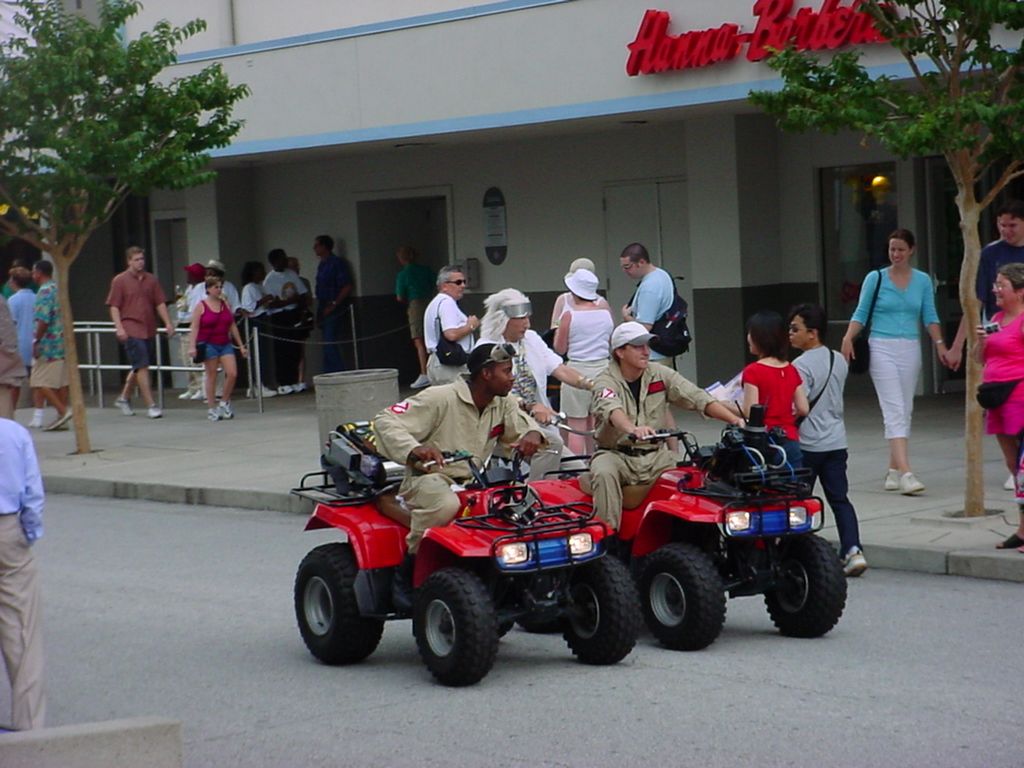
So I did some digging around, and found a few reference photos of the pack. Apparently there were only 2 in this configuration:


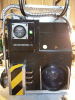
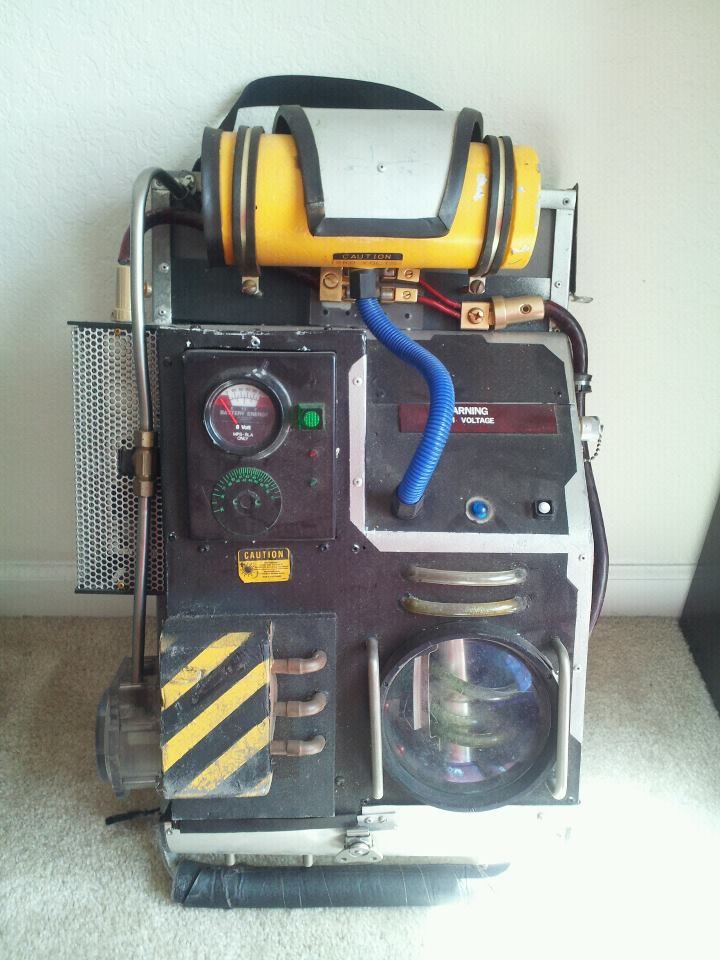
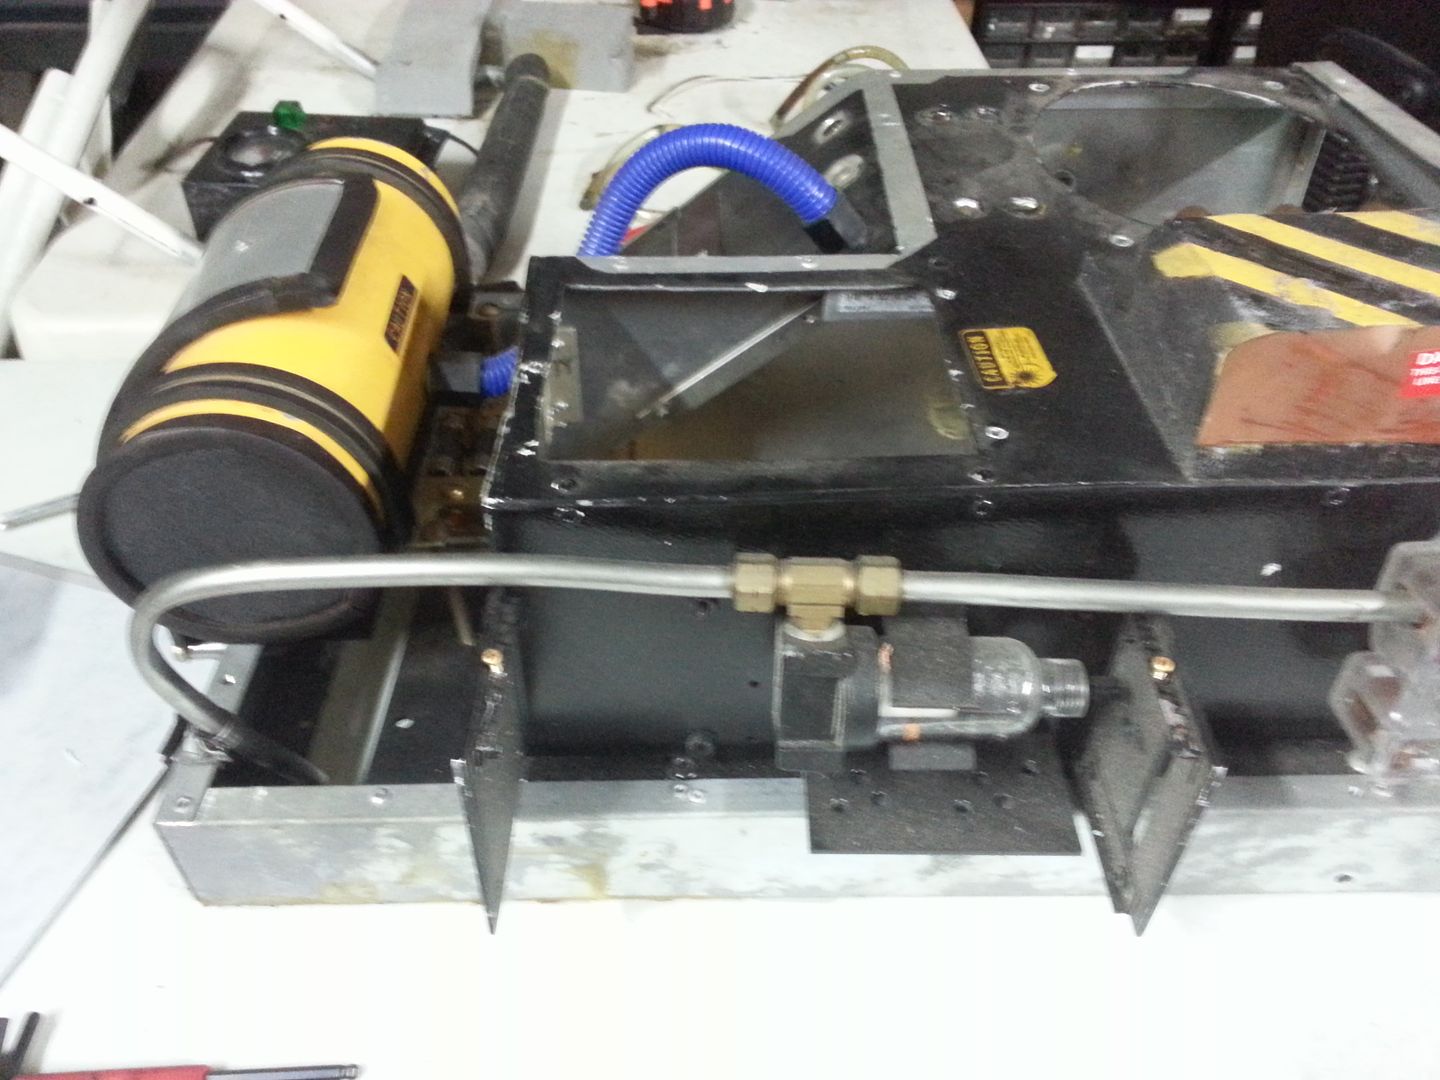
So here is the pack, as I received it. No thrower, and the straps were broken.


The current owner of the pack wants it gone through completely, a new thrower made, lights and sounds upgraded, and a few choice mods. After seeing the park thrower, the owner wanted to go for more of a Extreme type thrower vs. what originally came with it.

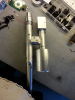
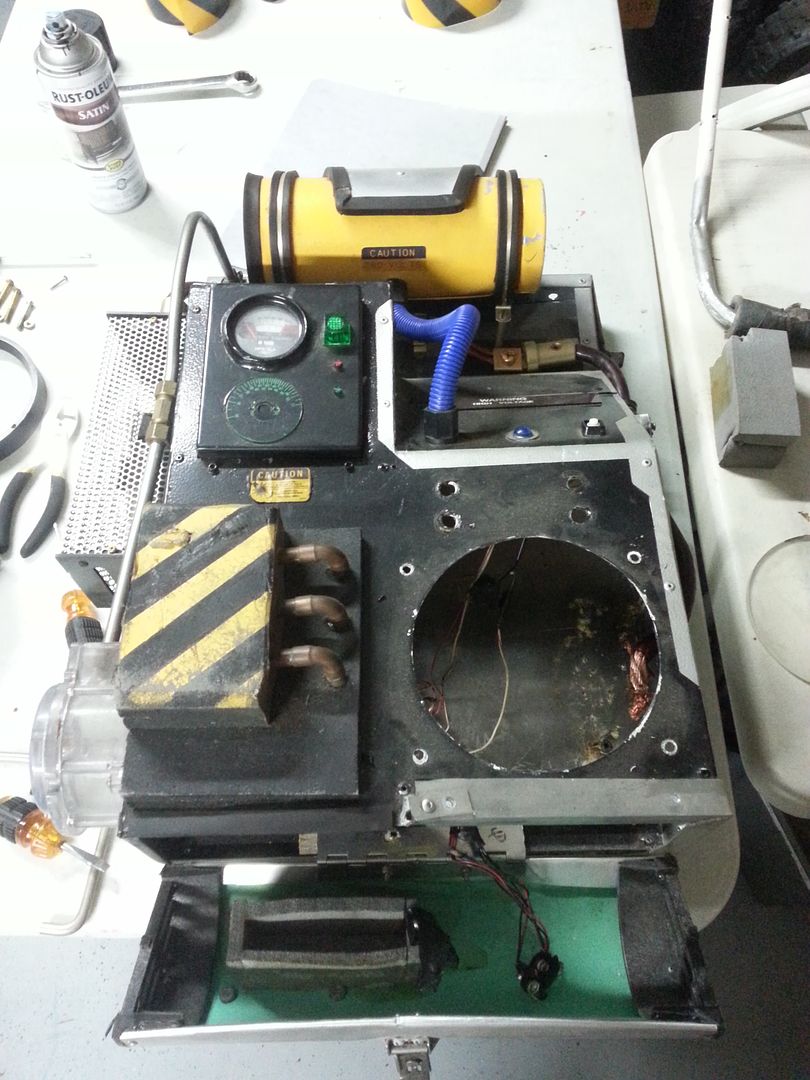
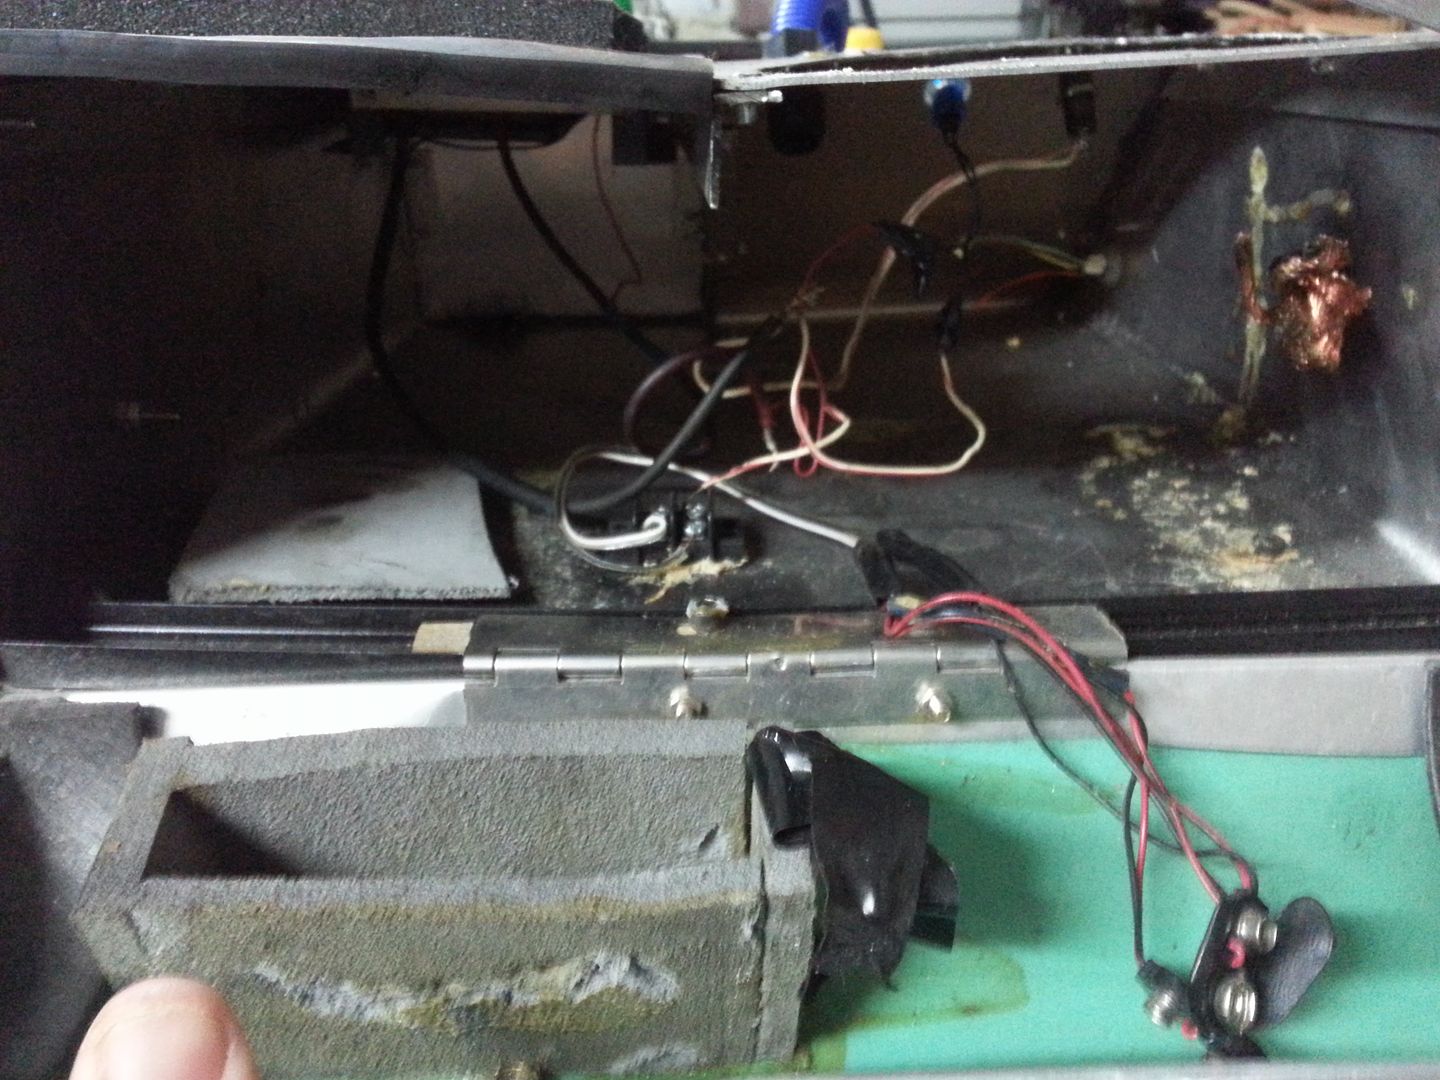
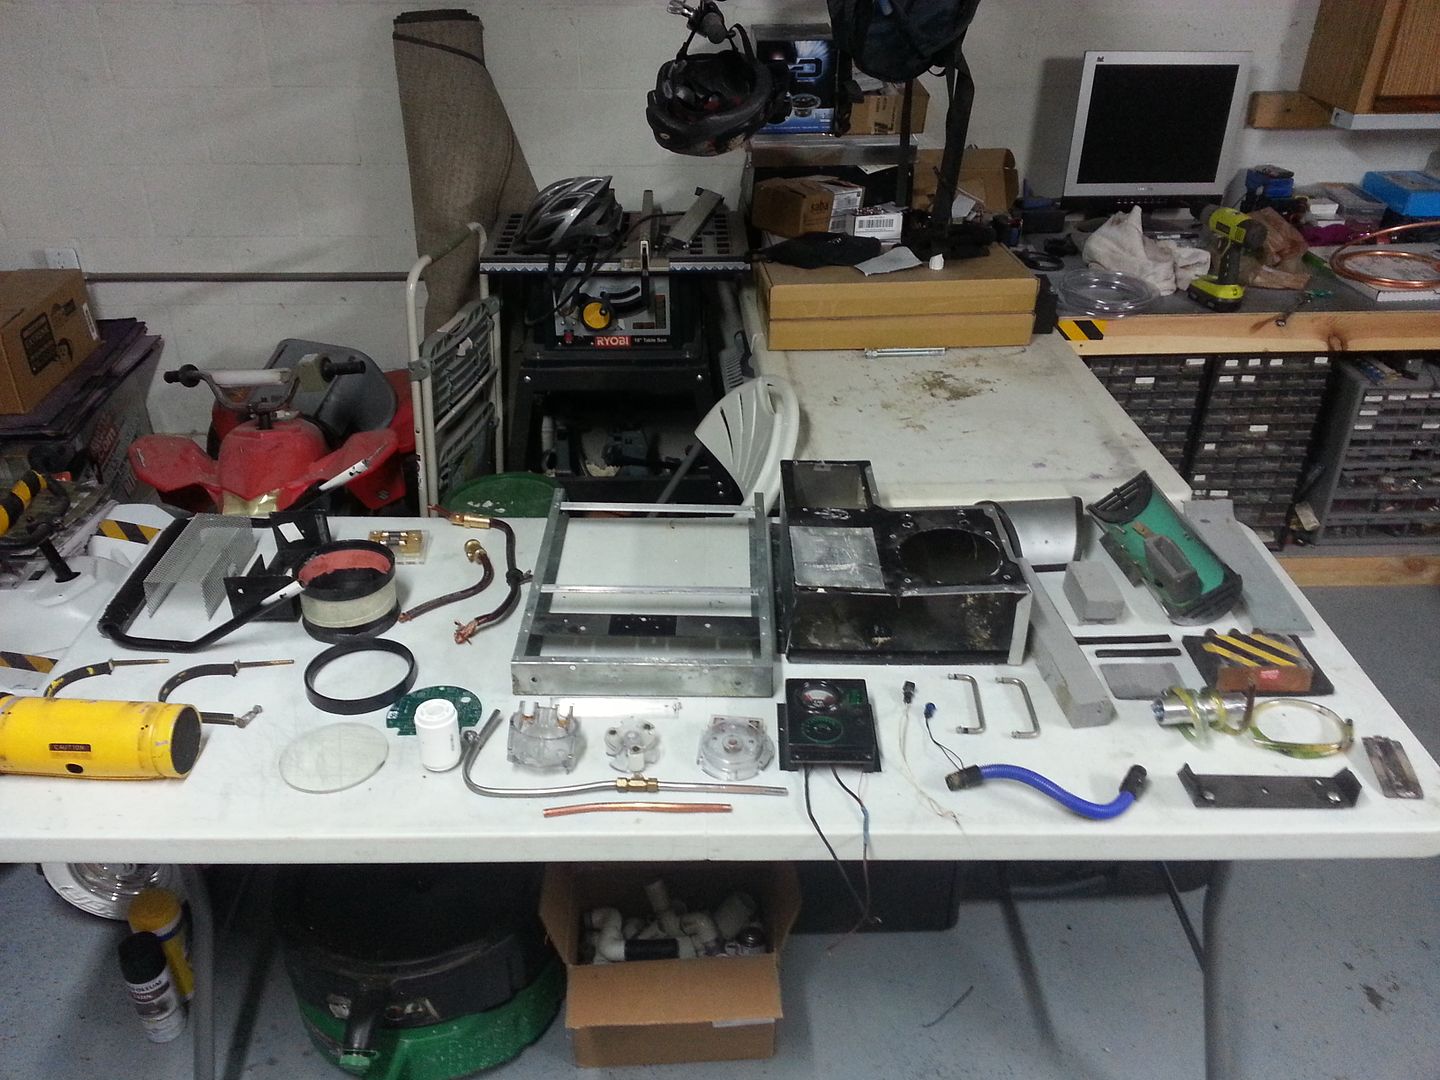
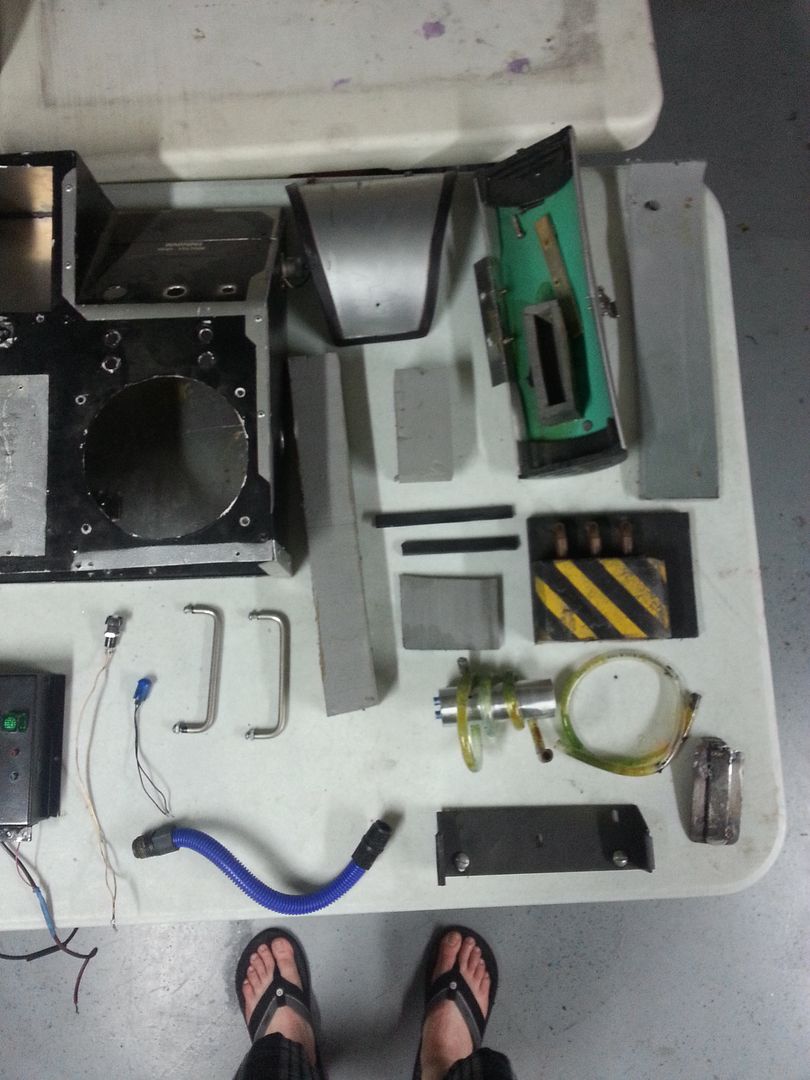
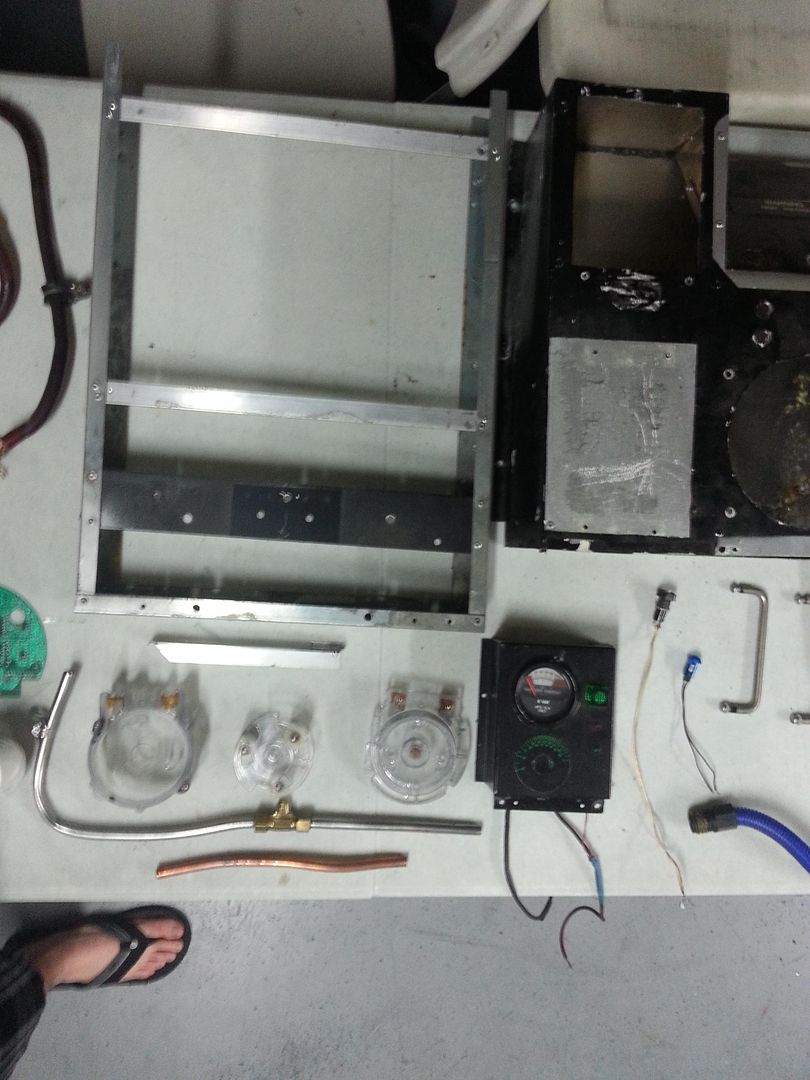
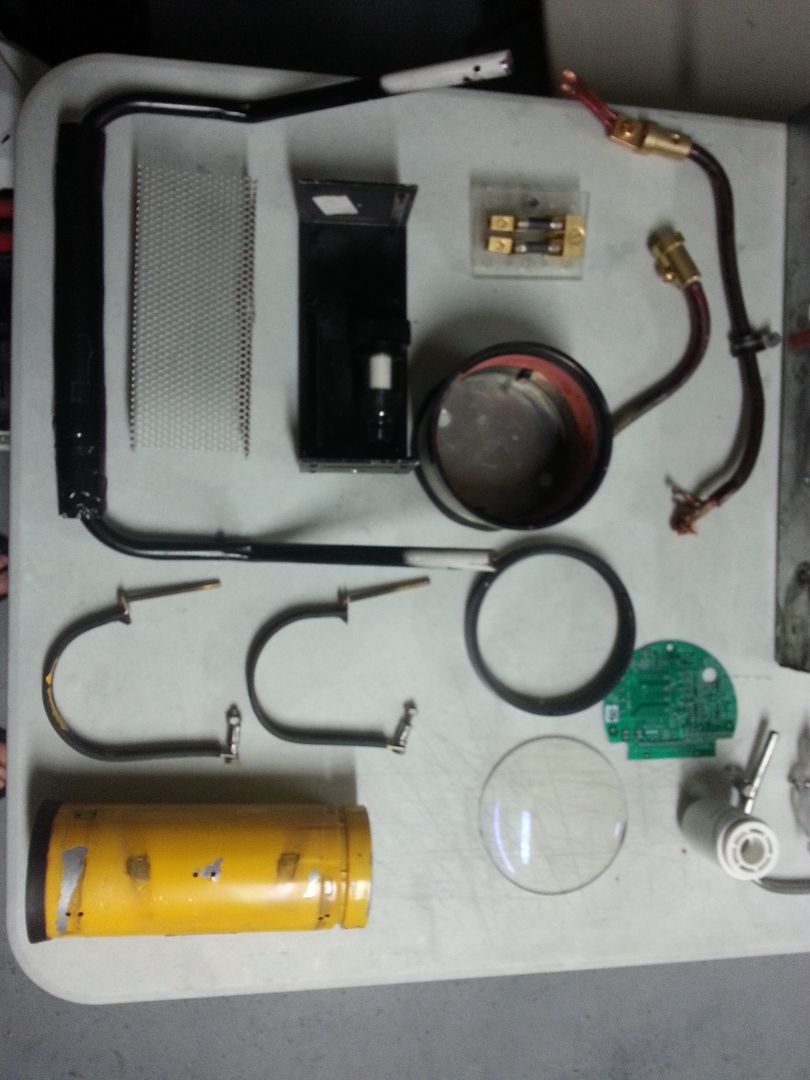
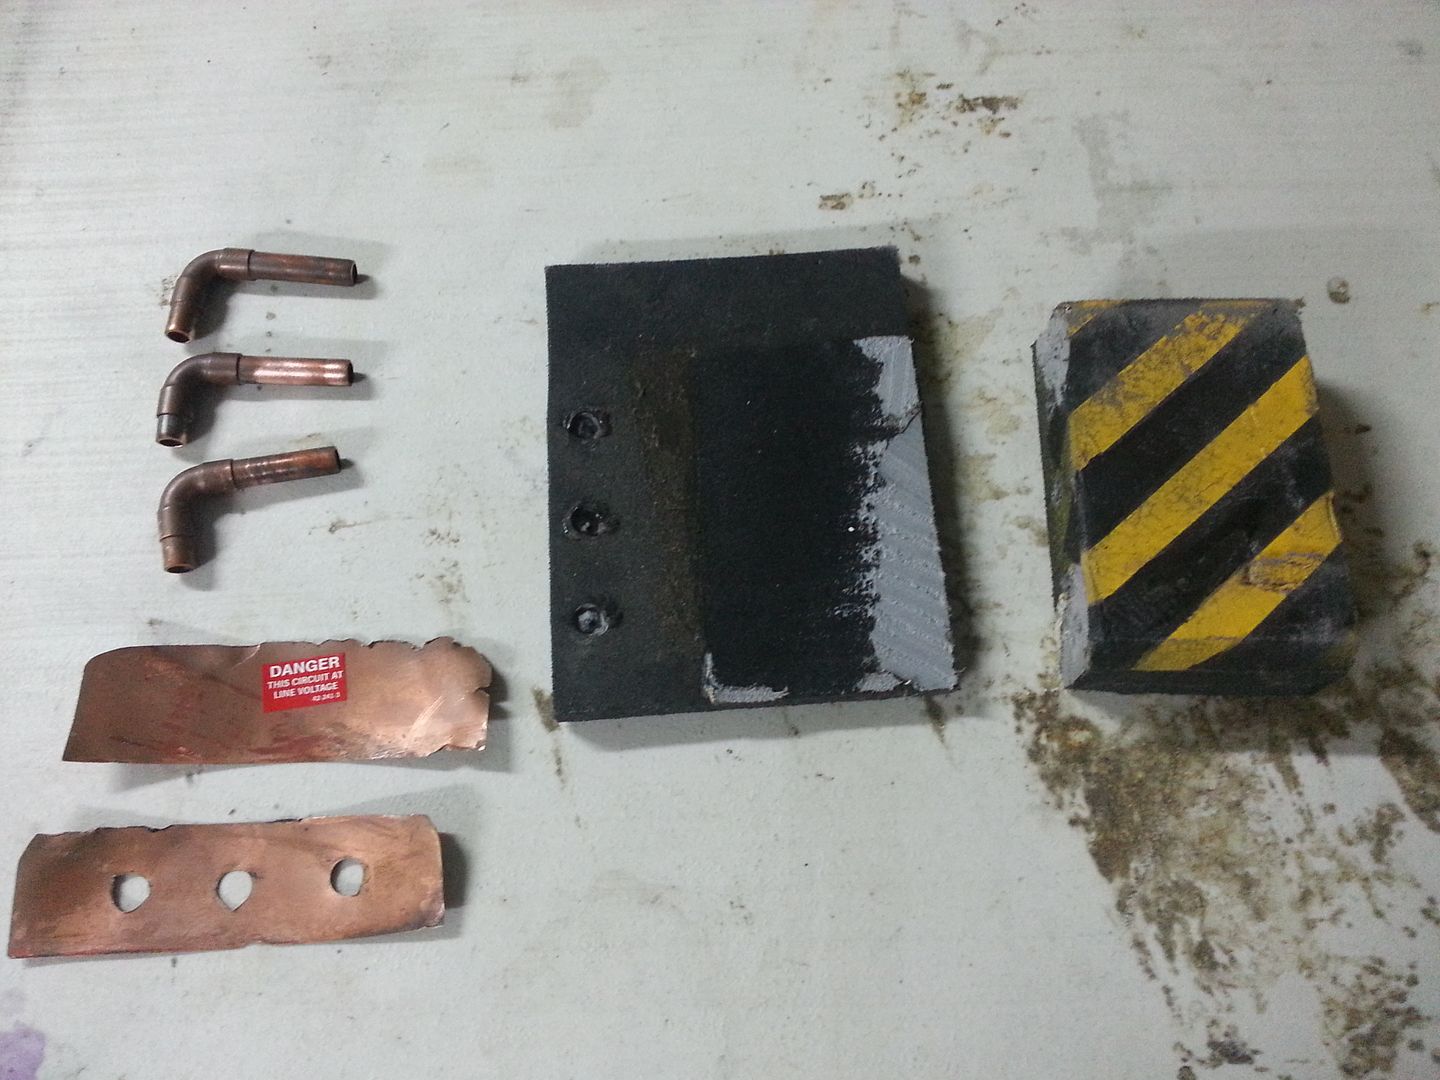
I began the tear down and laid out all of the parts:


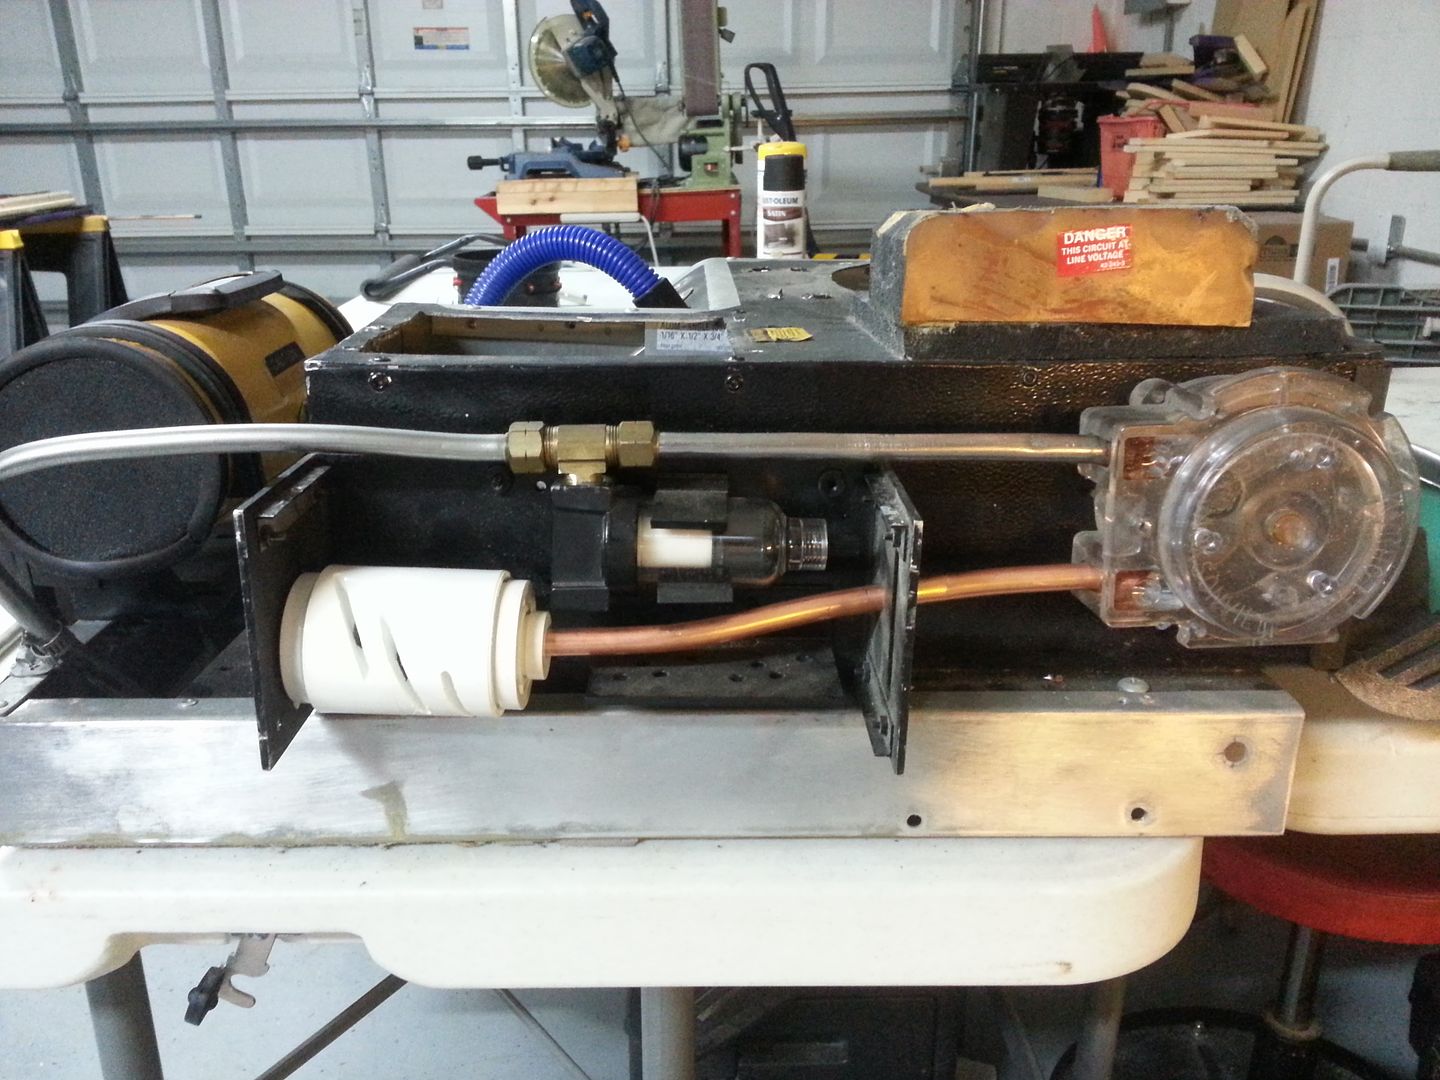
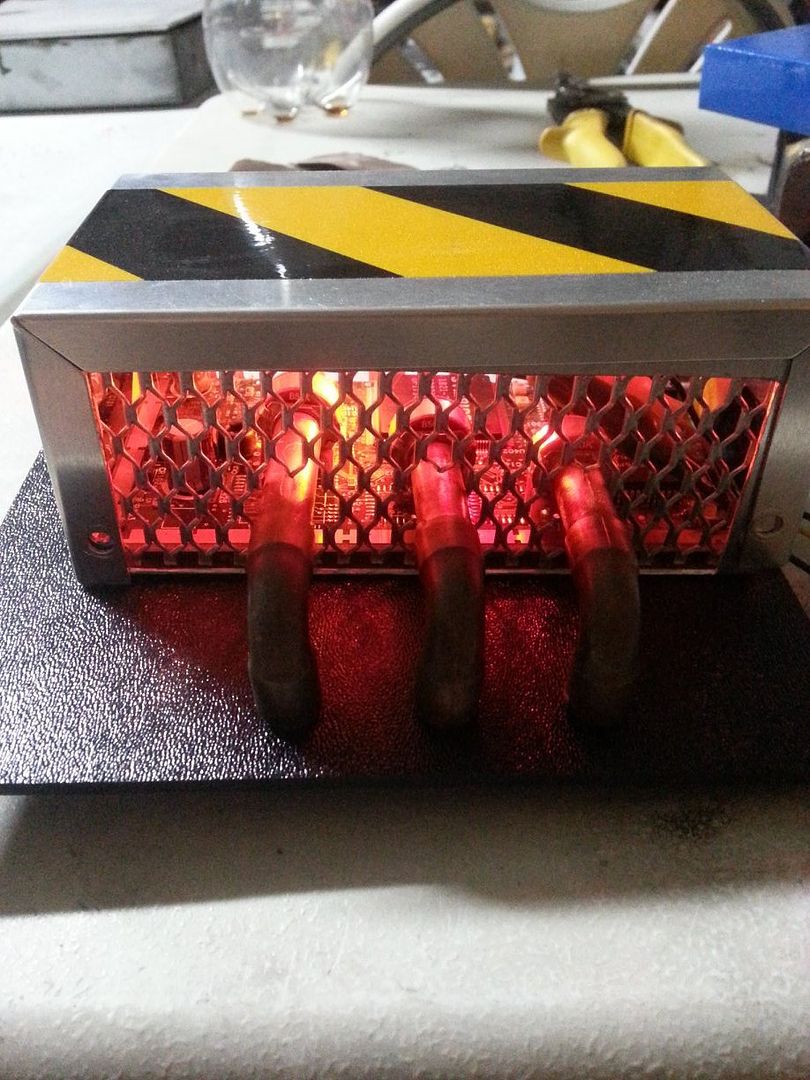
I added to the "In" side of the pump box. Just used some copper tubing and PVC to give a filter effect:


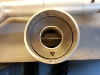
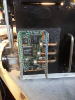
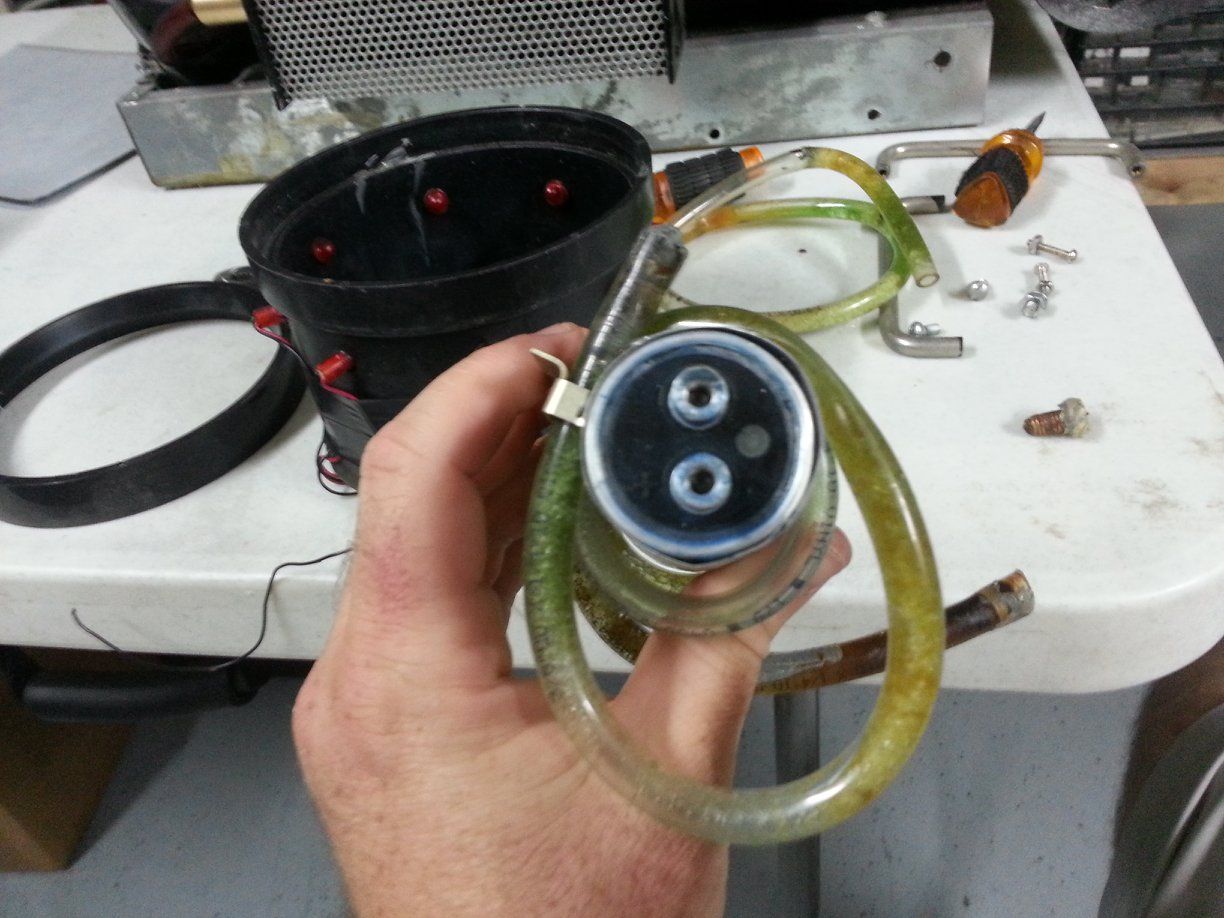
The Cyclotron had basic flashing LEDs inside, as well as a capacitor wrapped with slime filled tubing:


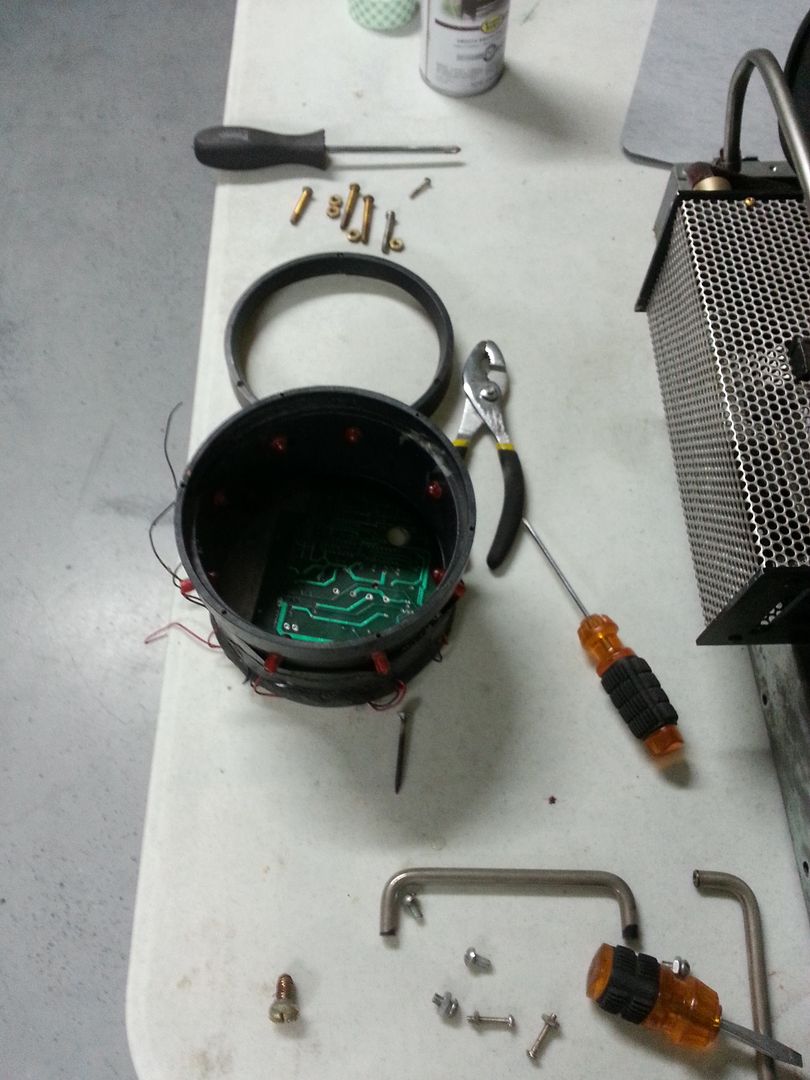
I removed the LEDs from the Cyclotron and filled the holes in:


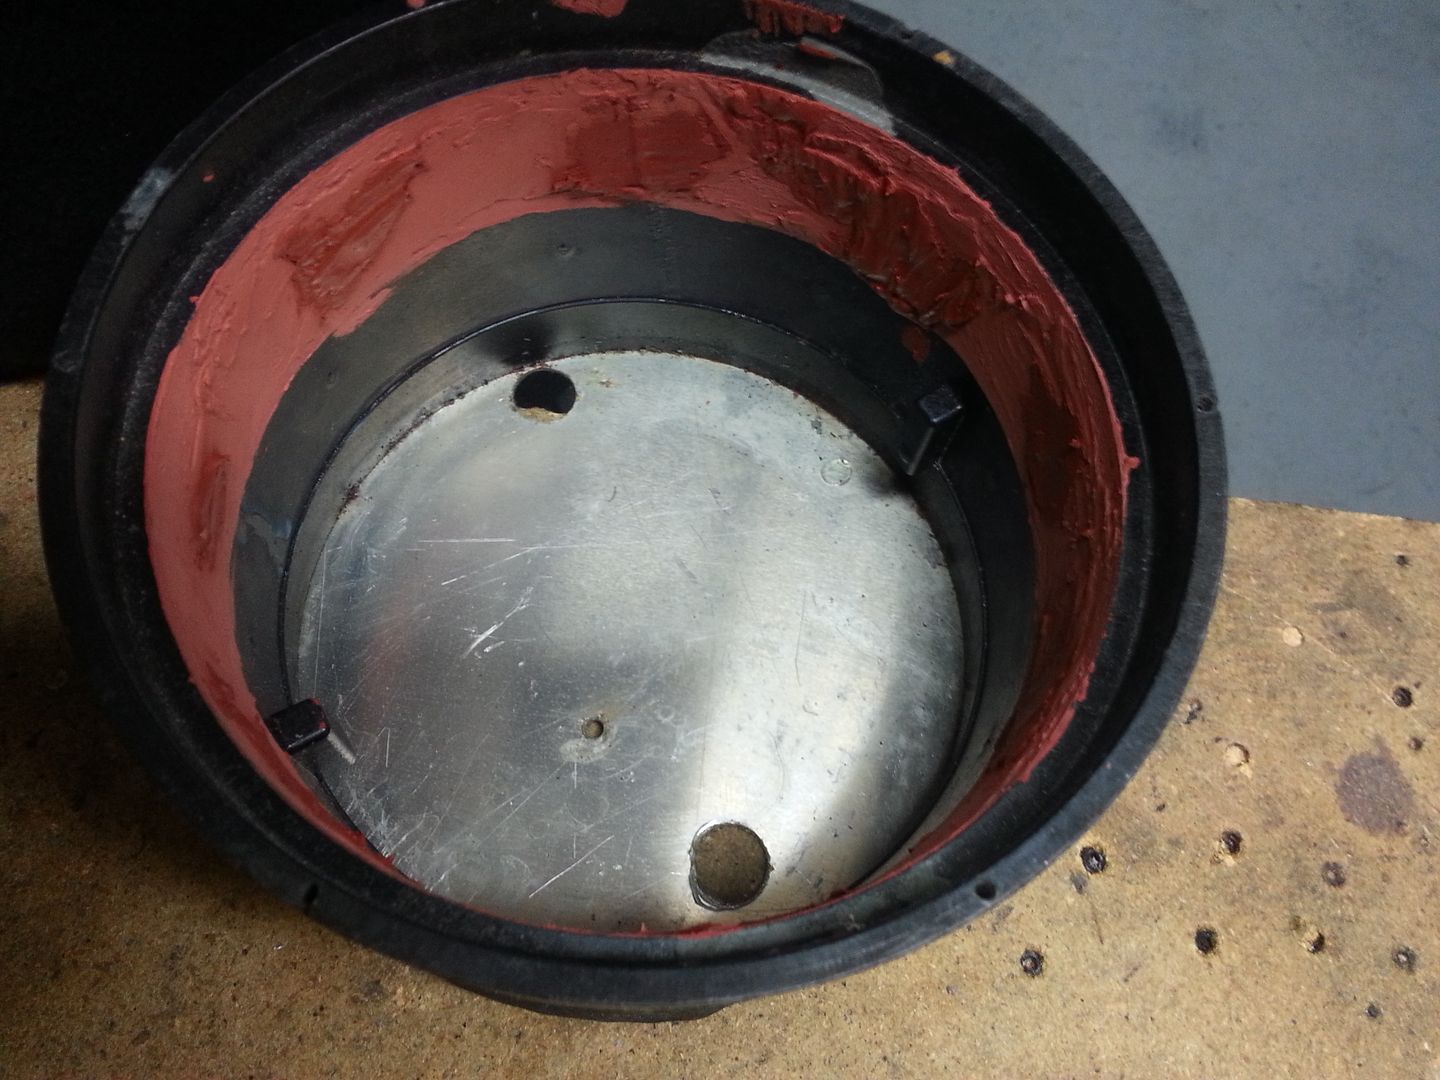
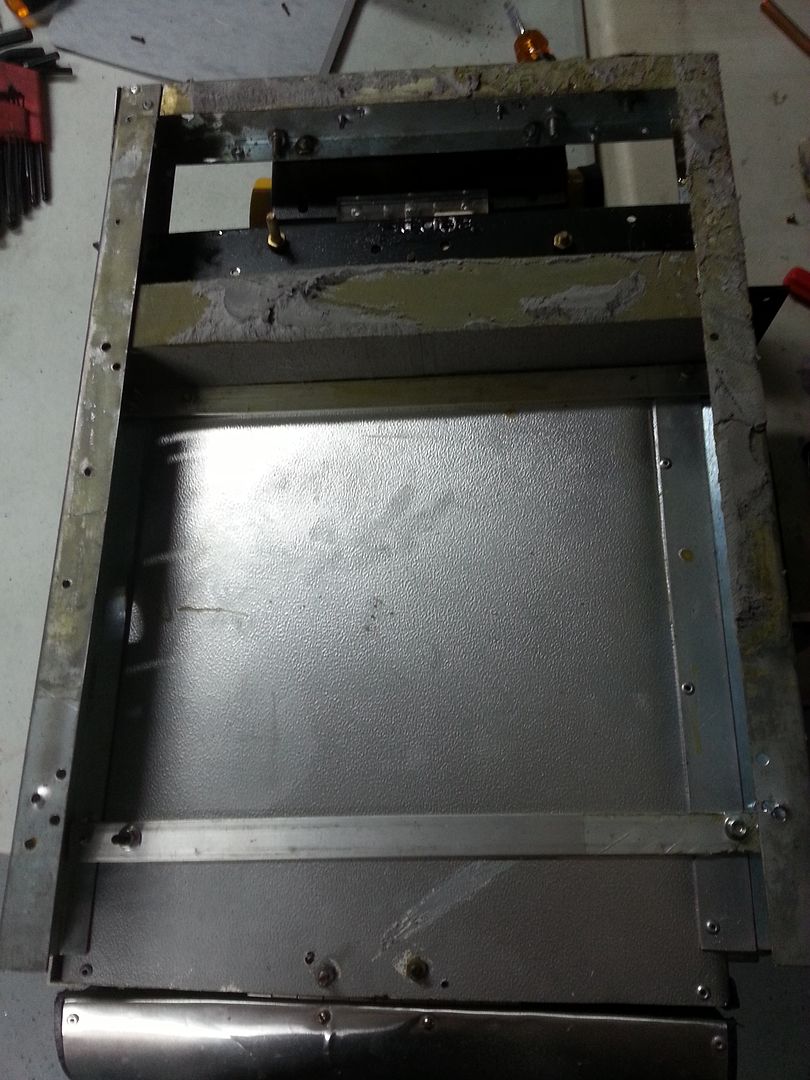
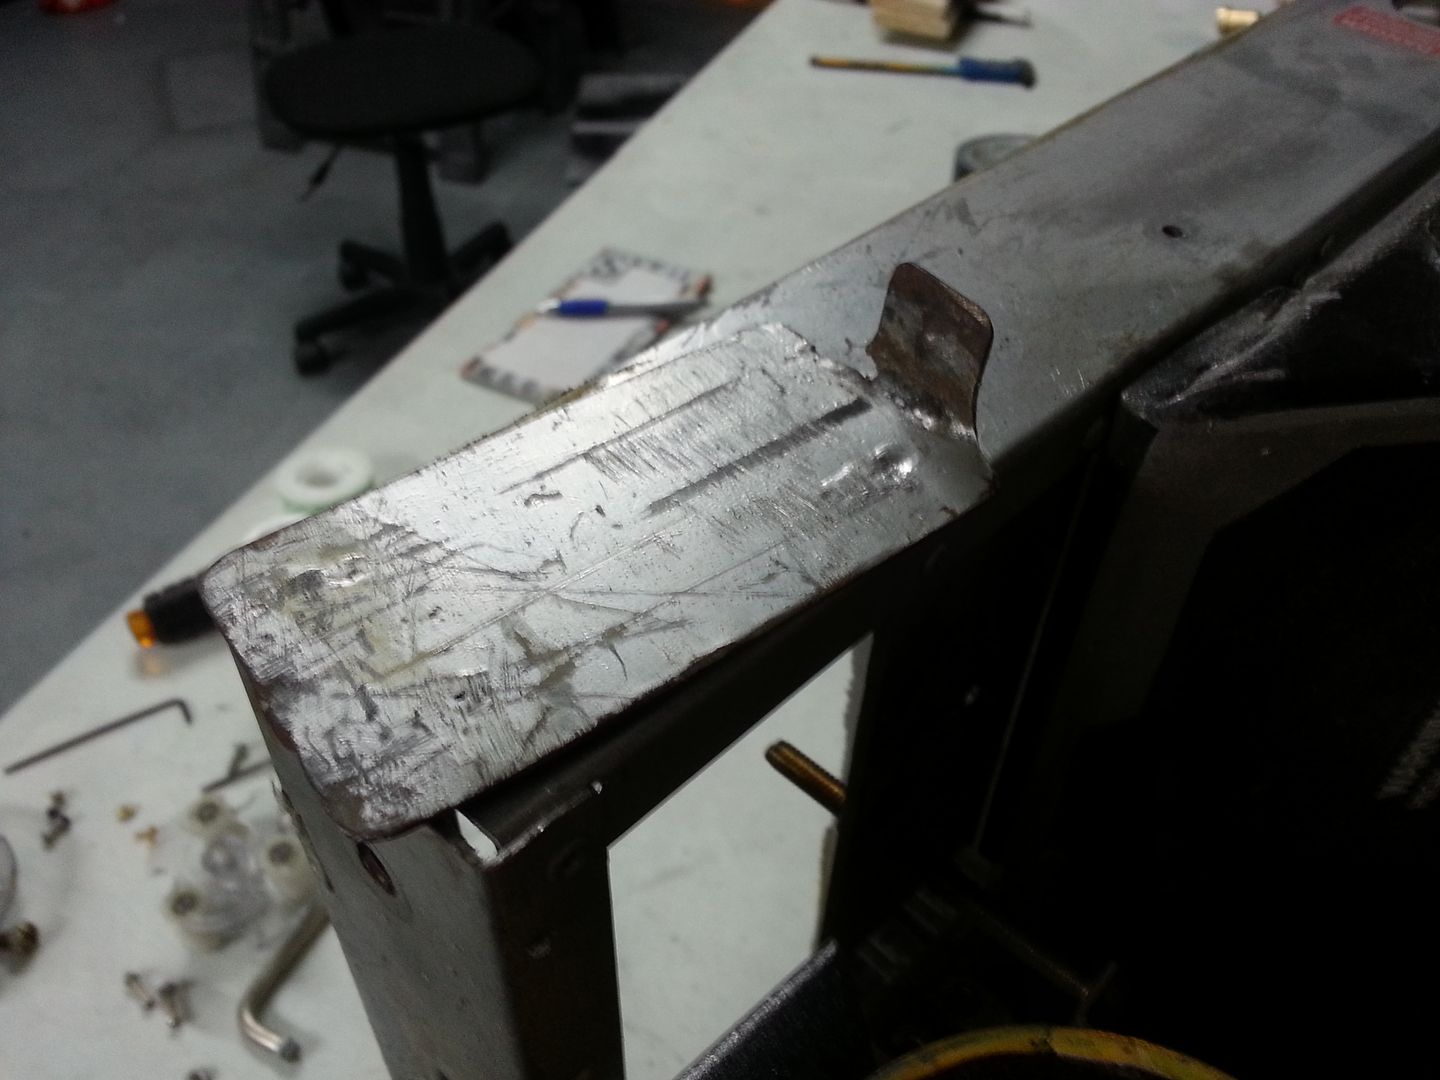
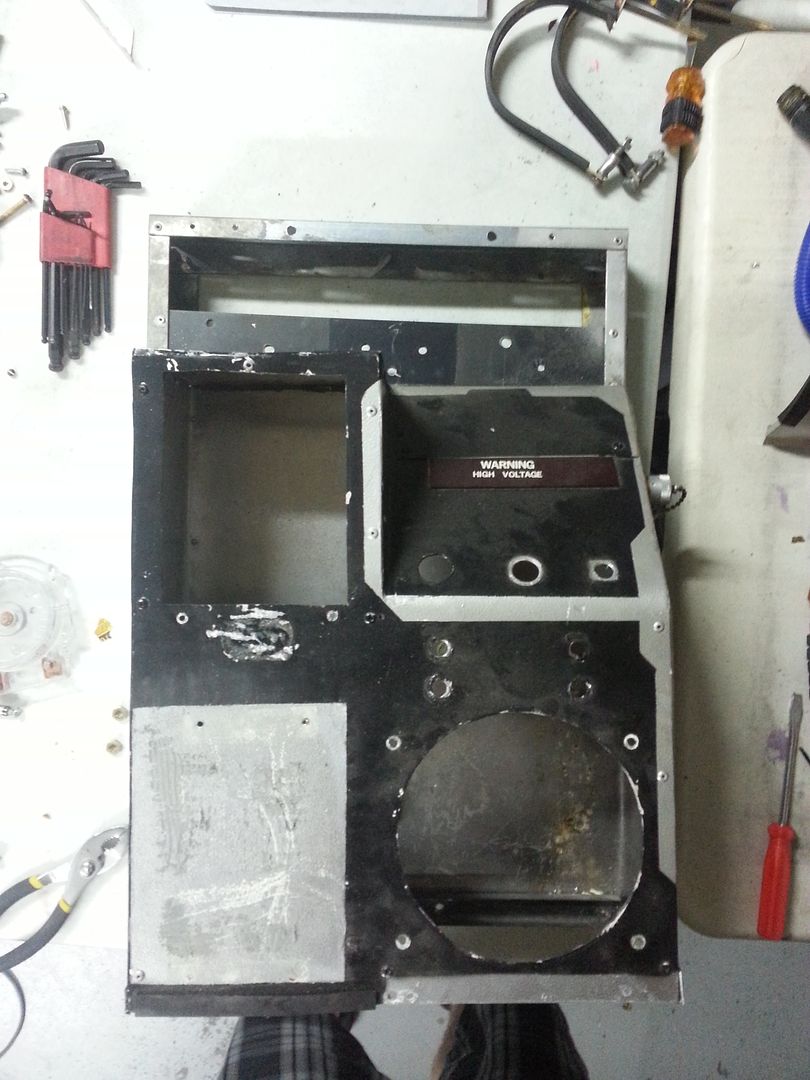
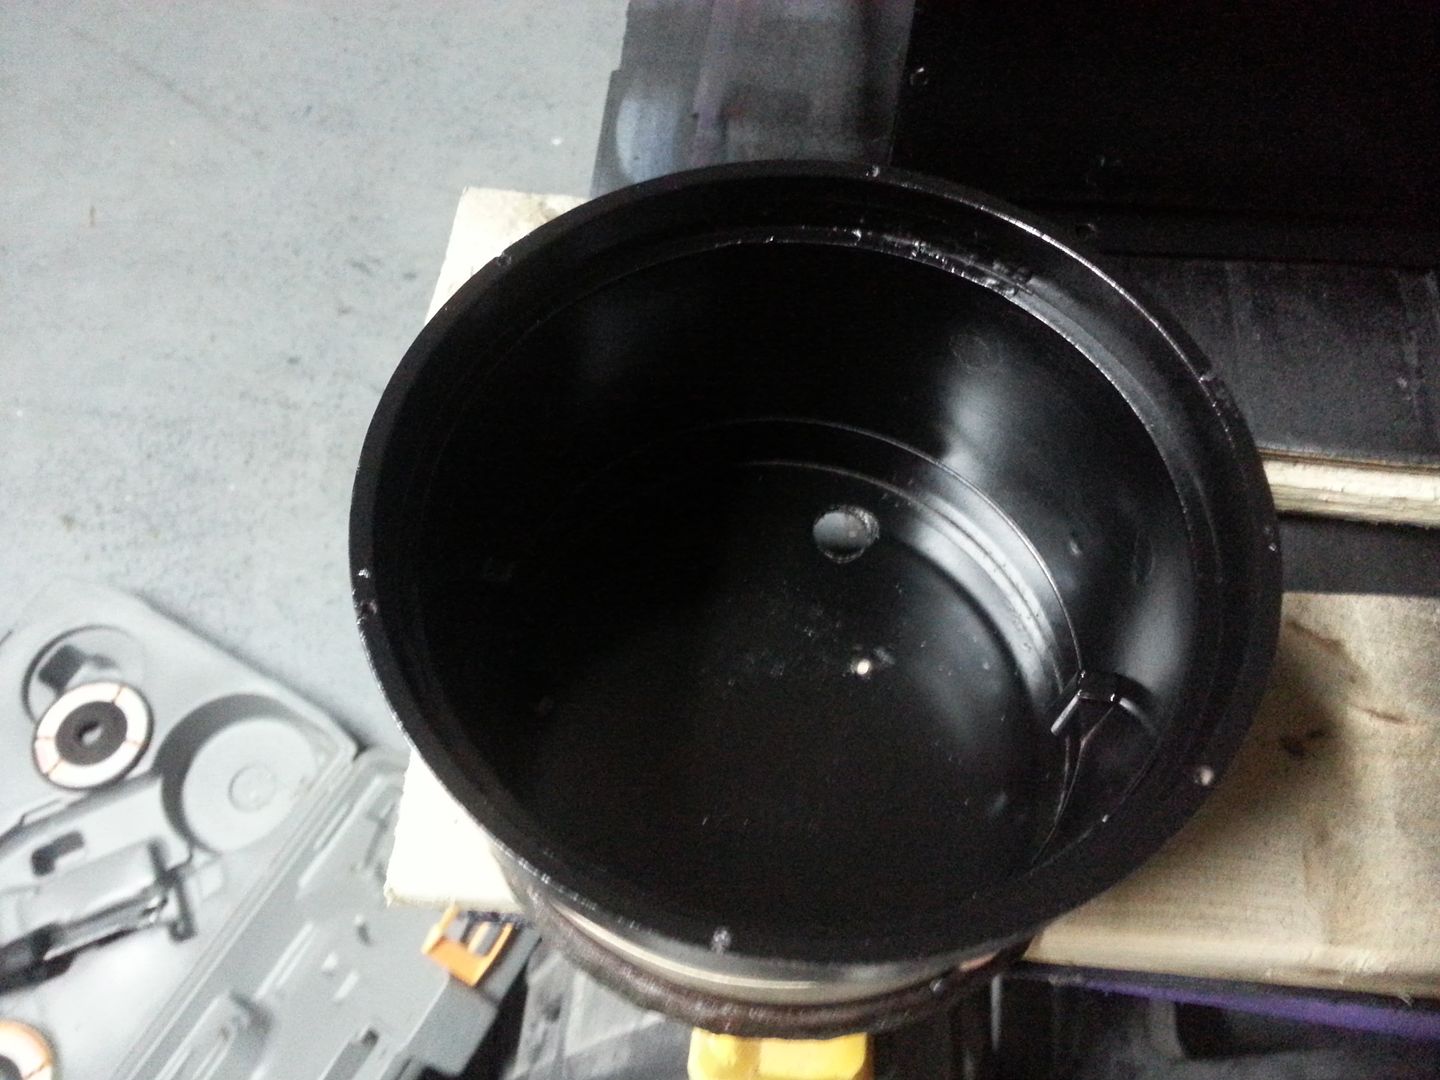
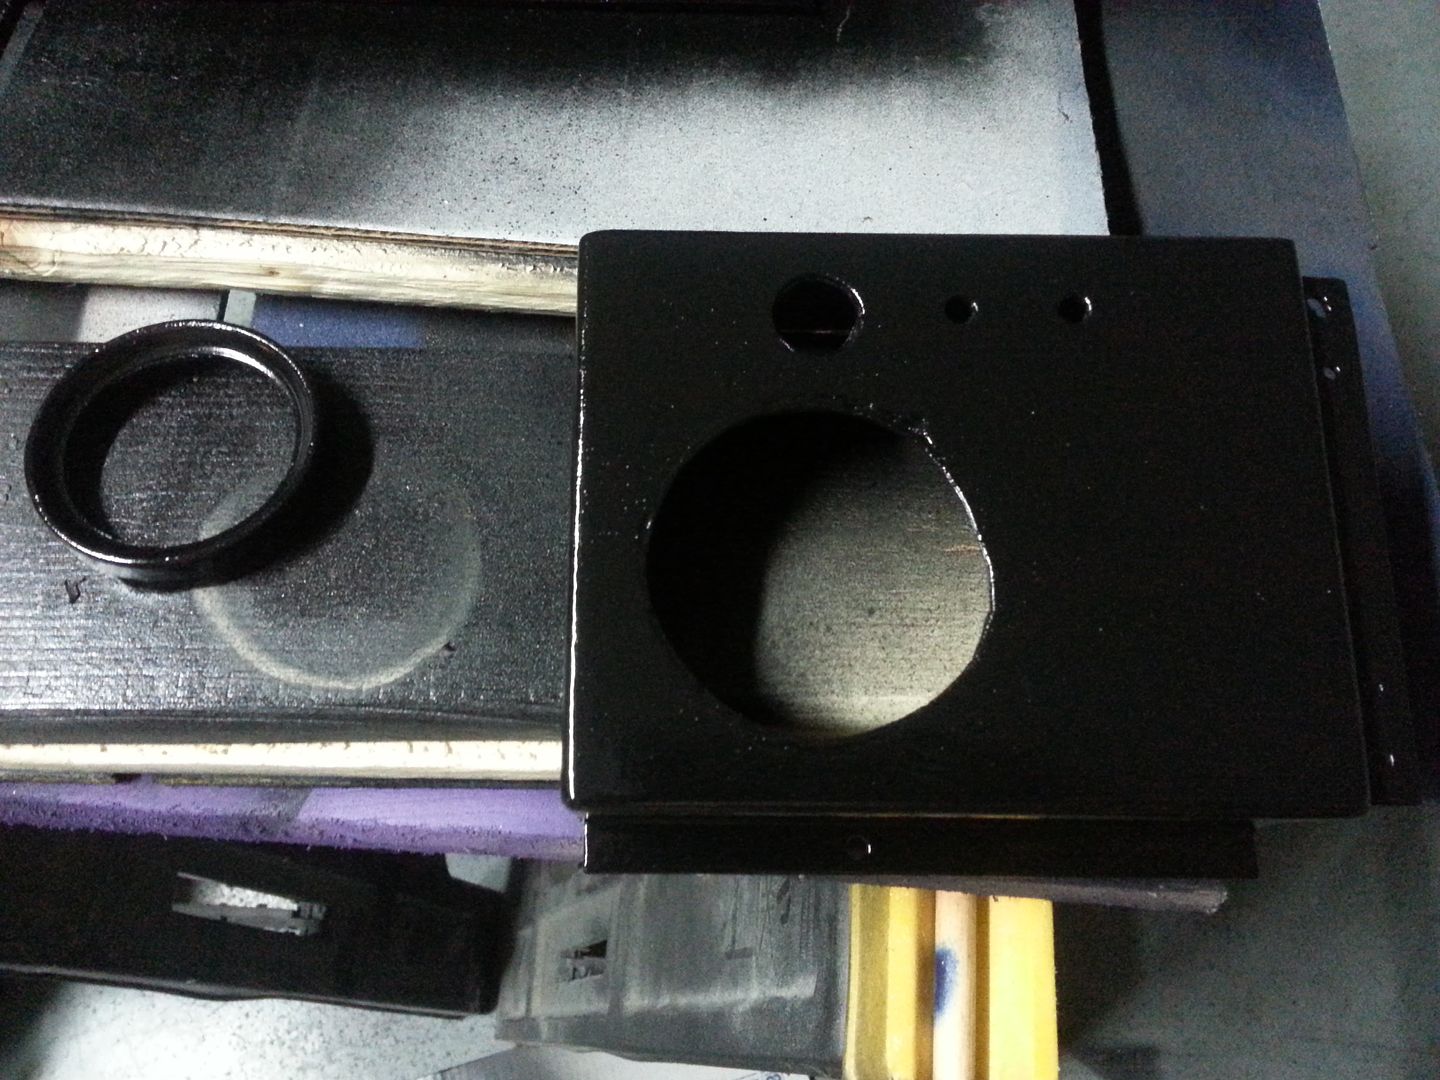
I removed the gun mount. A new one will be made for the new thrower:


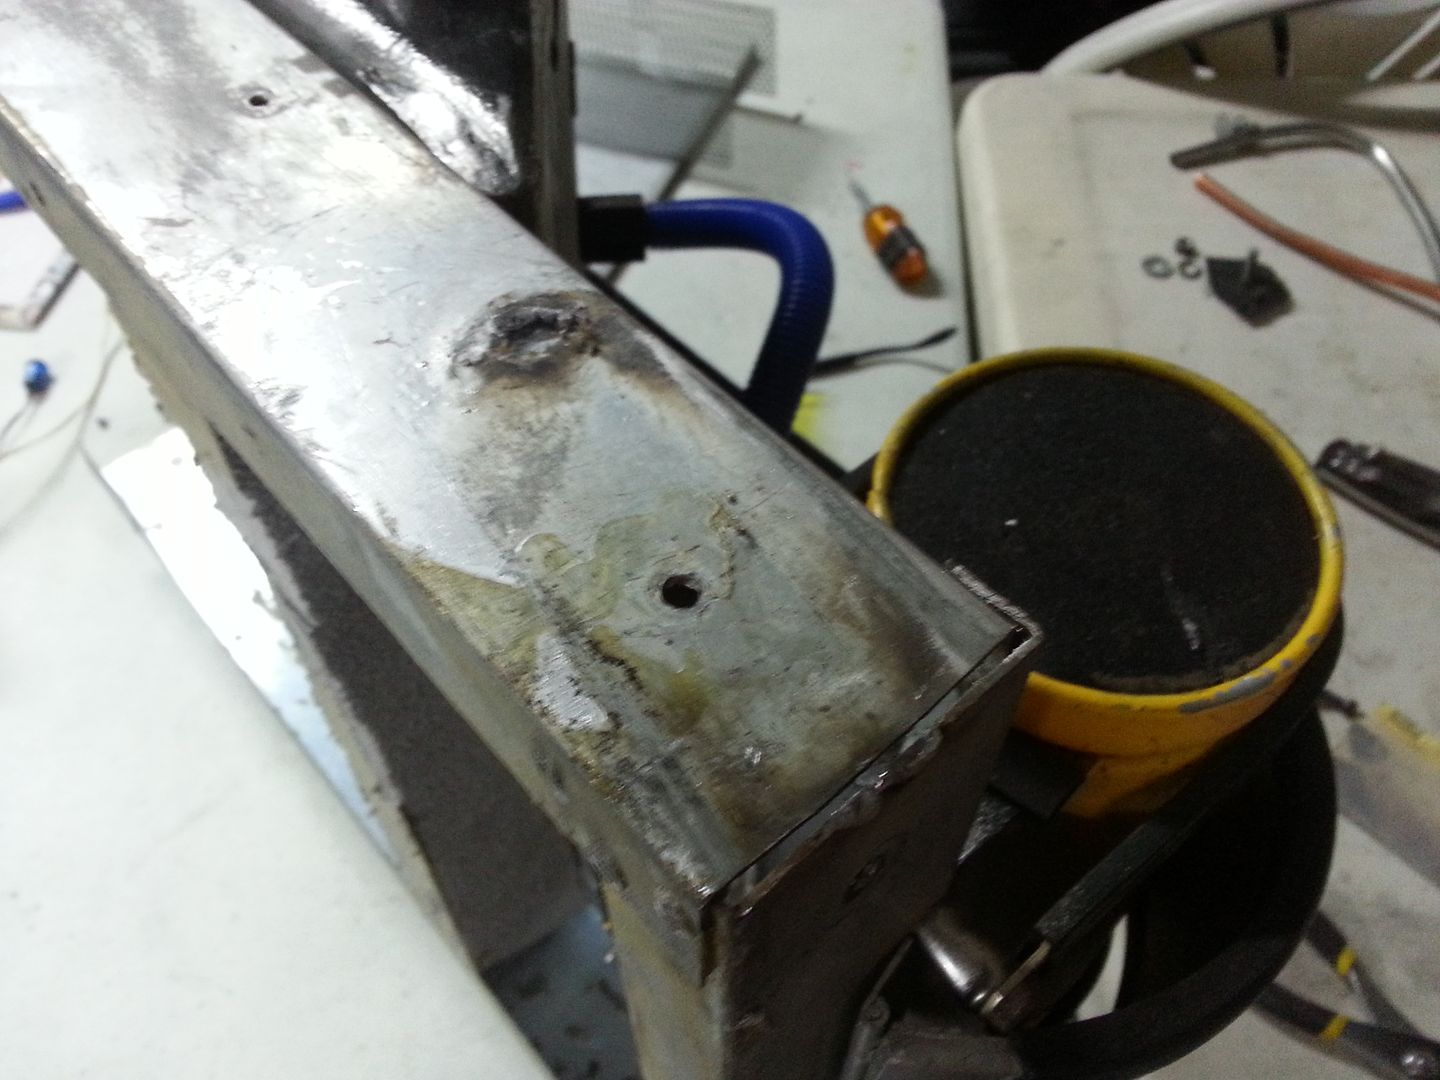
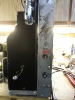
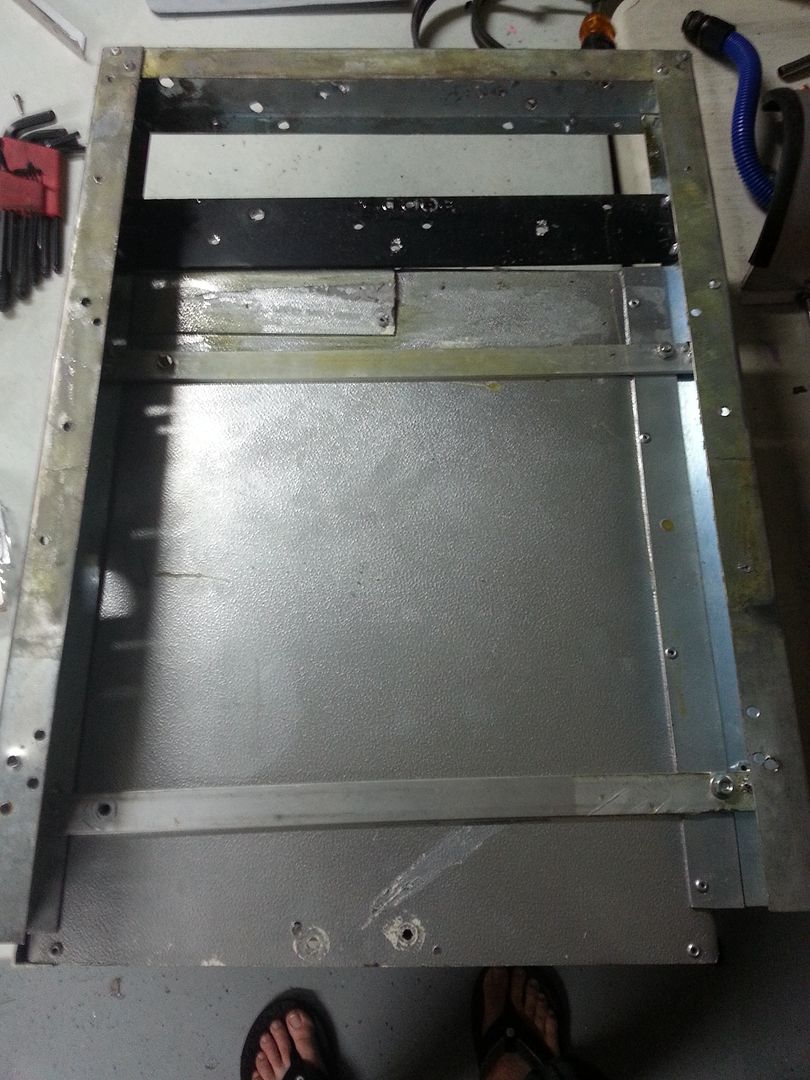
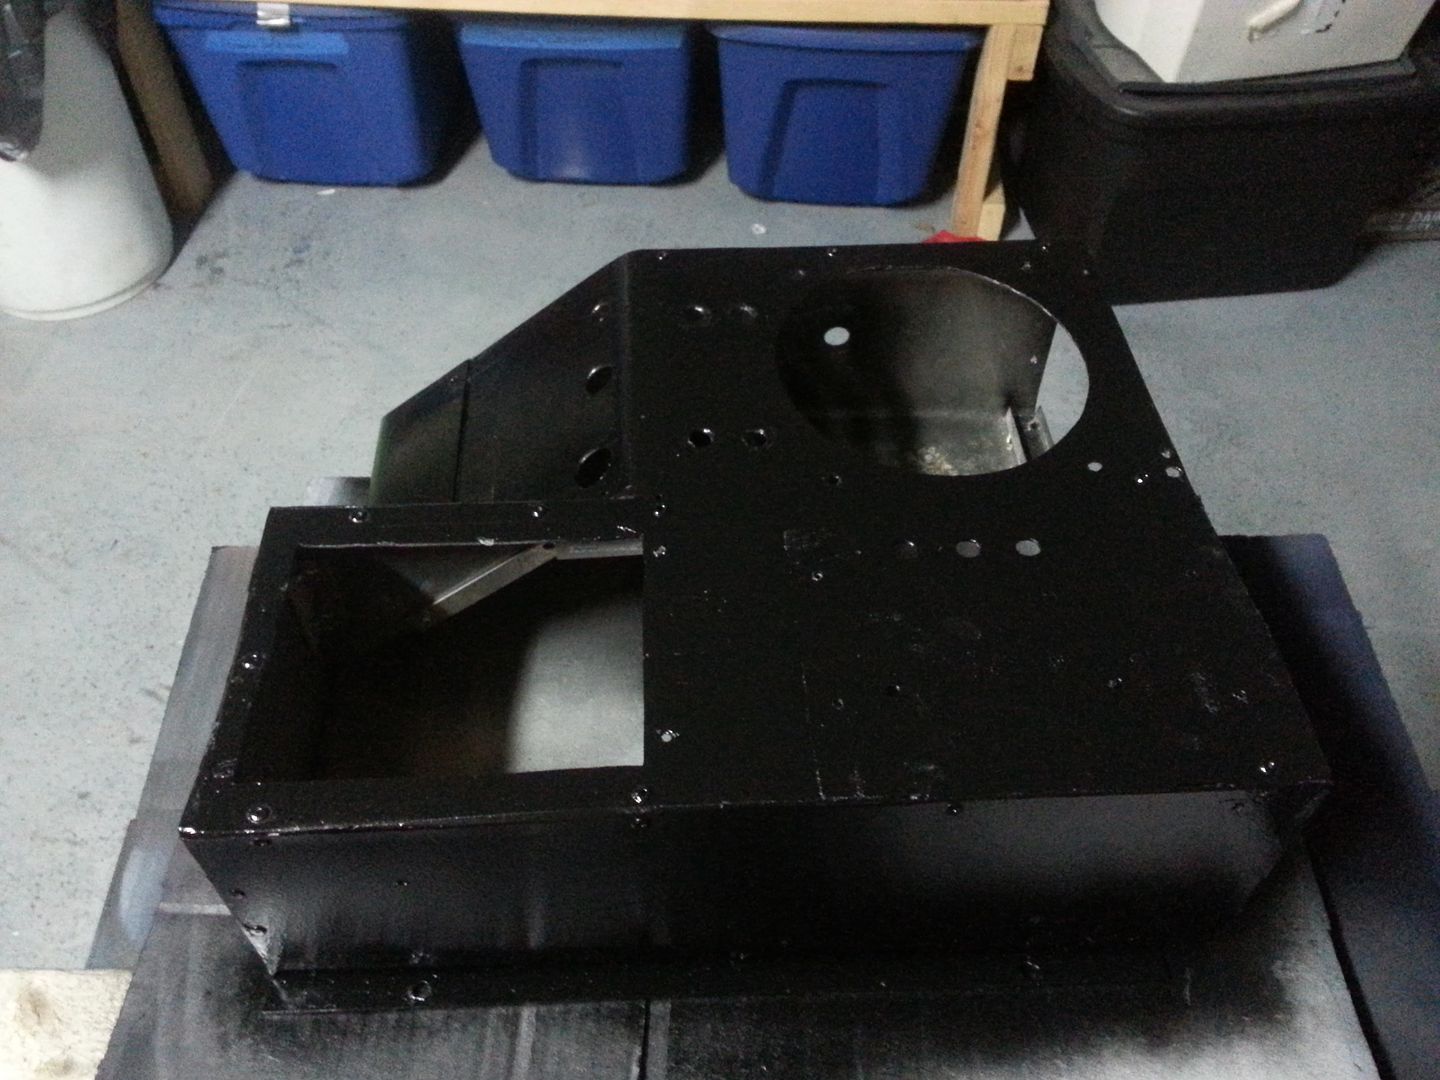
Removed most of the foam with a wire wheel, I will be doing some more cleanup before painting:


Pack stripped:


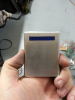
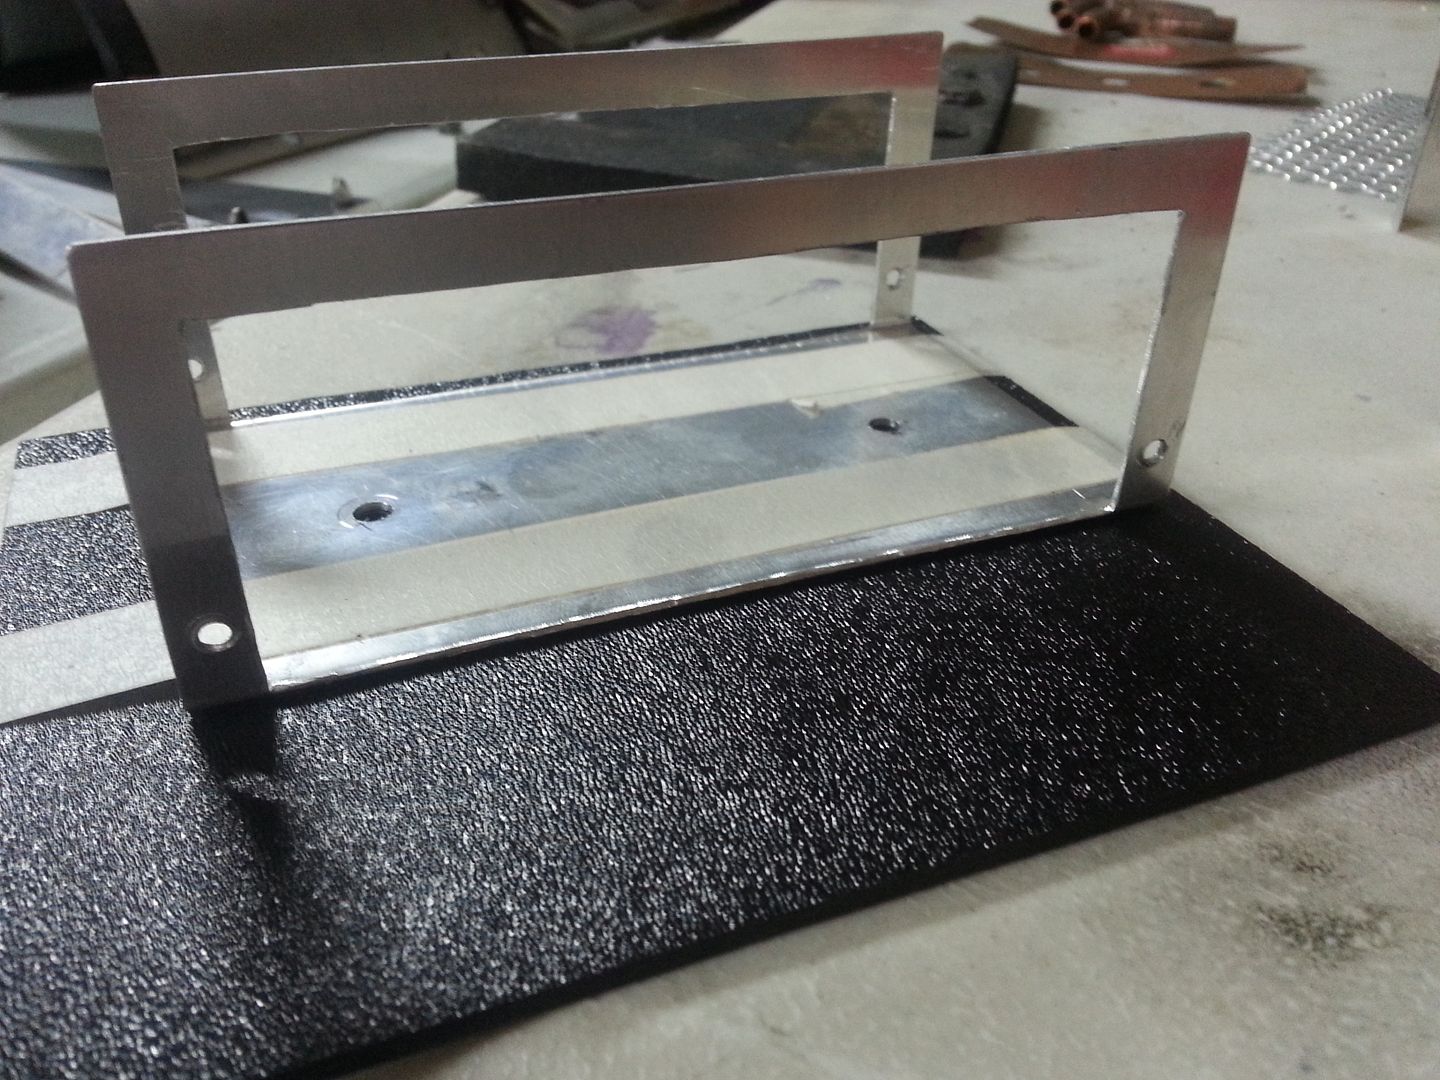
First up on the restoration is what I consider the Power Cell:


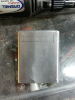
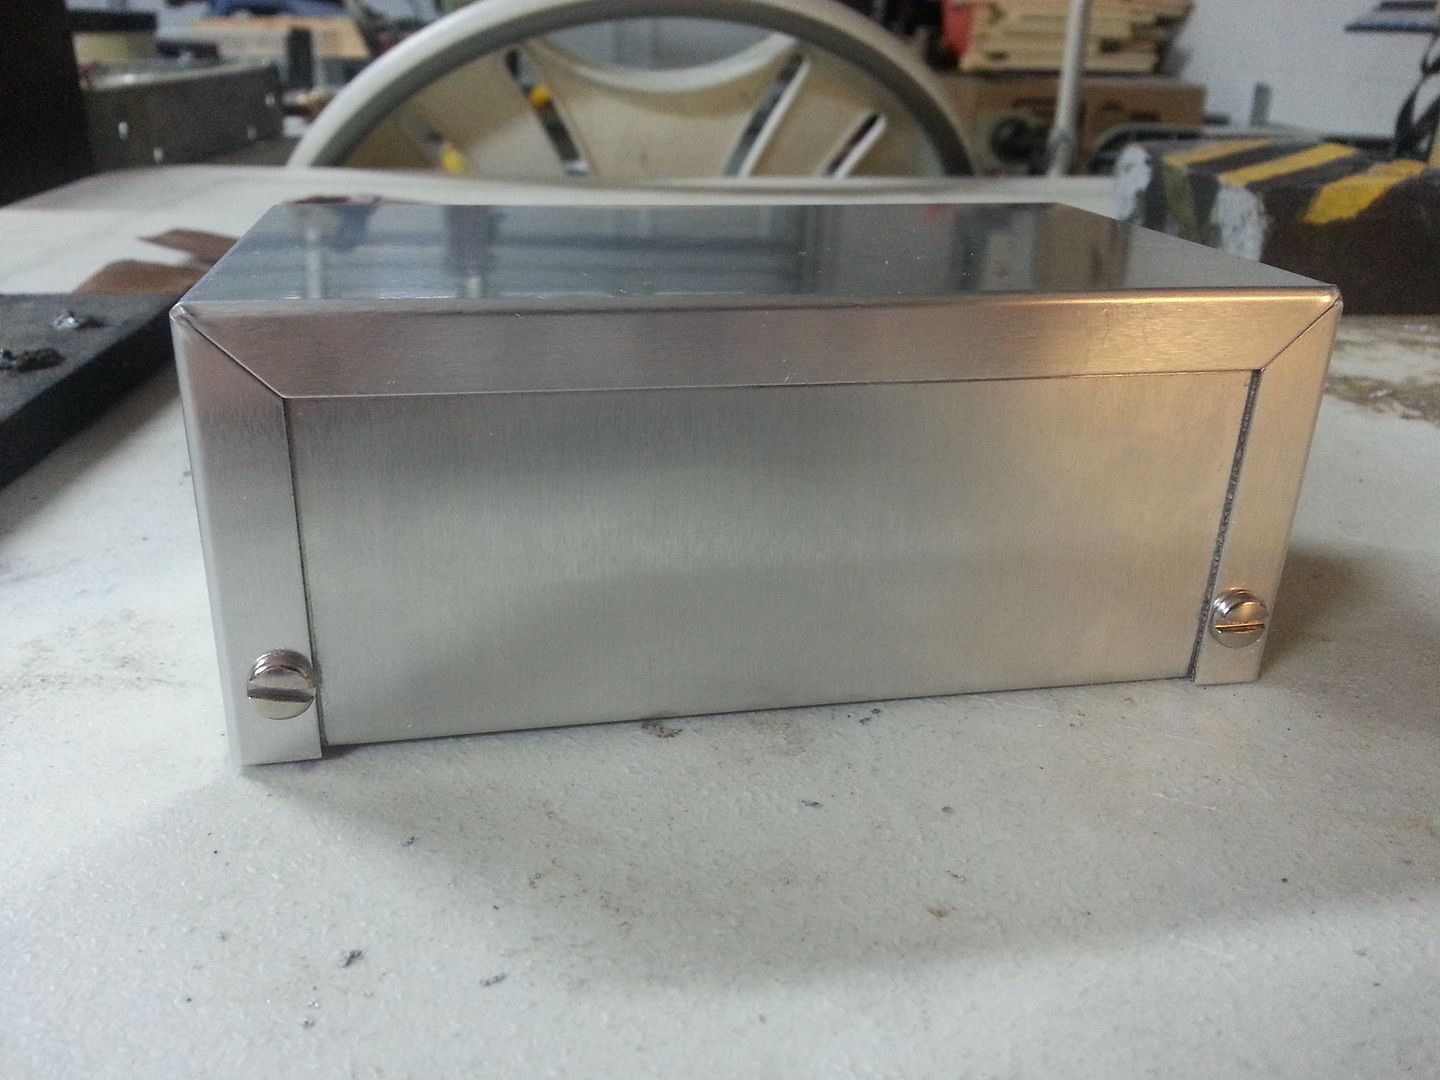
Found a nice project box that was about the same size:


Cut the sides out:


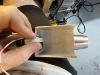
Added some mesh and reused the copper tubing:


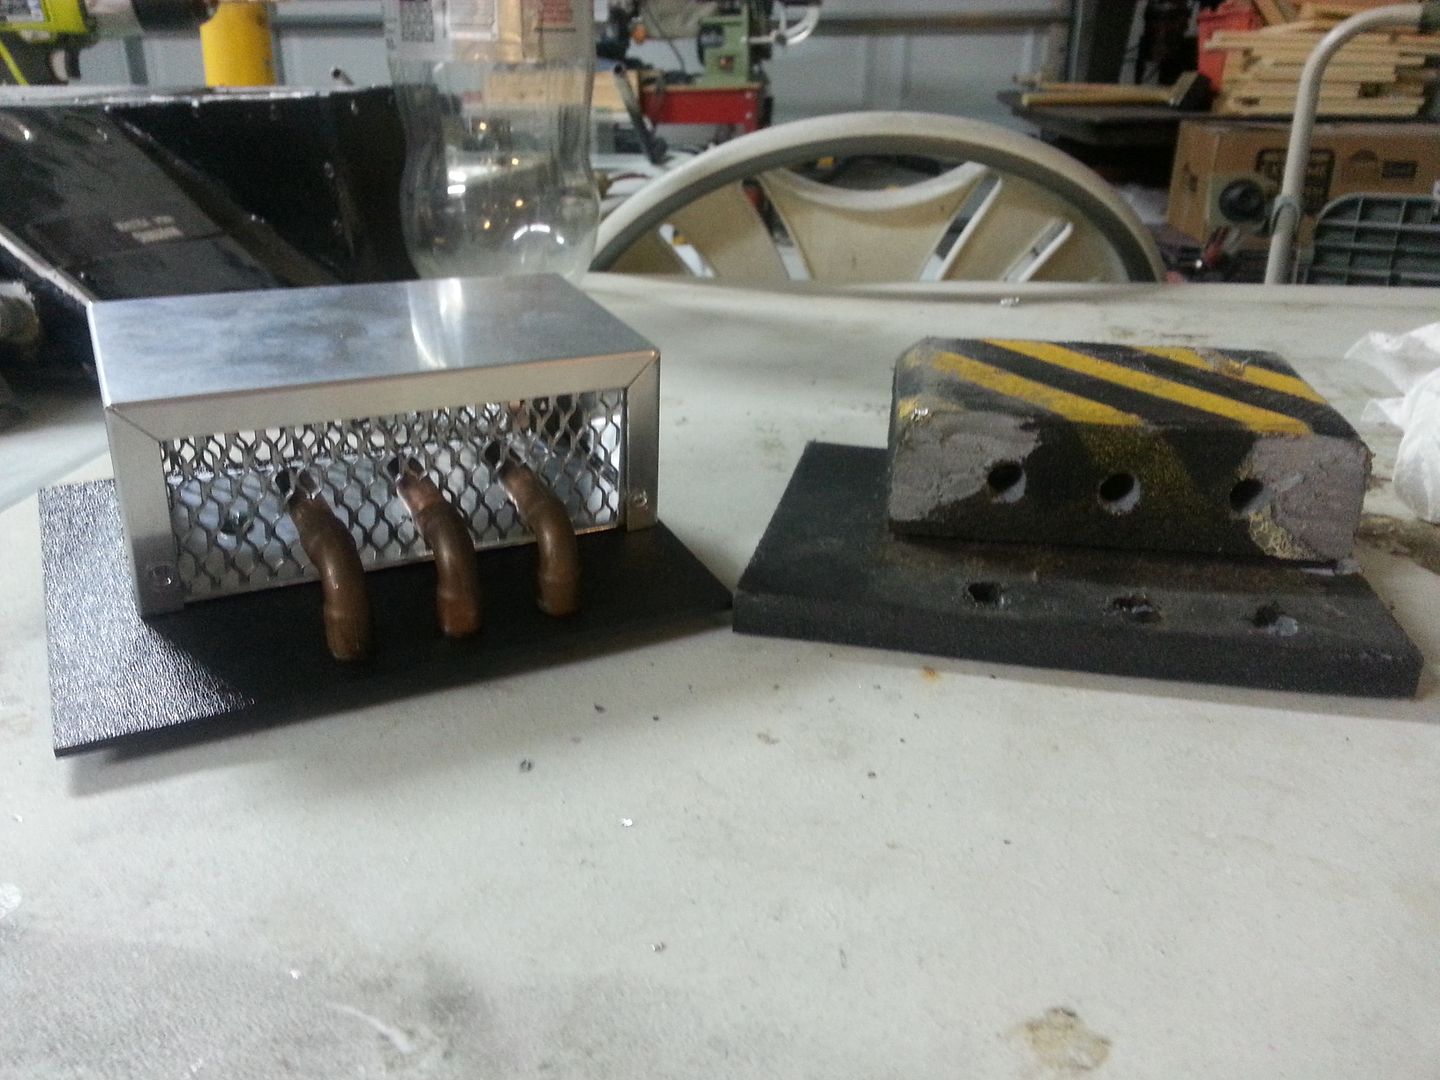
Cut up an old board and connected the copper tubing to some pots to give it a completed look:


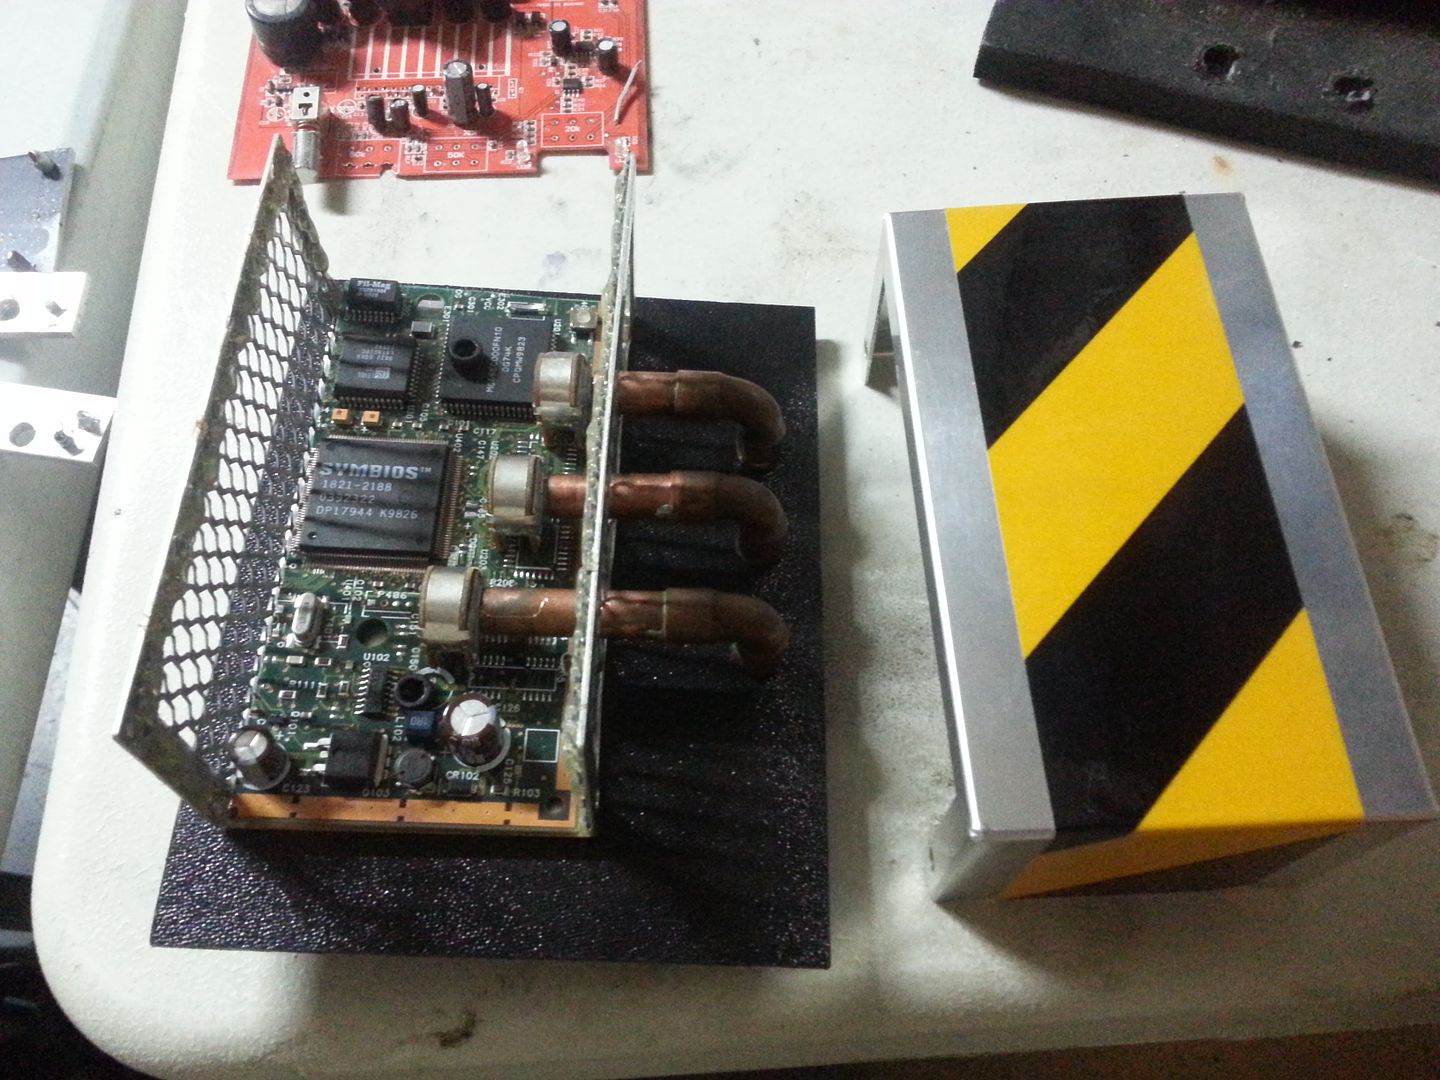
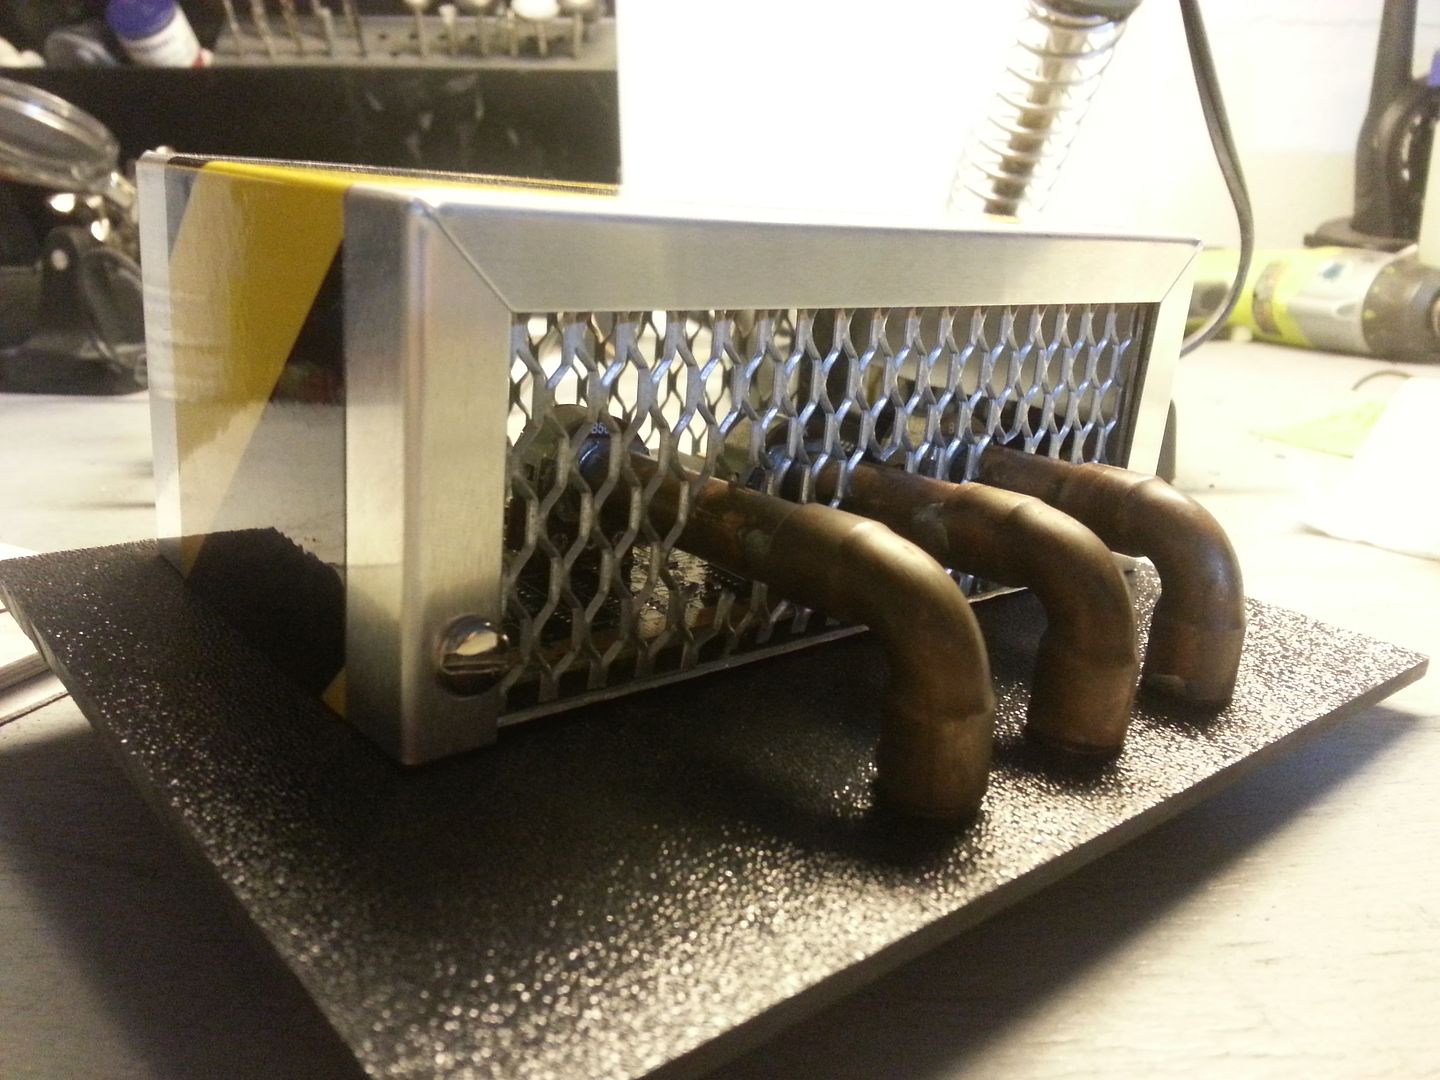
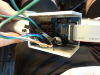
Tested out the lighting for the Power Cell:


Began repainting the shell and a couple other components:


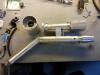
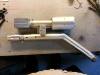
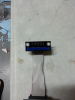
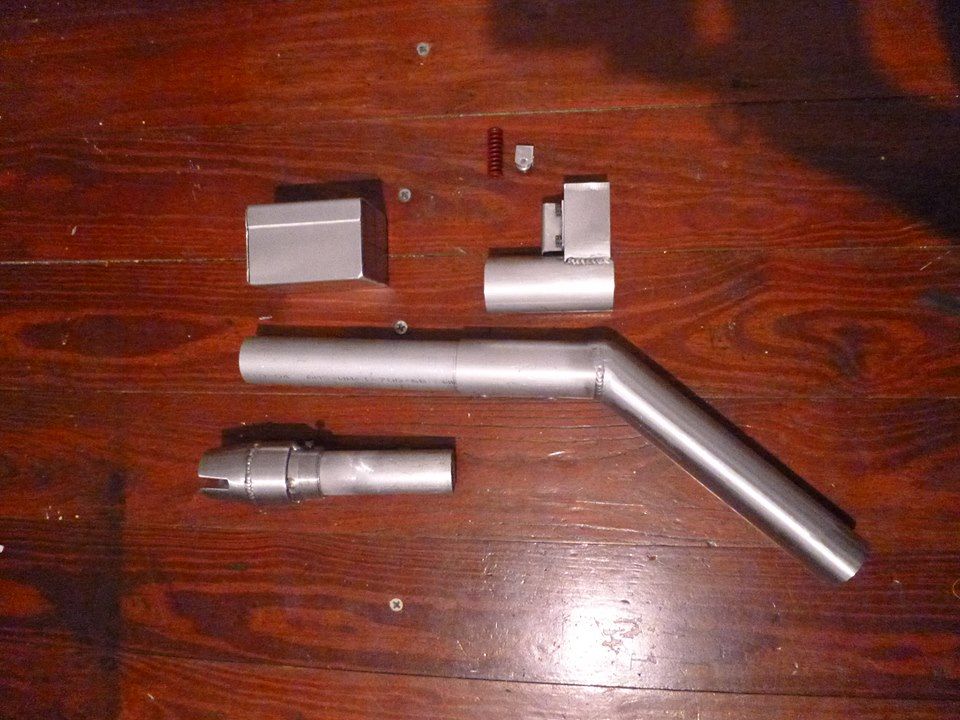
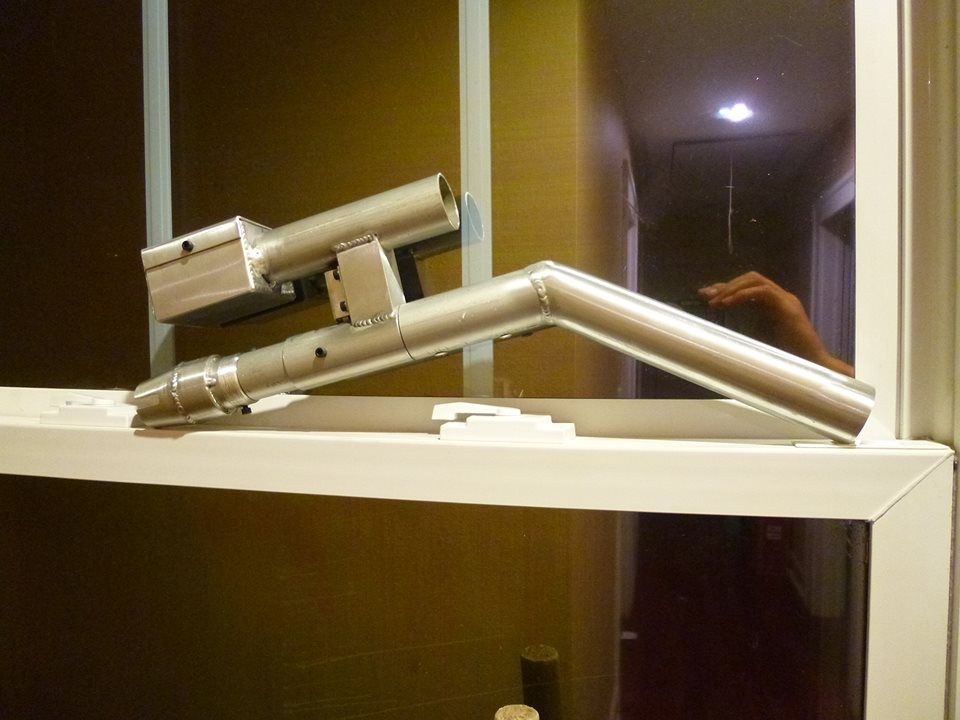
The legendary Chris Bryan is working on the thrower for this build. This is what he sent me so far:


That's it for now, I have the motherboard and alice frame in. Just need to get them mounted up.
 
Last edited:
Looks good man, I know Ryan has wanted to get this rebuilt forever , and it's good to see some of the universal stuff have a new life . After hearing they basically just throw everything away it's nice to have this stuff stay with us in the fandom
 
Got some more work done this past week.

Mounted the new motherboard to the frame. The original just had backpack straps attached to the frame itself, nothing was left of that except a tiny piece of strap.


Next up is the Power Cell. The gauge was crooked originally, and I needed to make room for the new Power Cell LEDs.


I removed the gauge, they had covered the edges with plumbers putty to make it seem like it was molded into the pack. Of course the hole that was originally cut was too large to re-mount the gauge. I fabbed up a bezel from aluminum and used that to mount it.


Rough cut out, just need to file it down and make it even.


I decided to try out a hammered finish since the rest of the pack had a texture to it. I will have to sand this back down to get rid of some of the imperfections.


Filled in the top section of the pack with the same grating I used on the PPD


Moving on to the bottom door section. This was originally too wide for the bottom of the pack, so naturally I needed to shorten it.


Removed the end cap, and used my saw on it, seems to fit better now.


The last update for the day is the thrower. Chris sent me some updated pictures of the progress.


That's it for now, more to come.
 
Last edited:
Got a little work done tonight. Refinished the yellow canister on the top of the pack:


Refinished the copper tubing for the side of the pack:


And started working on the cyclotron...


That is one cool, unique project!
Thanks for sharing and your work on it looks great.
Keep up the good work!:thumbsup

I almost wish you could have left it intact without doing anything to it and then built another "new" one to match it.

This should be THE item to talk about at the next GB get together!
 
Hi there, long time lurker, I keep meaning to sign up but always forgetting, until today after seeing what you've done.

I've also been meaning to make another (more accurate) movie proton pack (while keeping my old one of sentamentality), and Extreme pack from the show, the RGB cartoon one, the slime blower, yada yada, 6-7 years have gone by and I haven't gone about ANY of that.

So yesterday I figured for Halloween I'd get off my duff and DO it, instead of another 3/4 of a decade goes by, and started to re-research the packs.


Long story short, I'd figured there was no better time to sign up then now for this thread......and this was also an obvious, very transparent attempt to ask you to possibly measure the pack's dimensions for the modeling community before you ship it off, pretty please, with Ecto-cooler on top? ^_^;;

That being said, in all honesty, great job fixing it up. As much as I like the XGB toon packs, this looks better, before, and especially after you started to fix it up.
 
I will most likely have this pack for a little longer than expected. Enough time for me to take measurements and whatnot if you guys really want them. Keep in mind that this pack was made with the guidance that it be a "movie version of the Extreme cartoon pack". So in essence it is a hybrid, more like a real world version of a cartoon pack. So the measurements I provide, will be for replicating the Universal Studios version of the Extreme pack.

With that said, here are a few more updates with tonight's progress. I got to work on this "yet to be named" section of the pack. Since I am bat**** crazy when it comes to details, I decided to put together my own boards and solder interconnecting wires. I still have a bit more to go on it though.

Blank canvas, ready for filling in.


Chopped up some various boards I had laying around, one from an old school network switch, and the other from an old multimeter.


Test fitting the pieces in the area


Wired in a second board that I got from another larger multimeter. The network port is from the above old school switch. All of the leads were soldered in for authenticity. :)


Backside


Little more mounted. I decided to move the network port, it was interfering with some of the other components that will be mounted in the box.


This was as far as I got tonight, had to go out for pizza with the family. Hopefully I can finish up that box tomorrow. In the mean time, if you guys have any suggestions for the name of this area of the pack, I'd like to hear them.
 
So i worked on the "unamed" section of the pack today. Feeling that it was missing something, I changed the input of the pump to something a little more industrial looking.


I then put the lower card back in, relocated the ethernet jack, and added in a "sensor" made out of some old water rack parts.


I moved on to the upper pipe on the filter, originally it just went into the open section of the pack. So I found a fitting for it, and while I was up there, I replaced the upper cross bar with some stock aluminum.


Naturally all of the car audio components and cables had to go. I modified the top of the "unnamed box" to accept a flex cable fitting.


Began to route the flex cable


This little connection turned out to be in the way, so I removed it. Just my luck, the hole was big enough for the other end of the flex cable. I will be relocating that jack lower down on that side of the pack.


As of right now, here is how she sits. We are making progress! I am waiting on a couple of LED boards to arrive so that I can install the power cell.

 
I will most likely have this pack for a little longer than expected. Enough time for me to take measurements and whatnot if you guys really want them. Keep in mind that this pack was made with the guidance that it be a "movie version of the Extreme cartoon pack". So in essence it is a hybrid, more like a real world version of a cartoon pack. So the measurements I provide, will be for replicating the Universal Studios version of the Extreme pack.
Please and thank you!

Honestly, I figured I'd try to eventually have 1 of every pack, 1 movie pack, 1 RGB cartoon pack, 1 XGB cartoon pack, and the new ones showing up in the comics (the smaller, arm-strapped one in "Tainted Love", and a rival company's later, PS1-looking pack) so I'd love to have a Universal style XGB pack side-by-side to one accurate to the cartoon. Oh, and the Slime blower. And the XGB toy pack (I have the orinigal).

Clearly I'm obsessed :p
 
Ok, more updates guys.

Mounted the speaker, I dont really like the color of the cover so I may paint it a hammered silver.


I fabbed up a bottom plate for the frame, this is where all of the switches and charging port will go.


Finished mounting the cyclotron. It's really cool when lit, but I wont be able to post the video until the owner sees it. We want it to be a total surprise.


Also started mounting the electronics for the audio, lighting, and venting...


That's it for now!!
 
OK, so now I can now finally reveal some more of the pack now that the owner has seen it.

First up, the Cyclotron test:


Got some better shots of the thrower

20130918_195830.jpg


20130918_195841.jpg


20130918_195859.jpg


20130918_195912.jpg


Messenger_5786185095133769723_13795340288218688.jpg


Wired in the LEDs for the PPD

20130919_194412.jpg


Body is starting to come along

20130919_194618.jpg


20130919_213820.jpg


Got the Bargraph LEDs swapped over to blue....it is BRIGHT

20130920_072328.jpg


Mounting the Bargraph

20130920_100206.jpg


20130920_102313.jpg


Started wiring on the thrower, there was not alot of room to work with.

20130920_091054.jpg


20130920_093117.jpg


Messenger_5786652715534855328_13796455182021557.jpg


Messenger_5786817910563265531_13796849037780309.jpg


Messenger_5786828518562802375_13796874329207992.jpg


Messenger_5786890241757985705_13797021488816455.jpg


Owner getting his first look at the pack. We are doing a test run at Disney for Packs in the Park. I **** you not, 5 mins before we walked out the door that morning, the potentiometer fell apart. The volume control knob literally pulled right out.


A couple of night shots


There is still much work to be done. We are hoping to have it completed by this Friday for his next event. All in all, it was a successful test run of the batteries. We got well over 5 hours on the lighting, audio we were unable to test due to the volume issue.
 

Attachments

  • 20130918_195830.jpg
    20130918_195830.jpg
    61.6 KB · Views: 34
  • 20130918_195841.jpg
    20130918_195841.jpg
    81.7 KB · Views: 48
  • 20130918_195859.jpg
    20130918_195859.jpg
    75 KB · Views: 52
  • 20130918_195912.jpg
    20130918_195912.jpg
    92.7 KB · Views: 45
  • Messenger_5786185095133769723_13795340288218688.jpg
    Messenger_5786185095133769723_13795340288218688.jpg
    14 KB · Views: 38
  • 20130919_194412.jpg
    20130919_194412.jpg
    138.5 KB · Views: 36
  • 20130919_194618.jpg
    20130919_194618.jpg
    112.1 KB · Views: 41
  • 20130919_213820.jpg
    20130919_213820.jpg
    97.2 KB · Views: 46
  • 20130920_072328.jpg
    20130920_072328.jpg
    61.8 KB · Views: 42
  • 20130920_100206.jpg
    20130920_100206.jpg
    122.6 KB · Views: 48
  • 20130920_102313.jpg
    20130920_102313.jpg
    58.9 KB · Views: 38
  • 20130920_091054.jpg
    20130920_091054.jpg
    87.4 KB · Views: 44
  • 20130920_093117.jpg
    20130920_093117.jpg
    95 KB · Views: 41
  • Messenger_5786652715534855328_13796455182021557.jpg
    Messenger_5786652715534855328_13796455182021557.jpg
    14 KB · Views: 38
  • Messenger_5786817910563265531_13796849037780309.jpg
    Messenger_5786817910563265531_13796849037780309.jpg
    14 KB · Views: 33
  • Messenger_5786828518562802375_13796874329207992.jpg
    Messenger_5786828518562802375_13796874329207992.jpg
    14 KB · Views: 32
  • Messenger_5786890241757985705_13797021488816455.jpg
    Messenger_5786890241757985705_13797021488816455.jpg
    14 KB · Views: 34
Last edited by a moderator:
I apologize for the lack of updates, but things have been crazy around here. I lost most of the progress pictures between then and now. So I just took a video of the updates.

Enjoy!

 
Last edited by a moderator:
This thread is more than 10 years old.

Your message may be considered spam for the following reasons:

  1. This thread hasn't been active in some time. A new post in this thread might not contribute constructively to this discussion after so long.
If you wish to reply despite these issues, check the box below before replying.
Be aware that malicious compliance may result in more severe penalties.
Back
Top