You are using an out of date browser. It may not display this or other websites correctly.
You should upgrade or use an alternative browser.
You should upgrade or use an alternative browser.
Hasbro Hero Millennium Falcon Modification
- Thread starter Jaitea
- Start date
Vacformedhero
Sr Member
Thanks jaiteaThanks Vacformedhero,.....scalpel on its side is how I'm removing the bits
Im using Hycote Adhesion Aid & Bumper Primer......after that paint & SuperGlue can do their work
J
SVTStingRay
Sr Member
Thanks Vacformedhero,.....scalpel on its side is how I'm removing the bits
Im using Hycote Adhesion Aid & Bumper Primer......after that paint & SuperGlue can do their work
J
that stuff isnt available over here across the pond. is there another product i could use
robn1
Master Member
that stuff isnt available over here across the pond. is there another product i could use
Duplicolor Adhesion Promoter
Jaitea
Master Member
Good work Jaitea, it'll be more accurate that way for sure")
Thanks joberg......the mixture of 5ft &32" bits near the thruster plates just annoyed me,.....but it took me a while to work out the Hasbro ones were just too small
Was curious about doing this myself, but not good with these parts. Is anyone going to be offering the replacement parts they've created for others to take on this option?
I've moulded & cast 2 of the triangular inserts so I can replicate them......the hexagonal insert on the front quarter I've built & will refine then make moulds of it.....the walls...dunno just yet
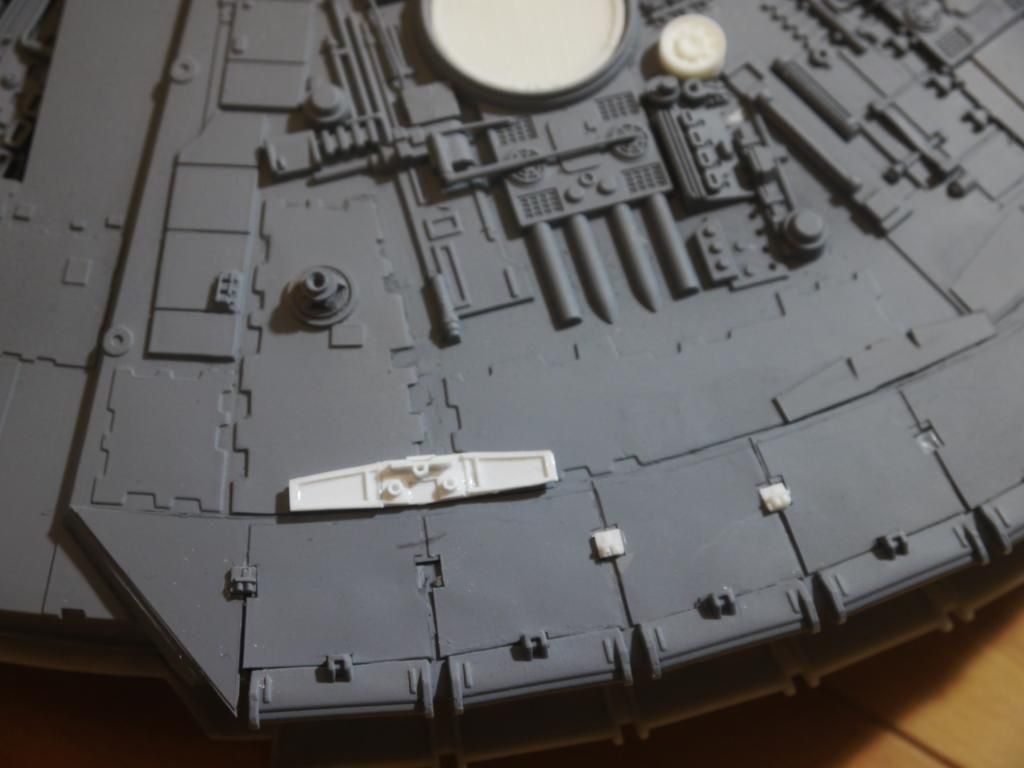
This is where I'm at with the thruster flaps,.....just trying to get them all the same:angry.......this is them just set in at the minute
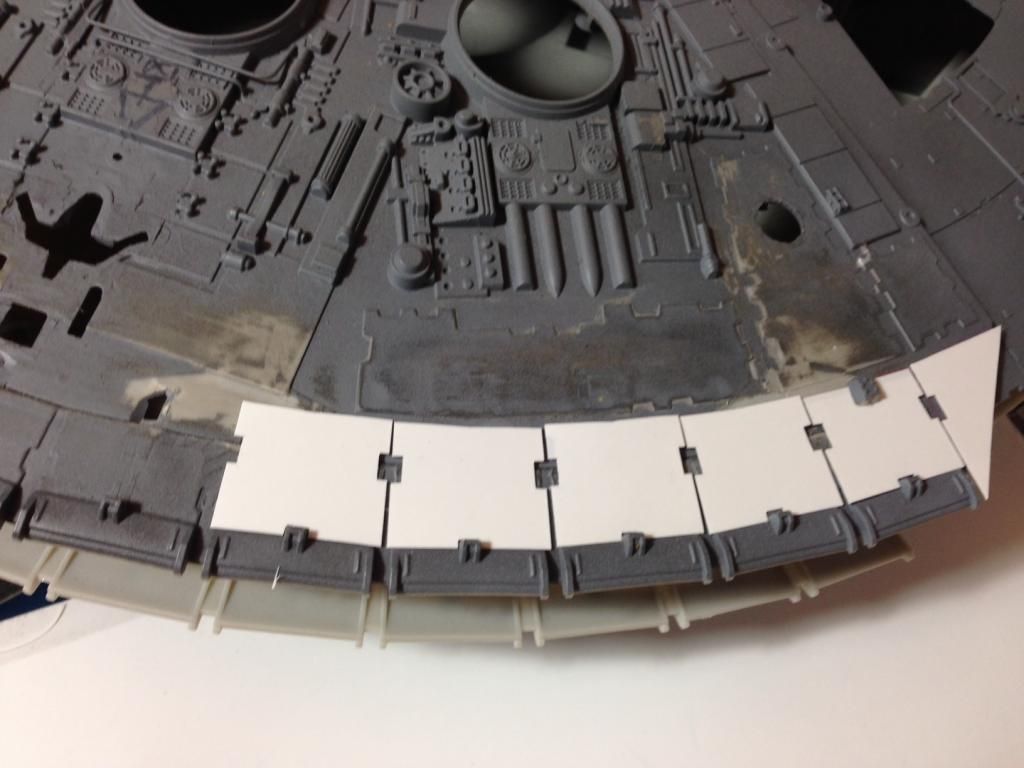
Thanks for looking
John
steveo
Sr Member
Thanks joberg......the mixture of 5ft &32" bits near the thruster plates just annoyed me,.....but it took me a while to work out the Hasbro ones were just too small
I've moulded & cast 2 of the triangular inserts so I can replicate them......the hexagonal insert on the front quarter I've built & will refine then make moulds of it.....the walls...dunno just yet
This is where I'm at with the thruster flaps,.....just trying to get them all the same:angry.......this is them just set in at the minute
http://i1119.photobucket.com/albums/k637/jaiteastu/Hasbro Hero Millennium Falcon/IMG_1535.jpg
Thanks for looking
John
Looking good. Good news, also.
Impressive and INSANE amount of work you've put in so far.
crackerjazz
Sr Member
Wow that turned out really great!
Vacformedhero
Sr Member
Robn1 Every time I see your avatar i p#### myself laughing
Amazing work guys! I purchased one of these a few months ago and can't wait to get some time to get into enhancing it!
Jaitea
Master Member
Impressive and INSANE amount of work you've put in so far.
Thanks PPP
Wow that turned out really great!
Thankyou crackerjazz
Again, very clean work with the scalpel, John. Are you using mild heat to help the plastic cut more easily?
R/ Robert
Thanks Robert,.....no, I'm not,....just changing blades often
John, the deck is looking Soooooo Good dude.
Thanks samster
Amazing work guys! I purchased one of these a few months ago and can't wait to get some time to get into enhancing it!
Thanks Andrew,....get stuck in
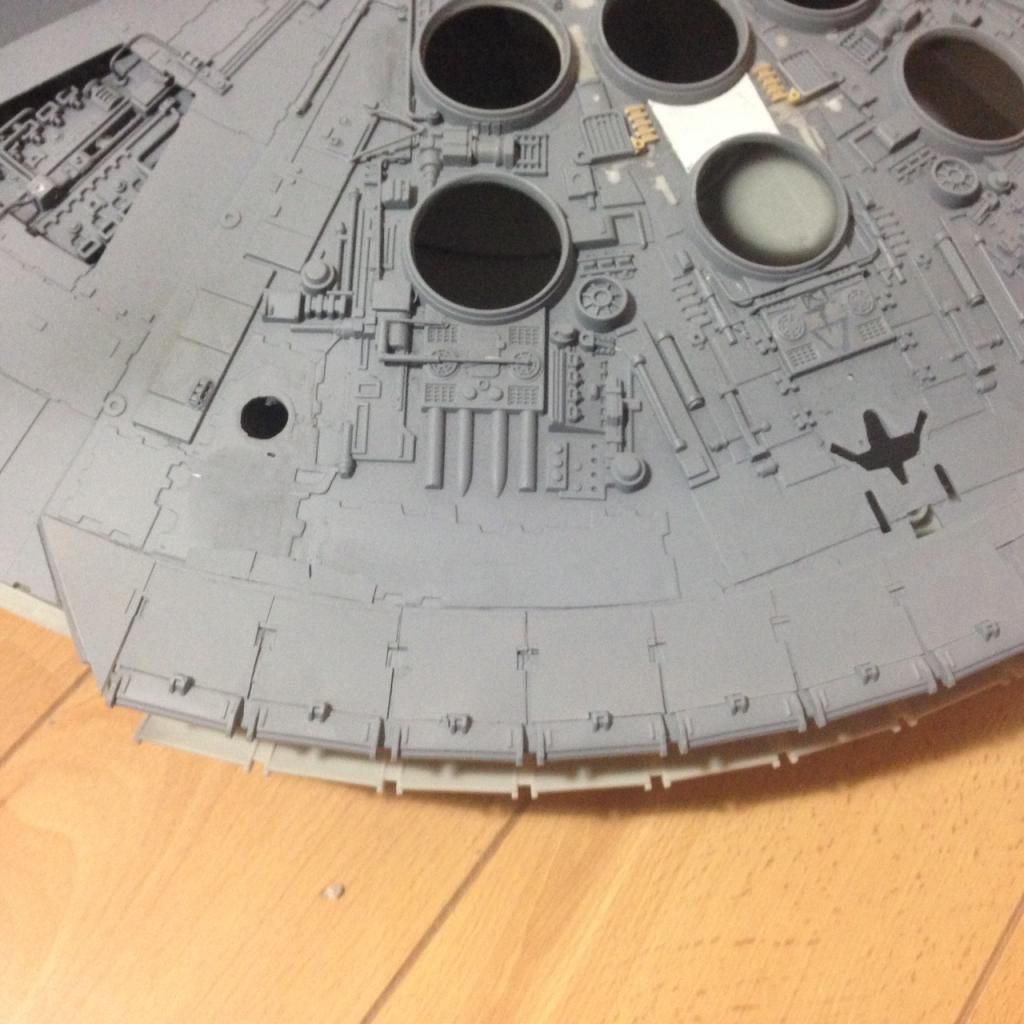
This piece is made up of tank wheels,.....maybe slightly smaller scale,....but I'll see what it'll look like surrounded with other greeblies
Primed & the thruster flaps done,...The 8 ribbed grills just set in
Thanks for looking
John
Scarecrow Joe
Sr Member
Jaitea, nice work. Any issues with gluing the styrene to the MF plastic?
Jaitea
Master Member
No problems Scarecrow Joe,.....as long as the model has her Adhesion Aid coat on her.......wait....did I call her a model?
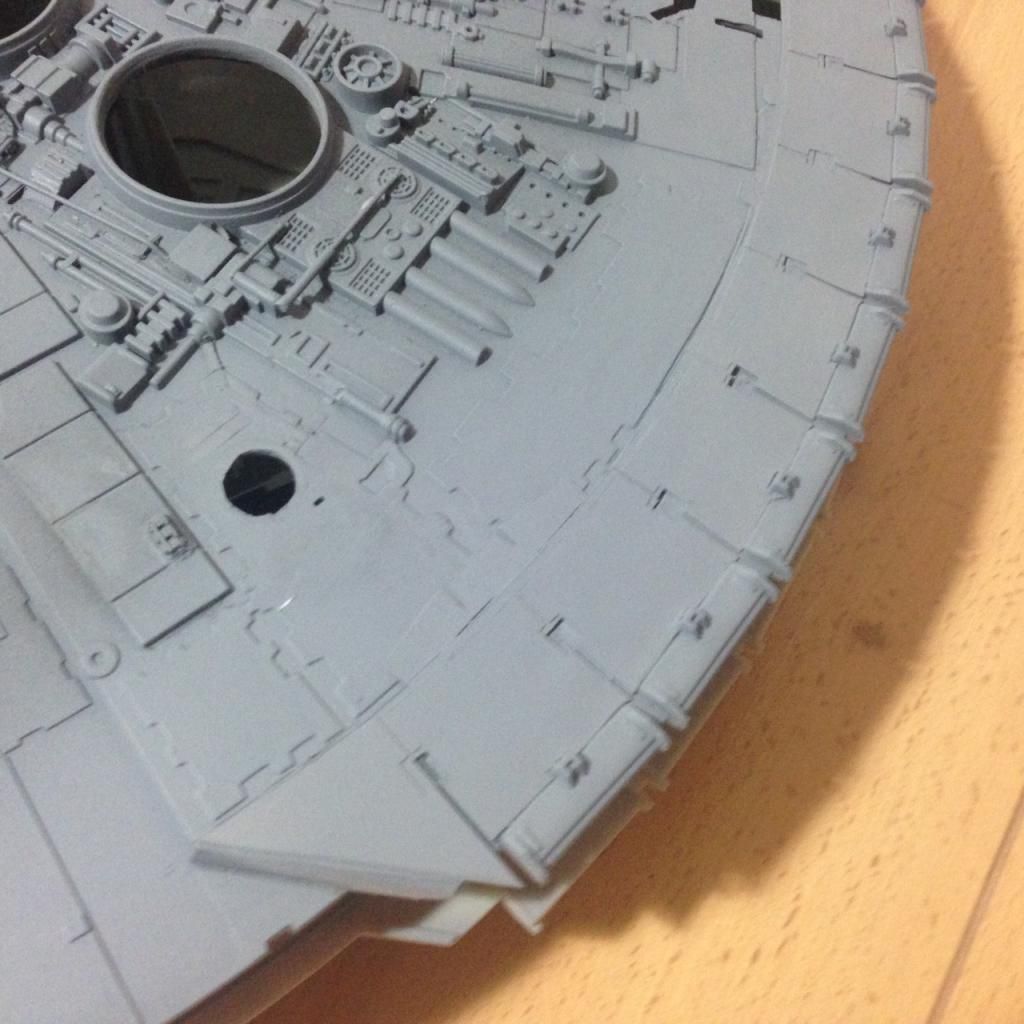
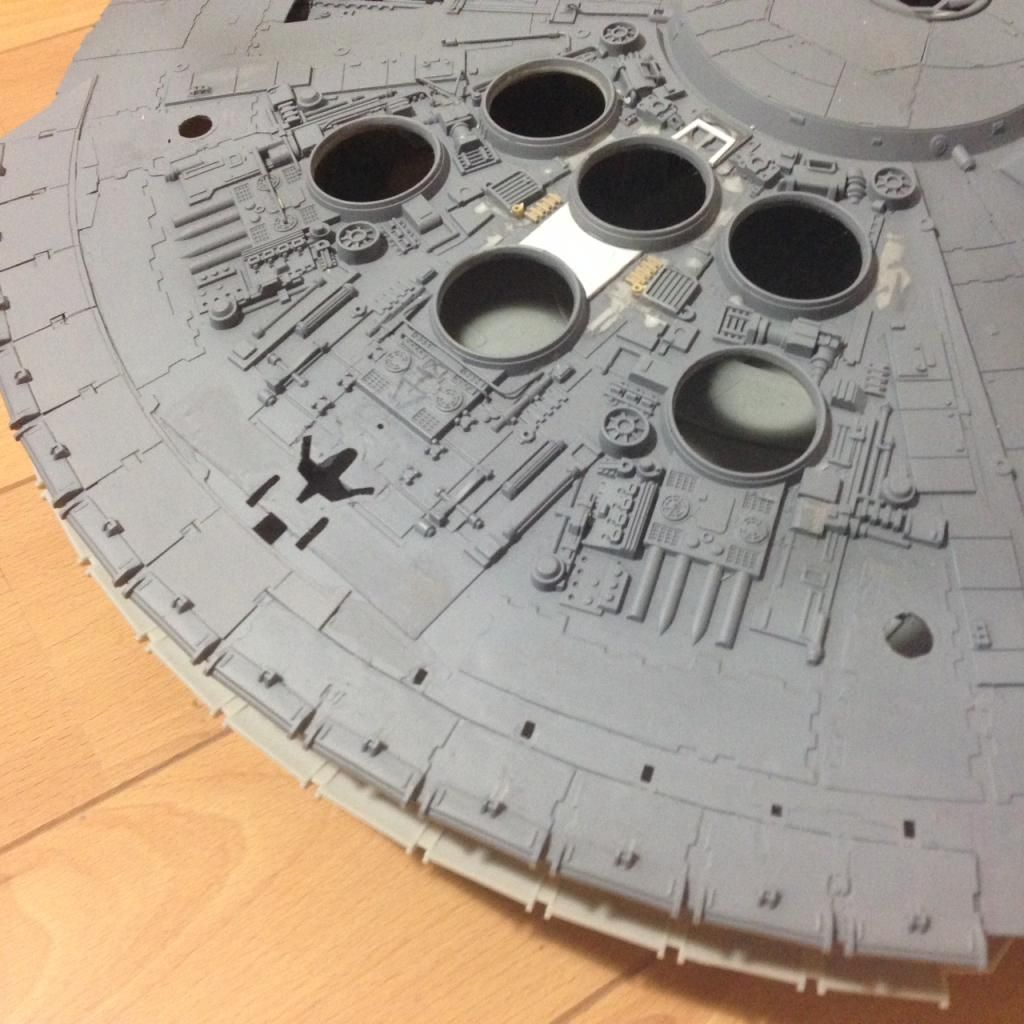
Heres a few of the photos like I posted before but taken with a better camera & light....sorry
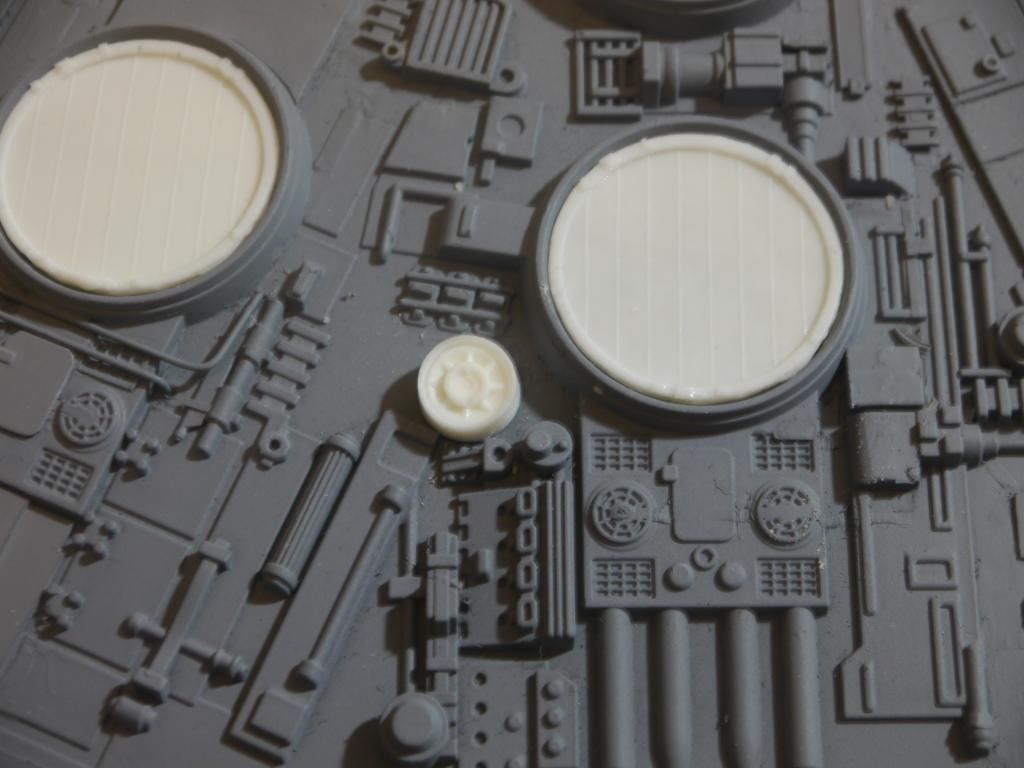
Making this wee base for one of the Fuel drive pressure stabiliser things (the 4 vertical bits that go along the thruster flaps),.....when its done I'm gonna mould & cast it
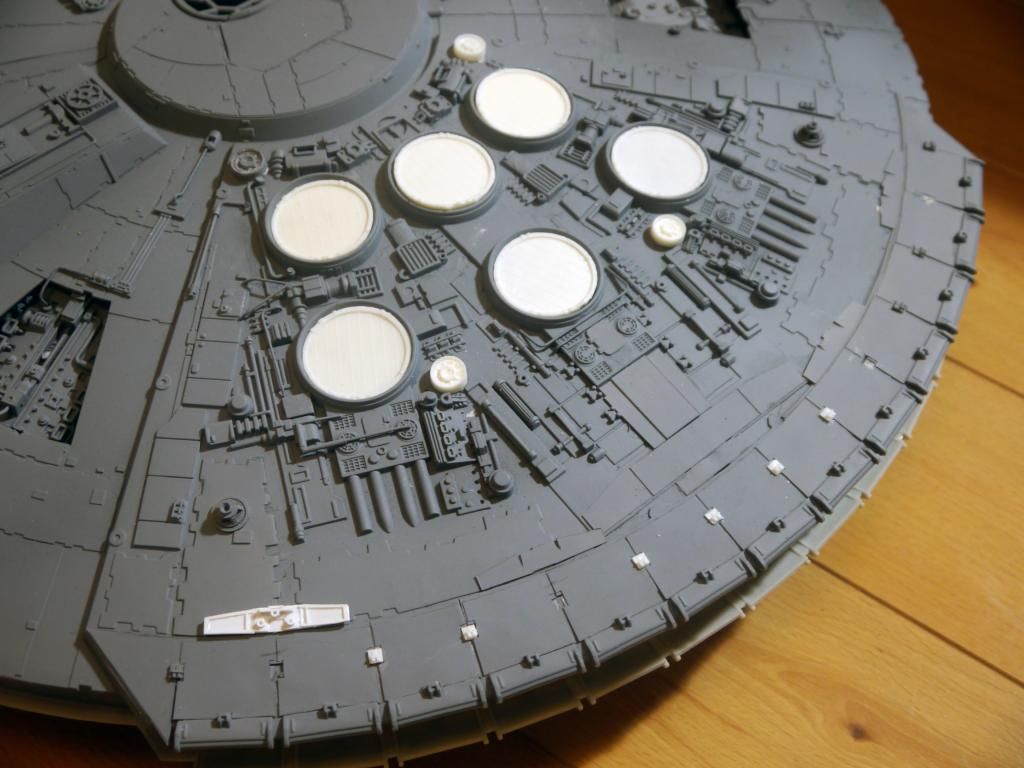
I made one of these from a tank wheel & a Austin Mini wheel,.....moulded & cast it,.....the 8 rib vents just set in,....again 1 made...duplicates cast
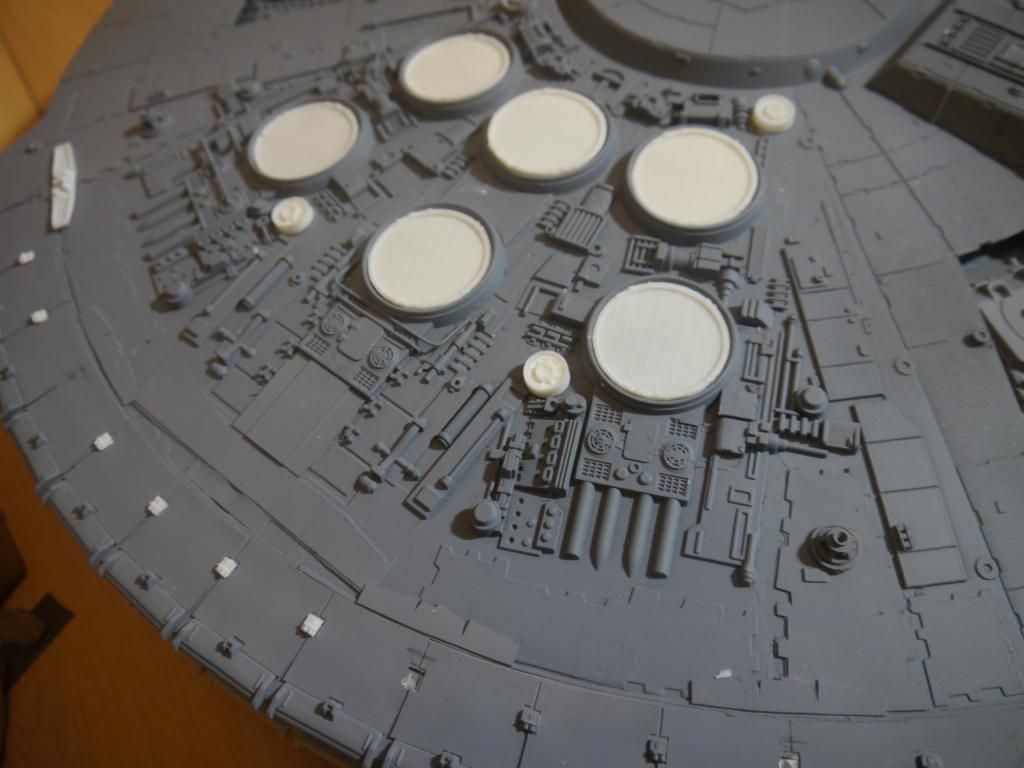
This is a cast of one of the inserts,...this allows me to break the master apart so that I can use greeblies again for something further down the line.....still more to do to it though
Thanks again for looking
John
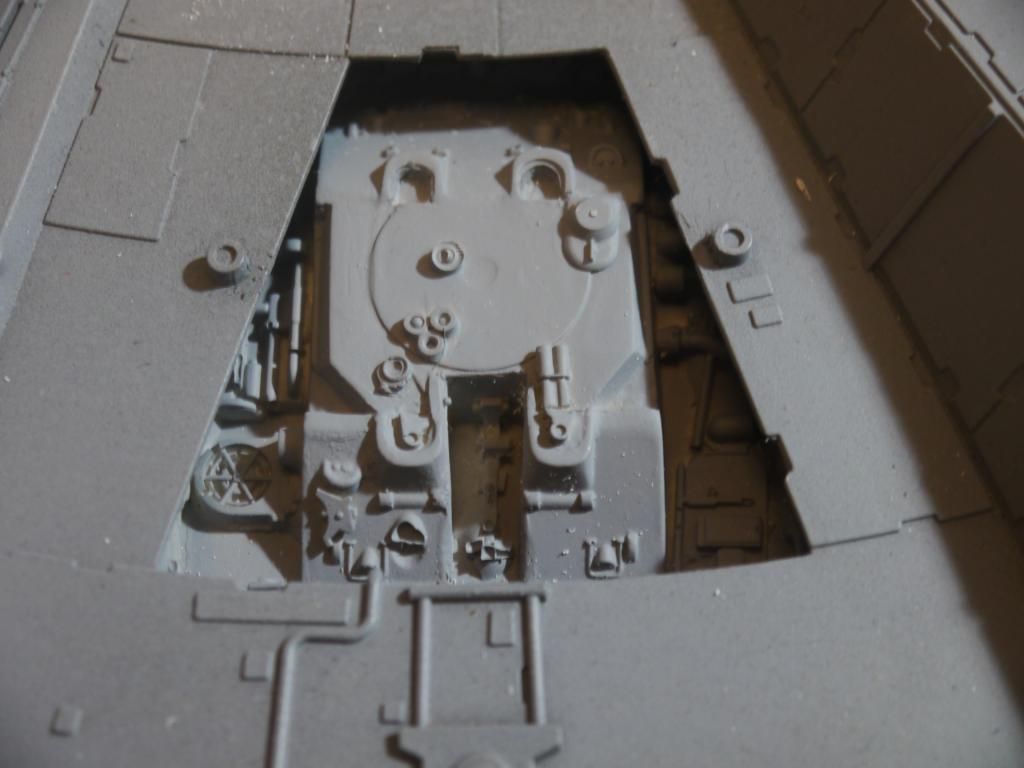
Heres a few of the photos like I posted before but taken with a better camera & light....sorry
Making this wee base for one of the Fuel drive pressure stabiliser things (the 4 vertical bits that go along the thruster flaps),.....when its done I'm gonna mould & cast it
I made one of these from a tank wheel & a Austin Mini wheel,.....moulded & cast it,.....the 8 rib vents just set in,....again 1 made...duplicates cast
This is a cast of one of the inserts,...this allows me to break the master apart so that I can use greeblies again for something further down the line.....still more to do to it though
Thanks again for looking
John
No problems Scarecrow Joe,.....as long as the model has her Adhesion Aid coat on her.......wait....did I call her a model?
Heres a few of the photos like I posted before but taken with a better camera & light....sorry
Making this wee base for one of the Fuel drive pressure stabiliser things (the 4 vertical bits that go along the thruster flaps),.....when its done I'm gonna mould & cast it
http://i1119.photobucket.com/albums/k637/jaiteastu/Hasbro Hero Millennium Falcon/deck1.jpg
http://i1119.photobucket.com/albums/k637/jaiteastu/Hasbro Hero Millennium Falcon/Deck2.jpg
I made one of these from a tank wheel & a Austin Mini wheel,.....moulded & cast it,.....the 8 rib vents just set in,....again 1 made...duplicates cast
http://i1119.photobucket.com/albums/k637/jaiteastu/Hasbro Hero Millennium Falcon/deck3.jpg
http://i1119.photobucket.com/albums/k637/jaiteastu/Hasbro Hero Millennium Falcon/Deck5.jpg
This is a cast of one of the inserts,...this allows me to break the master apart so that I can use greeblies again for something further down the line.....still more to do to it though
http://i1119.photobucket.com/albums/k637/jaiteastu/Hasbro Hero Millennium Falcon/Triangle2closer.jpg
Thanks again for looking
John
I'm not sure if we should be in awe of your dedication or concerned for your mental state but,....
DAMN....Ya got skills!!!!!!!!!!
Looking awesome!!!!!!!!!!!!!!!!!!!!!!!!!!!
Similar threads
- Replies
- 37
- Views
- 3,451
- Replies
- 24
- Views
- 1,150
- Replies
- 3
- Views
- 1,082