You are using an out of date browser. It may not display this or other websites correctly.
You should upgrade or use an alternative browser.
You should upgrade or use an alternative browser.
The Star-Lord/Peter Quill Sling Bag thread
- Thread starter Zlurpo
- Start date
So, after seeing the work montified did on his bags I figured I had better up my game.

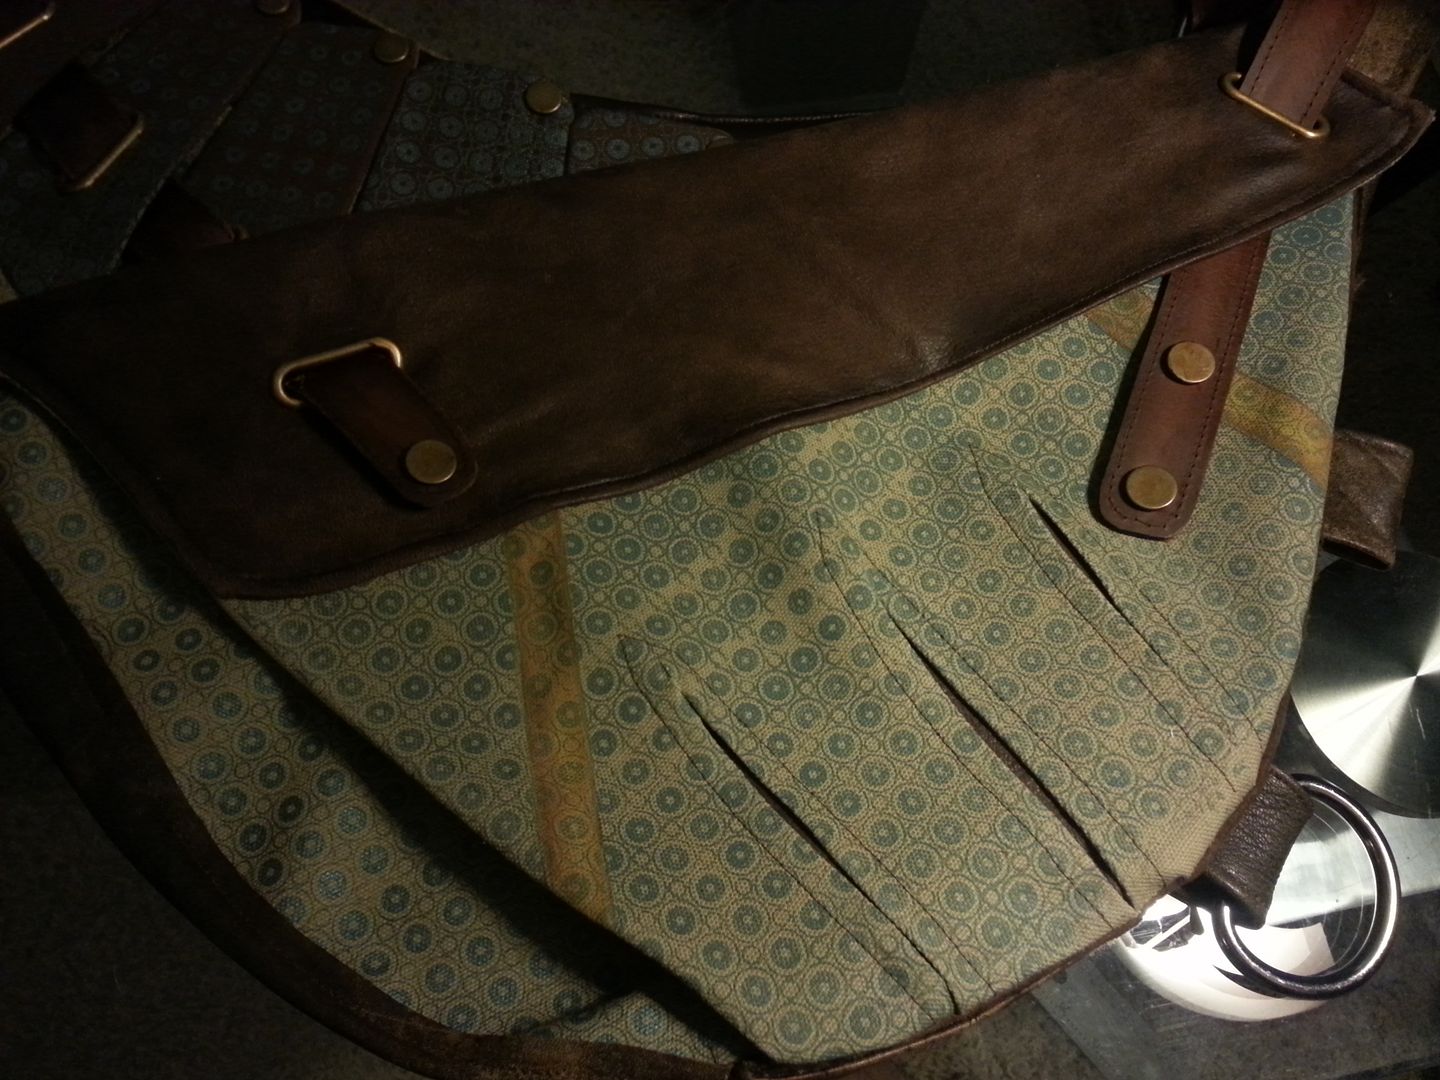
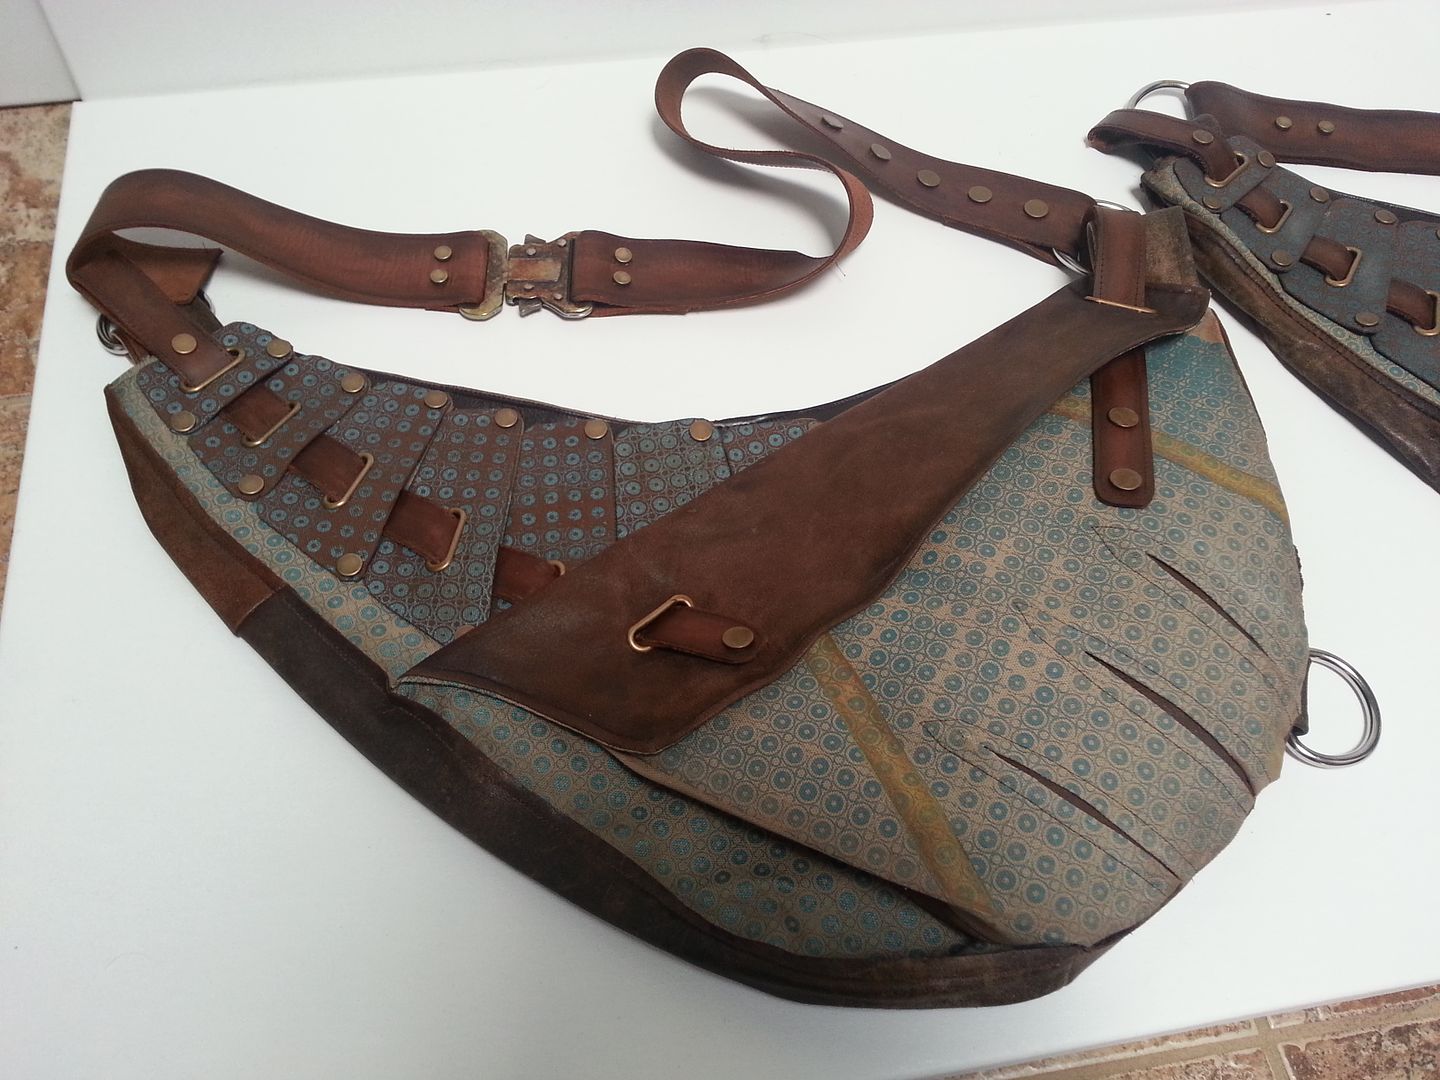
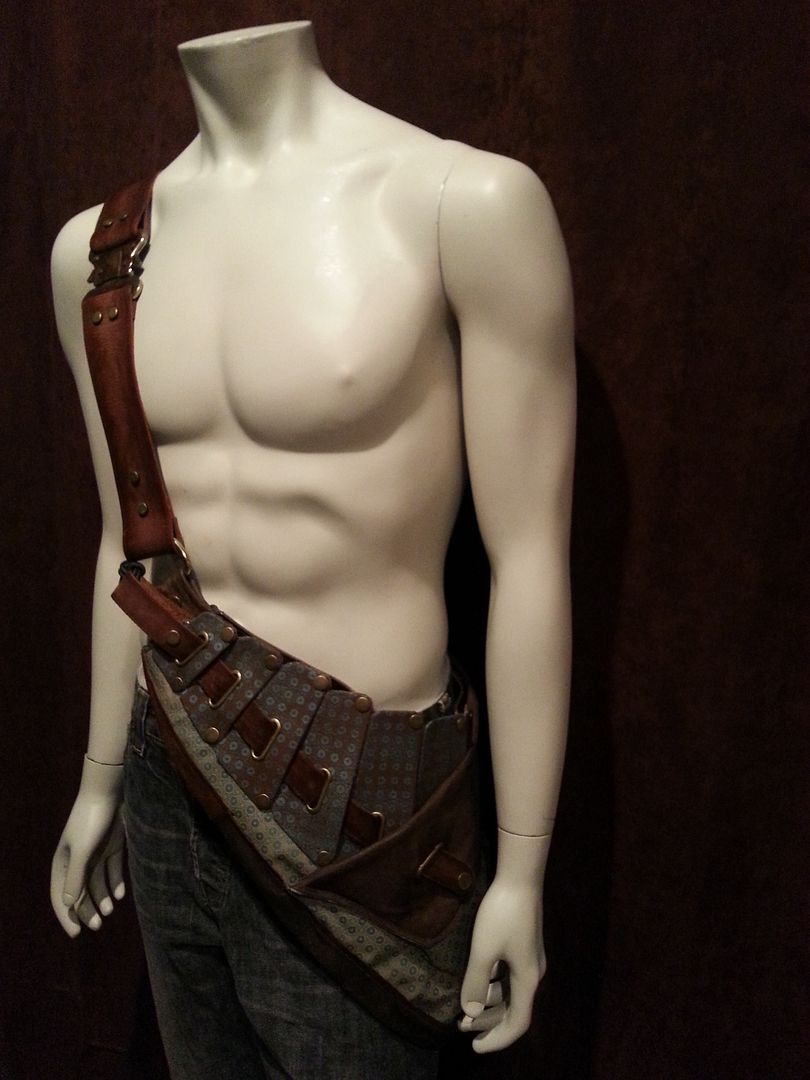
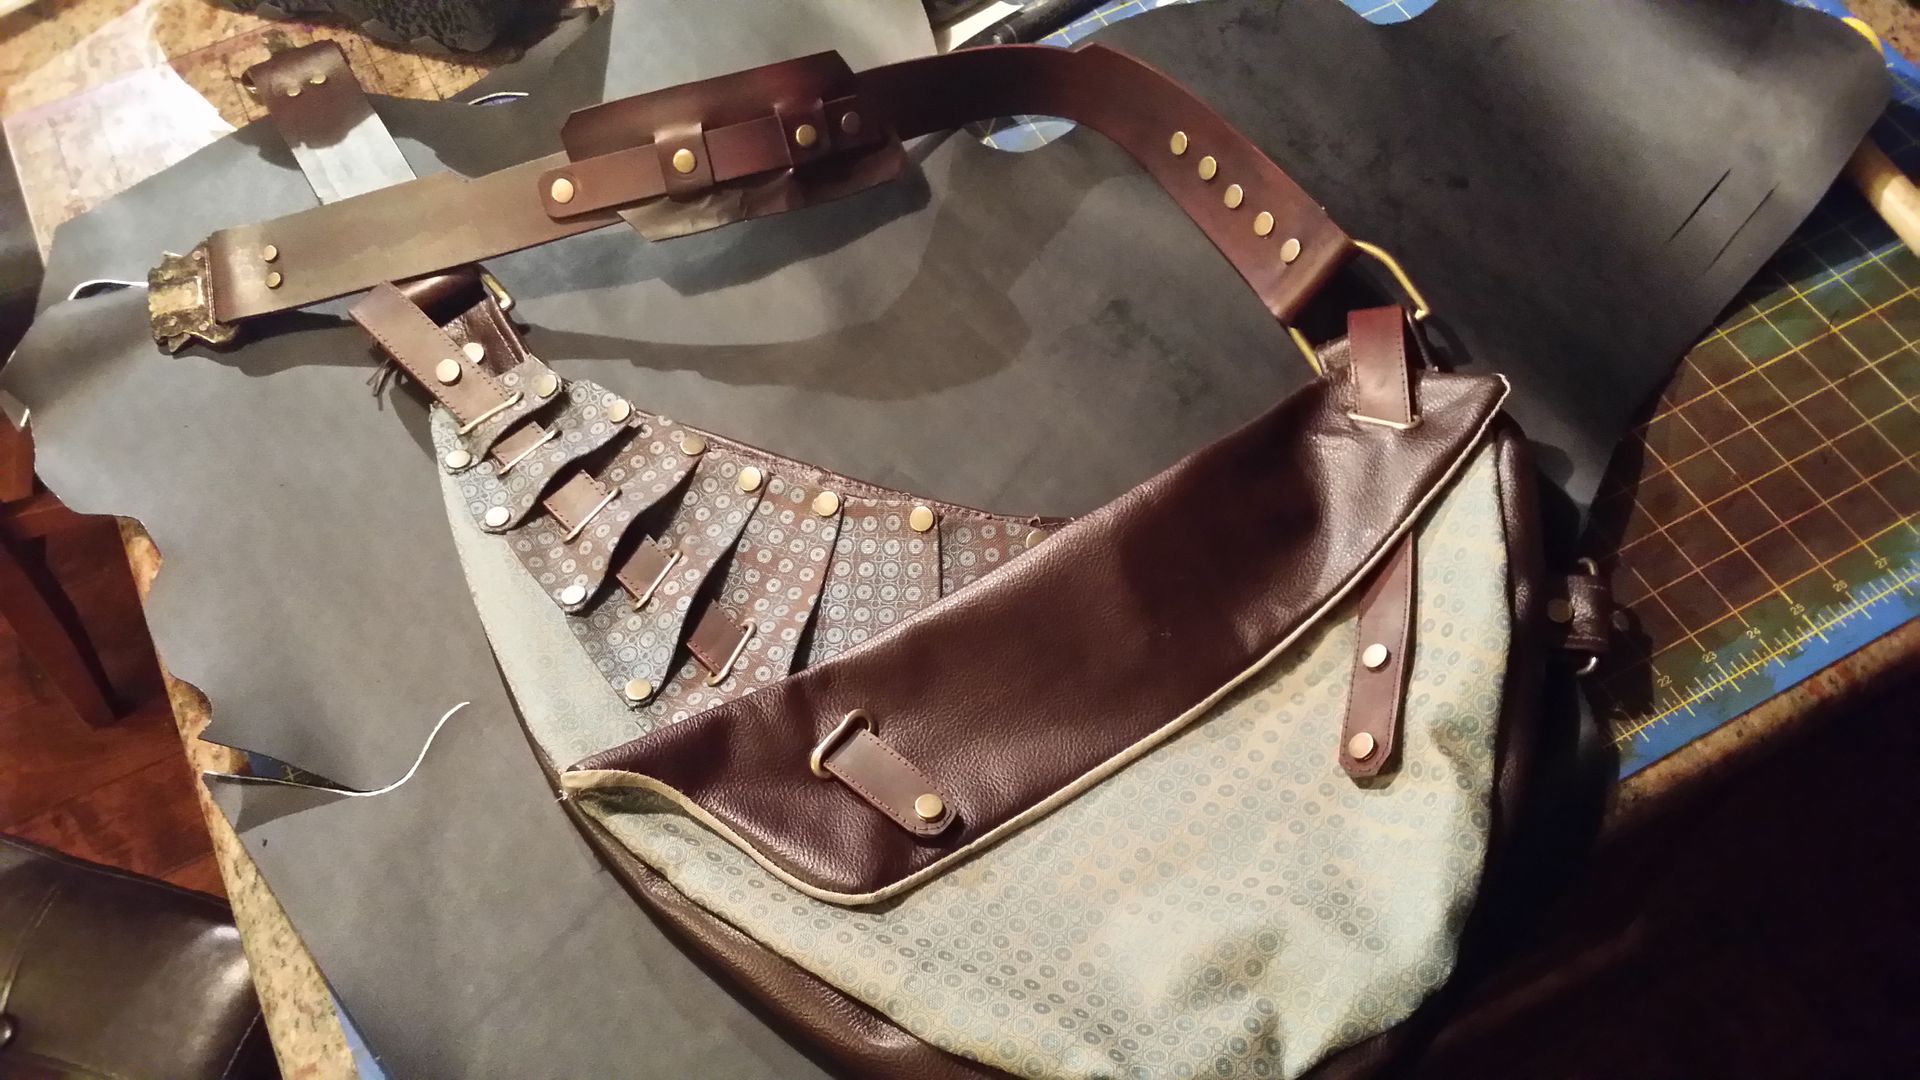
Here is the latest bag I've been working on for one of my customers:
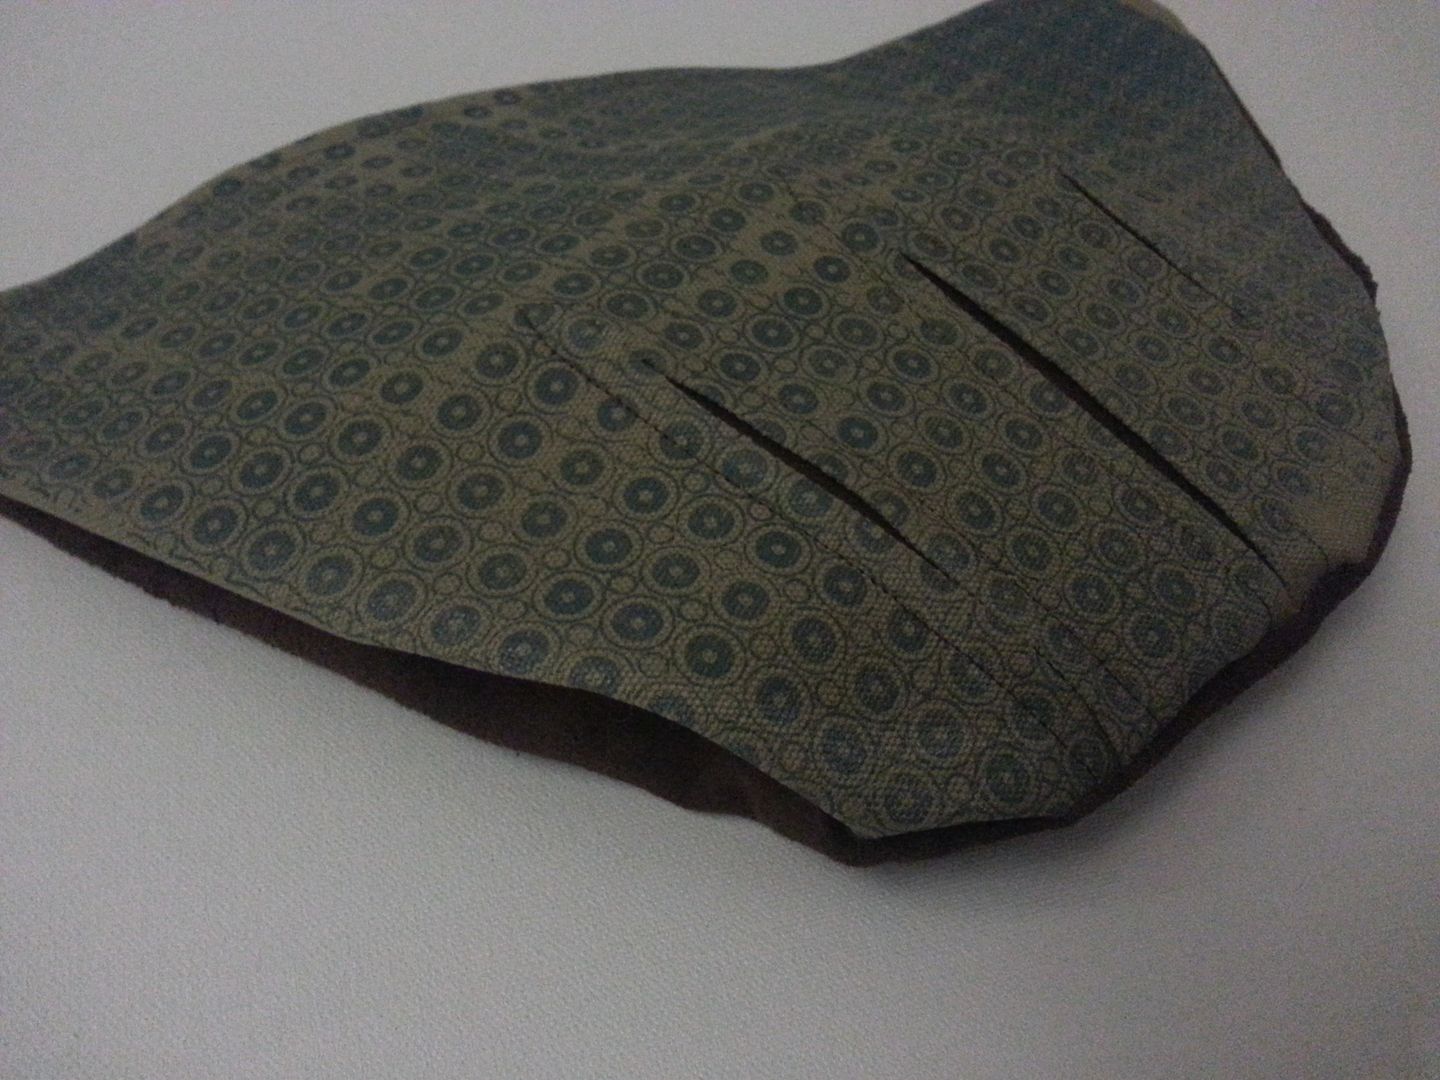
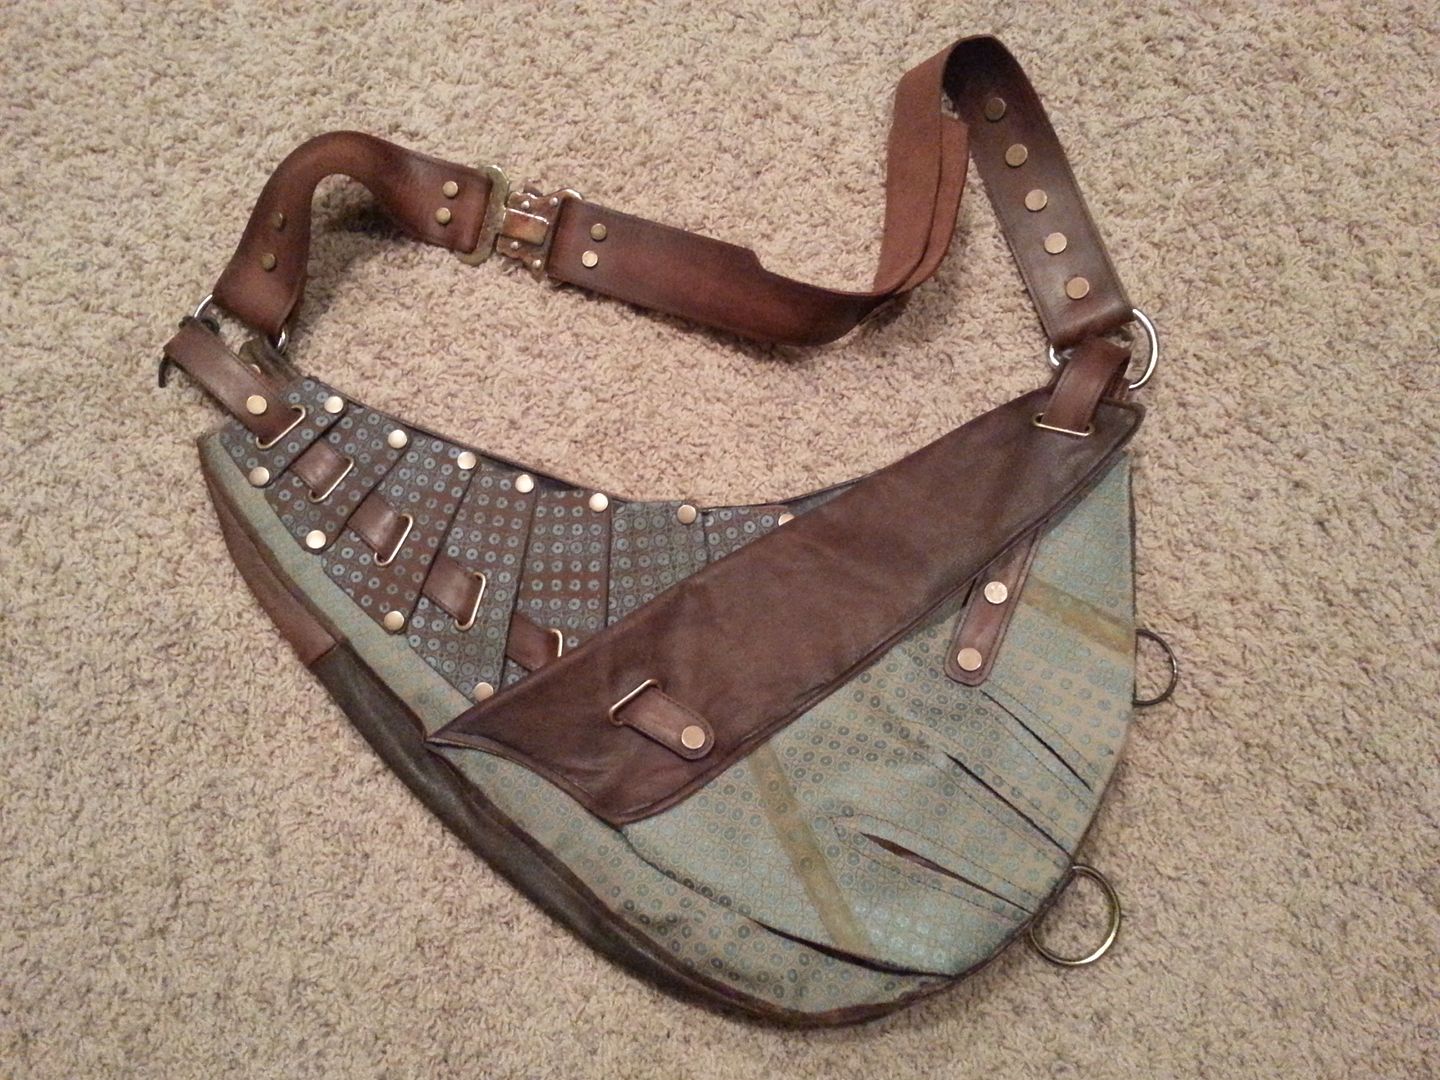
It's not quite finished yet. I still need to do some work on the straps, D-rings and other minor details, but as you can see I've added an additional gusseted pouch, corrected the stripes and as it turns out there are actually 9 trapezoidial panels, not just 7.
I went back and studied every scene where the bag appears. Here are some screen caps for reference:
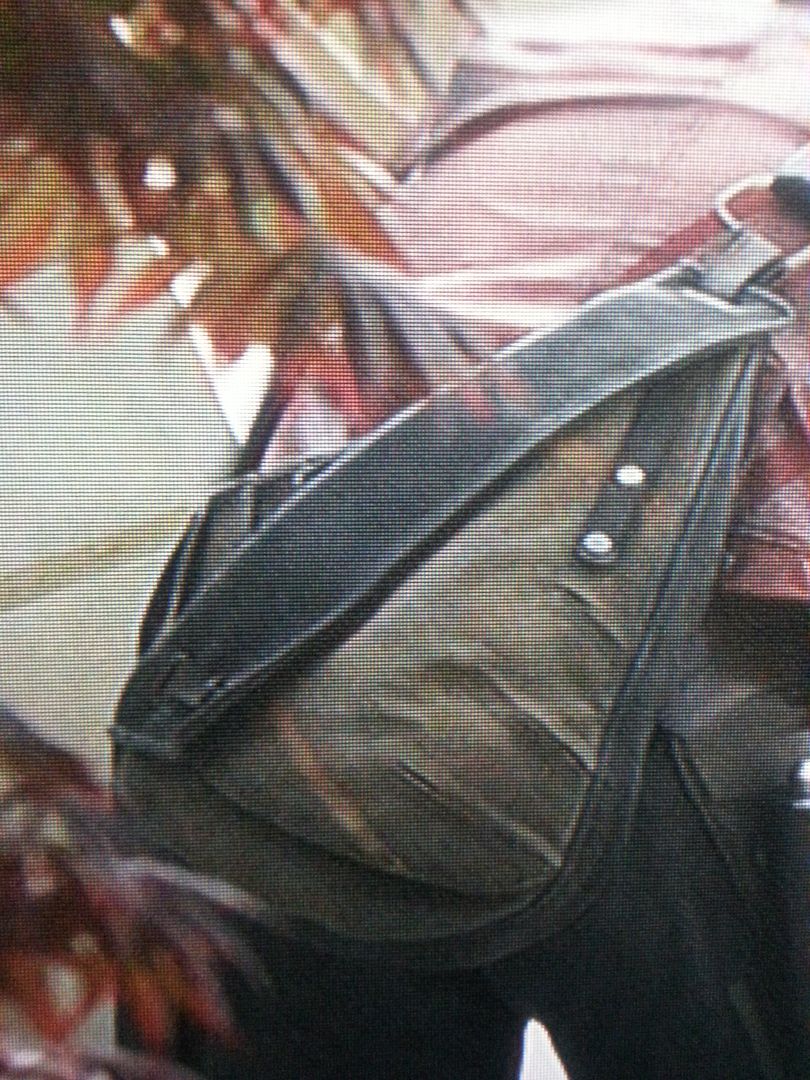
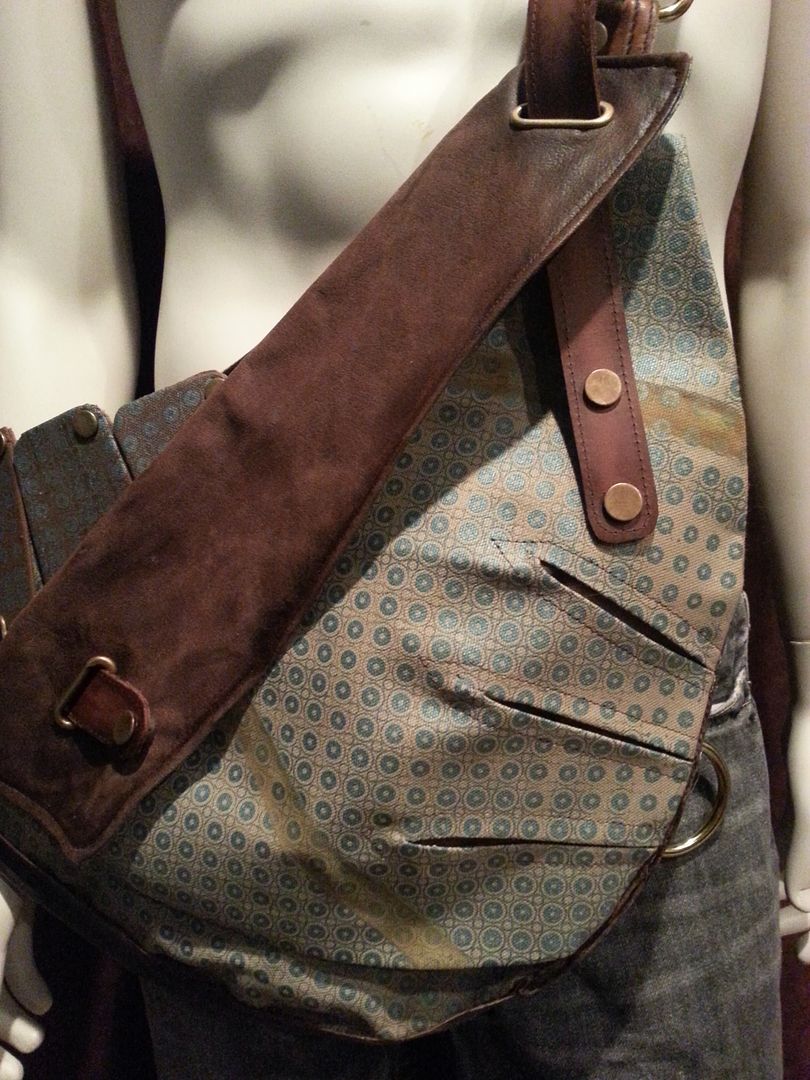
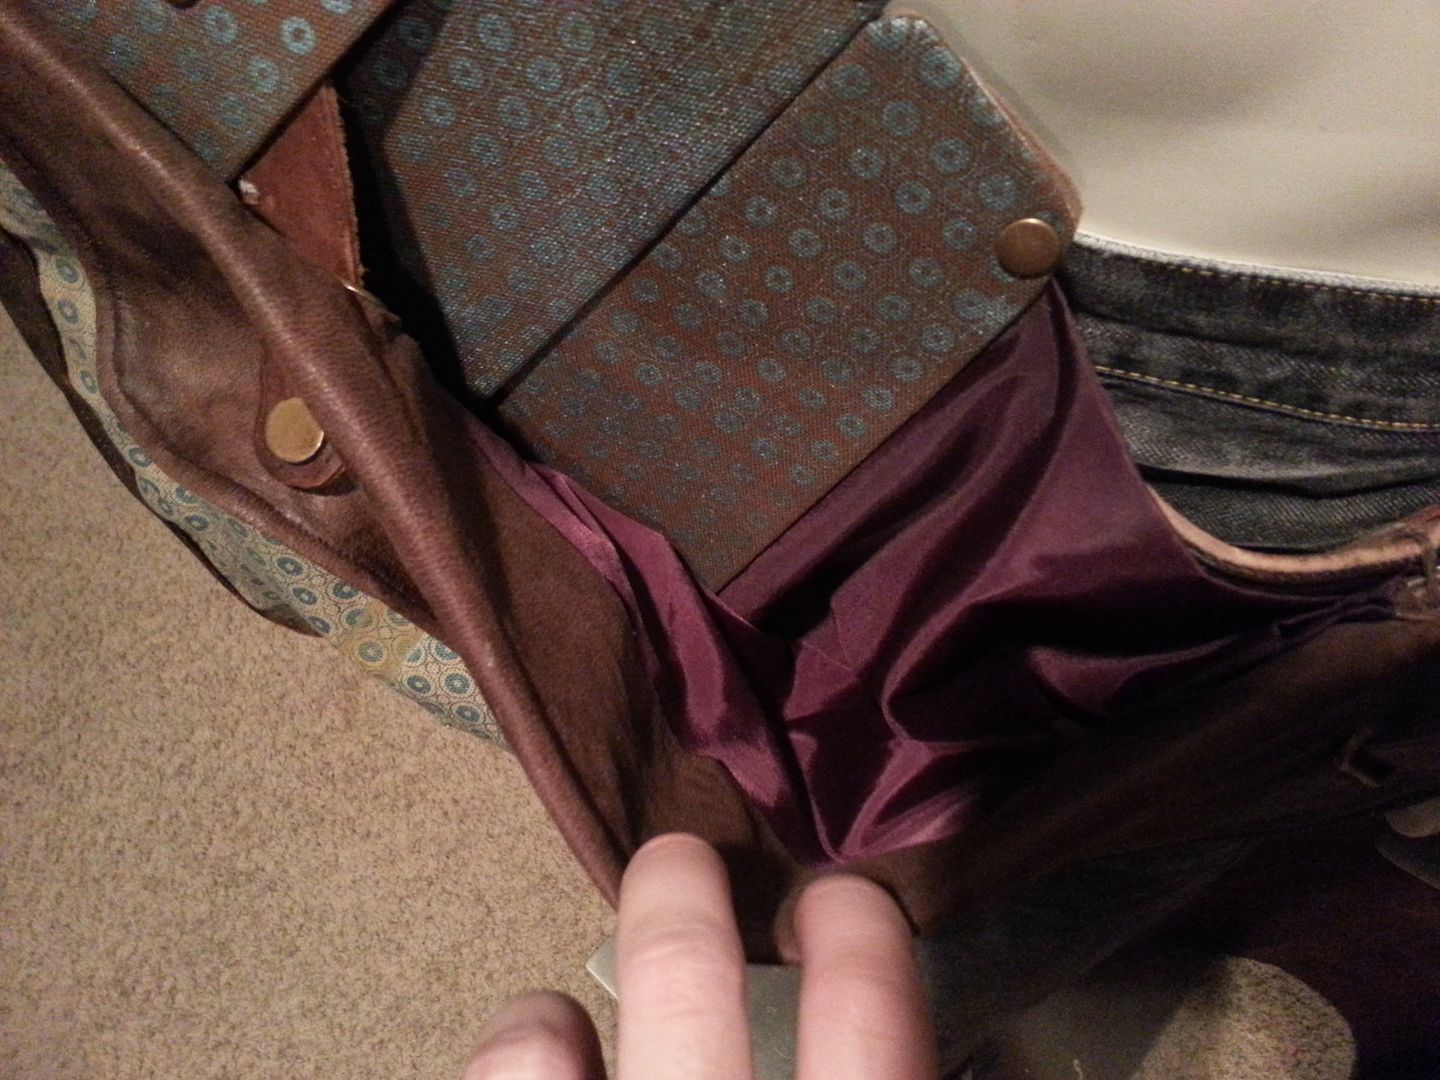
This is the best shot I could get of the additional pouch.
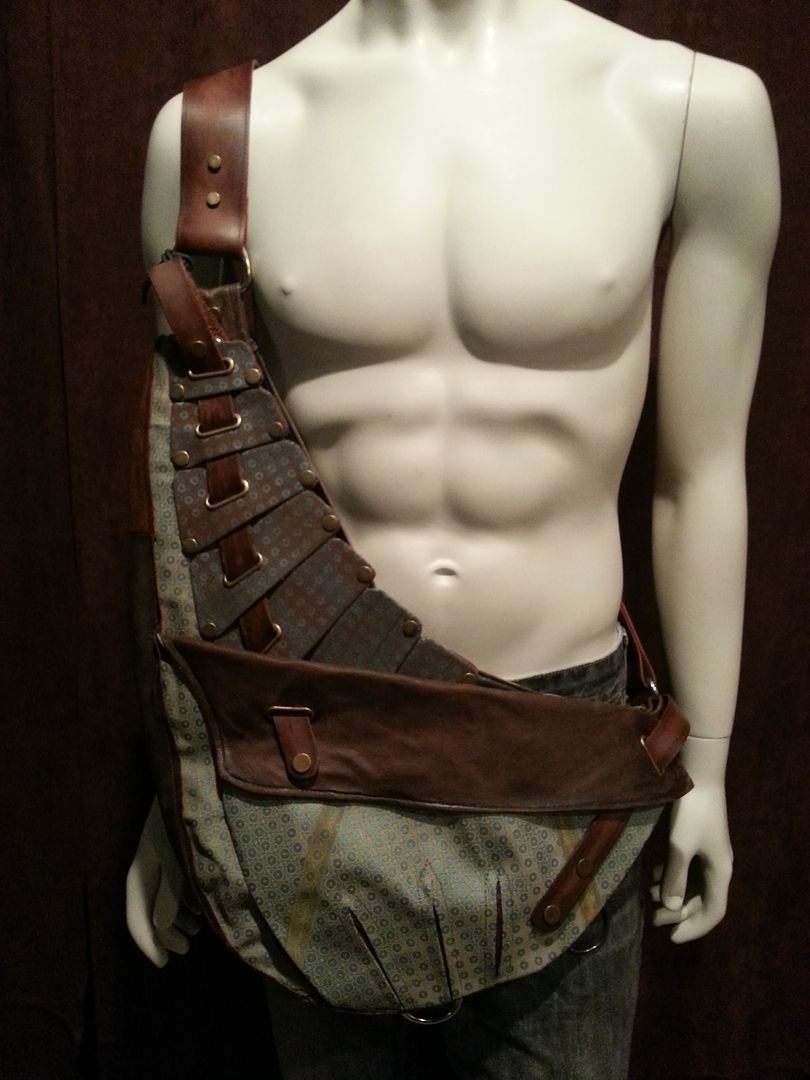
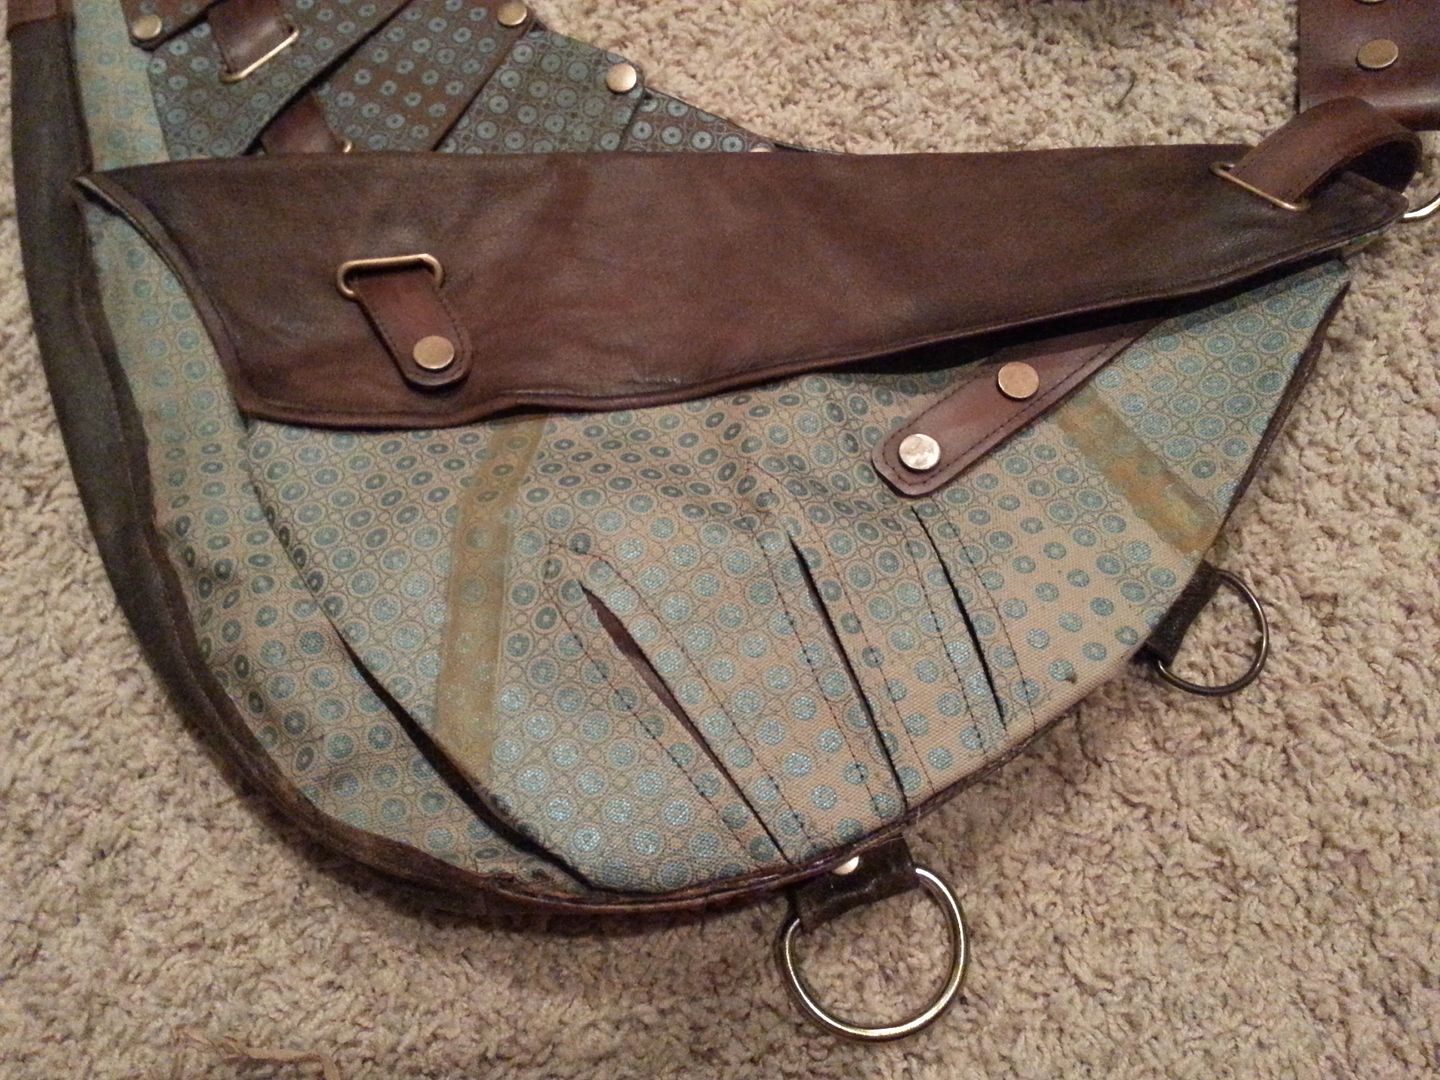
Here you can see all 9 panels
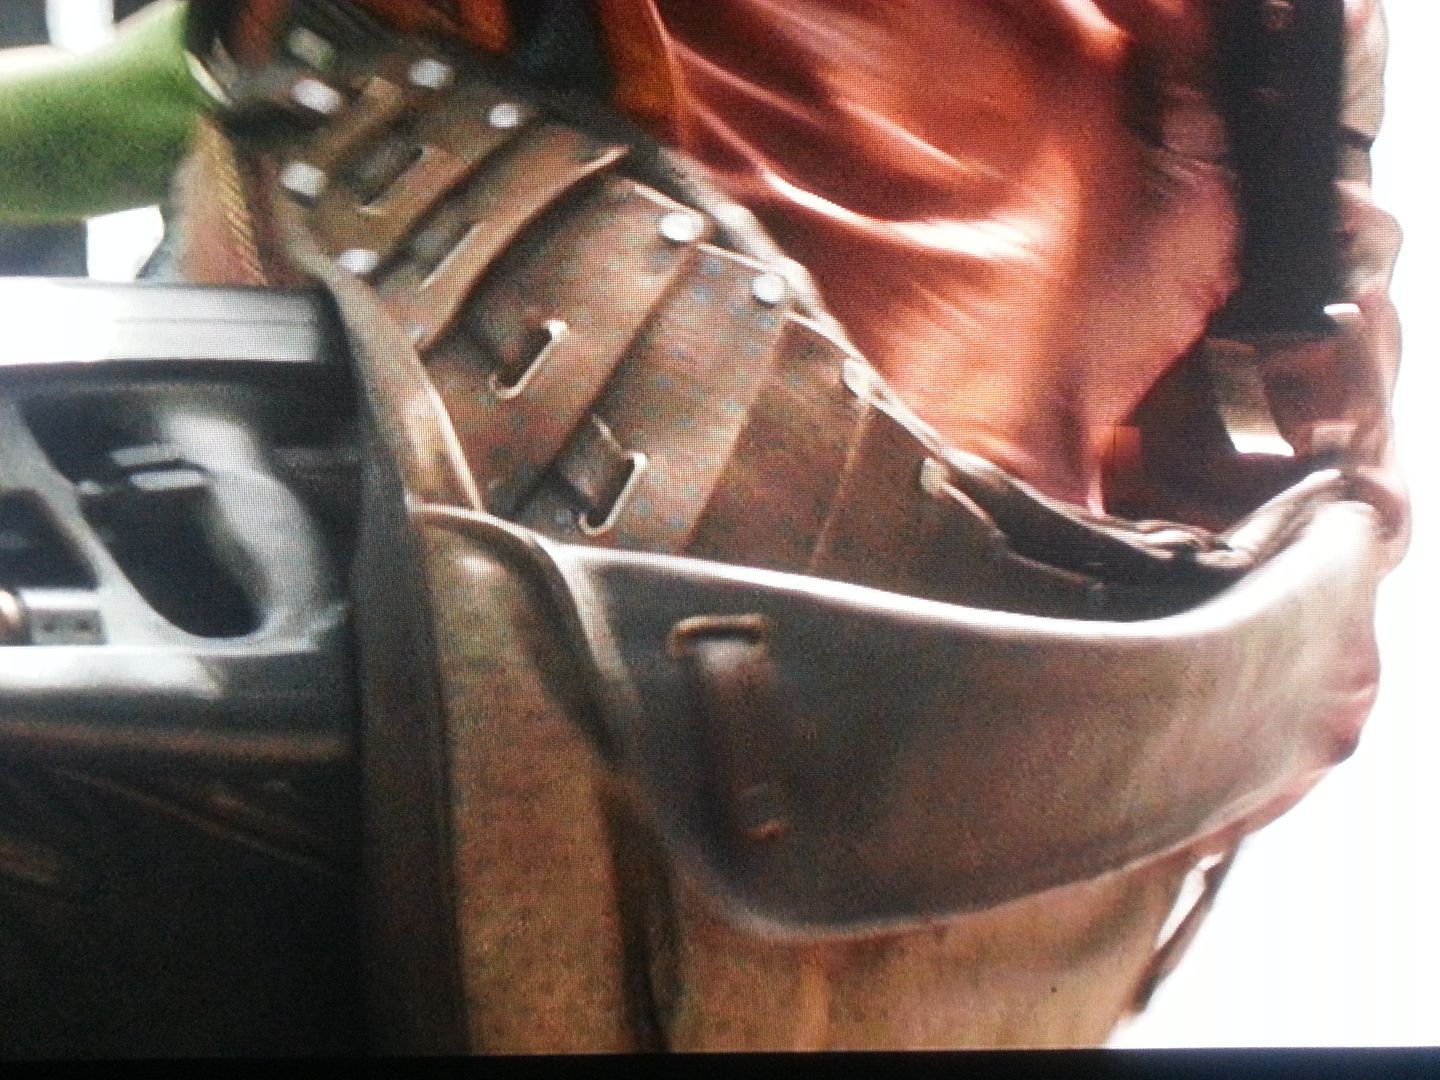
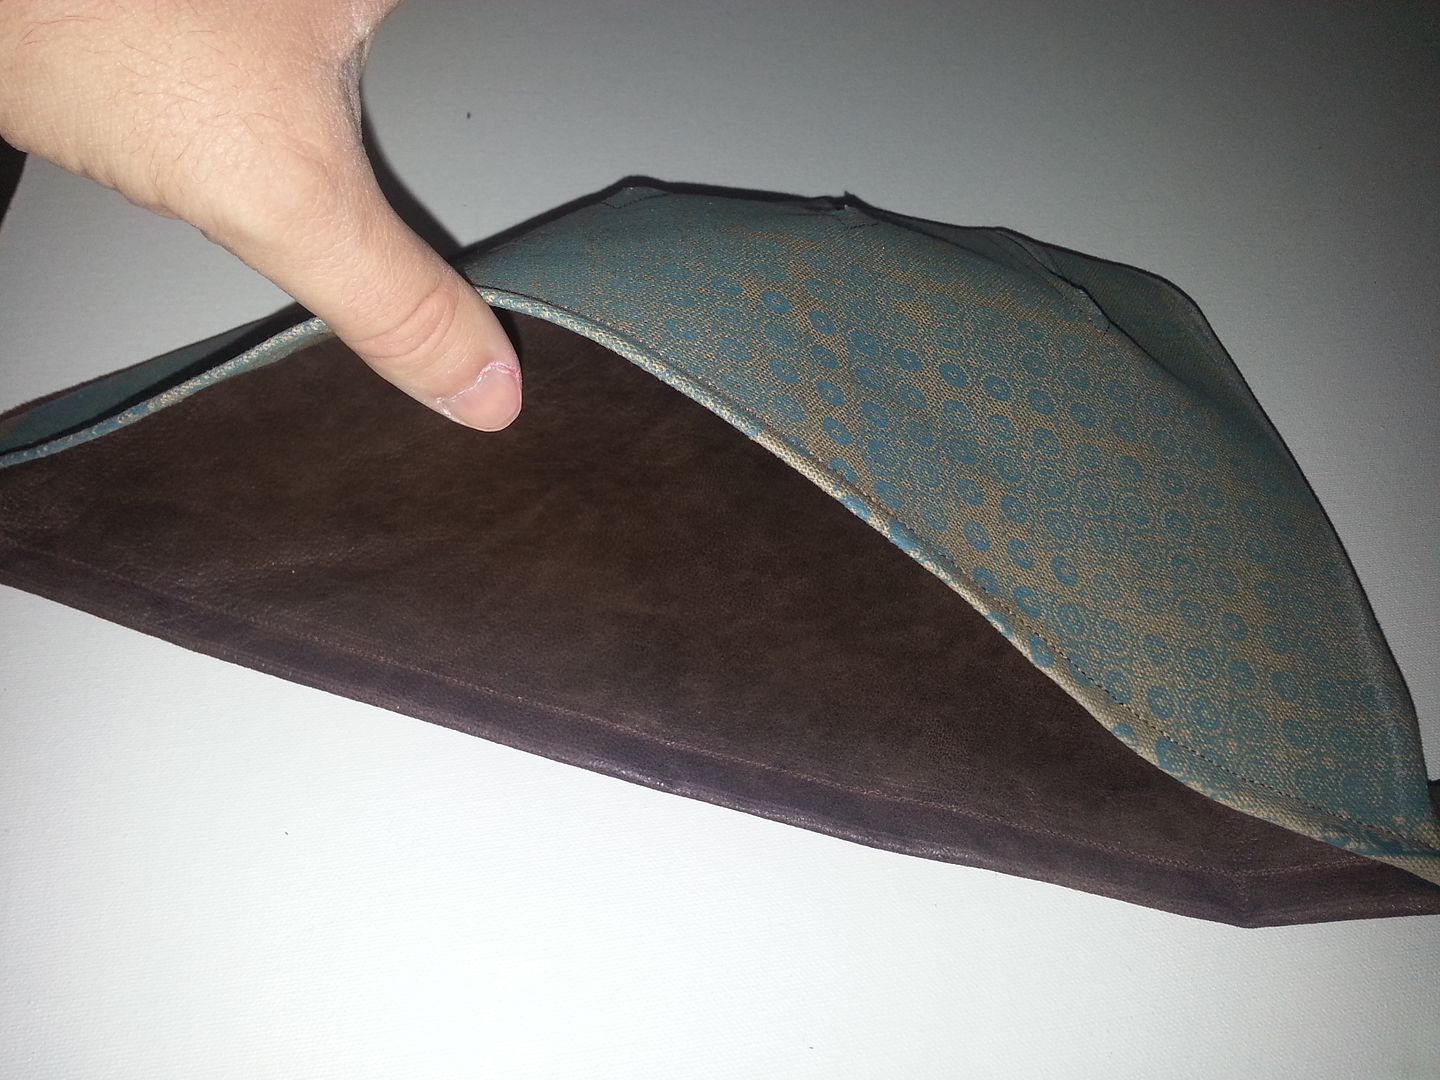
This is another good shot where you can see the accordion style gusset fold to allow for expansion on the side of the pouch an the leather panel underneath
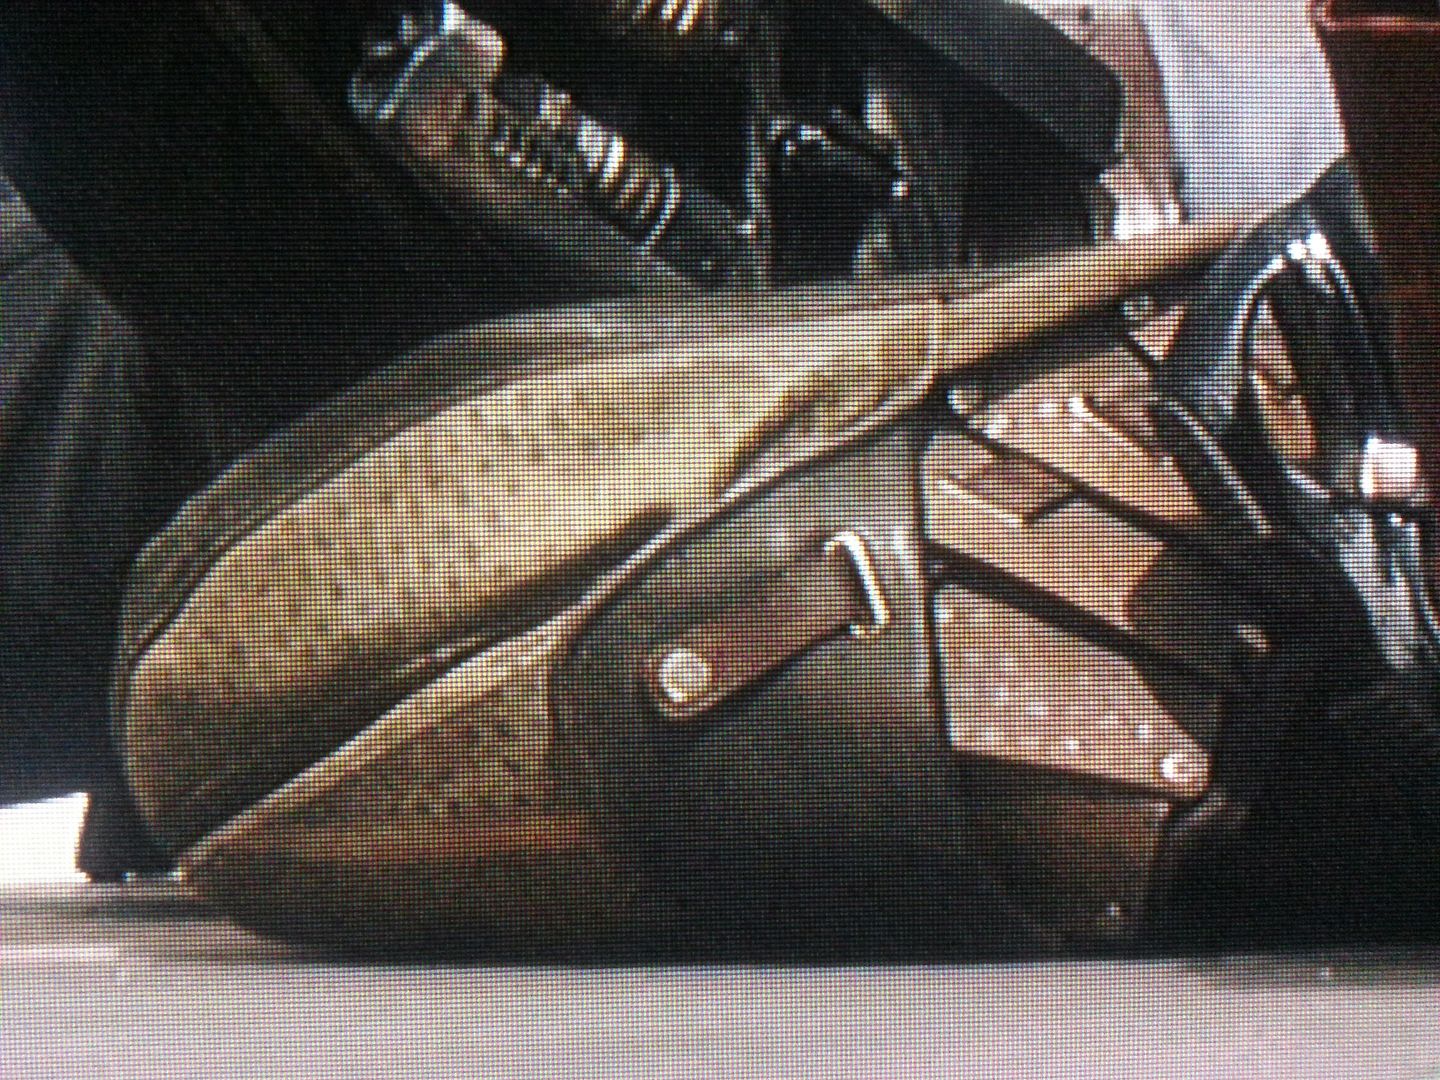
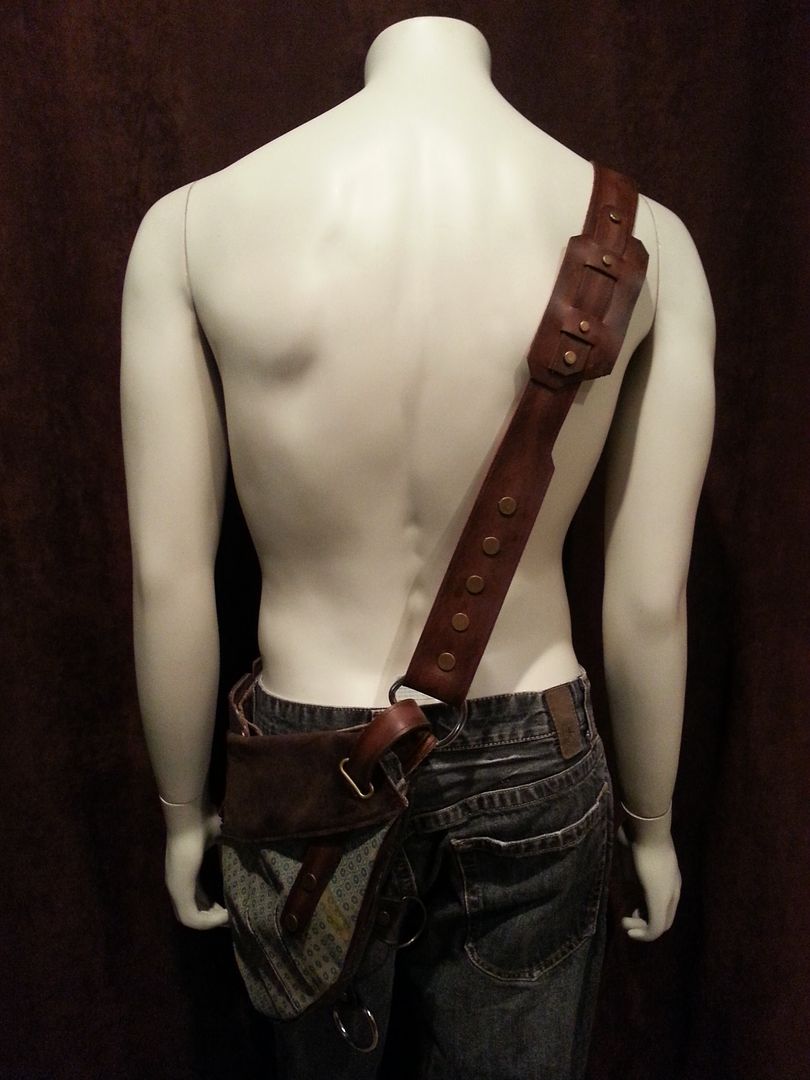
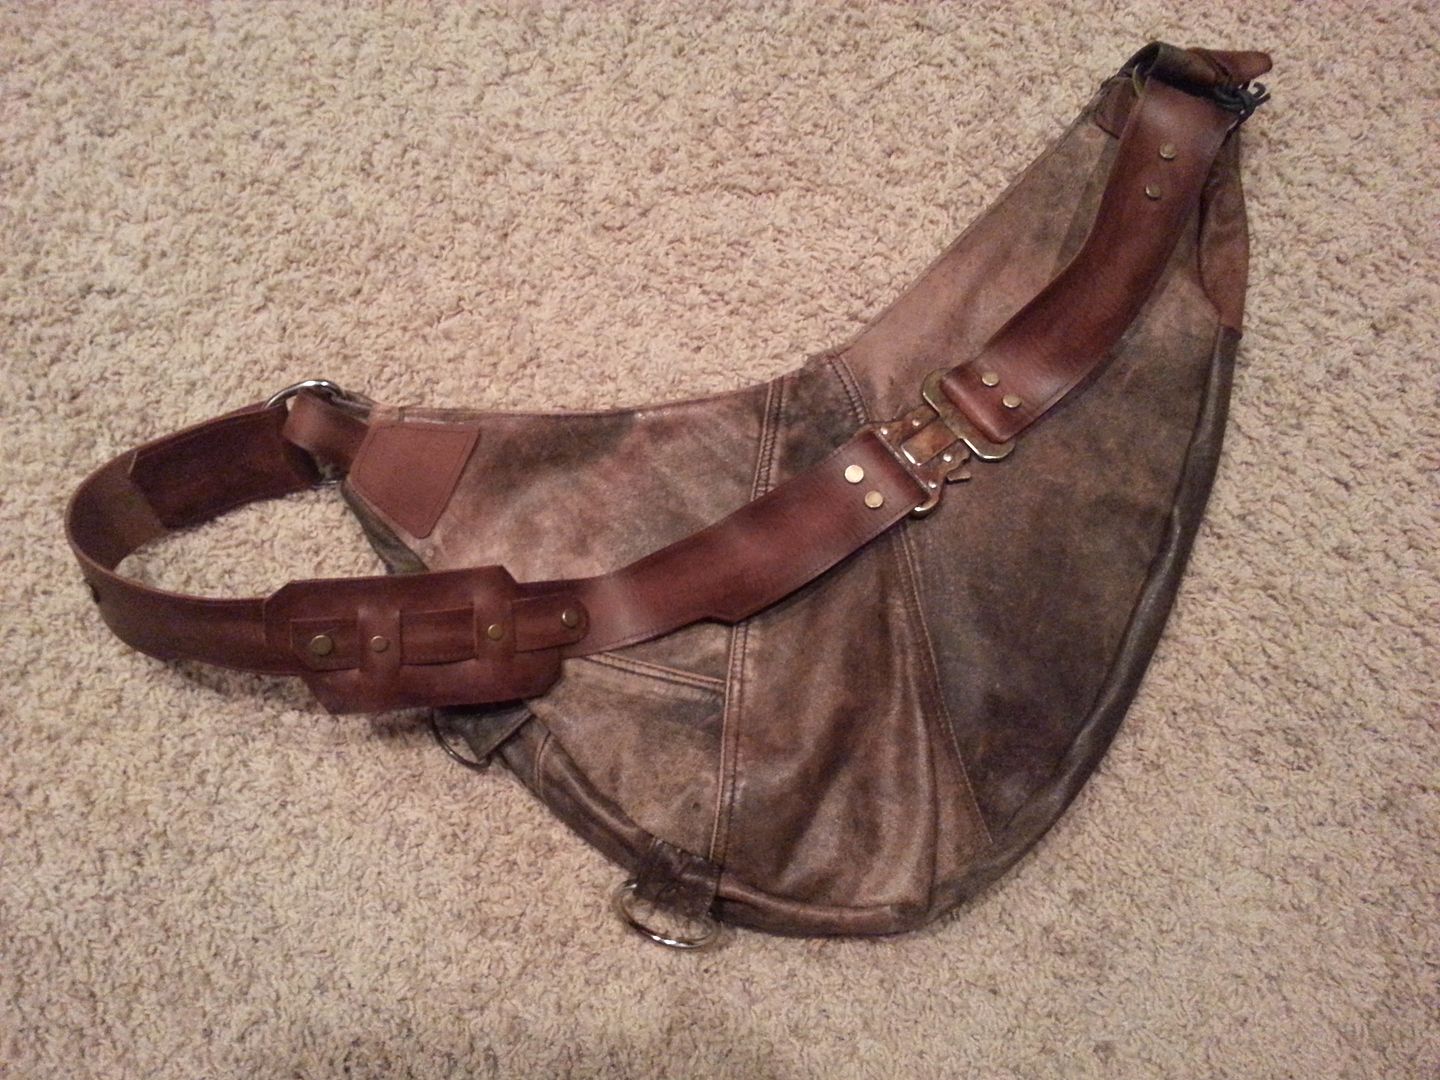
Another shot of the overall bag
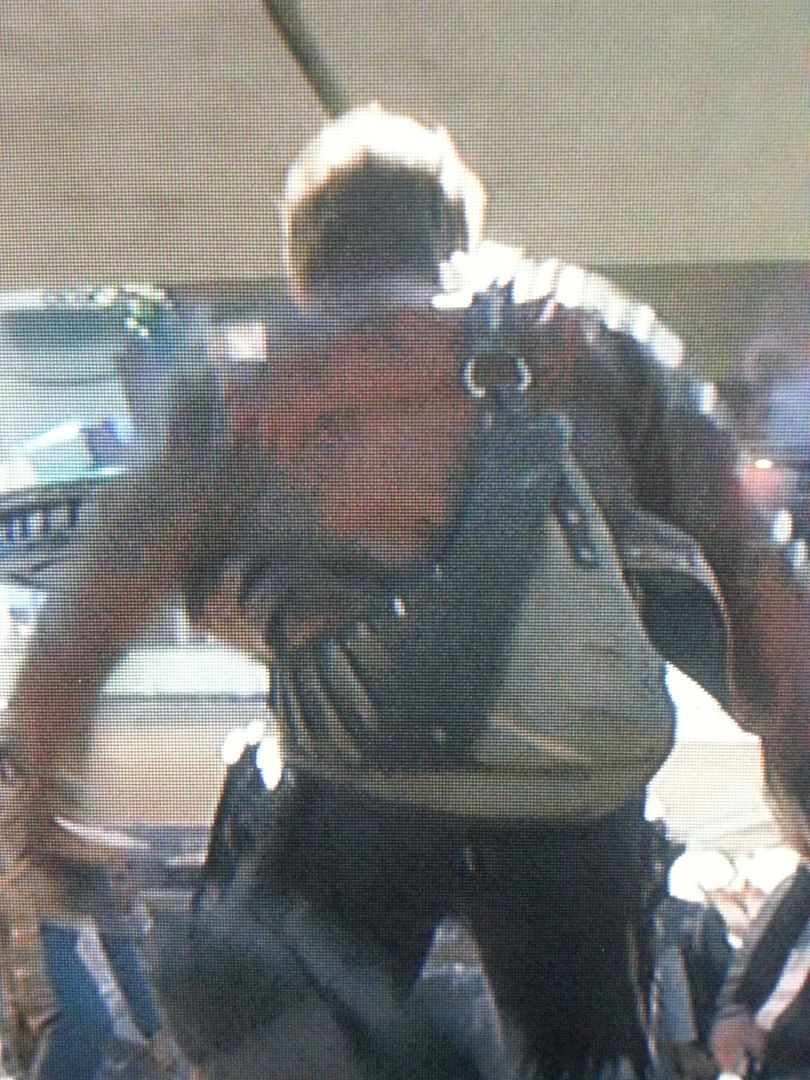
It's little more angular than I originally thought, so I might have to adjust my pattern ever so slightly.
Here are a couple pics of the additional pouch:
I tried to integrate the same accordion style fold on the side
Here it is next to the 1:6 scale bag from the Hot Toys figure
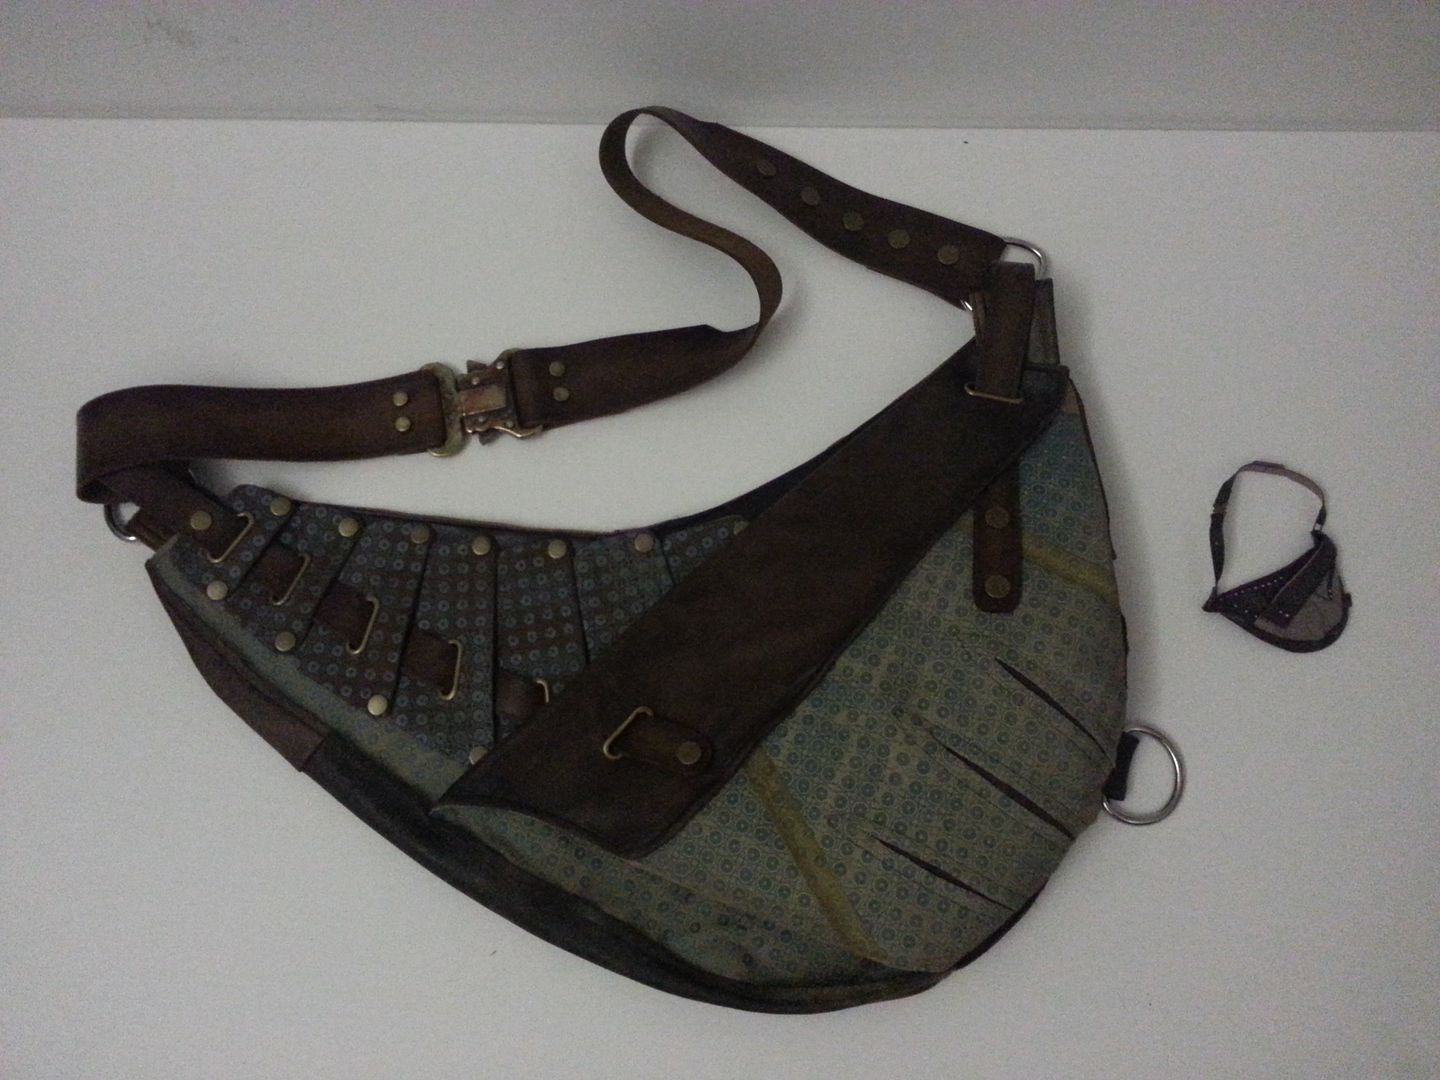
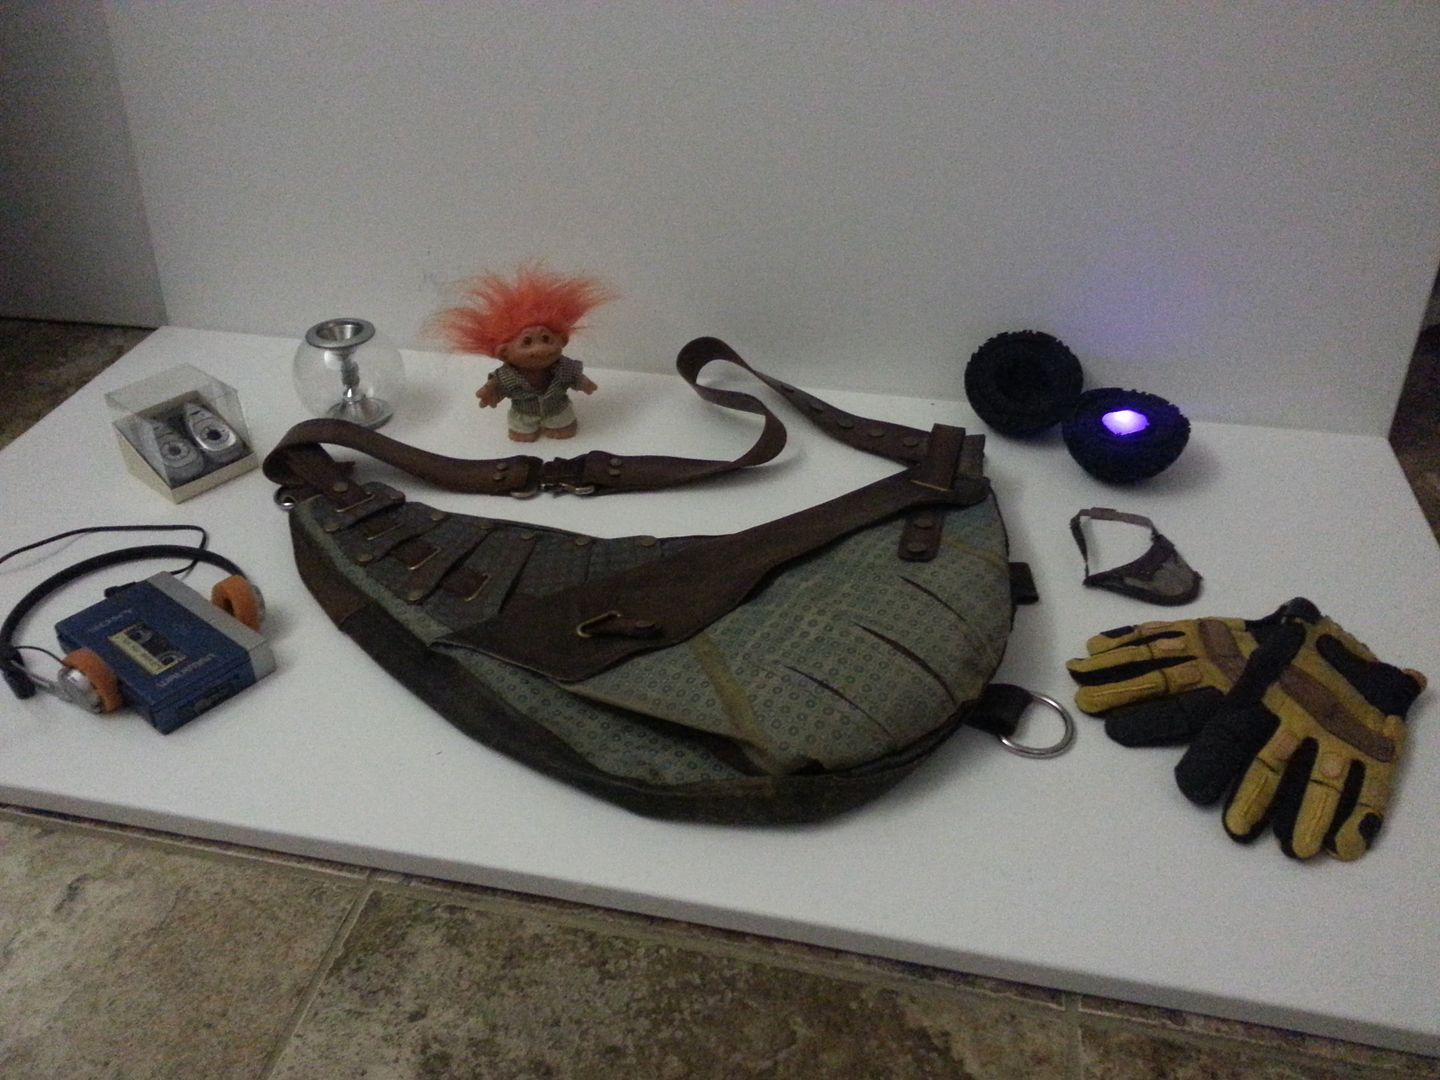
And some other goodies
On to the next one!
Here is the latest bag I've been working on for one of my customers:
It's not quite finished yet. I still need to do some work on the straps, D-rings and other minor details, but as you can see I've added an additional gusseted pouch, corrected the stripes and as it turns out there are actually 9 trapezoidial panels, not just 7.
I went back and studied every scene where the bag appears. Here are some screen caps for reference:
This is the best shot I could get of the additional pouch.
Here you can see all 9 panels
This is another good shot where you can see the accordion style gusset fold to allow for expansion on the side of the pouch an the leather panel underneath
Another shot of the overall bag
It's little more angular than I originally thought, so I might have to adjust my pattern ever so slightly.
Here are a couple pics of the additional pouch:
I tried to integrate the same accordion style fold on the side
Here it is next to the 1:6 scale bag from the Hot Toys figure
And some other goodies
On to the next one!
Can you explain the acrylic wash process you do on them?
Sure thing,
I put together this quick tutorial for everyone's benefit:
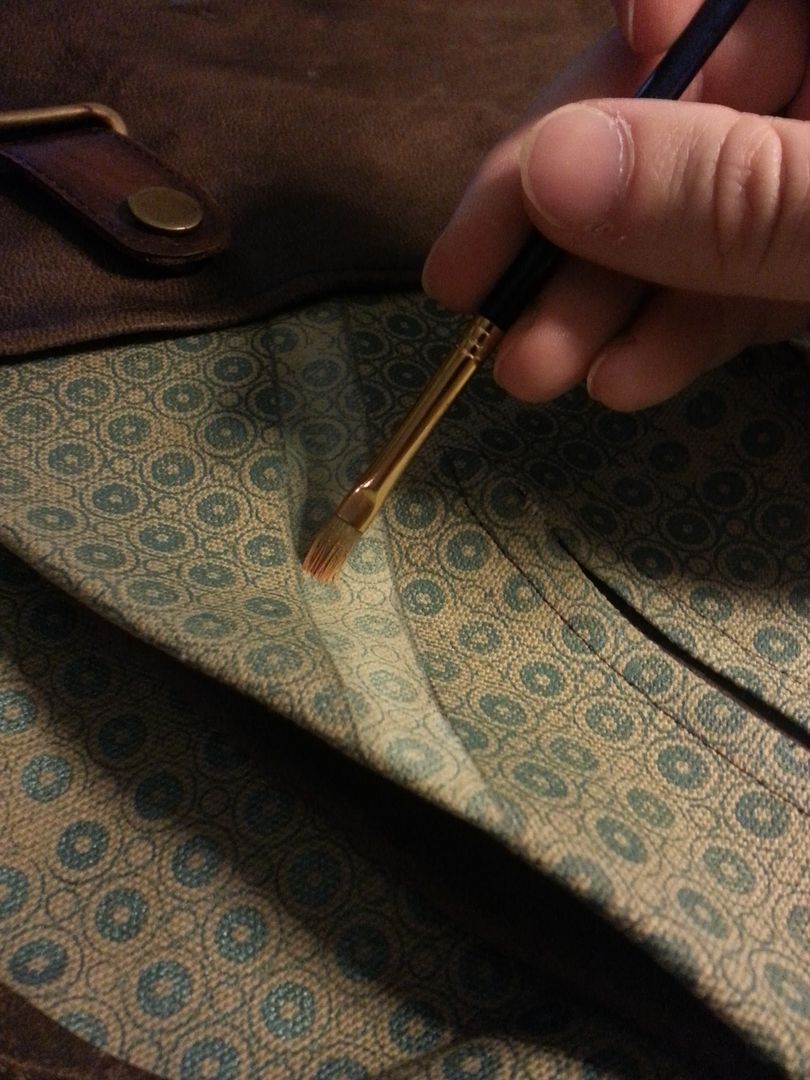
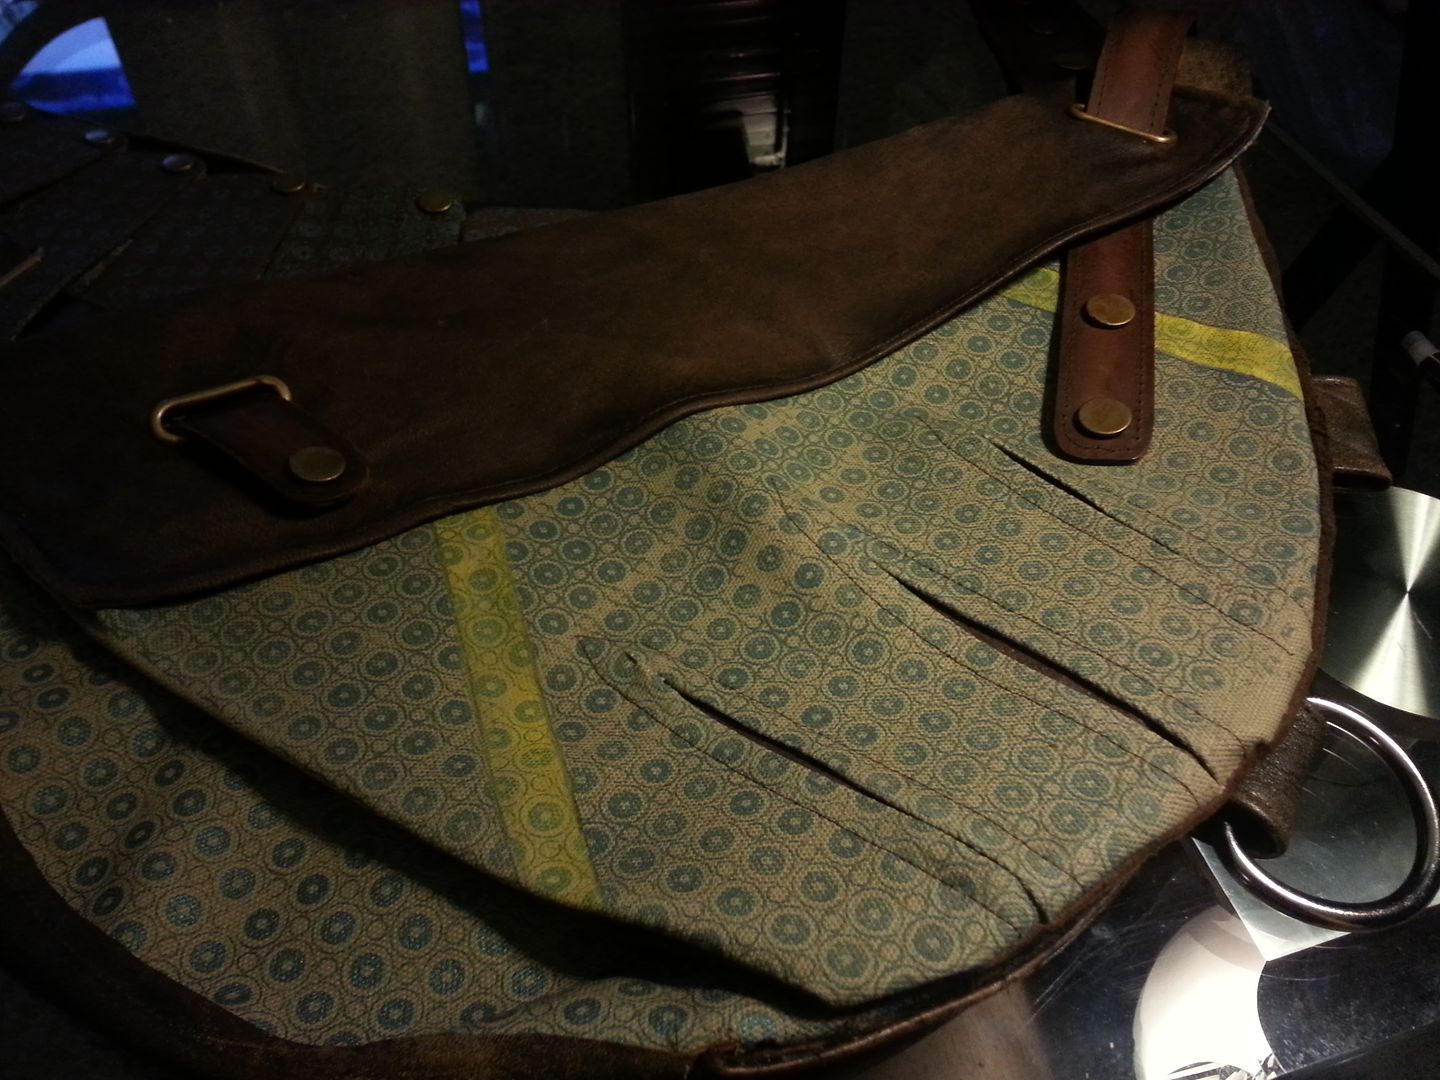
First I draw out the lines where I want them with a straight edge
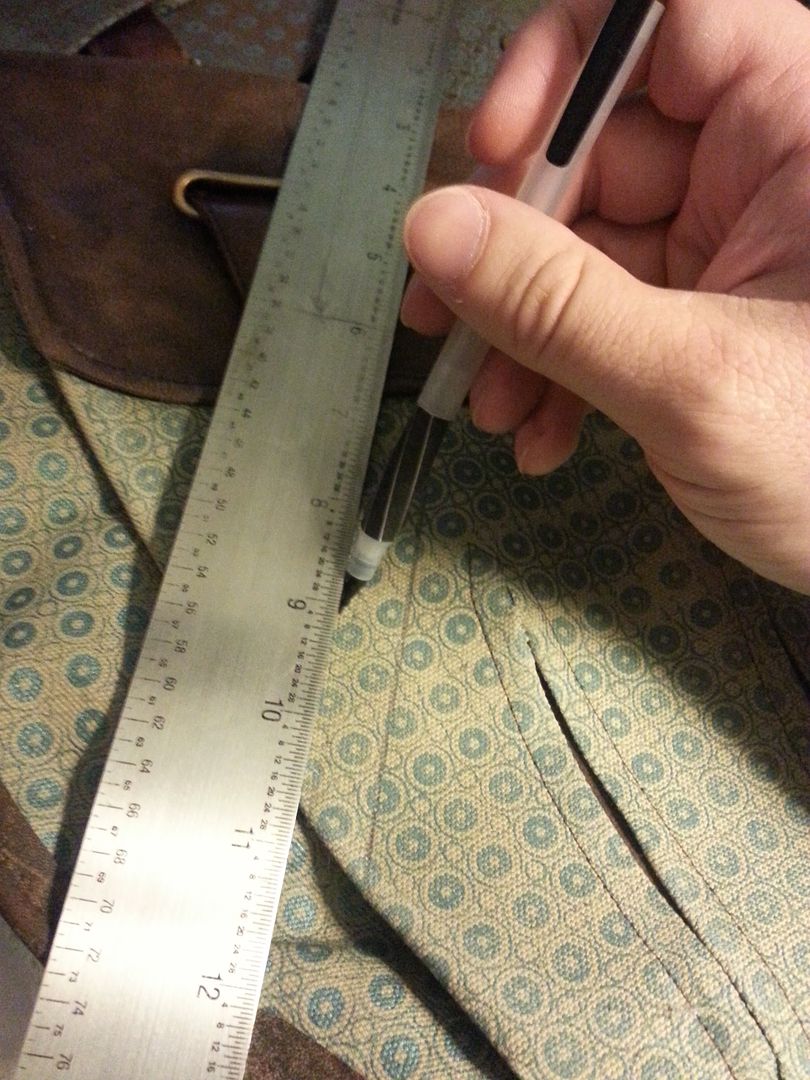
Then I darken the lines. The paint will actually pick up some of the graphite during the wash. I don't worry about being too precise. It is supposed to be a weathered beat up bag afterall
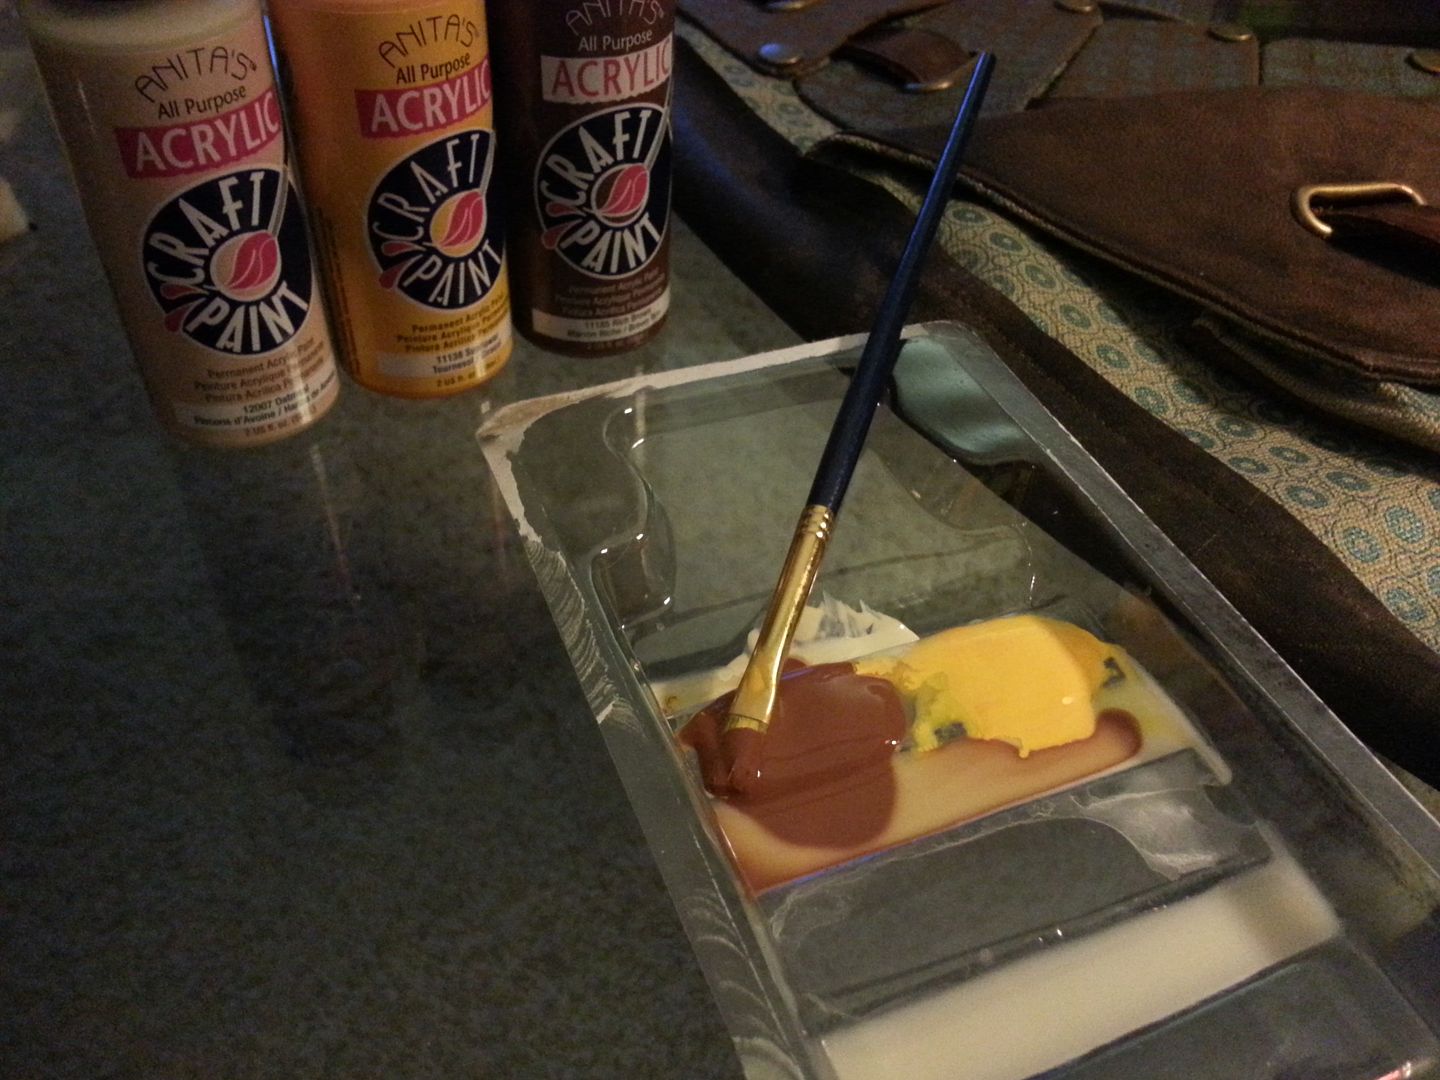
Then I cut some acrylic paint with water to lighten and ghost the pattern. This color is called "Oatmeal"
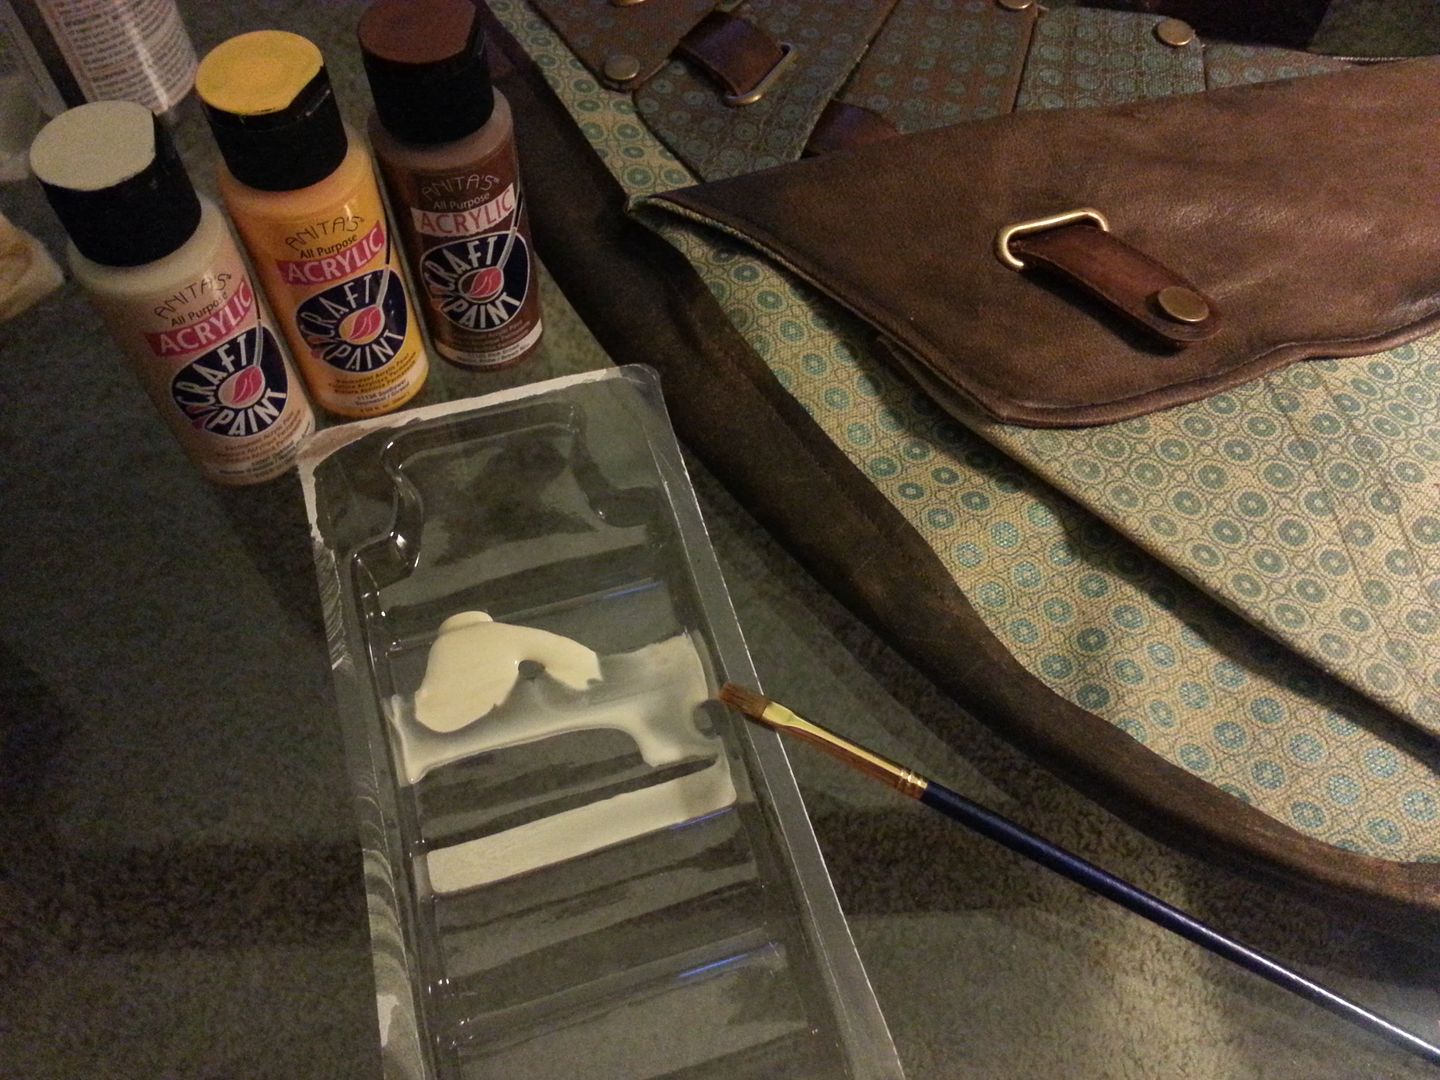
Next I go over that with a yellow called "Sunflower". It's going to look really bright when first applied.
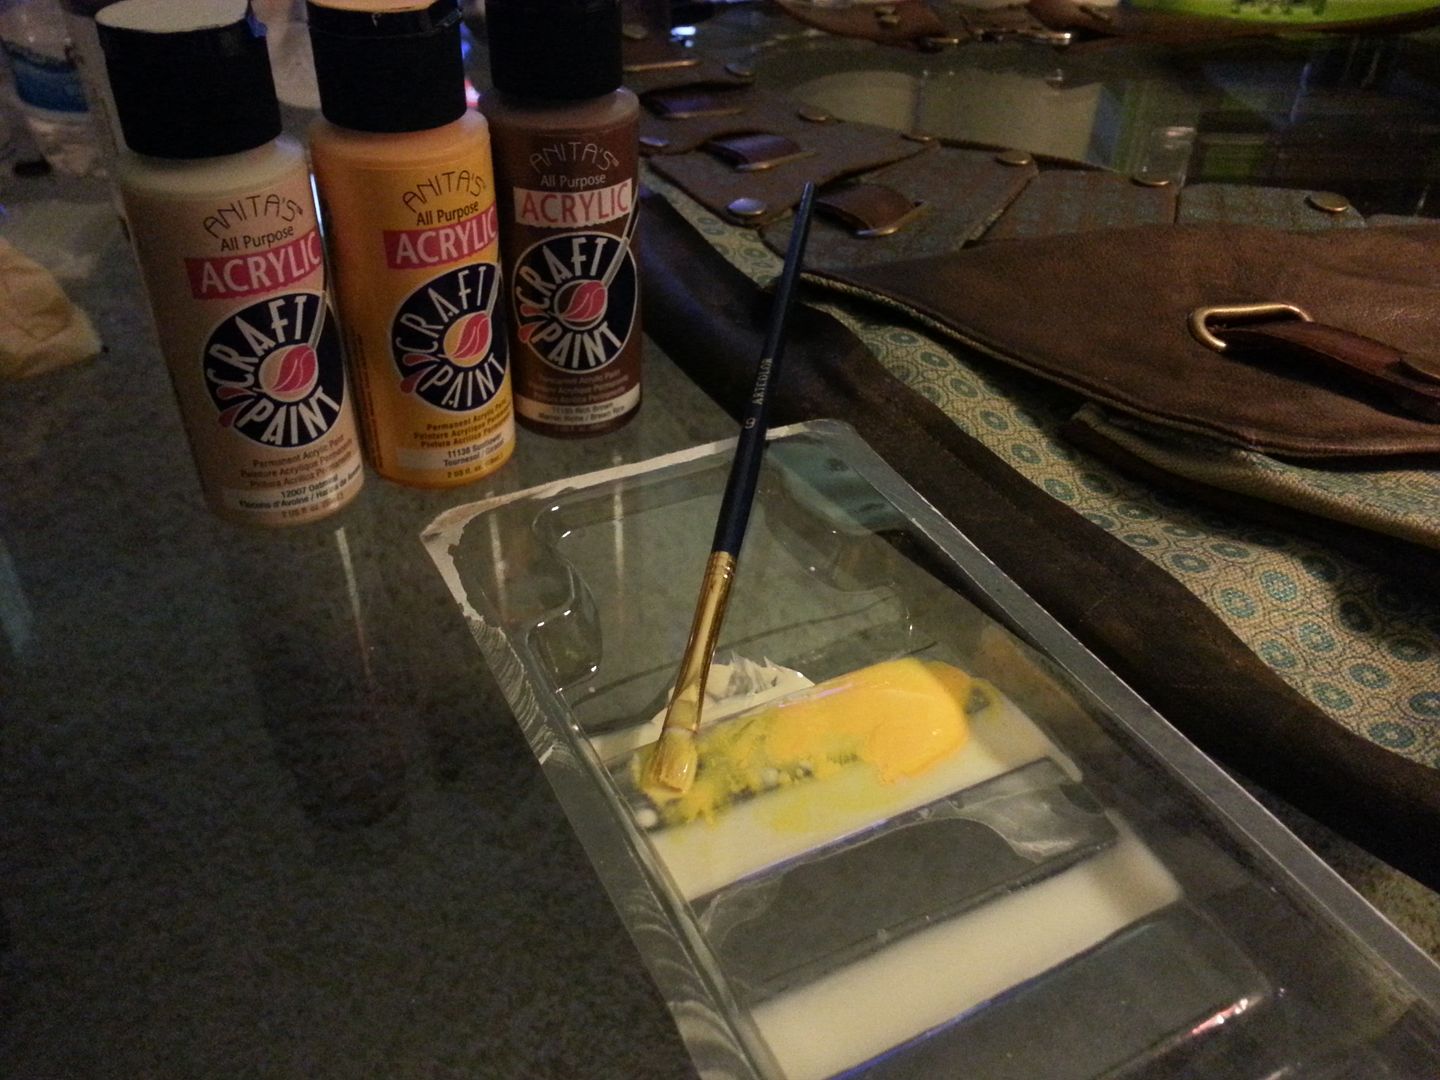
After that knock it back down with a little "Rich Brown". I mainly concentrate on the edges here.
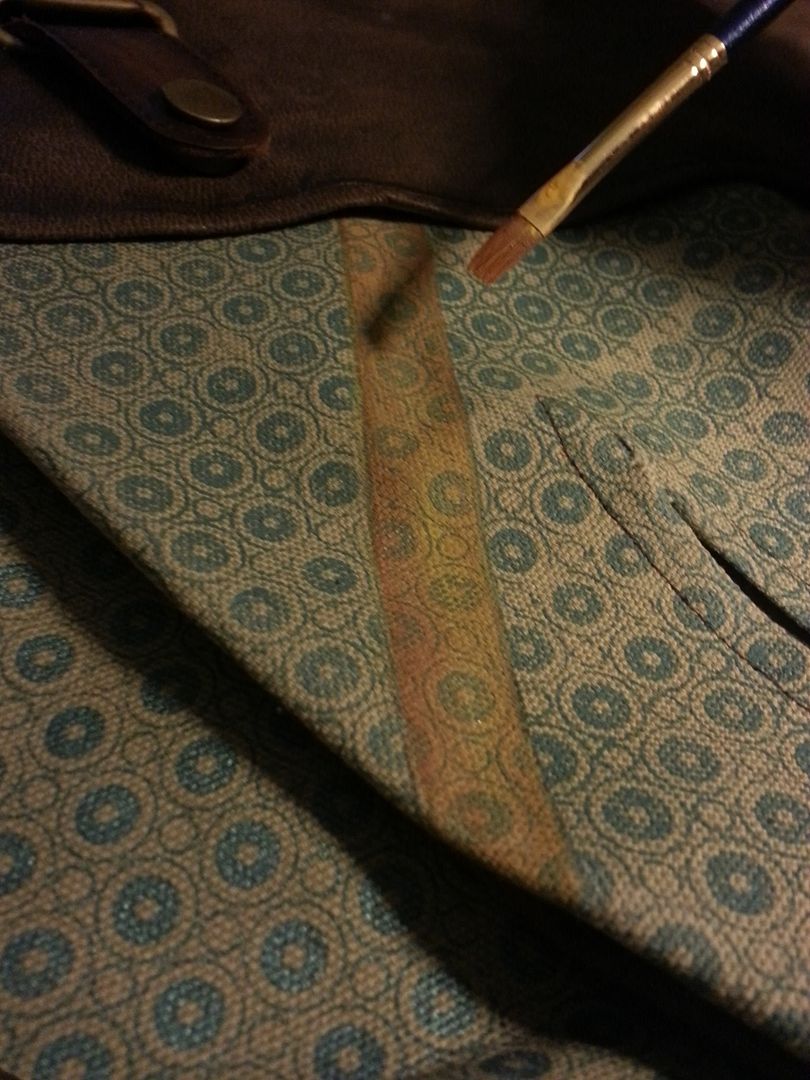
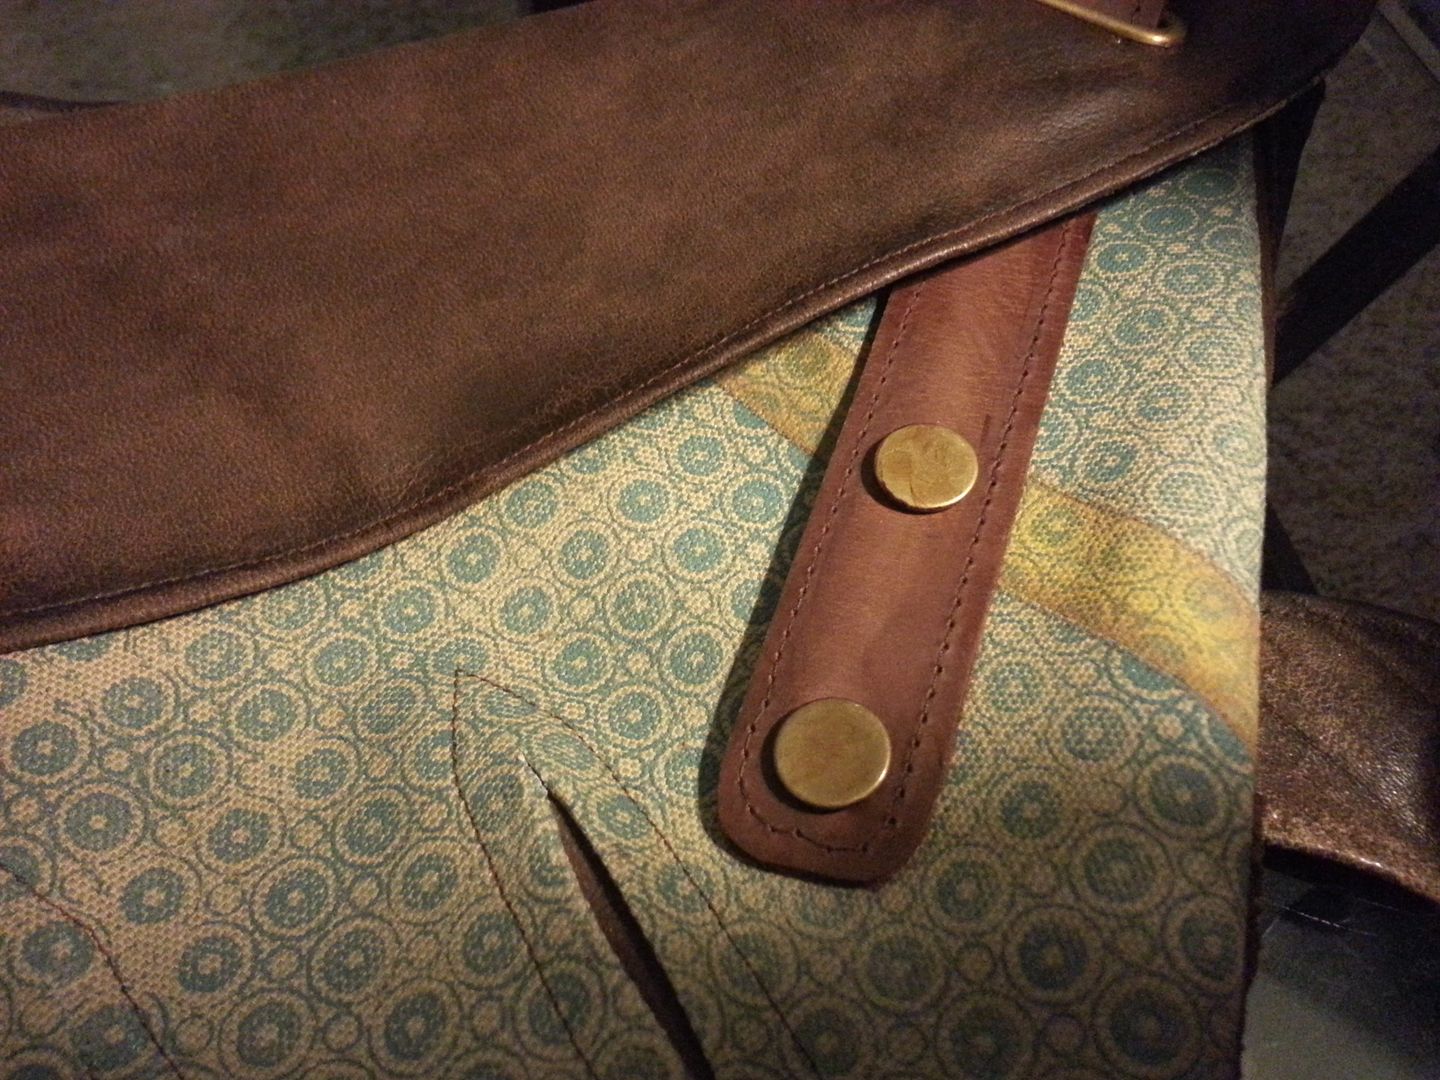
And that's all there is too it!
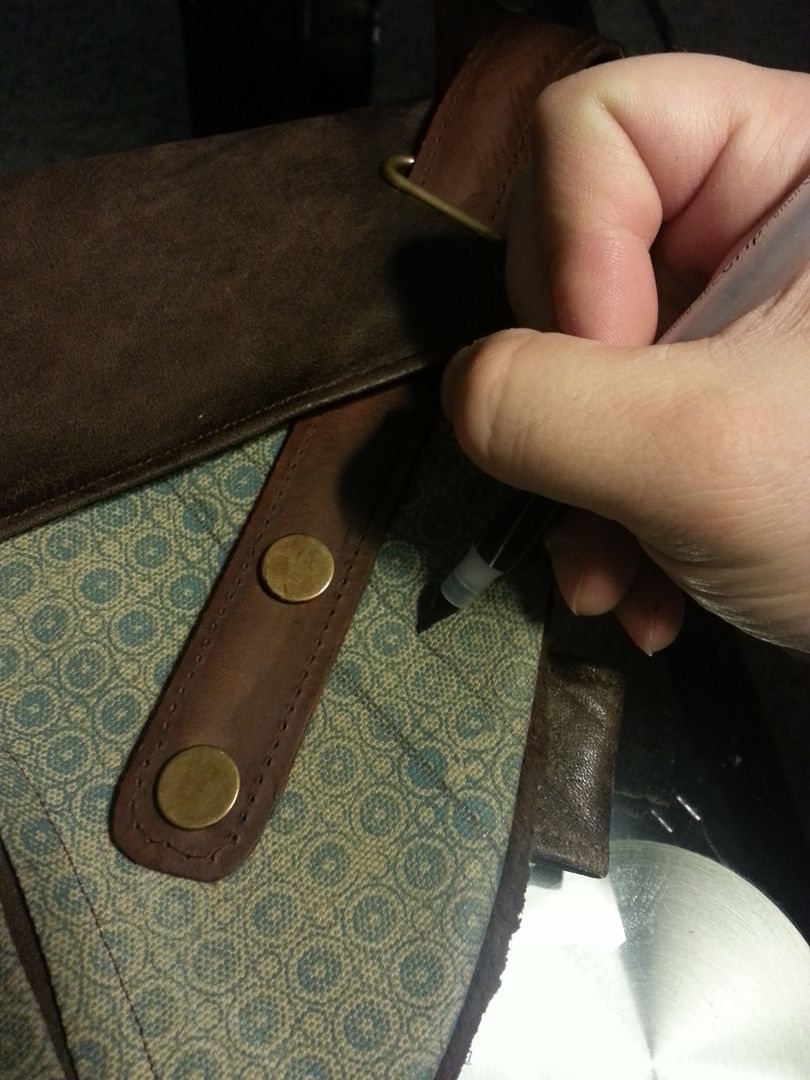
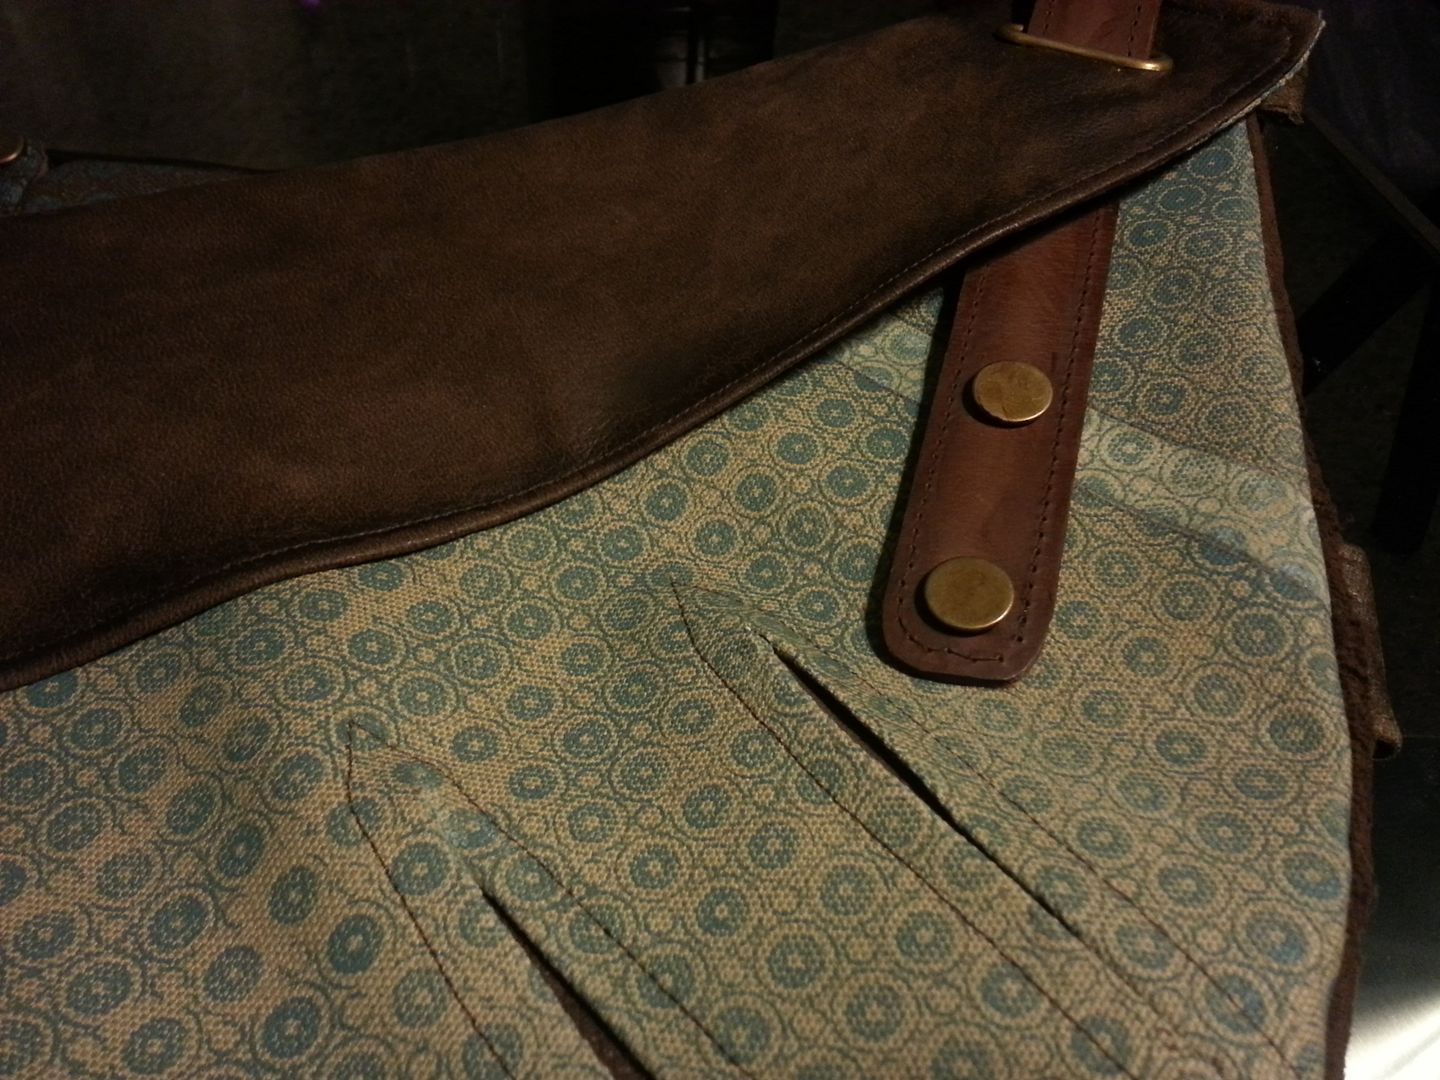
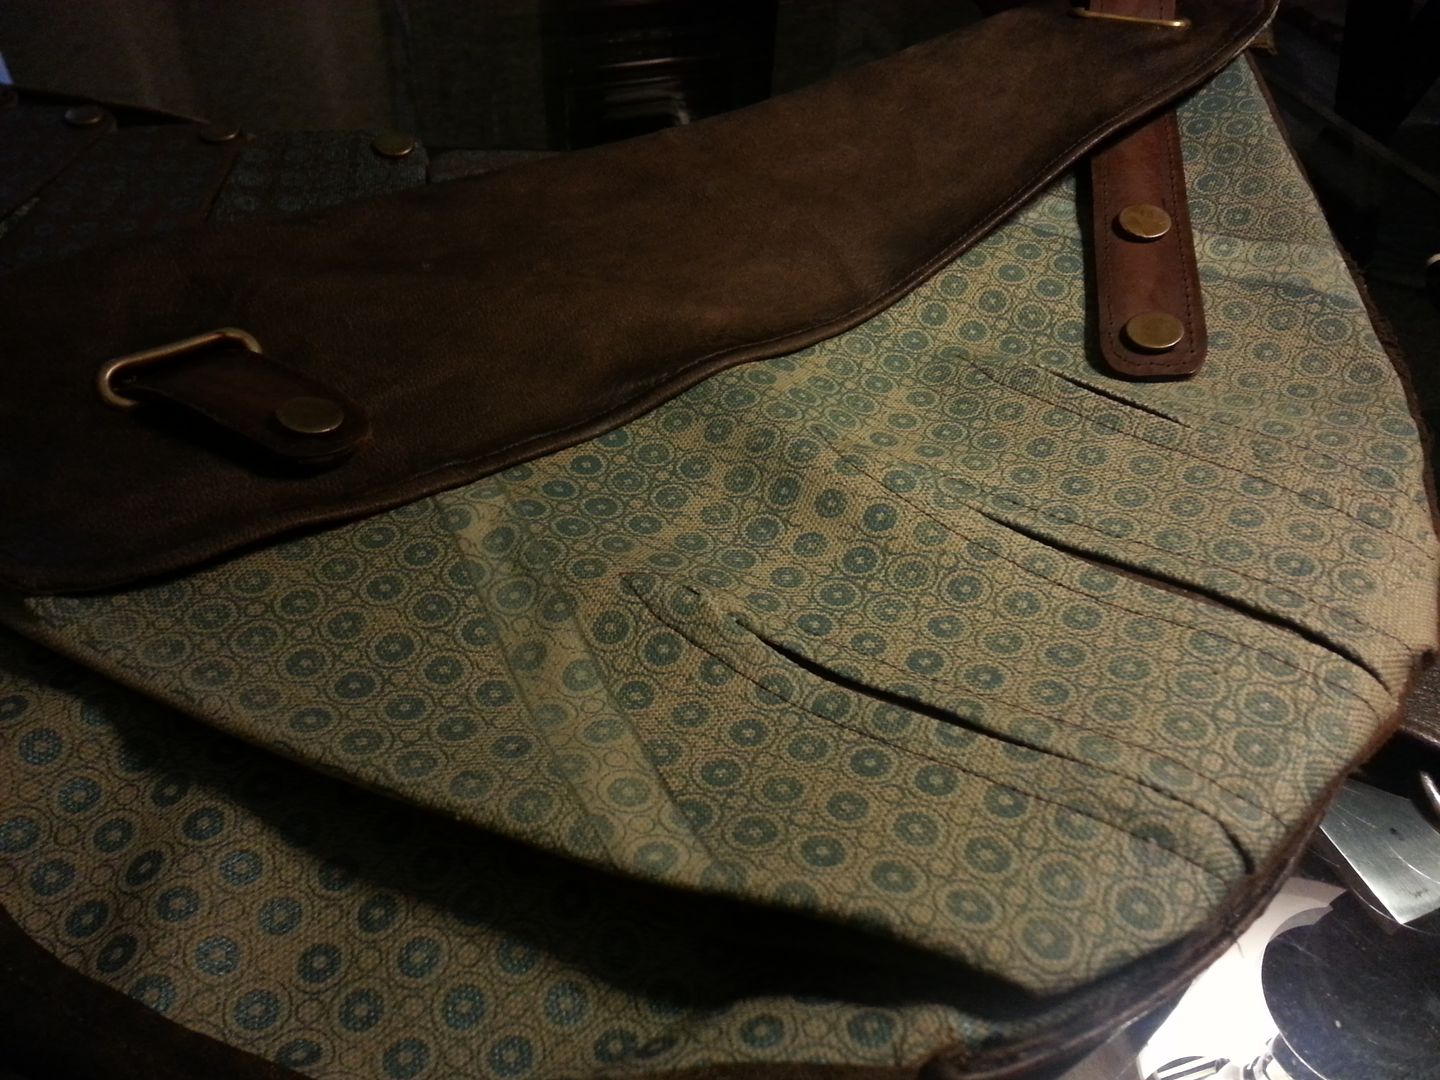
You want to make sure one stripe intersects the 2nd button on the right strap and the other stripe should have a bit of a diagonal angle that finishes just to the right of the strap on the left.
Staar Lord Maan
Well-Known Member
I would love to see how you made those gloves. Specifically, the finger 'ridges'...or did you manage to actually *find* a pair with the ridges on the fingers already? (in which case, please...share what brand, model number, store you got it at, etc...)  I made mine from two pairs of gardening gloves. Here's how they came out (SEE THREAD)
I made mine from two pairs of gardening gloves. Here's how they came out (SEE THREAD)So, after seeing the work montified did on his bags I figured I had better up my game. https://s.yimg.com/lq/i/mesg/emoticons7/3.gif
Here is the latest bag I've been working on for one of my customers:
http://i44.photobucket.com/albums/f33/GirlsofComicCon08/Mobile Uploads/20150324_083739.jpg
It's not quite finished yet......
I would love to see how you made those gloves. Specifically, the finger 'ridges'...or did you manage to actually *find* a pair with the ridges on the fingers already? (in which case, please...share what brand, model number, store you got it at, etc...)
Nice job on those Maan :thumbsup
I used a base glove to make these. But you wouldn't even recognize it with the amount of modifications I've done. Here is a diagram I put together to explain the various features:
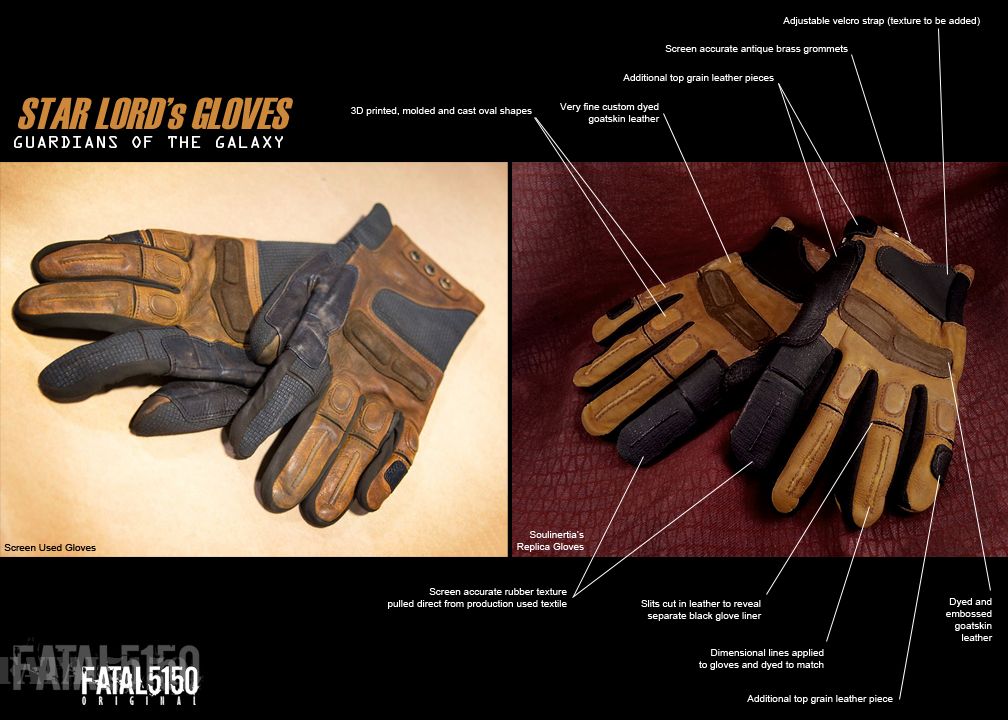
This is just my prototype pair. Much of the stitching is simply drawn on. For my final production run though I'll be adding real stitching wherever possible and there are a few other design changes I have in mind to make them even more screen accurate.
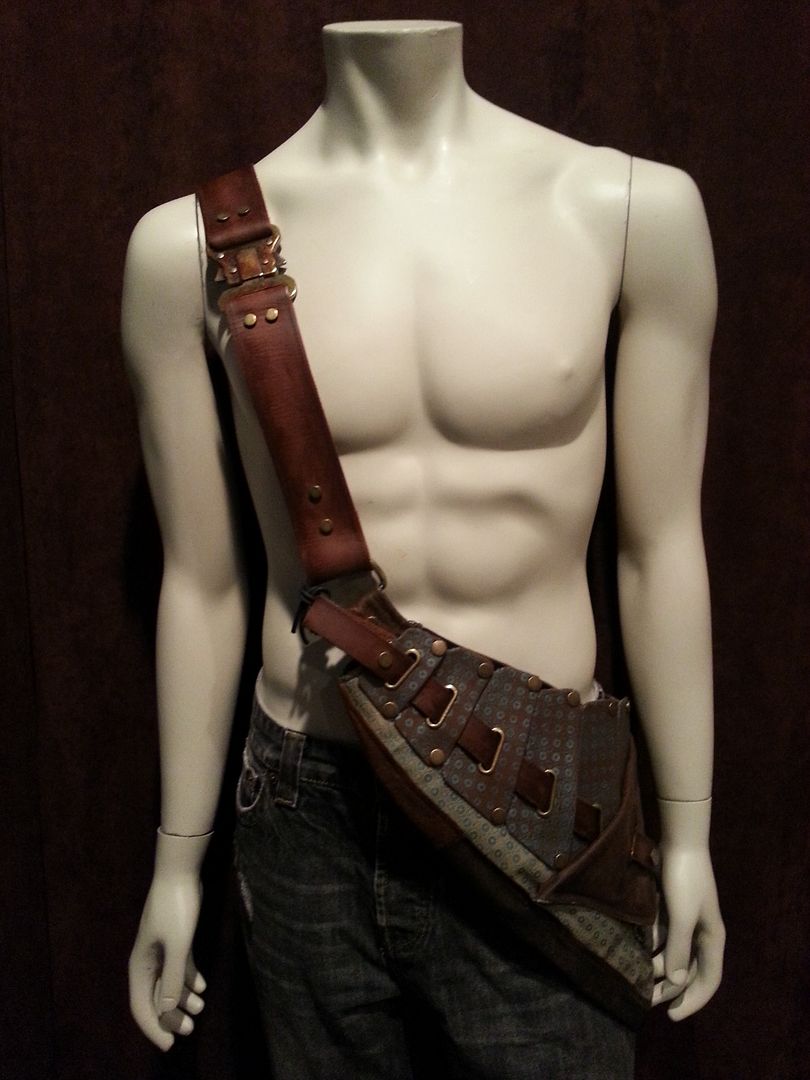
This one is finally finished! Shipping off to Germany today.
Looks awesome my man! Hope mine turns out just as good Once I start it.
I've still got leather panels available if anyone is still tackling their own bag
How are people attaching the trapezoid parts to the bag?
I use a combination of Spray Mount and E6000 along with the claw rivets to attach it to a leather backer piece that gets sewn into the bag.
FanBoyBrandon
New Member
This one is finally finished! Shipping off to Germany today.
http://i44.photobucket.com/albums/f33/GirlsofComicCon08/Mobile Uploads/20150406_011655.jpg
http://i44.photobucket.com/albums/f33/GirlsofComicCon08/Mobile Uploads/20150406_011710.jpg
http://i44.photobucket.com/albums/f33/GirlsofComicCon08/Mobile Uploads/20150406_012109.jpg
http://i44.photobucket.com/albums/f33/GirlsofComicCon08/Mobile Uploads/20150406_012736.jpg
http://i44.photobucket.com/albums/f33/GirlsofComicCon08/Mobile Uploads/20150406_013218.jpg
http://i44.photobucket.com/albums/f33/GirlsofComicCon08/Mobile Uploads/20150406_012820.jpg
http://i44.photobucket.com/albums/f33/GirlsofComicCon08/Mobile Uploads/20150406_013701.jpg
http://i44.photobucket.com/albums/f33/GirlsofComicCon08/Mobile Uploads/20150406_013751.jpg
http://i44.photobucket.com/albums/f33/GirlsofComicCon08/Mobile Uploads/20150406_013828.jpg
How do I order one of these bad boys from you!!?
Staar Lord Maan
Well-Known Member
Are you referring to the back panel and forward flap? email me re/price? Thx!
I've still got leather panels available if anyone is still tackling their own bag
How do I order one of these bad boys from you!!?
PM sent!
dakotajoe
New Member
Soulinertia Well, this is as far as I got before the con. not bad for two days of work. I put a zippered pocket on the inside of the bag between the larger pocket and the flapped pocket to hold my cellphone and wallet. Still need to add the last bits of hardware I don't have and the faded looking stripes but I am very happy over all with the bag.
I put a zippered pocket on the inside of the bag between the larger pocket and the flapped pocket to hold my cellphone and wallet. Still need to add the last bits of hardware I don't have and the faded looking stripes but I am very happy over all with the bag.
Last edited by a moderator:
That turned out really nice dakotajoe. :thumbsup
- - - Updated - - -
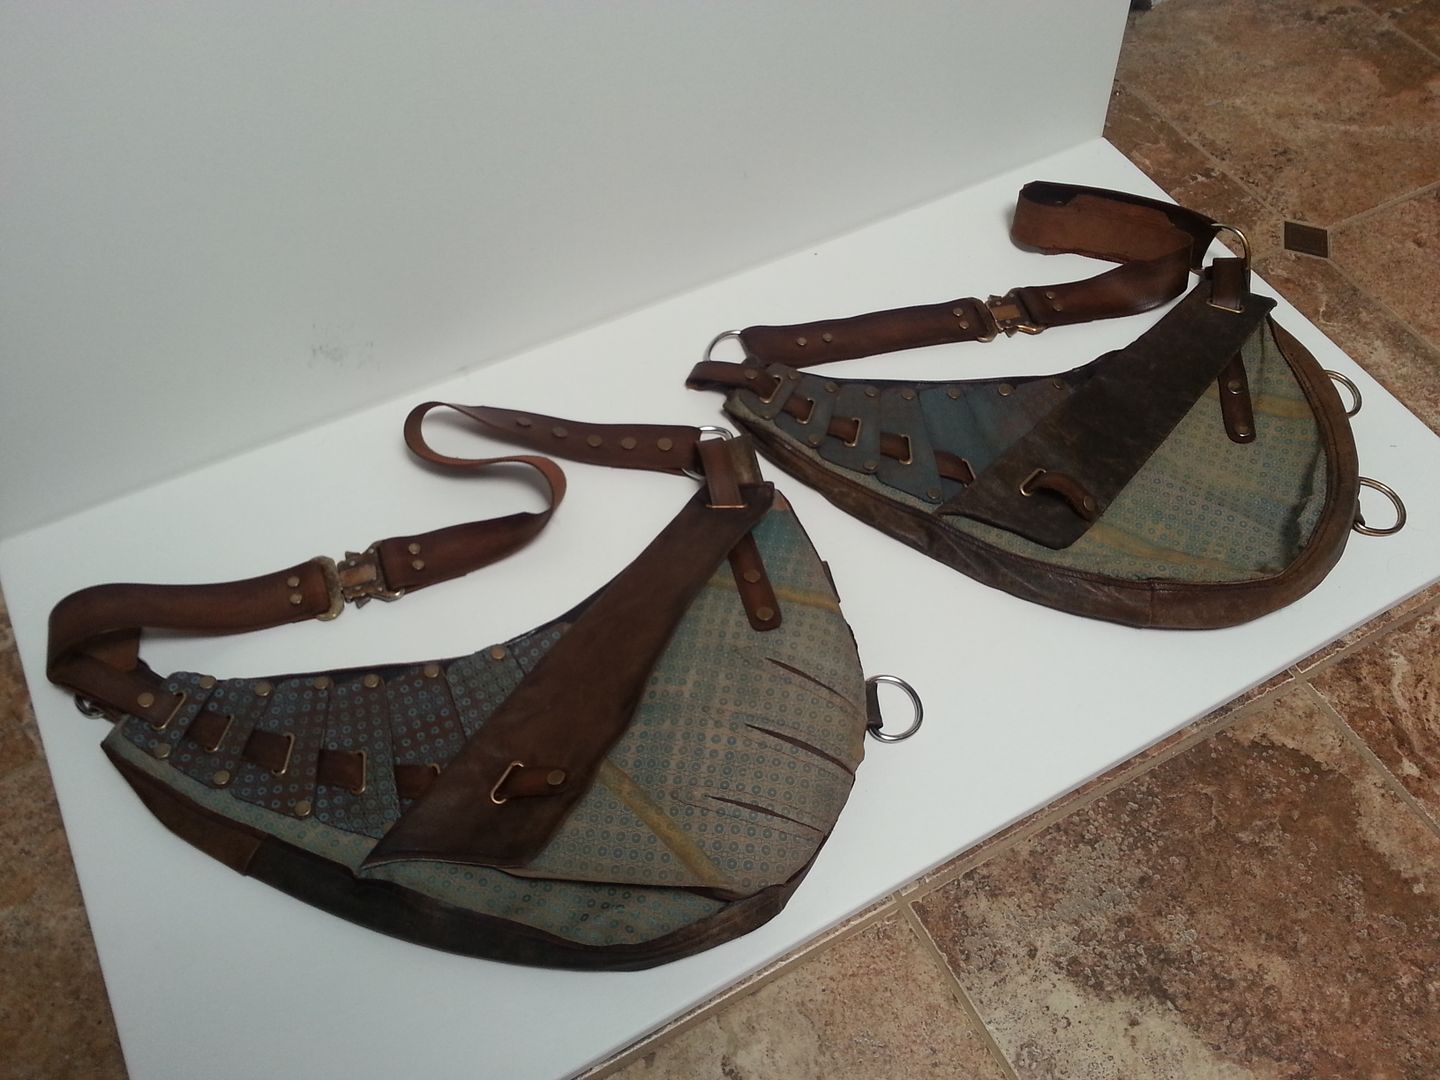
I've started a few new bags myself:
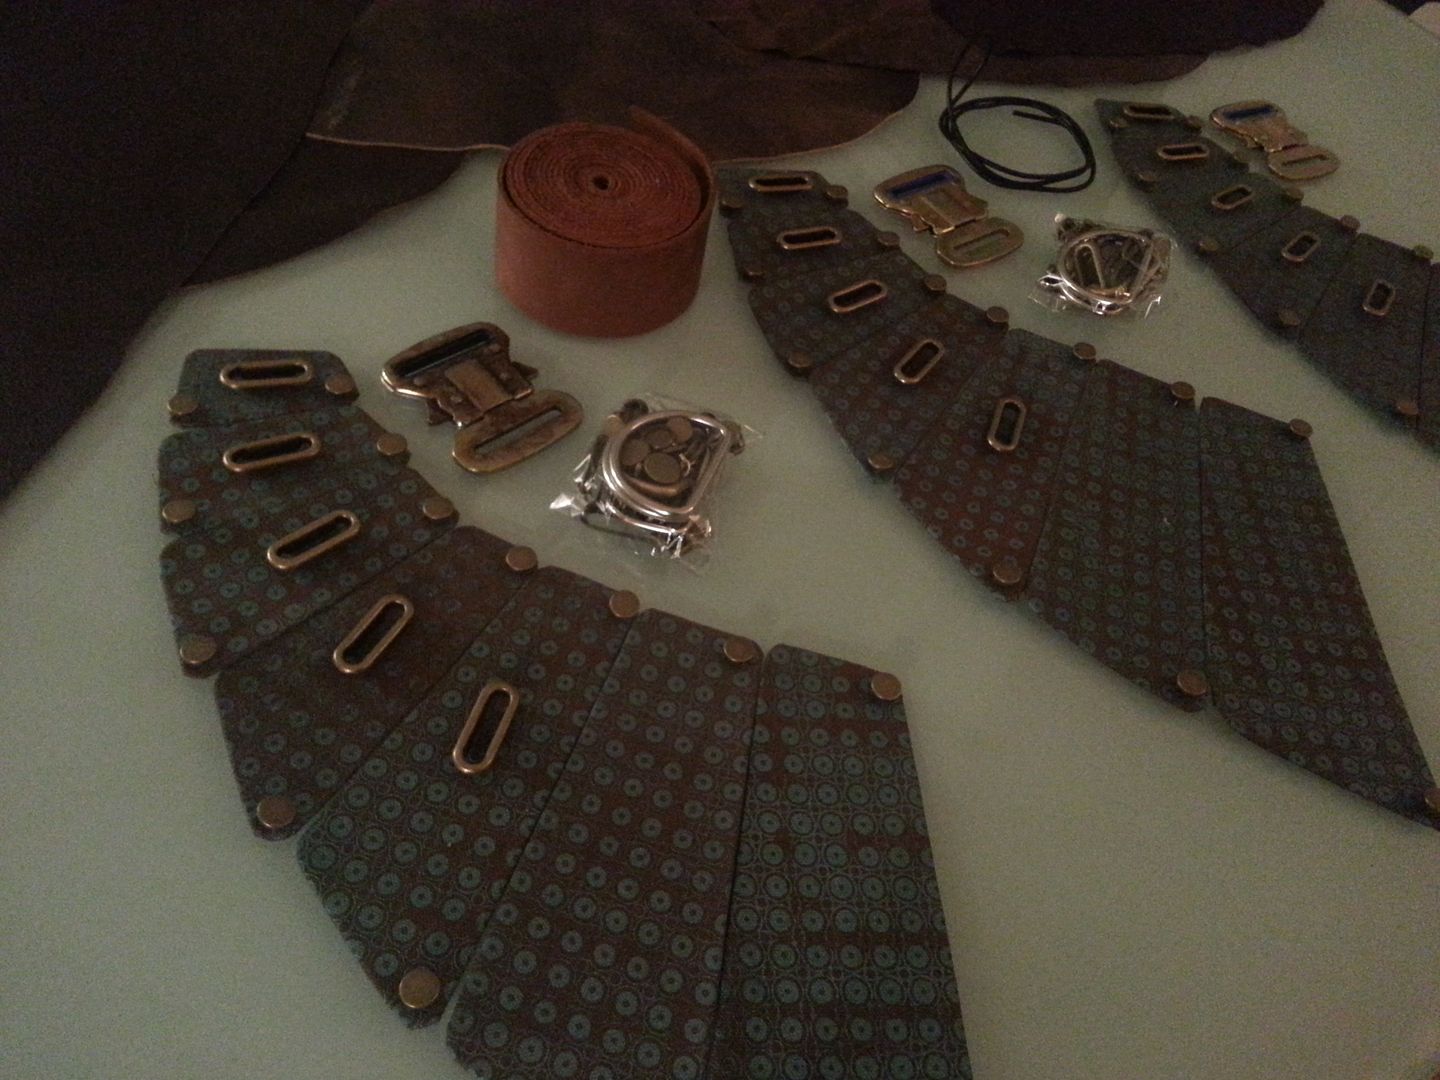
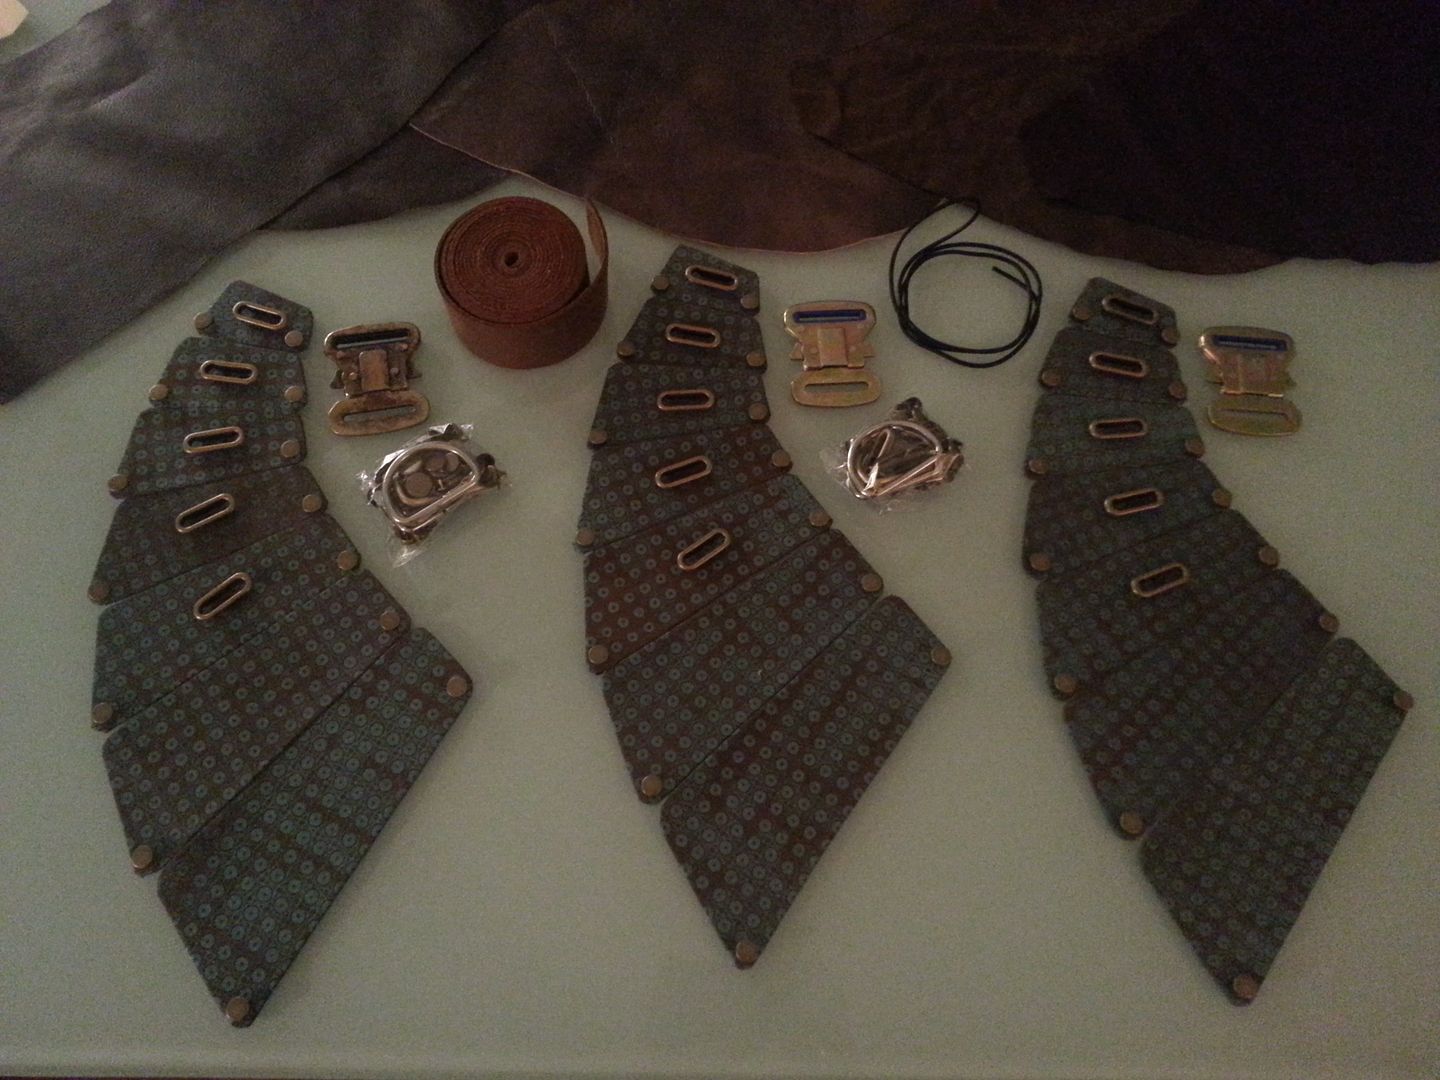
- - - Updated - - -
I've started a few new bags myself:
Didn't realize I never posted my final bag here!
Staar Lord Maan
Well-Known Member
Hey Soulinertia, did you get my paypal? Thanks!
That turned out really nice dakotajoe. :thumbsup
- - - Updated - - -
I've started a few new bags myself:
http://i44.photobucket.com/albums/f33/GirlsofComicCon08/Mobile Uploads/20150611_005156.jpg
http://i44.photobucket.com/albums/f33/GirlsofComicCon08/Mobile Uploads/20150611_005121.jpg
Similar threads
- Replies
- 3
- Views
- 976
- Replies
- 0
- Views
- 682
- Replies
- 0
- Views
- 1,222
- Replies
- 8
- Views
- 3,327