You are using an out of date browser. It may not display this or other websites correctly.
You should upgrade or use an alternative browser.
You should upgrade or use an alternative browser.
1:1 Millennium Falcon Cockpit Replica - Group Build
- Thread starter SteveStarkiller
- Start date
Hi Gang,
Just a quick morning update...
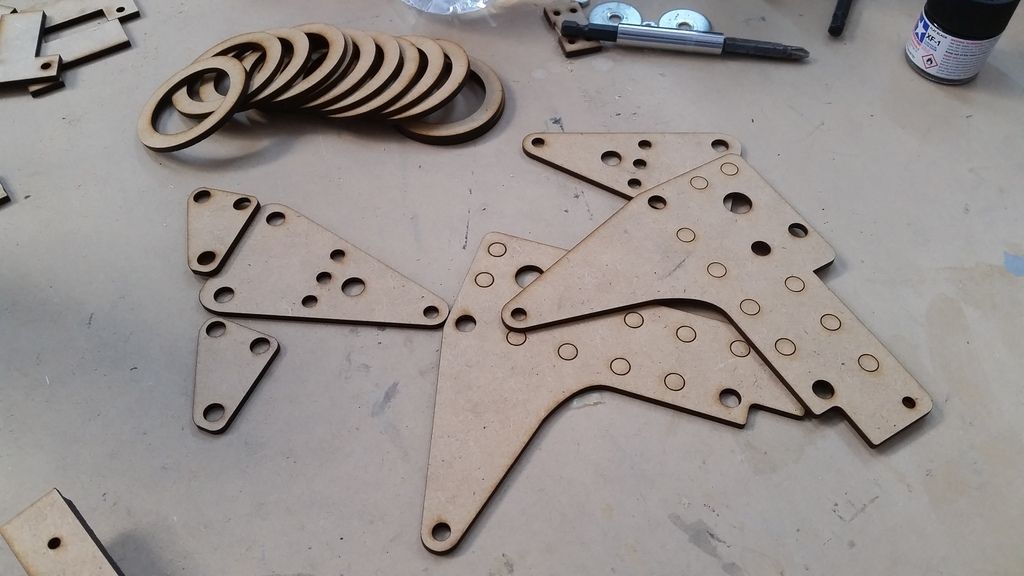
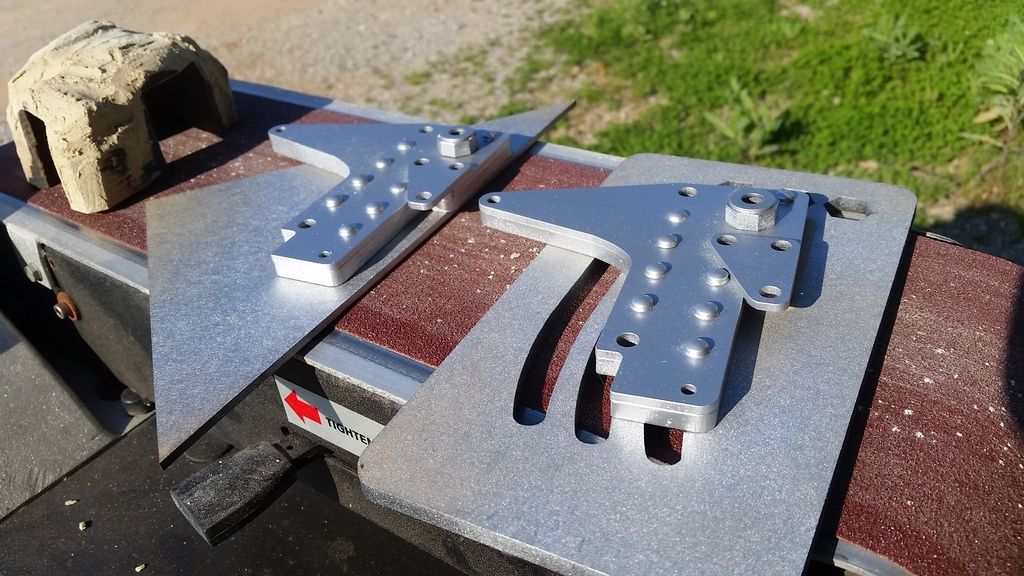
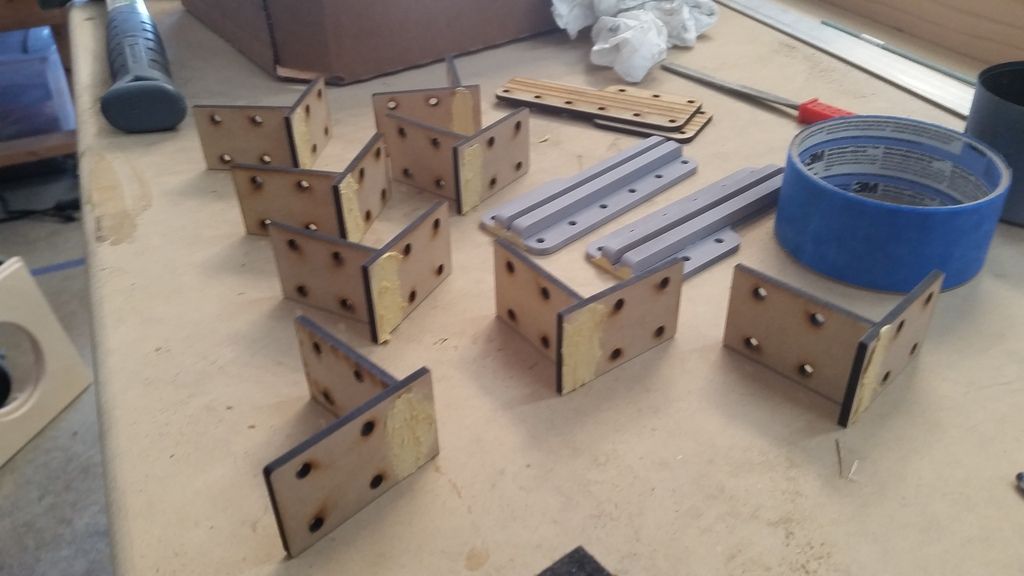
I re-designed and cut these pieces
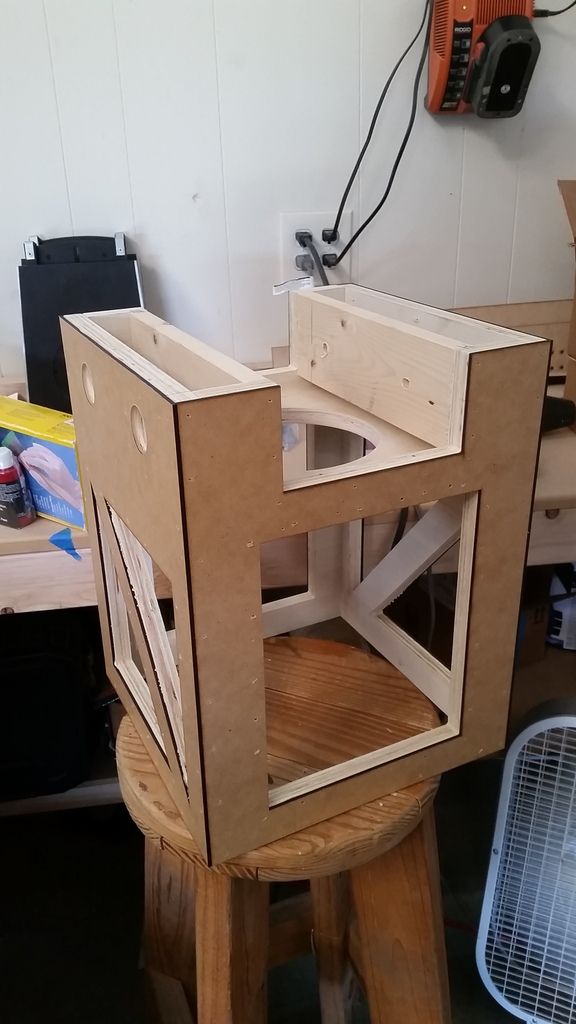
Skinned another pedestal
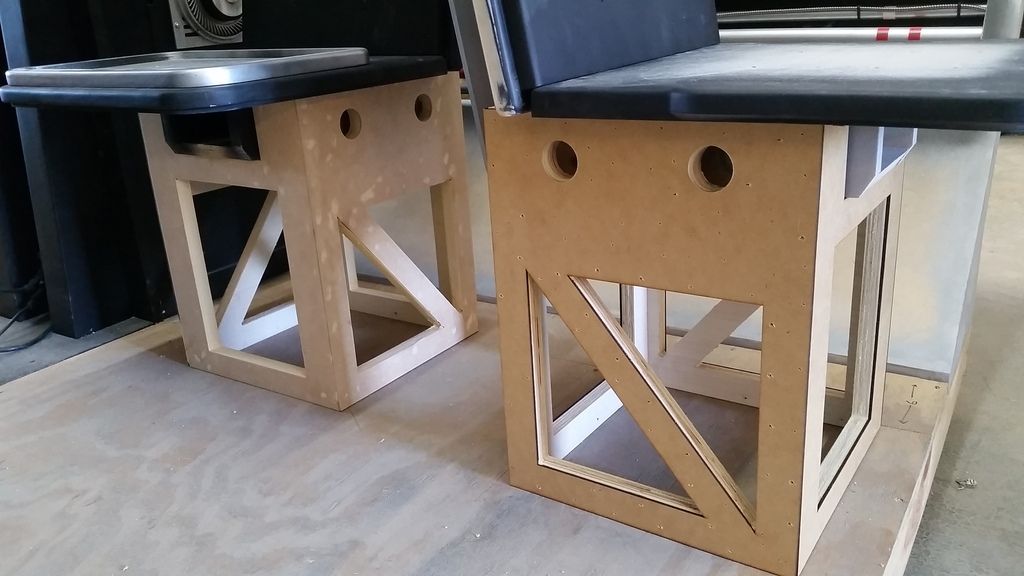
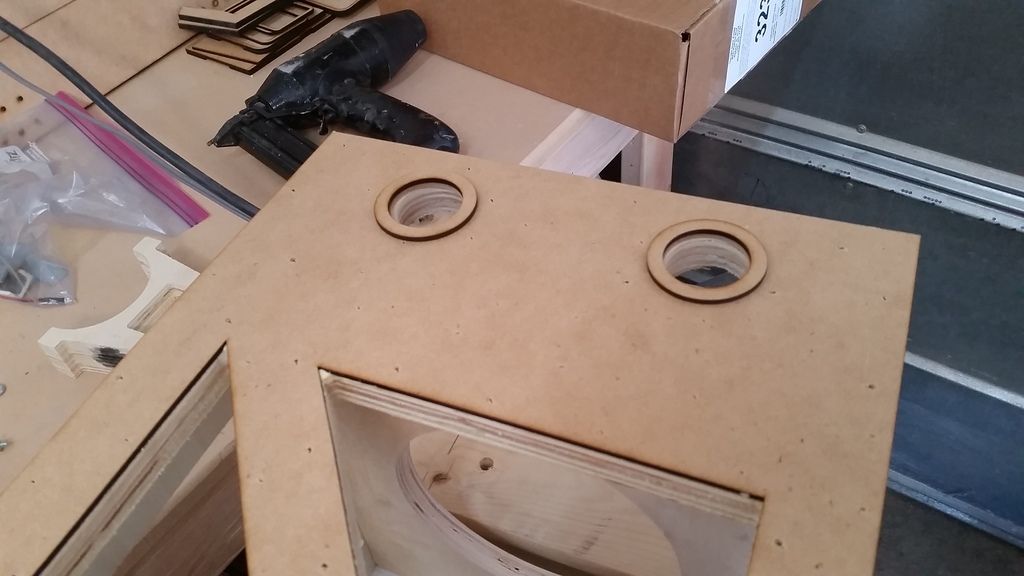
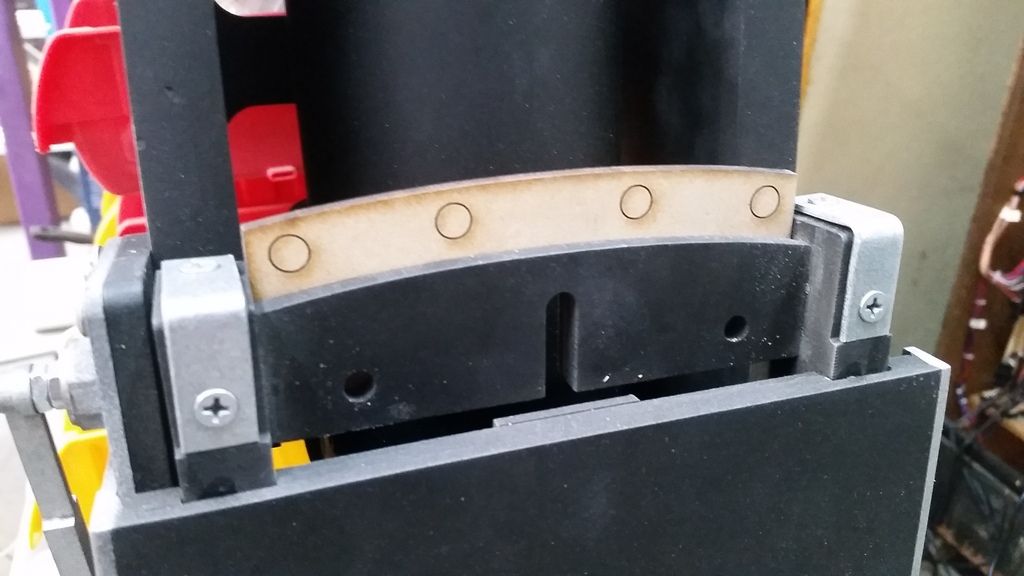
The circles I laser cut will simply cover the edges of the holes
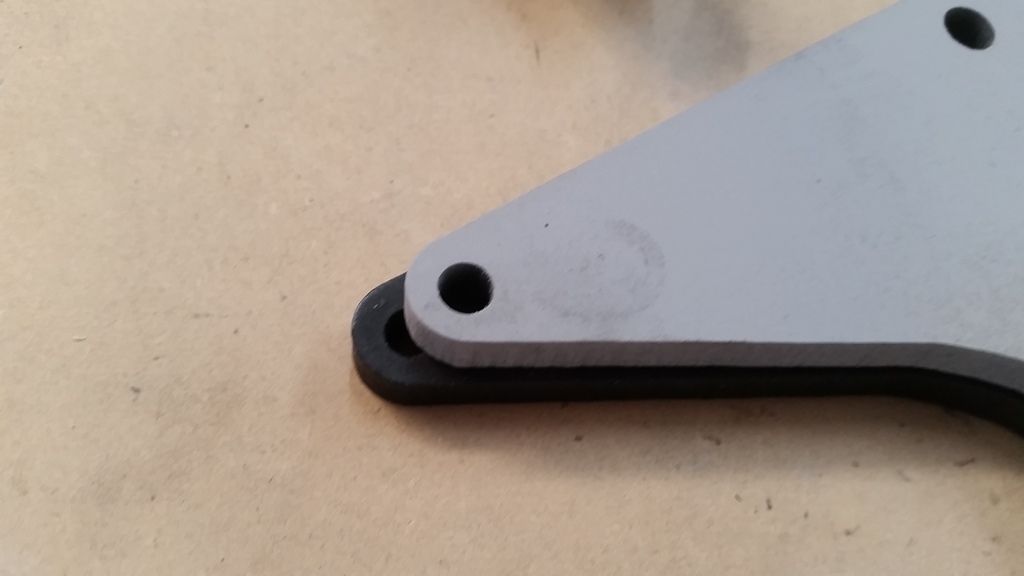
I cut new backer plates
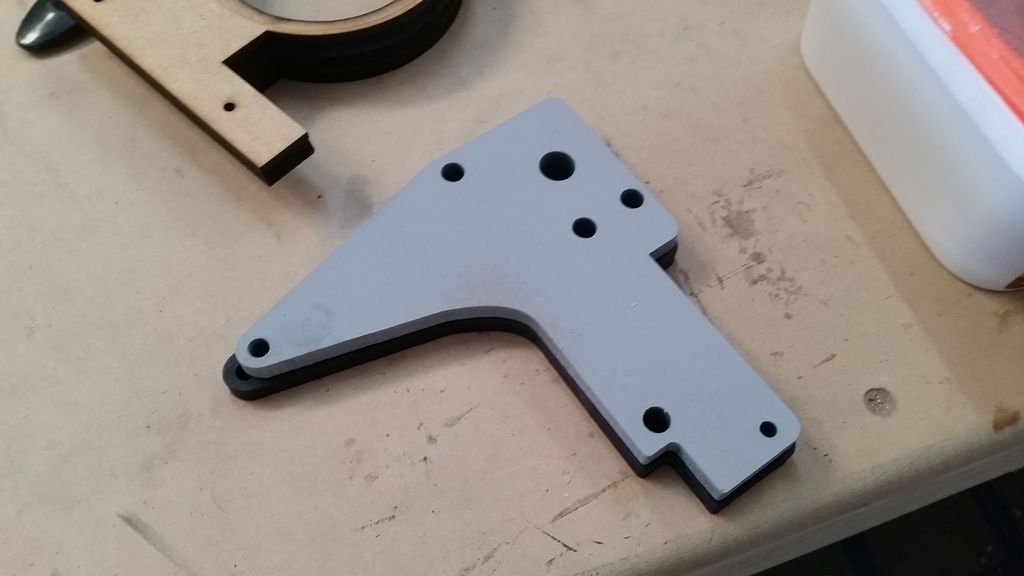
Slightly shorter
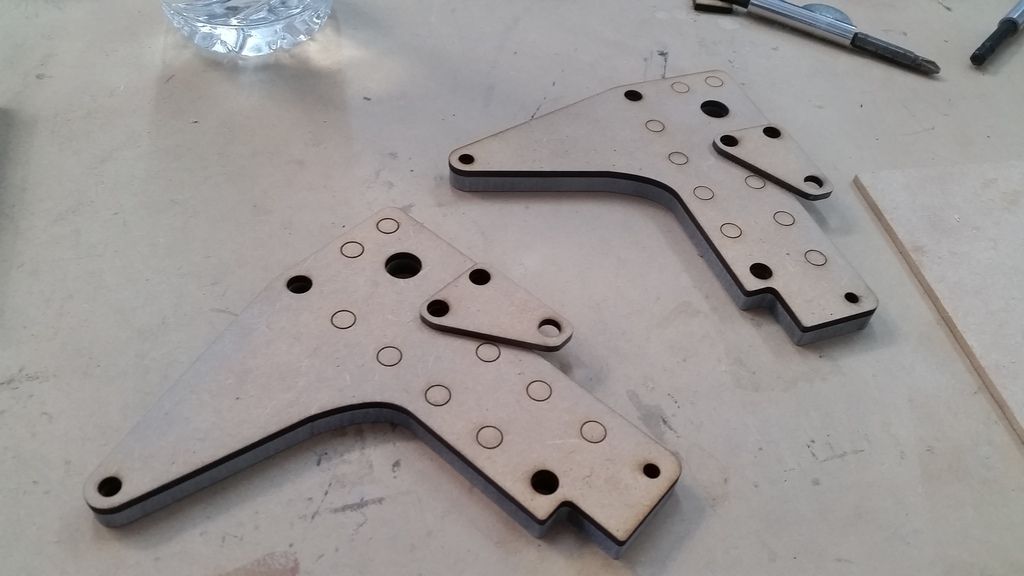
Let's adhere everything together
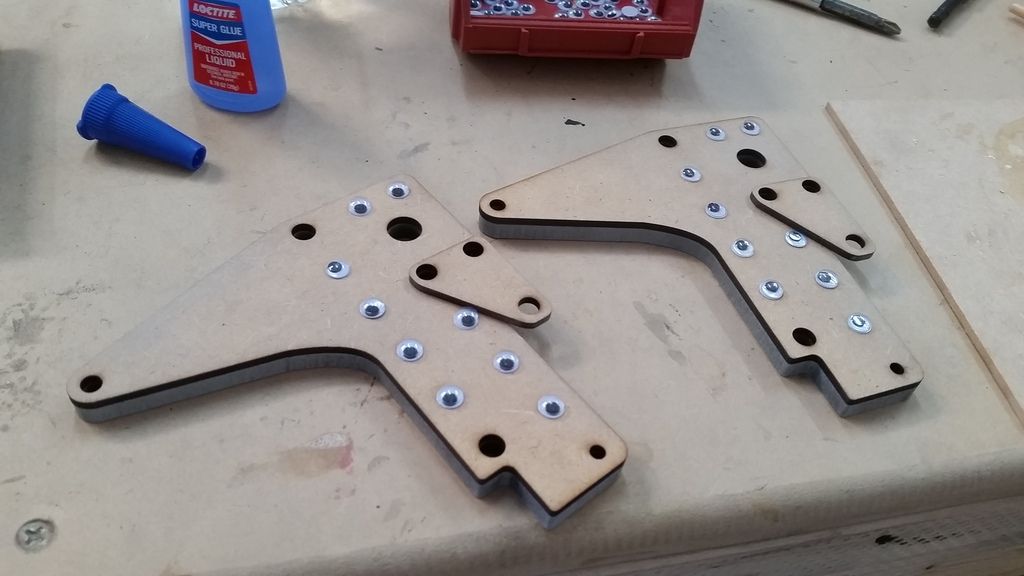
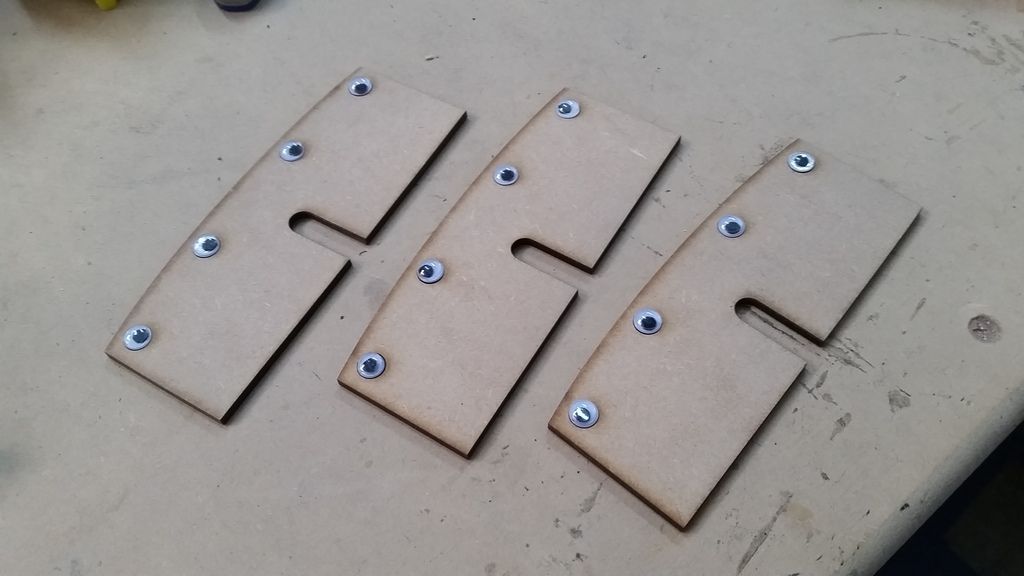
Add some eyeballs
Add some primer
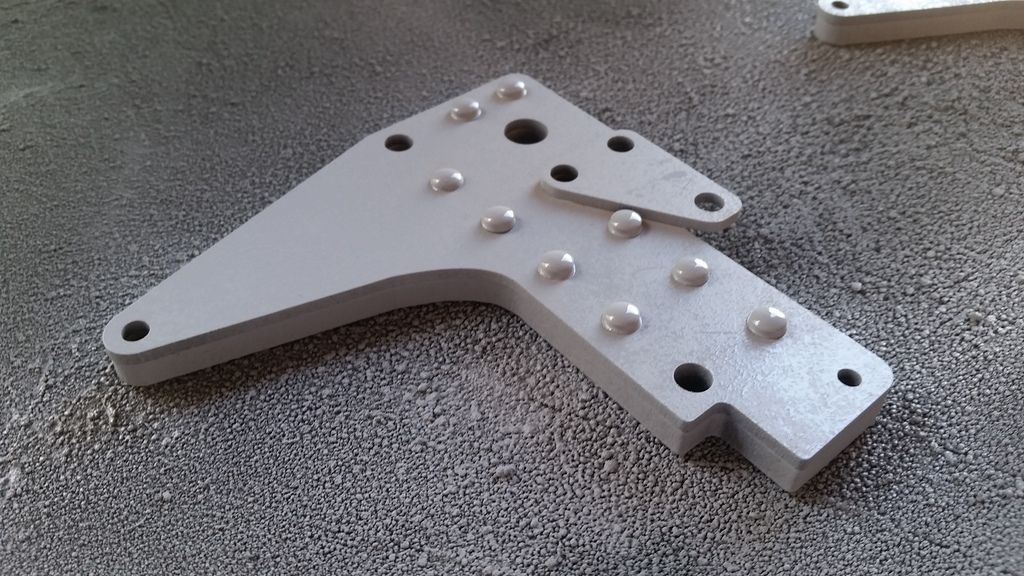
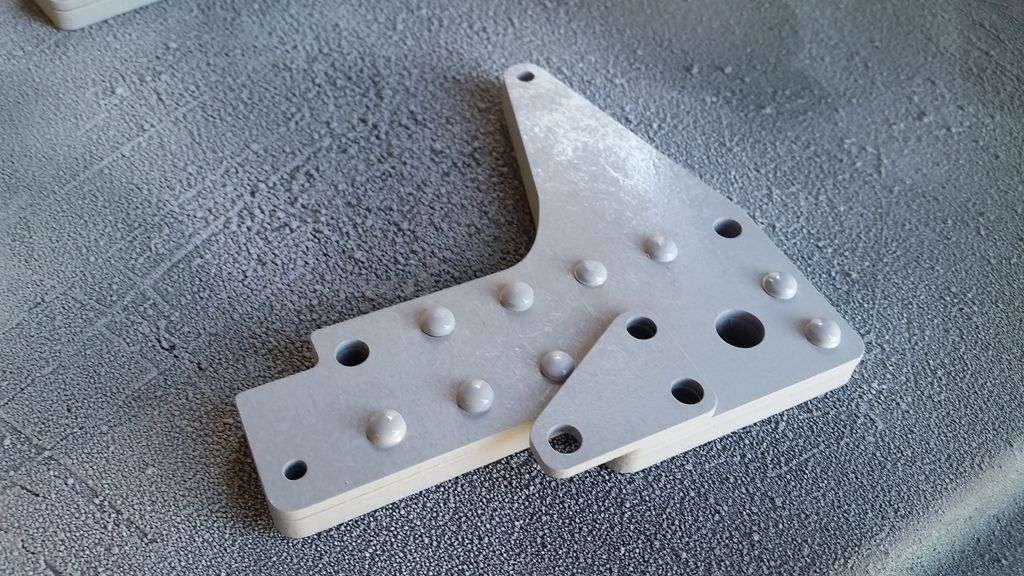
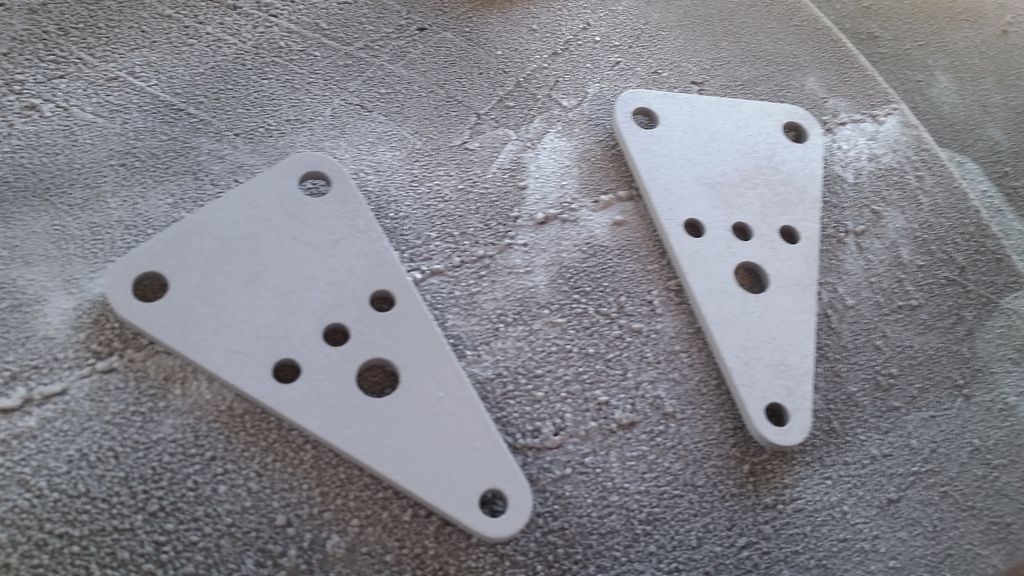
I wound up having to recut these - anther ugh moment
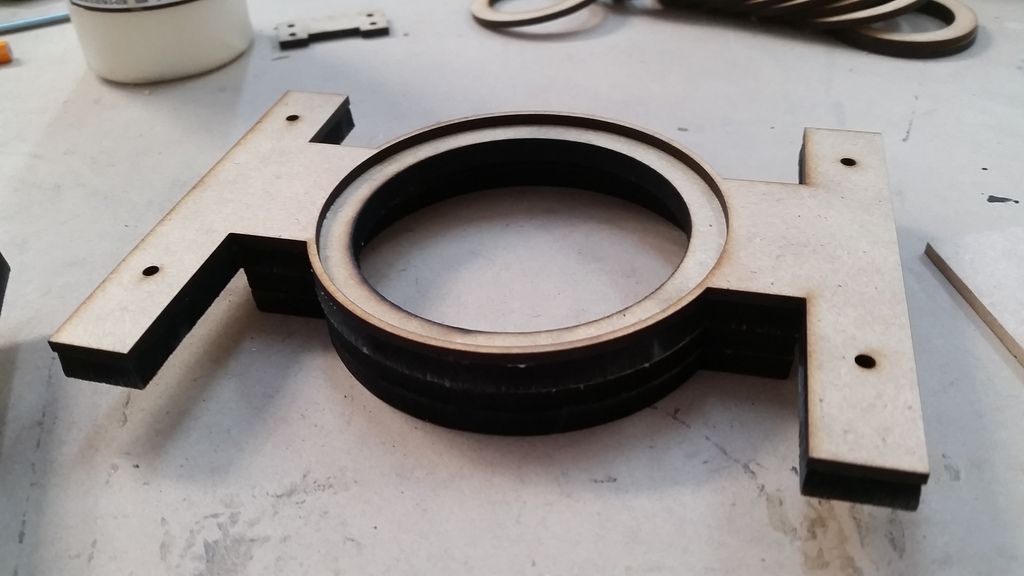
More sanding and filling on other misc panels
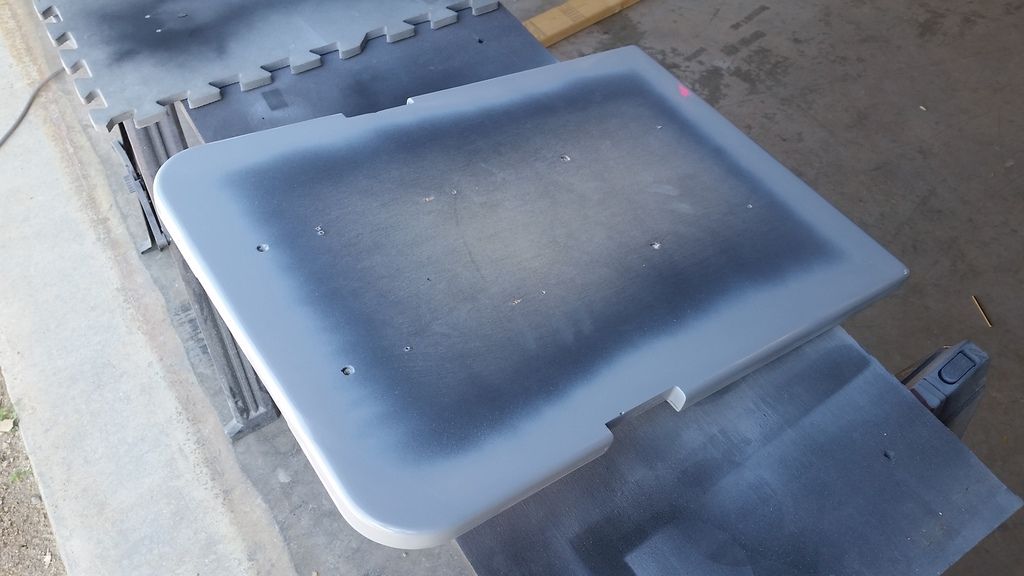
Fixing cracks
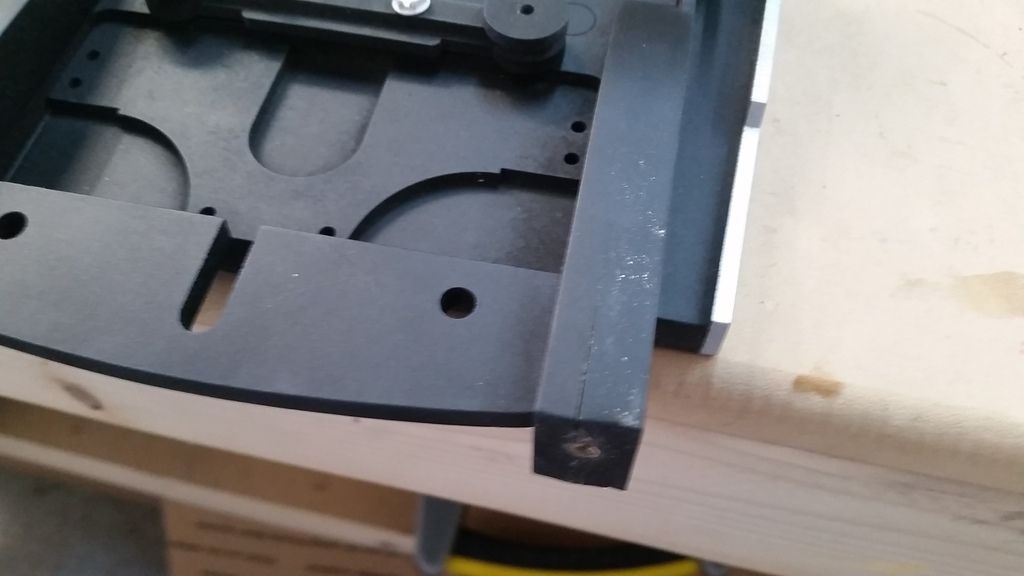
No matter the steps you take you always find small errors!
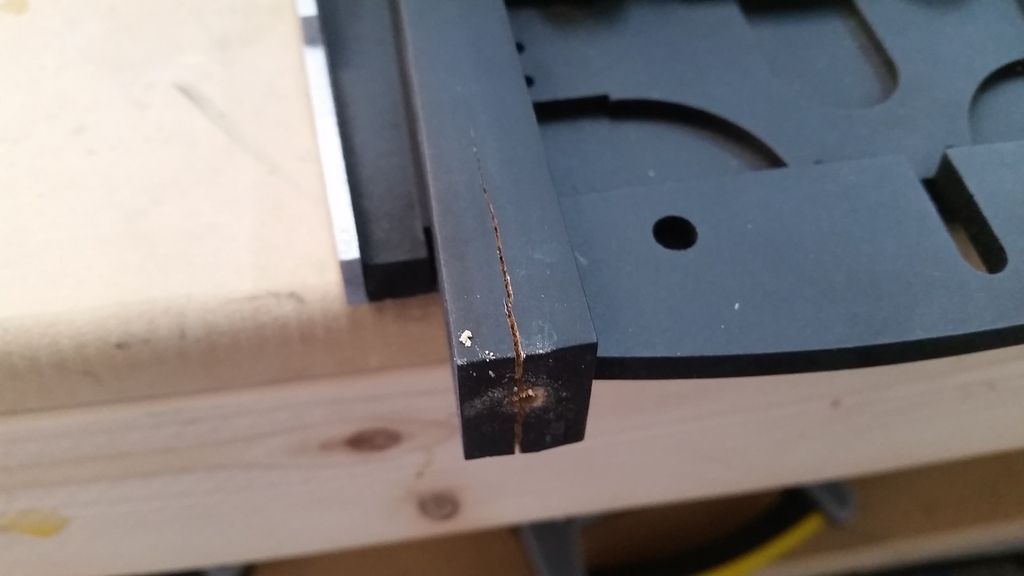
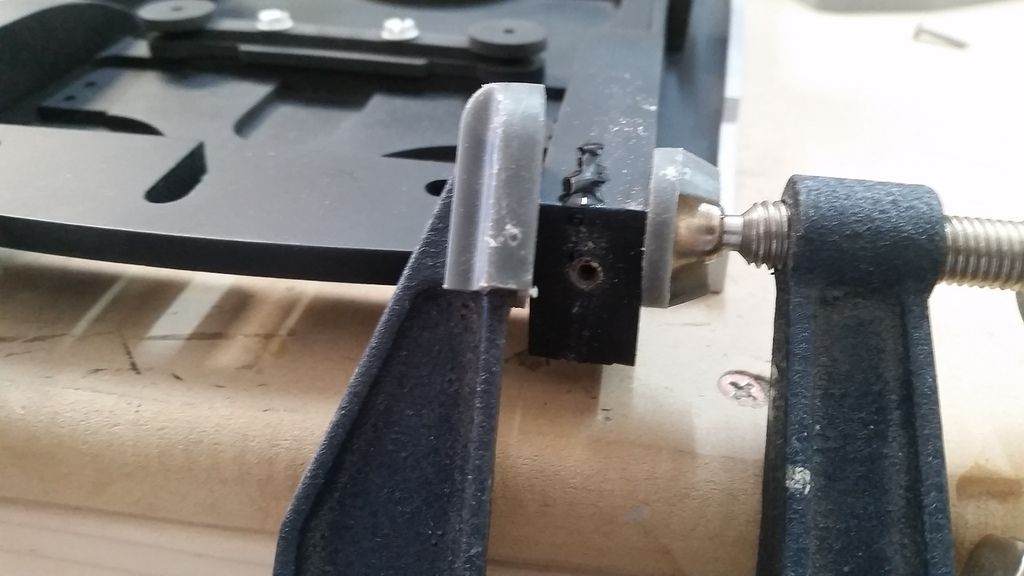
:facepalm
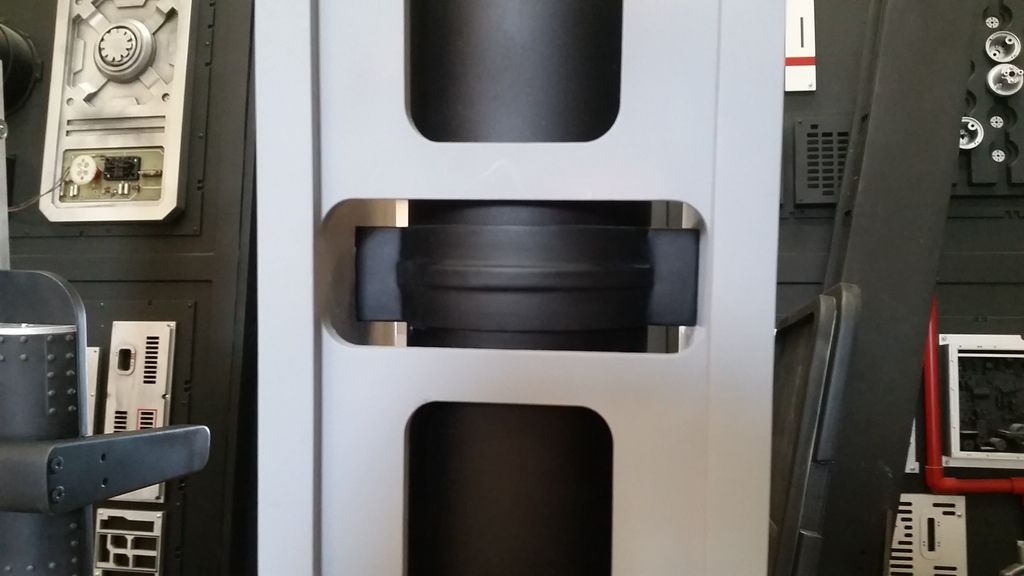
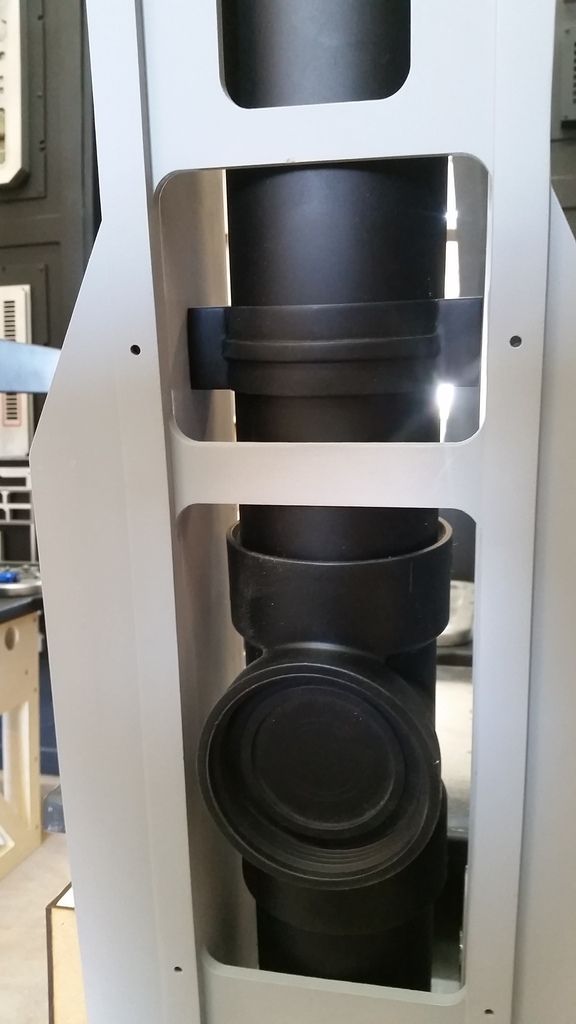
I then adhered these beauty rings in place
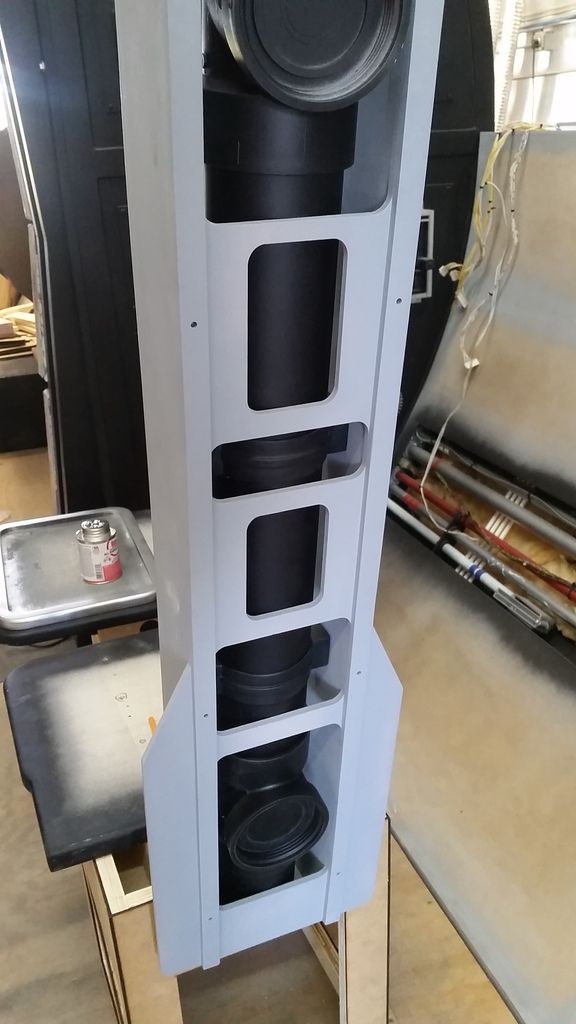
I thought this was a cool pic with the sunlight
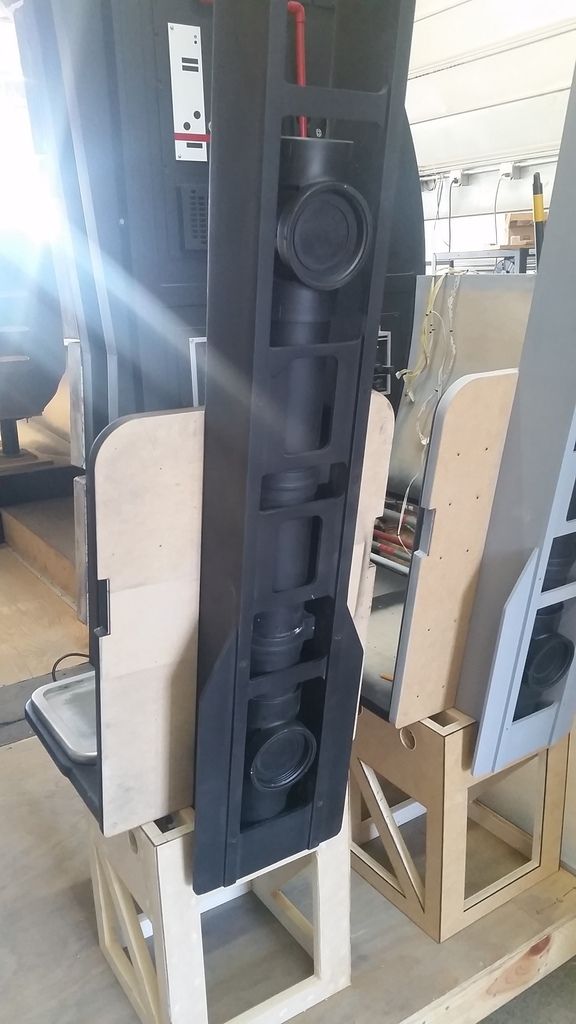
And this is where we are!
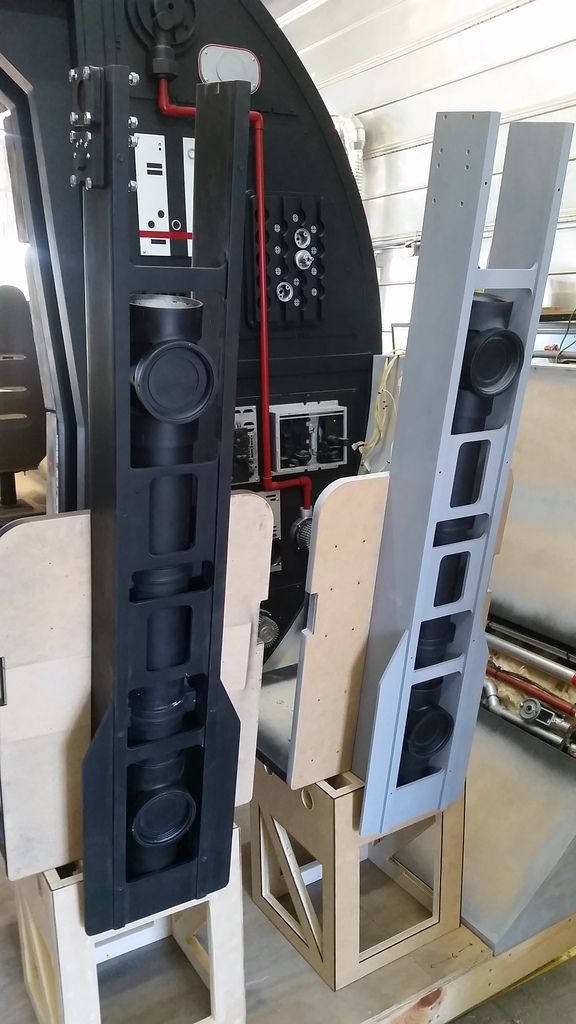
More to follow so stay tuned!
Just a quick morning update...
I re-designed and cut these pieces

Skinned another pedestal


The circles I laser cut will simply cover the edges of the holes

I cut new backer plates

Slightly shorter

Let's adhere everything together

Add some eyeballs

Add some primer


I wound up having to recut these - anther ugh moment

More sanding and filling on other misc panels

Fixing cracks

No matter the steps you take you always find small errors!


:facepalm

I then adhered these beauty rings in place


I thought this was a cool pic with the sunlight

And this is where we are!

More to follow so stay tuned!
Great update SK -your slow weekends are the equivalent of my productive ones.
Caught Guardians of the Galaxy Vol 2 this weekend. Don't know if you've seen it yet, but there's a scene where Rocket is tied to a chair and, after watching your build, it's a very obvious ejection seat. I'm guessing more modern than the ones you're creating, but the lineage is very obvious.
Thanks SB! I have to laugh about Saturday. It felt like a "limbo" day...
Haven't caught GotG yet. I like it when designers use real world objects to dress sets. Makes it easier for us! Sometimes!
- - - Updated - - -
Looking good Sofaking01. Looking good
Thank you, Sir!
- - - Updated - - -
I still love the progress no matter how small it is... Sometimes a little breathing break and letting your brain works in the background to get ready for another BIG step forward!! Who says that passion has to be always at the fastest pace possible??
Hey D,
Thank you so much and I appreciate the continued support!
I couldn't have said it better myself. I think my brain was trying to tell me something. I just have to go with the flow!
Friendly flyer
Well-Known Member
Another amazing update!
Looking at all those gorgeous in-progress shots, I realize what makes some of these so amazing are the partly shiny, partly matte surfaces when the paint is drying. At work, a lot of old machinery is being dragged out these days, and I've been taking mental notes on the surfaces. Heavily used surfaces that are either very shiny or very matte will often wear to a semi-gloss. Would it be an idea to use a rattle can to patch-wise either matte down parts of the high gloss paint or shine up some of the matt stuff to simulate the effect of wear? I was particularly thinking about the chair lauch tubes, which are large surfaces without much detail to distract the eye.
Looking at all those gorgeous in-progress shots, I realize what makes some of these so amazing are the partly shiny, partly matte surfaces when the paint is drying. At work, a lot of old machinery is being dragged out these days, and I've been taking mental notes on the surfaces. Heavily used surfaces that are either very shiny or very matte will often wear to a semi-gloss. Would it be an idea to use a rattle can to patch-wise either matte down parts of the high gloss paint or shine up some of the matt stuff to simulate the effect of wear? I was particularly thinking about the chair lauch tubes, which are large surfaces without much detail to distract the eye.
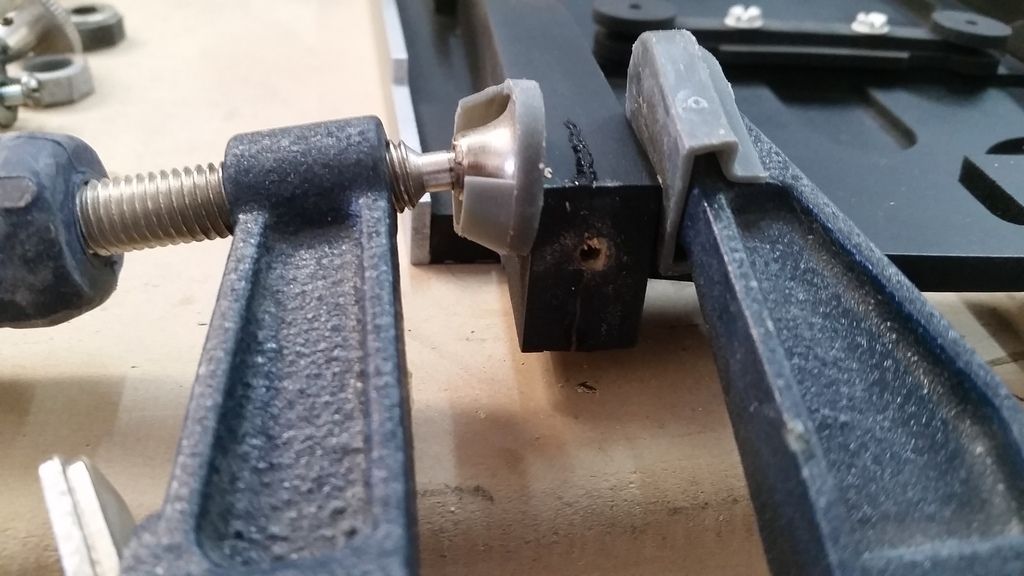
Actually you don't have to use a clamp to screw into wood if you drill a pilot hole. A drill removes material, a screw just pushes it to the side. Of coarse, drill a small enough hole that the threads can bite.
Hi Gang,
Another quick morning update! I spent an hour or so at the shop and jumped all over playing catch up on a few things. I want to work on the other two chairs at the same time. So...
I fixed the cracks in the headrest
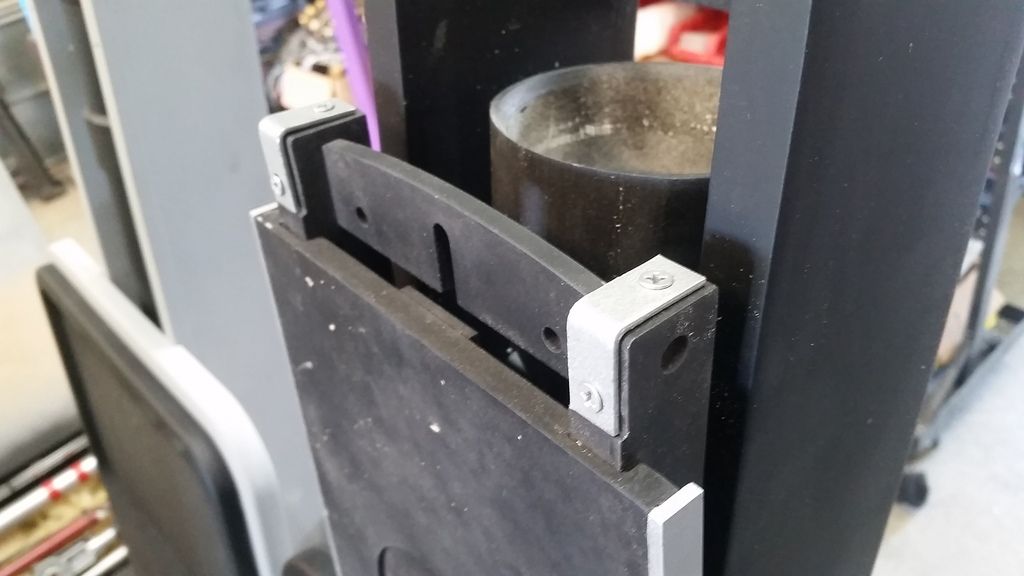
I've started the process of mounting all the greeblies to the frames
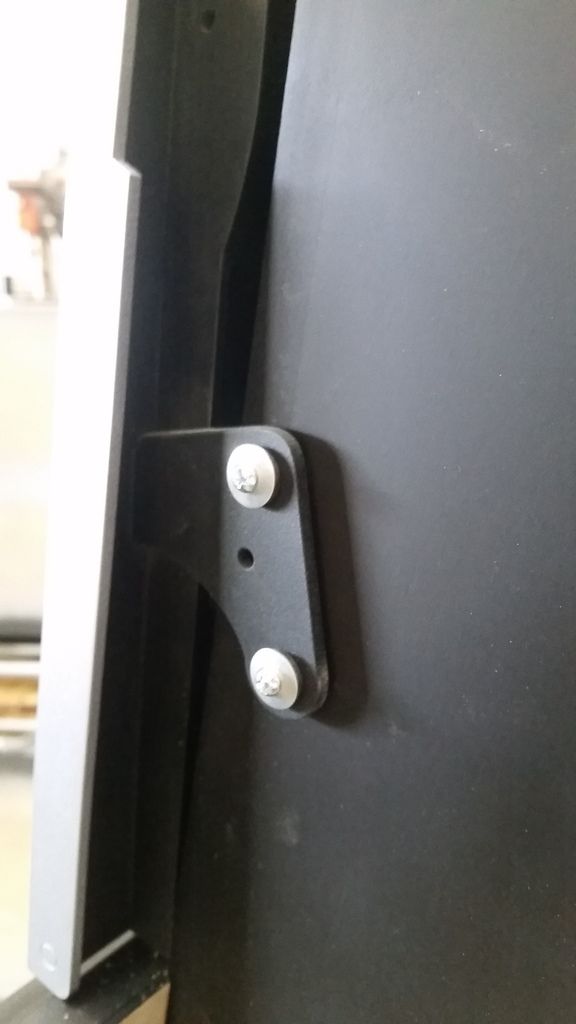
I painted the new parts
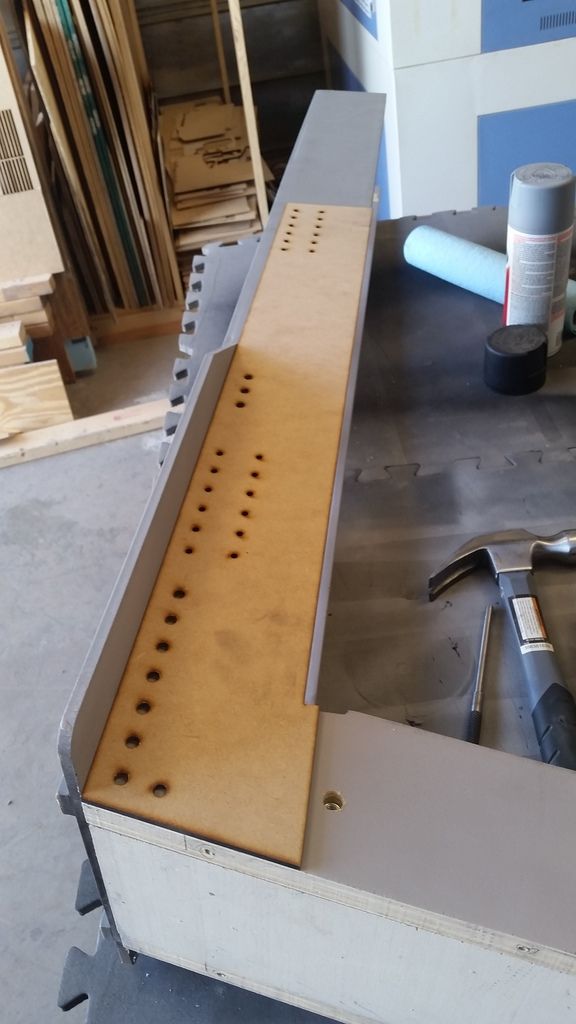
Drilled the holes in the 3rd frame
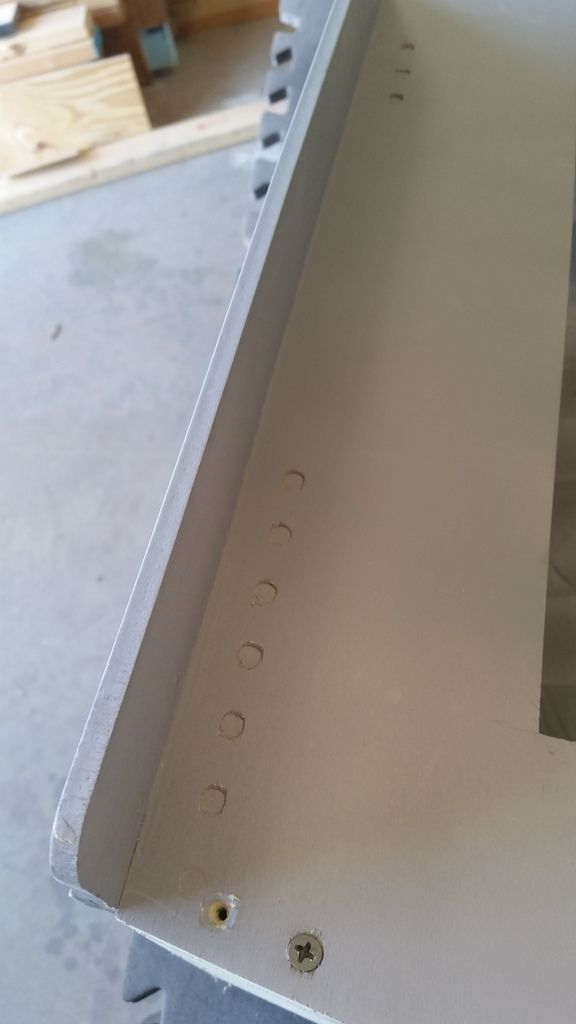
Nice and clean
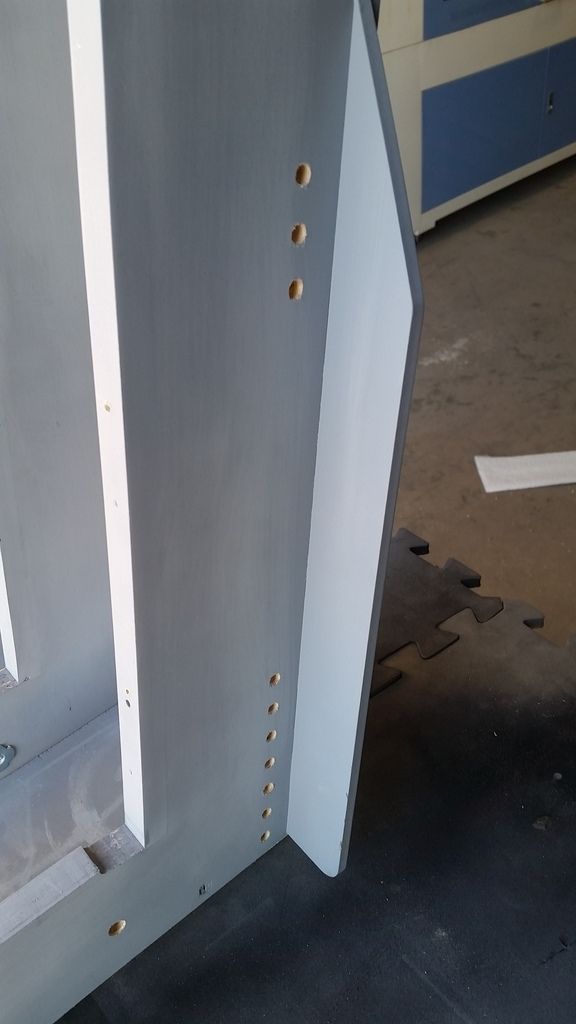
On both sides!
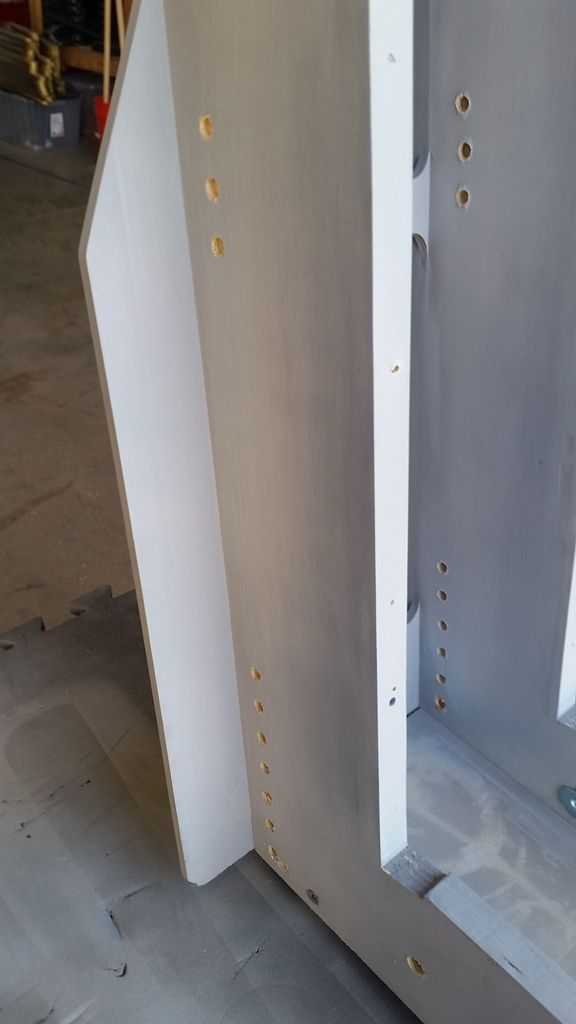
Sanded the filler and gave the entire chair a light sanding before adding paint
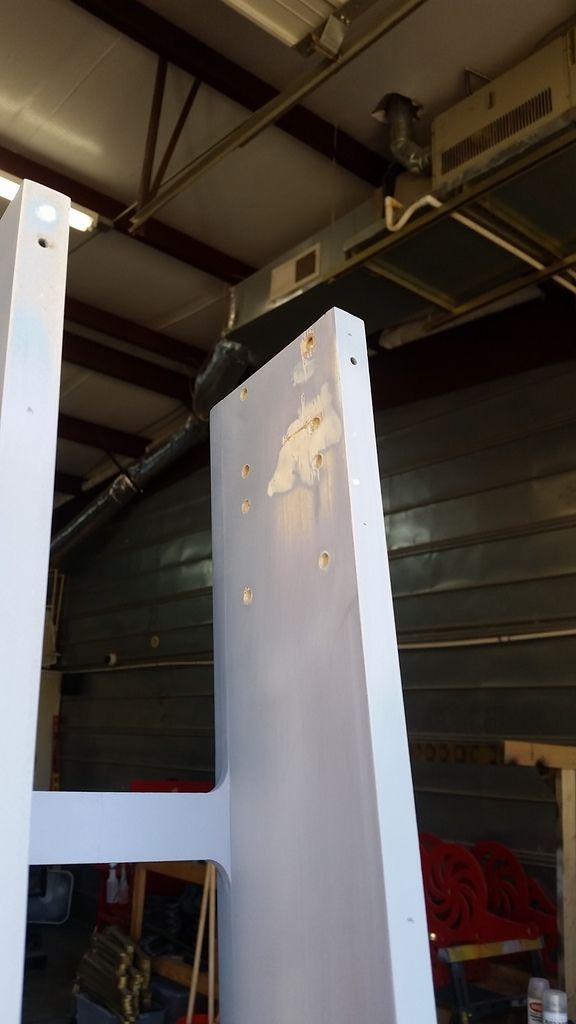
1st of several coats
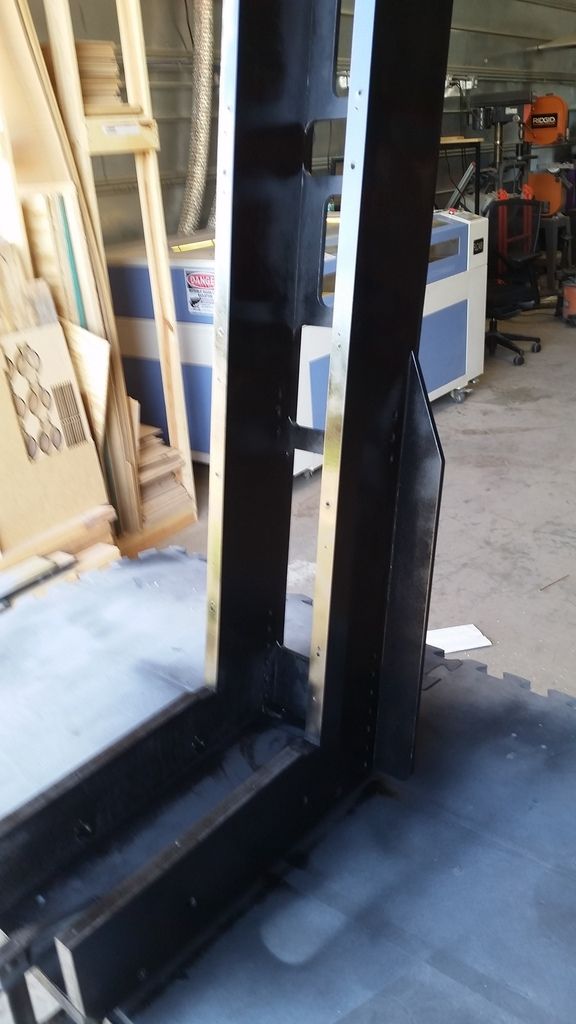
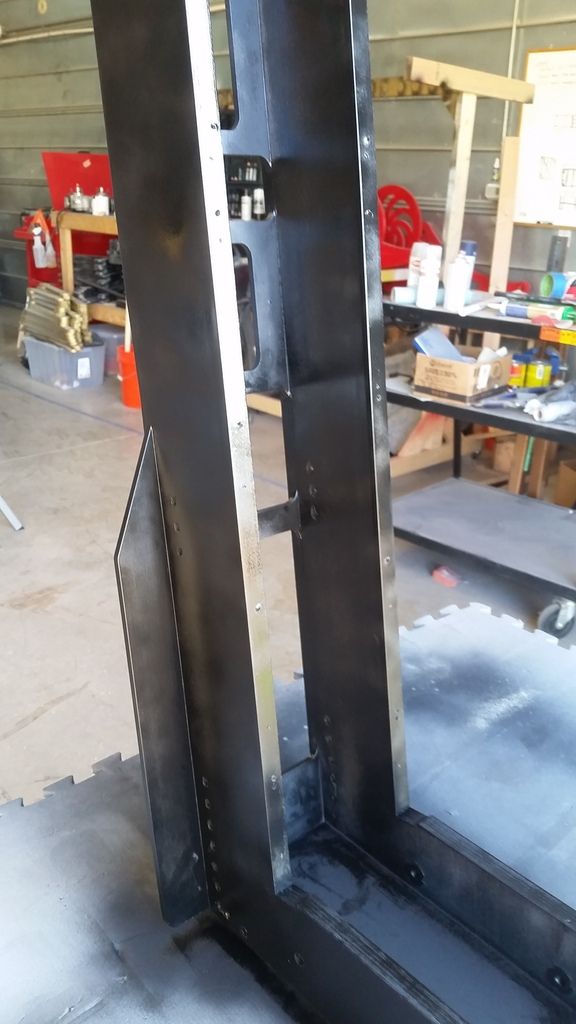
Let's mount some greeblies!
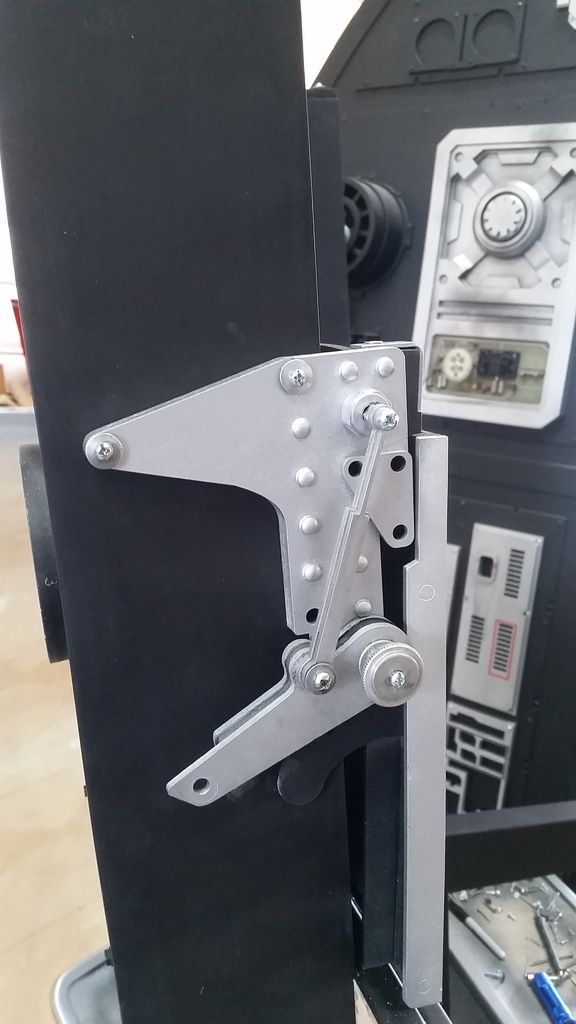
3rd chair frame in place
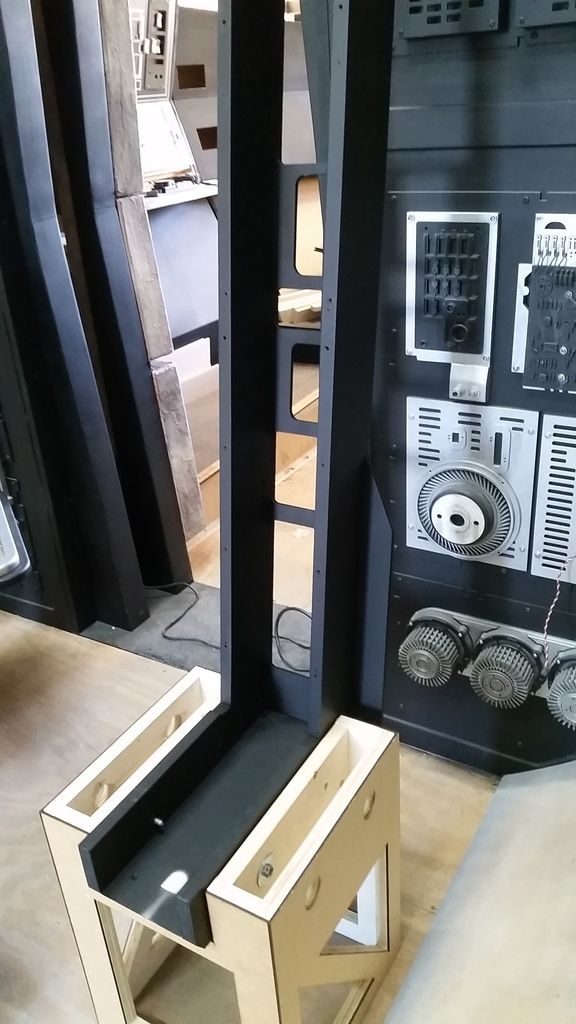
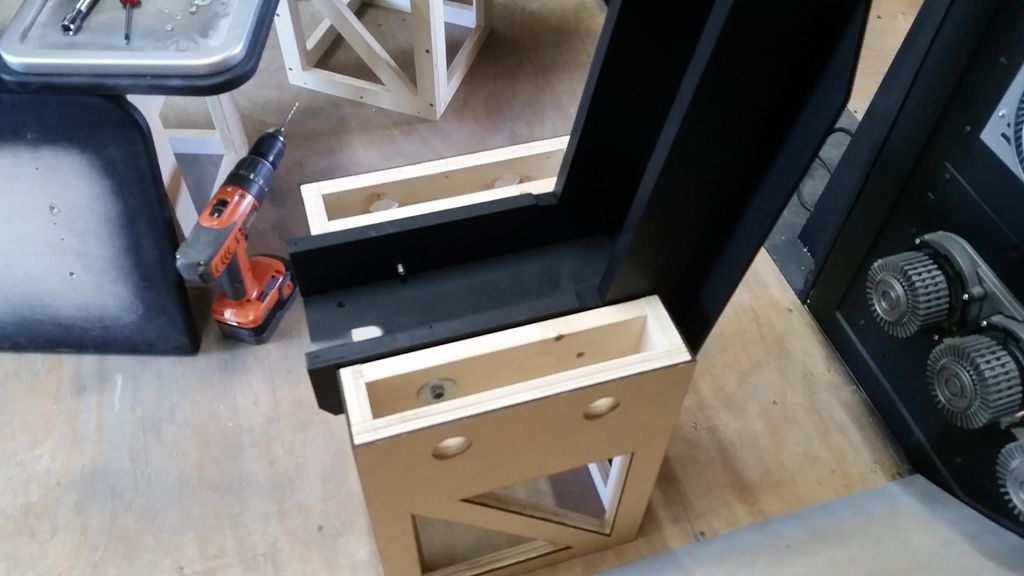
Slowly coming along
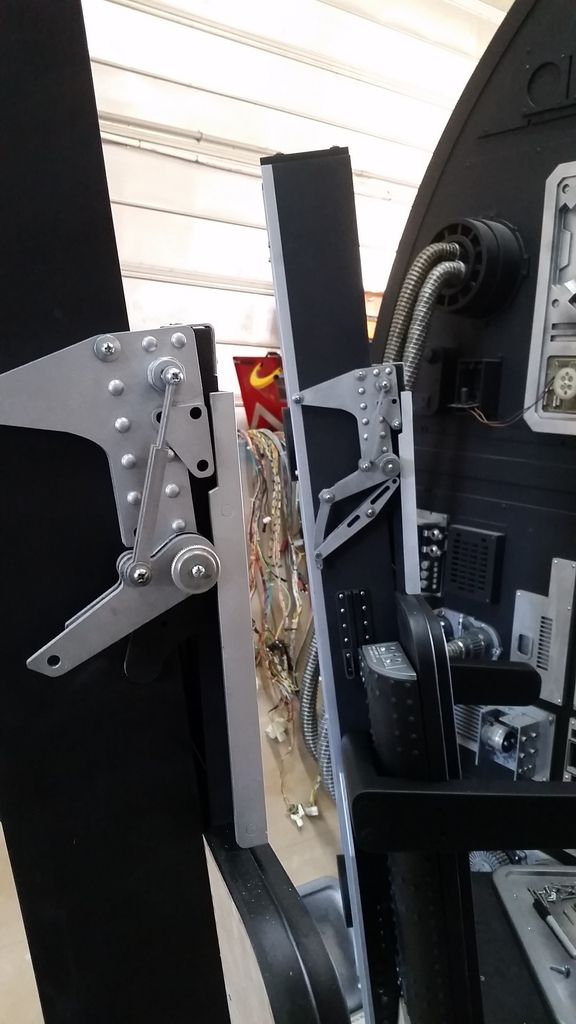
And this is where I left things...
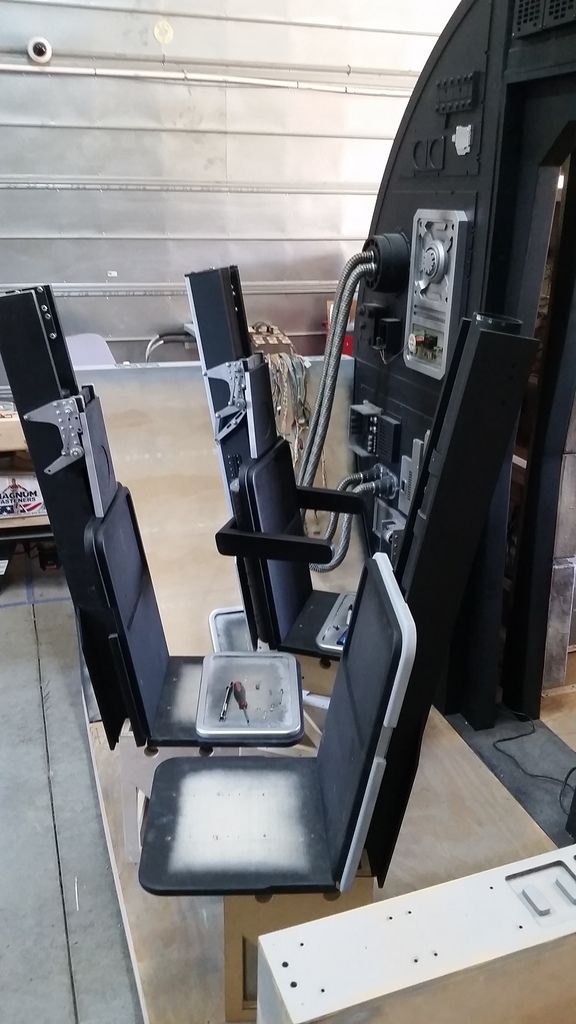
More to follow!
Another quick morning update! I spent an hour or so at the shop and jumped all over playing catch up on a few things. I want to work on the other two chairs at the same time. So...
I fixed the cracks in the headrest

I've started the process of mounting all the greeblies to the frames

I painted the new parts

Drilled the holes in the 3rd frame


Nice and clean

On both sides!

Sanded the filler and gave the entire chair a light sanding before adding paint

1st of several coats


Let's mount some greeblies!

3rd chair frame in place


Slowly coming along

And this is where I left things...

More to follow!
Another amazing update!
Looking at all those gorgeous in-progress shots, I realize what makes some of these so amazing are the partly shiny, partly matte surfaces when the paint is drying. At work, a lot of old machinery is being dragged out these days, and I've been taking mental notes on the surfaces. Heavily used surfaces that are either very shiny or very matte will often wear to a semi-gloss. Would it be an idea to use a rattle can to patch-wise either matte down parts of the high gloss paint or shine up some of the matt stuff to simulate the effect of wear? I was particularly thinking about the chair lauch tubes, which are large surfaces without much detail to distract the eye.
Thank you, Sir!
Any high gloss pics you see of paint are all fresh out of the can. I don't use any gloss, high-gloss or even satin finishes (expect on the cockpit panels). I use only "Flat" paints. The silver does have a natural metallic gloss to the finish but usually tamper that down when I weather. Even the silver trim around the nav chair panels will be repainted and weathered.
However, your idea of adding "Gloss" to simulate "low traffic/wear and tear" is VERY interesting. I wonder how the ejection tube would look if it had a satin or gloss finish to it? HMMMMMMM
I LIKE IT!
- - - Updated - - -
Looking very good Sofa...and yes, when screwing into solid wood/MDF , I always use a clamp to make sure it's holding the sides (no splitting that way)
Hey J,
I did drill a pilot hole before screwing the angle bracket in place. I thought the bit was larger enough... :facepalm
- - - Updated - - -
Actually you don't have to use a clamp to screw into wood if you drill a pilot hole. A drill removes material, a screw just pushes it to the side. Of coarse, drill a small enough hole that the threads can bite.
That is exactly right! Unfortunately, the bit I used was too small. I needed the hole to be wide enough to accept the screw post and barely catch the threads. I just wasn't thinking. Bad me!
- - - Updated - - -
I understand 13doctorwho...but I was never lucky, even when pre-drilling a hole prior to insert the screw (especially MDF)
MDF is one of those tricky materials to work with. Depending on the vendor you can have a perfect piece of MDF or you can have a piece that has not enough or way too much adhesive making laser cutting a nightmare. I've even seen some MDF so brittle in some areas it literally fell apart in my hands.
BruceKenobi
Well-Known Member
Hi SK!
While browsing for motion simulators (a crazy idea of mine involving a "Banshee" from Avatar and VR) I stumbled upon this video:
And it got me thinking: you made a superb job on the Falcon cockpit, but did you ever though about setting it up so that it could mimic the Falcon's flight? like the greebles and gadgets actually made something work? it would be amazing to not just walk into the Falcon (you got that down to a T!) but if you were to turn it on and take off (lights and sound included). Maybe it is worth 5 minutes of discussion, and I don't mean to hijack your thread, maybe not, but one can only wonder, and with the new Star Wars Land coming up which will supposedly have a flyable Falcon, maybe you could be one step ahead of Disney here.
Cheers buddy!
Last edited by a moderator:
Loosebruce704
Member
Thinking like that is definitely a bruce thing I have previously made same suggestion I've also suggested changing the glass panels of the windows to tv screens so as you can play clips of the falcon flying (like approaching death star)
BruceKenobi
Well-Known Member
Thinking like that is definitely a bruce thing I have previously made same suggestion I've also suggested changing the glass panels of the windows to tv screens so as you can play clips of the falcon flying (like approaching death star)
Nice idea, although besides the tv-as-windows, I would also like to see the greebles actually DO something, trigger things, lights and sounds.
Hi Gang,
Time for another one of those updates again! Let's jump right to it!
First, I accidentally broke a piece... ugh
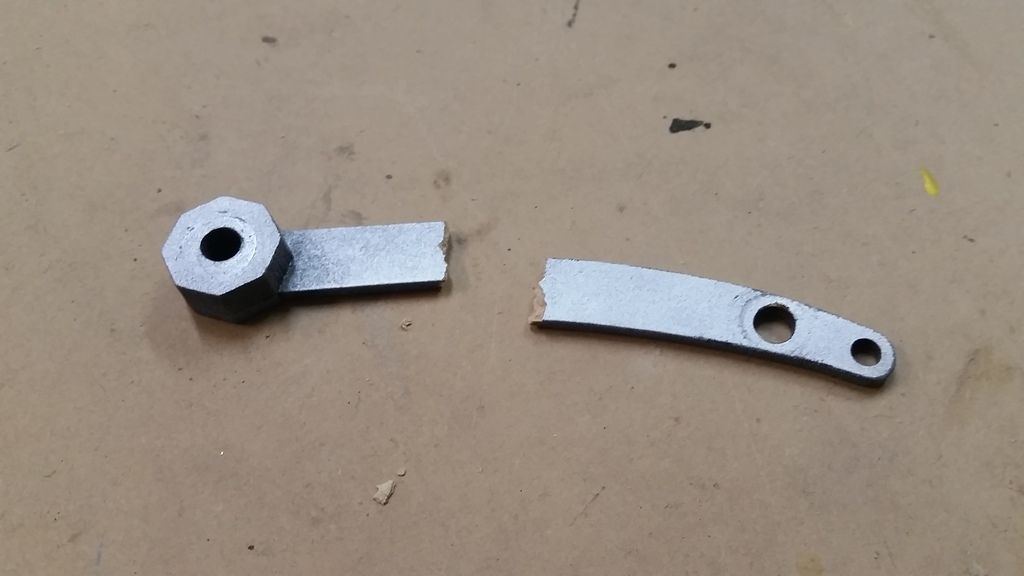
No worries...
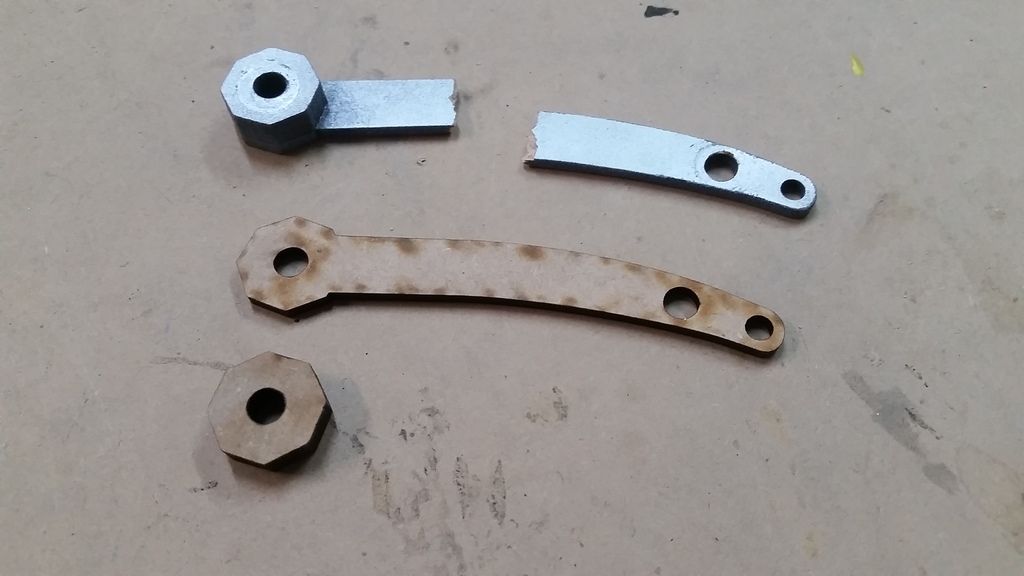
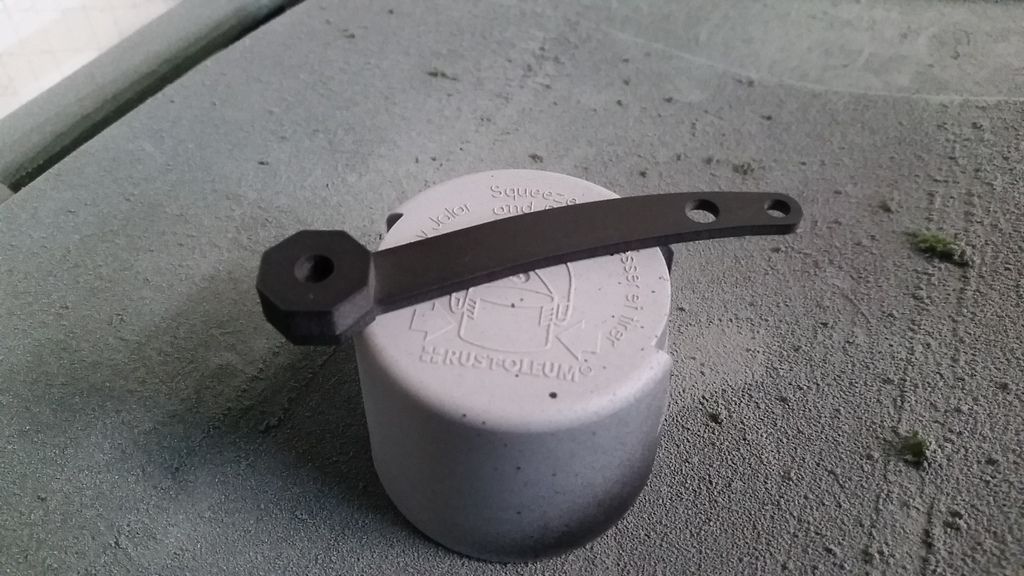
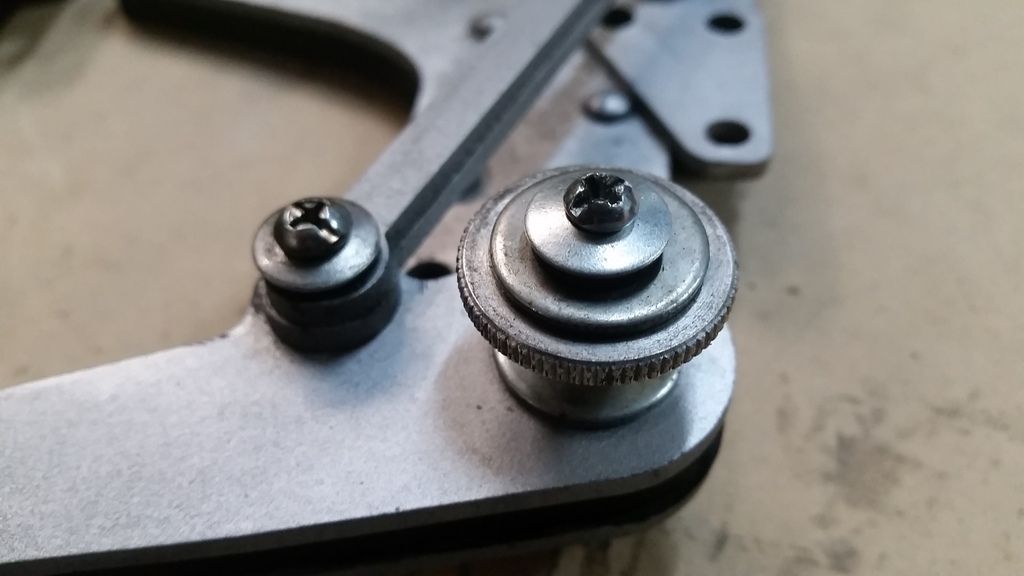
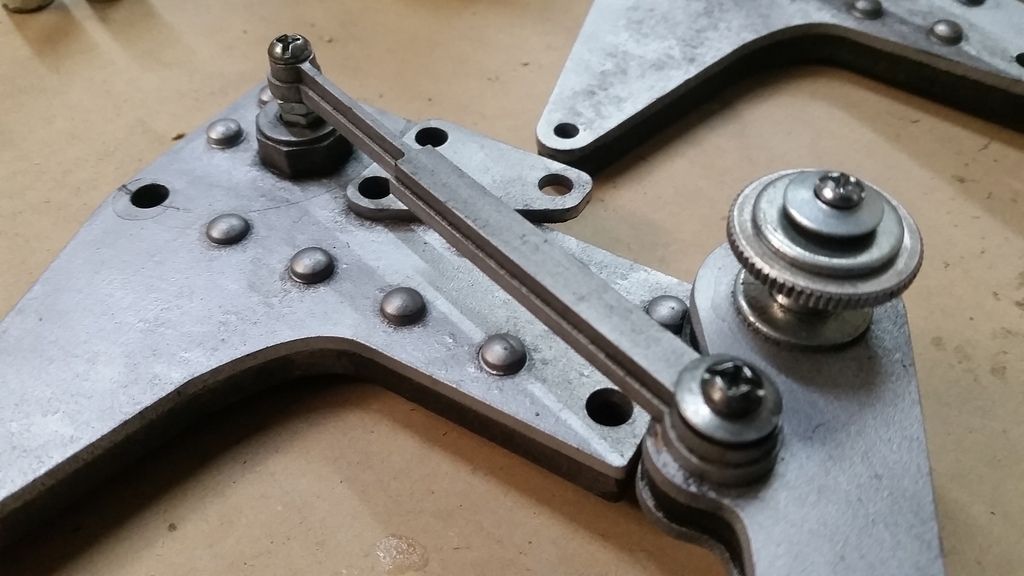
While the paint dried I weathered the new assemblies
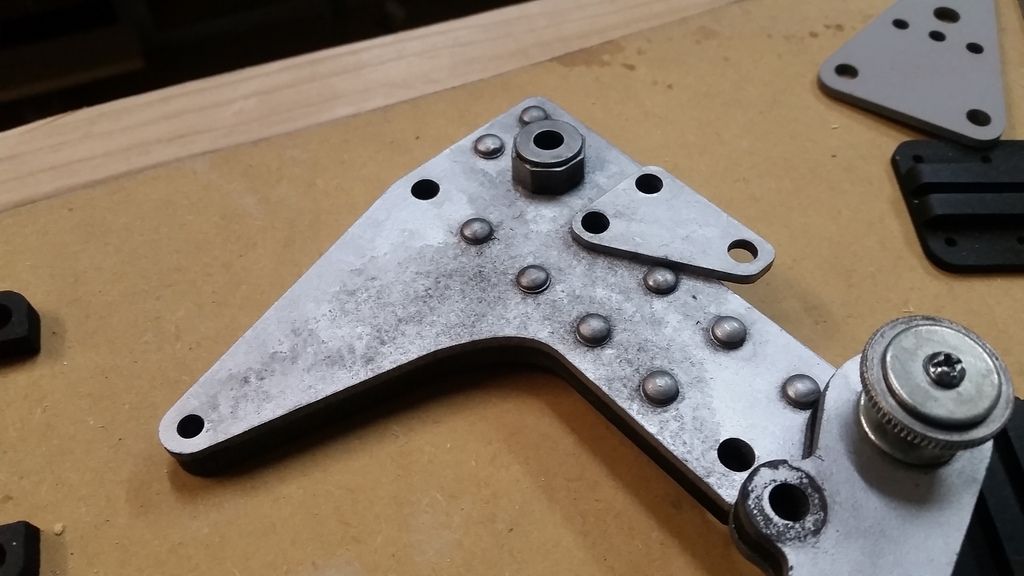
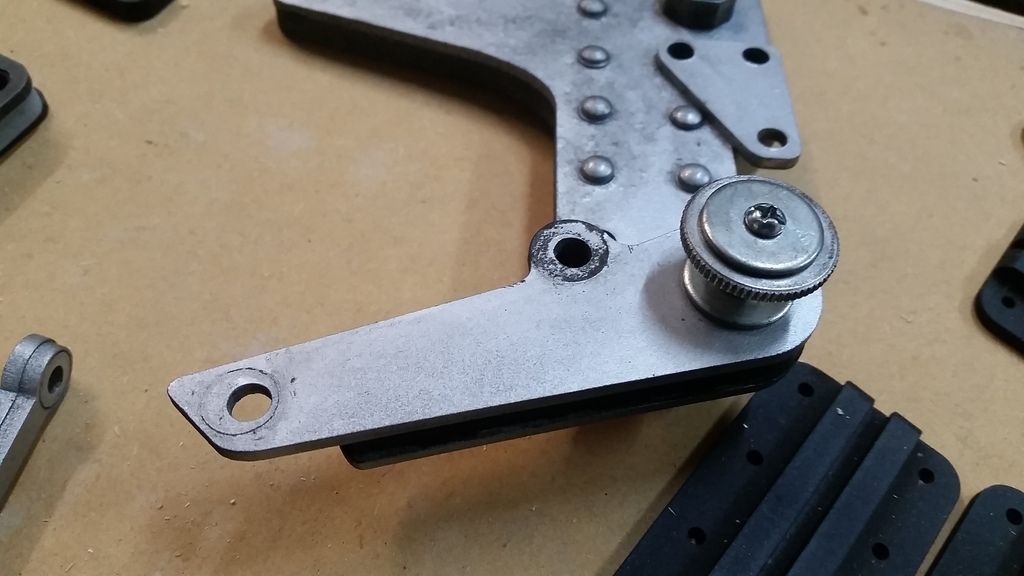
And dry fit into position
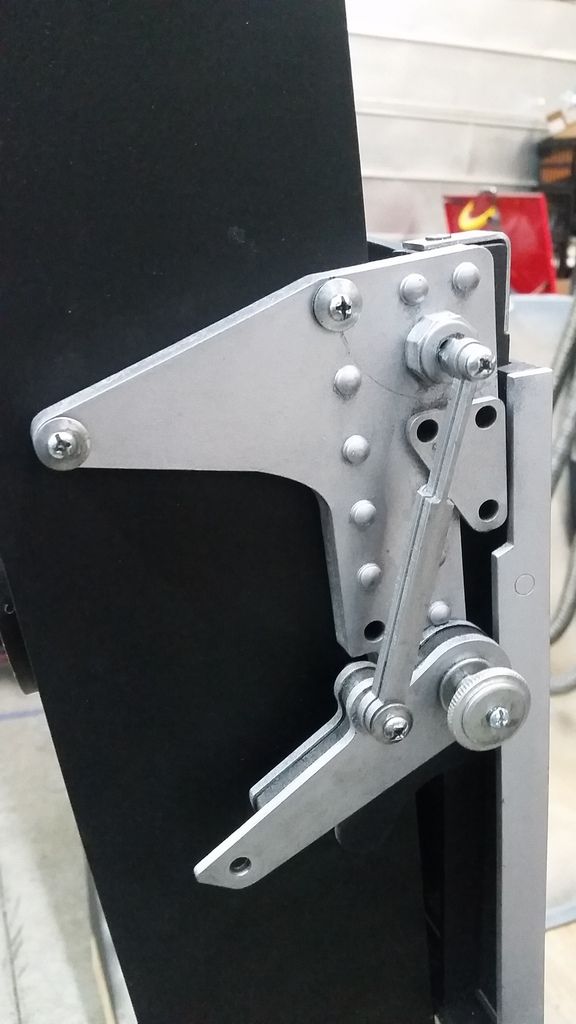
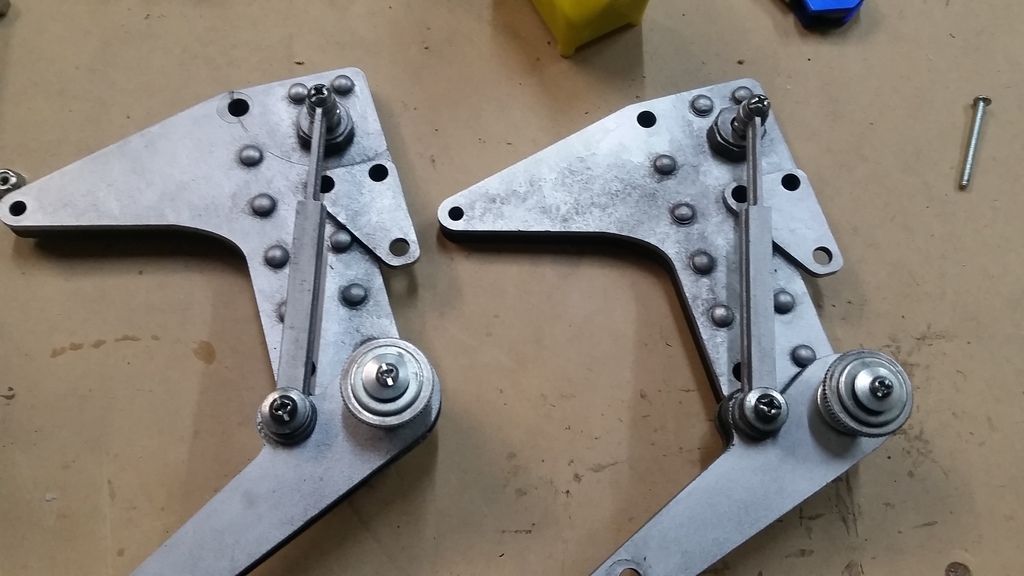
Interior side mounting plates
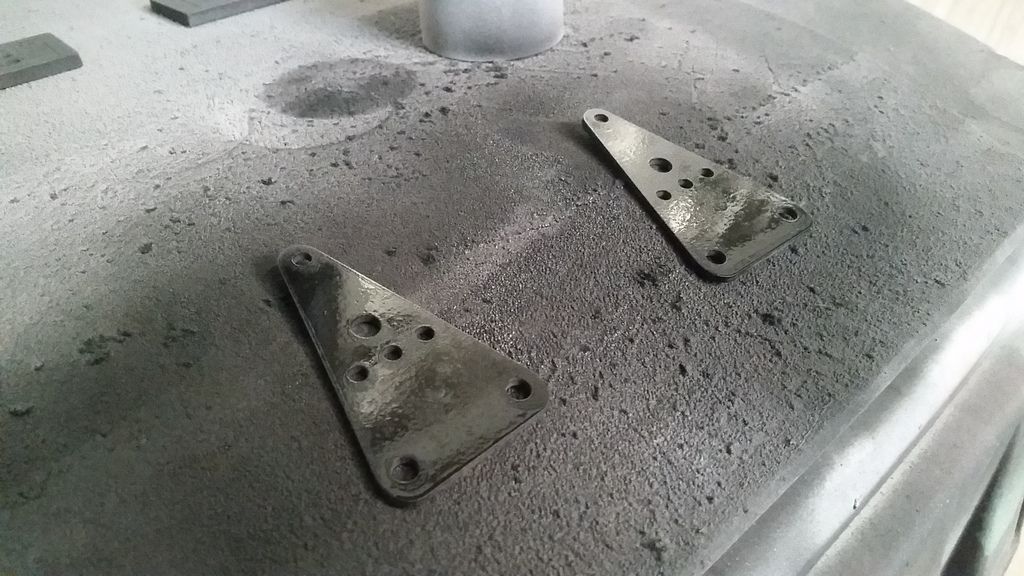
From above and in position
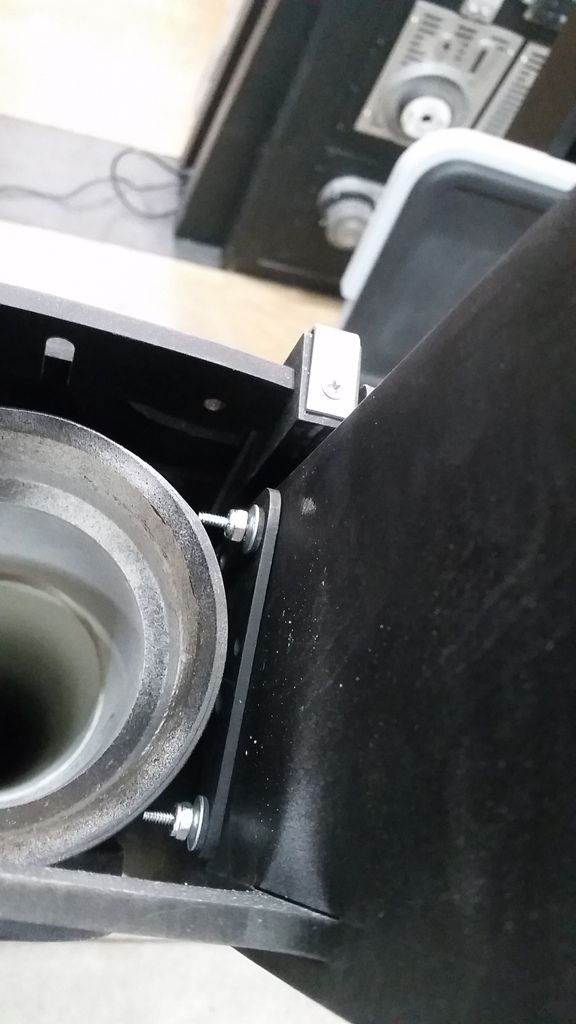
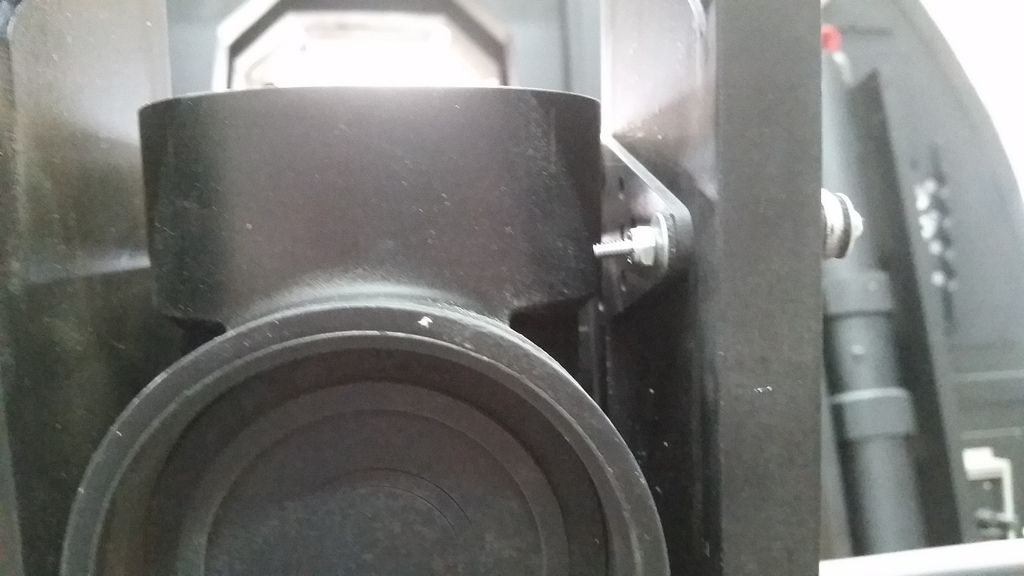
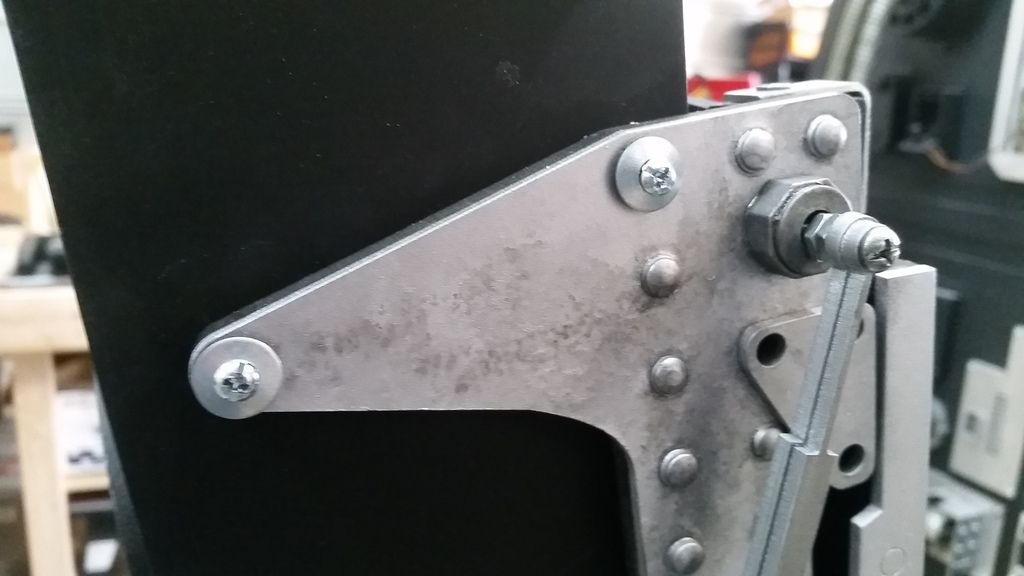
I masked off the 3rd and final headrest
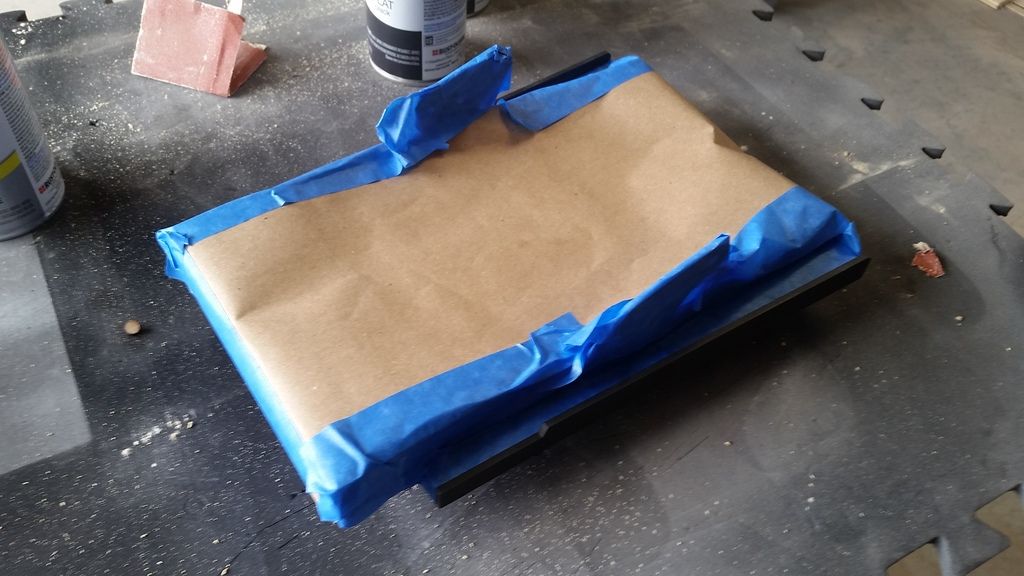
Painted
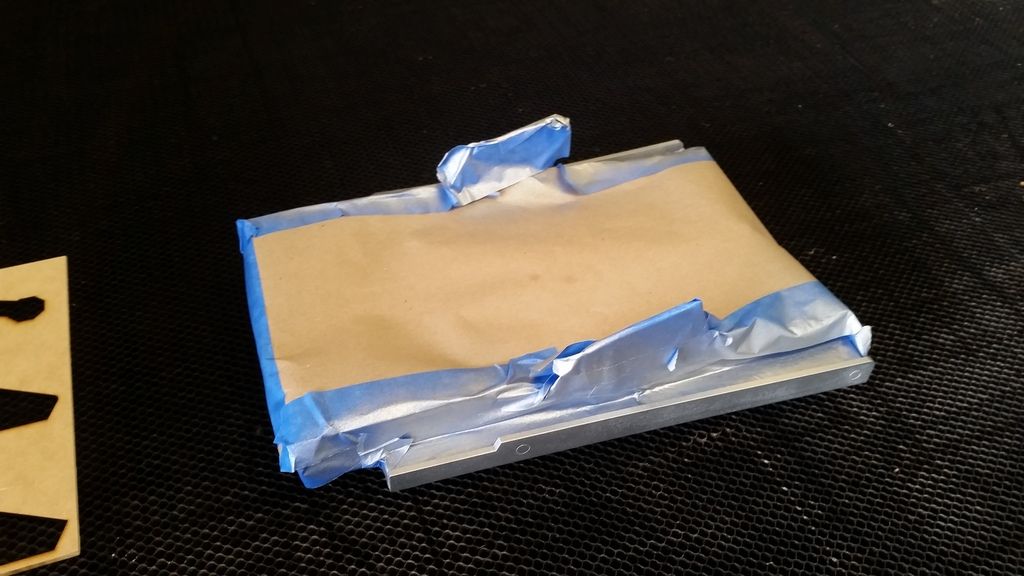
Dry fit
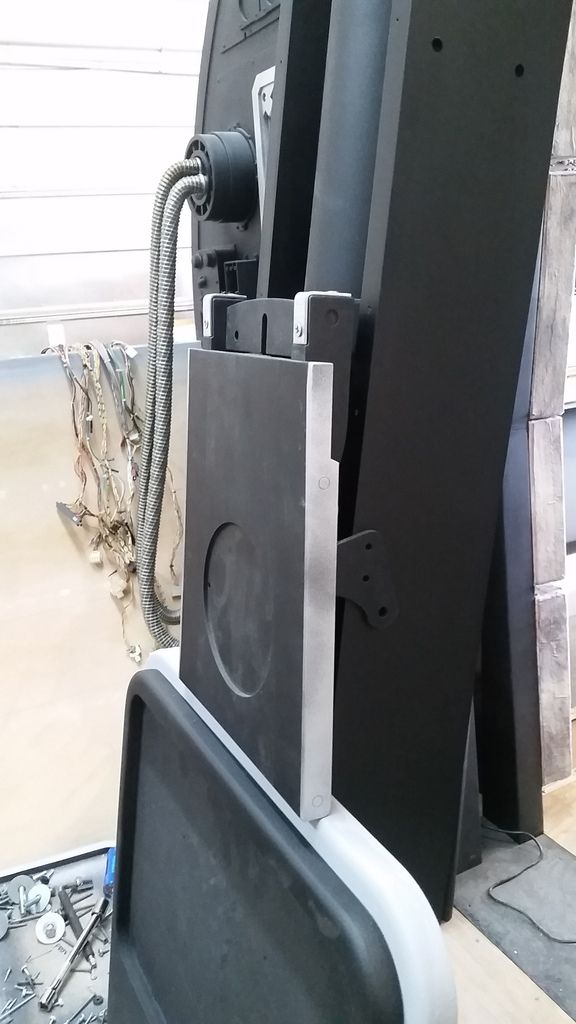
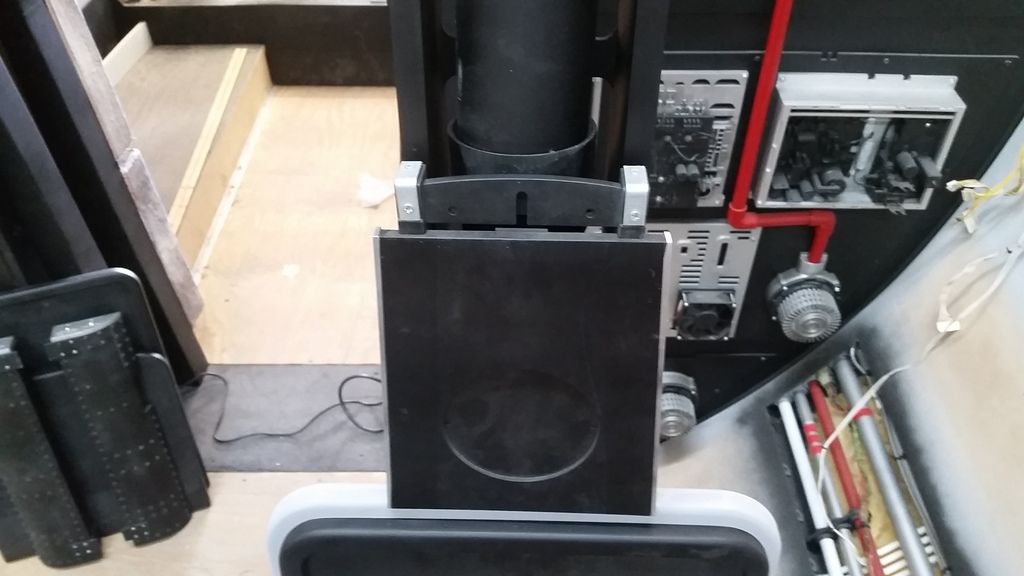
Bolted in place
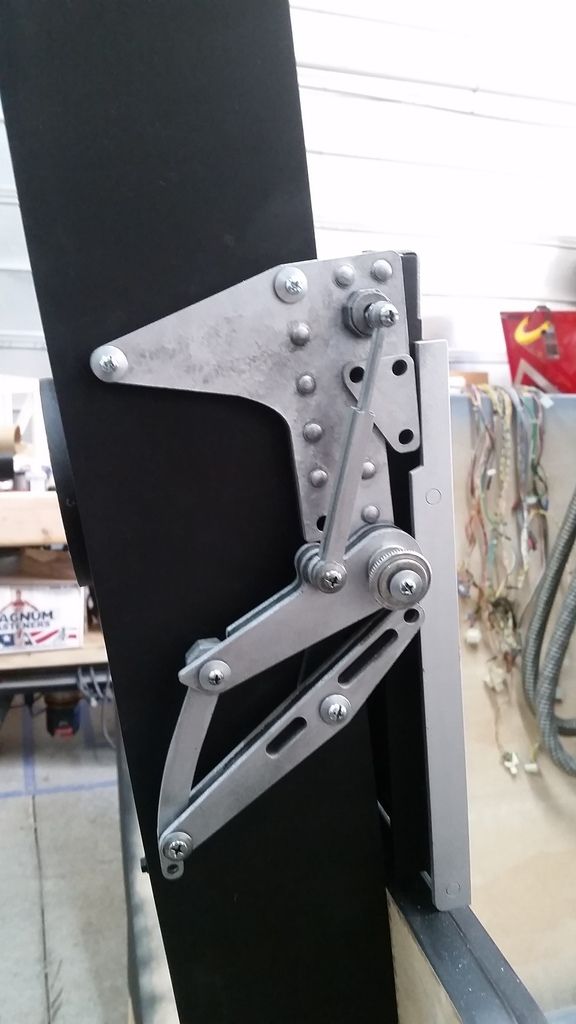
Looking through more images of the real ejection seat I noticed this little detail
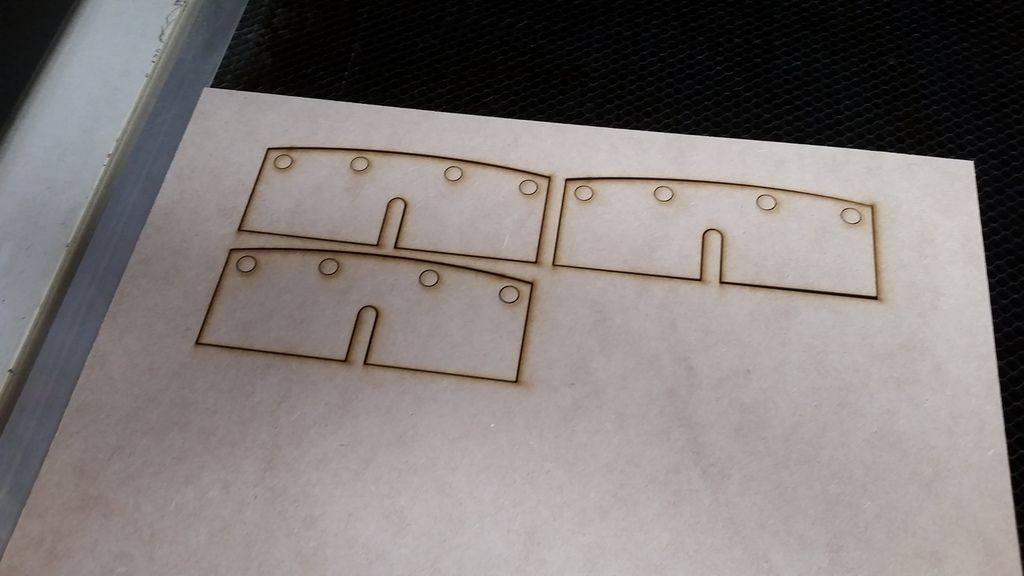
Add some eyes
Primer
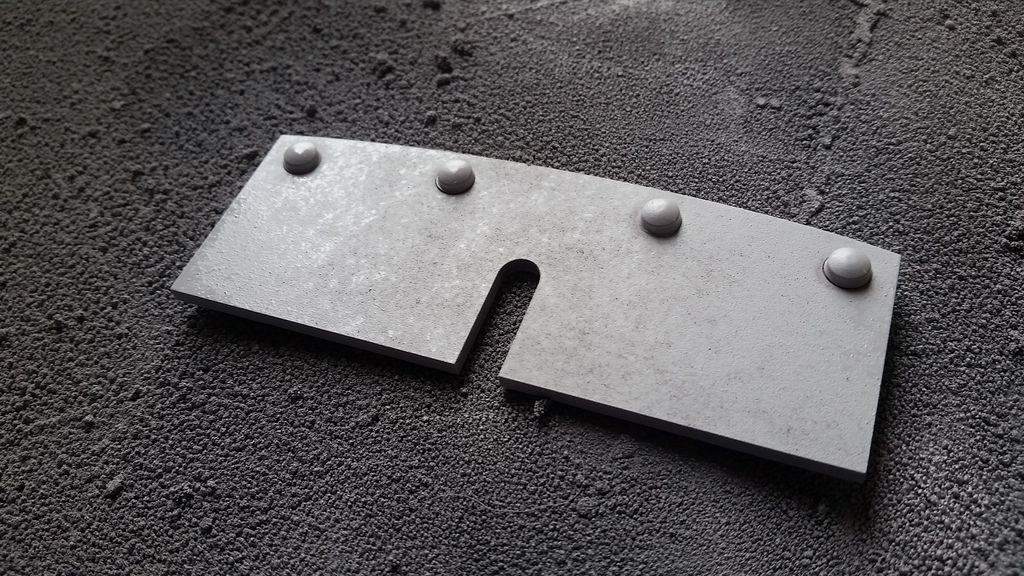
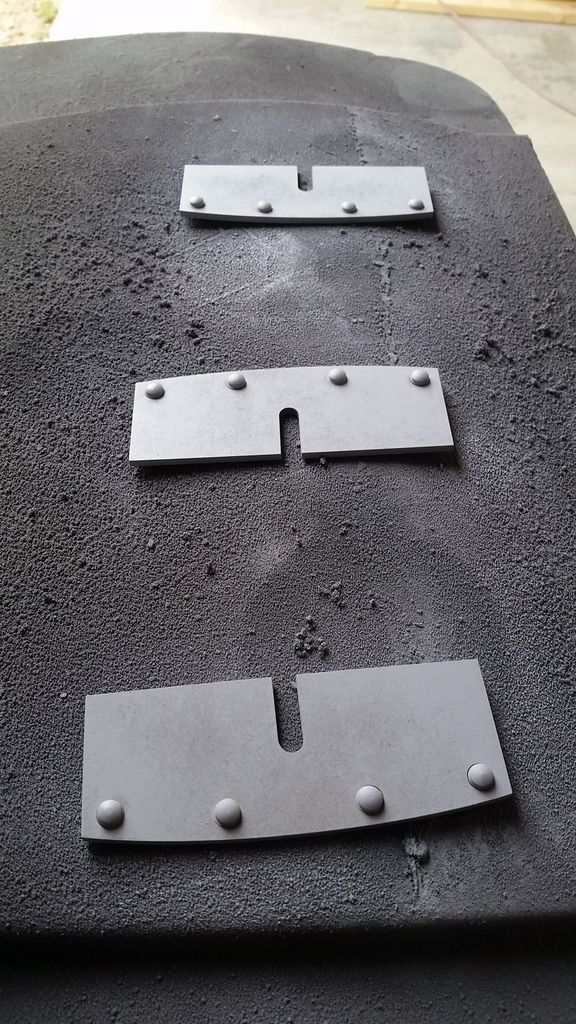
Paint
Time to mount and weather!
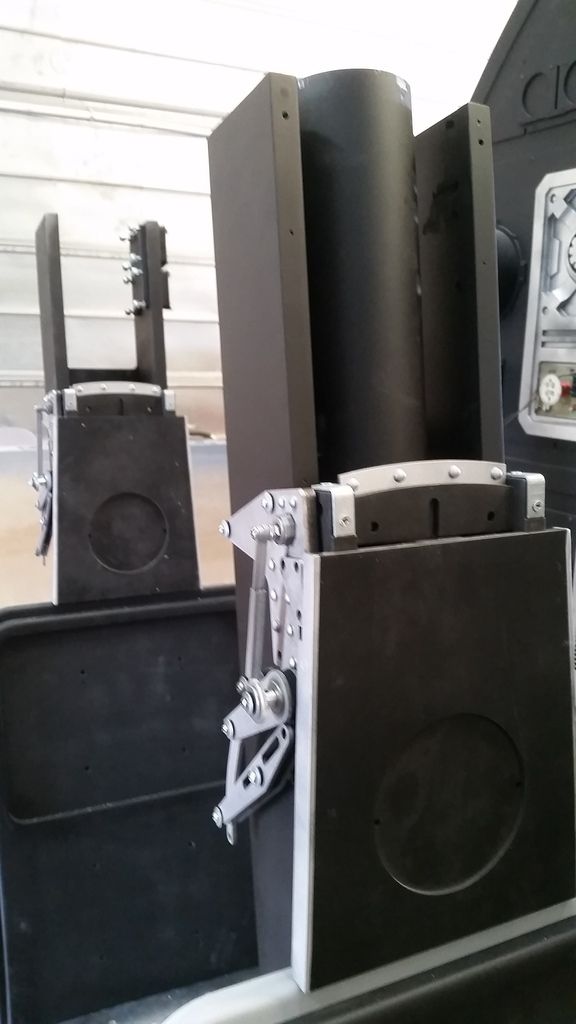
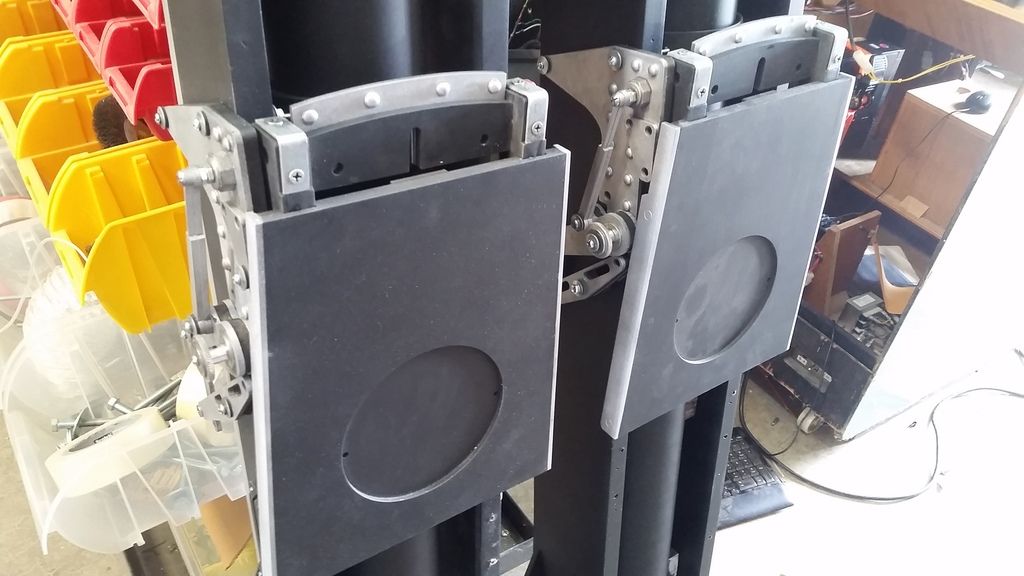
Love this photo! DEF needs more weathering
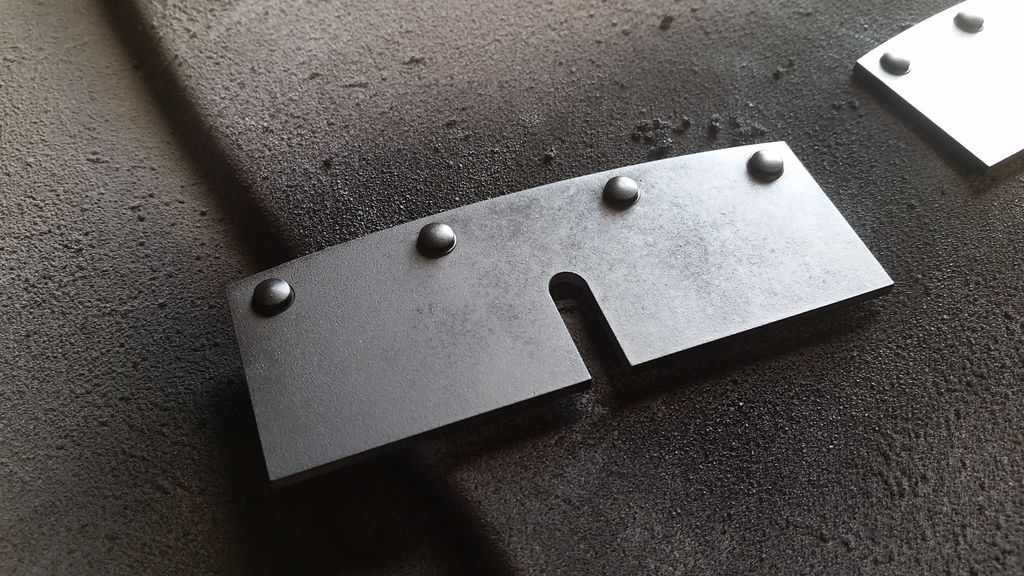
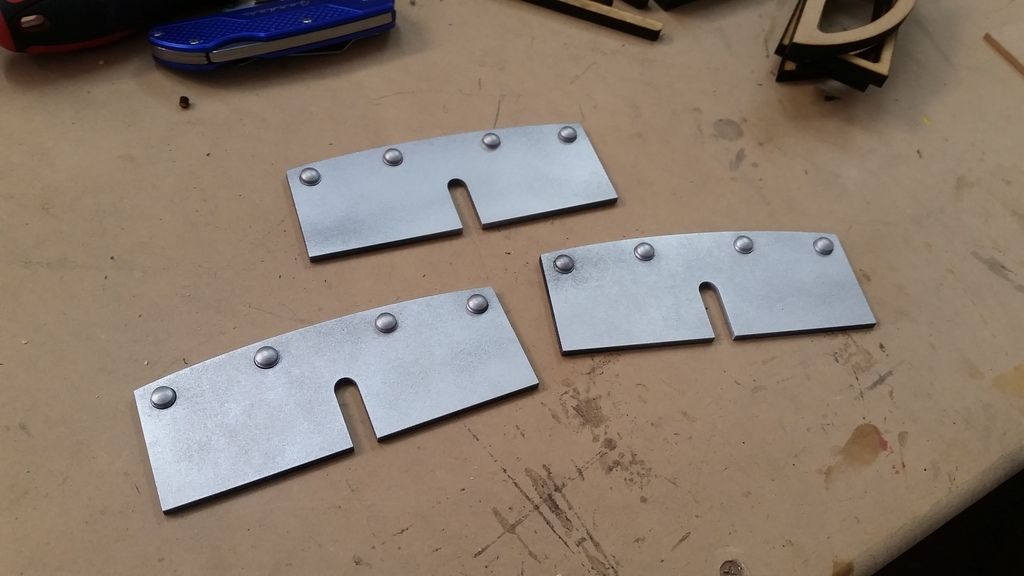
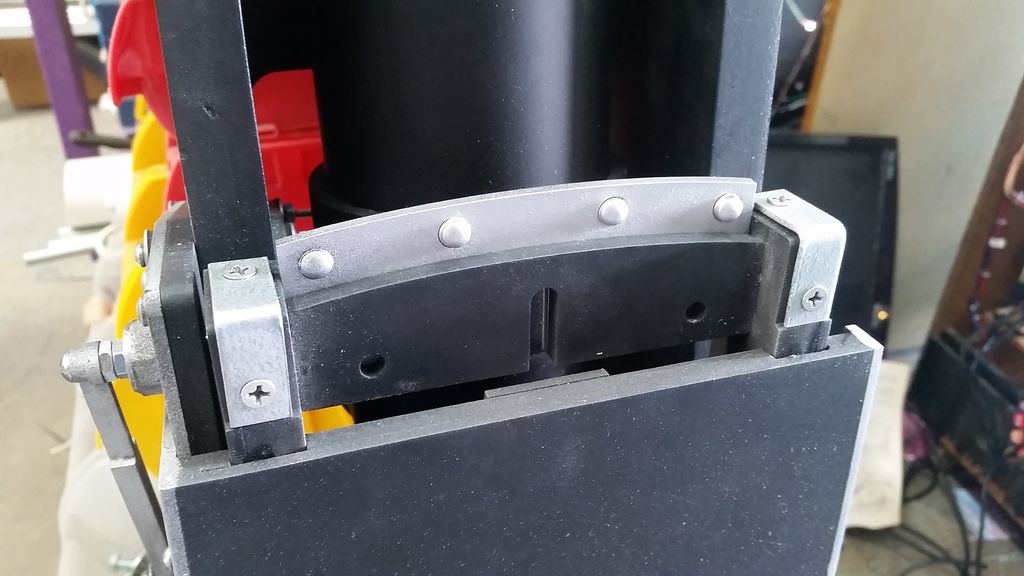
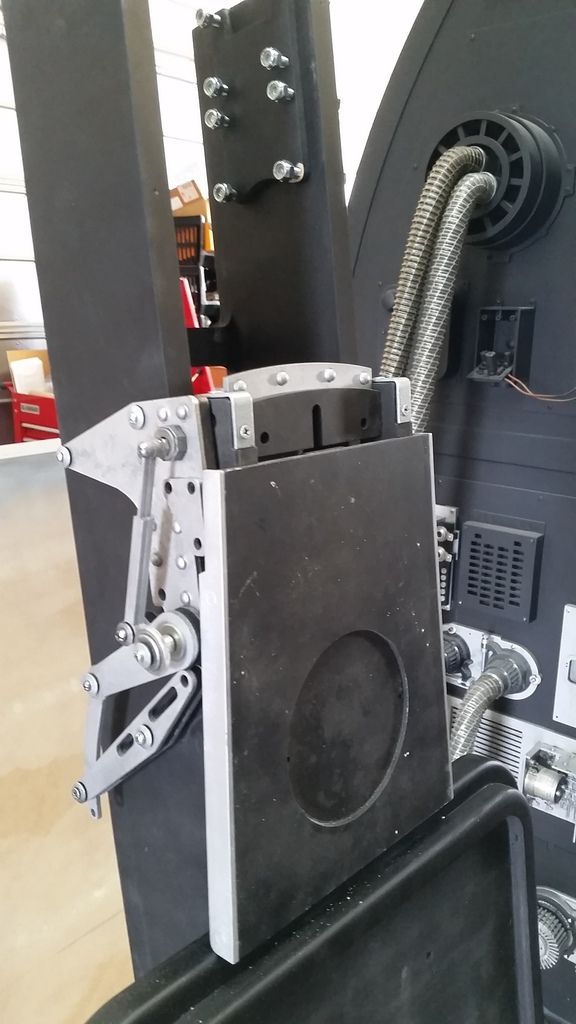
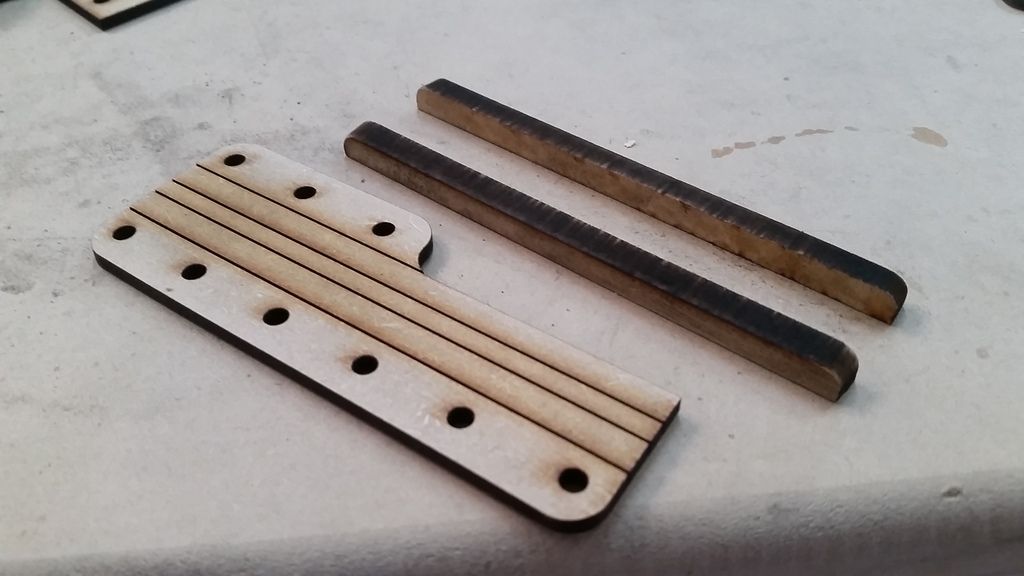
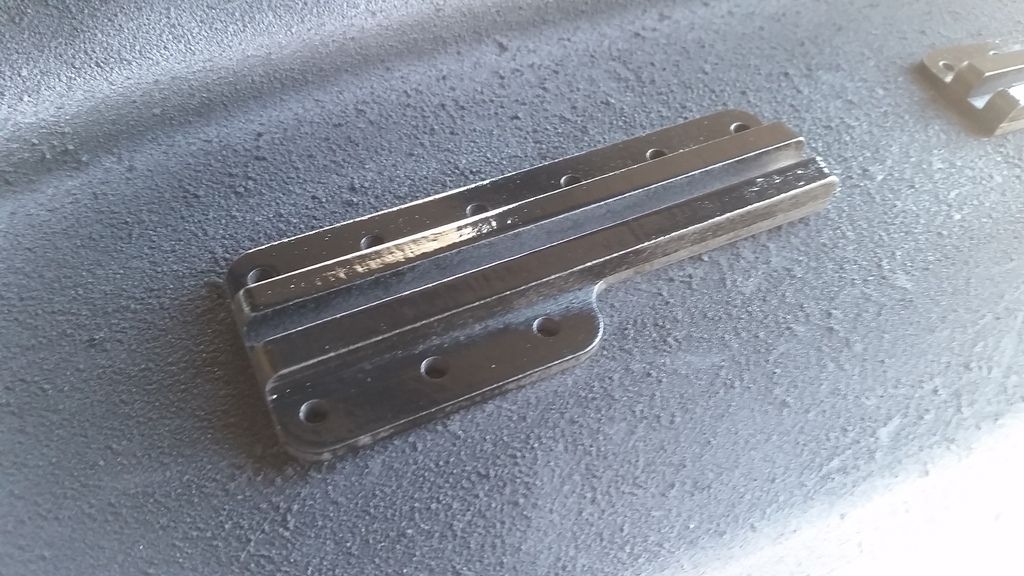
Laser cut these new guide plates for the nacelles
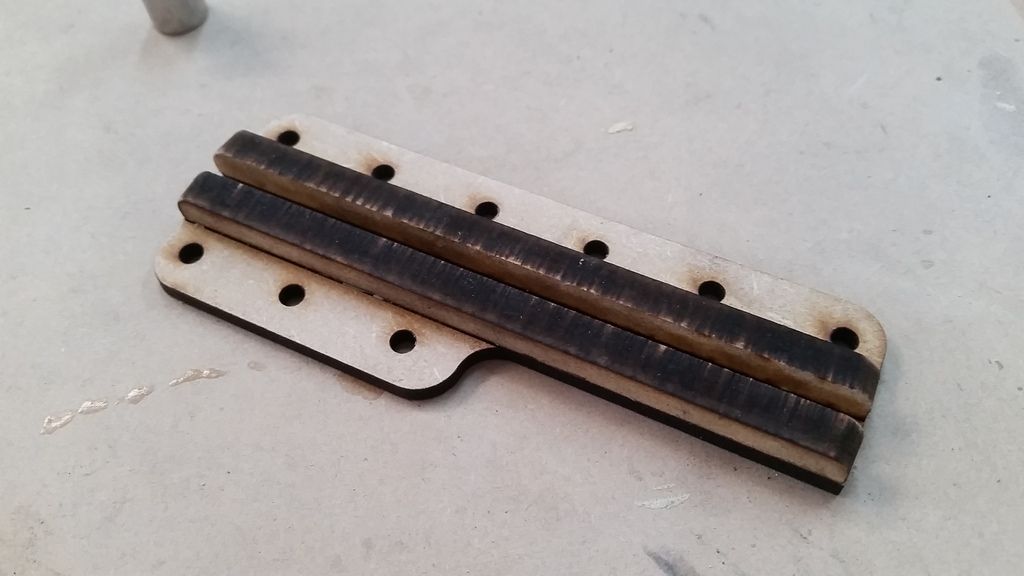
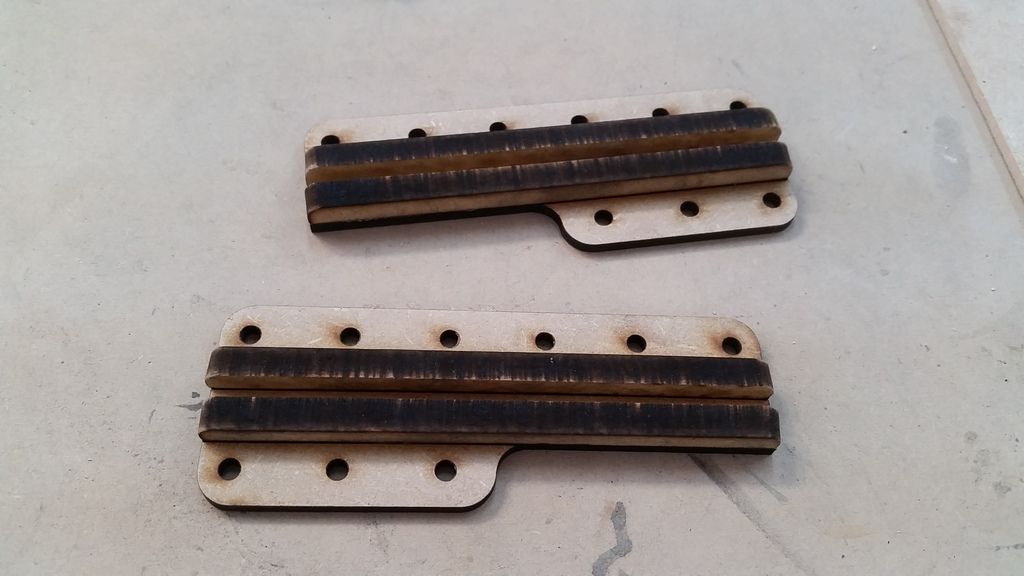
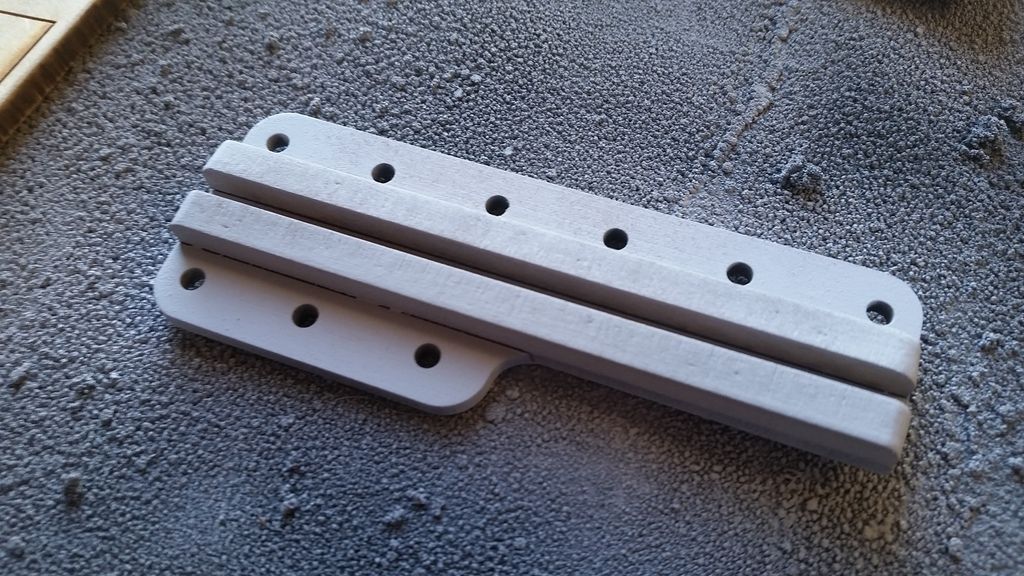
Paint
I laser cut new nacelle covers and dented these guys up a little to see how it looks - what do you all think?
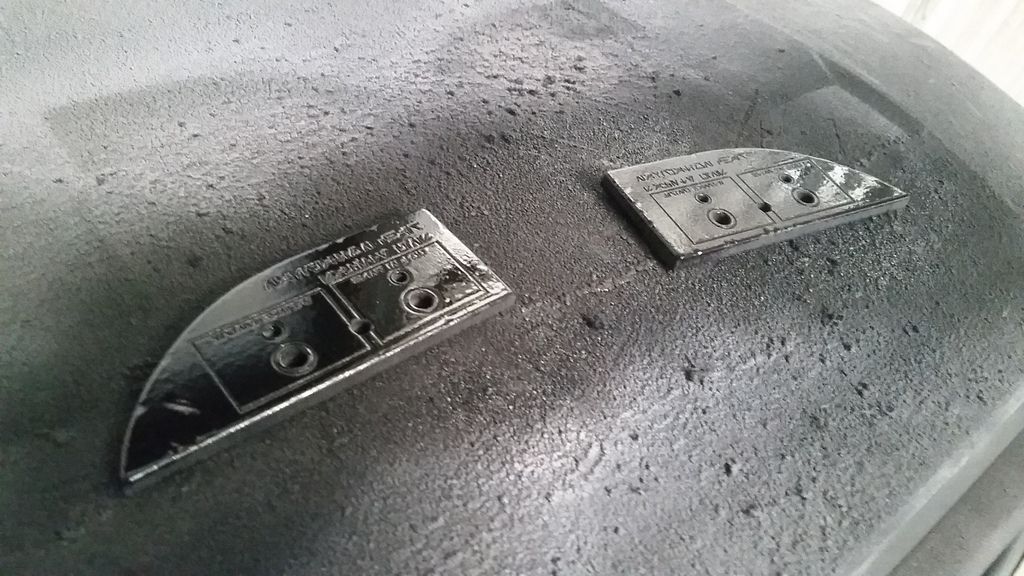
Silver
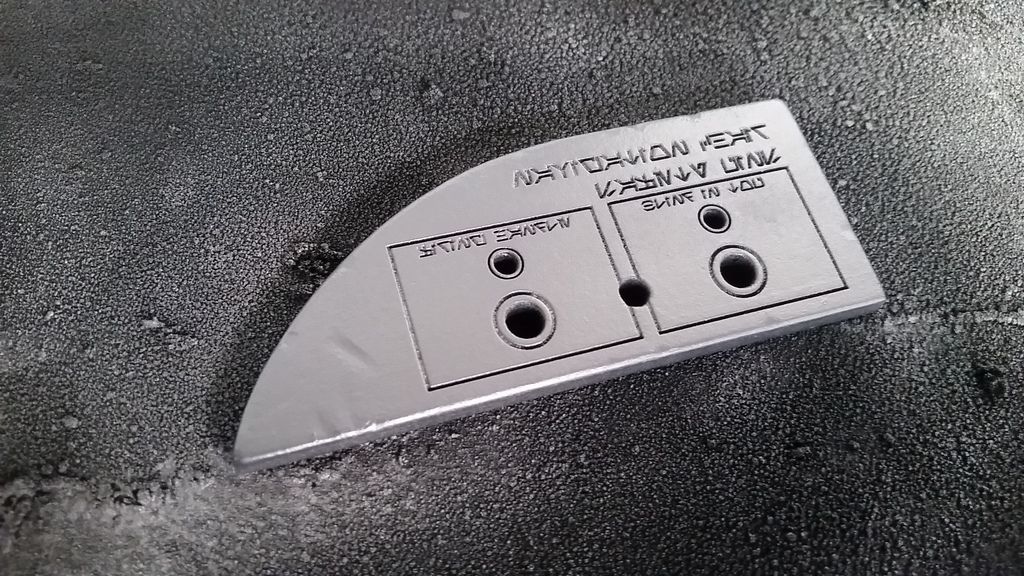
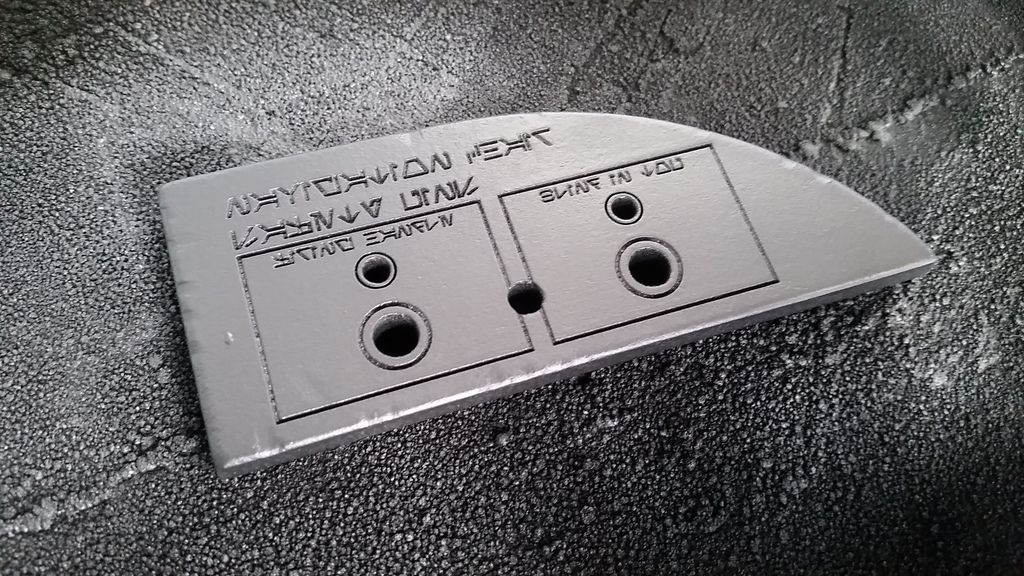
Before weathering
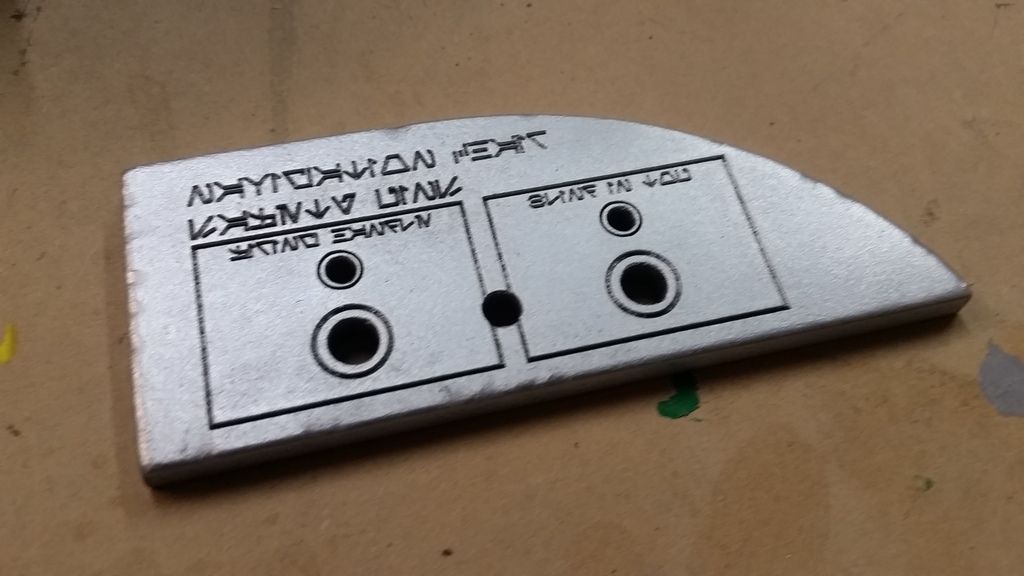
After
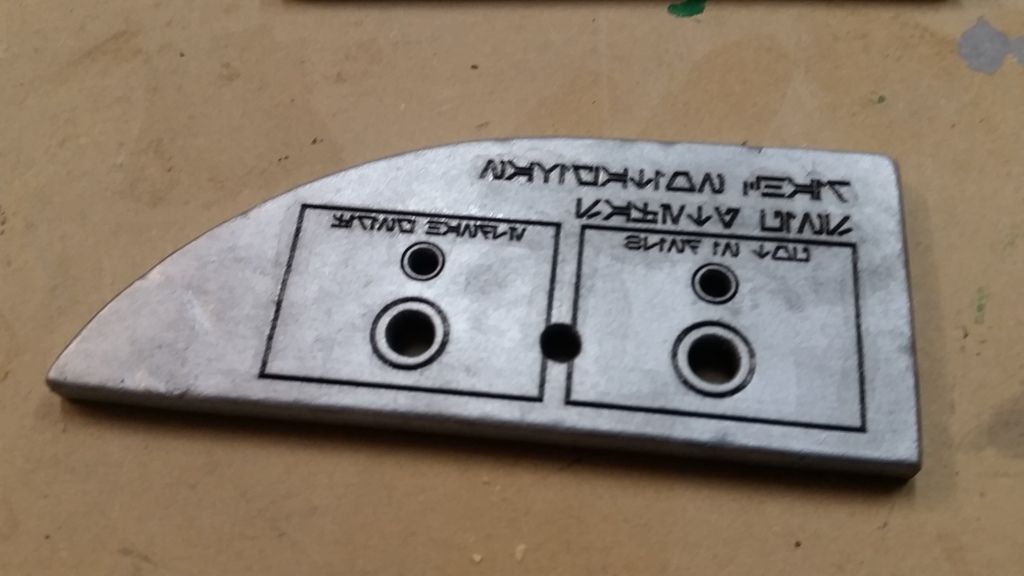
Dented versions on the bottom. Yes? No?
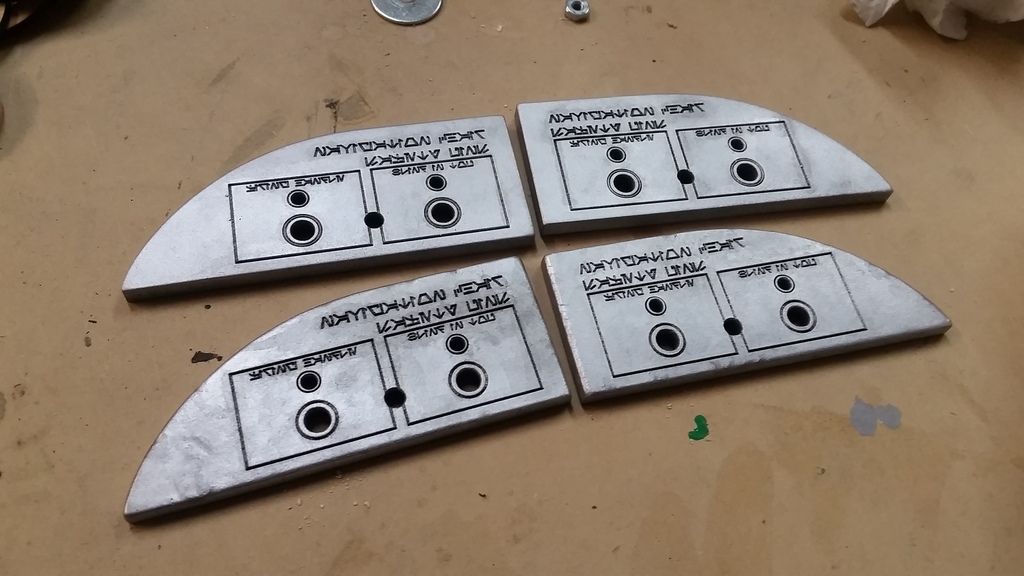
I laser cut more nacelle guides
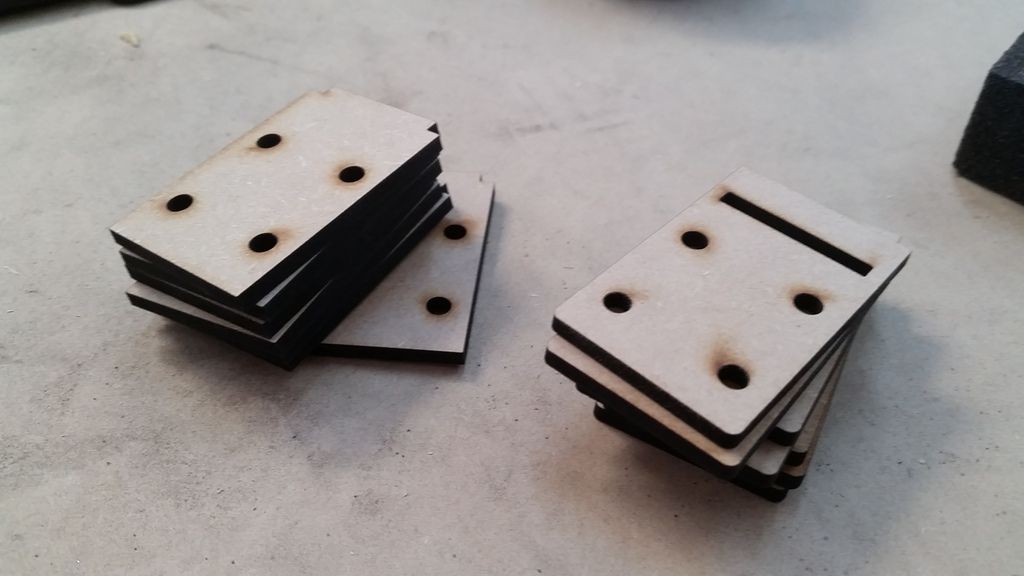
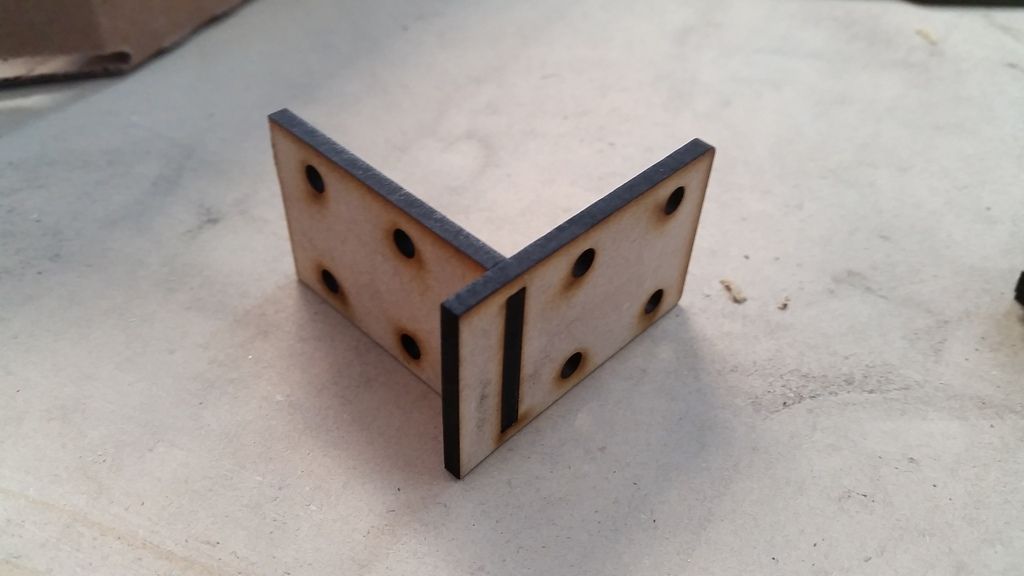
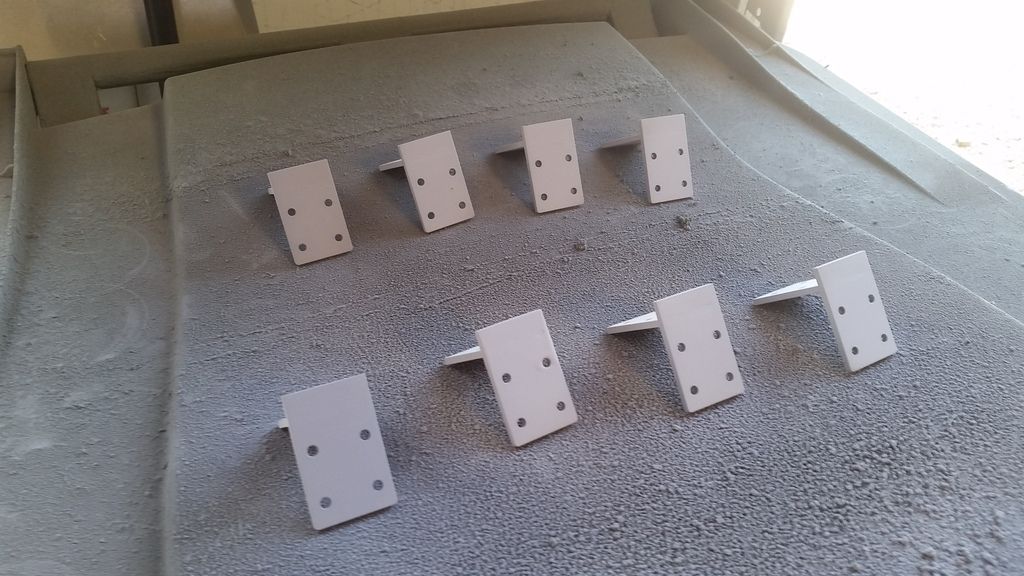
Primer
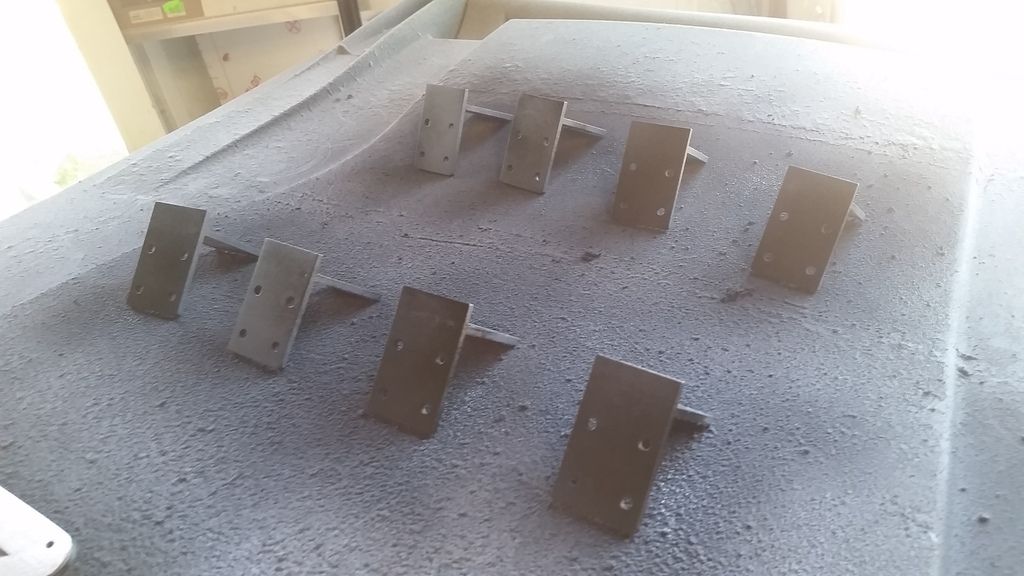
Paint
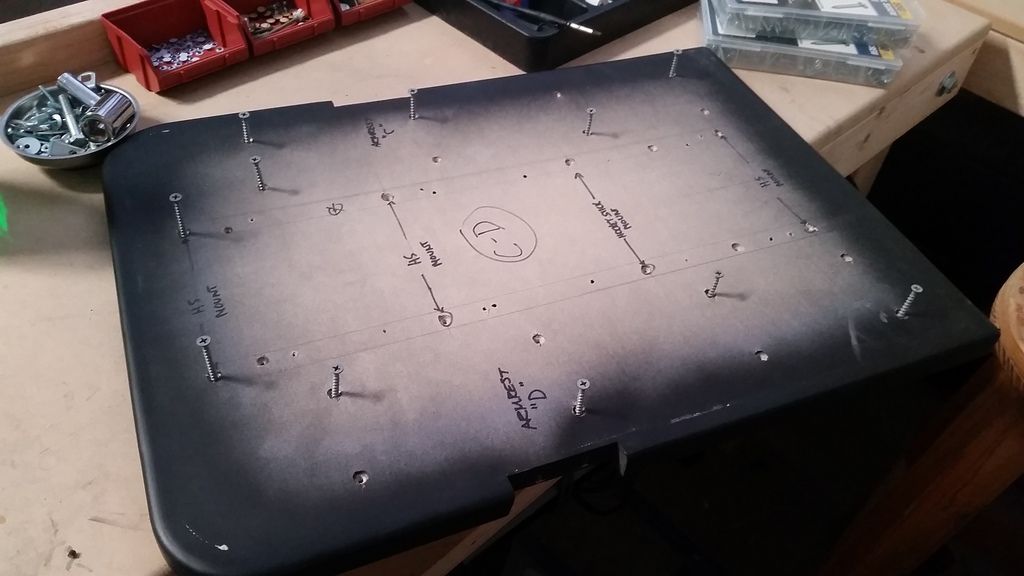
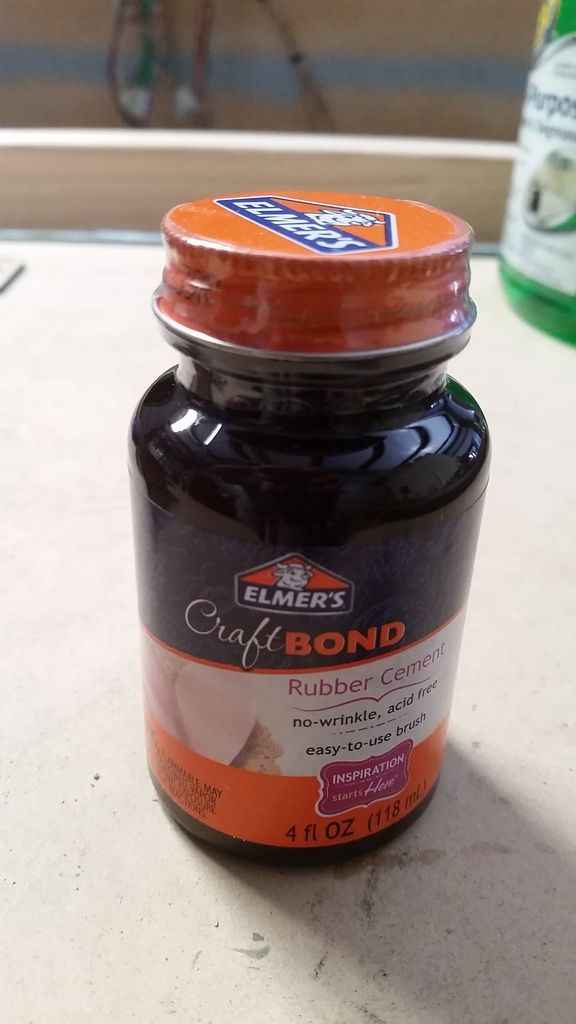
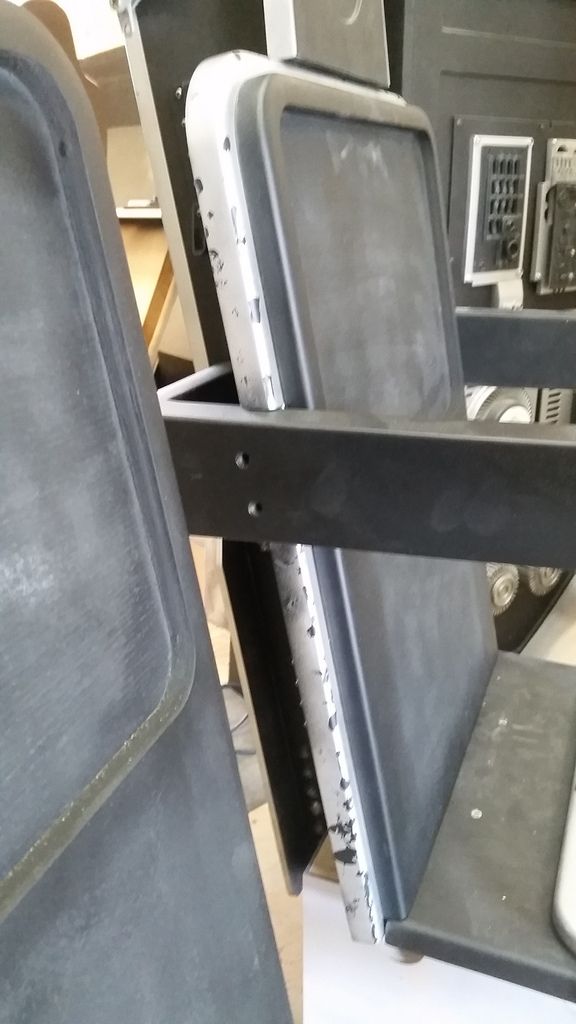
Inspired by fellow RPFer Fuzz, I decided to give a try at using rubber cement as a way to give the appearance of chipped paint. I painted the edges of the panel black
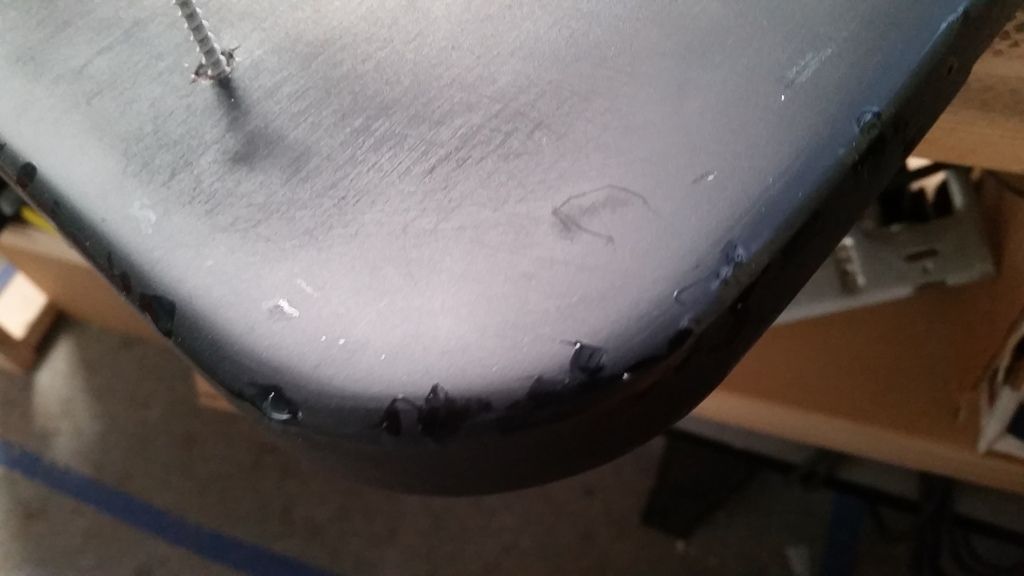
Broke out the rubber cement and dabbed it on as if items had hit the edges
Plop Plop Plop
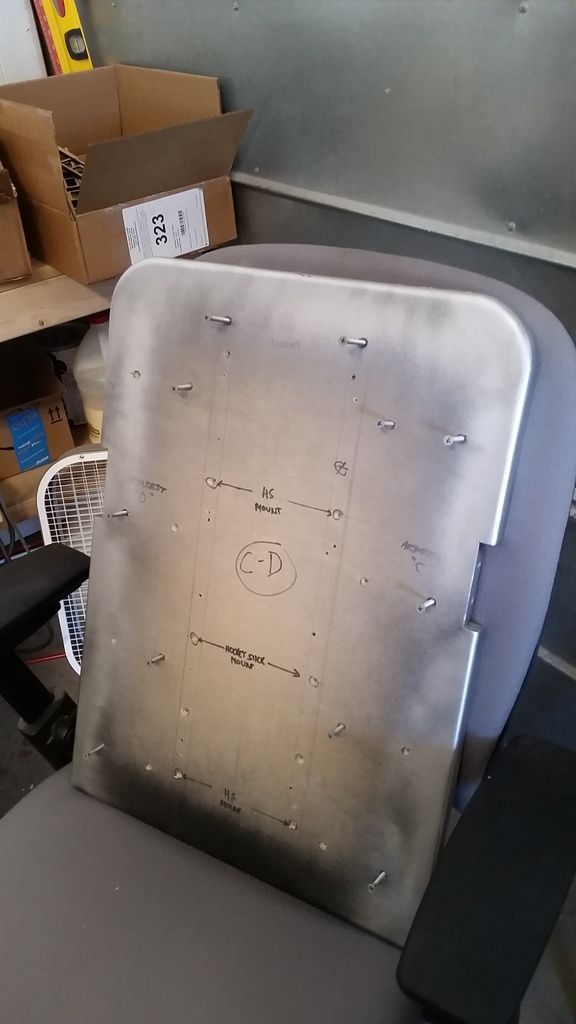
Waited for the rubber cement to dry then sprayed with silver
When the silver dried I simply rubbed off the rubber cement! And Ta-Da!
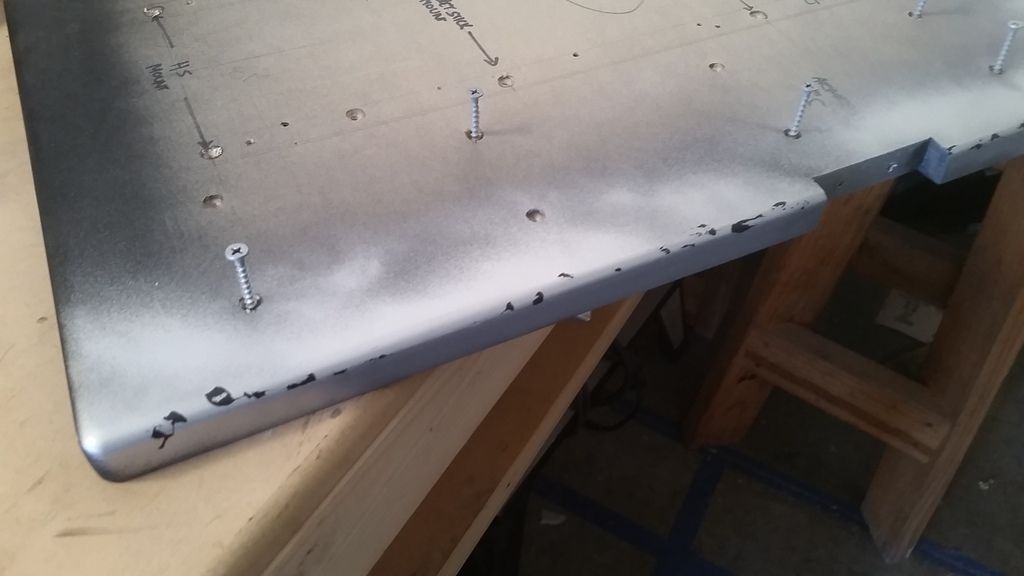
YUCK! It looks like dripped paint!
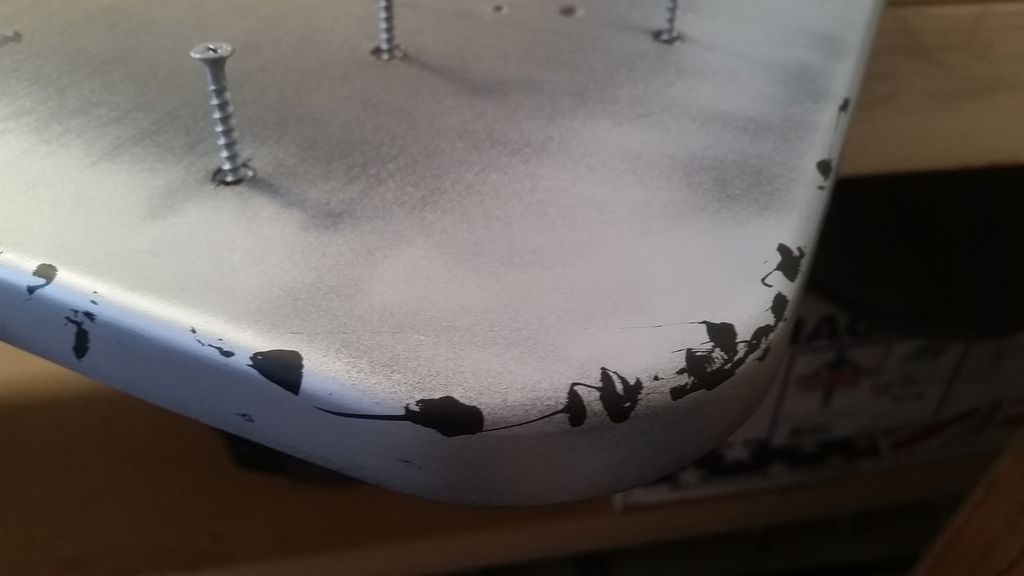
However... A+ technique... F for execution!
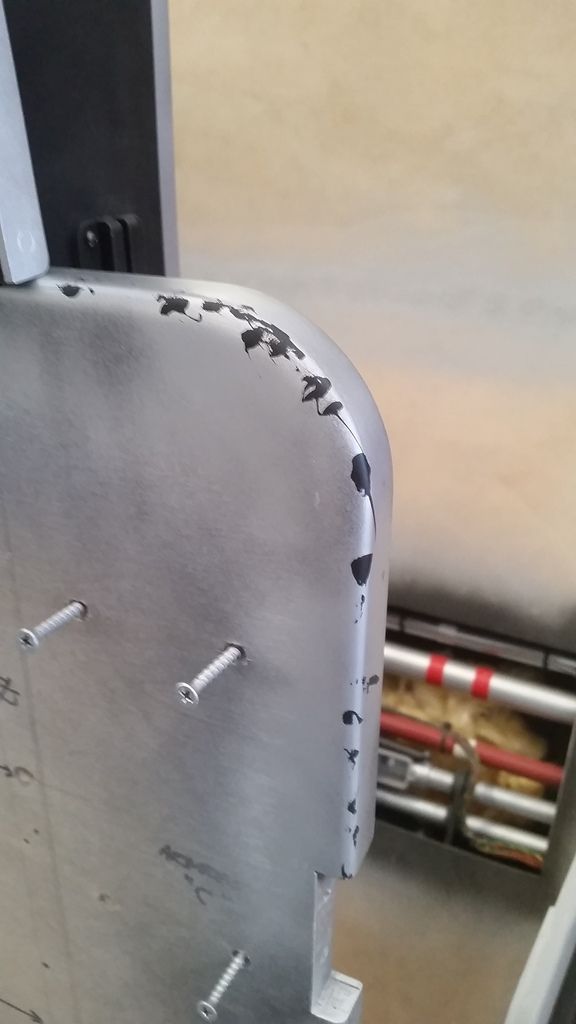
Some areas look good. I need to be MUCH MORE careful with how the cement is applied
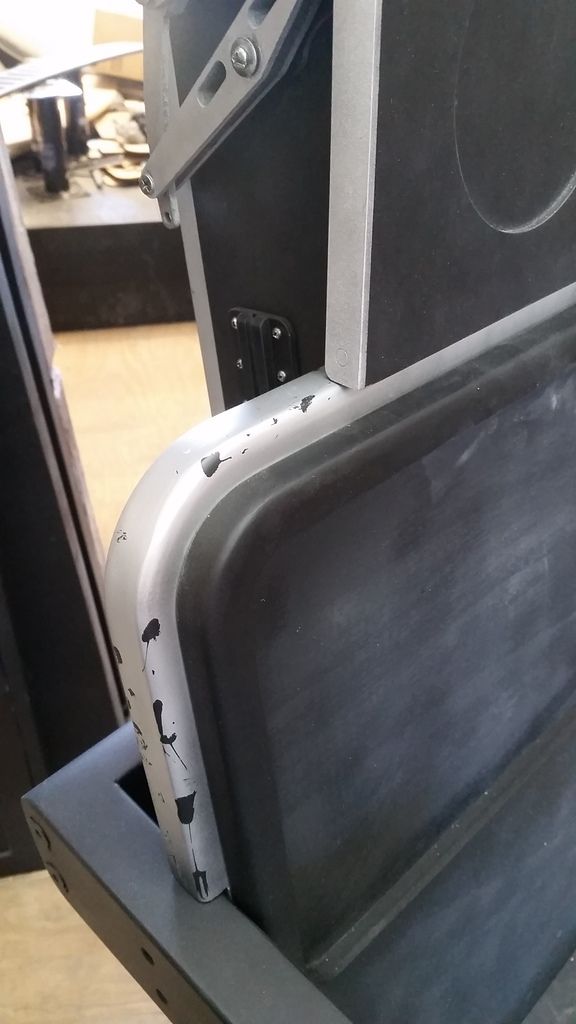
I'll sand smooth and start over
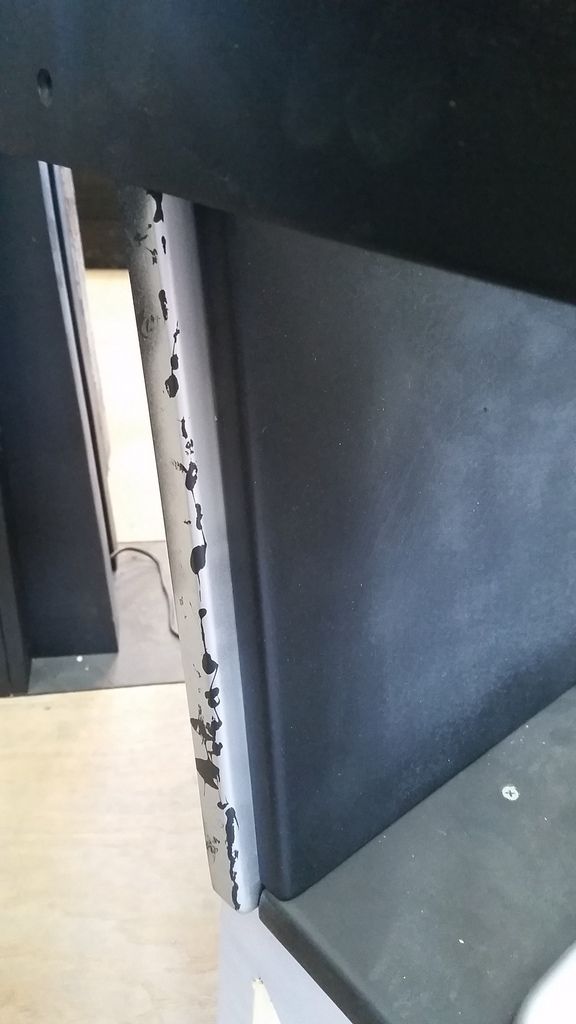
This angle gives a better idea how I want it to look
I cut these nacelle extenders
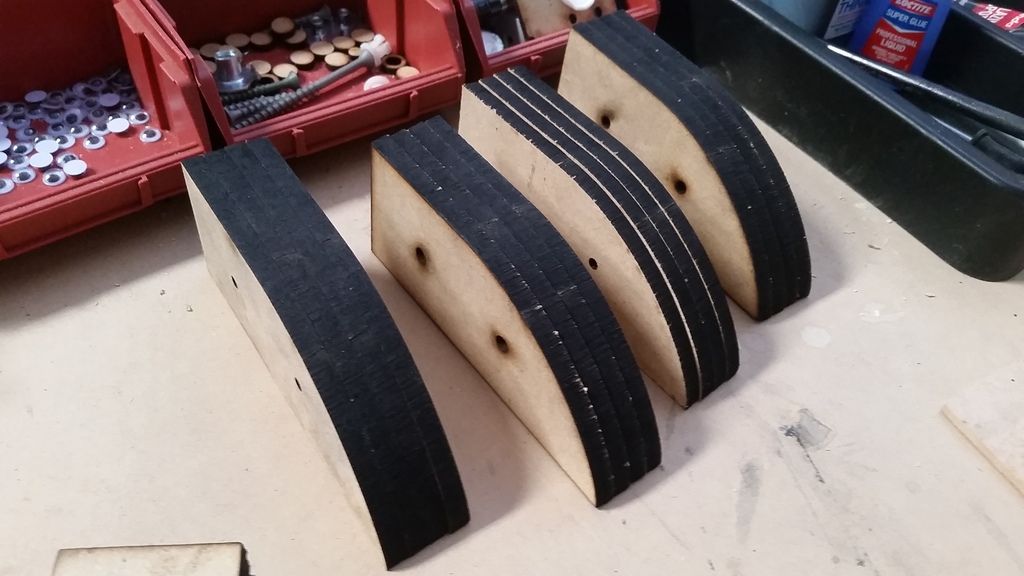
The original idea was to have the interior of the nacelle tips exposed but the covers I created took that away so I cut solid pieces and adhered into place
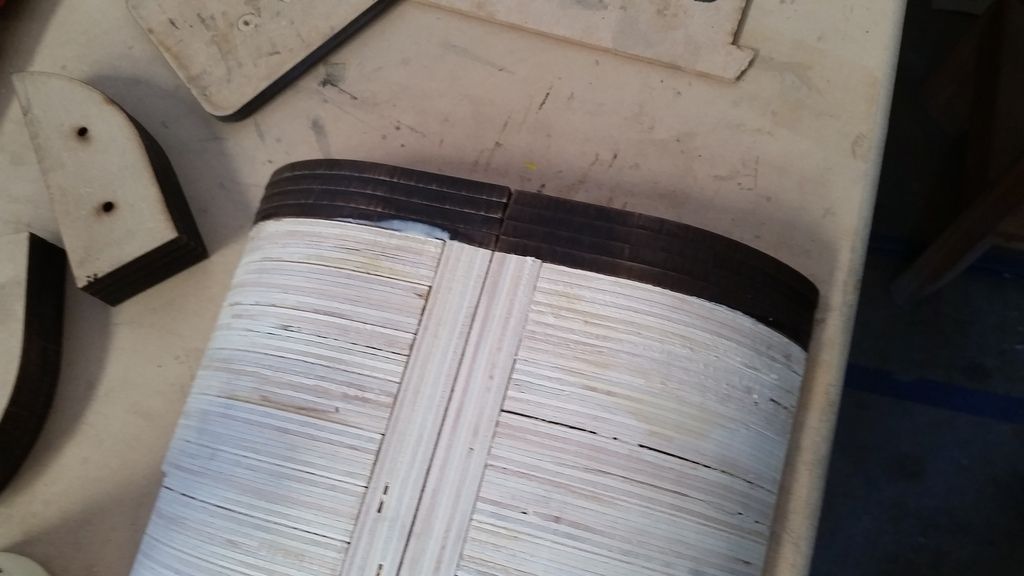
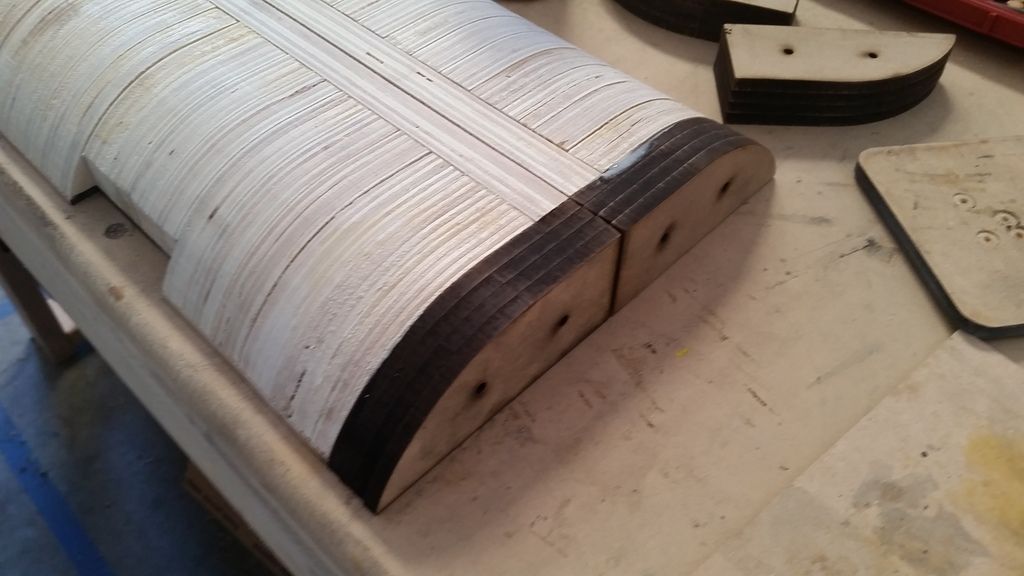
Work continues on the ejection tube cap / guide
Still lots of filler required
Told ya!
Its a never ending process
I really like this piece but I'm not sure if I can put it into it correct position
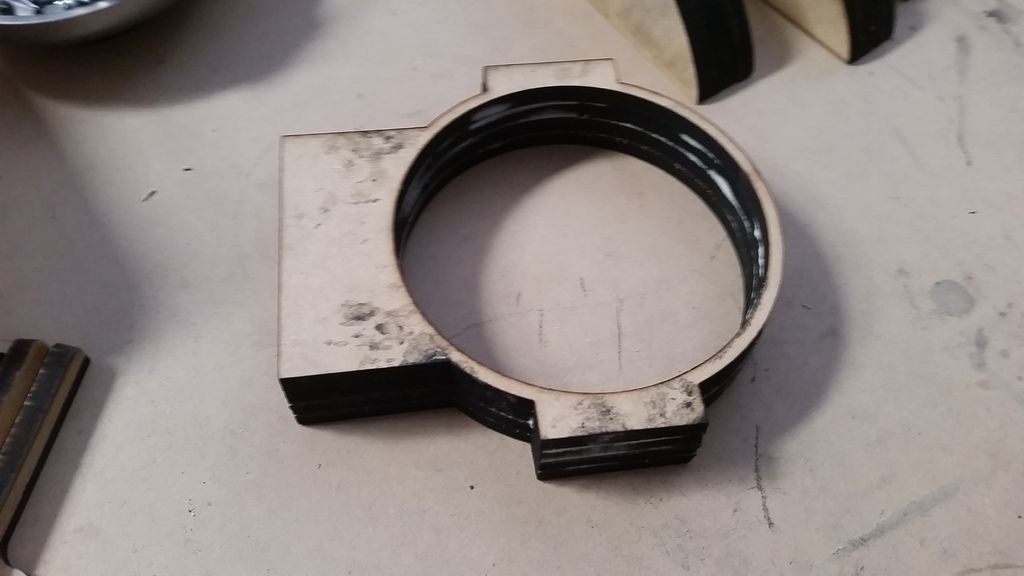
It attaches to the ejection tube and can be seen only from the back
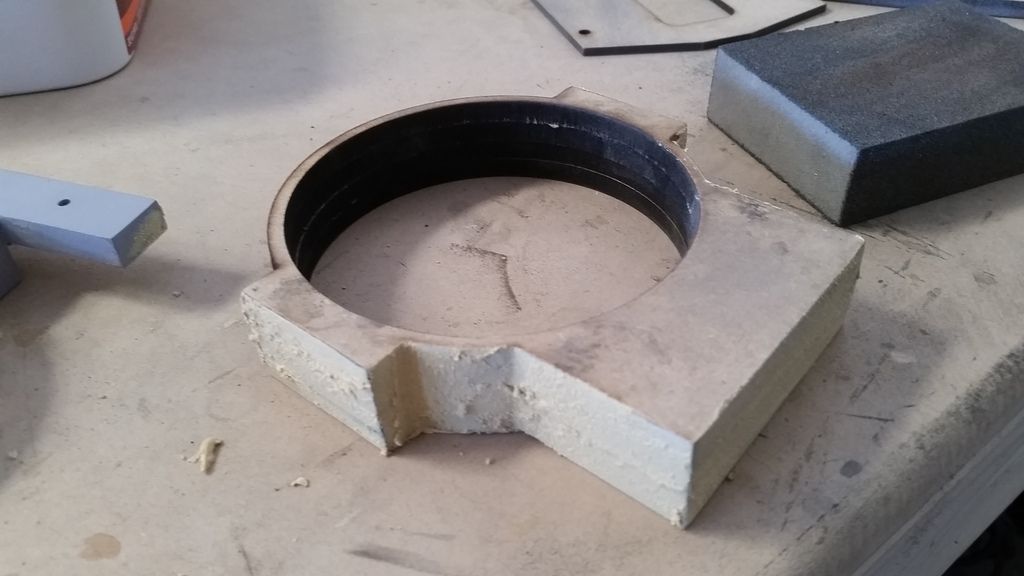
There is a vertical plate
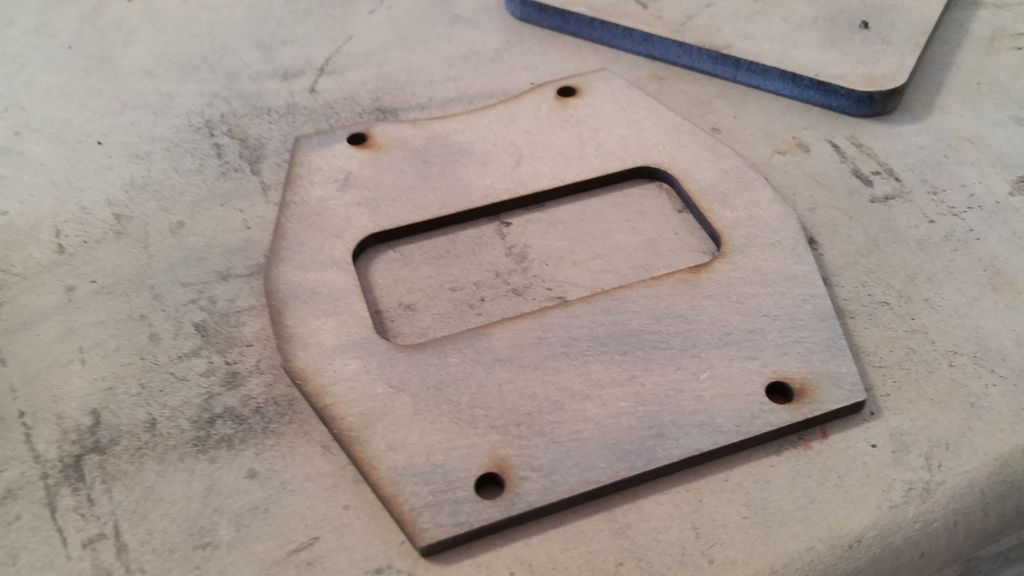
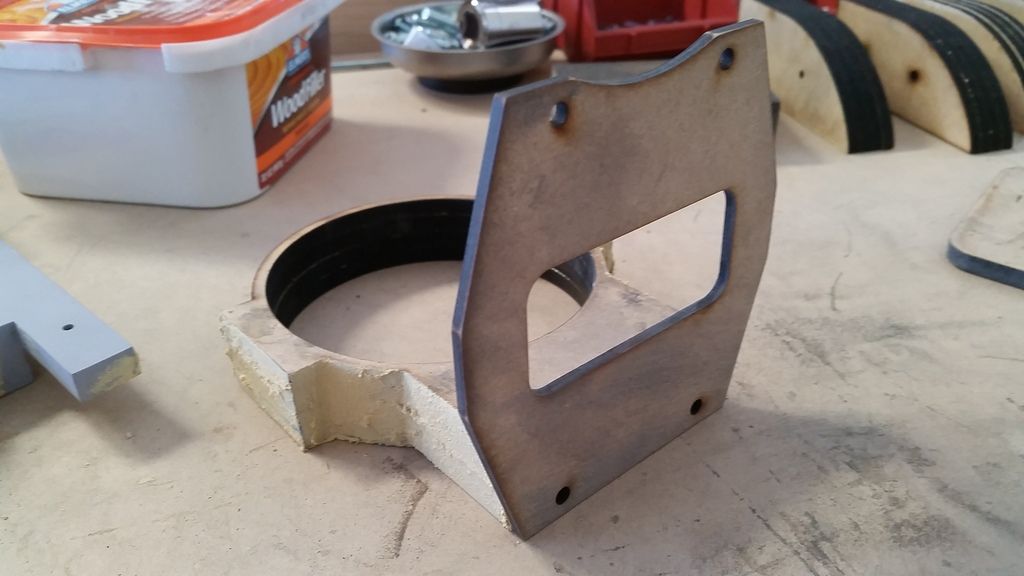
More on this guy later!
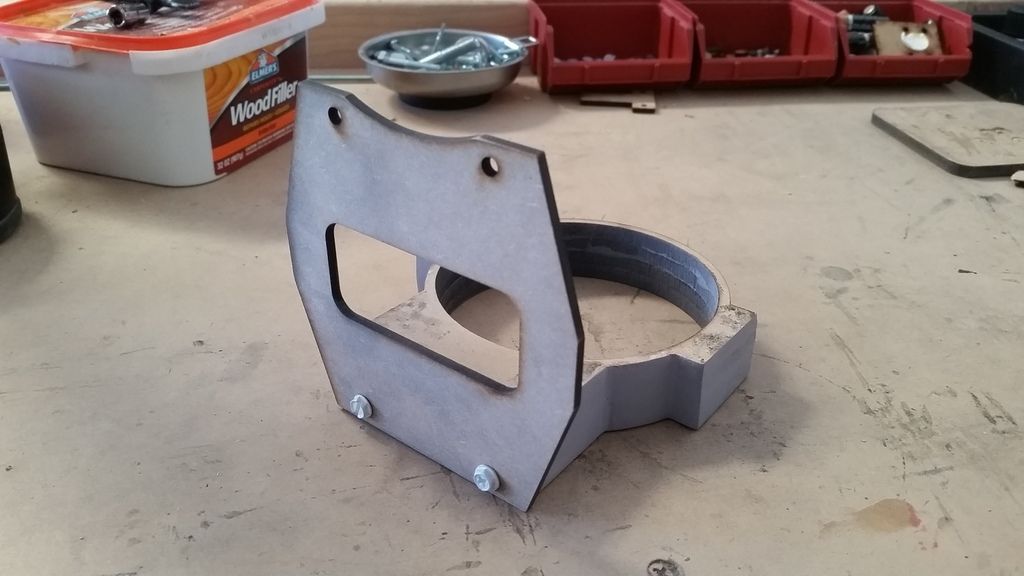
Finally... work continues on the pedestals
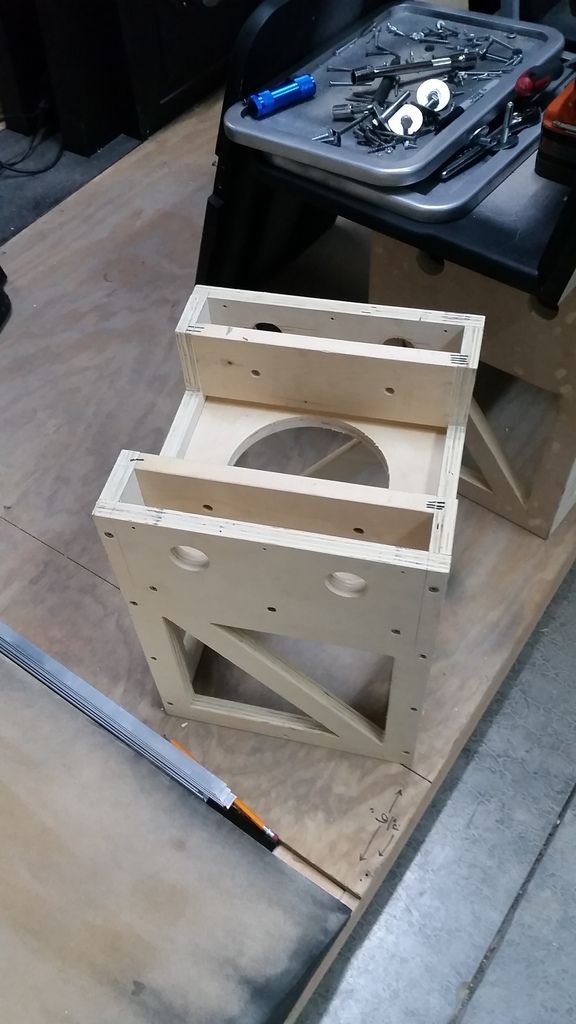
Added all the skins
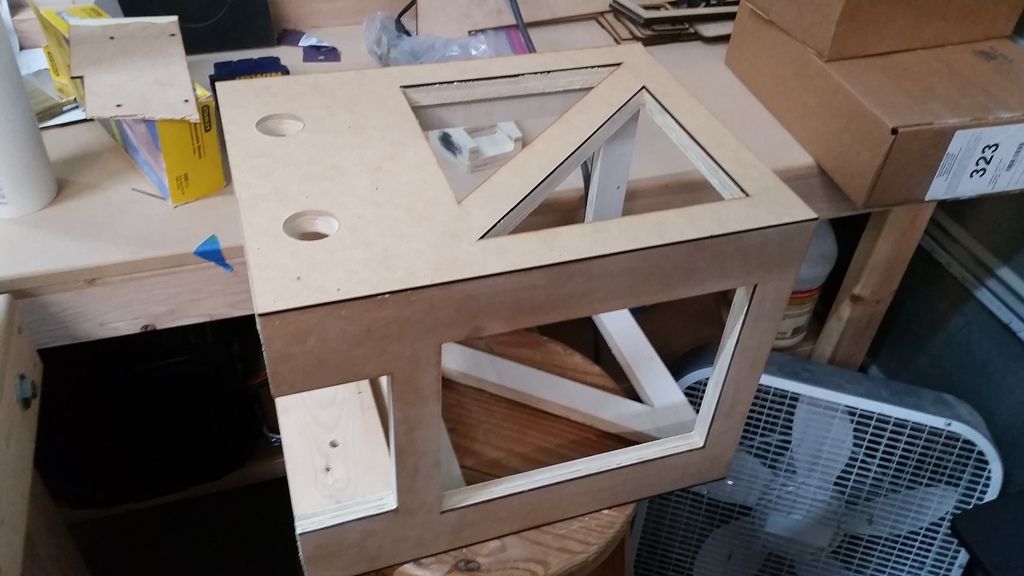
Filler
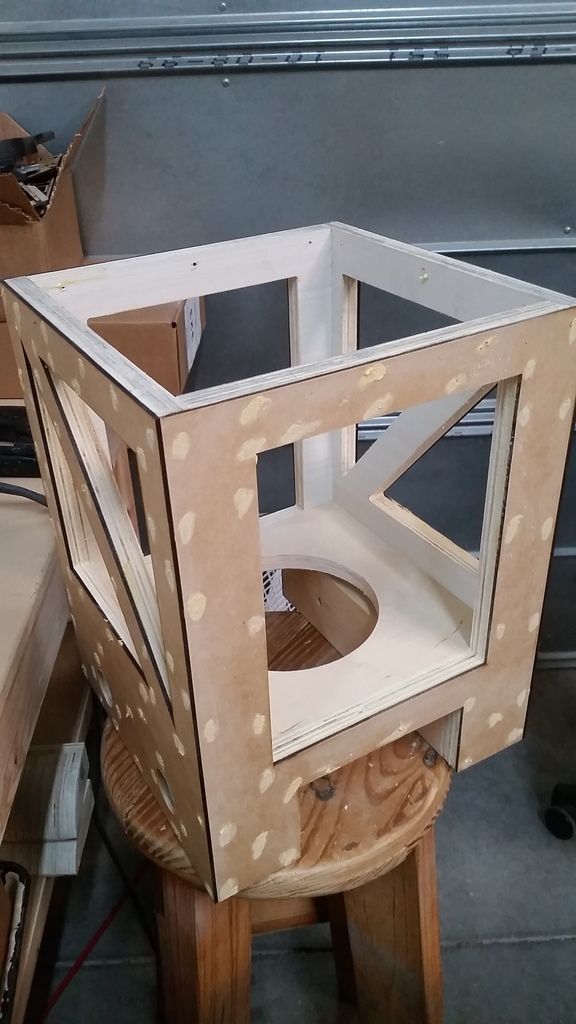
PRIMER! That's a good sign!
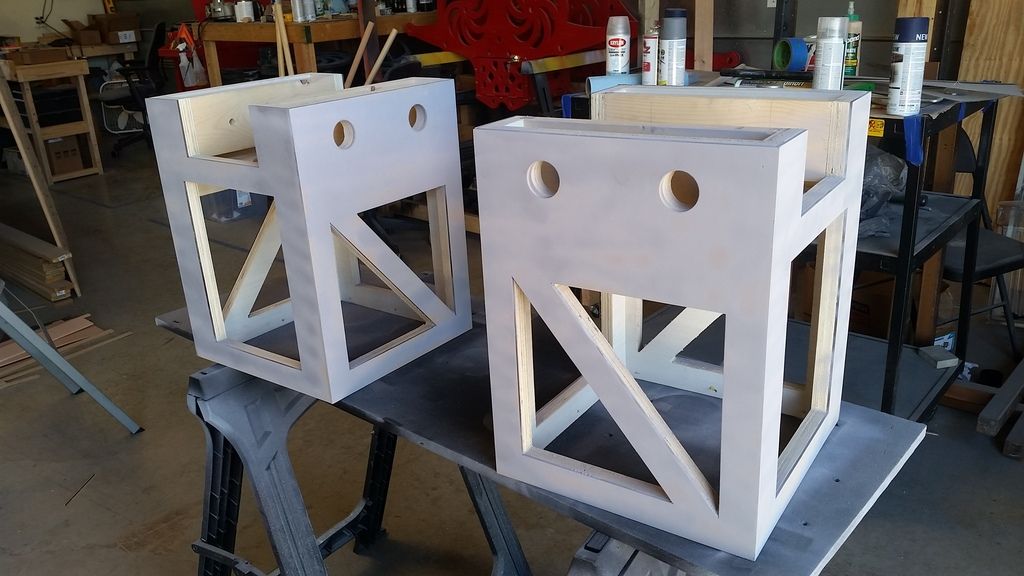
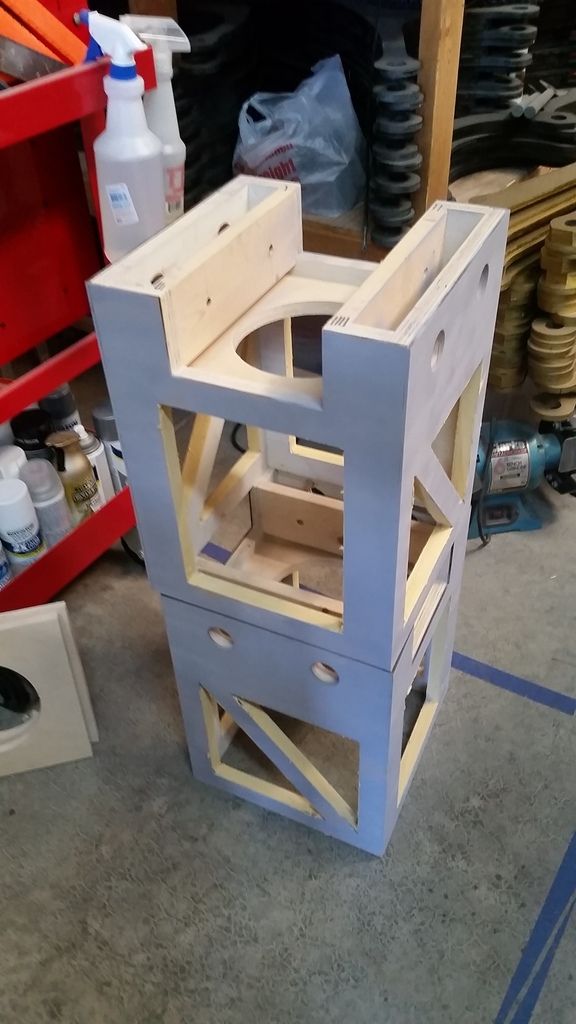
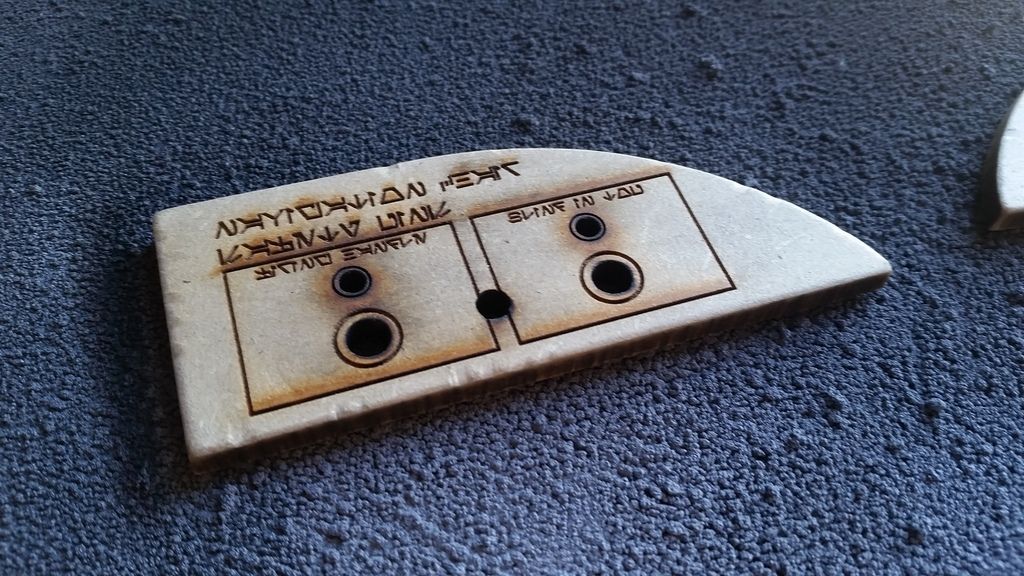
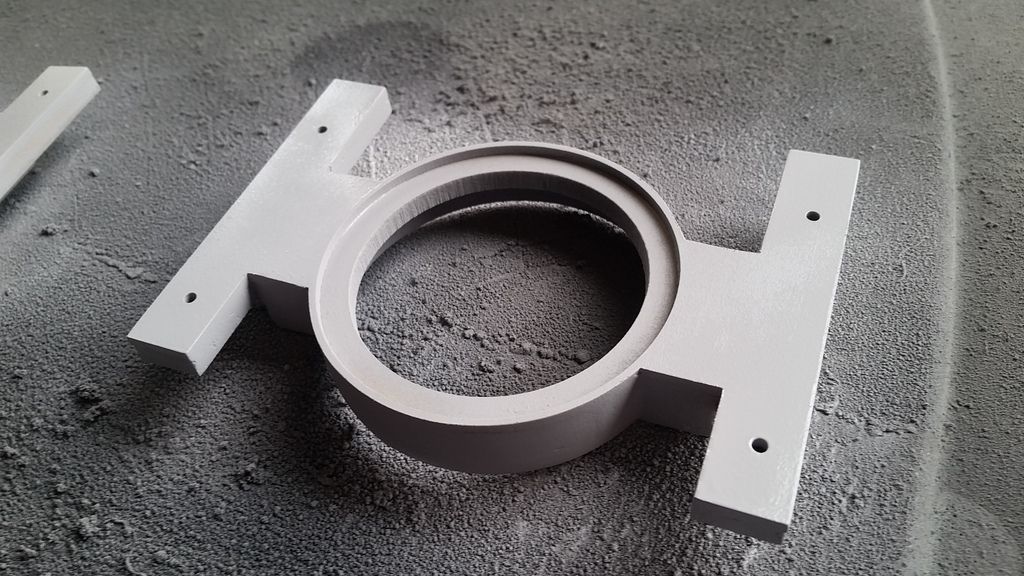
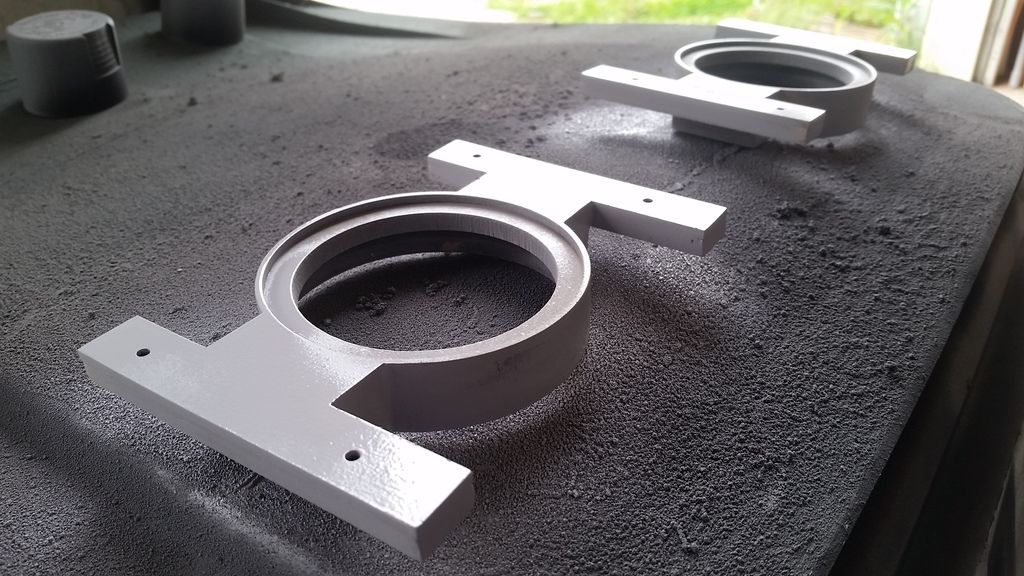
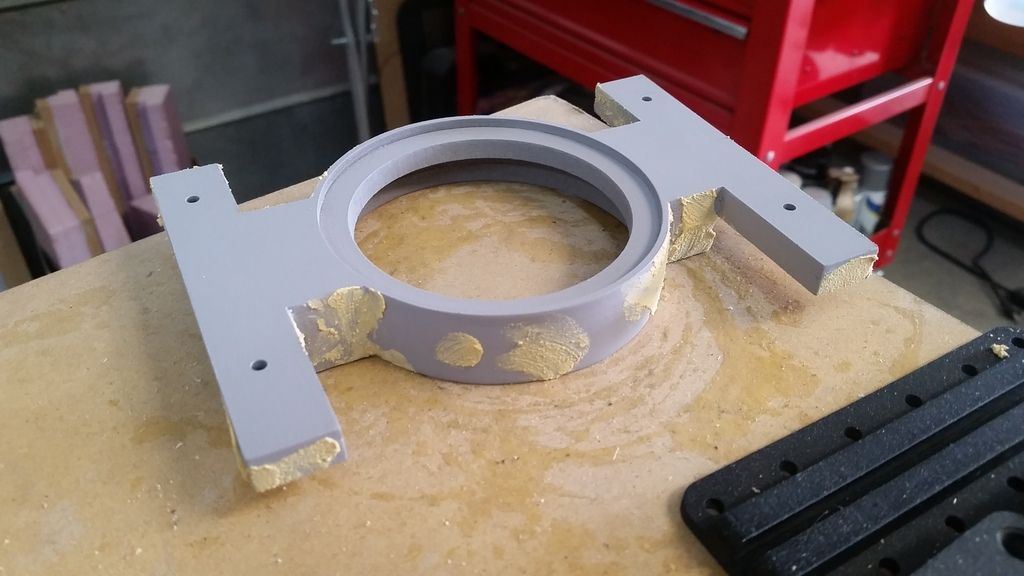
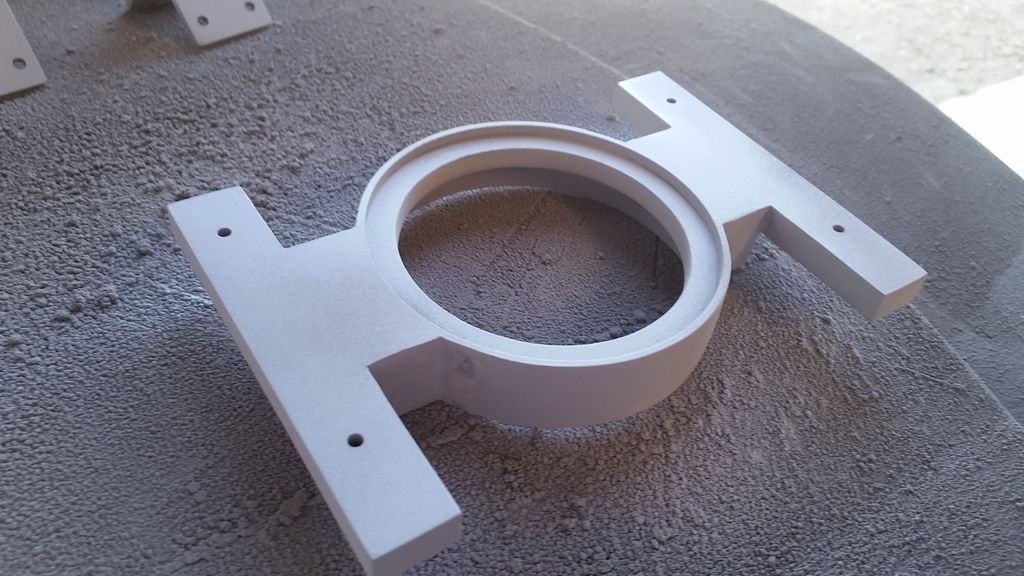
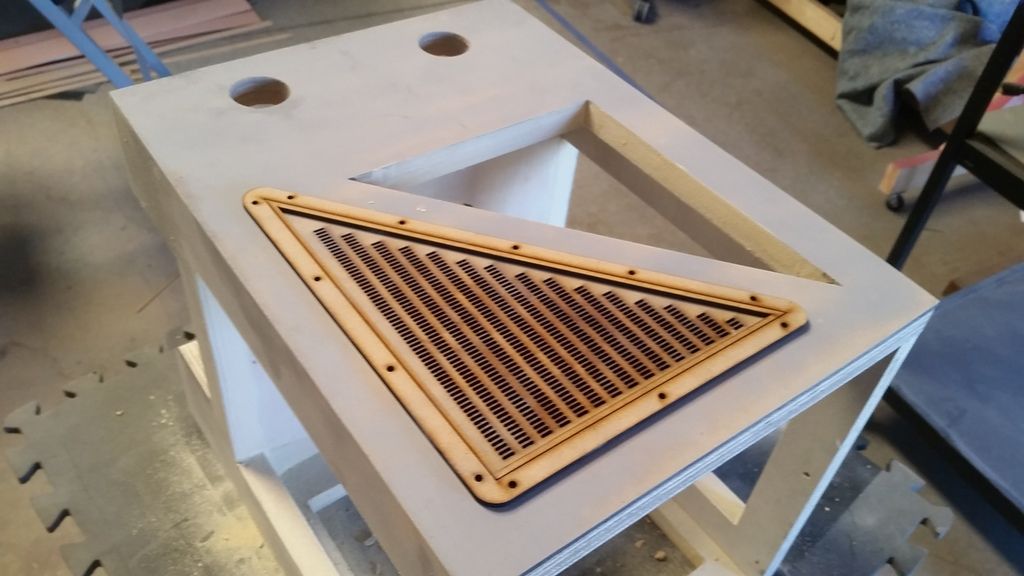
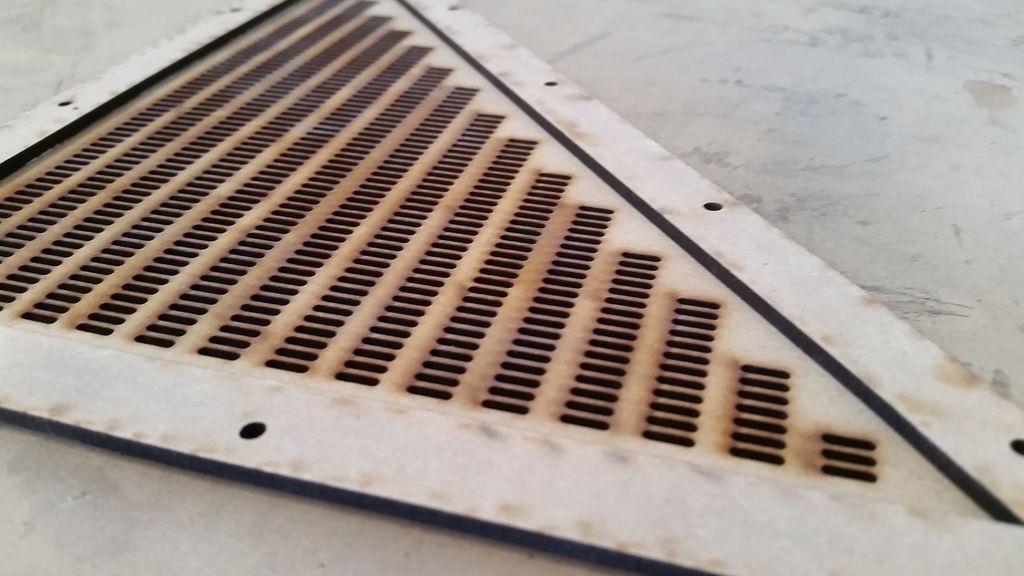
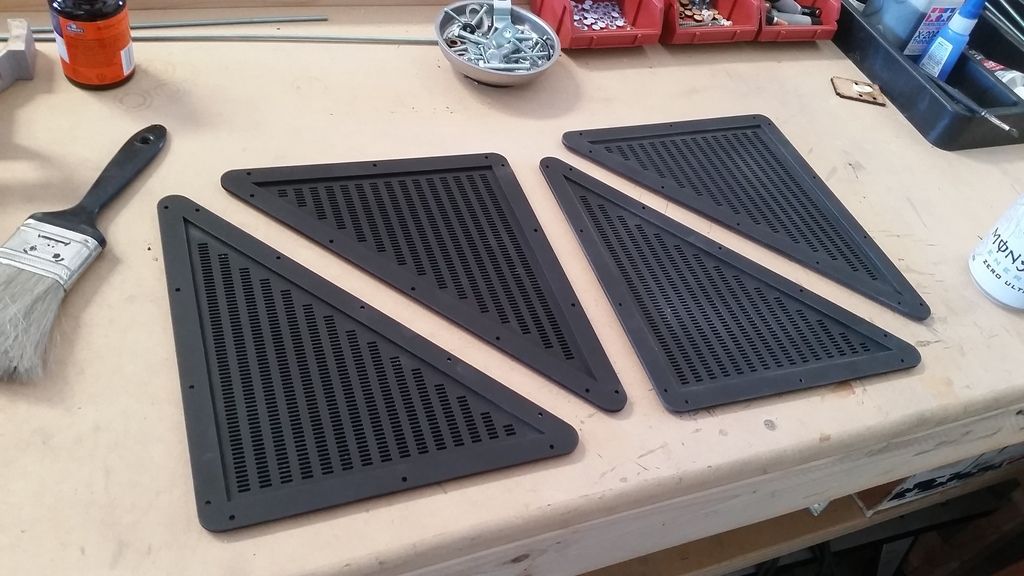
I then had an idea... we DEF want to add more sound to the cockpit and these pedestals would make a GREAT bass housing! So I designed and laser cut these
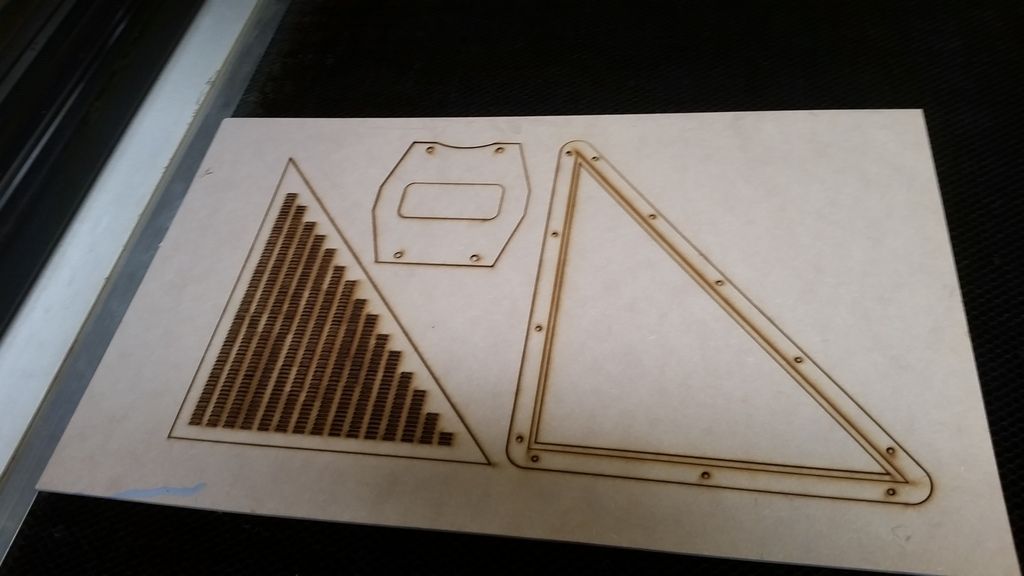
What the heck is this?
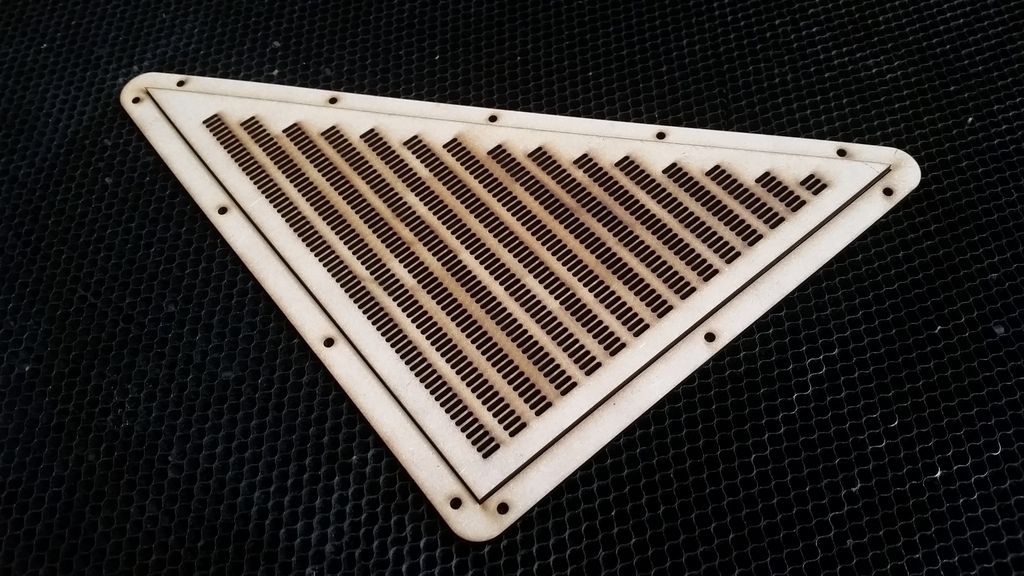
Not only a pedestal detail but also a speaker grill!
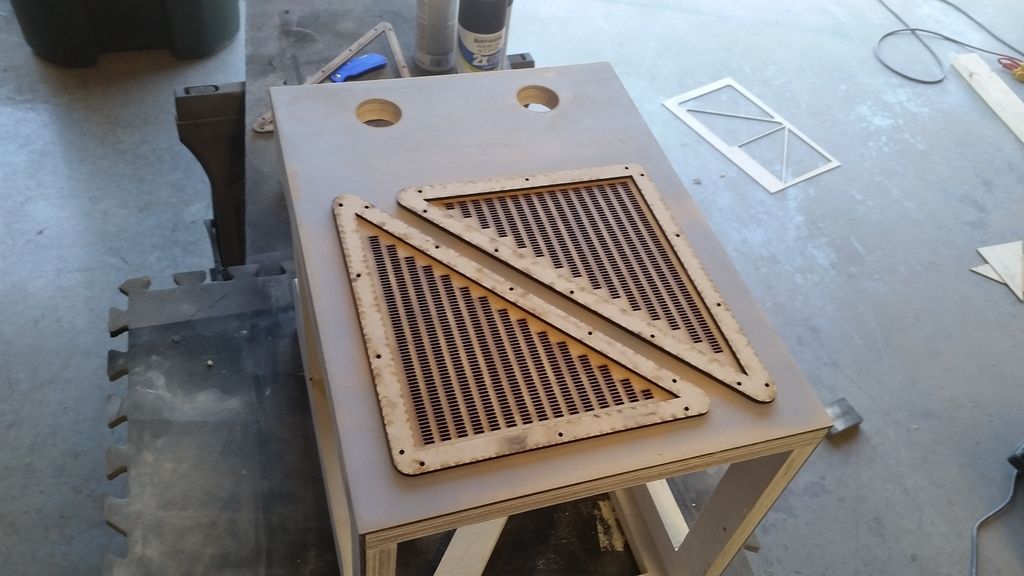
2 More
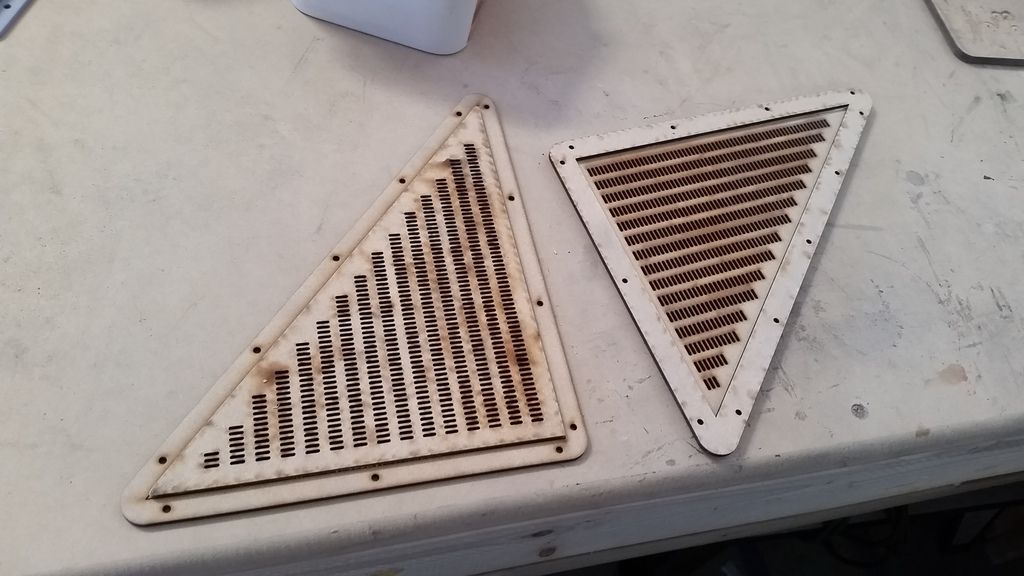
Back side
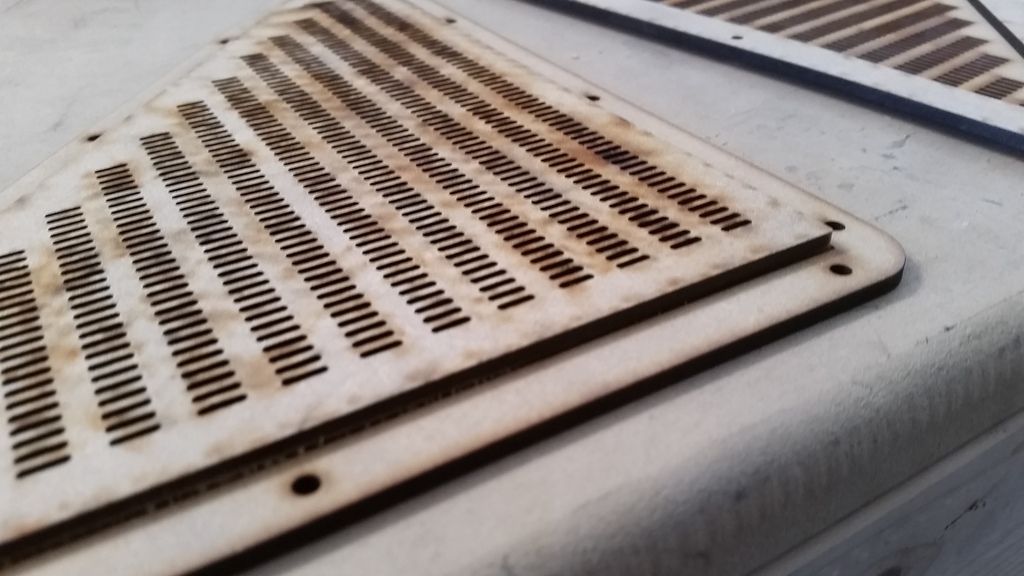
Front
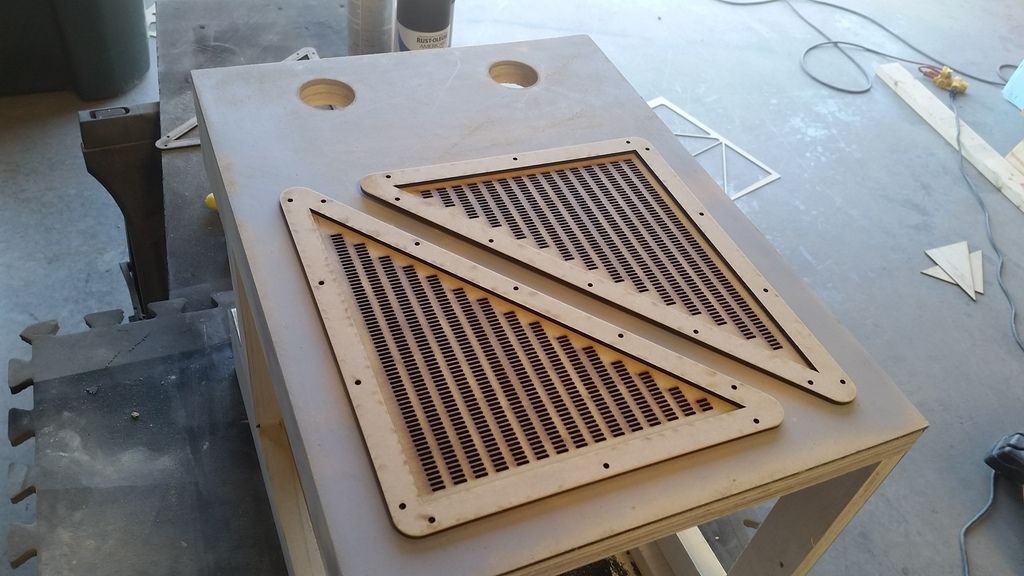
Primed!
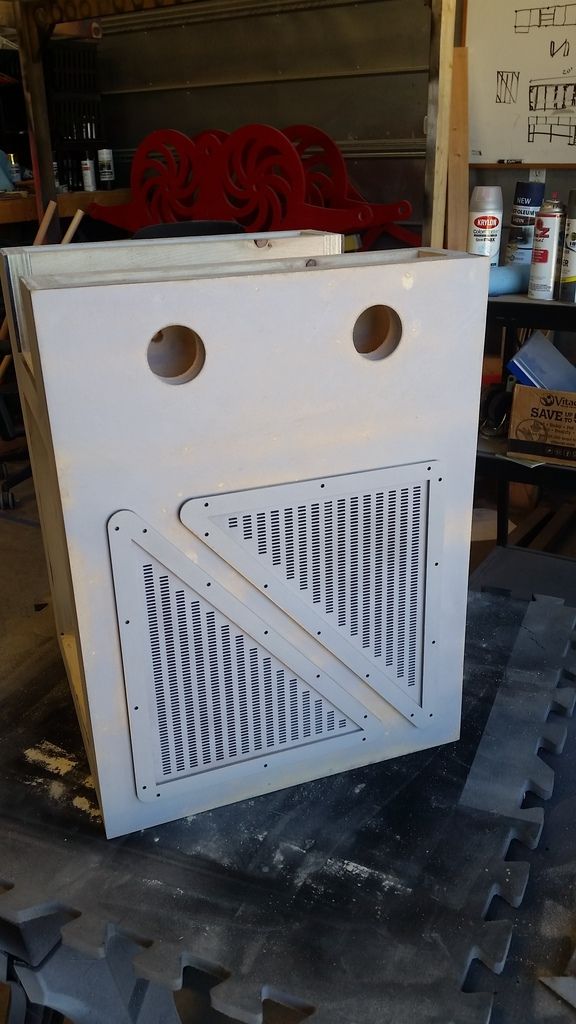
Paint
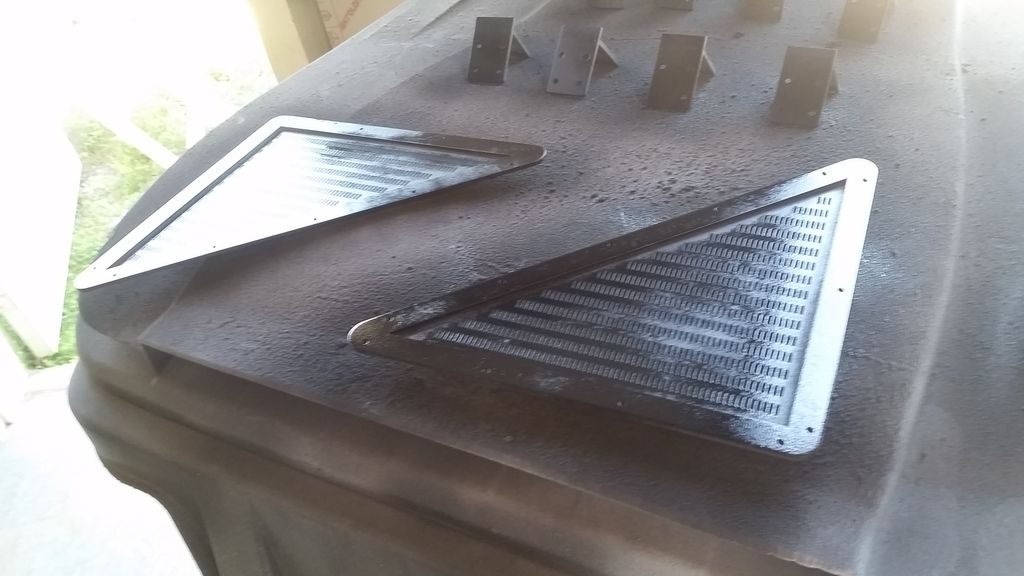
Finishing up this one pedestal
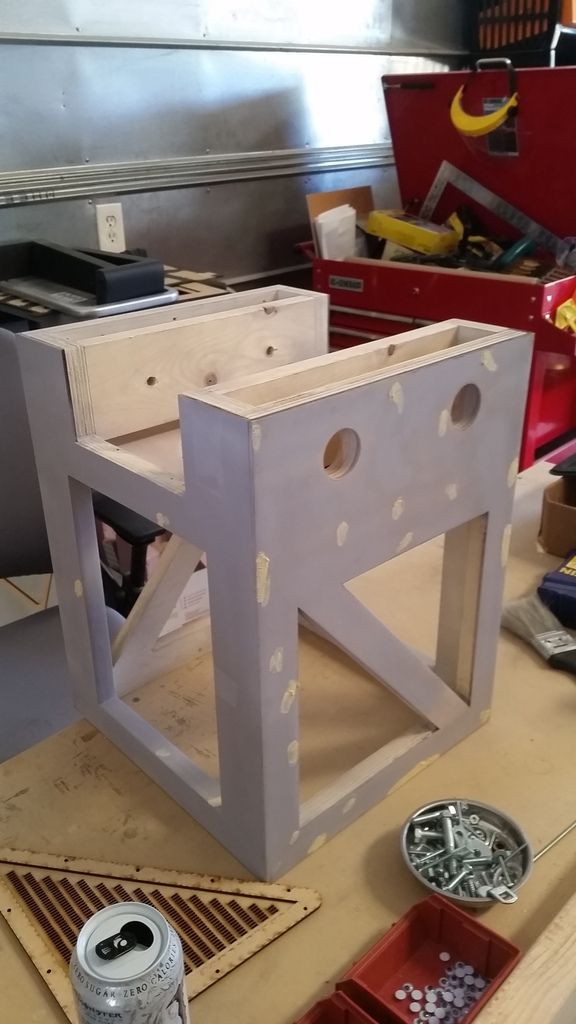
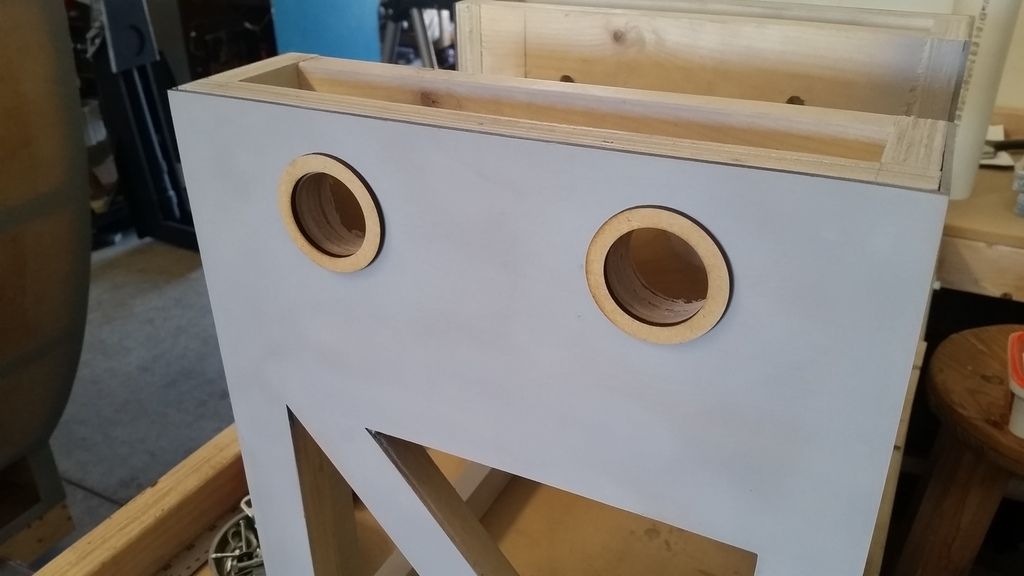
Beauty rings
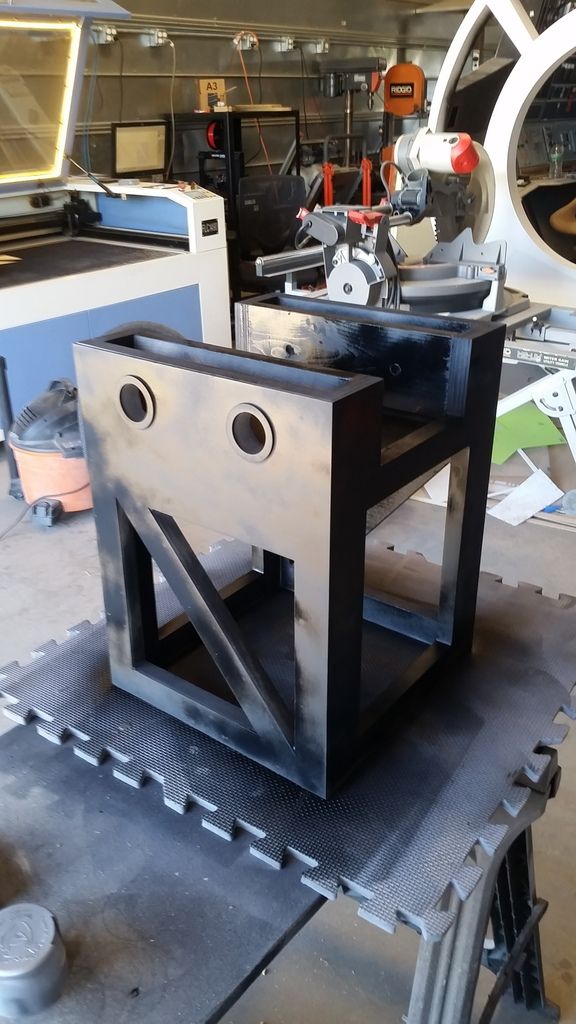
Paint
Grills temp in place... what do you guys/gals think? Yes? No?
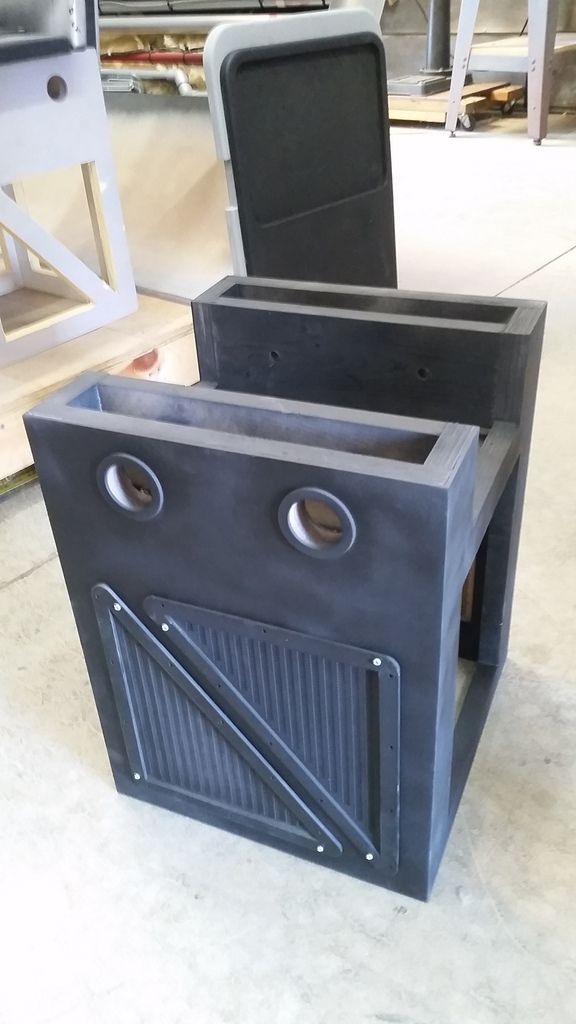
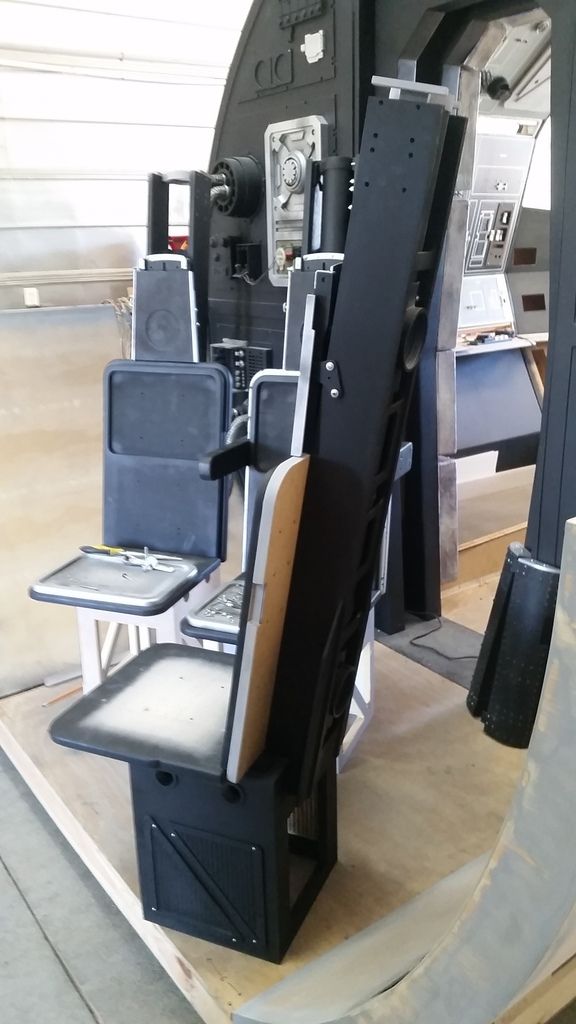
I still have to cover the front / back sides
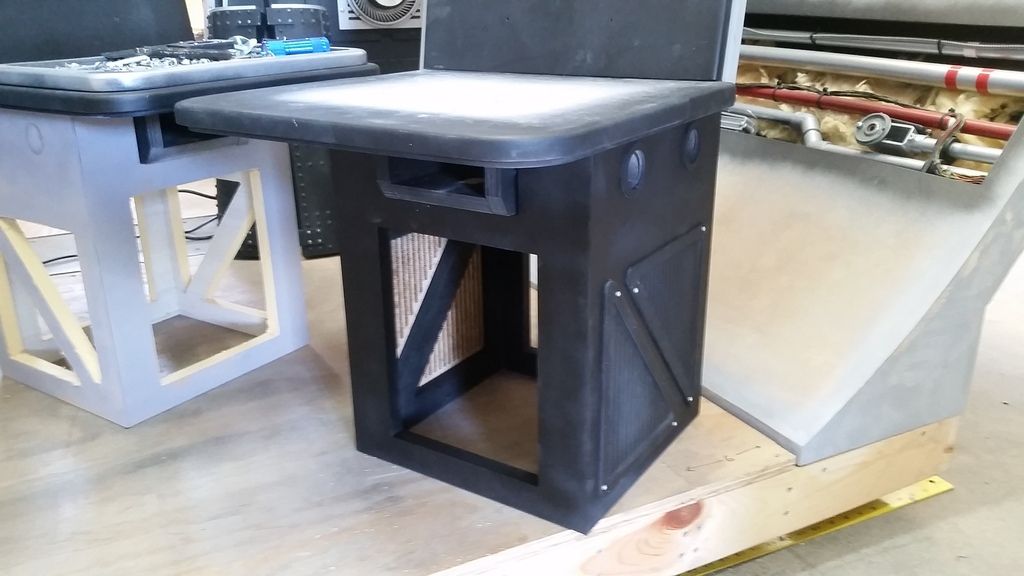
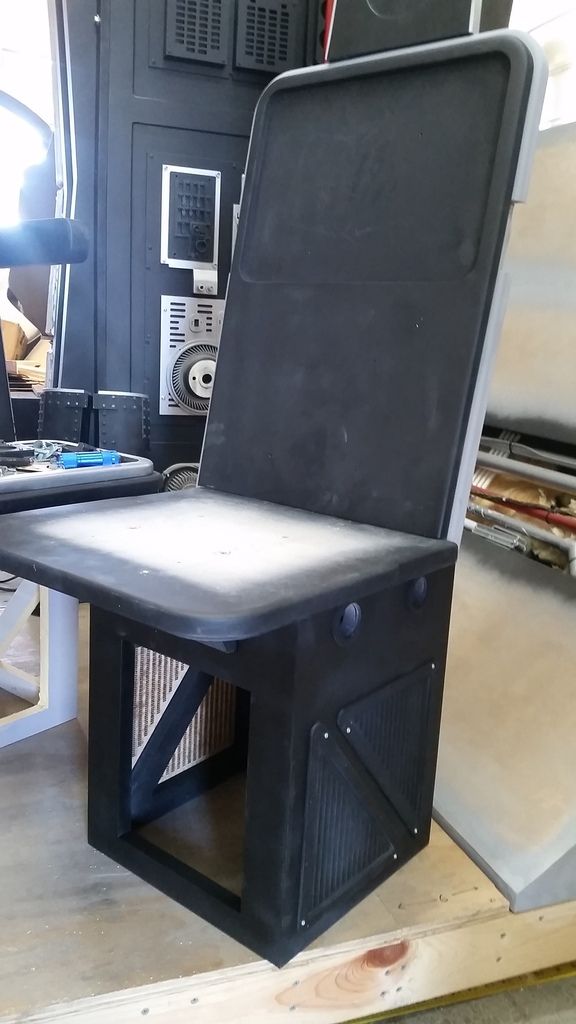
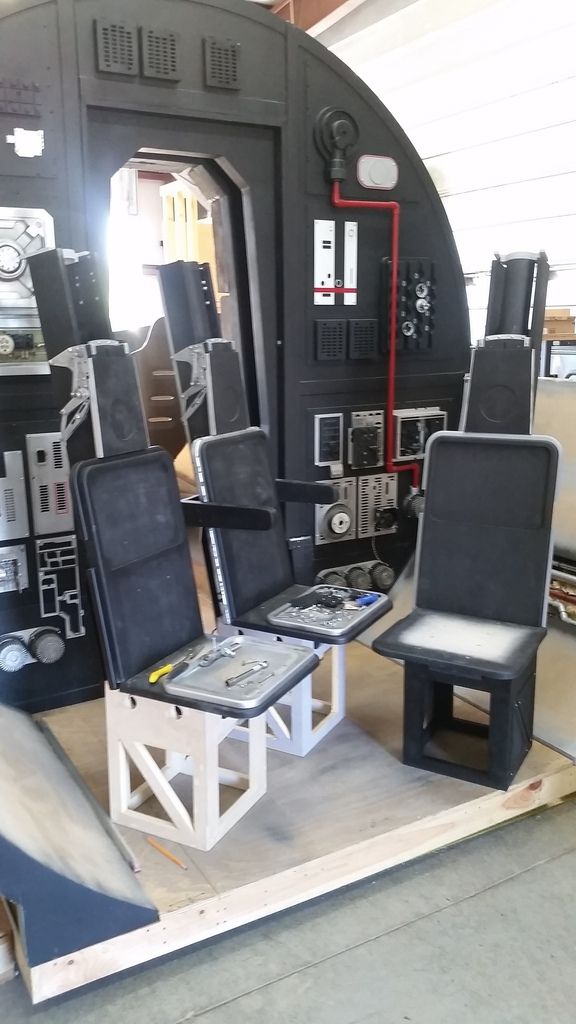
And this...
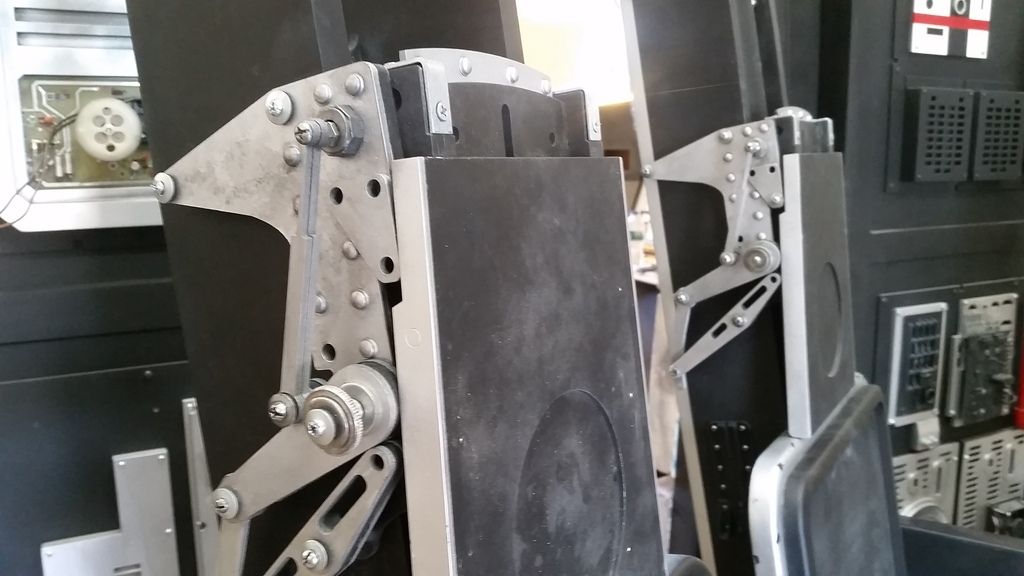
Is where we are!
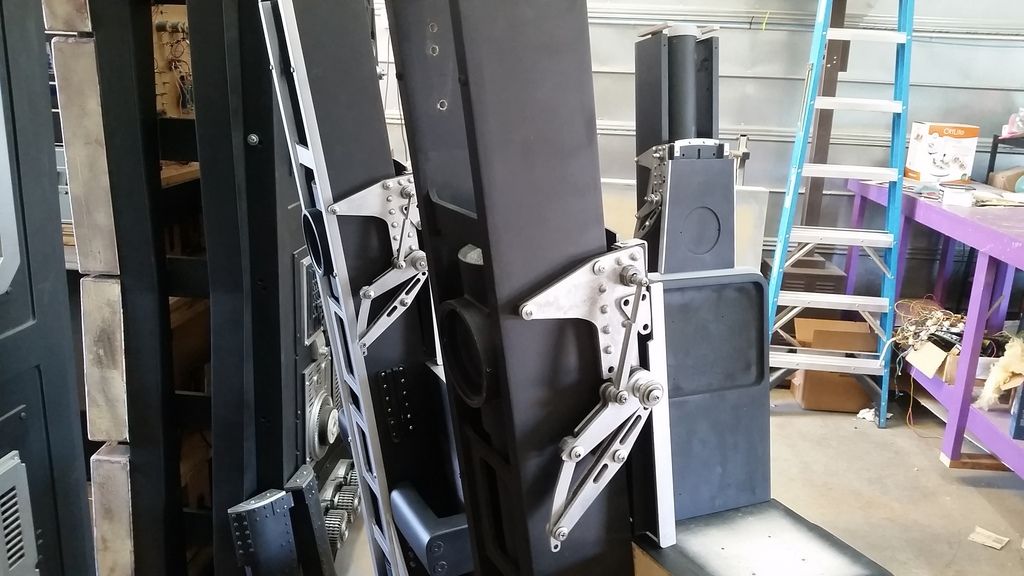
Stay Tuned! More to follow!
Time for another one of those updates again!
First, I accidentally broke a piece... ugh

No worries...


While the paint dried I weathered the new assemblies


And dry fit into position


Interior side mounting plates

From above and in position


I masked off the 3rd and final headrest

Painted

Dry fit


Bolted in place

Looking through more images of the real ejection seat I noticed this little detail


Add some eyes

Primer


Paint

Time to mount and weather!


Love this photo! DEF needs more weathering

Laser cut these new guide plates for the nacelles


Paint

I laser cut new nacelle covers and dented these guys up a little to see how it looks - what do you all think?


Silver


Before weathering

After

Dented versions on the bottom. Yes? No?

I laser cut more nacelle guides


Primer

Paint

Inspired by fellow RPFer Fuzz, I decided to give a try at using rubber cement as a way to give the appearance of chipped paint. I painted the edges of the panel black

Broke out the rubber cement and dabbed it on as if items had hit the edges

Plop Plop Plop

Waited for the rubber cement to dry then sprayed with silver

When the silver dried I simply rubbed off the rubber cement! And Ta-Da!

YUCK! It looks like dripped paint!

However... A+ technique... F for execution!

Some areas look good. I need to be MUCH MORE careful with how the cement is applied

I'll sand smooth and start over

This angle gives a better idea how I want it to look

I cut these nacelle extenders

The original idea was to have the interior of the nacelle tips exposed but the covers I created took that away so I cut solid pieces and adhered into place


Work continues on the ejection tube cap / guide

Still lots of filler required

Told ya!

Its a never ending process

I really like this piece but I'm not sure if I can put it into it correct position

It attaches to the ejection tube and can be seen only from the back

There is a vertical plate


More on this guy later!

Finally... work continues on the pedestals

Added all the skins

Filler

PRIMER! That's a good sign!


I then had an idea... we DEF want to add more sound to the cockpit and these pedestals would make a GREAT bass housing! So I designed and laser cut these

What the heck is this?

Not only a pedestal detail but also a speaker grill!


2 More

Back side

Front


Primed!

Paint


Finishing up this one pedestal

Beauty rings

Paint

Grills temp in place... what do you guys/gals think? Yes? No?


I still have to cover the front / back sides


And this...

Is where we are!

Stay Tuned! More to follow!
Hi SK!
While browsing for motion simulators (a crazy idea of mine involving a "Banshee" from Avatar and VR) I stumbled upon this video: https://www.youtube.com/watch?v=FV8PMwbGh08?t=10m40s
And it got me thinking: you made a superb job on the Falcon cockpit, but did you ever though about setting it up so that it could mimic the Falcon's flight? like the greebles and gadgets actually made something work? it would be amazing to not just walk into the Falcon (you got that down to a T!) but if you were to turn it on and take off (lights and sound included). Maybe it is worth 5 minutes of discussion, and I don't mean to hijack your thread, maybe not, but one can only wonder, and with the new Star Wars Land coming up which will supposedly have a flyable Falcon, maybe you could be one step ahead of Disney here.
Cheers buddy!
Hey BK,
We've been toying with the idea of turning the cockpit into a "sort" of flight sim but it would take some serious money to make functional yokes - not to mention to reinforcement of the console. We might get away with it using XBox or PS controllers but that would DEF take away from the overall experience.
Its not out of the question and any flight sim would be cool! Again, we're DEF looking into it!
- - - Updated - - -
Thinking like that is definitely a bruce thing I have previously made same suggestion I've also suggested changing the glass panels of the windows to tv screens so as you can play clips of the falcon flying (like approaching death star)
Hey LB,
I really like the idea of having a IMAX style screen wrapped around the cockpit to give a full view experience but again... money! Enclosing the cockpit creates/retains an incredible amount of heat so venting would be necessary. But again, everything is possible but we're restricted to what we can afford...
- - - Updated - - -
Nice idea, although besides the tv-as-windows, I would also like to see the greebles actually DO something, trigger things, lights and sounds.
As of right now I think I've convinced the guys to make every toggle switch (250+) have some sort of function - whether light or sound. If we go "Flight Sim" then the switches and throttles would DEF have specific flight related tasks!
I love the idea!
BruceKenobi
Well-Known Member
Hey BK,
We've been toying with the idea of turning the cockpit into a "sort" of flight sim but it would take some serious money to make functional yokes - not to mention to reinforcement of the console. We might get away with it using XBox or PS controllers but that would DEF take away from the overall experience.
Its not out of the question and any flight sim would be cool! Again, we're DEF looking into it!
- - - Updated - - -
Hey LB,
I really like the idea of having a IMAX style screen wrapped around the cockpit to give a full view experience but again... money! Enclosing the cockpit creates/retains an incredible amount of heat so venting would be necessary. But again, everything is possible but we're restricted to what we can afford...
- - - Updated - - -
As of right now I think I've convinced the guys to make every toggle switch (250+) have some sort of function - whether light or sound. If we go "Flight Sim" then the switches and throttles would DEF have specific flight related tasks!
I love the idea!
Hi SK! it's great that you guys are also thinking about it. I can see the reinforcements needed to withstand the shaking, the idea would be NOT to take away from the experience, but to enhance it.
You are very right about venting, and I'm not sure where you could have AC ducts, although I'm sure the original set had some, and the "in-universe" ship also had some ducts, maybe they are not as obvious? Now thinking about functional (as in flight-related) switches and throttles on the Falcon makes me drool already. Do you think there would be a way to quantify how much it would be needed to make it happen? I've seen some flight sims on the internet, so there is some road covered by other people maybe a donation drive....I dunno....I'm brainstorming here, it's just that the idea is so fascinating!!!
Loosebruce704
Member
I always thought the easiest place to start from would be to find an old simulator fairground ride. then simply change the existing body for the cockpit this way you already have a portable powered unit that comes with powerful enough rams to lift up and move (tip back to front side to side etc). obviously I don't know how available stuff like that is over there and how much but would certainly in my opinion give best starting point and then as well it becomes a ride.
on a side note I've always had similar ideas to create a x wing cockpit and connect it to a pc playing the old x wing games.
part of me hopes Disney does a mass simulator where you go in as 24 people 12 in x wings 12 in ties and you dog fight for say 10 mins highest scoring team wins how cool that be flying a x wing in a sim against other people.
loosebruce
Daboudzi
New Member
Hello there!
So yes for the dented version... and yes for the pedestal grills speakers.
The trick with the rubber cement to create that special effect is very interesting.
I'd like to point out, that weathering/ paint chipping...has to make sense.
For example, weathering costumes you have to think of where is the most friction, most likely where the fabric will be more damaged... so in the elbow, the knee and the butt area , there,s gonna be color/dirt around the hem of the pants , the sleeves, around the collar...so you have to think about where the object is gonna get more damaged, attacked, scrubbed or touch, where is the friction is going to be...
this is the secret to have a more realistic feel to weathering...
so you have to be more careful... and not creating a random effect that doesn,t feel real... our brain can feel it but sometimes we,re not able to say what,s good or wrong...
I know that you have to be all those departments , all at once... plans, building, finances, technical stuff, electrician, research and painters and artists...
so I wish that I could help you in some way...
Can,t wait for the next updates,
Cheers .. Éric
BigBigDave
Active Member
I also say "yes" to the dented version and the pedestal grills.
In regards to the paint chipping effect with the rubber cement, I agree with Daboudzi but would also add that doing the black layer first, then the rubber cement, then the silver creates the illusion that the base material is something black and it's been painted over with silver paint, which has then chipped. I think you want to reverse that - base it with silver, then rubber cement (strategically), then over spray with black. That would result in the look of a metal surface that has been painted black, that's now chipped and worn.
In regards to the paint chipping effect with the rubber cement, I agree with Daboudzi but would also add that doing the black layer first, then the rubber cement, then the silver creates the illusion that the base material is something black and it's been painted over with silver paint, which has then chipped. I think you want to reverse that - base it with silver, then rubber cement (strategically), then over spray with black. That would result in the look of a metal surface that has been painted black, that's now chipped and worn.
Similar threads
- Replies
- 4
- Views
- 311
- Replies
- 18
- Views
- 1,464
- Replies
- 2
- Views
- 1,399
- Replies
- 12
- Views
- 1,442
