JWKruser
Active Member
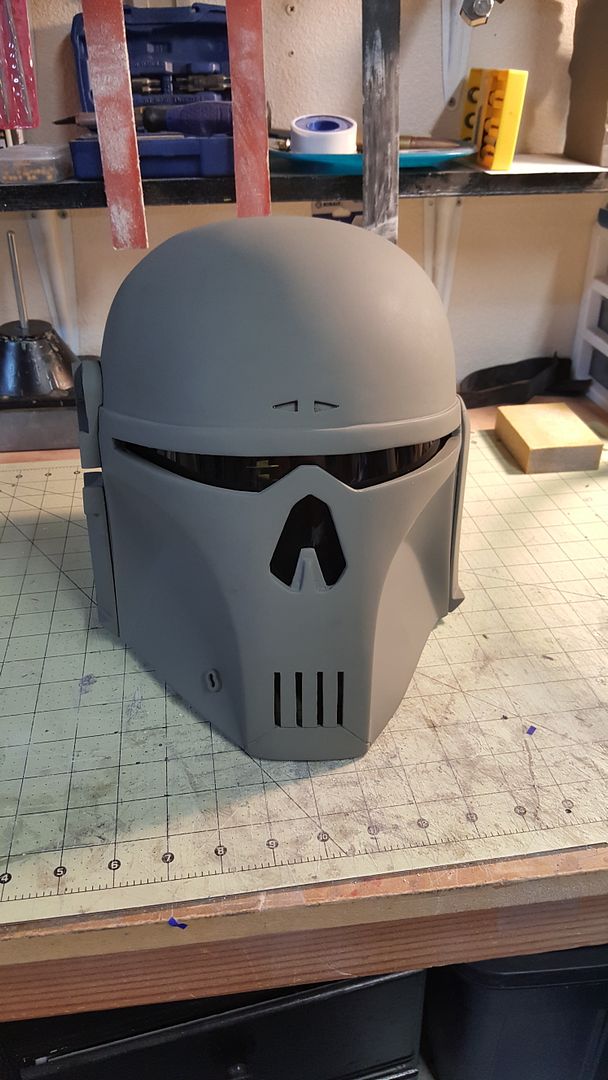
I picked up a pair of helmet kits from Lonewolf1183. My wife and I are starting on a pair of kits to hopefully submit to the approval team in the next couple of months. An Executioner and a Blank showed up on my door step. I'm very pleased with them both. I figured I would put up a WIP to show the step by step progress of the Executioner.
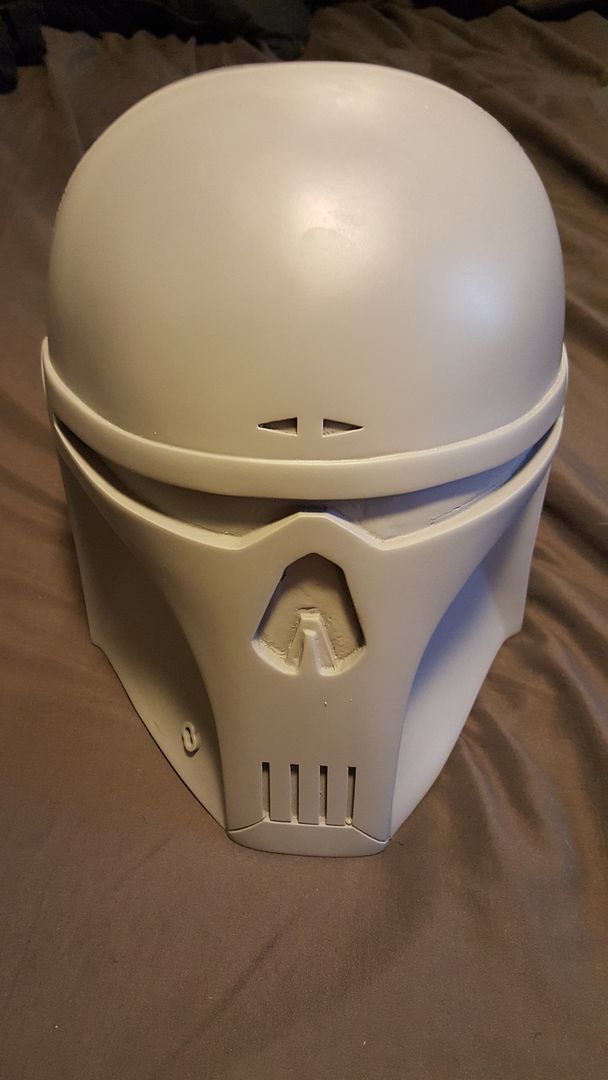
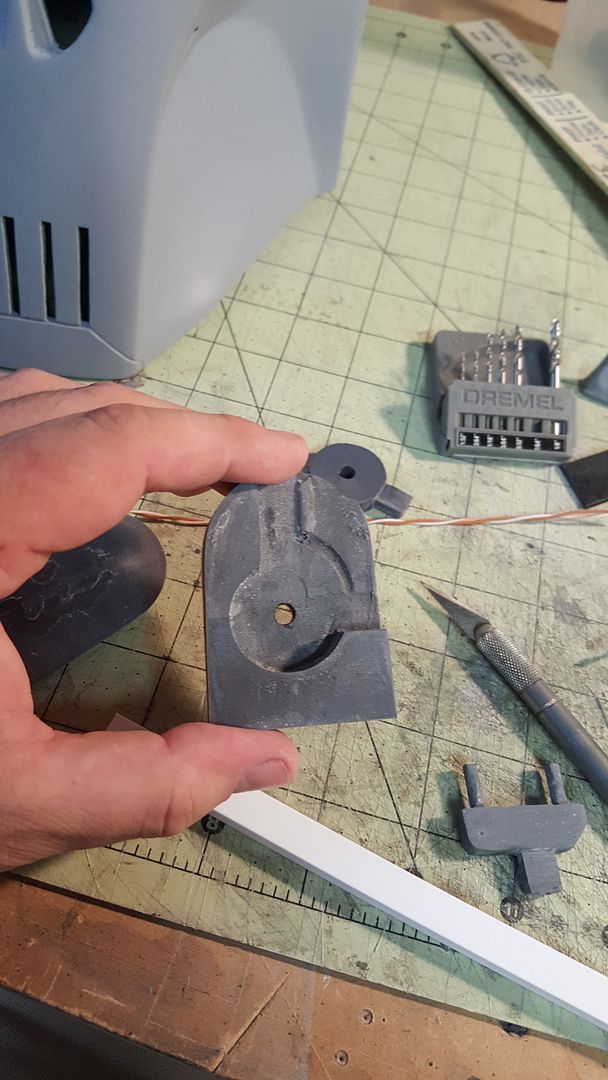
I got started by cutting and filing all the holes. There's a few of them!
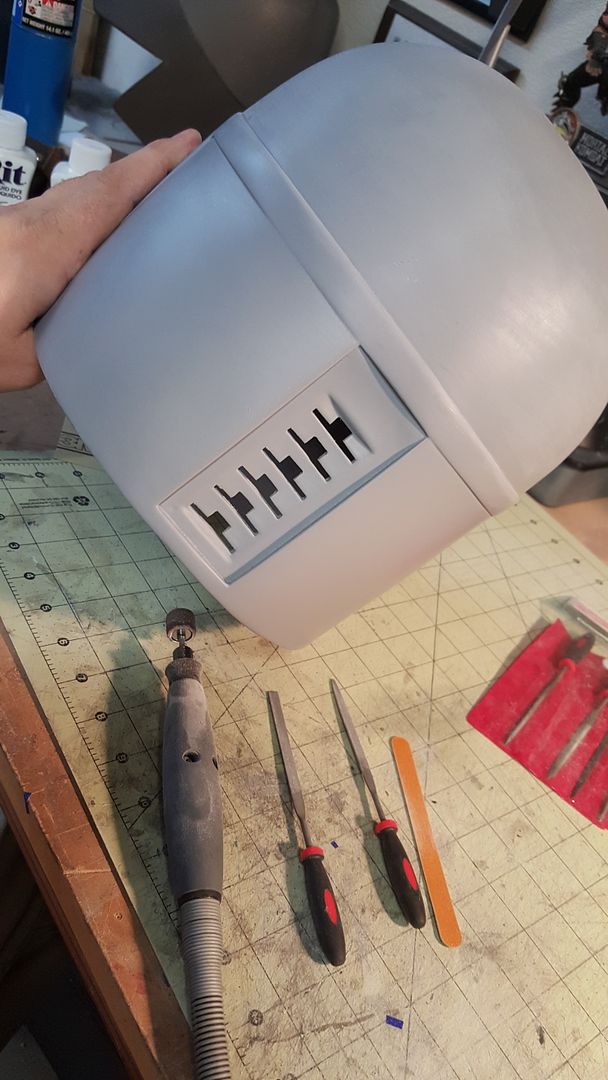
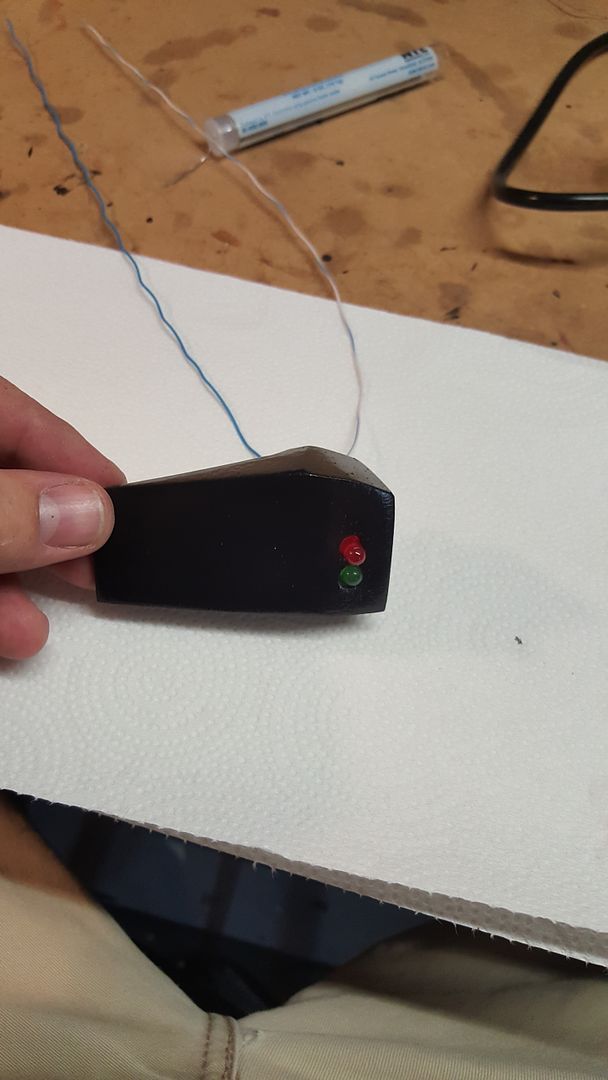
I knew I wanted to wire lights into the range finder so I grabbed my dremel and started making holes in everything. I wanted to hide them as best I could.
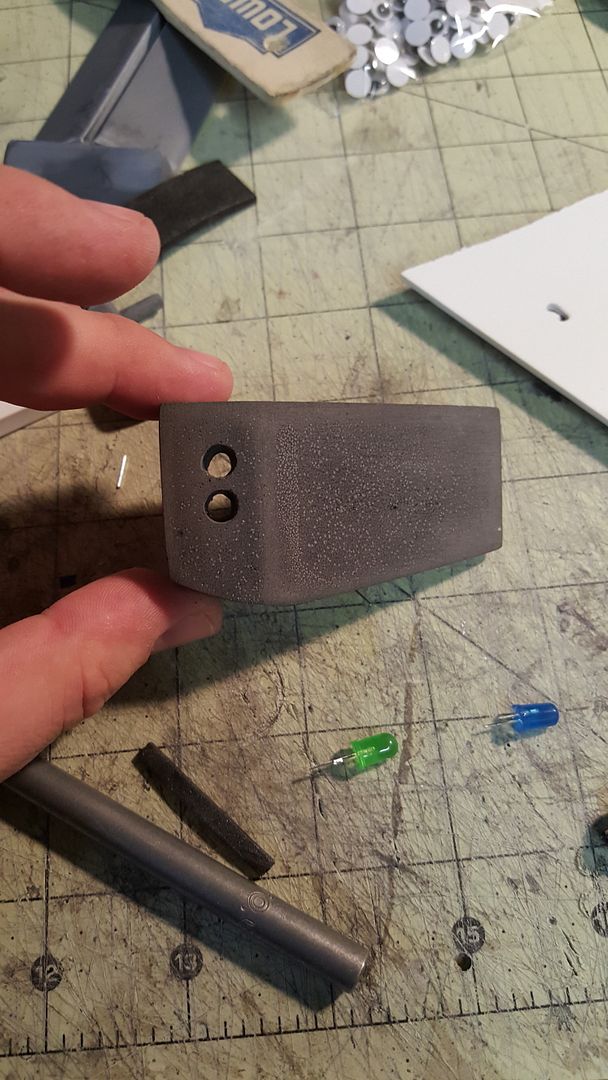
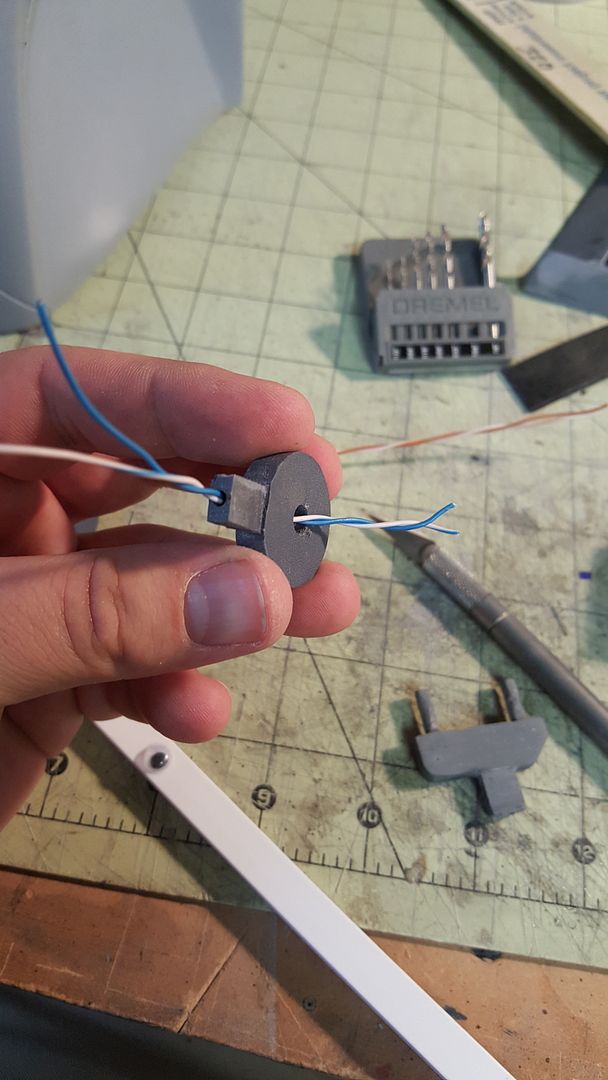
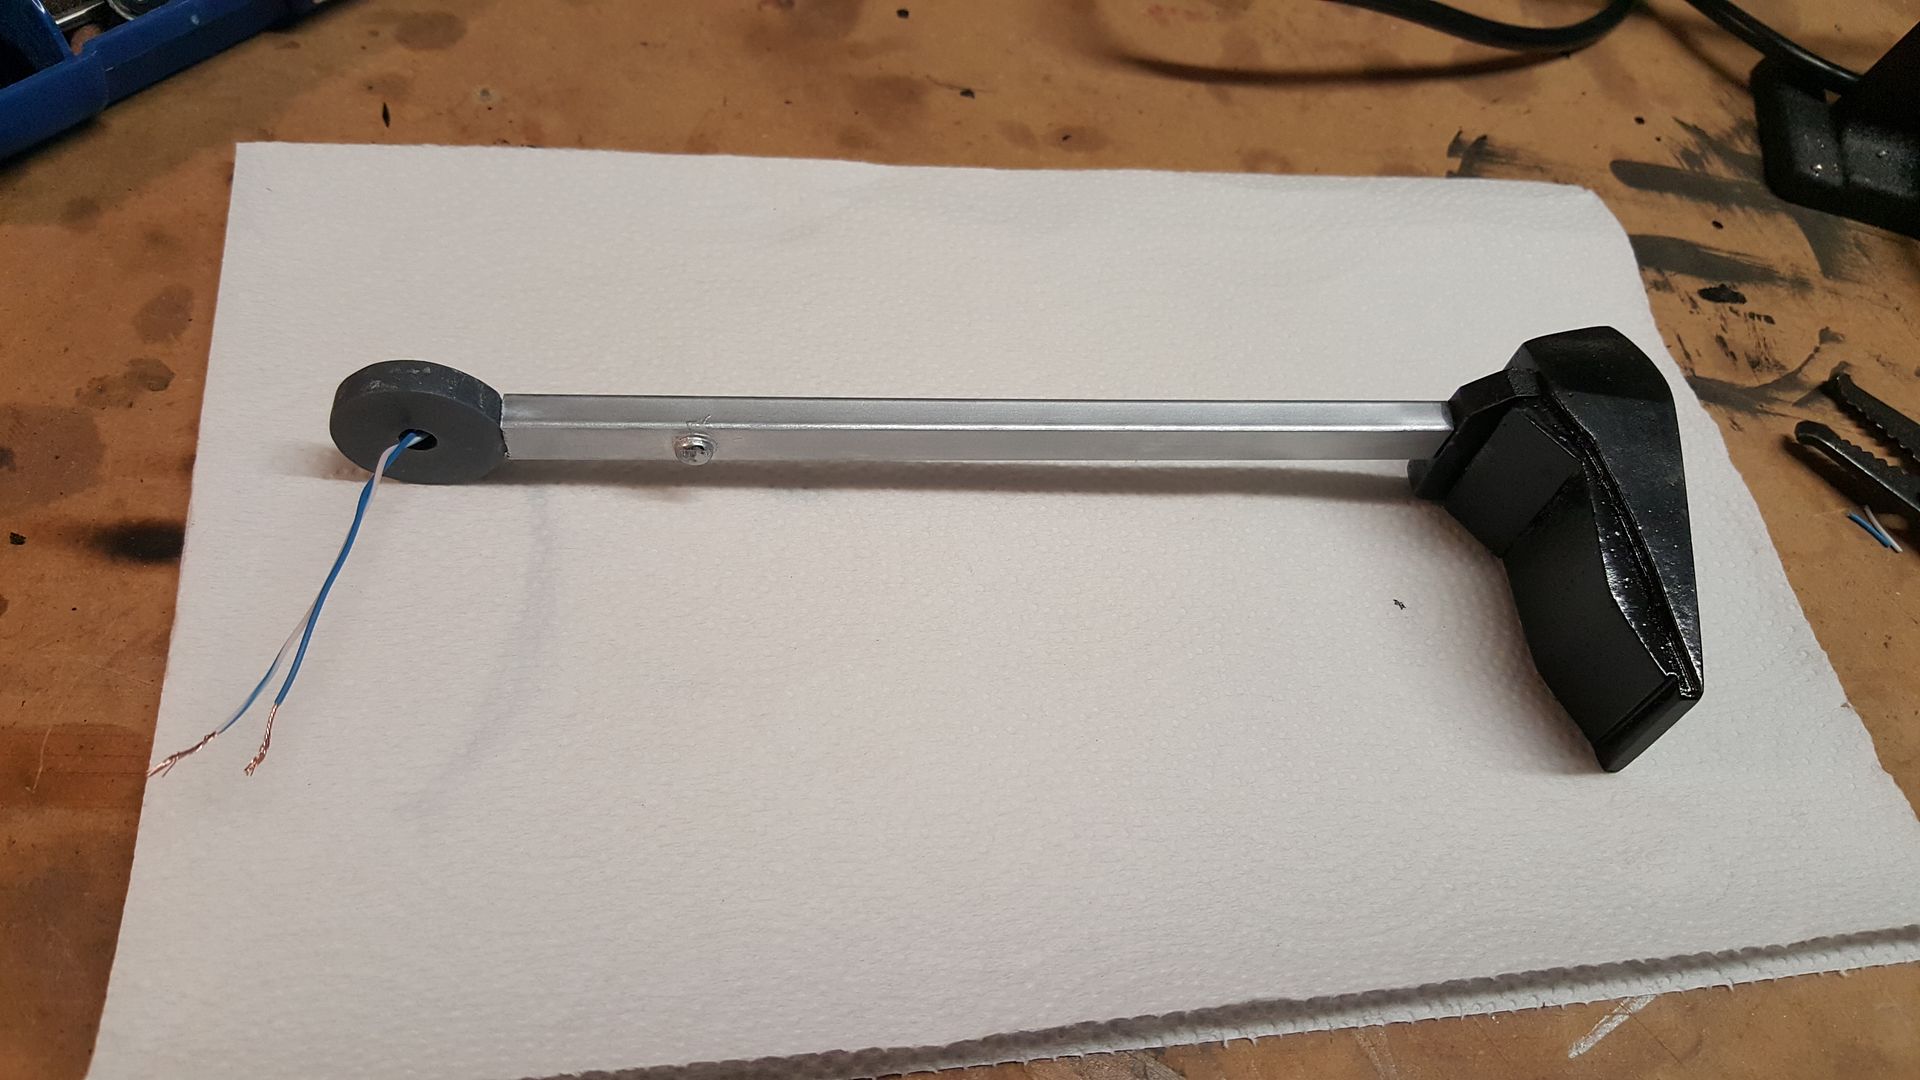
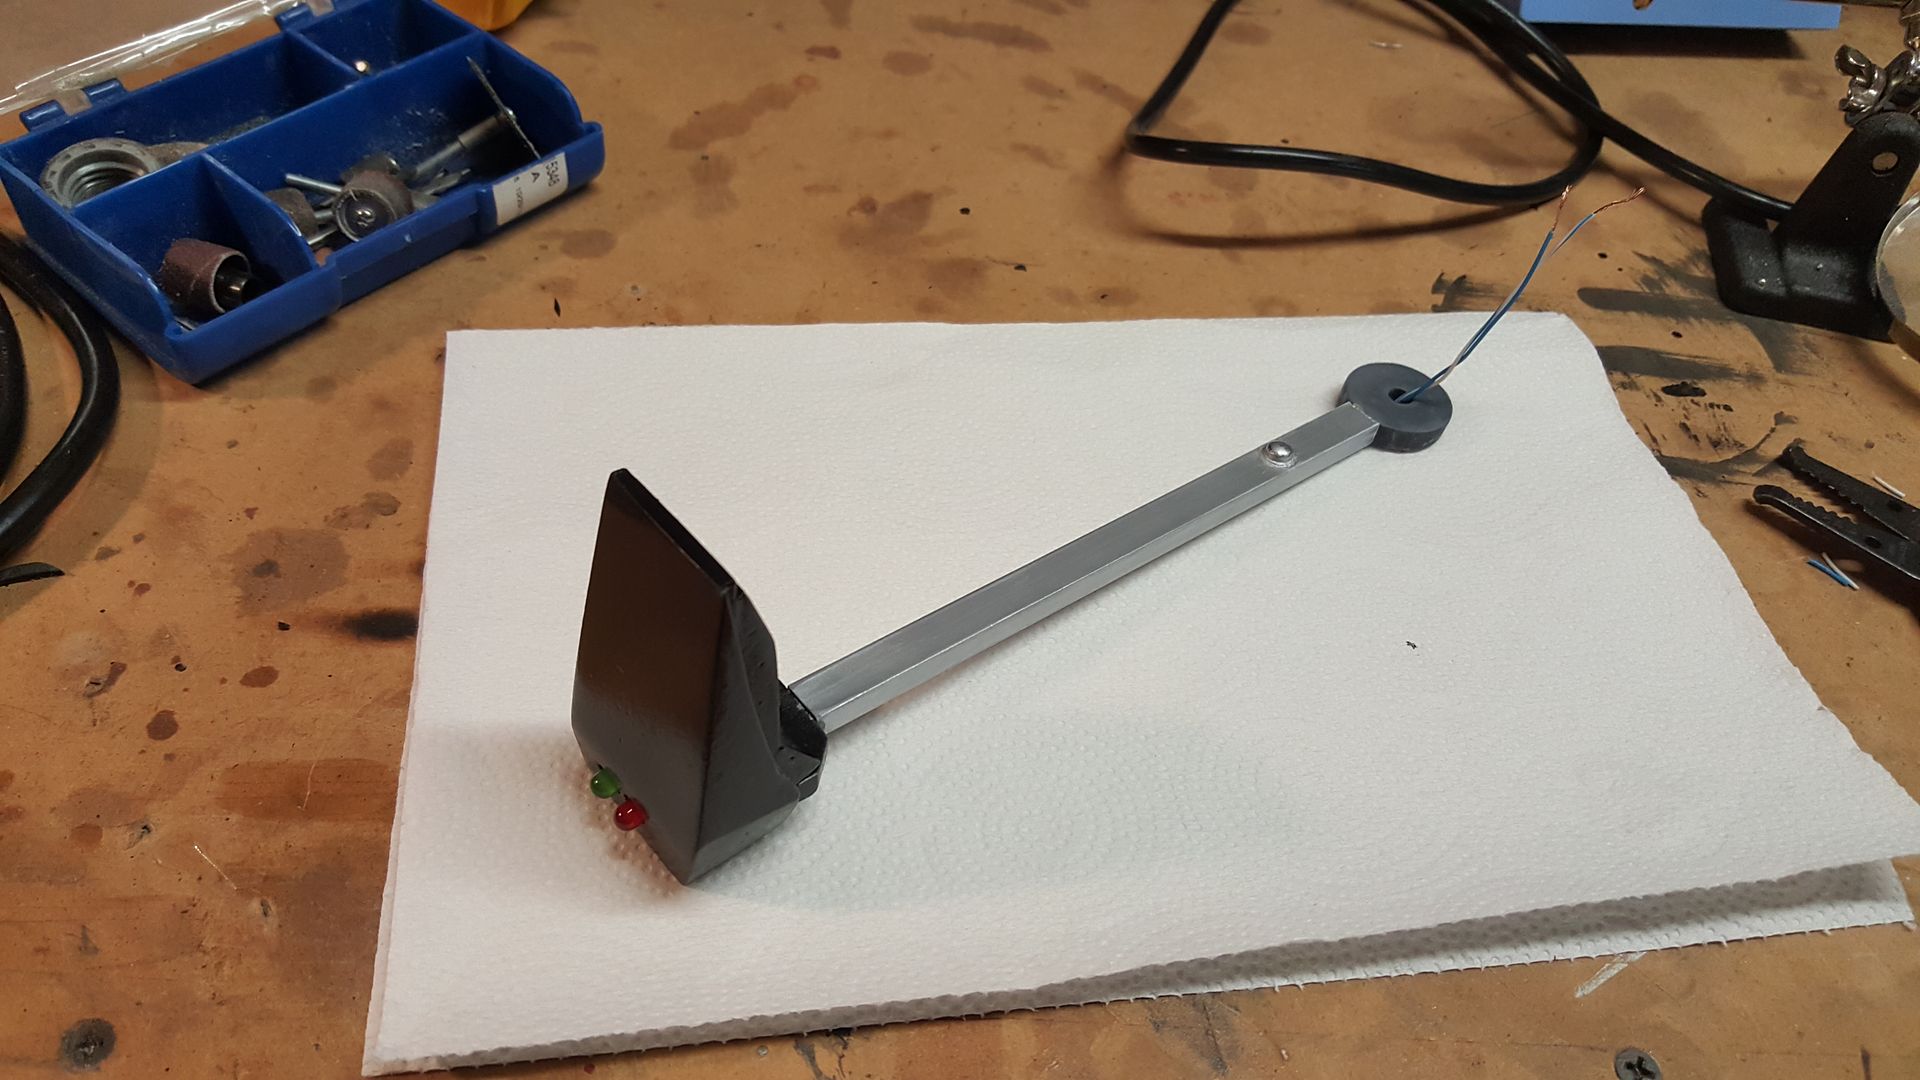
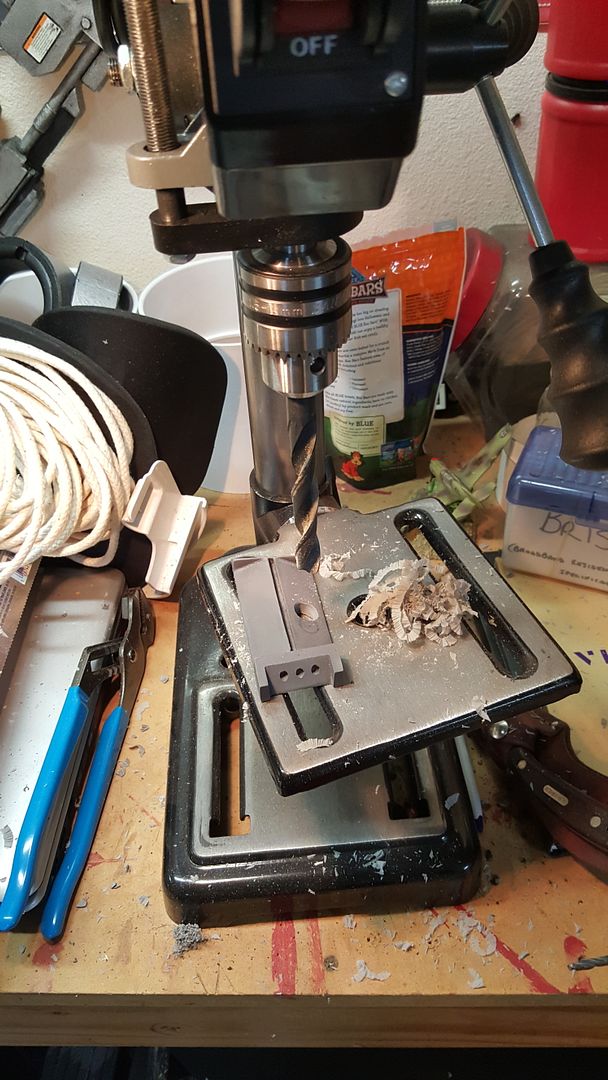
The stalk is a piece of extruded plastic and hollow. The piece that attaches the stalk to the range finder was pretty darn thin and I was a little nervous drilling it out, but it turned out fine.
With a hole drilled throught the helmet, the wiring and battery will be all enclosed inside.
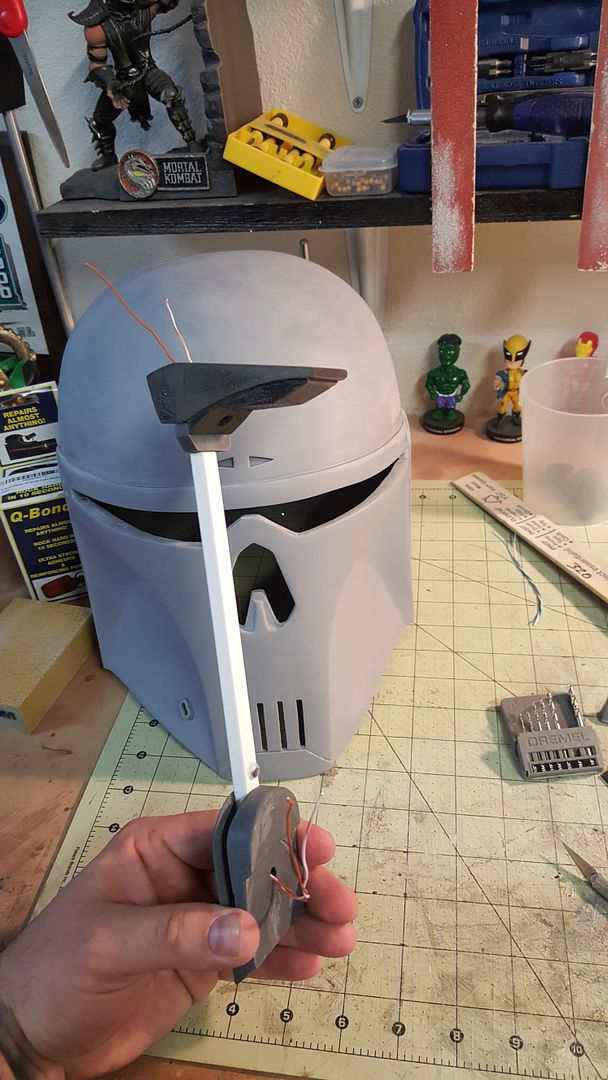
I used silver rub n' buff on the stalk and painted the range finder with Krylon Fusion black satin spray paint. I wanted to give the appearance of a "stop" on the base of the stalk so I glued a "googley eye" near the base.
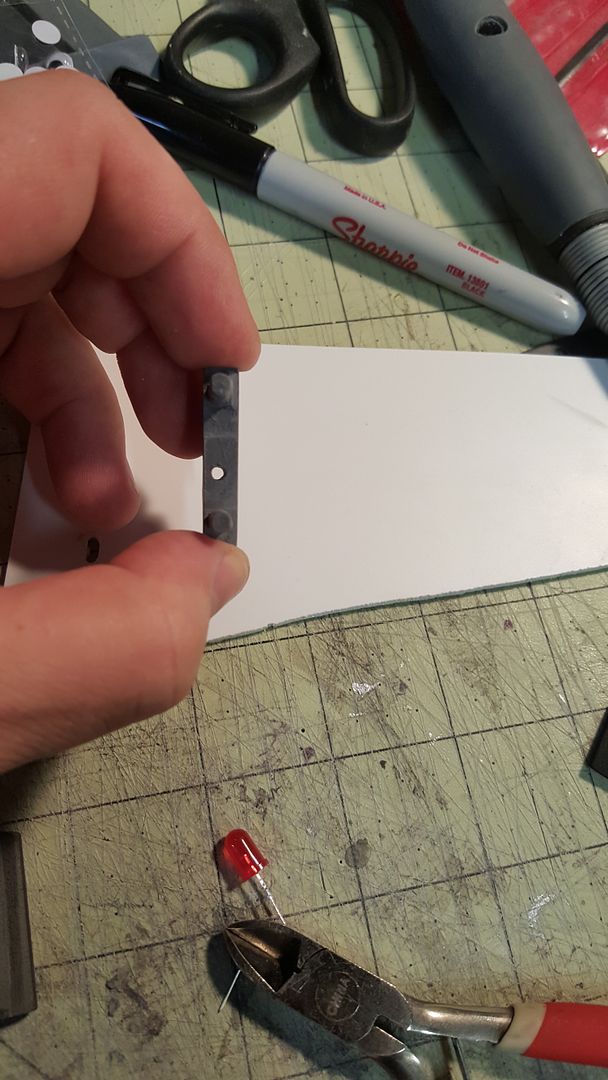
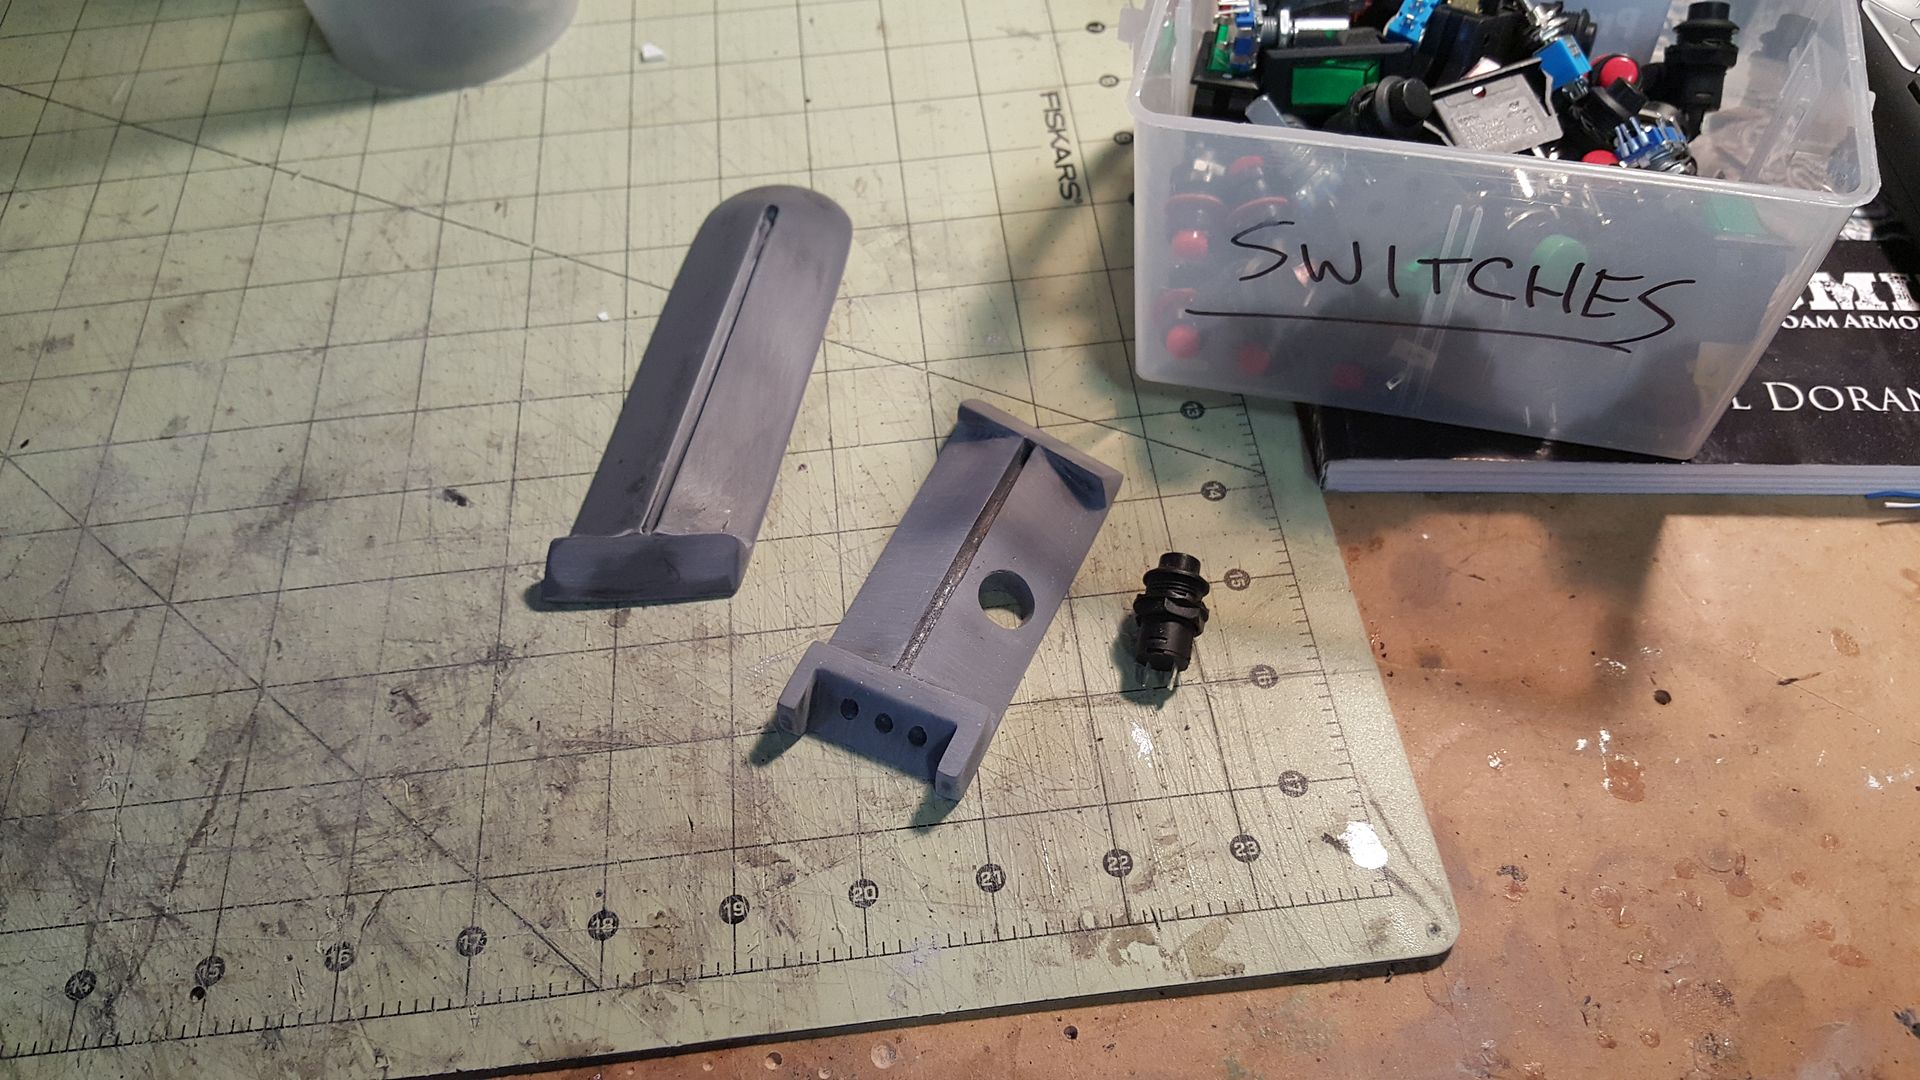
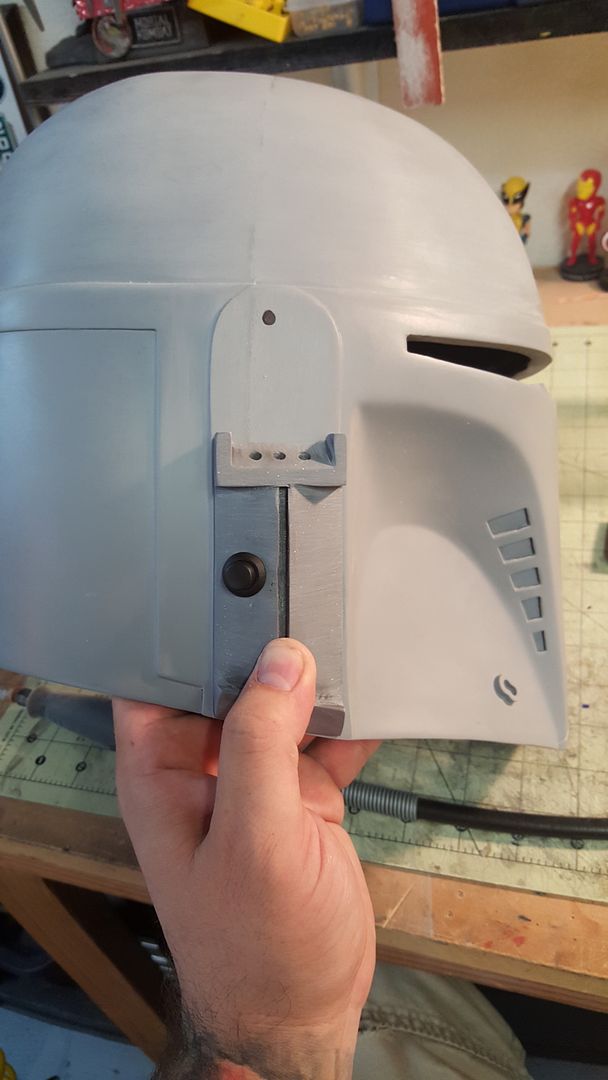
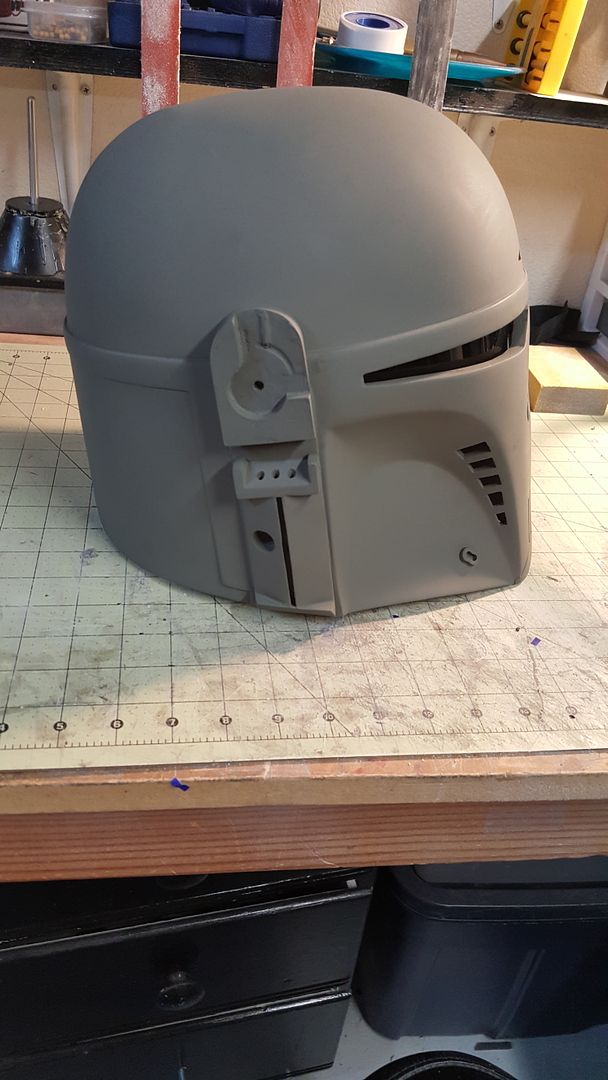
I have a decent assortment of switches handy. After digging through the box of them, I found a pair that I thought would look good if they were exposed on the outside of the helm. I drilled the earcaps at an angle and set the switch to see how it looked. I like it. The switch on the right ear cap will be for the lights in the range finder. The switch on the left earcap will turn the fan on/off.
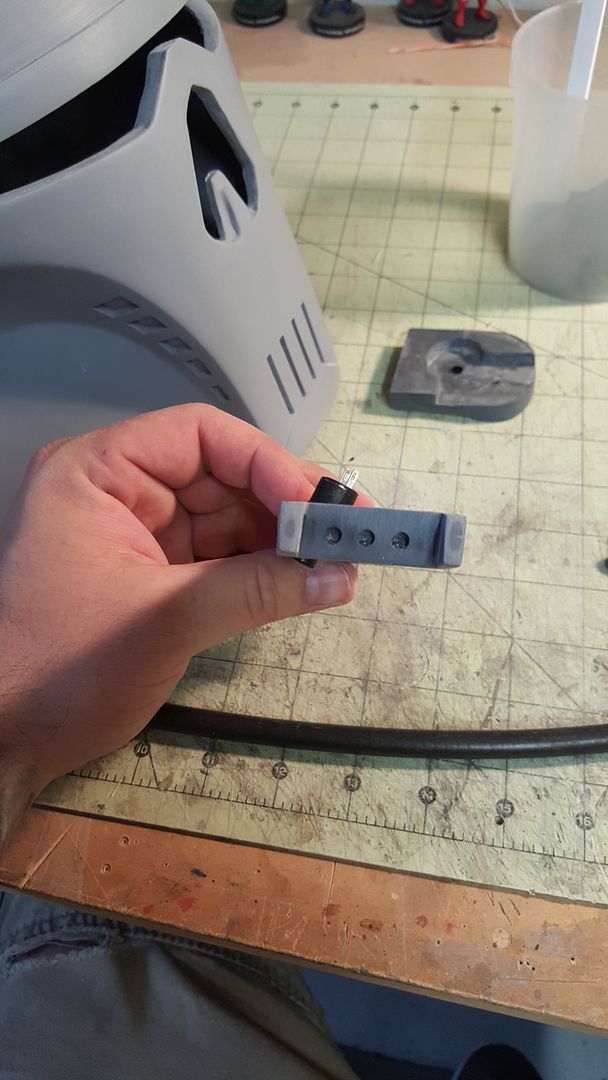
In this picture you can see how I drilled at an angle so that the switch would sit flush with the angle of the ear cap.
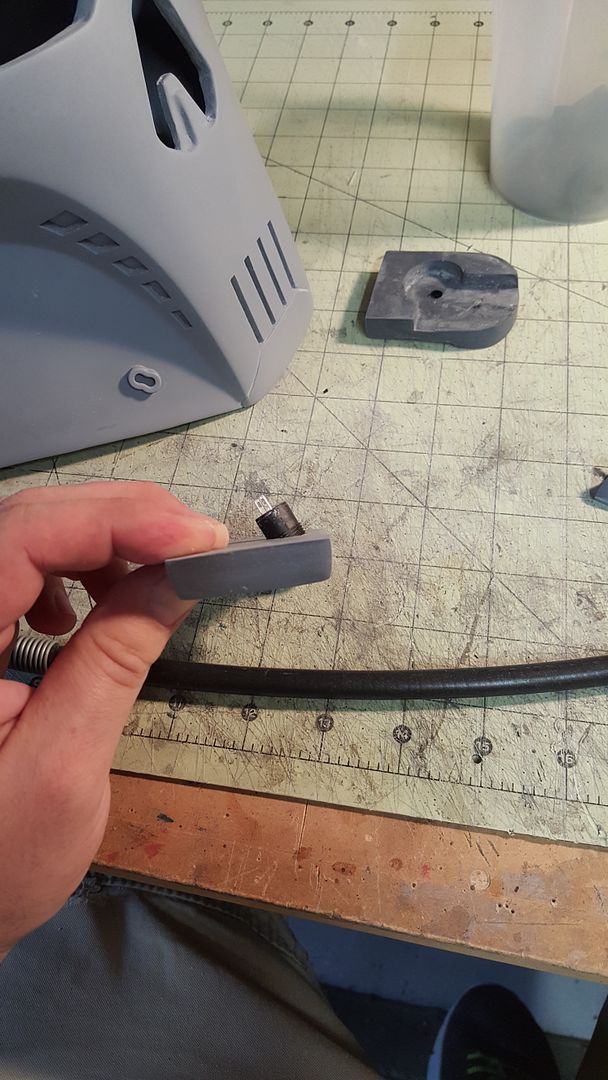
Next, I put the cap to the helmet, marked the spot and drilled a hole with the Dremel at the same angle as the switch.
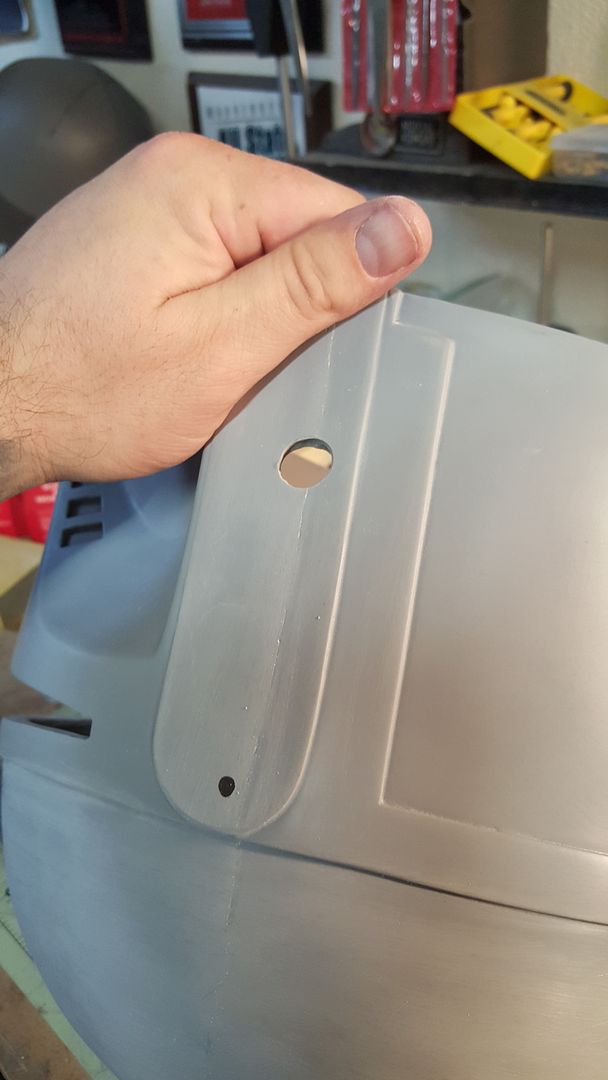
Test fit! Success!
I had a scrap piece of face shield lying around from when I made my Mynock's Den bucket. Thankfully the Executioner helm doesnt need that much!
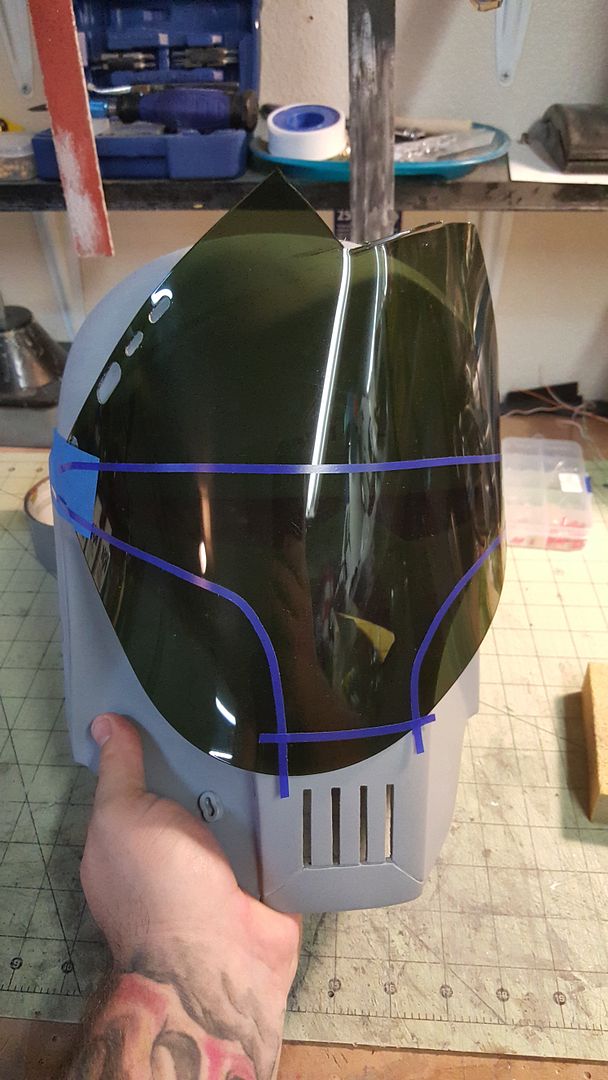
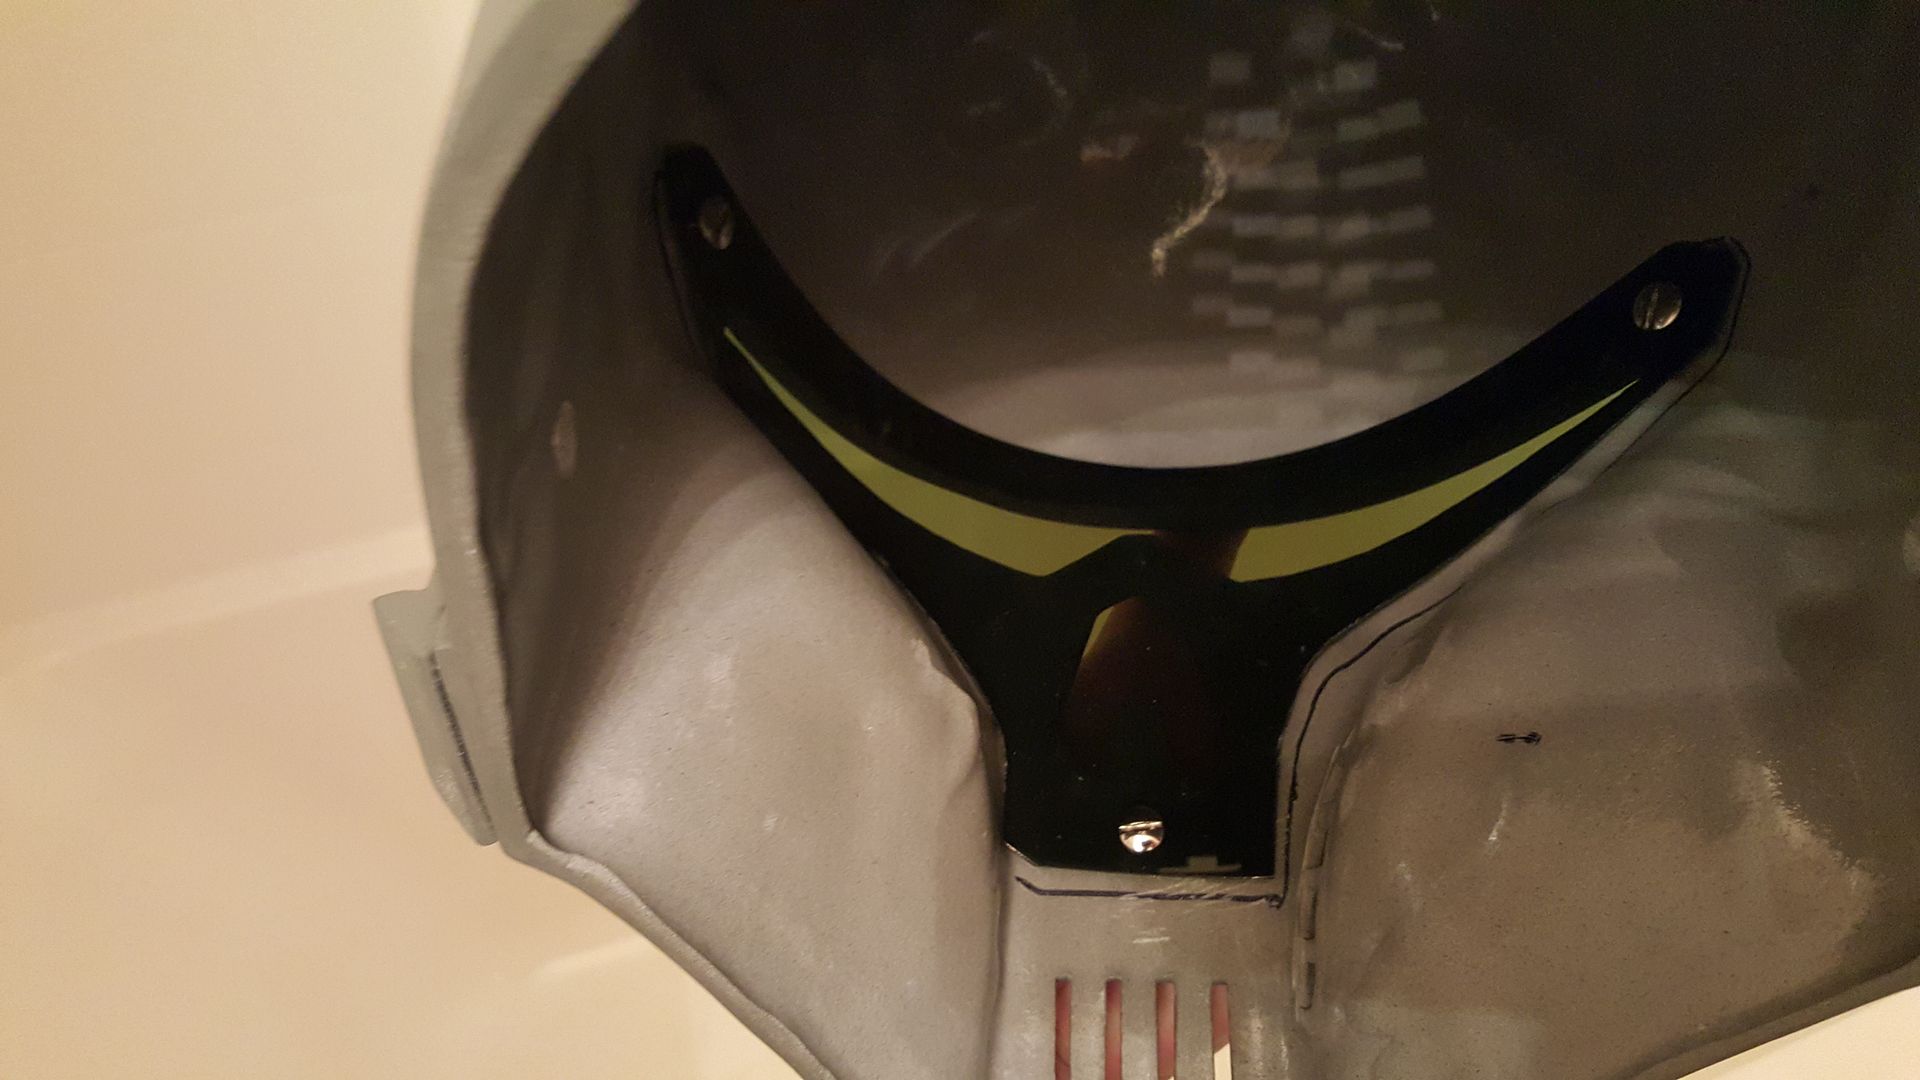
Marked my visor's spot inside and started mixing epoxy. I used a 5 minute epoxy to secure the base of some Chicago screws to the helmet. Once all the screw bases were in place and the epoxy cured, I put masking tape on the visor and pushed down on the Chicago screw bases to mark where to drill my holes.
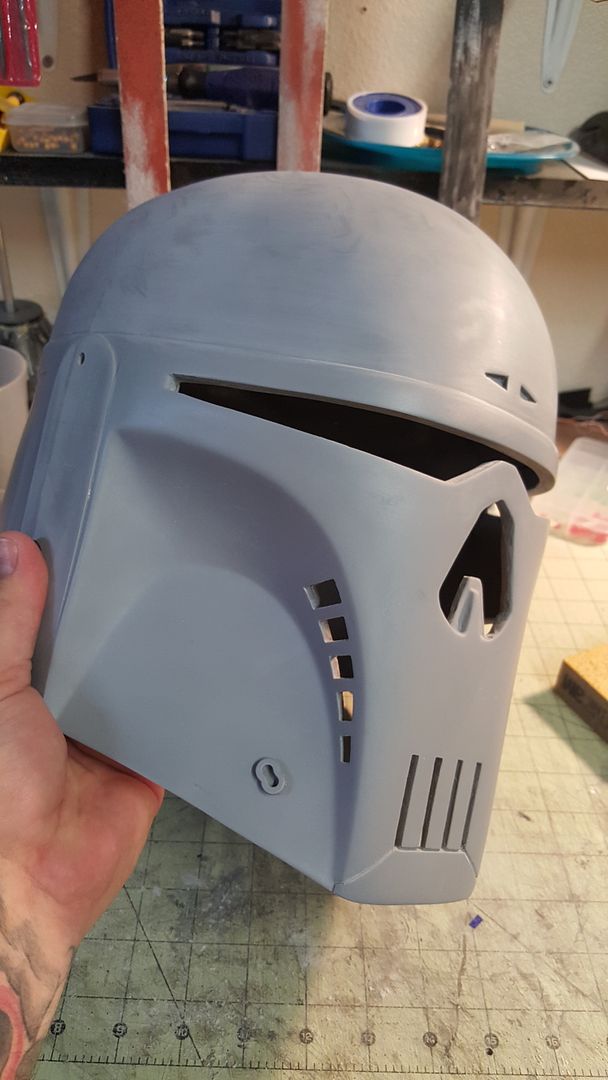
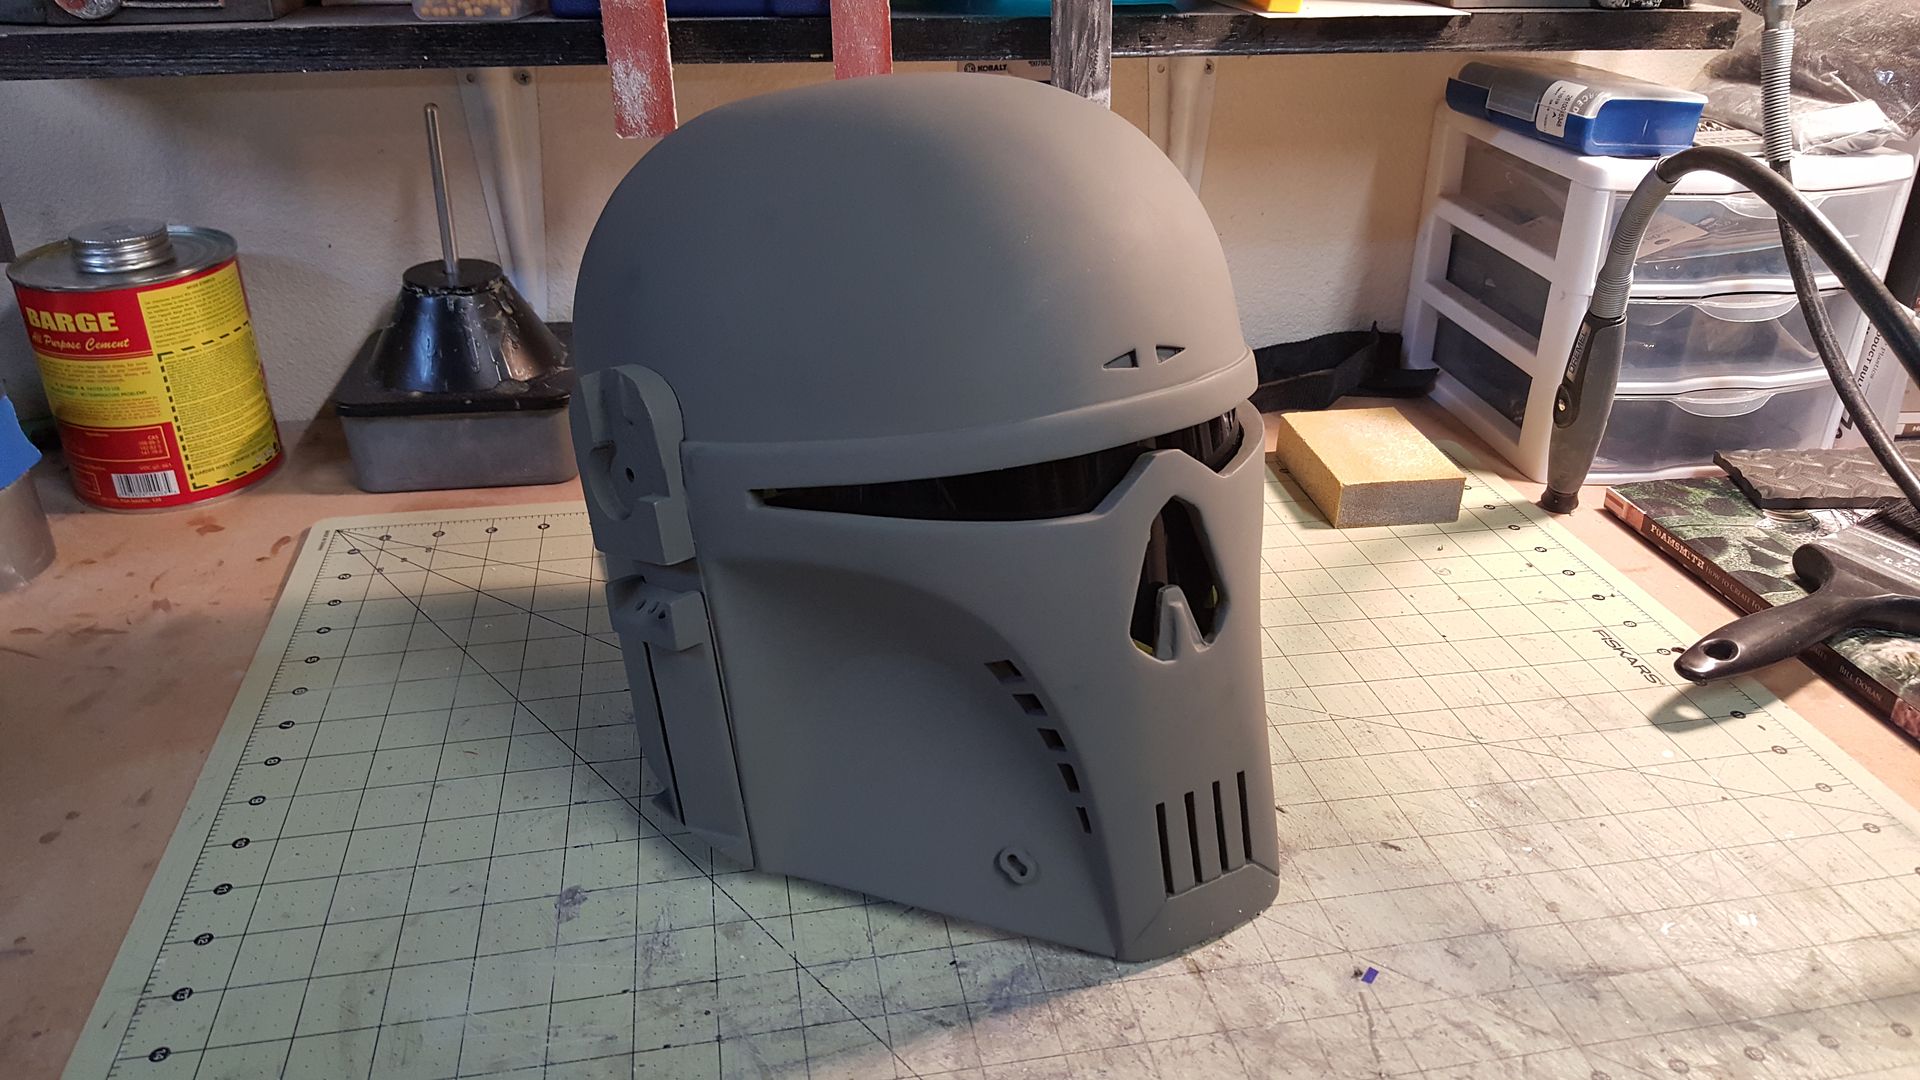
I glued both ears on, sanded the entire helmet with 180 grit sand paper, then hit it again with 220. Then I gave the lid a wash with dawn dish soap to remove any oils from my hands. Once dry I used Rustoleum Self Etching primer and gave it a coulpe of light coats
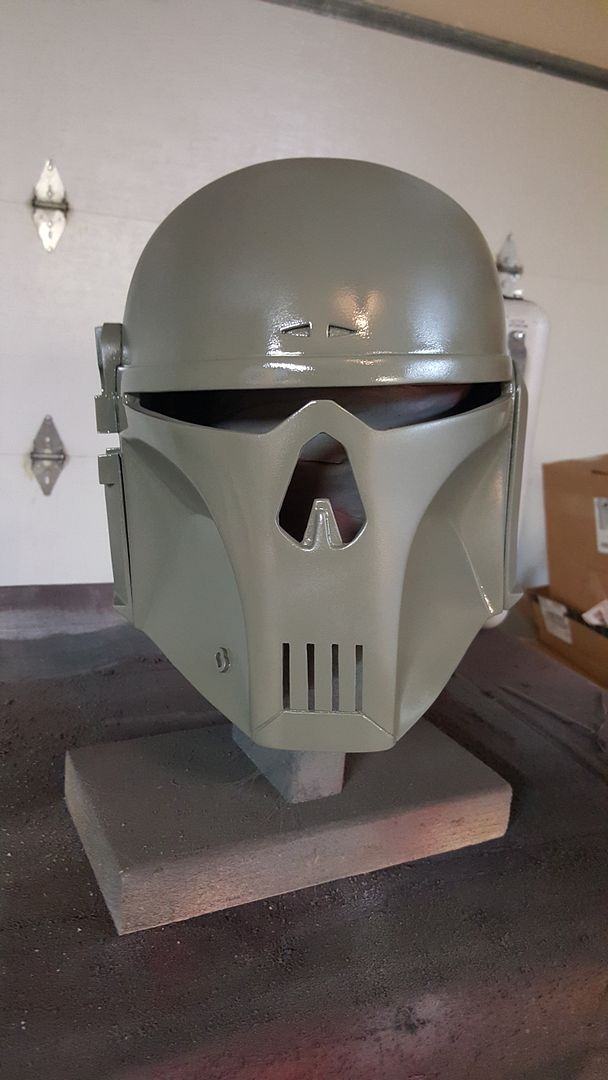

After about 30 minutes, I became impatient and wanted to see it with the visor in. I really like this helmet.
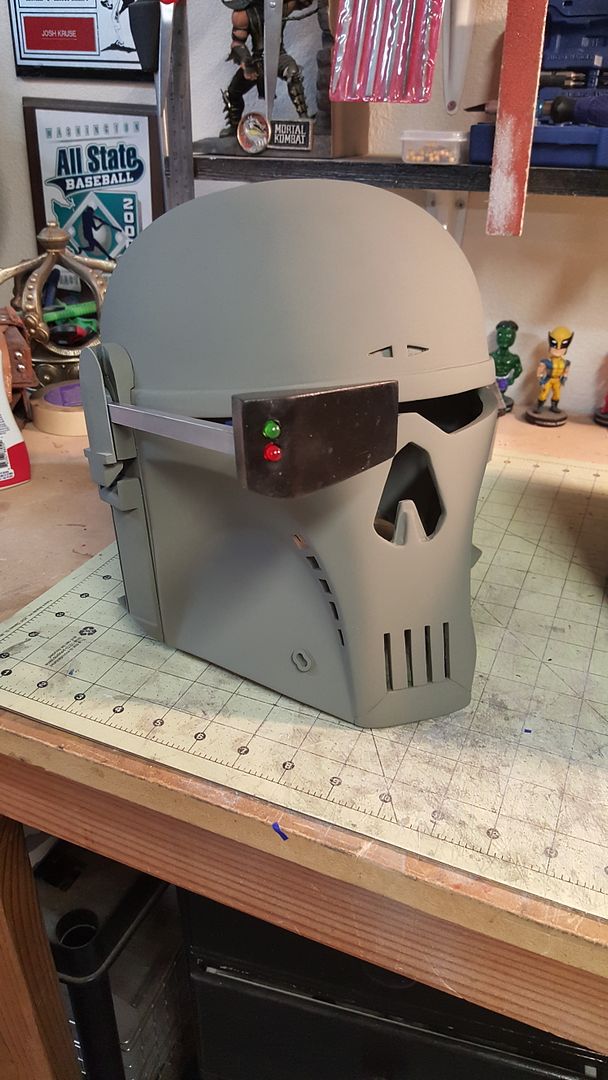
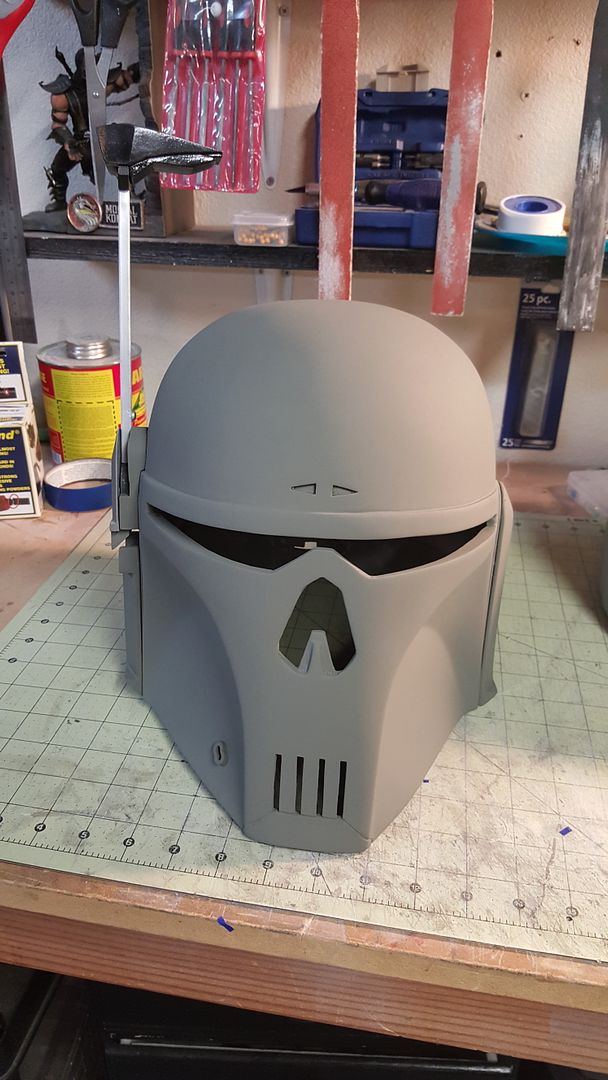
Still a long way to go. Painting this one will be fun

I got started by cutting and filing all the holes. There's a few of them!


I knew I wanted to wire lights into the range finder so I grabbed my dremel and started making holes in everything. I wanted to hide them as best I could.


The stalk is a piece of extruded plastic and hollow. The piece that attaches the stalk to the range finder was pretty darn thin and I was a little nervous drilling it out, but it turned out fine.


With a hole drilled throught the helmet, the wiring and battery will be all enclosed inside.
I used silver rub n' buff on the stalk and painted the range finder with Krylon Fusion black satin spray paint. I wanted to give the appearance of a "stop" on the base of the stalk so I glued a "googley eye" near the base.


I have a decent assortment of switches handy. After digging through the box of them, I found a pair that I thought would look good if they were exposed on the outside of the helm. I drilled the earcaps at an angle and set the switch to see how it looked. I like it. The switch on the right ear cap will be for the lights in the range finder. The switch on the left earcap will turn the fan on/off.


In this picture you can see how I drilled at an angle so that the switch would sit flush with the angle of the ear cap.


Next, I put the cap to the helmet, marked the spot and drilled a hole with the Dremel at the same angle as the switch.

Test fit! Success!

I had a scrap piece of face shield lying around from when I made my Mynock's Den bucket. Thankfully the Executioner helm doesnt need that much!

Marked my visor's spot inside and started mixing epoxy. I used a 5 minute epoxy to secure the base of some Chicago screws to the helmet. Once all the screw bases were in place and the epoxy cured, I put masking tape on the visor and pushed down on the Chicago screw bases to mark where to drill my holes.

I glued both ears on, sanded the entire helmet with 180 grit sand paper, then hit it again with 220. Then I gave the lid a wash with dawn dish soap to remove any oils from my hands. Once dry I used Rustoleum Self Etching primer and gave it a coulpe of light coats


After about 30 minutes, I became impatient and wanted to see it with the visor in. I really like this helmet.


Still a long way to go. Painting this one will be fun


