You are using an out of date browser. It may not display this or other websites correctly.
You should upgrade or use an alternative browser.
You should upgrade or use an alternative browser.
Vacuum Forming Box
- Thread starter joewhite
- Start date
")
darth_myeek
Sr Member
Nice Sulla!
What styrene thickness are you testing?
What is a good local source for thermoplastics in Indianapolis?
-DM
What styrene thickness are you testing?
What is a good local source for thermoplastics in Indianapolis?
-DM
SchweinHund227
New Member
Wow ! Big ones, small ones !!! This is great to demystify the whole thing about Vacuum Forming...
Thanks for Sharing the info !
What about Temperature ? and Work time ??? :confused
is any Workshop Vacuum good for the Job ?
Thanks for Sharing the info !
What about Temperature ? and Work time ??? :confused
is any Workshop Vacuum good for the Job ?
Wow ! Big ones, small ones !!! This is great to demystify the whole thing about Vacuum Forming...
Thanks for Sharing the info !
What about Temperature ? and Work time ??? :confused
is any Workshop Vacuum good for the Job ?
I have made a few of these, and for me a vac table with one hole in the center works the best. It has more suction.
heres the quick and CHEAP way I built the one I use now.
1: thrift store end table
2: ryobi 5hp shop vac <--already had
3: old elec. kitchen stove " no burners on it just the oven"
"already had this aswell"
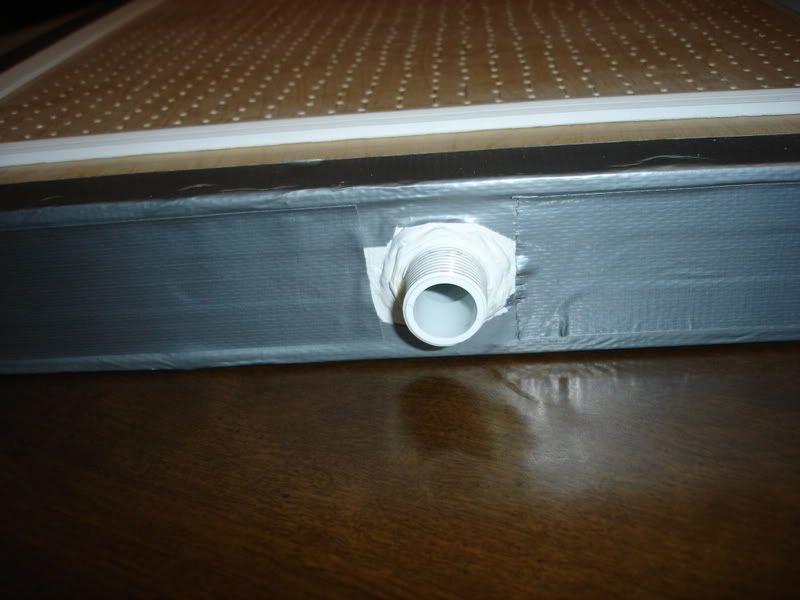
4:any thick funnel shaped piece for the connector"hose to table" I used an old air horn I cut.Tape the hose to the funnel, screw and glue the funnel to the underside of the table.
5: piece of screen around 2'square, folded twice to lay over the hole in the table.
6: two 2"x6"x8" ripped into for the guide on the table and the 2 holding frames.
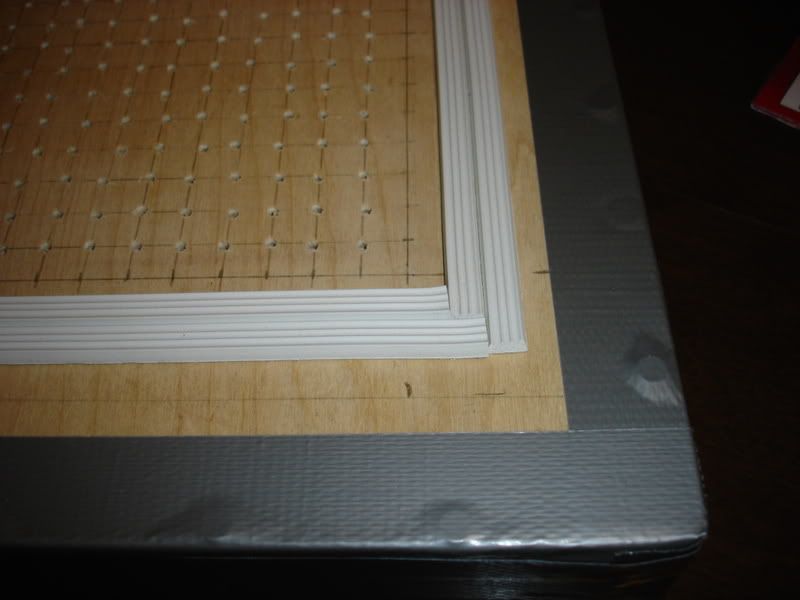
7:weather stripping, to go under the frame on the table.
here is a few tricks I use two heat the H.I.P.S. <-palstic
1:First is to cover the oven rack with aluminium foil incase you leave the plastic in for too long and it drips,it wont ruin the coils of the oven.
2: set four glasses on top of the aluminium foil to support your frame holding the plastic.
3: I pre heat the oven to 350 ,place the frame in and close the door to try an get an even heating.
Peak in ever so often to see how much the plastic is sagging.I choose about 1" 1/2 of sag.Usually about 5 minutes in my oven.
4:The reason for useing an end table is that I can use an office chair to set in :lol while moving "Fast" from the oven with the frame to the table.The plastic will start to cool and harded as sooon as you remove it from the oven.
5: Use risers under your buck"thing your going to form"
to help reduce webbing.
6: This is what I need to do aswell.Use hard wood for the frame.Pine dosent last very long with out it starting to warp.
Thanks for the info Fulcrum. I will keep it in mind for future vacform boxes.
Haven't used mine yet. I have a roll of .020" styrene for testing I bought on line from the link in the tutorial in the first post of this thread. I need to make some plaster plugs of something I am working on but I plan on using this bad-boy before the weekend is out.
This one is the biggest that'll fit in my oven. If you think of this one as a 'large,' than I am also planning on making a 'medium,' and a 'small' with what I learn from this one, and threads like this.
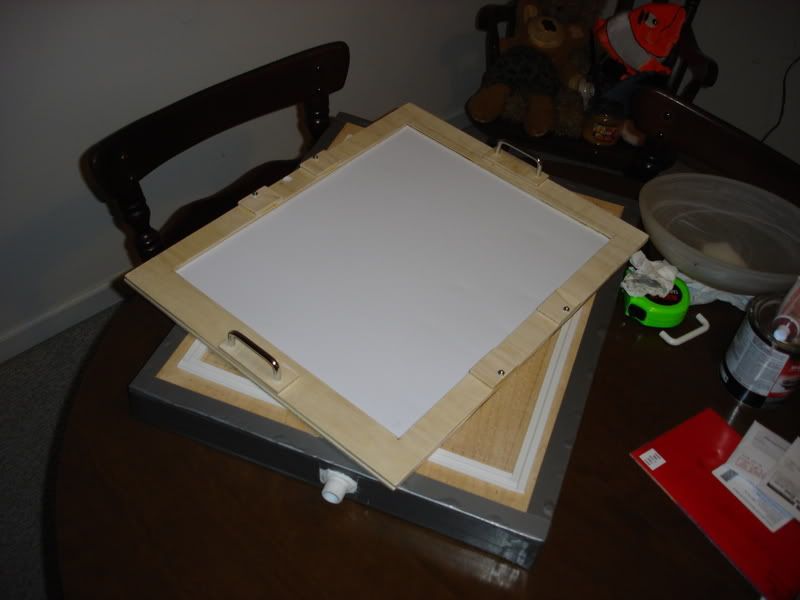
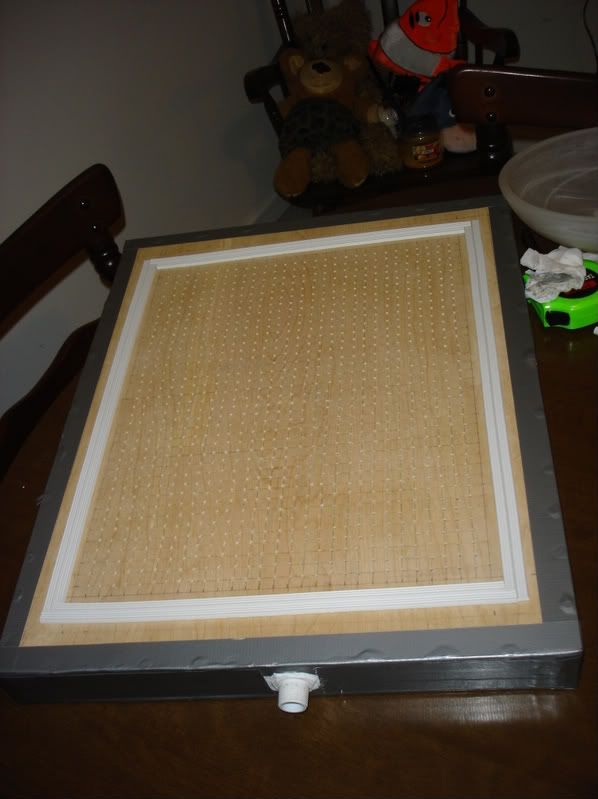
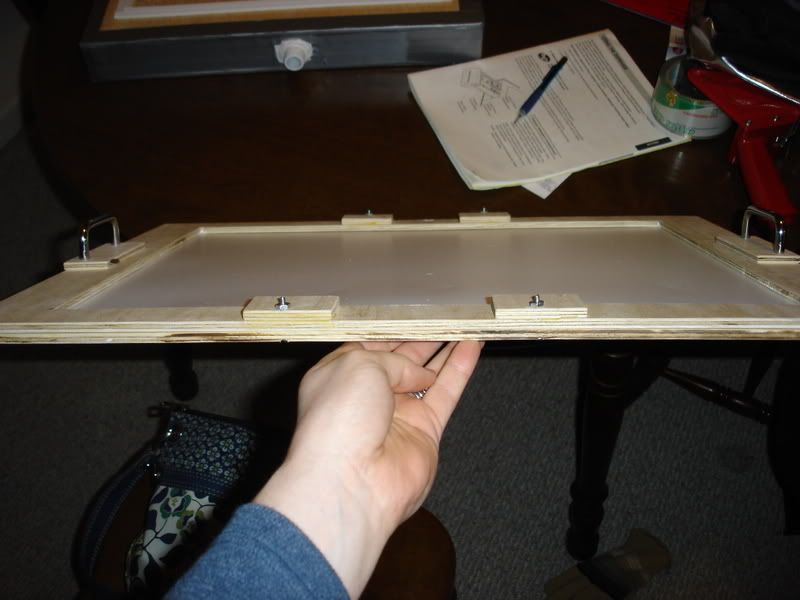
The box is built from 1/4" ply and 1/2" ply. The duct tape was put on the edges 'cause one of the ply sheets was really splintery, so I covered it. The frame is made from 1/4" pine ply also. All told, I put maybe $25 into this, but I had most of what I wanted on hand.
I really don't think the frame will last long, but that's okay. For this first testing I should only need about 4 pulls. I have some new ideas about the frame too, so scrapping this one and making a new from hardwood will be OK.
Also, I really think some sort of guide like the two boards on your vacformer, Fulcrum is a must on my next boxes. I'd also like to try to retrofit some guides on this box too.
The vac I am using is a 2.5 HP shop vac. Depending on it's performance, I may have to get a bigger one.
Haven't used mine yet. I have a roll of .020" styrene for testing I bought on line from the link in the tutorial in the first post of this thread. I need to make some plaster plugs of something I am working on but I plan on using this bad-boy before the weekend is out.
This one is the biggest that'll fit in my oven. If you think of this one as a 'large,' than I am also planning on making a 'medium,' and a 'small' with what I learn from this one, and threads like this.
The box is built from 1/4" ply and 1/2" ply. The duct tape was put on the edges 'cause one of the ply sheets was really splintery, so I covered it. The frame is made from 1/4" pine ply also. All told, I put maybe $25 into this, but I had most of what I wanted on hand.
I really don't think the frame will last long, but that's okay. For this first testing I should only need about 4 pulls. I have some new ideas about the frame too, so scrapping this one and making a new from hardwood will be OK.
Also, I really think some sort of guide like the two boards on your vacformer, Fulcrum is a must on my next boxes. I'd also like to try to retrofit some guides on this box too.
The vac I am using is a 2.5 HP shop vac. Depending on it's performance, I may have to get a bigger one.
Last edited:
Oh, here's the plastic heating/vacforming method from Lasse Henning's website linked through Joe's website (my father's brother's cousin's former roommate...)
http://www.starwarz.com/modelshop/vacuum.htm
http://www.starwarz.com/modelshop/vacuum.htm
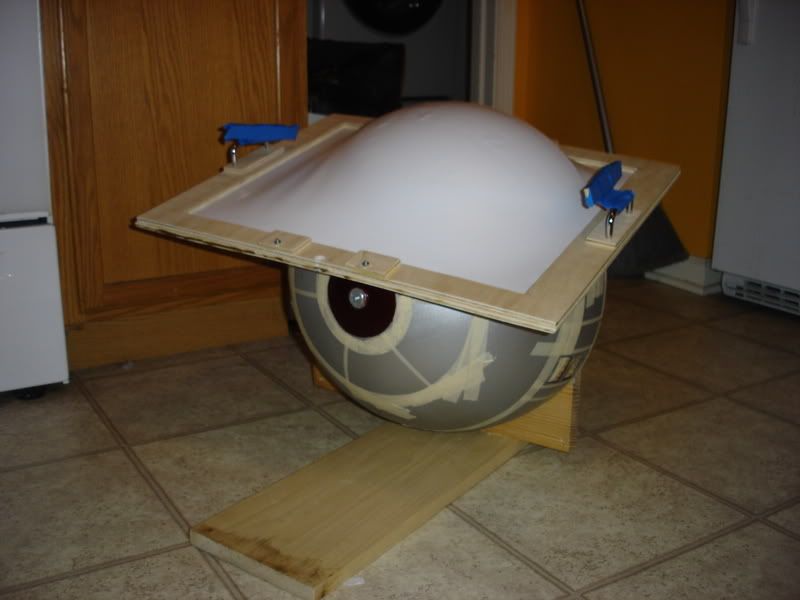
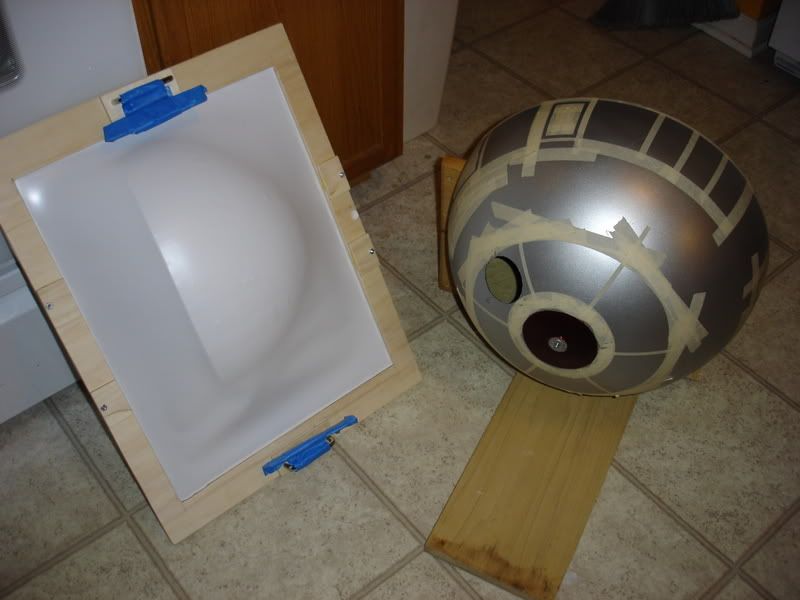
OK, not vacuum formed, but I did use the frame and the oven. I need to make a plug to form panels for my R2 dome. My oven is not big enough to form the whole dome, so I need to make a plug of part of it.
Now, I may be going about this backwards, but I decided to form the part of the dome I wanted by just pressing the hot plastic over it. Then I can use this to make a plaster plug by pouring plaster into it. You can probably see the little bumps and imperfections in the plastic caused by the tape on the dome. This will have to be fixed on the plug using putty and sand paper.
Here's shots of what I did. The dome is mounted on a scrap wood base to keep it steady while I formed the plastic over it.
jschlosser
Well-Known Member
Here's another very inexpensive way to vacform from "make it"
http://www.youtube.com/watch?v=e5CGfoxnKaQ&feature=PlayList&p=933A3BEC3BE1C2A8&playnext=1&index=7
Although Joe, I really like how you made yours.
Very clean and ideal for those small pulls!
http://www.youtube.com/watch?v=e5CGfoxnKaQ&feature=PlayList&p=933A3BEC3BE1C2A8&playnext=1&index=7
Although Joe, I really like how you made yours.
Very clean and ideal for those small pulls!
cayman shen
Master Member
Makes me wish I hadn't lost my basement in the divorce! Damn tiny apartment...I miss making stuff!
Similar threads
- Replies
- 6
- Views
- 4,647
- Replies
- 5
- Views
- 767