Raygun:From the junk bin

Monk

Well-Known Member
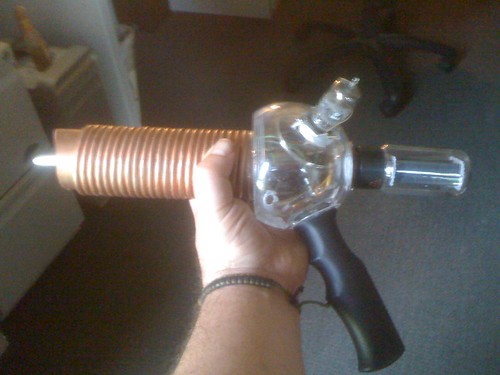
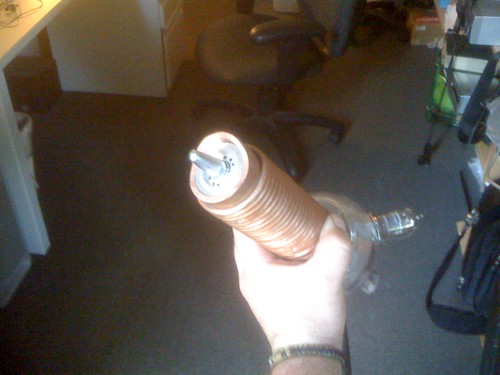
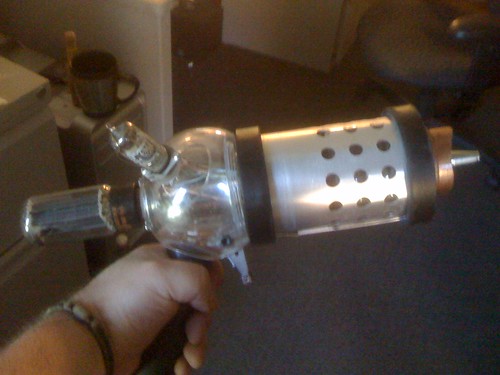
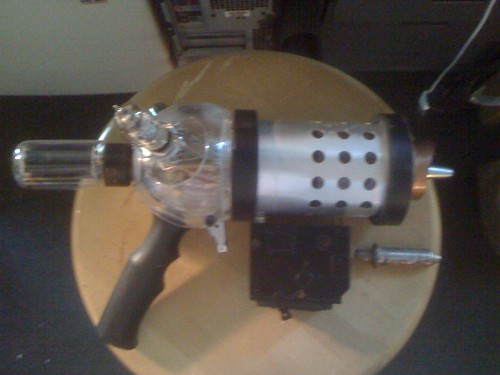
Ok, this is my third build, I've built a WWII Captain America Shield from an old seat back. And a couple of weeks ago built a lightsaber from trash.

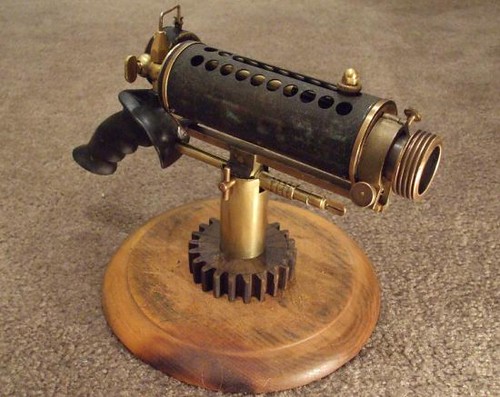
So now inspired by some of the work of others, primarily D48thRonin, I needed to build a Raygun.

So I searched for inspiration! There is of course D48thRonin's work of art:

7455815312_1277f22deb.jpg


and a few other pieces of inspiration from the interwebz:

such as this from Weta

7455813572_1fdf95f076.jpg


and then this work of art:

7455812916_bf1a58a66e.jpg


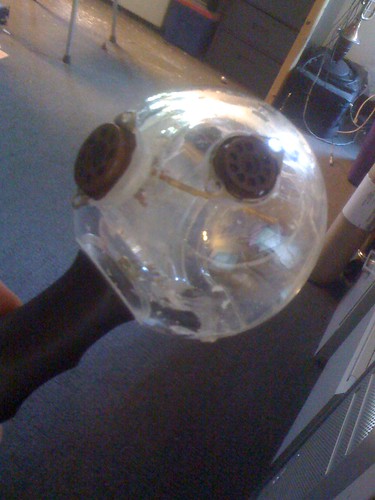
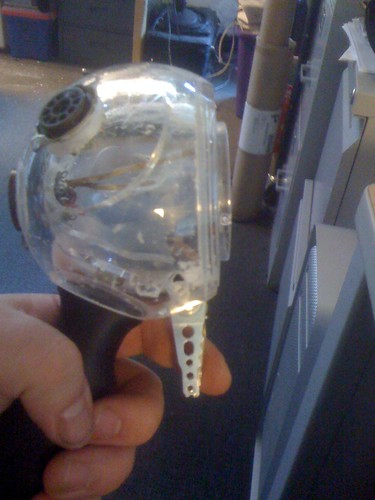
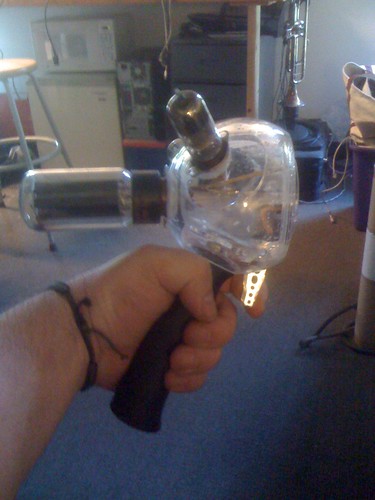
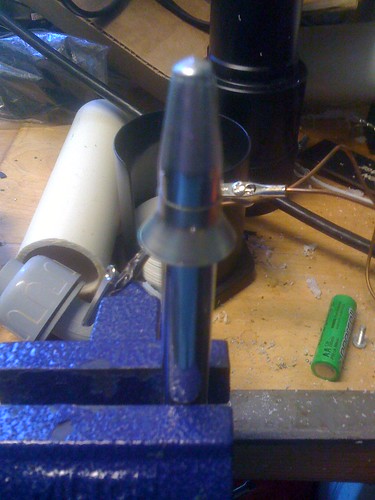
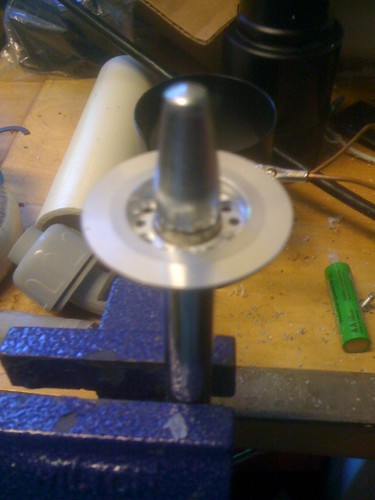
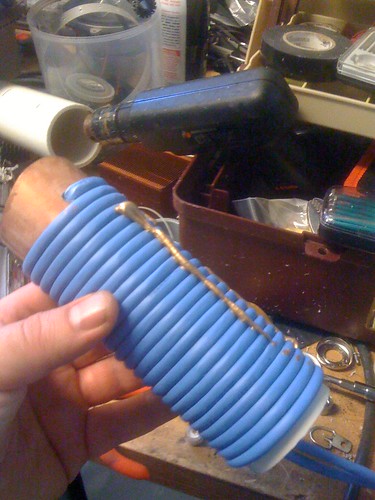
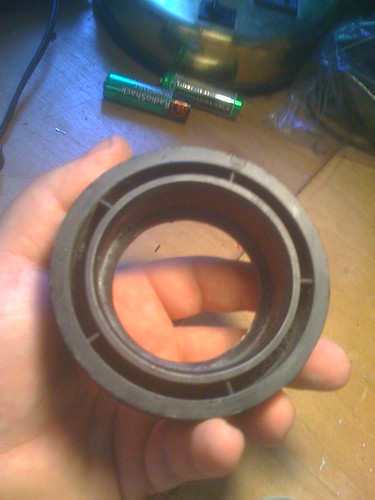
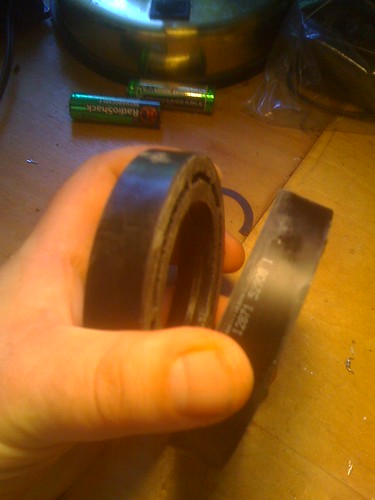
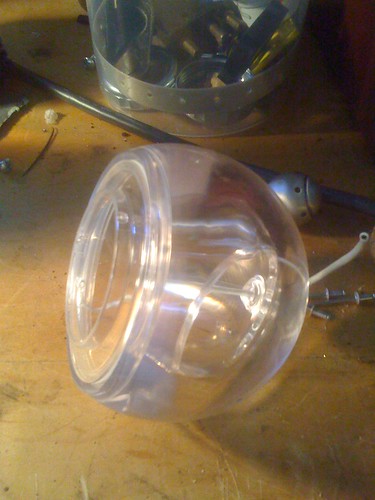
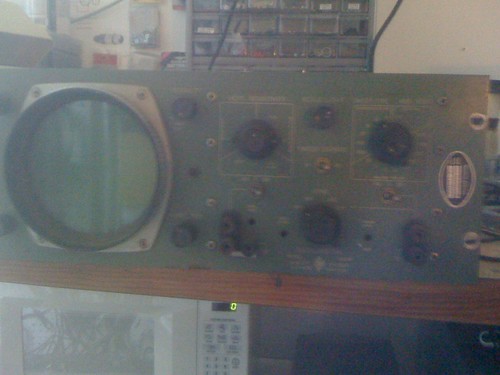
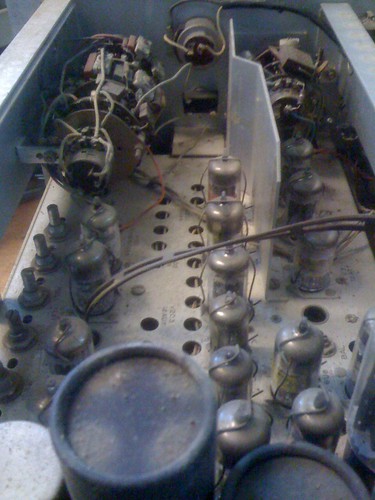
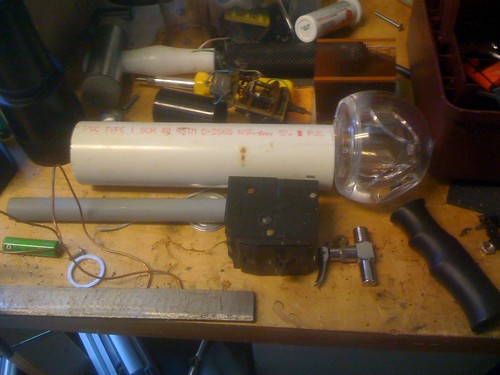
So with these images in my brain... we set to gathering bits from the junk box.
 
carrying on...

A speaker from an old iMac

7420870440_37cc6bf049.jpg


an umbrella handle and drawer pull that I didn't use on another project...

7420870616_6c58cf3214.jpg


and then the main donator of gizzle to my project! A Oscilloscope that dated from the early 1960's that was in a pile of electronics heading to the metal reclamation yard.

7455780012_e0c90d5cba.jpg


Oh yes! That alone was a work of art inside, everything point to point wired with tubes!

Top side:

7455779424_7d8bc00460.jpg


Bottom side:

7455778398_c29a6e6426.jpg


what fun that must have been to solder.
 
so an initial sketch up in Illustrator, just toying with shape and size...

7455811720_3d4565887f_o.png


and roughing it out with some scrap PVC and conduit along with a huge old Federal circuit breaker, "penny in every one!"

7455776934_d8ff4c3c6e.jpg


Here's where we're at so far. The oscilloscope has a perforated top and bottom aluminum chassis which may be better for the barrel cooling area. Also the umbrella had a pointed tip... I'm thinking wave guide for that, so we're more on the path of a Telsa device.
 
without pic's, there's no proof.

So here's the umbrella tip:

7456308454_9ba892e055.jpg


and the oscilloscope case:

7456308824_99417ac8cd.jpg


and I have a LOT of bits from old hard drives....

7456308908_07eb11b33e.jpg


This is going to be fun.
 
A man after my own heart! Fantastic stuff and kudos for your ingenuity, I'm going to enjoy watching this for sure :)
 
The old oscilloscope should provide you with tons of parts for projects to come. Hard to believe they were soldered by hand back then isn't it? This is going to turn out great.
 
My goal is to use as little paint and magic as possible. To use real bits in one way or another. (I hate sanding)

I've had some ideas on the way back from rehearsal, (Merry Wives of Windsor, I'm Falstaff... ) to get the heat shield and umbrella bits to be more in view.

As far as other spares go, the plasma cannon from Wolfenstein caught my eye, that could inspire a rifle version of this build. I have the top of one of my old sailboat masts that could make an awesome butt of a shoulder fired plasma weapon. :)

Back at it in the AM.
 
Ok, work on the handle so far.

Handle attached with stove bolt in grip, epoxied in place and then bolted to inside of sphere.

Sphere drilled out to accept tube plugs.

7468357548_d5f4f80d67.jpg


Trigger is from a hard drive. It's the read head of a multi disc platter with the heads themselves sanded off. Drilling that hole through the sphere was a trick!

7468357830_7395f6149d.jpg


and the look of the handle section with tubes temporarily installed.

7468357928_39f07db335.jpg


So far, so good!
 
The oscilloscope was one of those finds that I couldn't resist. It was at an electronics recycling drop-off day. Someone just put it in the pile.

So here is the umbrella tip with the flange pushed down toward the tip some more.

7488030034_d1cef469ff.jpg


and with two bits from a hard drive slid over...

7488030184_37f283b213.jpg


Sorry for the lack of depth of field adjustment. I'll bust out the better camera in a few.

and then the barrel. I painted it with copper paint. I wasn't going to, but then I did.

7488030336_148a2f8940.jpg


and I took this one step further by wrapping the tube with cat5 cable, which I'll use gold rub and buff to get it too look like bare copper wiring.

7488030524_3a4431d11d.jpg


So we let that all dry over the weekend.
 
and here is the mock-up of the inner barrel, with windings bumped up against the back handle and tube section.

7488455274_eacd18bb50.jpg


and looking down the at the business end.

7488455714_4c567e1fa5.jpg


Now we'll start construction on the outer sheilding, and circuit breaker "clip"
 
I bought this ABS reducer:

7496400988_662d85aea0.jpg


And cut it in two....

7496401116_4b219523d9.jpg


and that will hold my cut aluminum shielding... as temporarily put together here...


7496401228_ffbb6ea598.jpg


I also soldered wires to the tube bases, so you can see that interior looks more interesting. And I slid a rotory switch assembly from the oscilloscope in there to give more interior greeble.

Here's a mock up of where I'm going next...
7496401610_ea090cfde7.jpg


Don't worry, beauty shots will be taken with a far better camera. But it's getting there!
 
This thread is more than 11 years old.

Your message may be considered spam for the following reasons:

  1. This thread hasn't been active in some time. A new post in this thread might not contribute constructively to this discussion after so long.
If you wish to reply despite these issues, check the box below before replying.
Be aware that malicious compliance may result in more severe penalties.
Back
Top