The Ronin
Well-Known Member
So I just realized that I hadn't posted this here. Silly me.
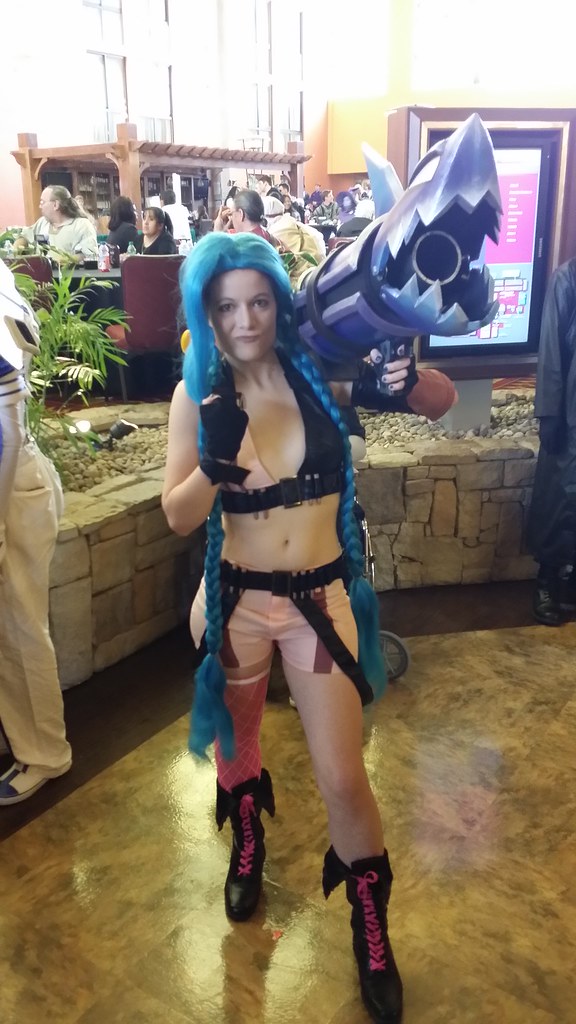
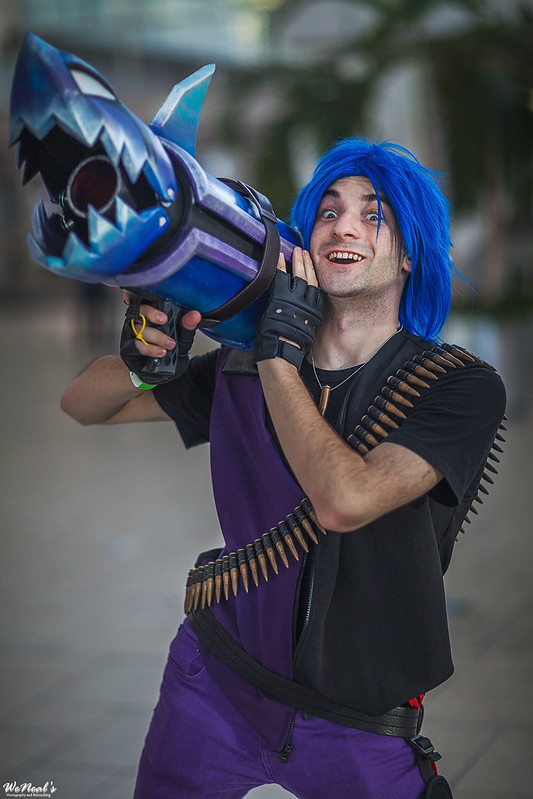
I've been commissioned by a friend to build Jinx' weapons; Fishbones, PowPow, and possibly Zapgun
(I'll edit in a character pic here later, the work comp is being stupid)
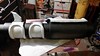
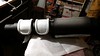
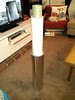
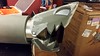
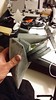
She wanted Fishbones first, and who could blame her? Fishbones is easily the most visually impressive of the group. I started by rounding up a few tubes of various sizes, and using foam scraps to create compression slip fit joints so I could play with lengths to get things where I wanted them.
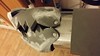
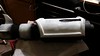
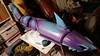
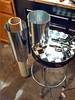
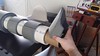
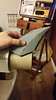
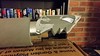
Then I cut down the largest tube (HVAC ducting, it's the ONLY thing I could find in 6" diameter) to the length I wanted. I should have probably cut it to the other line then trimmed out where the corners of the mouth would go, but it ended up working fine the way it was.
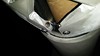
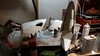
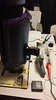
Here's the cut down length. You can also see the airsoft gun I trimmed out to fit a drill trigger switch into.
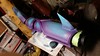
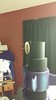
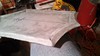
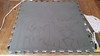
At this point I started working on the armor plates that make up most of Fishbones' body

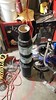
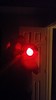
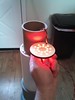
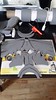
And what would a prop gun be without lights? The back of the lighting array looks like I was building a primitive Arc reactor :lol

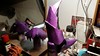
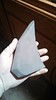
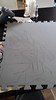
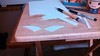
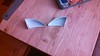
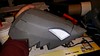
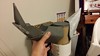
At this point I started on the tail. I managed to get my hands on the 3D file from a friend, and edited them down to just the head and tail with the help of another friend. I then ran a few pieces through pepakura designer to get a few pieces made up in foam. Then I kinda left it in this state for a while, as I wasn't sure how I was going to attach everything.
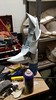
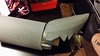
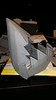
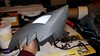
Then on to the head! Again I was using the 3D files for the utmost accuracy
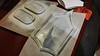
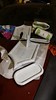
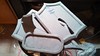
During this time I started on some eyeboxes for the eye lights. I just used some sheet styrene that I had laying around, and a little glue.
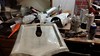
And a quick inventory of everything I had done to that point.

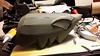
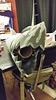
Got the foam assembled for the top of the head and had to do a test fit. PERFECT!
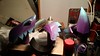
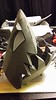
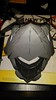
Then I assembled the lower jaw. To get the teeth to curve in without doing a million pieces in foam, I cut small V grooves in the back of the foam, filled them with hot glue, then folded the sections together until the glue cooled. The contour works amazingly without the need for filling a million seams
After that I cut the holes for the eyeboxes and test fit them. I also cut the edges for the teeth.
I wasn't too pleased with how they were bulging around the edges, so i overlapped the eyebrows a touch to pull everything back into place. It worked rather well.
Mildly intimidating.
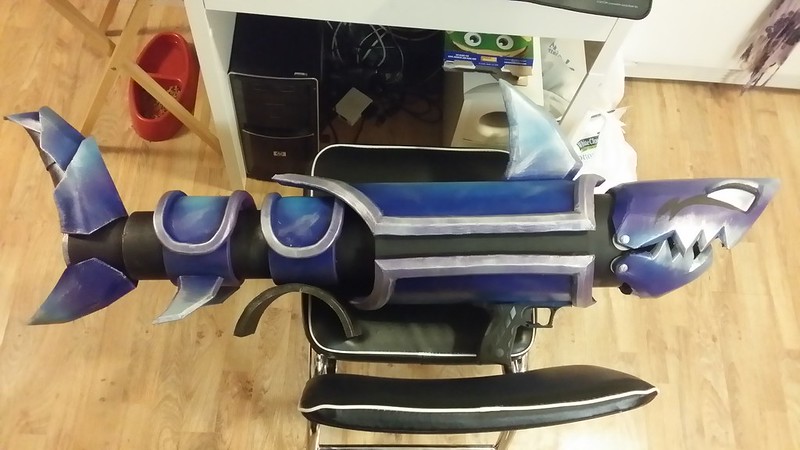
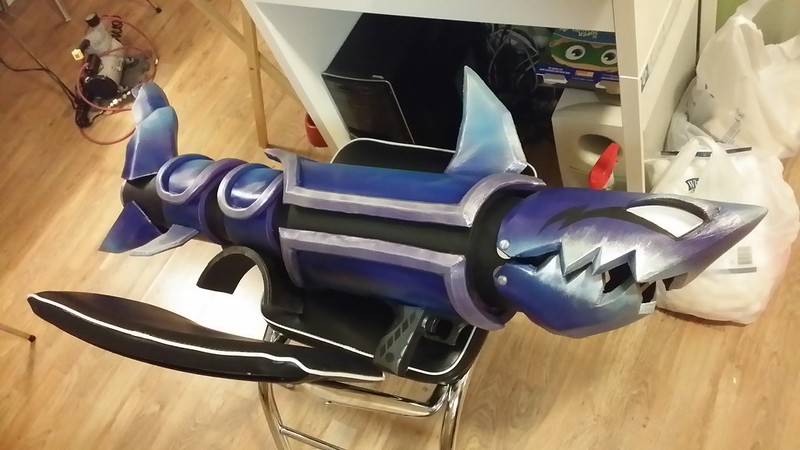
At this point, I started seam sealing, and attaching the head to the main body.
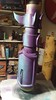
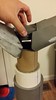
So I FINALLY figured out where I was going to hide the batteries and such. In the back of the tail! I could inset the barrel light array about 6" down in the barrel and it gave me PLENTY of room for the battery pack and wiring. Now I had to figure out how to mount the tail and still give access to the batteries. Well, I made a plug! The tail has a compression plug built in that holds the whole thing in place, REALLY WELL.

AAAAANNNNNNDDDDD I'm out of time. More to come later.
I've been commissioned by a friend to build Jinx' weapons; Fishbones, PowPow, and possibly Zapgun
(I'll edit in a character pic here later, the work comp is being stupid)
She wanted Fishbones first, and who could blame her? Fishbones is easily the most visually impressive of the group. I started by rounding up a few tubes of various sizes, and using foam scraps to create compression slip fit joints so I could play with lengths to get things where I wanted them.
Then I cut down the largest tube (HVAC ducting, it's the ONLY thing I could find in 6" diameter) to the length I wanted. I should have probably cut it to the other line then trimmed out where the corners of the mouth would go, but it ended up working fine the way it was.
Here's the cut down length. You can also see the airsoft gun I trimmed out to fit a drill trigger switch into.
At this point I started working on the armor plates that make up most of Fishbones' body
And what would a prop gun be without lights? The back of the lighting array looks like I was building a primitive Arc reactor :lol
At this point I started on the tail. I managed to get my hands on the 3D file from a friend, and edited them down to just the head and tail with the help of another friend. I then ran a few pieces through pepakura designer to get a few pieces made up in foam. Then I kinda left it in this state for a while, as I wasn't sure how I was going to attach everything.
Then on to the head! Again I was using the 3D files for the utmost accuracy
During this time I started on some eyeboxes for the eye lights. I just used some sheet styrene that I had laying around, and a little glue.
And a quick inventory of everything I had done to that point.
Got the foam assembled for the top of the head and had to do a test fit. PERFECT!
Then I assembled the lower jaw. To get the teeth to curve in without doing a million pieces in foam, I cut small V grooves in the back of the foam, filled them with hot glue, then folded the sections together until the glue cooled. The contour works amazingly without the need for filling a million seams
After that I cut the holes for the eyeboxes and test fit them. I also cut the edges for the teeth.
I wasn't too pleased with how they were bulging around the edges, so i overlapped the eyebrows a touch to pull everything back into place. It worked rather well.
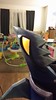
Mildly intimidating.
At this point, I started seam sealing, and attaching the head to the main body.
So I FINALLY figured out where I was going to hide the batteries and such. In the back of the tail! I could inset the barrel light array about 6" down in the barrel and it gave me PLENTY of room for the battery pack and wiring. Now I had to figure out how to mount the tail and still give access to the batteries. Well, I made a plug! The tail has a compression plug built in that holds the whole thing in place, REALLY WELL.
AAAAANNNNNNDDDDD I'm out of time. More to come later.