BTTF2 Griff Tannen Helmet and Slugger 2000 builds *HELMET FINISHED*

Status
Not open for further replies.

Werstrooper

Well-Known Member
2191_00192_640x480.jpg

Over the last few weeks ive been getting my hands dirty with this sculpt, havent used clay since Highscool (20years) so there have been plenty of flashbacks to the highschool art class as I have fumbled along.

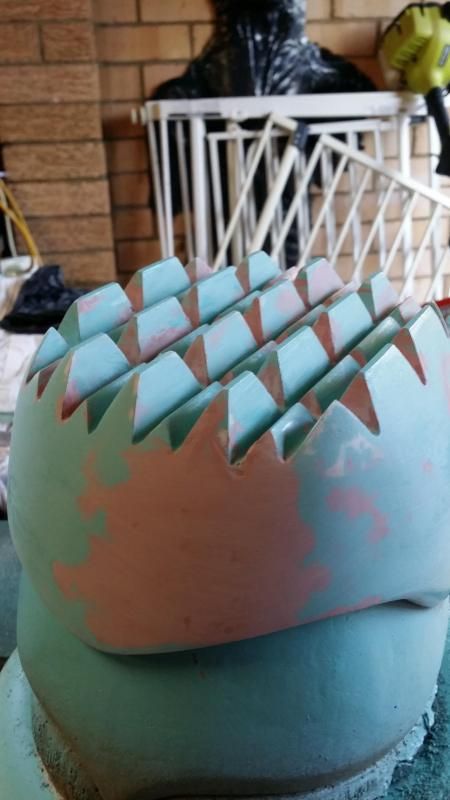
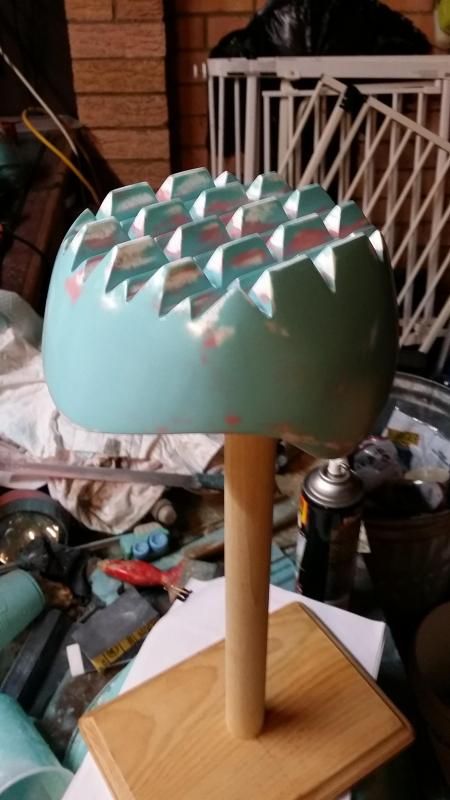
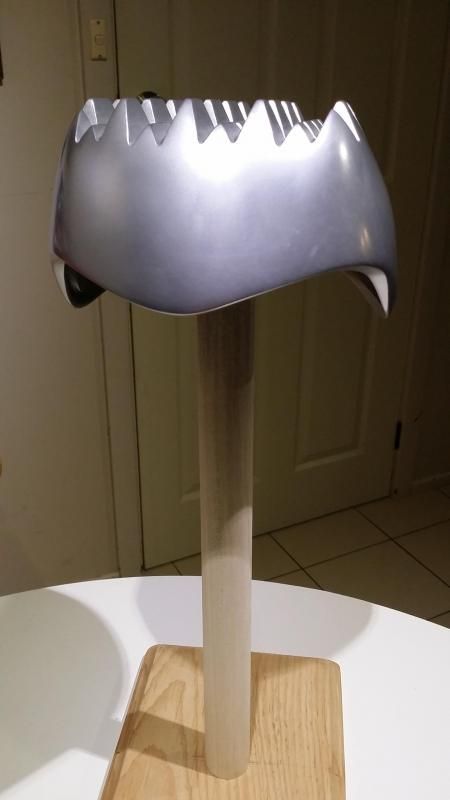
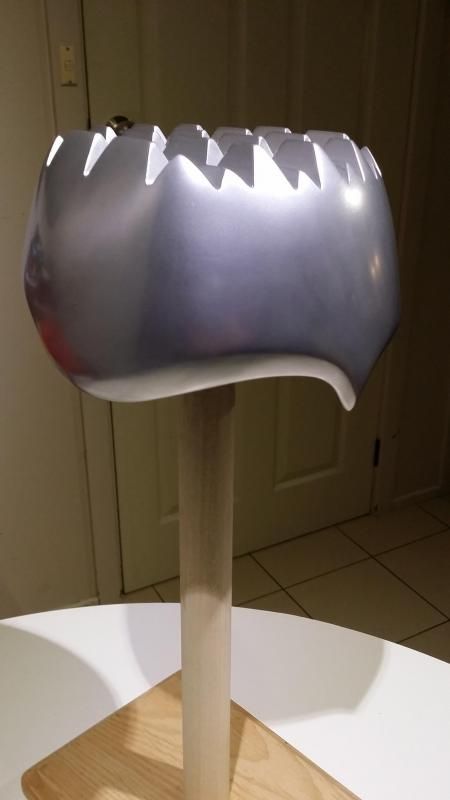
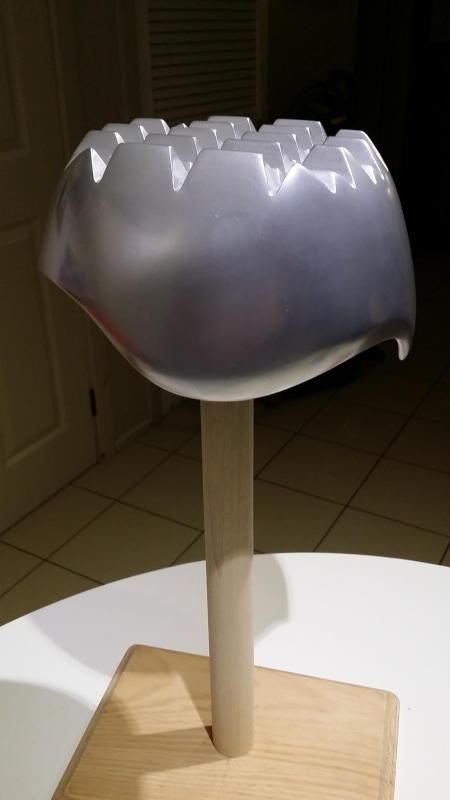
Here are some screens shots of the helmet I took on my phone, some of them show off the profiles of the helmet.

Samsung pics 011.jpg


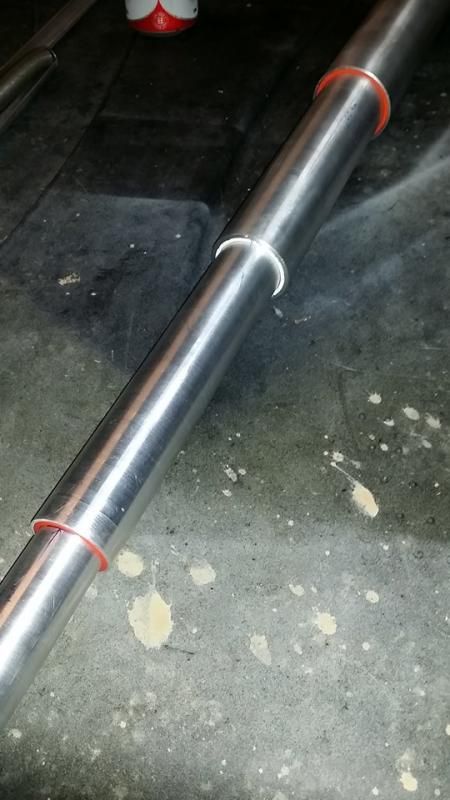
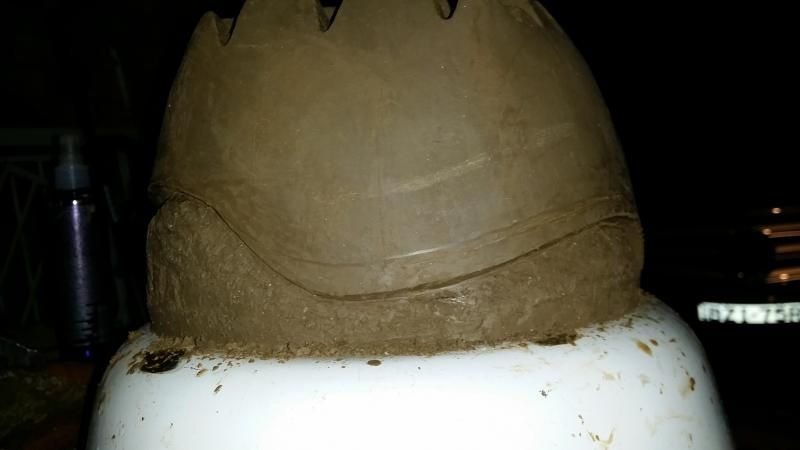
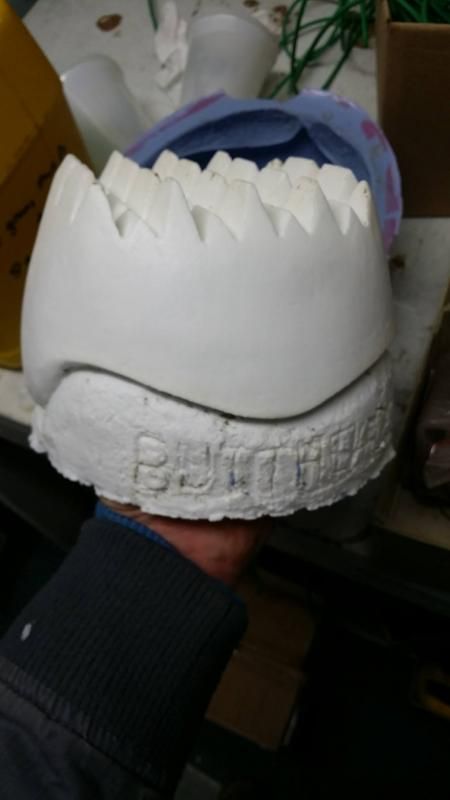
I found this shot interesting as it looks like they used a silver Rub&Buff type product instead of paint or ColdCast as the R&B has transfered onto the chinstrap. (Where the strap meets the helemt)
Samsung pics 009.jpg

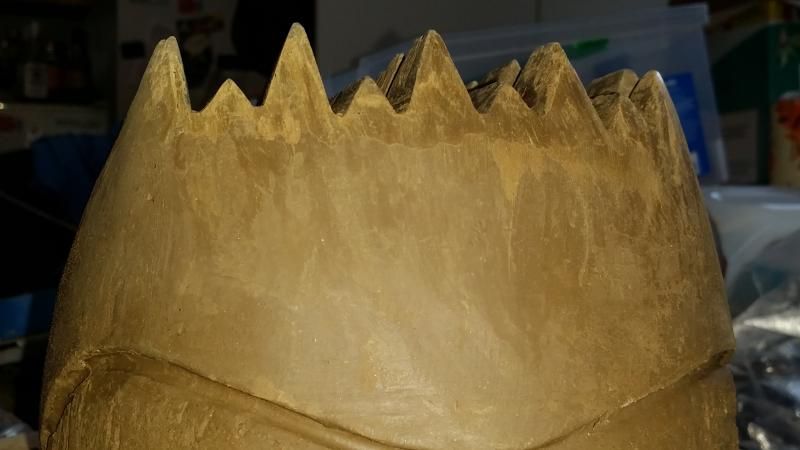
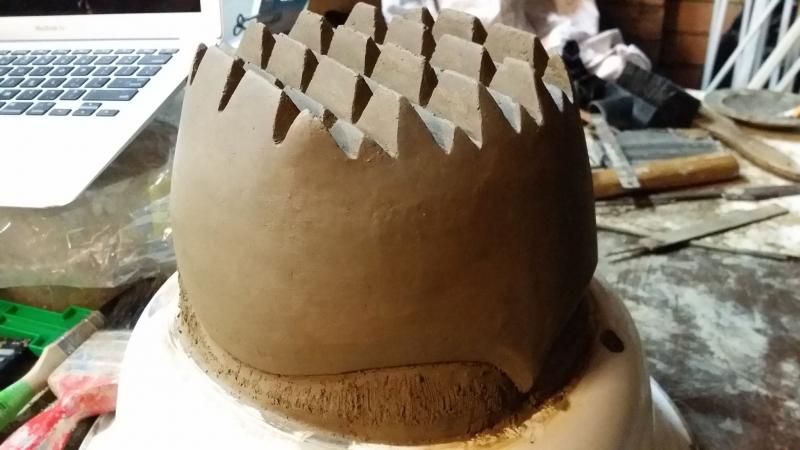
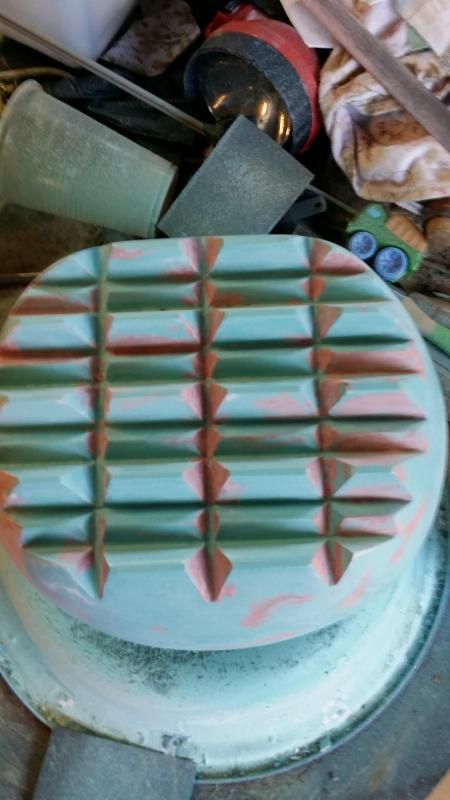
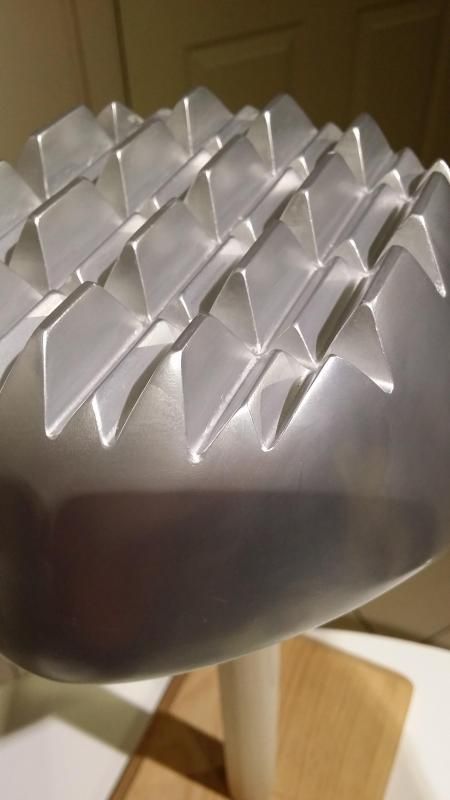
Good shot showing the spike pattern

Samsung pics 017.jpg


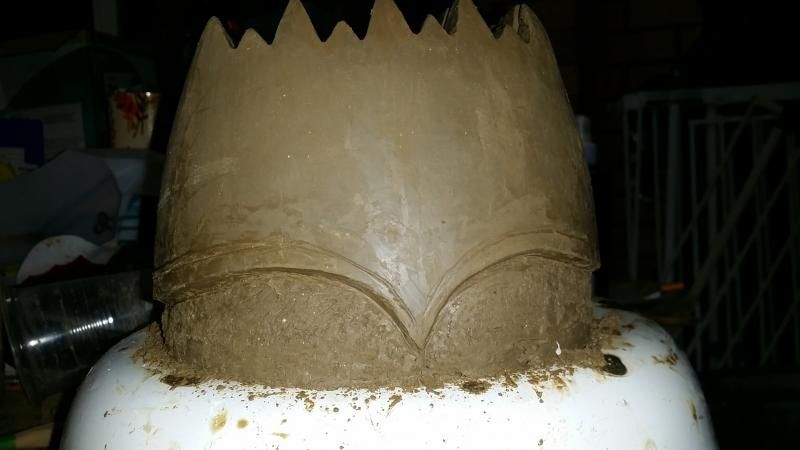
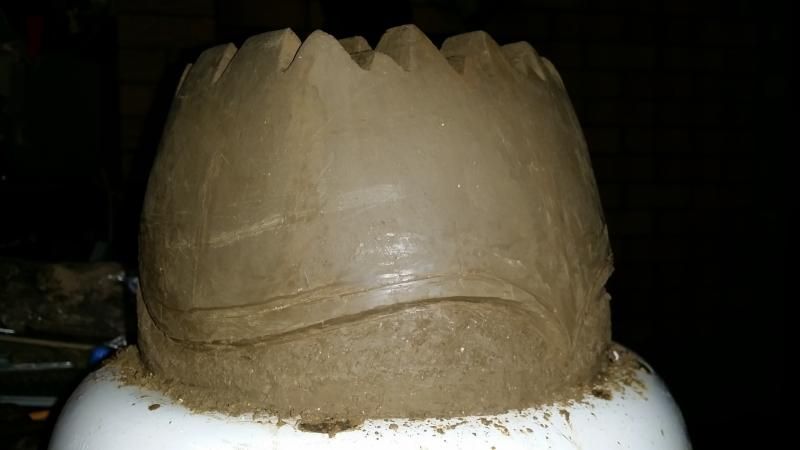
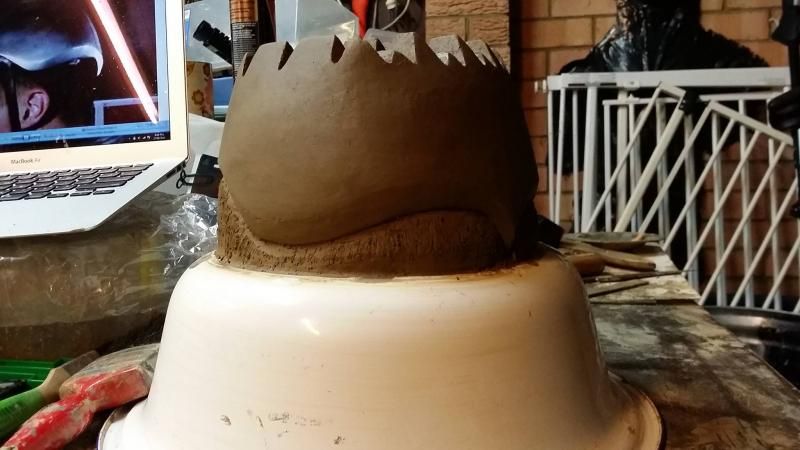
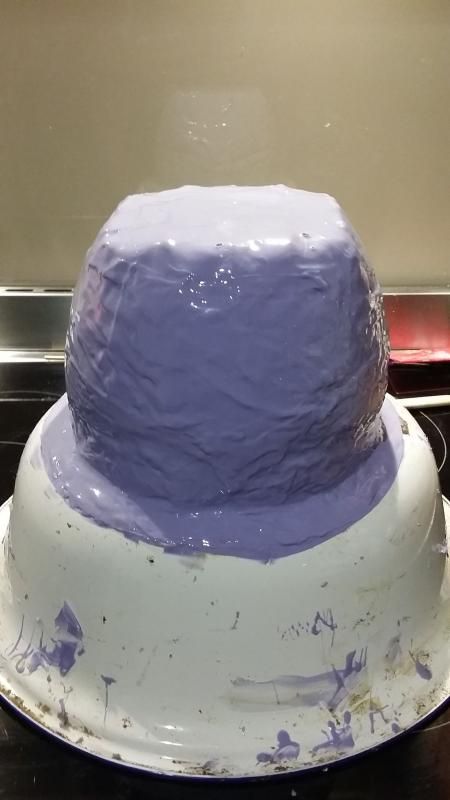
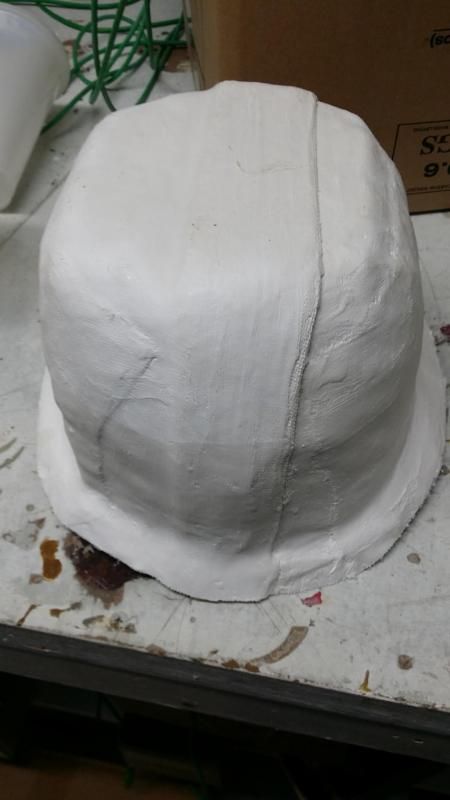
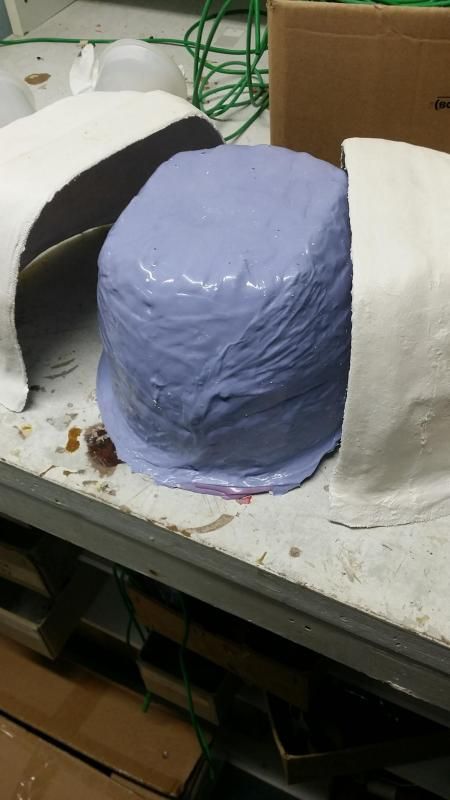
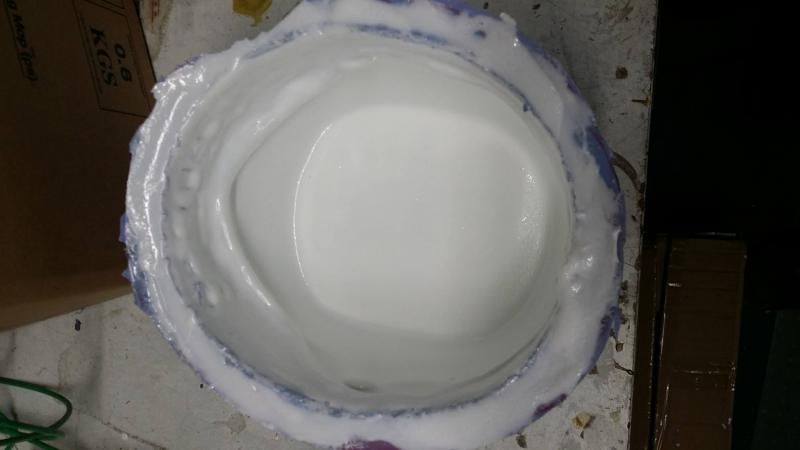
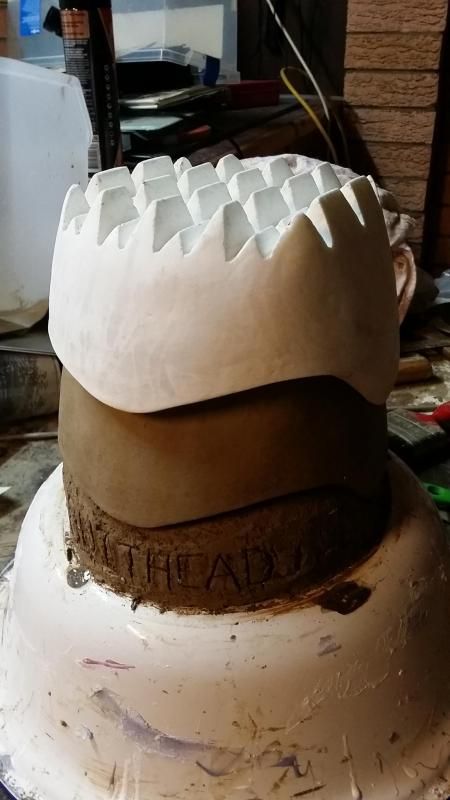
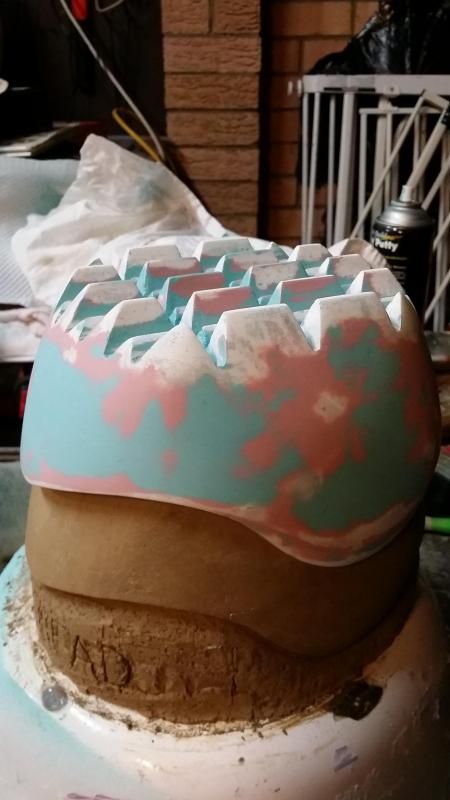
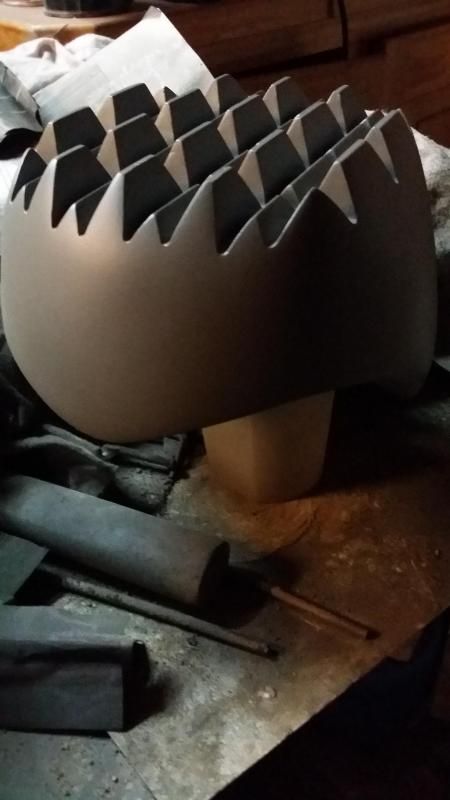
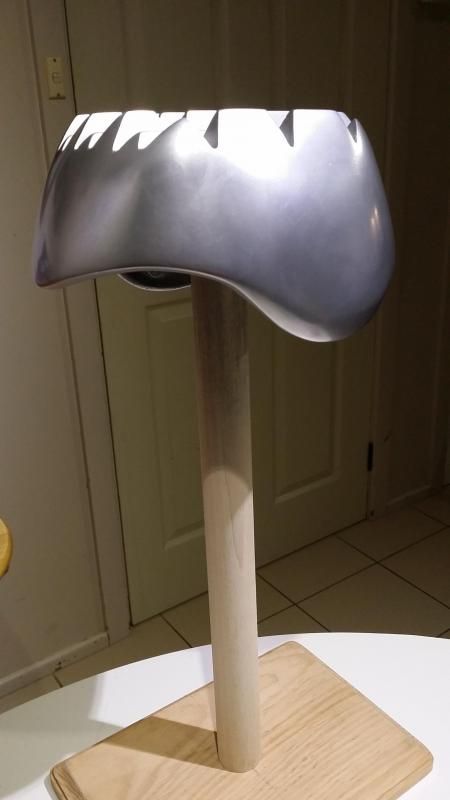
Some pics of the sculpt so far..

Samsung pics 00002.jpg

Samsung pics 0gjy03.jpg

Samsung pics 007.jpg

Samsung pics 010.jpg

Samsung pics 013.jpg


I have a supply of Smoothon to make a mold once the sculp is finished

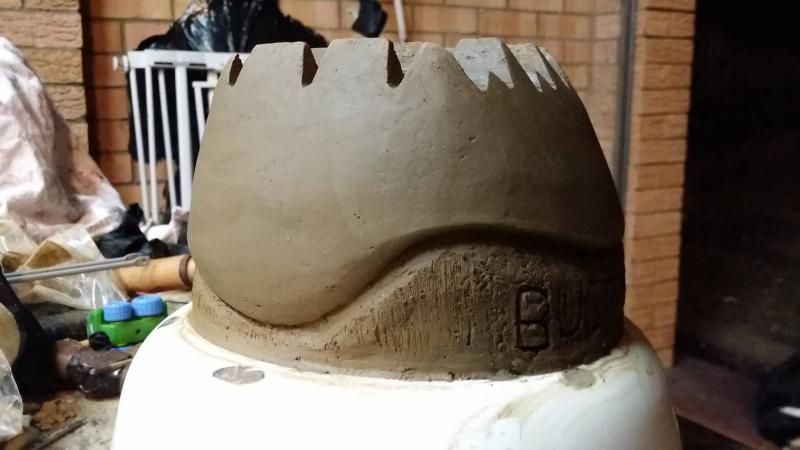
Thinking of calling it The ButtHead Head Butting Helmet (TBHHBH for short lol)
 
Last edited:
Re: BTTF2 Griff Tannen Helmet and Slugger 2000 builds

Bat is being made from Alloy and will function the same as is did in the movie (Fingers crossed)

Here it is after cutting the pieces to the approx size

1924806_10152532484021019_1861284484616238278_n_zps57148b9b.jpg


The basis of the spring mechinism. Lots of beer and braincells were destroyed coming up with this concept.

in the Open position
20140529_183521_zps5b31adde.jpg


Closed - When the bat is closed the spring is under tension and will be held in place by a yet to be designed 'lock/switch'
20140529_183245_zpsad16f86f.jpg


After turning up the alloy pieces it starts to take shape
20140601_225056_zpsa06cf608.jpg


turned up the sleeves for all the pieces so now it slides nice and smooth. I'm hoping that the tolerance between the parts will prevent air from flooding into the bat as is springs open, this should help it act just like compressed cylinder as it does in the film.
10441146_10152575455511019_2806398122457378709_n_zps08e0b91e.jpg
 
Last edited:
Re: BTTF2 Griff Tannen Helmet and Slugger 2000 builds

none of these attachments are working :(

Bat is being made from Alloy and will function the same as is did in the movie (Fingers crossed)

Here it is after cutting the pieces to the approx size
View attachment 336531

The basis of the spring mechinism. Lots of beer and braincells were destroyed coming up with this concept.

in the Open position
View attachment 336532


Closed - When the bat is closed the spring is under tension and will be held in place by a yet to be designed 'lock/switch'
View attachment 336533

After turning up the alloy pieces it starts to take shape
View attachment 336534

turned up the sleeves for all the pieces so now it slides nice and smooth. I'm hoping that the tolerance between the parts will prevent air from flooding into the bat as is springs open, this should help it act just like compressed cylinder as it does in the film.
View attachment 336535
 
Re: BTTF2 Griff Tannen Helmet and Slugger 2000 builds

Oh! Thanks guys I edited that post with photobucket links, pics should be showing now. :)

Also finished the spikes for the helmet on the weekend, When I say finished I mean I'm finally happy with the angles and linage, now to patch, repair and smooth over.

20140615_145902_zpsd474d325.jpg
 
Re: BTTF2 Griff Tannen Helmet and Slugger 2000 builds

can I ask you what you used for the alloy of the outer part of the bat? I can't find anything to use that I like and yours looks perfect!
 
Re: BTTF2 Griff Tannen Helmet and Slugger 2000 builds

This looks awesome! The spring mechanism is very impressive! What are the measurements of each segment of the bat?
 
Re: BTTF2 Griff Tannen Helmet and Slugger 2000 builds

I used Aluminium Tubing from a metal supplier and just cleaned up the surfaces on the lathe at work. I've been told my measurements are over 95% accurate to the dimensions of the screen used stunt bat.

The measurements took me a long time to do from scaling and researching bats online and from watching the films and screenshots. At this point in time I don't want to give away my hard work, especially while the project is still in the early phase, also I may consider doing a small run of bats.

So for now, sorry guys but maybe I'll release some diagrams and measurements in the future.

in the mean time here are some more sculpt pics!


GT03_zps8130df4c.jpg


GT02_zps009f79b9.jpg

GT01_zpsbbf5b018.jpg


Very close now, looking forward to molding this sucker soon.
 
Re: BTTF2 Griff Tannen Helmet and Slugger 2000 builds

Pre-casting process starts this weekend. Also done some more cleaning and smoothing since these pics were taken.

I'll be using Smooth-on 30 for the casting process and was wondering if anyone could suggest a molding method?

Would this shape require a split mold or could I get away with more of a Silicon sleeve method supported by a removable hard outer shell?

This won't be the final mold as I feel I've done all I can for now with this clay i'm using. It's just become too hard to work with even after using a finer grade clay. I'm happy with the basic shape, I just need a few copies down in resin so I can finish it with methods I'm more familiar with. Sandpaper, filler and putties please!! :D this clay is killing me :(

10443154_10152601339126019_8579883941280782360_o_zps00b8849f.jpg


10275291_10152601338556019_935467695715499809_o_zpsb21fc347.jpg


10494910_10152601339381019_4351994332112889036_o_zps98af0e0d.jpg


Thanks for looking!
 
Re: BTTF2 Griff Tannen Helmet and Slugger 2000 builds

So, using the brush on method I applied three coats of Silicon

10448614_10152618647061019_5858198420403513200_o_zps72fc2f0a.jpg


Then created a two piece support shell using plaster bandage

905820_10152618647591019_7268845744216432270_o_zps68894c79.jpg


10329731_10152618648171019_4864166470486996146_o_zps958387b2.jpg


The Resin I used is Smoothcast 300, I love this stuff as its easy to use, machine, file, sand, glue and it's strong and light.

10506780_10152618649071019_3342922879937591224_o_zpseefb500b.jpg


Three coats of resin and it's pretty thick and sturdy, the Spikes are solid and the helmet wall thickness is about 4 - 5mm thick.

Just out of the Mold!

10365370_10152618649881019_2499534596563508172_o_zps4f86bc05.jpg


Trimmed up

10321794_10152618650456019_1072292597833117302_o_zps7bf08d8e.jpg


Might not look as pretty next time! Now to get out the Plastibond and fillers and keep working on the shape.

Really been enjoying this project, It's been a fun learning experience.

MOLD METHOD REFERENCE: https://www.youtube.com/watch?v=tBClhbrGR7w
 
Thanks guys, hopefully you like the finished Prototype :D

But first a few more Progress pics!


Lots of putty, was used to finalize the shape, although it doesnt look it there would be about 2 toothpaste tube sized packs of putty was used.

So I used Tube putty (MilliPutty) two cans of spray putty and two cans of surface primer.

20140629_200144_zps457e0ef0.jpg


20140701_074320_zpsce26d681.jpg


20140701_074355_zpse50c9b66.jpg


20140702_232023_zps12da8e9f.jpg


20140706_231331_zps81dfecdd.jpg


And now for the final reveal! (Still need to make a chinstrap)

20140708_221450_zpsad2e0f5b.jpg
20140708_221105_zps49e20a7d.jpg
20140708_221317_zps1f91bd3e.jpg
20140708_221548_zps0f514601.jpg
20140708_221528_zps7952187d.jpg
20140708_221518_zps4efe49c3.jpg


Thanks for looking!
 
Looks great! Good job!
Is that straight rattle can silver or did you use a rub-n-buff on it?
 
Status
Not open for further replies.
Back
Top