cld213
Well-Known Member
First, sorry if this is posted in the wrong section (mods please move if necessary)
Some quick info on this Vader Helmet:
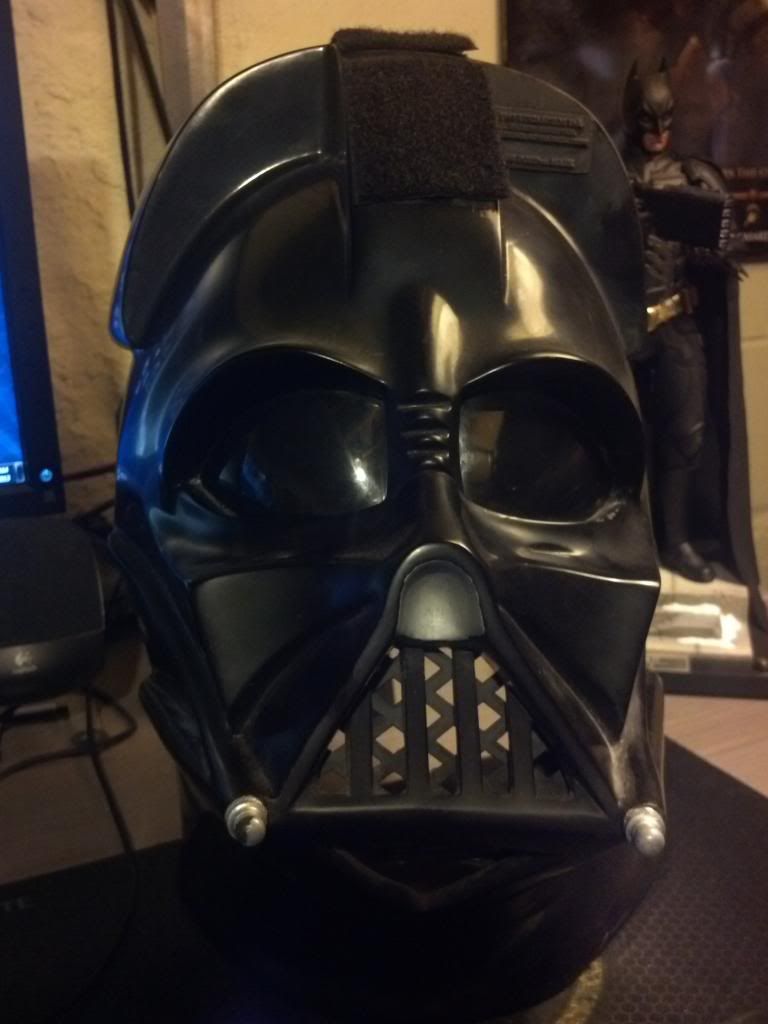
It was produced in 1996 by Don Post studios under license from Lucasfilm. It's made of Vinyl and was cast and based off of their fiberglass deluxe model which was produced from an original ESB Helmet.
I'm hoping to get some help and guidance from some of the experts here for going about repairing a few things on a 1996 Don Post Classic Action Vader Helmet.
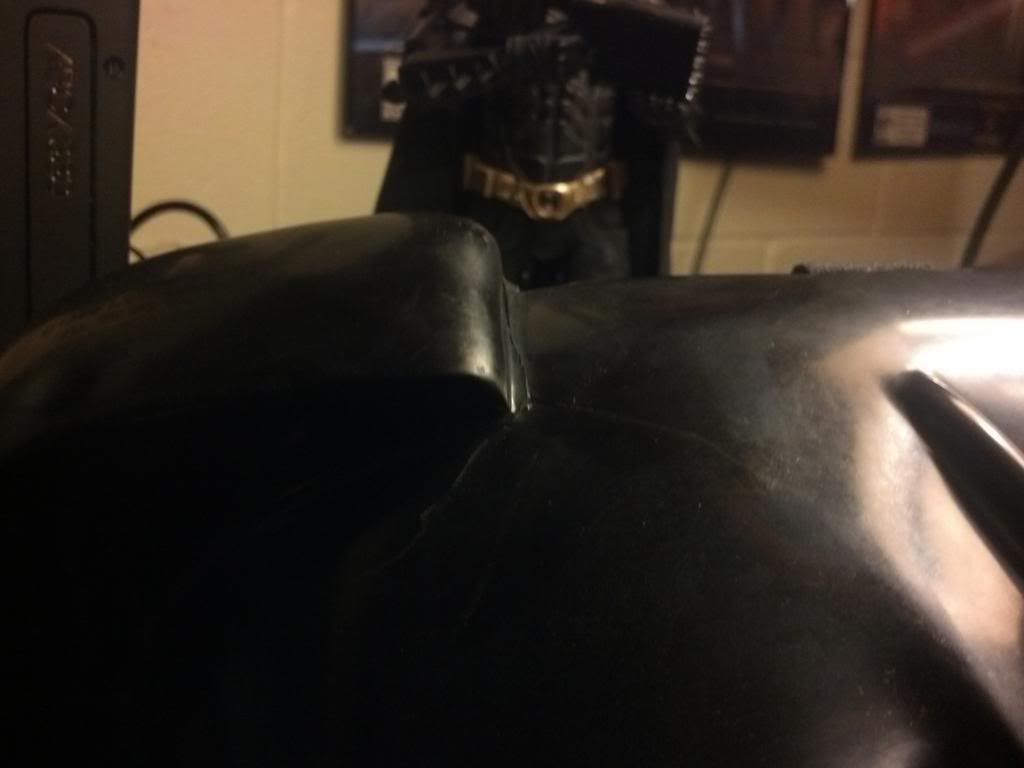
Not really sure when or how this happened but there is a wishbone shaped crack forming near the seam of the ridge that velcros the dome and holds it at an appropriate height. Pulling the dome from the velcro might have made it worse so i'll be leaving it off for now.
Could I get some info or opinions on what adhesive to use to secure the crack to prevent further splitting and options for covering the seams?
The dome also has some light scuffing and scratches as is typical with these helmets. Is it possible to repair/hide some of the "damage" on the dome? If so what are some of the tools/methods for this?
Many thanks and I hope someone out there has some information or can at least point me in the right direction. This is a great helmet and I have only my self to blame for the lack of care/neglect. Lesson learned and never again!
The wishbone shaped crack on the left side of the helmet

Last photo for over all reference
Some quick info on this Vader Helmet:
It was produced in 1996 by Don Post studios under license from Lucasfilm. It's made of Vinyl and was cast and based off of their fiberglass deluxe model which was produced from an original ESB Helmet.
I'm hoping to get some help and guidance from some of the experts here for going about repairing a few things on a 1996 Don Post Classic Action Vader Helmet.
Not really sure when or how this happened but there is a wishbone shaped crack forming near the seam of the ridge that velcros the dome and holds it at an appropriate height. Pulling the dome from the velcro might have made it worse so i'll be leaving it off for now.
Could I get some info or opinions on what adhesive to use to secure the crack to prevent further splitting and options for covering the seams?
The dome also has some light scuffing and scratches as is typical with these helmets. Is it possible to repair/hide some of the "damage" on the dome? If so what are some of the tools/methods for this?
Many thanks and I hope someone out there has some information or can at least point me in the right direction. This is a great helmet and I have only my self to blame for the lack of care/neglect. Lesson learned and never again!
The wishbone shaped crack on the left side of the helmet


Last photo for over all reference

Last edited: