sorry.. Im not sure what code or whos approach you are using..
I posted my OWN code and my OWN approach/how-to..
so thats the one "I" follow.. although I give general advice on questions..
its hard to following along with an approach that isnt mine/my same thought process..
correct you would use a NPN type transistor (current)
here are some old wiring diagrams I made..
and I know they do NOT pertain to IronMan or the type of leds in the pcb linked to above...but the 'concept' is still the same..
for common V++.. you use NPN:
http://dmstudios.net/misc/RGB_transistor_commonAnode_diagram2.jpg
for common GND you use PNP":
http://dmstudios.net/misc/RGB_transistor_commonCathode_diagram2.jpg
as you can see in the image.. these are 5050, RGB leds..
its a bit more advanced/harder wiring than were talking about... but should help give a visual..
using a transistor/mosfet is a common approach when you have to control/drive/power a device that has bigger/larger/higher power requirements than the Arduino can provide
Arduino provides:
+5v voltage
40mA current (per pin).. they say only 20mA safely though.... and only 200mA TOTAL for the whole board.. all pins..etc..
so if you took 40mA from a pin... you could only really use 5 pins @ 40mA.. as you be at the 200mA cap for the board.. (make sense?
here is another quick example of using a transistor to drive an led array.. (IM repulsor pcbs)
https://www.youtube.com/watch?v=Uqg7jWZWrmM
that being said.. I have no clue on the specs of these: "BC548 or BC639"
link? datasheet specs?
couple things you need to keep in mind..
1.) the vF (forward voltage) of the leds you plan on using.
2.) the total current you'll need for your LED array..
3.) battery pack/source you plan to use..
these all play an important part in picking out the transistor and the resistors you'll need to use..
(transistor needs to be able to supply enough current..etc)
voltage regulation needed? (dont forget voltage drop across the transistor too!)..etc
its not hard.. but all pieces need to be there in order to finalize is all..
")
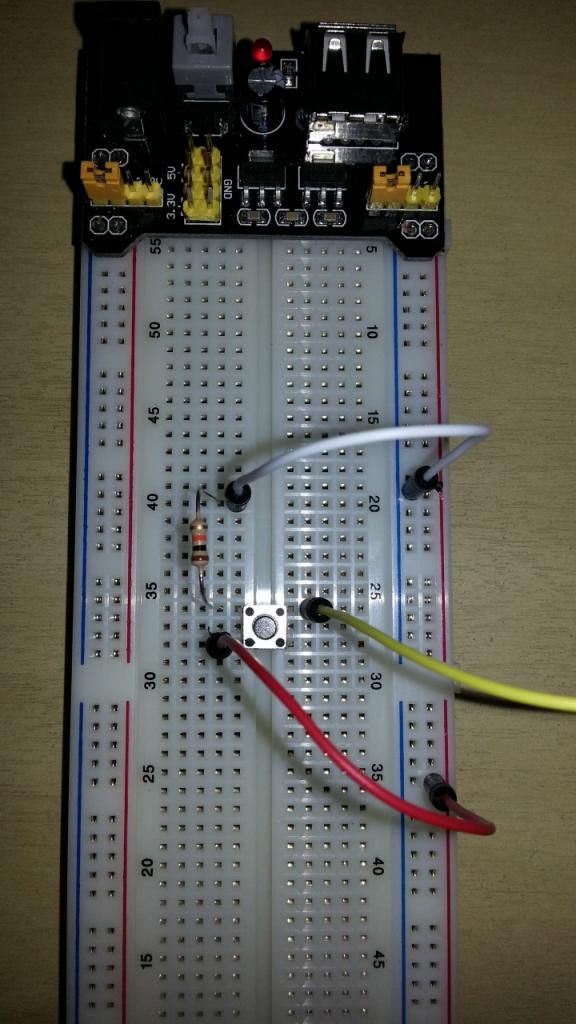
as far as fitting?.. fitting what? 1st post is a breadboard for dev/prototyping...no?
I also didnt think an led array was use.. but in fact only 1 or 2 leds per eye.. (which can be driven directly from the Arduino..so no transistor needed in that example)
I think these are the transistors I used for the eye circuits:
BC81725MTF Fairchild Semiconductor | BC81725MTFCT-ND | DigiKey
**off to finish the spider-man webshooter pcb's now.. :ninja