I've started in on my Deathstroke Season 2 costume. I figured it was about time to have another build thread, so here goes!
I'm trying to do this as a "budget" build, where budget is defined as $1000 or less. As such I'm cheaping out on some of the more gratuitously costly parts.
I got a set of "Oakley" gloves from Amazon. They are blatant bootlegs of the correct Oakley gloves at a fraction of the price (around $20)

For the soft parts under it all I'm using a black coverall. It's cheap, easy, and most importantly I don't have to worry about the shirt coming untucked at a con. Not accurate, but close enough for now.
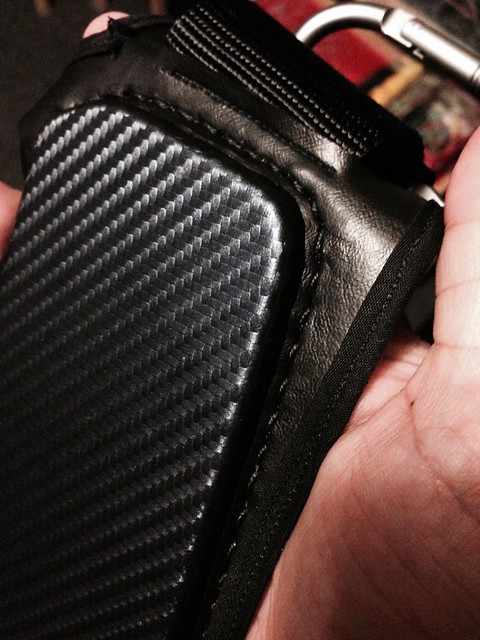
Tvayumat had purchased some stuff, but then decided he didn't really want to build the suit. I picked up his starter kit: shoulder pads, forearm guards, blue carbon fiber fabric, assorted quick clips and more orange webbing than I ever really wanted to have in my home.

Also shown in that pick is the boot knife I picked up, a lovely sub $15 Bud K Vietnam war bowie. I really just wanted the sheath... the knife will be replaced by a fake one to avoid con security problems.

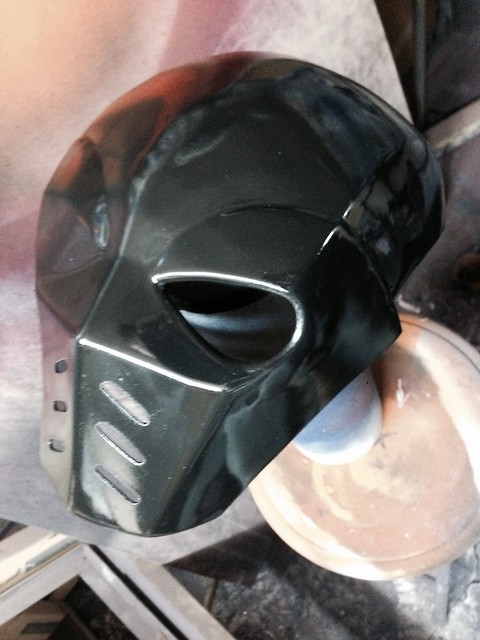
For the helmet I'm using the BlackKaos pep file. As with all things pep, I'm modding the #%%^@ out of it. Here's where it started:

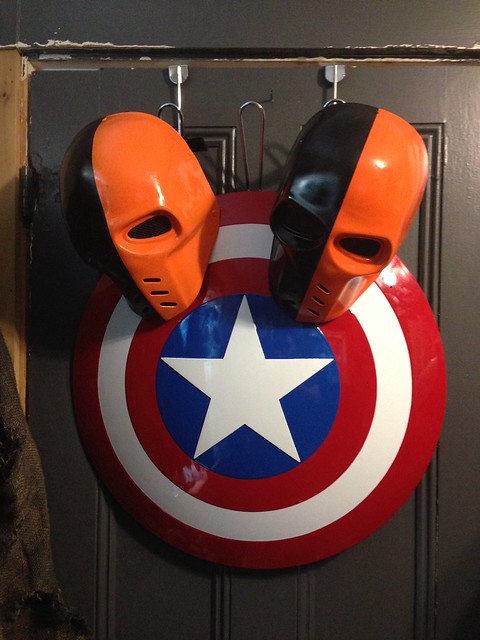
And where I'm at today. Still a long way to go!

I got the equestrian vest:

I haven't shortened the back yet, but this did prompt me to also throw together an island Slade as a side project:

Now, the armor vest!
The next shortcut is the carabiners. I didn't have the $$ right away for all 4235 $10 Petzls or whatever it is he uses, so I went with $1 silver ones and a can of metallic orange spray paint.
The vest is being made out of heavy vinyl with twill trim and ABS/carbon fiber armor. I didn't do the shapes 100% accurately... I tailored them to fit me well, while still looking generally correct. Manu Bennet is a much larger man than me, so what works on him transferred directly would be silly on me!


Lots of things in the mail:
The next fabrication piece is the shinguards. I'm planning to vac form those out of black ABS as well.
So that's where I am now!
I'm trying to do this as a "budget" build, where budget is defined as $1000 or less. As such I'm cheaping out on some of the more gratuitously costly parts.
I got a set of "Oakley" gloves from Amazon. They are blatant bootlegs of the correct Oakley gloves at a fraction of the price (around $20)
For the soft parts under it all I'm using a black coverall. It's cheap, easy, and most importantly I don't have to worry about the shirt coming untucked at a con. Not accurate, but close enough for now.
Tvayumat had purchased some stuff, but then decided he didn't really want to build the suit. I picked up his starter kit: shoulder pads, forearm guards, blue carbon fiber fabric, assorted quick clips and more orange webbing than I ever really wanted to have in my home.
Also shown in that pick is the boot knife I picked up, a lovely sub $15 Bud K Vietnam war bowie. I really just wanted the sheath... the knife will be replaced by a fake one to avoid con security problems.
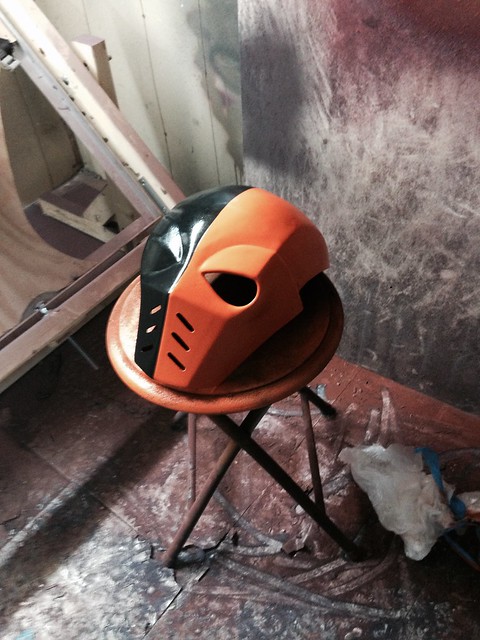
For the helmet I'm using the BlackKaos pep file. As with all things pep, I'm modding the #%%^@ out of it. Here's where it started:
And where I'm at today. Still a long way to go!
I got the equestrian vest:
I haven't shortened the back yet, but this did prompt me to also throw together an island Slade as a side project:
Now, the armor vest!
The next shortcut is the carabiners. I didn't have the $$ right away for all 4235 $10 Petzls or whatever it is he uses, so I went with $1 silver ones and a can of metallic orange spray paint.
The vest is being made out of heavy vinyl with twill trim and ABS/carbon fiber armor. I didn't do the shapes 100% accurately... I tailored them to fit me well, while still looking generally correct. Manu Bennet is a much larger man than me, so what works on him transferred directly would be silly on me!
Lots of things in the mail:
- I'm using a bokken for the sword, since local cons tend not to like metal weapons. That's in house already, but the saya is still in transit
- I've got a neoprene mask that should be good under the helmet
- Eye patch
")
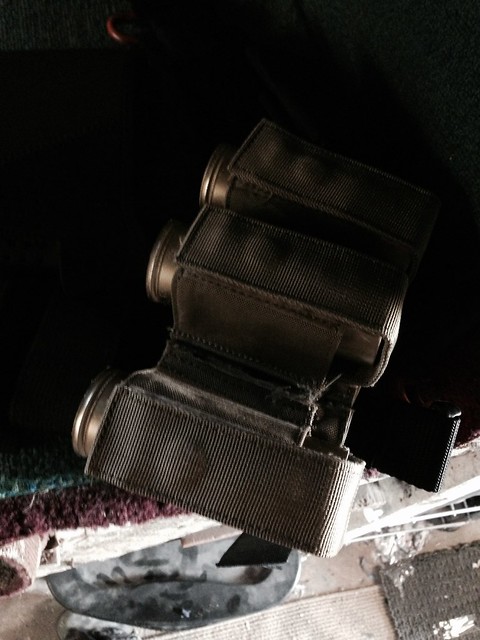
- 40mm grenades and pouches
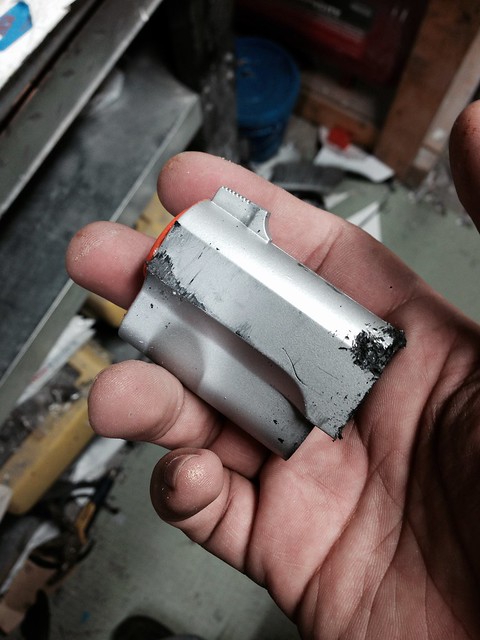
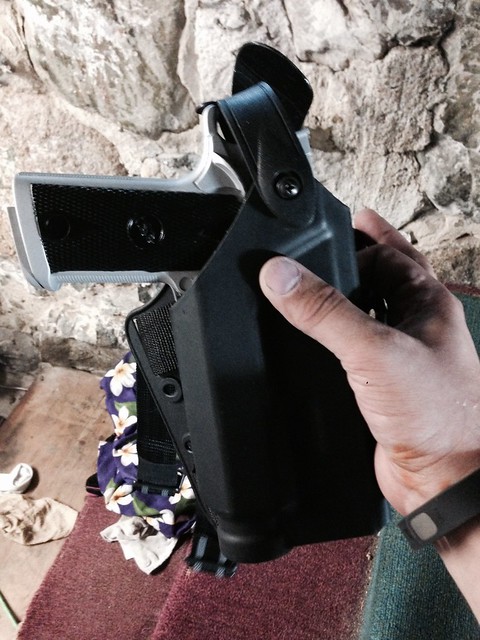
- Knock off Safariland holster. It's a 1911, but it's close enough for my taste (plus I've failed to get the right one 4 times now!)
- The 'tactical ninja' swords for island Slade
The next fabrication piece is the shinguards. I'm planning to vac form those out of black ABS as well.
So that's where I am now!