Yet another Boba Fett Pep Build. WIP

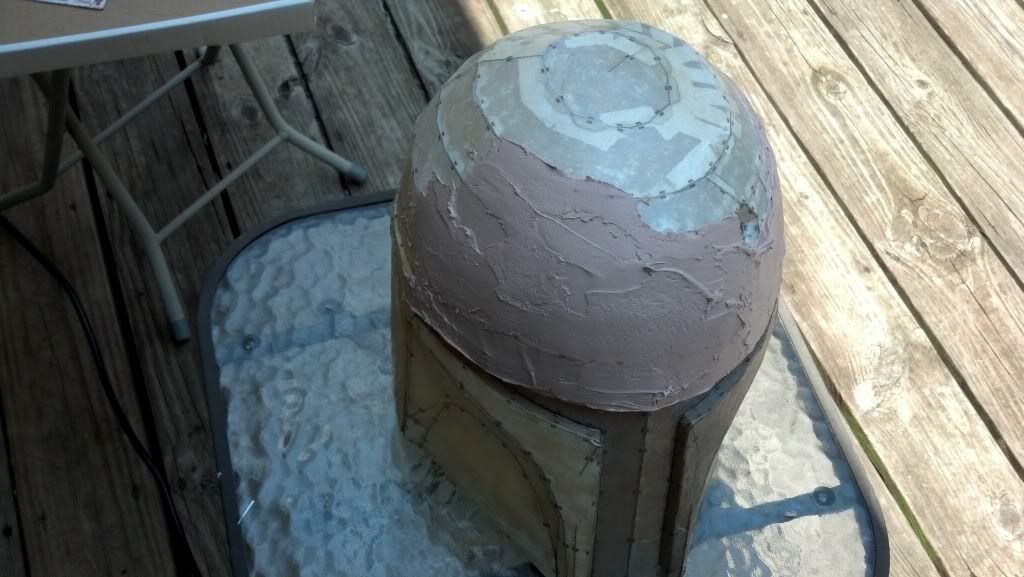
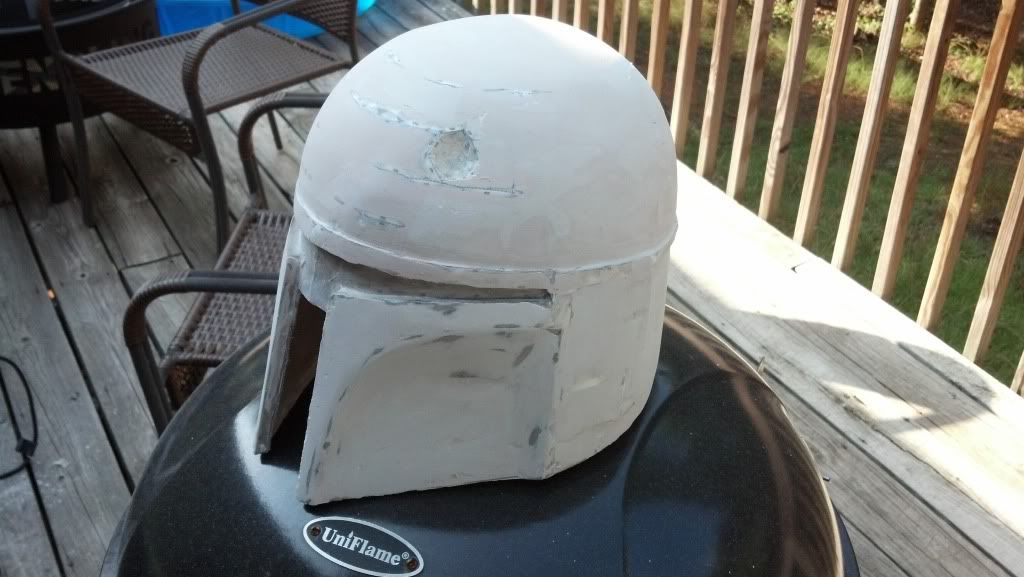
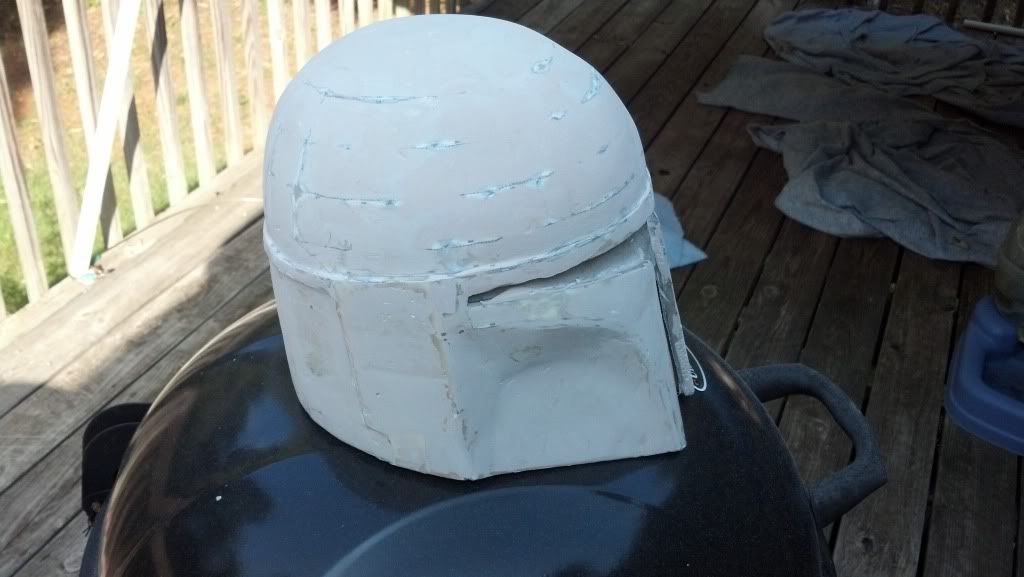
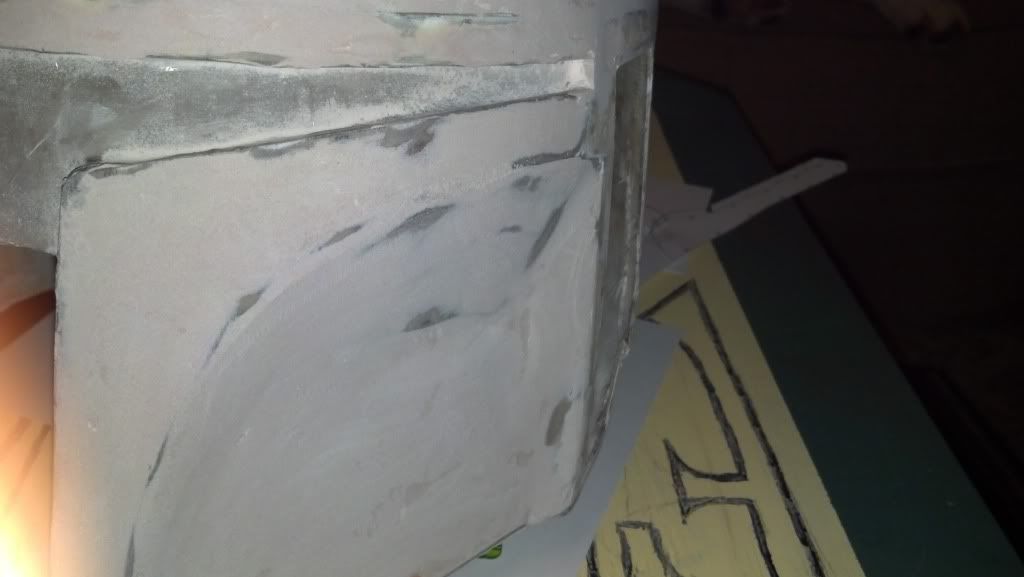
HA thanks for the tip... I actually had this on my list of things already... Rosskows build thread is actually very enlightening. I actually picked up some credit card sized plastic pieces to use for the filler and I invested in a mouse sander. so im hoping the filler stage will be a bit more streamlined.

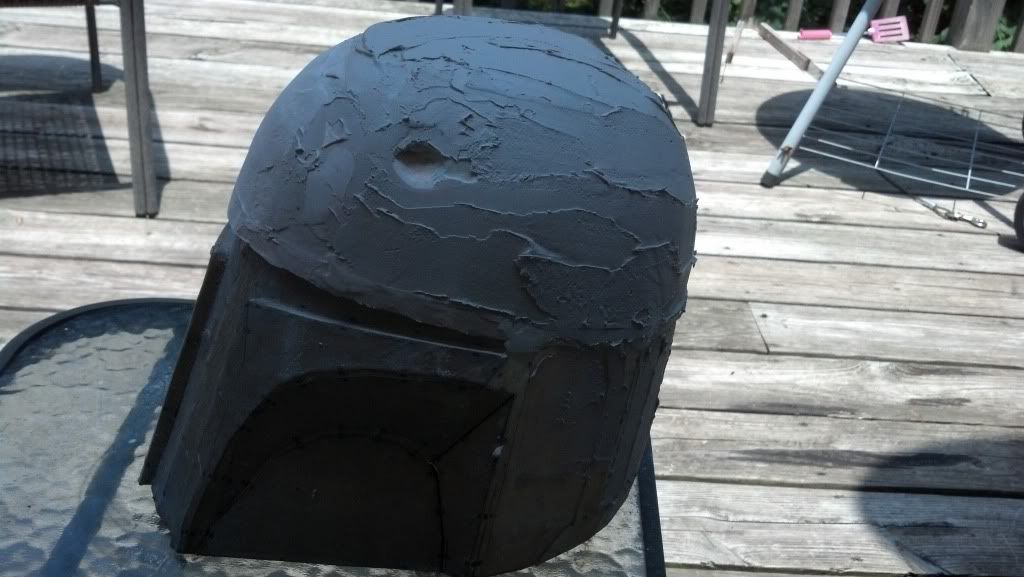
My meticulous nature will demand clean defined edges and lines during that stage... I plan to keep a couple of 4 packs of red bull and a bottle of jager in my garage mini fridge...ya know... to keep calm =)

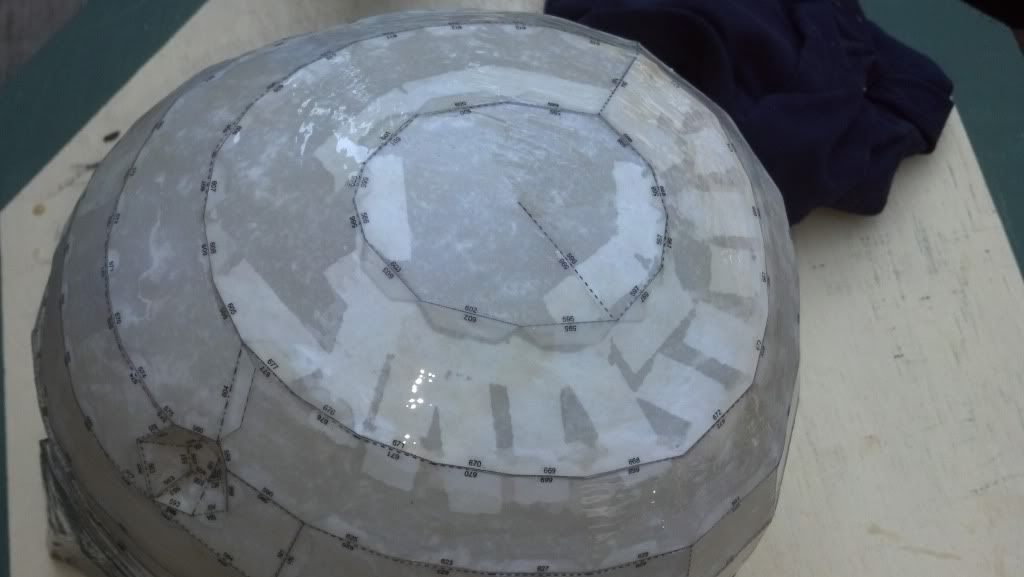
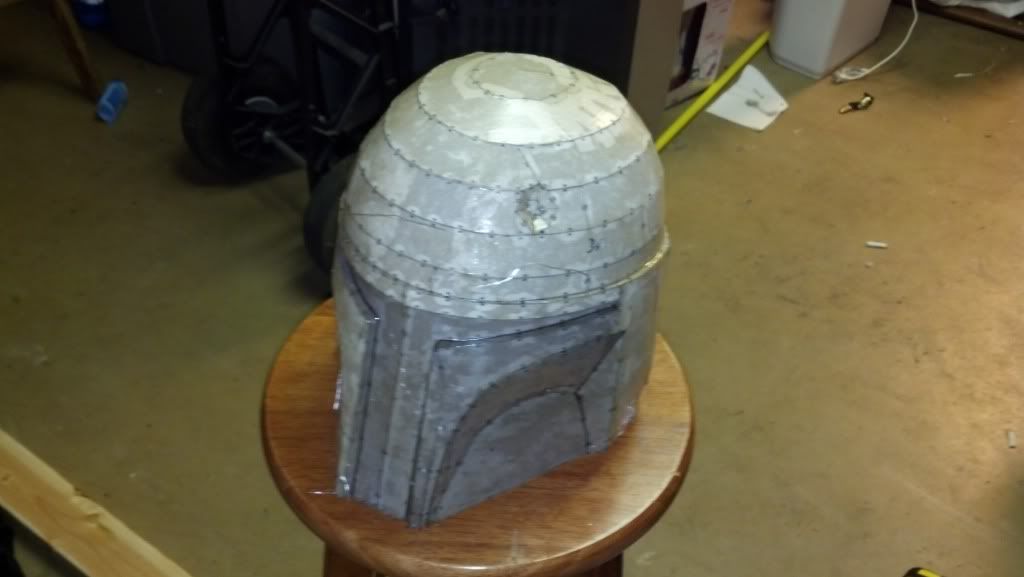
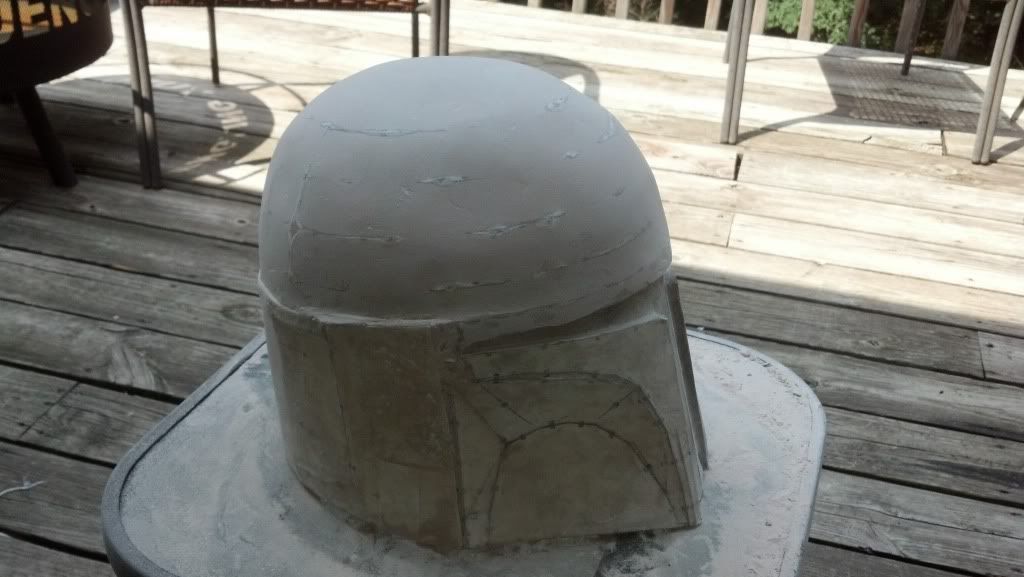
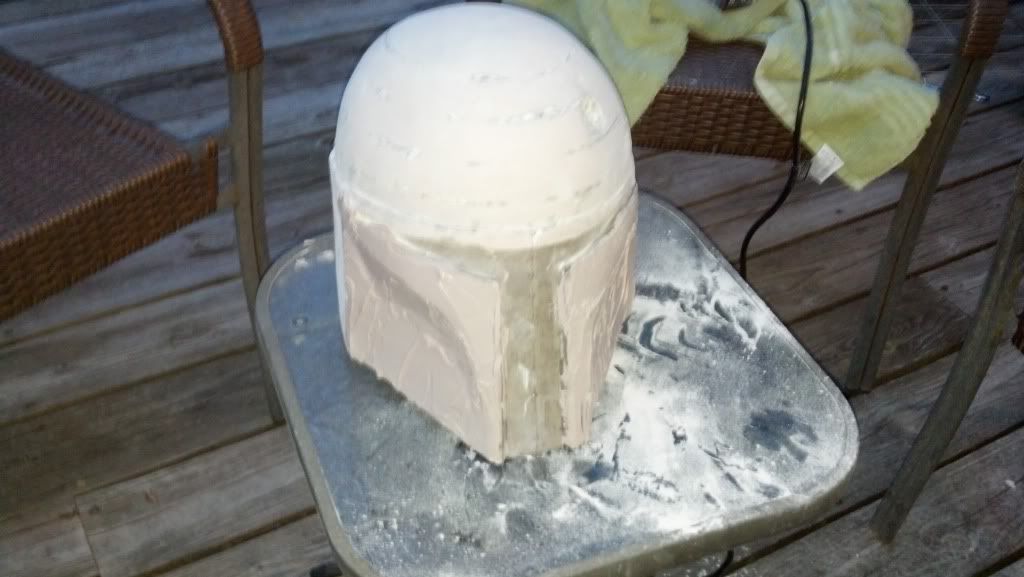
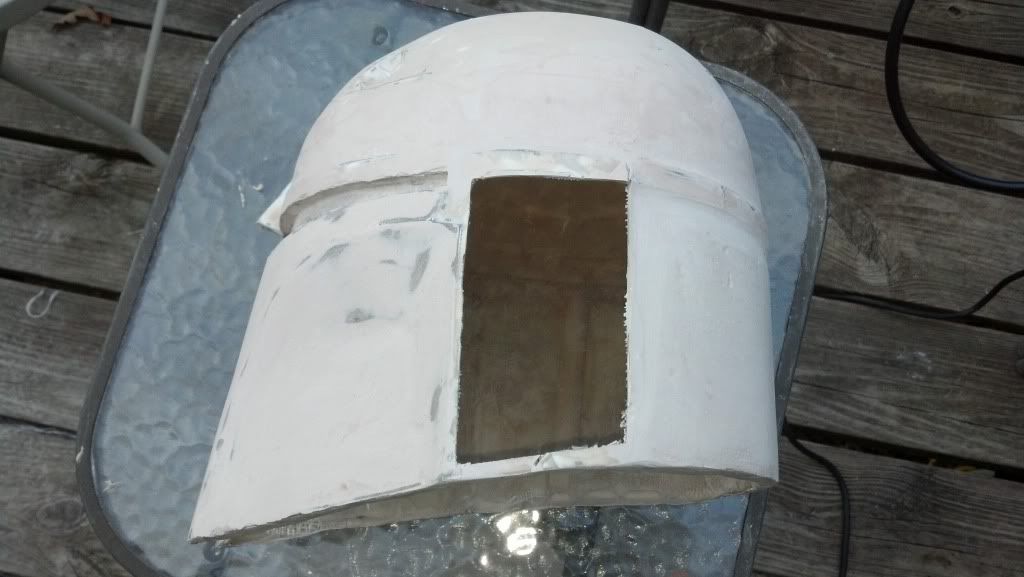
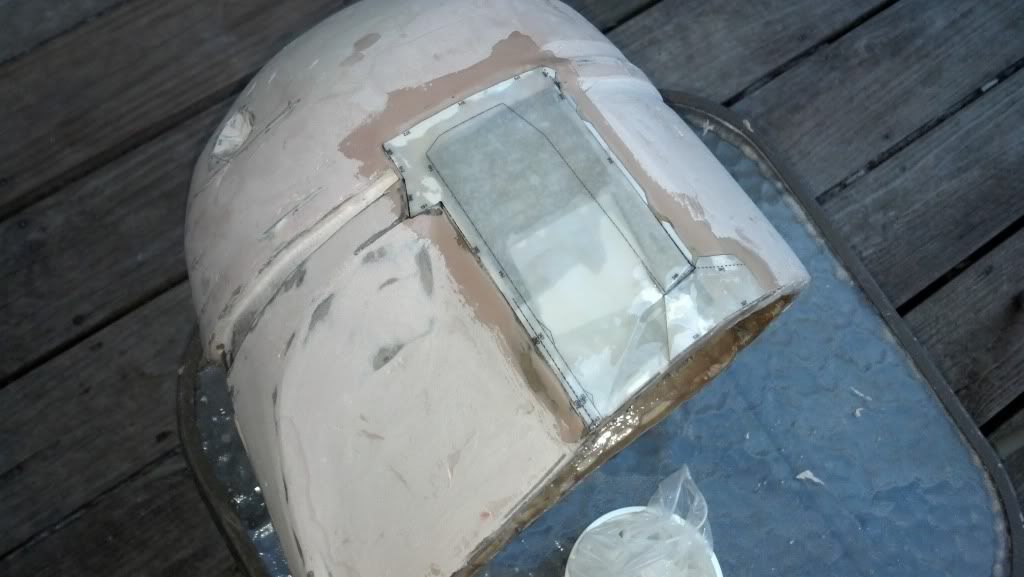
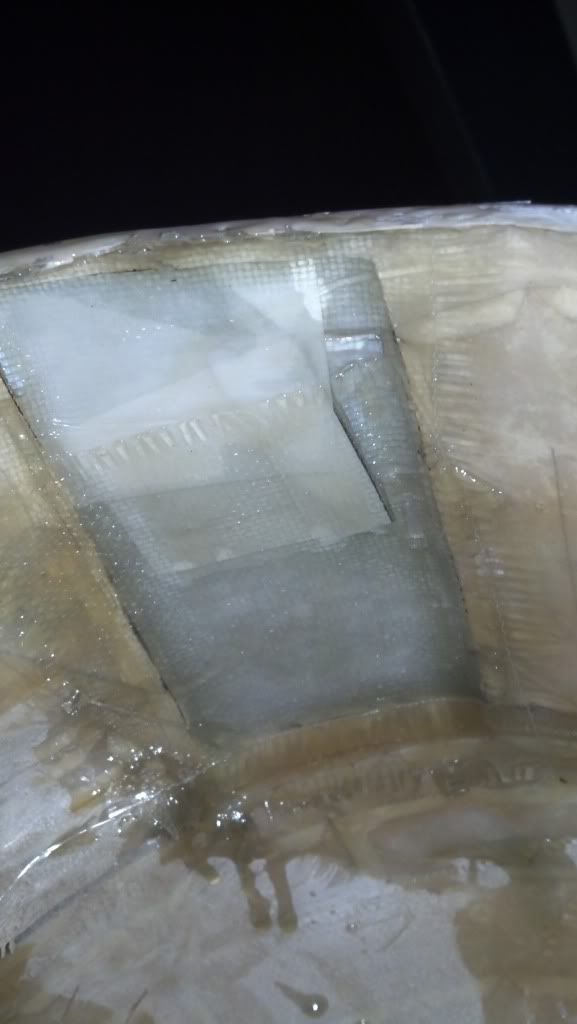
as for the build.... I got a good thick layer on the inside of the helm tonight. tommorow im going to hit the exterior with one more coat of resin then start glassing the interior. hopefully by this weekend ill be on filler and sanding
 
My first bucket was also Fett, but I hadn't found pepakura yet. I used paperbaord and spackling, it turned out ok but looking ot create a new one. I have heard of another reinforcing agent called smoothcast 320 series. I have yet to use it but it has 1:1 ratios and is from what people say non-toxic. All still recommend a well ventalated area for working, but it can be used inside. This could help you since resin has odd mixture ratios.

Smoothcast 320 is what I plan to use on my next costume, which is vader. Have to say though your work is looking great!
 
For anyone in the metro Atlanta area.... there is a shop called "The Engineer Guy" located at 1000 Tradeport Drive, Atlanta, Ga for smoothcast and just about anything else smooth-on sells. My girlfriends best friend introduced us to this place yesterday. Had I know I could have gotten this stuff locally when I started this project That is probably what I would have used. Thanks for the kind words... hopefully this thing will live up to expectations once I start apply filler =)
 
Glad I can bring some pleasant nastalgia to your day Rosskow.

work has kept me hopping this week so progress isnt what i had hoped for so far for the weekend. I let the bucket for a day or two and when I went down to pick it up I noticed this....
2012-06-29_17-56-55_880.jpg


As fate would have it when i first started putting the pep model together I used some tape to assemble the top of the dome....and wouldnt ya know it... i didnt pull it off before I resined the first time...so now theres a few soft spots on the top. obviously its all now sealed in 3 layers of resin. I coated the top of the bucket and the inside on the offending spots...when it cures im gonna lay the fiberglass cloth in and pray once the filler is on and sanded that it doesnt cause any issues
 
glassing now done.

2012-06-29_22-55-53_264.jpg


I finished up glassing the interior of the piece around 7pm this evening so its been curing for about 4 hours now, Its still pretty tacky tho. also during the glassing process things got a little messy as im sure folks can see in the photo. ill figure out some way to clean this up after its sat for a day or so I guess
 
finally got some time to work on this thing so heres how its going so far.
having been over a couple of threads concerning the filler process I went into this with a couple of things in mind.....try to apply smooth thin layers of filler...and be careful with my mixture on teh filler itself. as you can see here ive failed on both details. lol.


2012-07-06_13-46-24_290.jpg
 
So I sanded it down the best I could and began mixing another batch of filler and applying what I learned with the first. This time I got about a good 15 minutes of spread time before it started to thicken...

2012-07-06_14-12-02_158.jpg


Im not real happy with how its turned out so far using an old credit card to apply with...im sure its just a matter of practice when it comes to applying filler but until I get it right I forsee a good deal of sanding in my future
 
Thanks for the encouragement. If your getting ready to build a boba bucket I highly reccomend you check out Rosskow's bucket build as well, located here: http://www.therpf.com/f24/boba-fett-helmet-pep-build-my-first-124688/

This was his first build as well and so far its coming along beautifully.

So after 15 minutes of sanding with my trusty Black and Decker mouse sander I now have this:
2012-07-06_16-07-00_513.jpg


all confidence is restored..... If anyone is doing a pep build with body filler invest in this sander.... 28 bucks at Lowes plus maybe 6 bucks for the velcro backed fitted sandpaper will save you hours of sanding by hand
 
Not a real good photo...its getting dark out so the flash on my camera makes it a little bright... a lot of sanding later and few coats of filler and here I am waiting for the mandibles to cure.

2012-07-06_20-59-46_715.jpg
 
Looks good so far, just keep adding those layers thinly, and as you said just takes time and practise when using a new material, you get better as you use it.
 
As fate would have it when i first started putting the pep model together I used some tape to assemble the top of the dome....and wouldnt ya know it... i didnt pull it off before I resined the first time...so now theres a few soft spots on the top. obviously its all now sealed in 3 layers of resin. I coated the top of the bucket and the inside on the offending spots...when it cures im gonna lay the fiberglass cloth in and pray once the filler is on and sanded that it doesnt cause any issues


I've used electrical tape which hardens with resin (unlike plain clear tape).
 
Looks good so far, just keep adding those layers thinly, and as you said just takes time and practise when using a new material, you get better as you use it.

I'll second Rosskow on that, make those layers of bondo as thin as you can and you'll save yourself a ton of work sanding.

Helmet looks awesome so far.
 
Boba Fett Bucket Pep Build. WIP

a little progress today...you can see the bucket taking shape... slowly.
2012-07-07_18-26-04_885.jpg

2012-07-07_18-26-18_767.jpg

2012-07-07_18-26-33_328.jpg


so i do have a question or two I'm hoping someone can offer advice on...

1.) I'm getting to the point where I really need to start cleaning up the lines of the helmet... Ive seen on a few occasions with build threads here people talking about Milliput for this. I went out and got some today and was hoping someone could give a brief explanation on how they would attack using Milliput for cleaning up the mandible, and helmet ridge lines.

2.) As you can see from the photos sanding the helmet has taken down some of the rough edges of the original pepakura...this might sound like a dumb question...but do I need to cover these areas will filler? the fiberglassed interior isn't very thick as I had to use fiberglass cloth when I glassed it soim curious as to whether or not I need to reinforce these areas at all...
 
you should be able to tell if those areas need reinforcing, give a knock/tap and push or prod and should know if its strong enough.

as for the milliput i never got round to using it to and great extent so can't help you there.
 
after giving the helmet a good look over...ive decided to "thicken" up a couple of areas just for safety's sake. originally i was leaving the filler really thin to try and have the pep ridge and mandible lines as a guide while sanding it out. I think my biggest mistake here was that ive been in the mindset of "I'm attempting to build a replica costume for the first time ever". I was some years back an accomplished and skilled model builder so a mindset of "I'm building a scale model of Boba fett's head" has actually brought a few ideas to mind...as stupid as that sounds. lol

Still I have never used Milliput for anything, models or replica costumes..so if anyone has any thoughts or advice on that please voice it. I also welcome any constructive critism...as I've decided I want to go with a ESB Boba Fett styling with this project.
 
a small update...

as I was sanding the right side of the helmet this evening trying to get a good smooth flat surface for the eventual earcap installation...I sanded a tiny hole thru the side of the helmet...this didnt make sense to me as the rest of the surface was even... the more I looked at it the more the problem became apparent. the cause was obviously a problem with the original pep work or perhaps something that happened during the glassing portion... either way that side of the helmet was bulging outward in such a way that it was making symmetry to the other side impossible. So i cut the offending area out.....

2012-07-09_19-31-48_224.jpg


2012-07-09_19-23-21_817.jpg


I didn't quite know how to repair this after I created a gaping hole in the side of my little project, so I trimmed the area with a dremel until the bow was no longer visible and sanded the area down to the bare fiberglass. I then printed out the pep pieces for that particular area, pepped it out, trimmed it, the re attached it with some super glue. Then I re resined the side with a couple of coats and reglassed the interior of the damaged area and while I was at it I threw a couple extra layers of glass at the dome... there were some spots that were thinning anyway.

2012-07-09_20-27-25_942.jpg


2012-07-09_20-33-53_619.jpg


Hopefully this little patch and repair doesnt throw a wrench in the works...
 
Last edited:
Similar to what I did, better to start off a fresh base I think than struggling to change a wonk and make it work, can be very difficult.
 
This thread is more than 11 years old.

Your message may be considered spam for the following reasons:

  1. This thread hasn't been active in some time. A new post in this thread might not contribute constructively to this discussion after so long.
If you wish to reply despite these issues, check the box below before replying.
Be aware that malicious compliance may result in more severe penalties.
Back
Top