Havoc6538
New Member
A little while ago, I decided to have a go at pepakura. I could have started with something small scale and simple, but me being me decided to go hell for leather and make a full, wearable set of N7 armour.
While most people seem to go for foam builds, I wanted something that looked and felt like armour, with a nice glossy finish like in the game. Something I can cart around without having to worry about it getting crushed and the paint cracking.
I've used the N7nohelmfinal pep files posted on the RPF by Popeanator and at some point will be building the weapons and breather helmet. This isn't going to be a quick build. There's no deadline and I'm fitting this in around my family life, so it's a case of as and when..
So here's where I am so far.
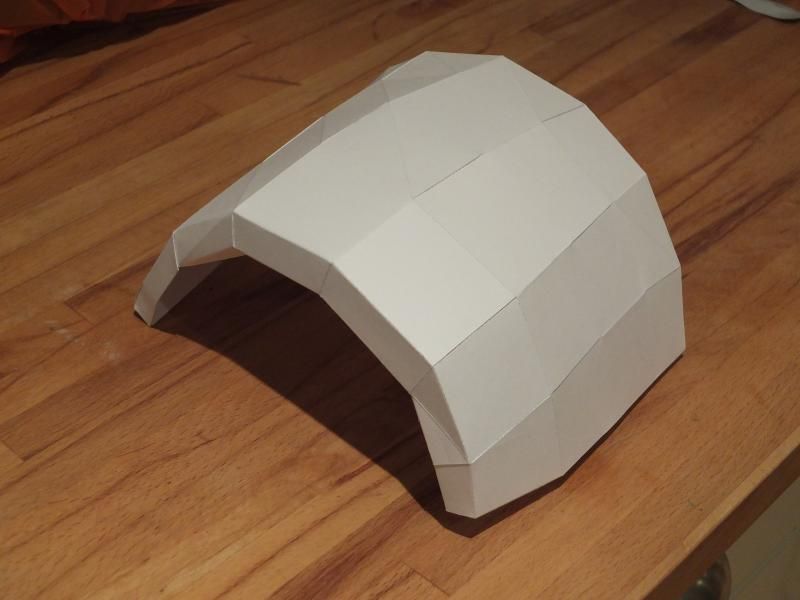
Starting with some of the shoulder pieces as they were the simplest parts, I got a feel for what I was doing:
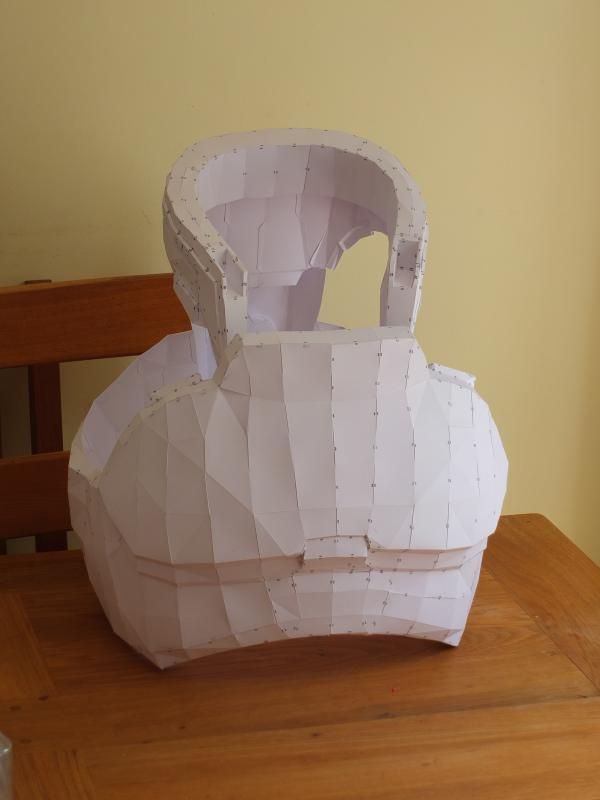
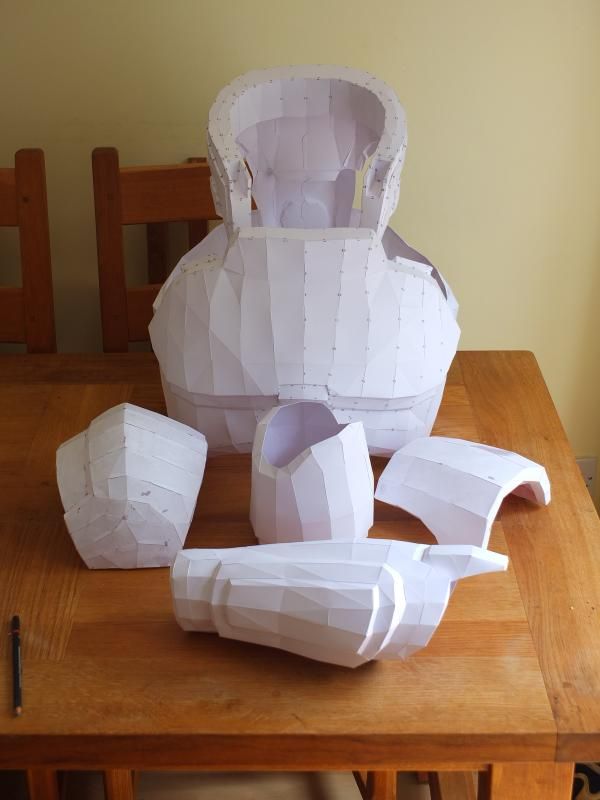
Once I got the hang of it, I moved on to the shoulder bells, the biceps, the forearms and finally the torso armour. I'm pausing the pep build as I dont want too many parts sitting around to get damaged before they're finished, but here's what I've got (there are 2 of each of the shoulder and arm parts, but only one of each in the pic). Note the sudden appearance of the edge numbers on the chest piece - I only discovered these in Pepakura Viewer halfway through!
So, having pepped the parts, I layered the inside with fibre-glass. This has made them nice and rock hard. Once hardened, I've shaped the outside with car body filler (like bondo, but I'm in the UK, so we don't have that).
So here's a shoulder bell roughly sanded and one of the other shoulder parts behind that has just been fibre-glassed. And I pepped Garrus' head too. Just because.
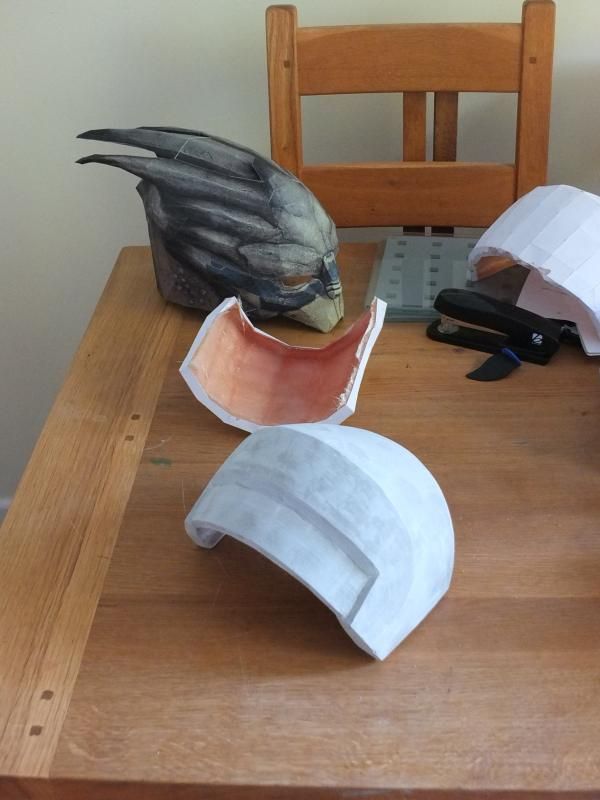
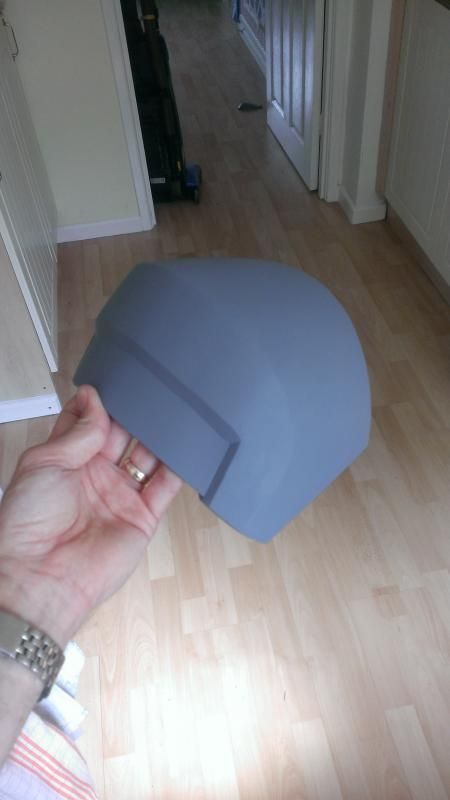
The first shoulder bell sanded up and primed.
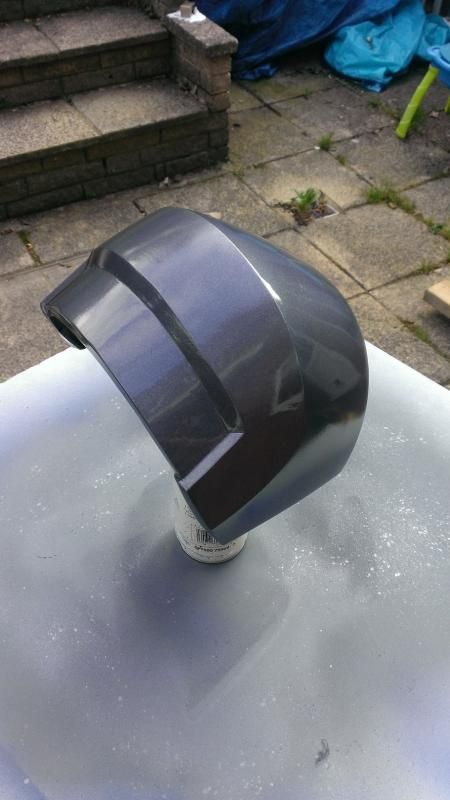
At this point, I got a little over excited and decided to run some paint tests.
I had some leftover spray cans in my garage. This was a couple of coats of Citroen Meteor Grey:
Looks about right to me, but I think once the carbon fibre pattern has been applied, I'll want to come up a few shades lighter. Also the red is too bright (again, this was left-overs) Anyway, while I mention it, I decided to have a play around with paint effect and have a go at that carbon fibre pattern. I had some non-slip matting lying around and wondered what it would look like if I sprayed through it. It turned out ok, then I added the white and red stripes:
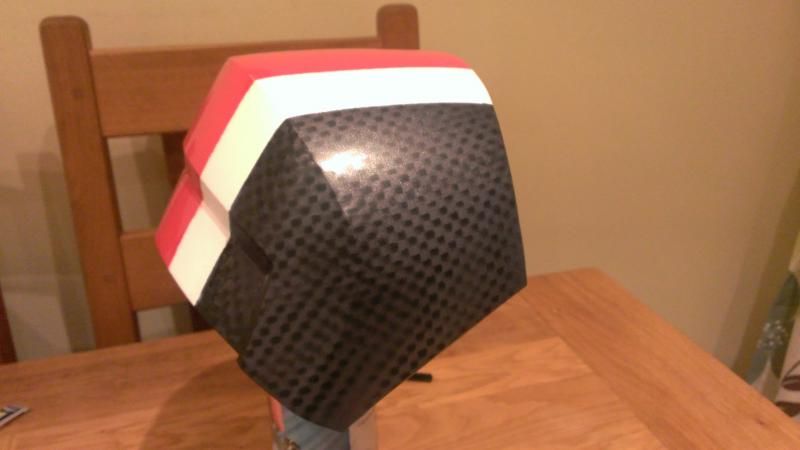
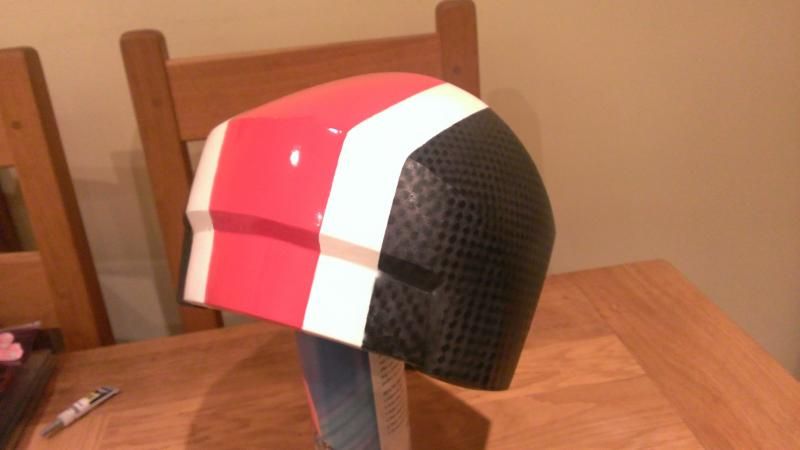
It actually looks better than I was expecting, but bear in mind this is NOT the finished article, I got impatient and just wanted to see what it looked like with some paint on it, hence my stripes aren't quite parallel either! I'll rub this right back and do it properly for the final finish. The squares on my carbon fibre pattern are much bigger than on the in-game pics, and too irregular, but a nice little experiment, nonetheless. Ultimately, I'm thinking I'll hydro dip the carbon parts instead.
The other arm parts at the moment are in various stages of what I've done with the shoulder bell so far. most have been resined, some have had fibre-glass applied and I've started shaping others. I'll post up more pics as the project progresses, however slowly.
While most people seem to go for foam builds, I wanted something that looked and felt like armour, with a nice glossy finish like in the game. Something I can cart around without having to worry about it getting crushed and the paint cracking.
I've used the N7nohelmfinal pep files posted on the RPF by Popeanator and at some point will be building the weapons and breather helmet. This isn't going to be a quick build. There's no deadline and I'm fitting this in around my family life, so it's a case of as and when..
So here's where I am so far.
Starting with some of the shoulder pieces as they were the simplest parts, I got a feel for what I was doing:

Once I got the hang of it, I moved on to the shoulder bells, the biceps, the forearms and finally the torso armour. I'm pausing the pep build as I dont want too many parts sitting around to get damaged before they're finished, but here's what I've got (there are 2 of each of the shoulder and arm parts, but only one of each in the pic). Note the sudden appearance of the edge numbers on the chest piece - I only discovered these in Pepakura Viewer halfway through!


So, having pepped the parts, I layered the inside with fibre-glass. This has made them nice and rock hard. Once hardened, I've shaped the outside with car body filler (like bondo, but I'm in the UK, so we don't have that).
So here's a shoulder bell roughly sanded and one of the other shoulder parts behind that has just been fibre-glassed. And I pepped Garrus' head too. Just because.

The first shoulder bell sanded up and primed.

At this point, I got a little over excited and decided to run some paint tests.
I had some leftover spray cans in my garage. This was a couple of coats of Citroen Meteor Grey:

Looks about right to me, but I think once the carbon fibre pattern has been applied, I'll want to come up a few shades lighter. Also the red is too bright (again, this was left-overs) Anyway, while I mention it, I decided to have a play around with paint effect and have a go at that carbon fibre pattern. I had some non-slip matting lying around and wondered what it would look like if I sprayed through it. It turned out ok, then I added the white and red stripes:


It actually looks better than I was expecting, but bear in mind this is NOT the finished article, I got impatient and just wanted to see what it looked like with some paint on it, hence my stripes aren't quite parallel either! I'll rub this right back and do it properly for the final finish. The squares on my carbon fibre pattern are much bigger than on the in-game pics, and too irregular, but a nice little experiment, nonetheless. Ultimately, I'm thinking I'll hydro dip the carbon parts instead.
The other arm parts at the moment are in various stages of what I've done with the shoulder bell so far. most have been resined, some have had fibre-glass applied and I've started shaping others. I'll post up more pics as the project progresses, however slowly.
Last edited: