Over the past several months I've been researching and collecting bits and pieces for a dream costume of mine, Boromir from The Lord of the Rings.
He's one of my favorite characters and has such an awesome outfit, one I've been wanting to make for years and I really want to do this well.
The plan is to get this done by October where there are a couple of events I'd like to wear it too, not to mention the Hobbit premier at the end of the year.")
Anyway, onto the build!
I've got most of the materials I'll be needing for the outfit already besides the leathers which I'll organise to get soon and I'll hopefully be getting myself a Stansborough Cloak when the funds are looking a little healthier too.
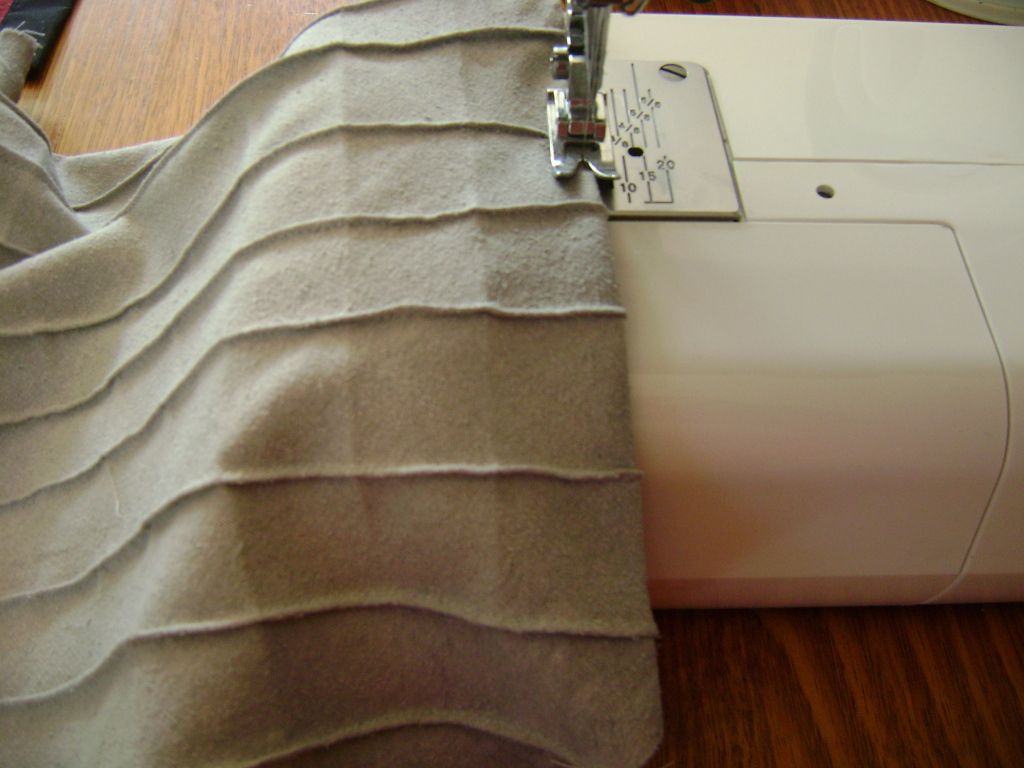
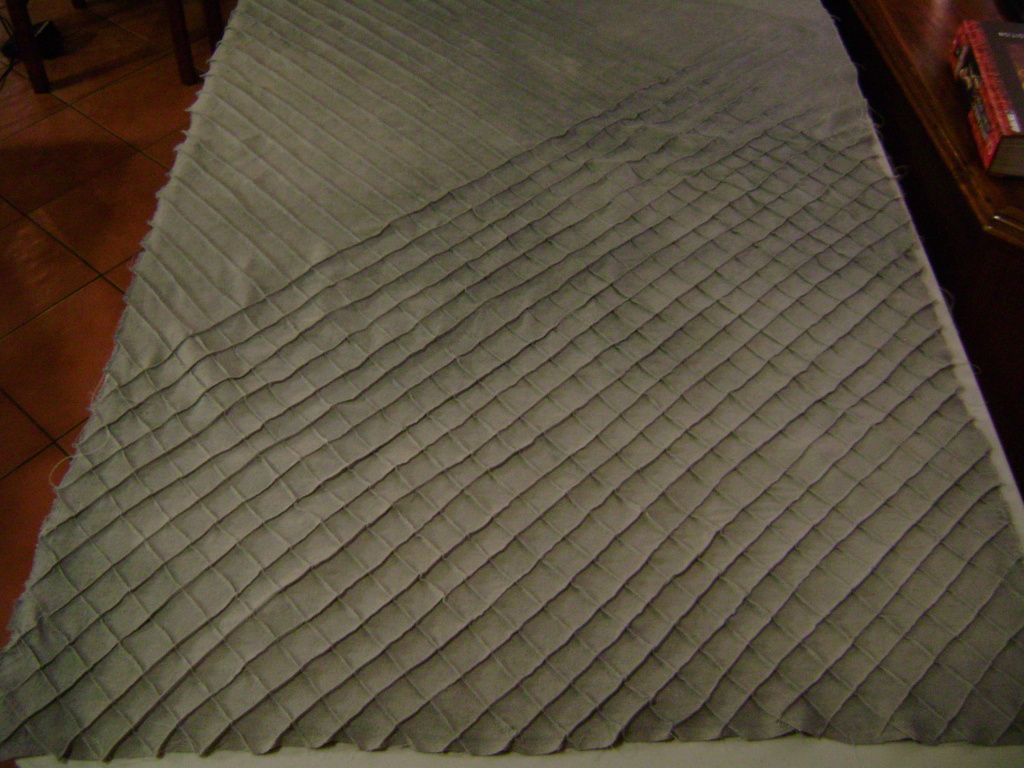
I have some nice velvets, satins and faux leathers I've gathered up and also some fantastic looking bullion embroided trim and a Sari I ordered from India for the collar and tunic sleeve details:
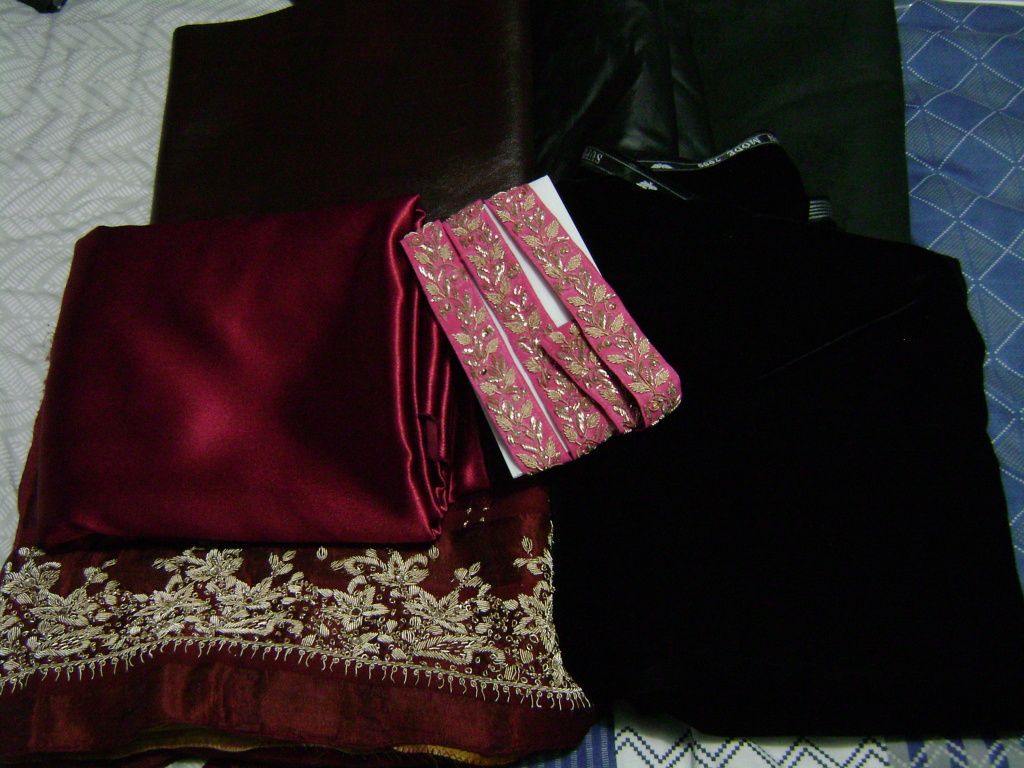
The embroided patterns aren't an exact match to the screen used costume but after looking at lots of these sorts of items over the past months these are pretty similar and will work until I find something better to upgrade with further down the track.
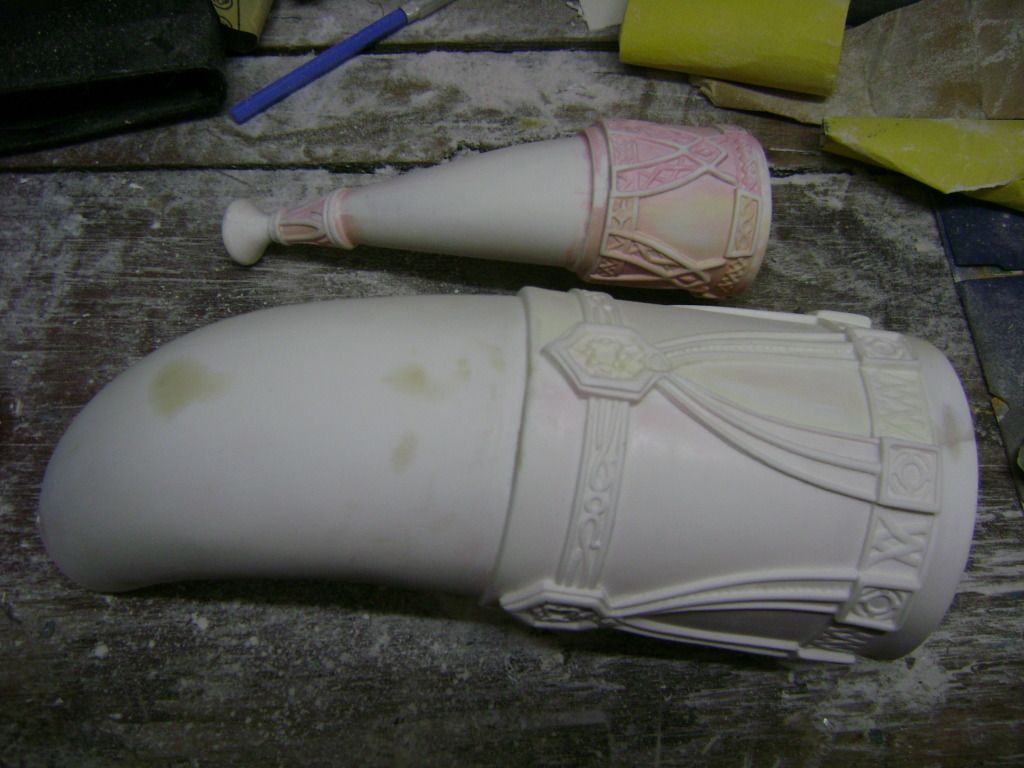
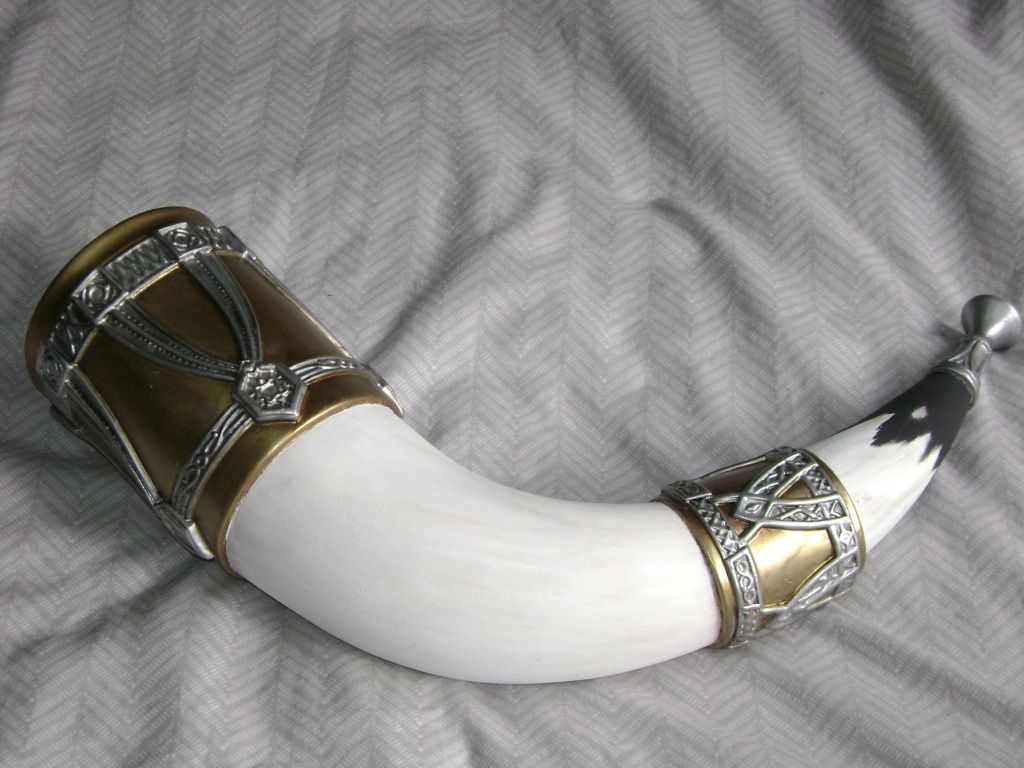
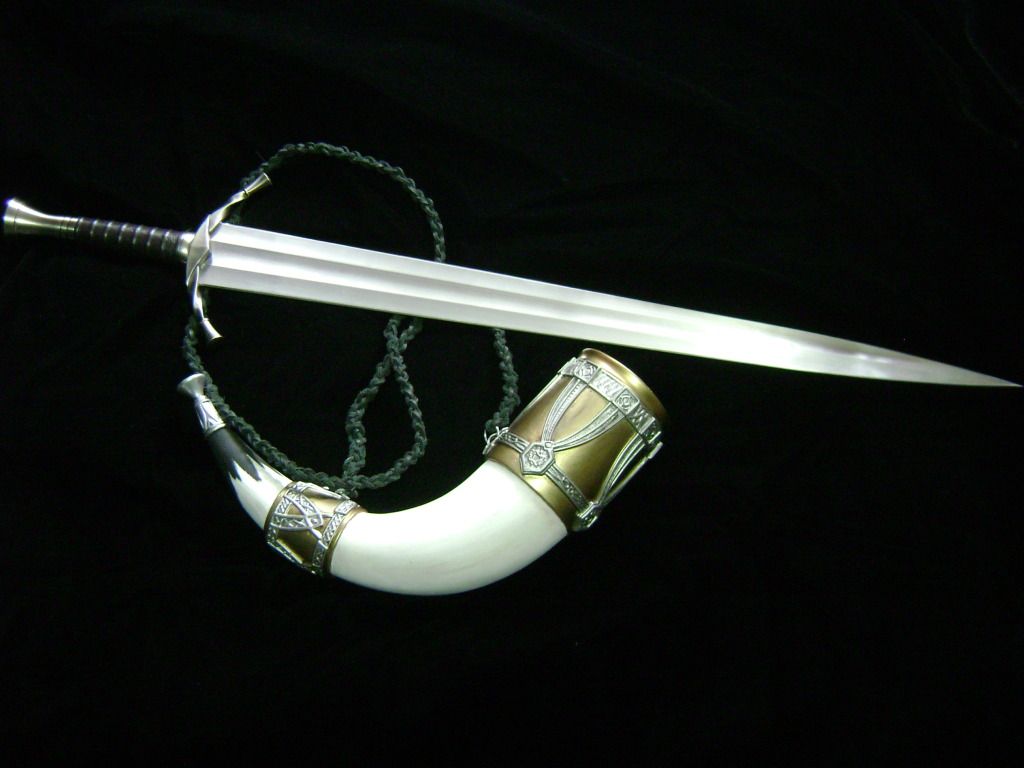
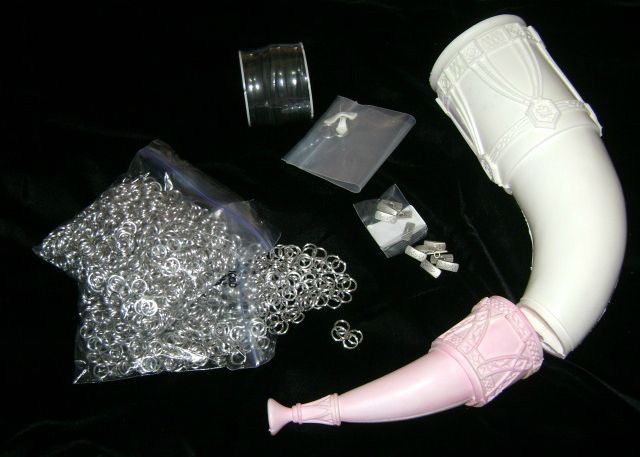
I was fortunate enough to score one of BlindSquirrel's Horn of Gondor kits which is such a nice piece to own and I can't wait to clean it up and give it a few coats of paint!
I've also got some accurate buttons for the tunic and a heap of jump rings for the chainmail sleeves:
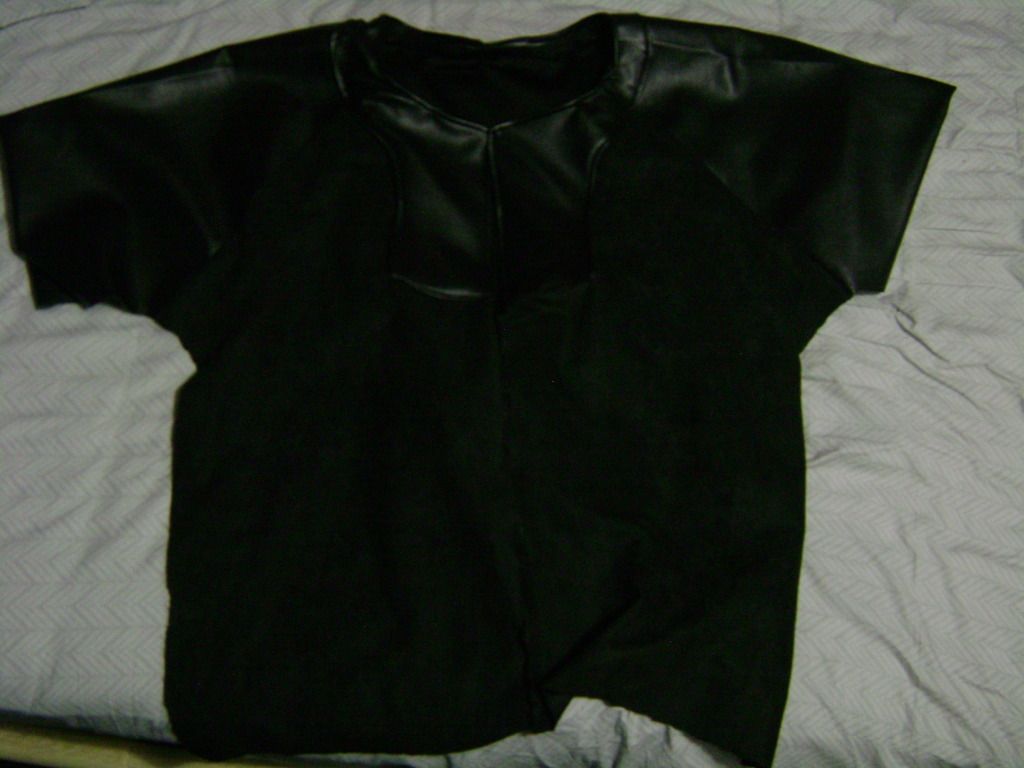
Since Boromir's outfit its made up from a few different layers I've decided to start from the bottom layer and work out from there so everything fits properly at the end.
So thanks to disk 3 from The Fellowship of the Ring Extended Edition DVD and the LotR Weapons and Warfare book I managed to get some nice pics of the bottom layer of the costume.
Here's the part I'll be making first:

Step 1:
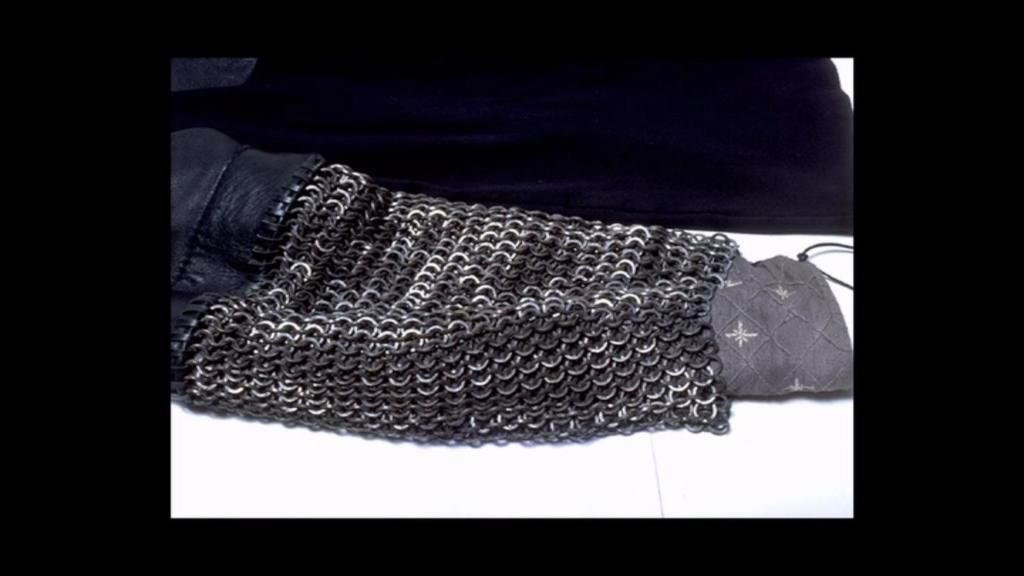
Chainmail!
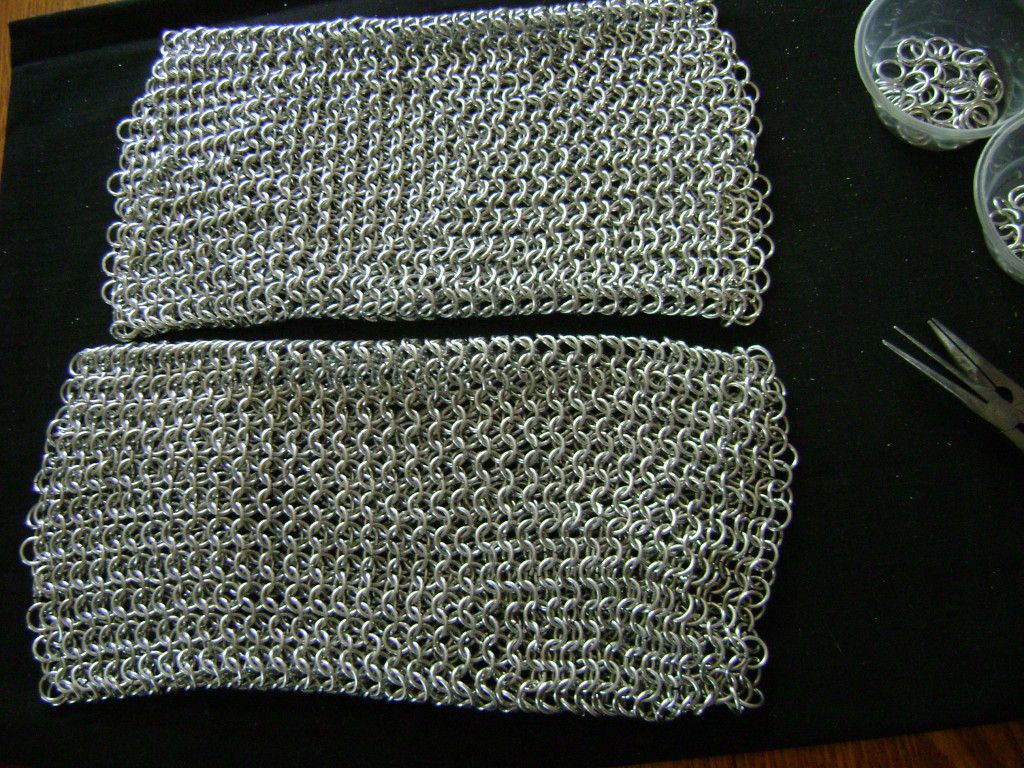
I've never made chainmail before so this was a new experience. After looking at a lot of tutorials online for 4 in 1 chainmail I began weaving all those Jump Rings together. So that's pretty much all I've been doing over the past 5 days when ever I have spare time and as of tonight I almost have one sheet done for one of the sleeves:
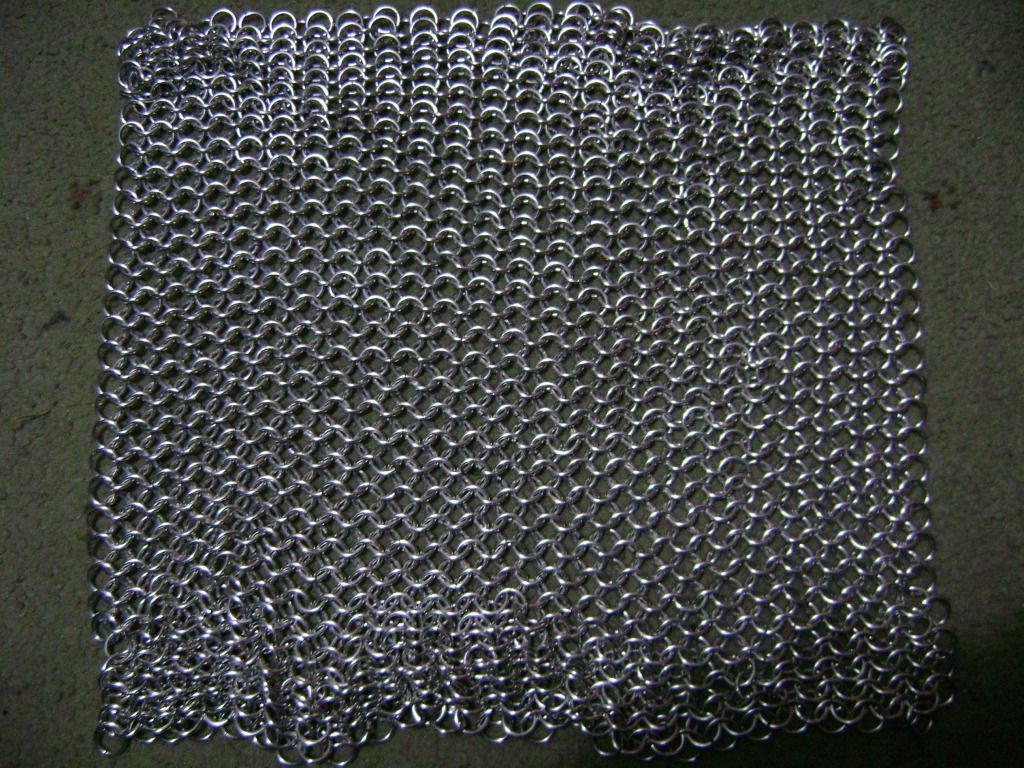
I know all the chainmail done by Weta Workshop was originally plastic pipe cut up into rings and painted, which is what I originally wanted to do but after a lot of thought I decided to go with pre-cut aluminium jump rings.
The deciding factor was that I don't actually have any tools suitable to cut up the rings and it would save a lot of time and effort to just buy metal ones.:unsure
So that's where I'm at so far. I might take a break from weaving chainmail tomorrow and get out into the shed and start on the Horn of Gondor
He's one of my favorite characters and has such an awesome outfit, one I've been wanting to make for years and I really want to do this well.
The plan is to get this done by October where there are a couple of events I'd like to wear it too, not to mention the Hobbit premier at the end of the year.
Anyway, onto the build!
I've got most of the materials I'll be needing for the outfit already besides the leathers which I'll organise to get soon and I'll hopefully be getting myself a Stansborough Cloak when the funds are looking a little healthier too
.I have some nice velvets, satins and faux leathers I've gathered up and also some fantastic looking bullion embroided trim and a Sari I ordered from India for the collar and tunic sleeve details:
The embroided patterns aren't an exact match to the screen used costume but after looking at lots of these sorts of items over the past months these are pretty similar and will work until I find something better to upgrade with further down the track.
I was fortunate enough to score one of BlindSquirrel's Horn of Gondor kits which is such a nice piece to own and I can't wait to clean it up and give it a few coats of paint!
I've also got some accurate buttons for the tunic and a heap of jump rings for the chainmail sleeves:
Since Boromir's outfit its made up from a few different layers I've decided to start from the bottom layer and work out from there so everything fits properly at the end.
So thanks to disk 3 from The Fellowship of the Ring Extended Edition DVD and the LotR Weapons and Warfare book I managed to get some nice pics of the bottom layer of the costume.
Here's the part I'll be making first:
Step 1:
Chainmail!
I've never made chainmail before so this was a new experience. After looking at a lot of tutorials online for 4 in 1 chainmail I began weaving all those Jump Rings together. So that's pretty much all I've been doing over the past 5 days when ever I have spare time and as of tonight I almost have one sheet done for one of the sleeves:
I know all the chainmail done by Weta Workshop was originally plastic pipe cut up into rings and painted, which is what I originally wanted to do but after a lot of thought I decided to go with pre-cut aluminium jump rings.
The deciding factor was that I don't actually have any tools suitable to cut up the rings and it would save a lot of time and effort to just buy metal ones.:unsure
So that's where I'm at so far. I might take a break from weaving chainmail tomorrow and get out into the shed and start on the Horn of Gondor