PurpleDiamond
Member
I build Steampunk contraptions and have built a number of gauges. I would like to share my knowledge with fellow builders.
Materials:
Tools:
Step 1: Gauge body
Depending on the body I use for the gauge the prep varies quite a lot. For a recent gauge I made that used a body of a mechanical alarm clock I needed almost no prep because it was made of brass.
The body I used was a twist cap from a Vermouth bottle. This is the smallest gauge body I have made so far.
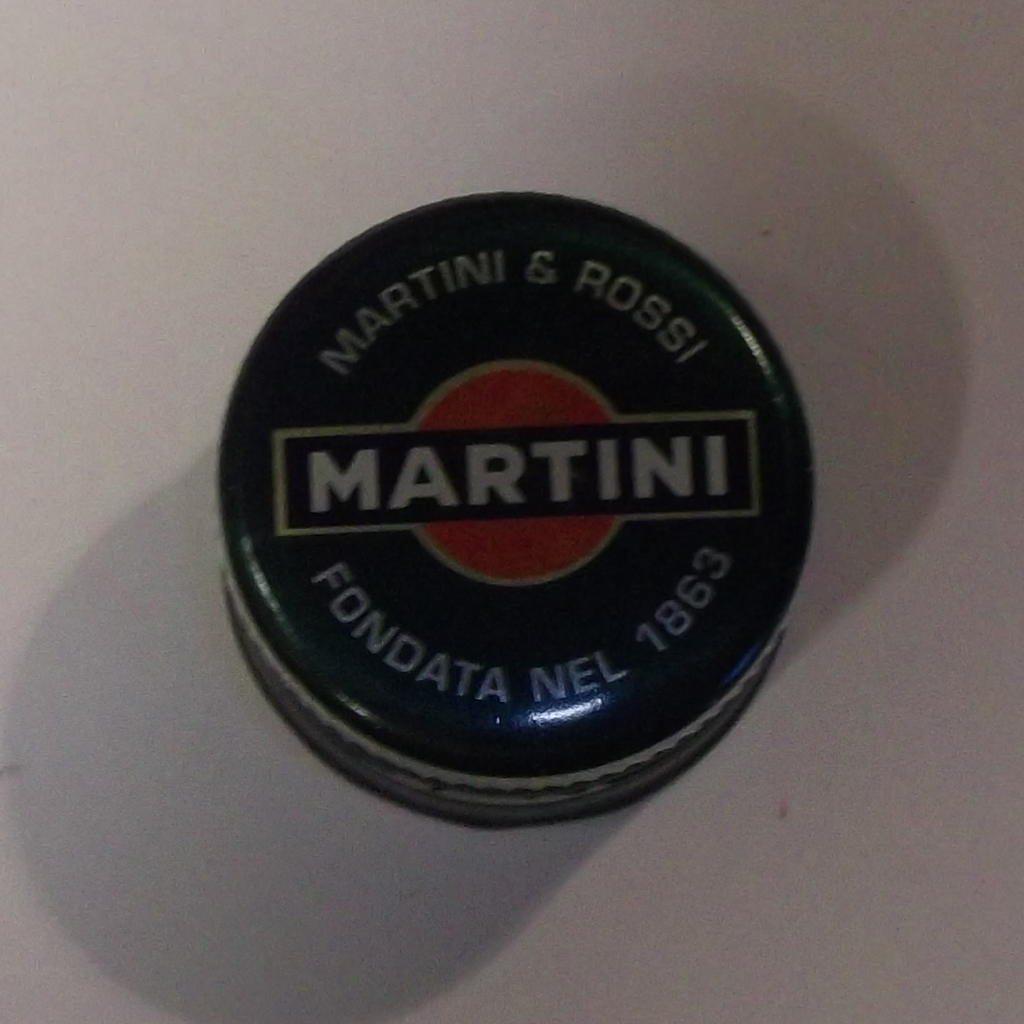
I applied Bondo to the exterior to fill the ridges.
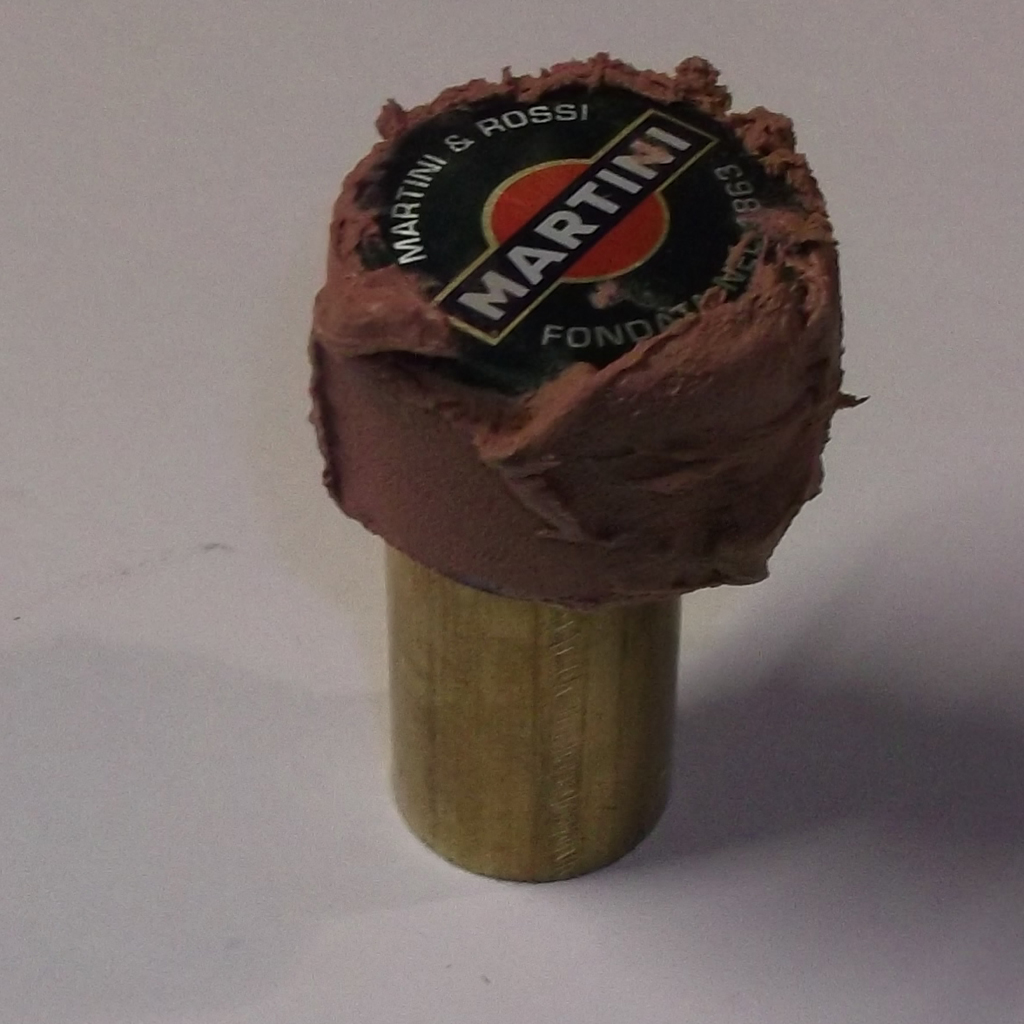
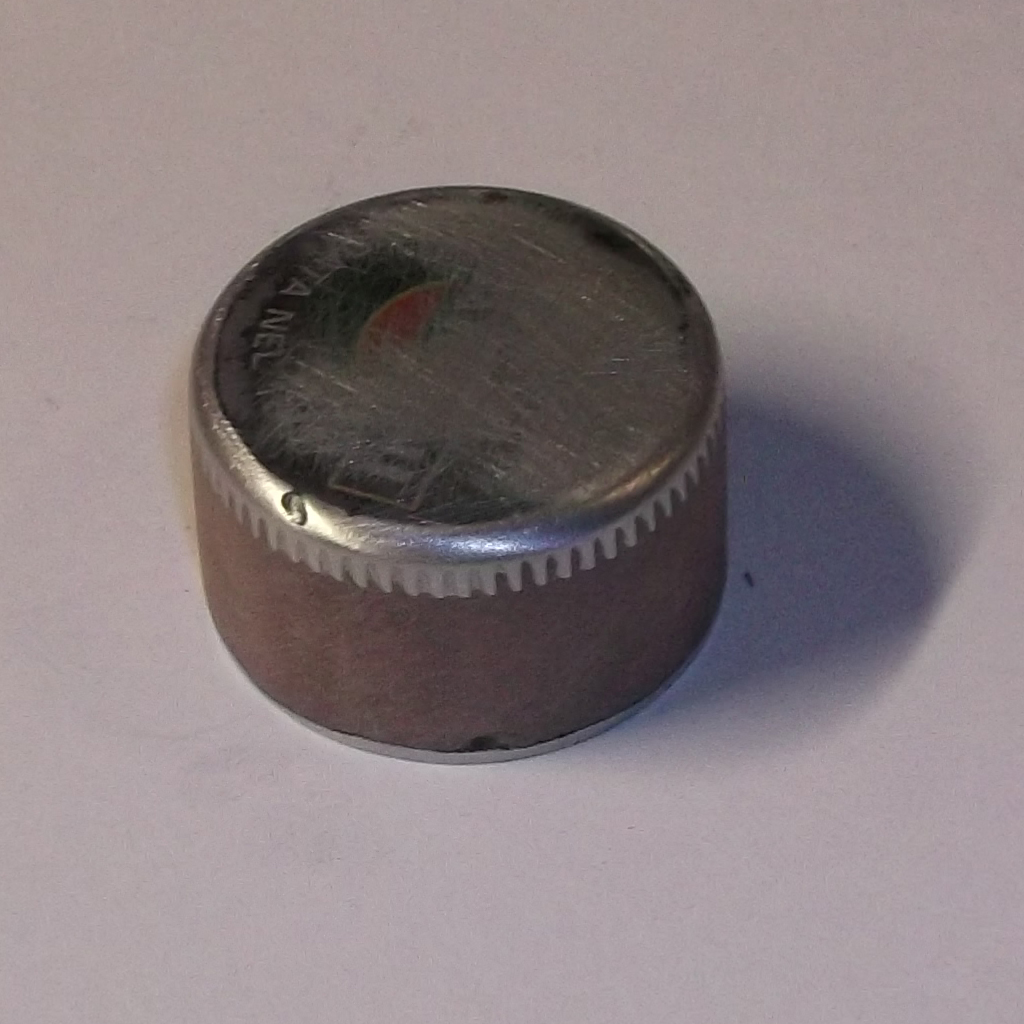

The Bondo was sanded, primed and spray painted. Some of the inside of the cap could be visible so you should paint the inside. I did the inside with a gold paint Sharpie.
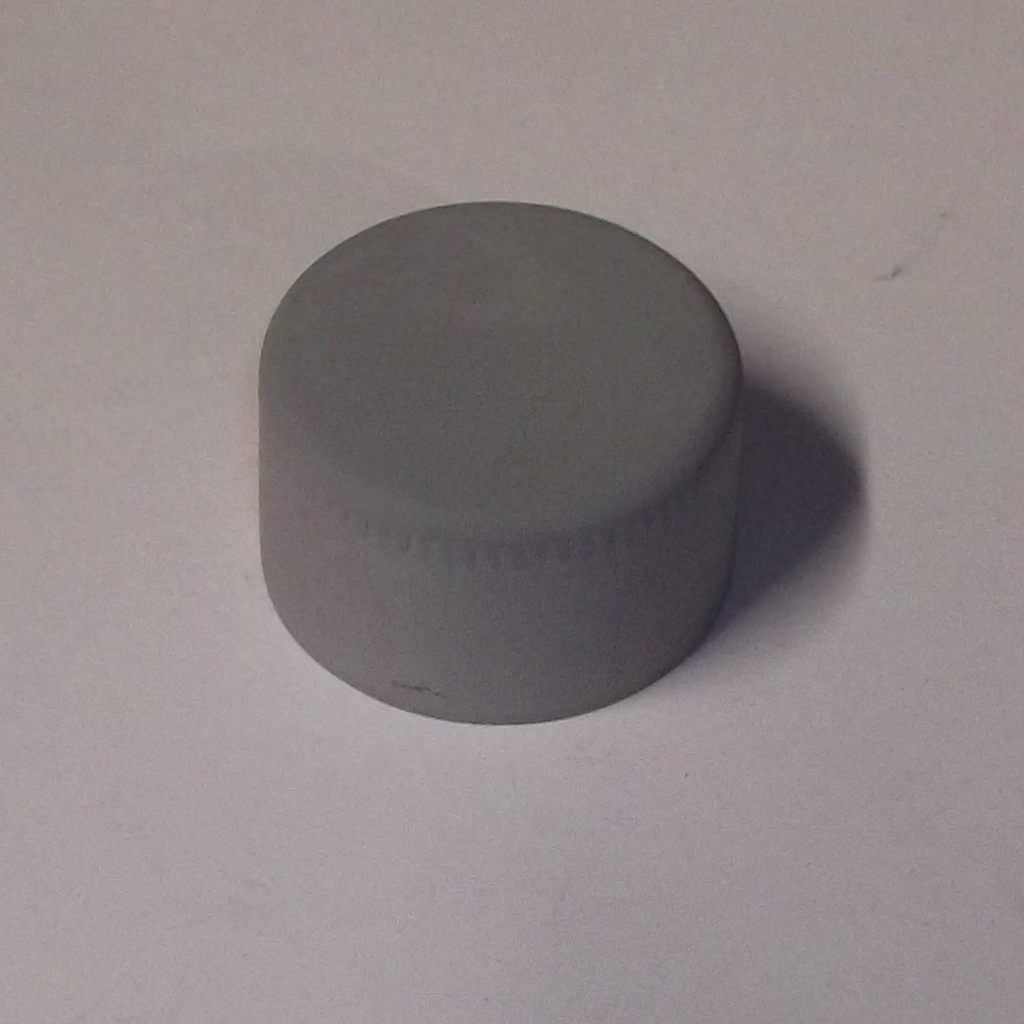
I drilled a hole in the back for the mounting screw.
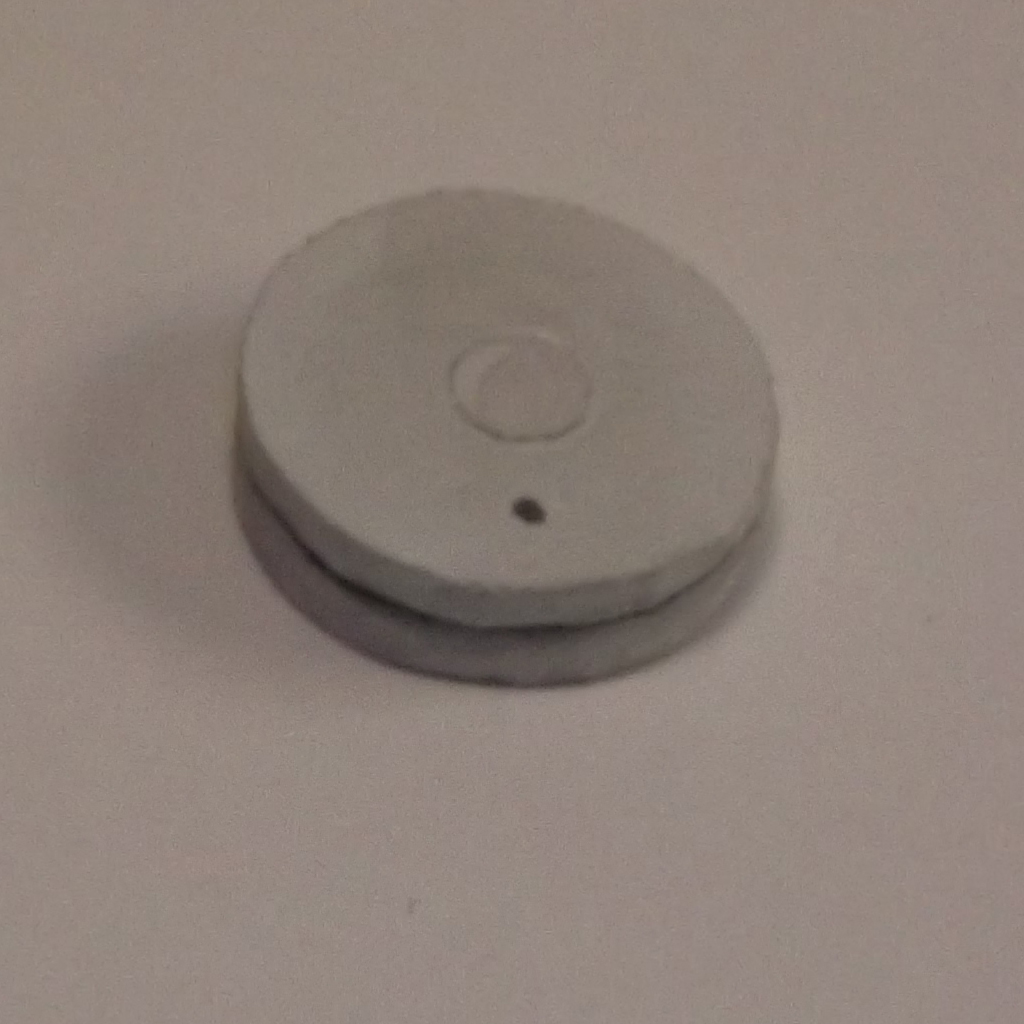
Step 2: Bezel
I used a hole saw to create two circles of Sintra that are slightly larger than the body. Circle number one has an inside hole that exactly matches the size of the body. Circle number two has a slightly smaller hole and has the "lens" attached to it.


I scuffed one side of each circle with 80 grit sandpaper and glued them together with JB weld. Then I sanded and primed the Sintra "sandwich", this helps in finding any areas that need to be fixed. The next step is painting the bezel. The final part of the bezel is the lens, I used a piece of a clamshell package and glued it with E6000 because it's transparent and it wouldn't be noticeable even if it smears a bit.
Step 3: Face
In my opinion one of the main decisions regarding the design of the gauge face is the placement of the needle axis. I categorize gauge faces into two types: center axis and off-center axis. I consider the center axis design more historically accurate but this design leaves less room for the artwork.
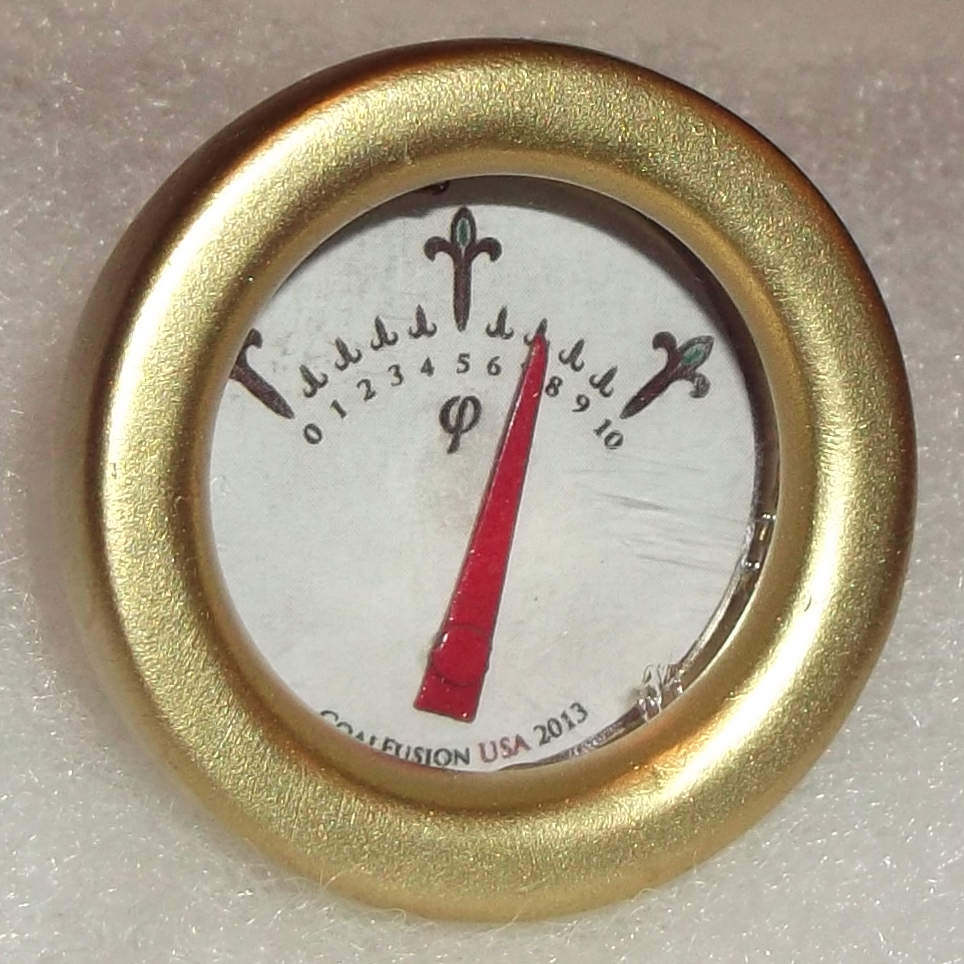
Some people print the needles on the gauge face but I prefer a more realistic design and I either use a clock hand or I make a needle out of sheetmetal. In this case I used some leftover aluminum that I cut into a triangle and painted red. I drove a nail through it so it could be secured to the Sintra filler (I describe the filler in the next step).
The needle is much clearer in the final photo.
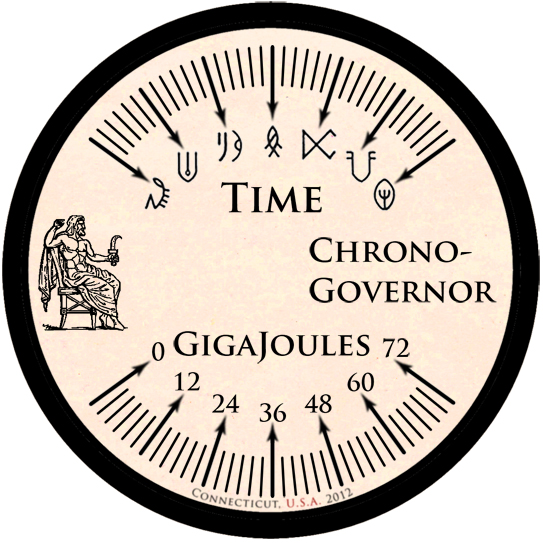
Here is the face I designed for this gauge.
Here are some other gauge faces I have made:
(Yes, that is a BTTF reference).
(Yes, that is a Dune reference).
I printed it on regular paper and tested it for size and appearance. When I was happy with the face I printed it on sticker paper. It's possible to use regular paper but I find that the glue warps the paper and it doesn't look right. Card stock is another option as the glue wouldn't be as much of an issue but I haven't tried it.
Gauge face design tips:
Step 4: Mounting
I filled the body of the gauge with circles made out of Sintra. There are a number of reasons for this: it allows the face to be placed closer to the lens, the needle has something it can mounted to and since I prefer using machine screws for attaching gauges, so the Sintra filler helps in securing the nut.
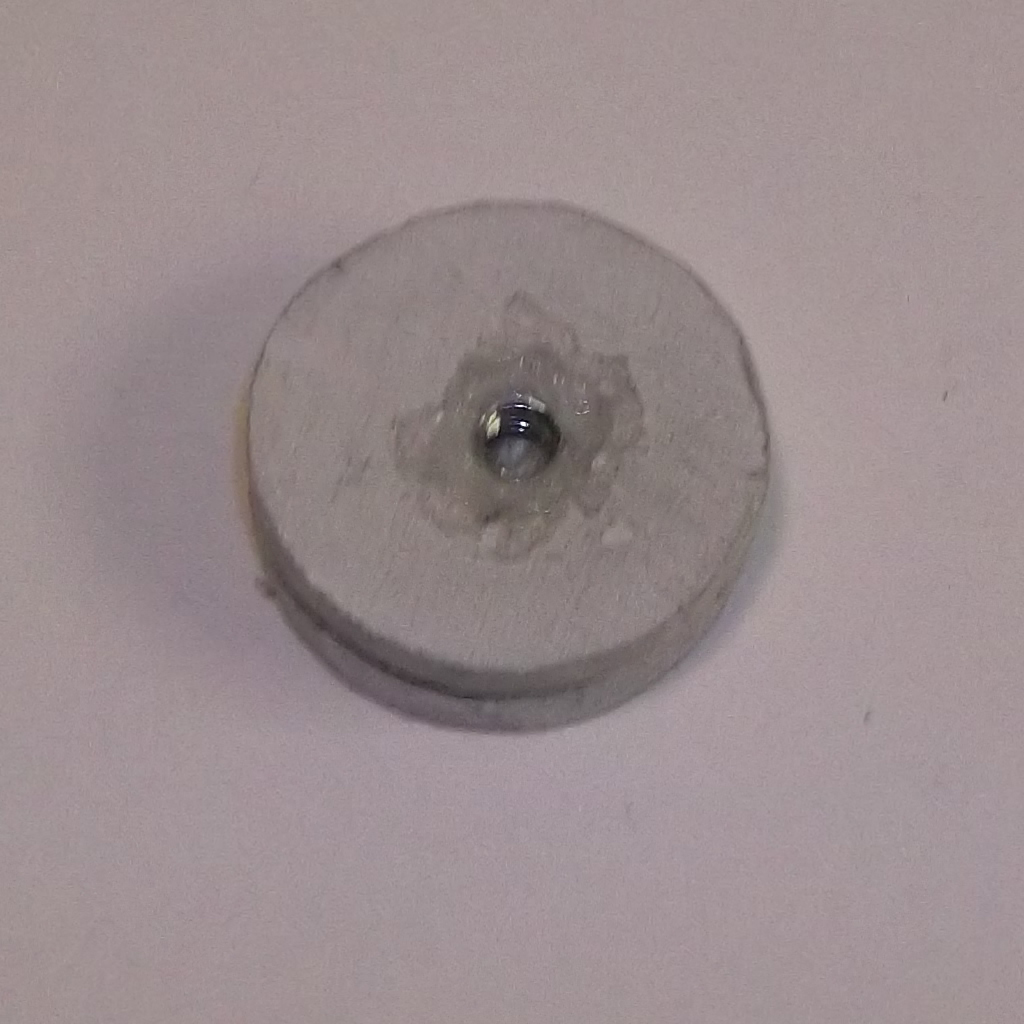
I cut the Sintra to size and then drilled a hole for the nut. For this gauge I used more than one layer of Sintra to fill the space. I attached the nut to the Sintra with Gorilla glue. The reason for using Gorilla glue is because it expands and fills in the gaps. I drilled the hole in the body after the nut has been secured into the Sintra. On larger gauges that are attached with more than one screw, alignment is important so remember to mark the body and the Sintra inserts so they can be aligned. It is easier to align the insert when it's time for the final assembly. The layers of Sintra are glued to each other with JB weld. I drilled a hole in the Sintra for the nail that holds the needle.
Step 5: Final assembly
I used E6000 to glue everything together.
Materials:
- Sintra
- JB Weld
- E6000
- Gorilla glue
- Sticker paper for a printer
- Thin aluminum sheetmetal
- Screw top bottle cap
- Plexyglass or plastic from clamshell packages
- Bondo
- Spray paint
- Gold paint Sharpie
Tools:
- Utility knife
- Hole saws
- Drill
- Sandpaper
- Files
- Calipers
- Dremel
- Dremel sanding drums
- Photo editing software (Photoshop, paint.net)
Step 1: Gauge body
Depending on the body I use for the gauge the prep varies quite a lot. For a recent gauge I made that used a body of a mechanical alarm clock I needed almost no prep because it was made of brass.
The body I used was a twist cap from a Vermouth bottle. This is the smallest gauge body I have made so far.
I applied Bondo to the exterior to fill the ridges.
The Bondo was sanded, primed and spray painted. Some of the inside of the cap could be visible so you should paint the inside. I did the inside with a gold paint Sharpie.
I drilled a hole in the back for the mounting screw.
Step 2: Bezel
I used a hole saw to create two circles of Sintra that are slightly larger than the body. Circle number one has an inside hole that exactly matches the size of the body. Circle number two has a slightly smaller hole and has the "lens" attached to it.
I scuffed one side of each circle with 80 grit sandpaper and glued them together with JB weld. Then I sanded and primed the Sintra "sandwich", this helps in finding any areas that need to be fixed. The next step is painting the bezel. The final part of the bezel is the lens, I used a piece of a clamshell package and glued it with E6000 because it's transparent and it wouldn't be noticeable even if it smears a bit.
Step 3: Face
In my opinion one of the main decisions regarding the design of the gauge face is the placement of the needle axis. I categorize gauge faces into two types: center axis and off-center axis. I consider the center axis design more historically accurate but this design leaves less room for the artwork.
Some people print the needles on the gauge face but I prefer a more realistic design and I either use a clock hand or I make a needle out of sheetmetal. In this case I used some leftover aluminum that I cut into a triangle and painted red. I drove a nail through it so it could be secured to the Sintra filler (I describe the filler in the next step).
The needle is much clearer in the final photo.
Here is the face I designed for this gauge.
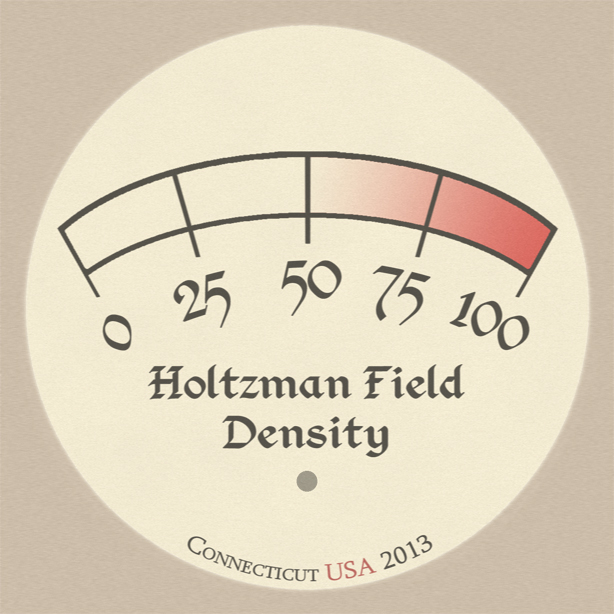
Here are some other gauge faces I have made:
(Yes, that is a BTTF reference).
(Yes, that is a Dune reference).
I printed it on regular paper and tested it for size and appearance. When I was happy with the face I printed it on sticker paper. It's possible to use regular paper but I find that the glue warps the paper and it doesn't look right. Card stock is another option as the glue wouldn't be as much of an issue but I haven't tried it.
Gauge face design tips:
- I prefer an aged look and I achieve it by texturing the background. My way of doing it is by using the*monochromatic*noise filter and then applying a motion blur. This creates a brushed look. I also add a layer with a "clouds" filter and place it on top, it creates a subtle vellum-like texture.
- Don't forget to age the text too. Full black (#000000) text on a stained/aged background looks very artificial.
- Make the face background larger than the area you need to cover.
- I spend a considerable amount of time selecting the font. I tend to prefer Serif fonts but it's a matter of personal taste.*Calligraphy*fonts and decorative ones work well too.
- Changing the kerning is a very important step and makes a huge difference. The default letter spacing tends to be too big and with proper kerning, text tends to look much more cohesive.
- Use non-alphanumeric characters for a unique design. This font of a made up language*can be useful for prop making.
- Don't be afraid to break the rules: the scale can be logarithmic or even follow no order at all, have the scale go in the opposite order, have more than one needle, use color, don't make the face round, etc.
Step 4: Mounting
I filled the body of the gauge with circles made out of Sintra. There are a number of reasons for this: it allows the face to be placed closer to the lens, the needle has something it can mounted to and since I prefer using machine screws for attaching gauges, so the Sintra filler helps in securing the nut.
I cut the Sintra to size and then drilled a hole for the nut. For this gauge I used more than one layer of Sintra to fill the space. I attached the nut to the Sintra with Gorilla glue. The reason for using Gorilla glue is because it expands and fills in the gaps. I drilled the hole in the body after the nut has been secured into the Sintra. On larger gauges that are attached with more than one screw, alignment is important so remember to mark the body and the Sintra inserts so they can be aligned. It is easier to align the insert when it's time for the final assembly. The layers of Sintra are glued to each other with JB weld. I drilled a hole in the Sintra for the nail that holds the needle.
Step 5: Final assembly
I used E6000 to glue everything together.

")
