Red Jammer (Revell Y-Wing Conversion)

While I was taking final photos of some completed project I thought I'd take some quick shots of Red Jammer

Since last time I've just been adding the pipings and wirework

tumblr_n7sjy67bxq1sf4tb1o3_1280.jpg


tumblr_n7sjy67bxq1sf4tb1o2_1280.jpg


Then today I thinned out the kit thrusters, ground down the inside and glued in the accurate detailing. Started adding vinyl panels too, it went wrong but I've decided to roll with it

tumblr_n7sjy67bxq1sf4tb1o1_1280.jpg
 
I kind of prefer the thinner neck of the revell kit.

With some work that really went to the next level!

I'm inspired to revisit my revell kit. All I did was a repaint/weathering
 
I kind of prefer the thinner neck of the revell kit.

With some work that really went to the next level!

I'm inspired to revisit my revell kit. All I did was a repaint/weathering

I know what you mean....my converted Revell is now halfway between the proportions of the 'default' Revell kit and the Finemolds'.
None of those three are actually accurate to the studio models and it's hard to say which is closest, but what can ya do eh?
 
Nice job !

You had this problem with your canopy because your buck should be taller than the finished part. Then you add the riser under your buck (and if your riser is slighty undersized, i mean your buck overhangs the riser, you wont have this problem).
 
Worked a little more on the thrusters. If anyone happens to have a spare Revell glue cone (the yellow bit)....it'd be nice if you could throw it over to me so I can build the other thruster :D

tumblr_n7y8uvfftl1sf4tb1o1_1280.jpg


tumblr_n7y8uvfftl1sf4tb1o2_1280.jpg


I just want to paint it to be honest!!
 
The actual assembly is complete, hurray

I created new thruster vanes from 0.25mm styrene

https://scontent-b-lhr.xx.fbcdn.net/hphotos-xpf1/t1.0-9/1981925_1434394500174257_4942992059106587824_n.jpg[IMG]

[IMG]https://scontent-a-lhr.xx.fbcdn.net/hphotos-xpf1/t1.0-9/10469692_1434394510174256_8746111582946729099_n.jpg

10409194_1434394456840928_8548047819782821828_n.jpg


I finished the other thruster sub-assembly and WHAM the whole thing went together like a dream

10406659_1434394496840924_1448309019640782178_n.jpg


10405495_1434394503507590_6090877843085184709_n.jpg


In comparison to the OOB Revell kit

10537118_1434394506840923_8271547946249445049_n.jpg


10356217_1434394513507589_3001662776219797576_n.jpg


Then a black basecoat

10527775_1434394493507591_3954898041704521636_n.jpg


Then Tamiya "Light Royal Grey" mixed with steadily increasing amounts of white layer by layer

10443377_1434394473507593_7288734606025228019_n.jpg


10530771_1434394463507594_4593524181458048368_n.jpg


10547495_1434394640174243_7243736808073669260_n.jpg
 
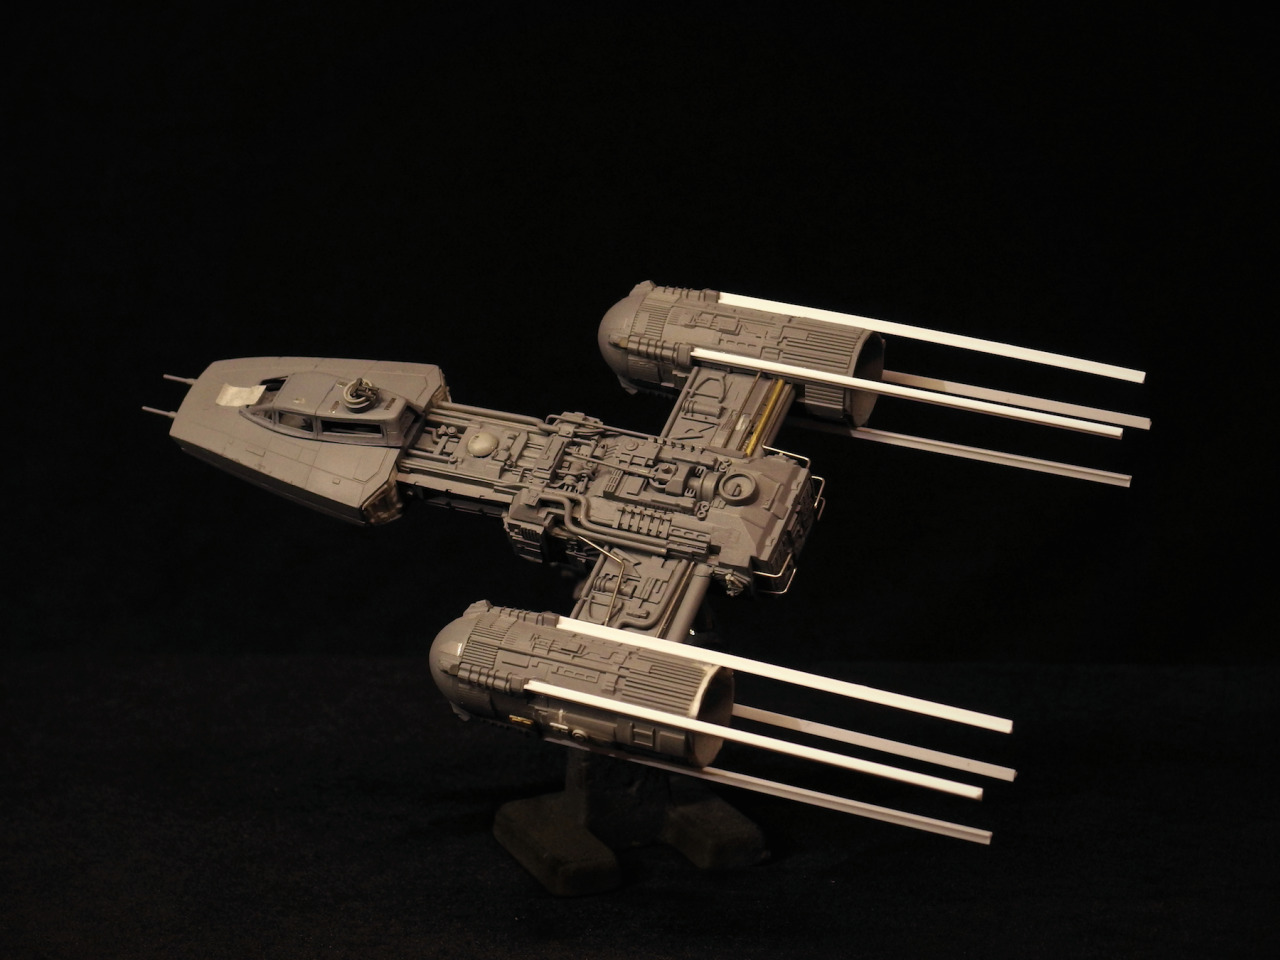
As of last night, Red Jammer is complete. I was just too tired to do the write-up on here for it.

I sponged a watery brown-grey mix over the whole thing in a similar principle to the techniques I used on my X-Wing builds, the idea being to produce the majority of grime and paint discolourations as an underlayer, rather than working from pristine back down to weathered (which arguably makes more sense). However doing the grime discolourations as an underlayer gives you far more control over the final result.

10469728_1434648560148851_2054458798590091977_n.jpg


10517675_1434648550148852_1947509837990166096_n.jpg


10550951_1434648546815519_5029405639767001471_n.jpg


10488069_1434648553482185_7407750106545638013_n.jpg


After that sponged layer I laid down a thin coat of greyish white; and then sponged pure white in key areas to enhance the mottled effect. I didn't actually compensate the base colour enough, I ought to really have gone with a much lighter base but hey ho, ya live and learn.

10494558_1434802446800129_6228902700799470552_n.jpg


10537857_1434802453466795_3506904387740124140_n.jpg


10522005_1434802450133462_6247758074943543961_n.jpg


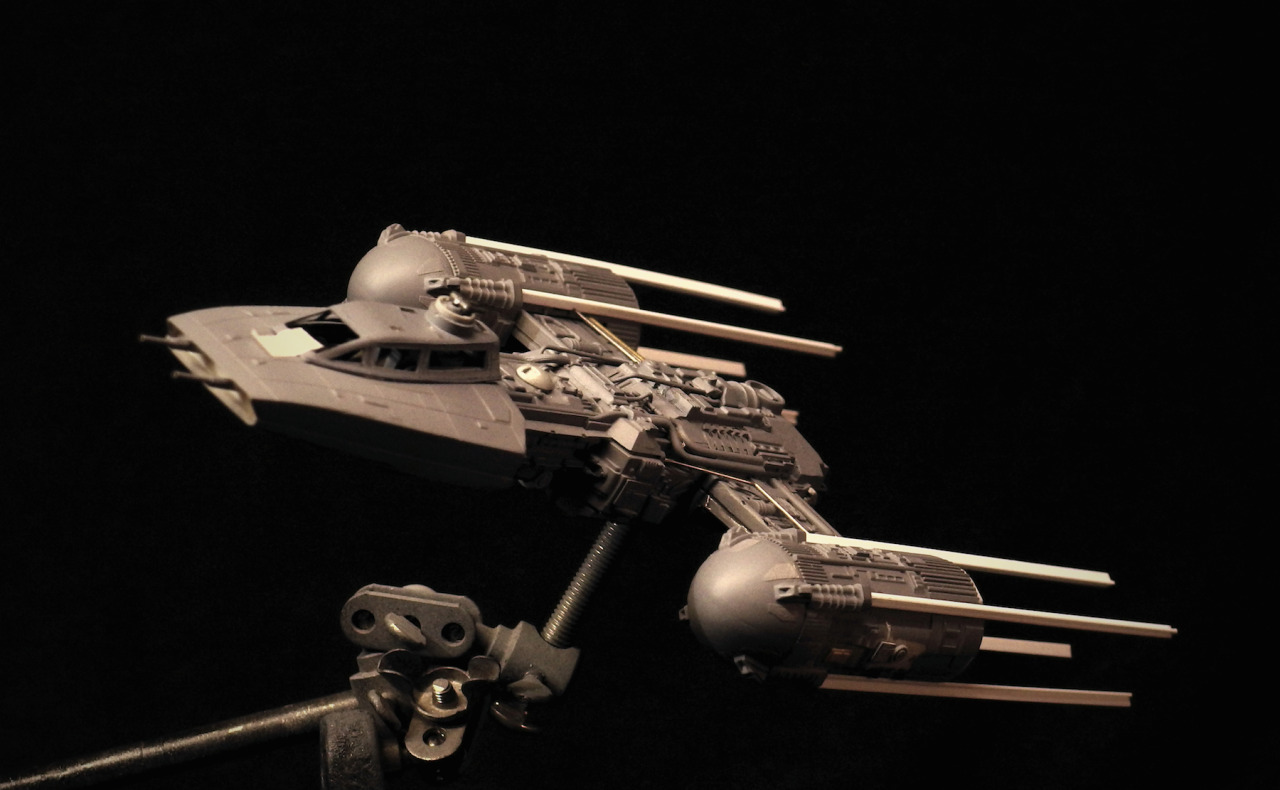
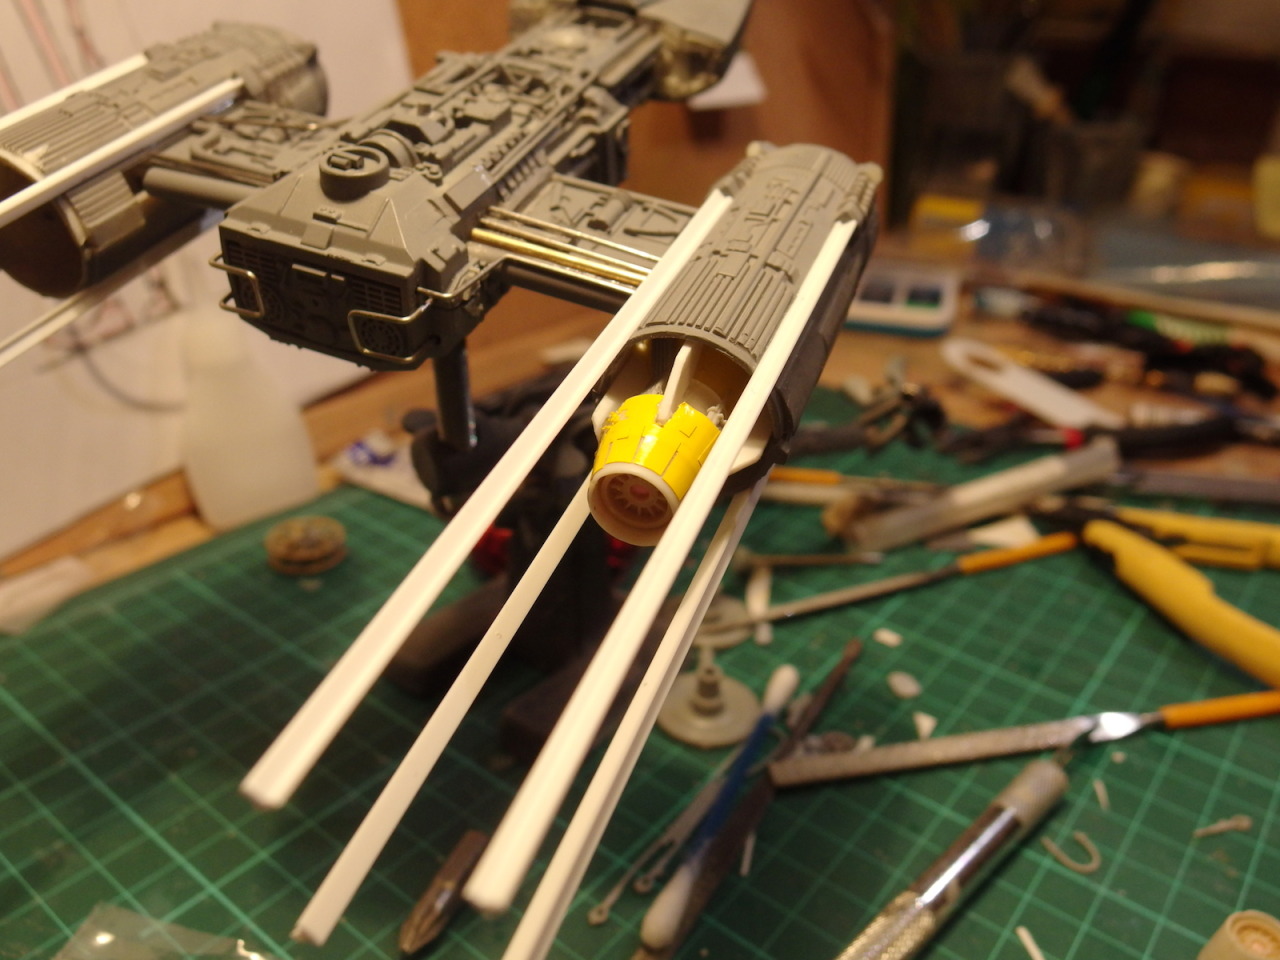
Two layers of chipping on the nacelles.

10461988_1434802503466790_2439020505973702344_n.jpg


Technically the starboard nacelle shouldn't have struts or weathering or anything really, but I'm making a model of 'Red Jammer' here, not a copy of the studio model. Man who even wants a model of a model anyway??

10347155_1434802506800123_3323270553867247577_n.jpg


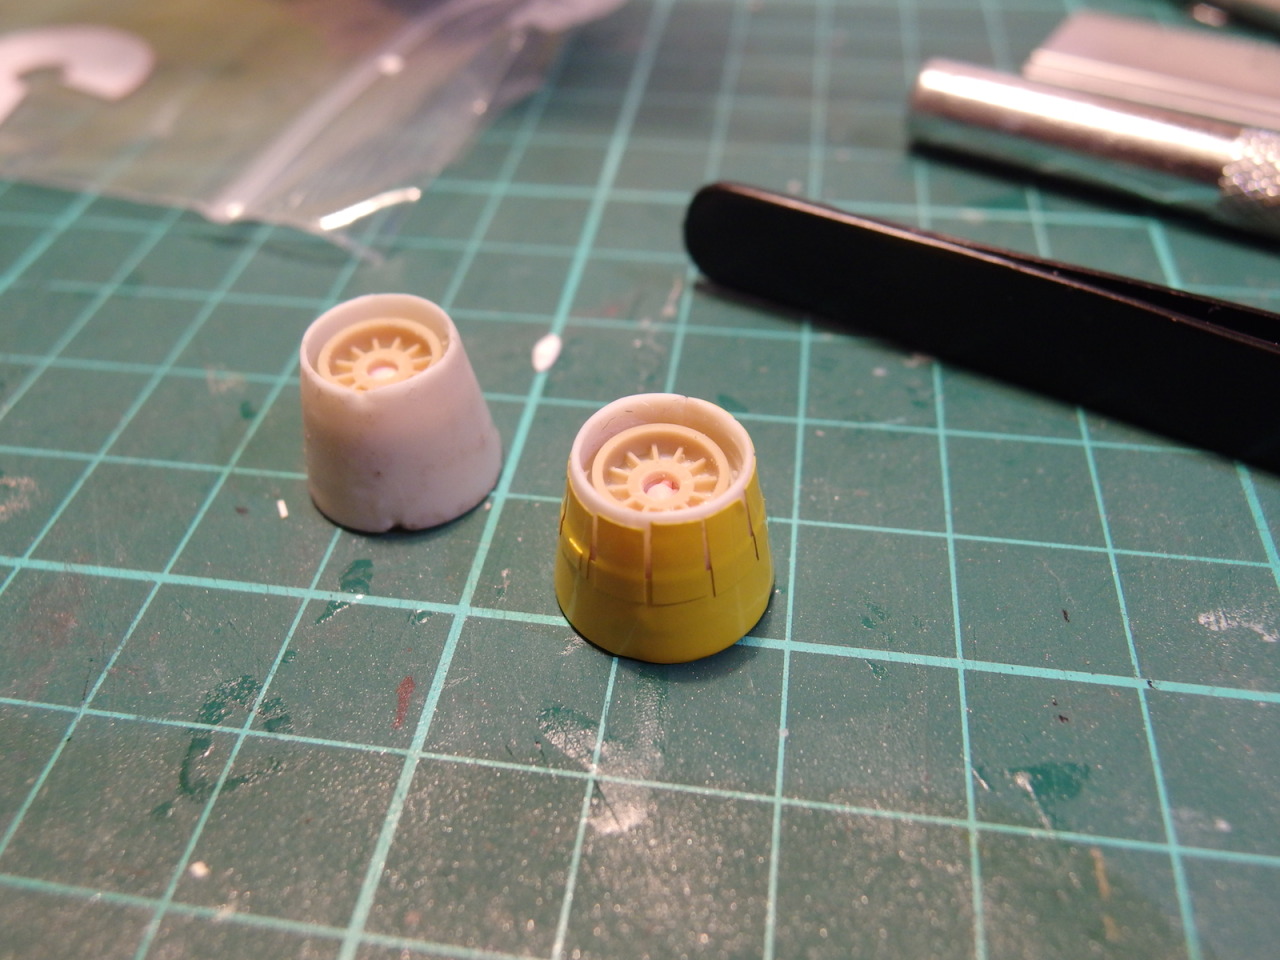
I used Tamiya 'Yellow Green', with masking fluid sponged and then white airbrushed over on the cockpit

10419513_1434802700133437_8463063092780358356_n.jpg


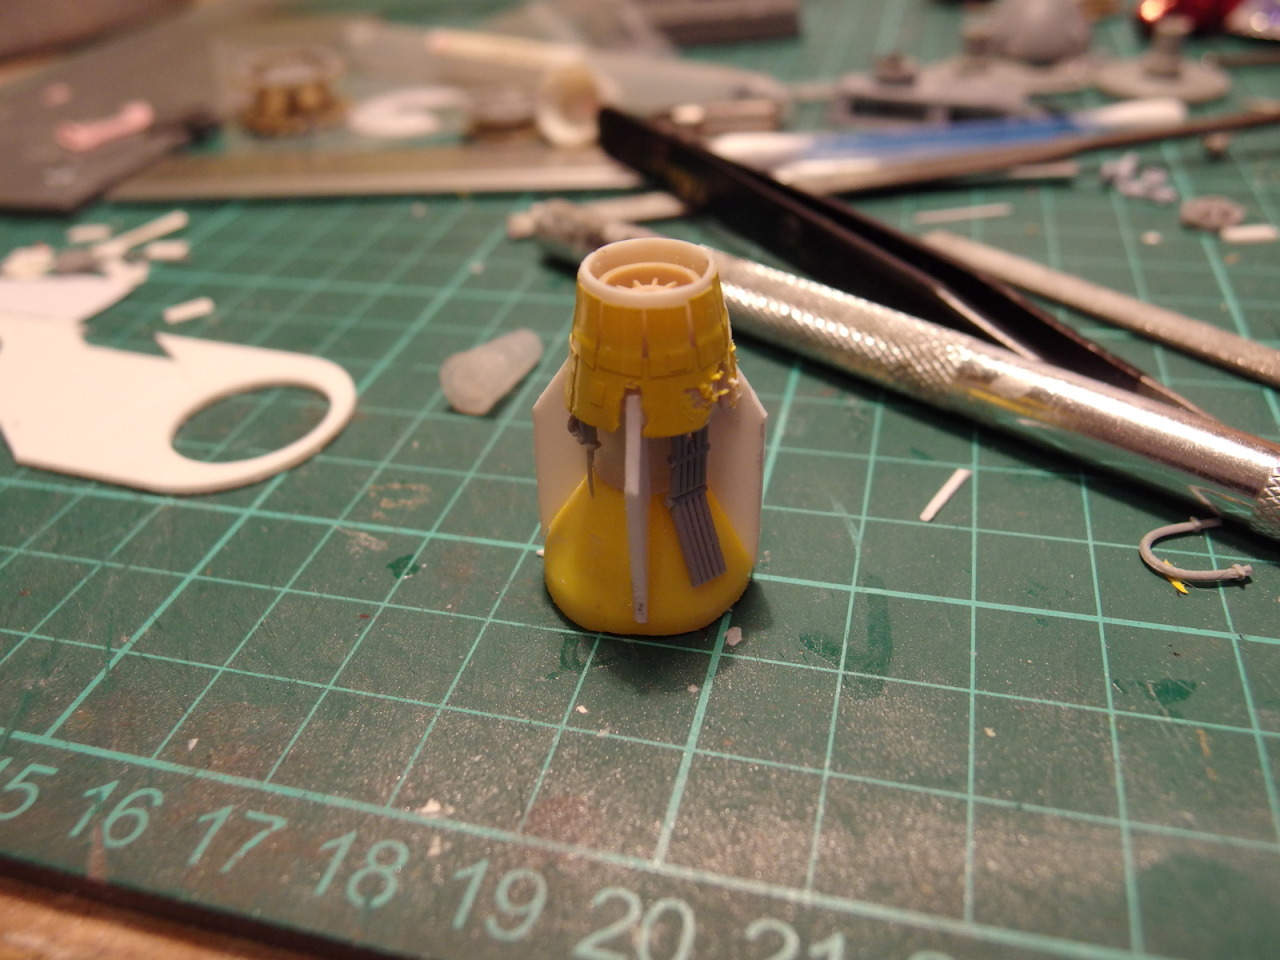
Pipes painted in a Citadel copper colour whose name I forget. I like Tamiya paints because their paint names make sense

10463066_1434802713466769_5122824552253438942_n.jpg


I drew the markings on with a pencil, stuck masking tape on roughly and then cut it according to the lines while the tape was still on the body

10492359_1434802670133440_5373374381768048814_n.jpg


10523198_1434802706800103_1324482246330072761_n.jpg


I sponged 2 more shades of yellow onto the cockpit because it wasn't looking right before

10570316_1434802660133441_3363746277910055018_n.jpg


I masked off various other markings, all grey panels were done with masking fluid and Tamiya RLM grey, burn marks were done with RLM grey and then worked into with pastels

10511334_1434802673466773_2393974130124463327_n.jpgp


I used a broad mechanical pencil to add fine weathering and chips

10517701_1434802683466772_2706078991972350847_n.jpg


And completed! Now all it needs is a swanky-ass base. I plan to do all my personal Ys , Xs and TIEs with 10x10cm polished wood bases with a death star surface on the top

10530760_1434802820133425_1052024384667062522_n.jpg


10514652_1434802836800090_8494347772492471398_n.jpg


10463977_1434802866800087_449710280638690566_n.jpg


10509651_1434802870133420_3894781324818366292_n.jpg


10513476_1434802876800086_7745095814386486404_n.jpg


I couldn't be prouder, considering its humble origins as the Revell kit
 
Beautiful!

edit:

Can you tell me your paint set-up? Like what do you use for these jobs?

For SW vehicles I mainly use Tamiya paints through an airbrush, very little hand brushing and a lot of sponging as well. But airbrushing is really the key to a successful SW model I've found, and apply less weathering than you think....I've always found that bit hard ;)
 
This thread is more than 9 years old.

Your message may be considered spam for the following reasons:

  1. This thread hasn't been active in some time. A new post in this thread might not contribute constructively to this discussion after so long.
If you wish to reply despite these issues, check the box below before replying.
Be aware that malicious compliance may result in more severe penalties.
Back
Top