clancampbell
Sr Member
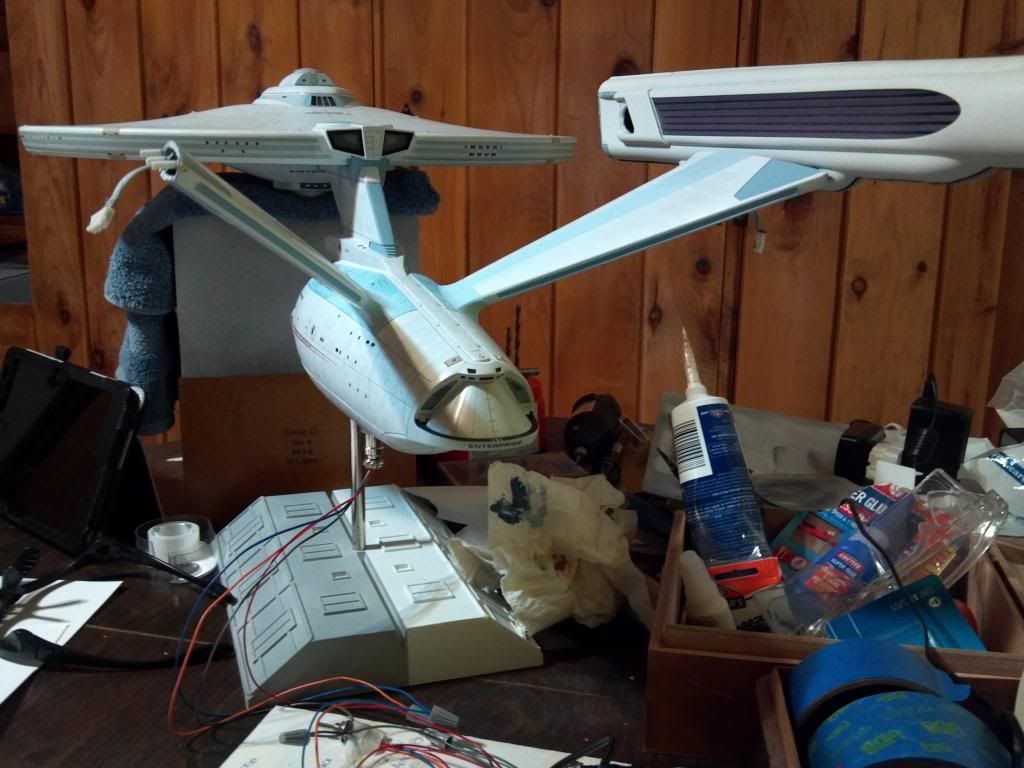
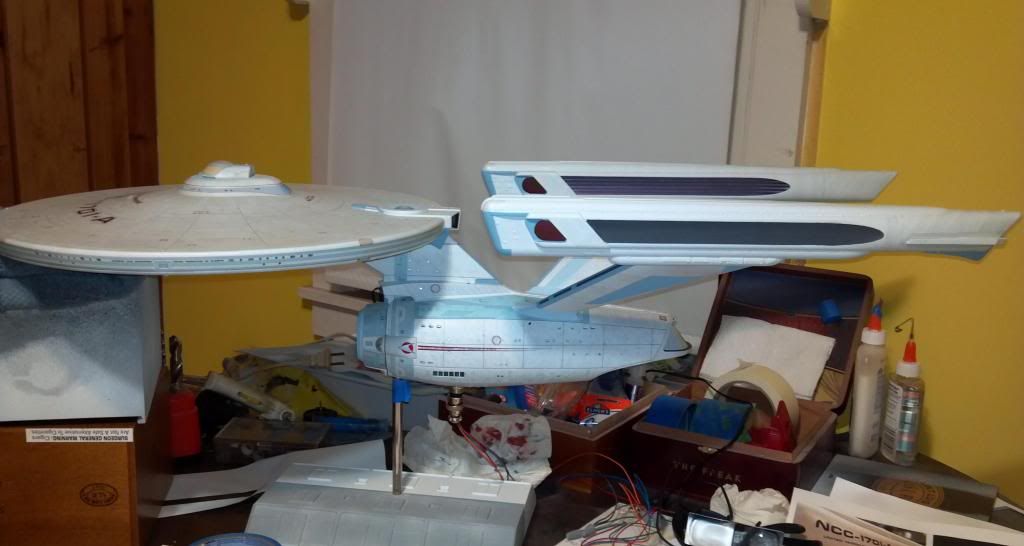
Your pics could be used as awesome reference for anyone building this! Incredible work!!!!
Rich
Rich
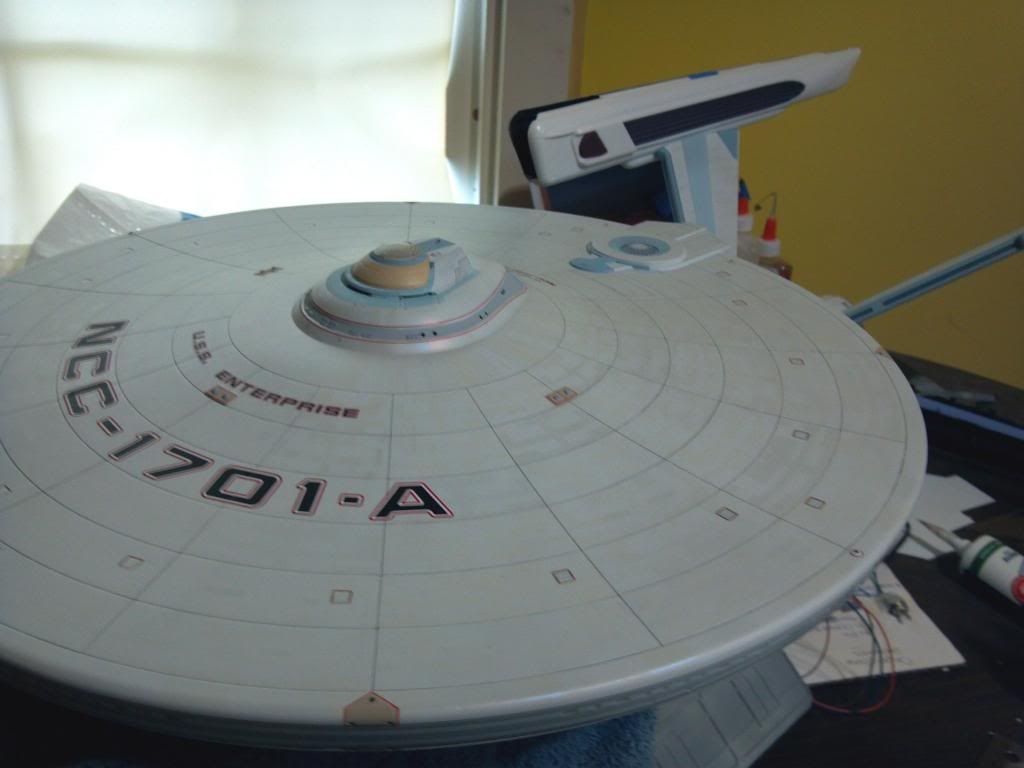
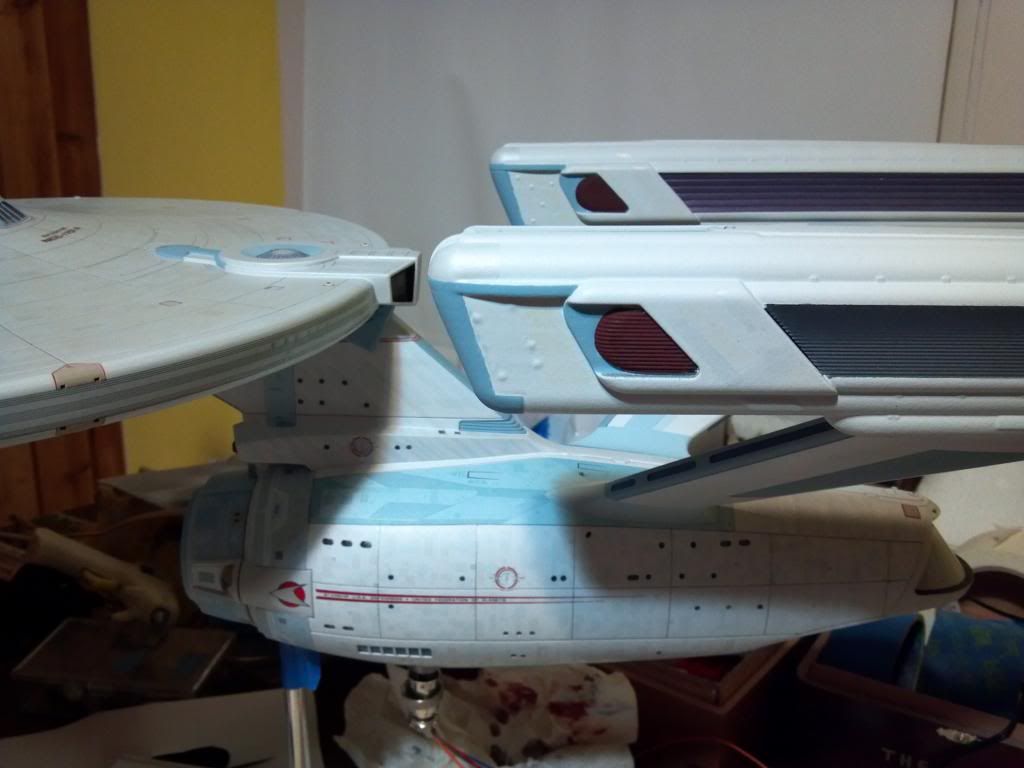
Looking Great!! You've really done the ole' girl right with this build. I have a question though, I see you are using the DLM flux grille replacements, why didnt you use the Impulse engine? Did yours not come with it? I got the DLM kit for my Refit, and it came with a solid Shuttle bay door( that I didnt use) as well as a MUCH more accurate Impulse deck ad flux grille inserts. Not saying that yours doesnt look great, and I mean no criticism. just curious. Looking forward to seeing more, and man oh man, I LOVE your aztecing. The next one I do, I'm taking a page from your book in regards to that! I used decals from accreation. It looks ok, but I would rather a painted effect like what you did. Have a great rest of the week and weekend!
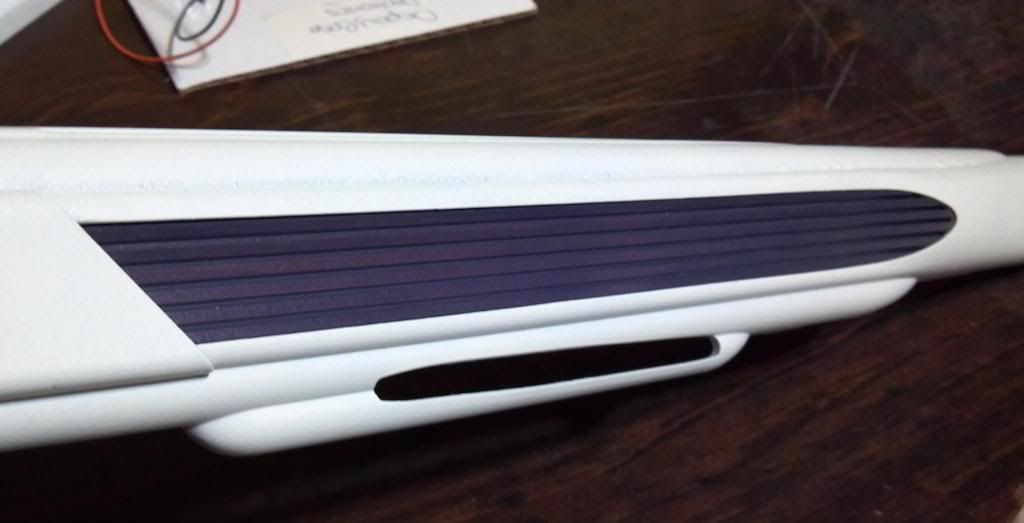
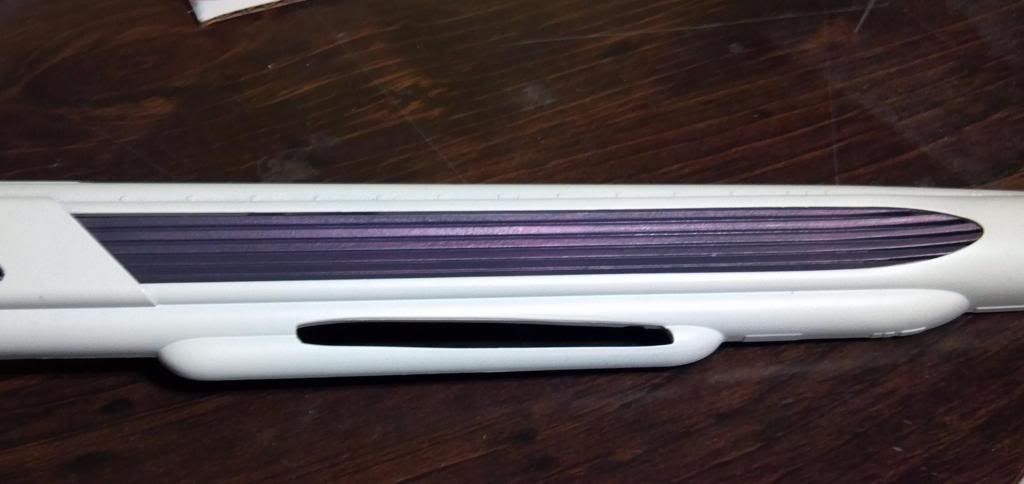
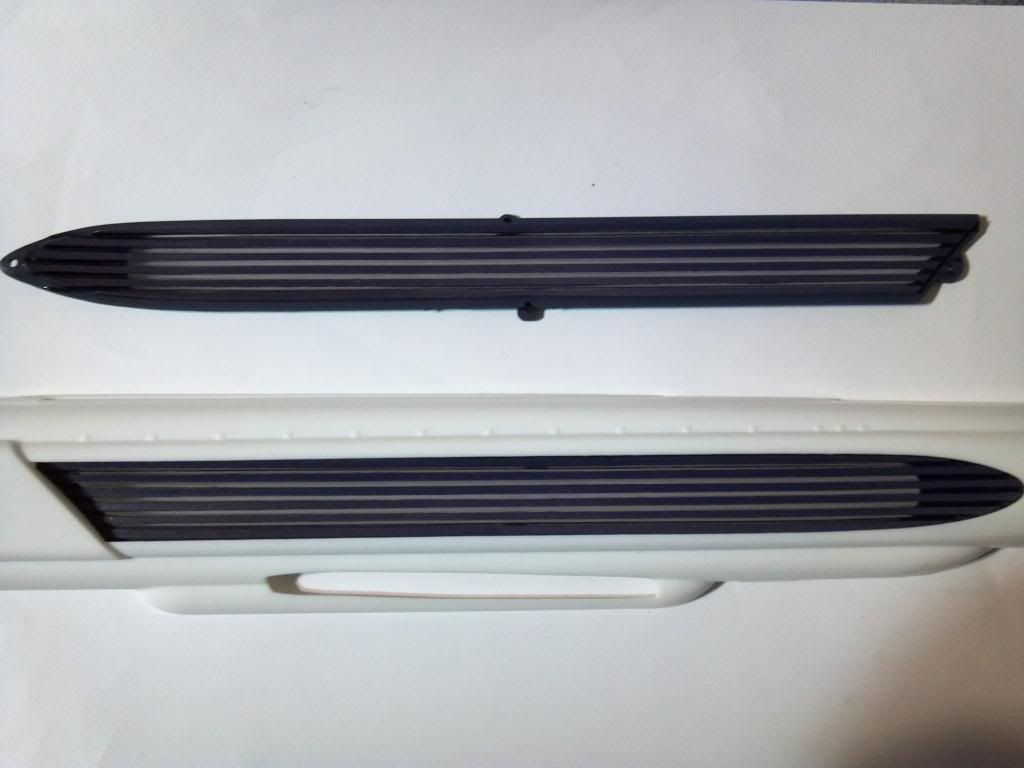
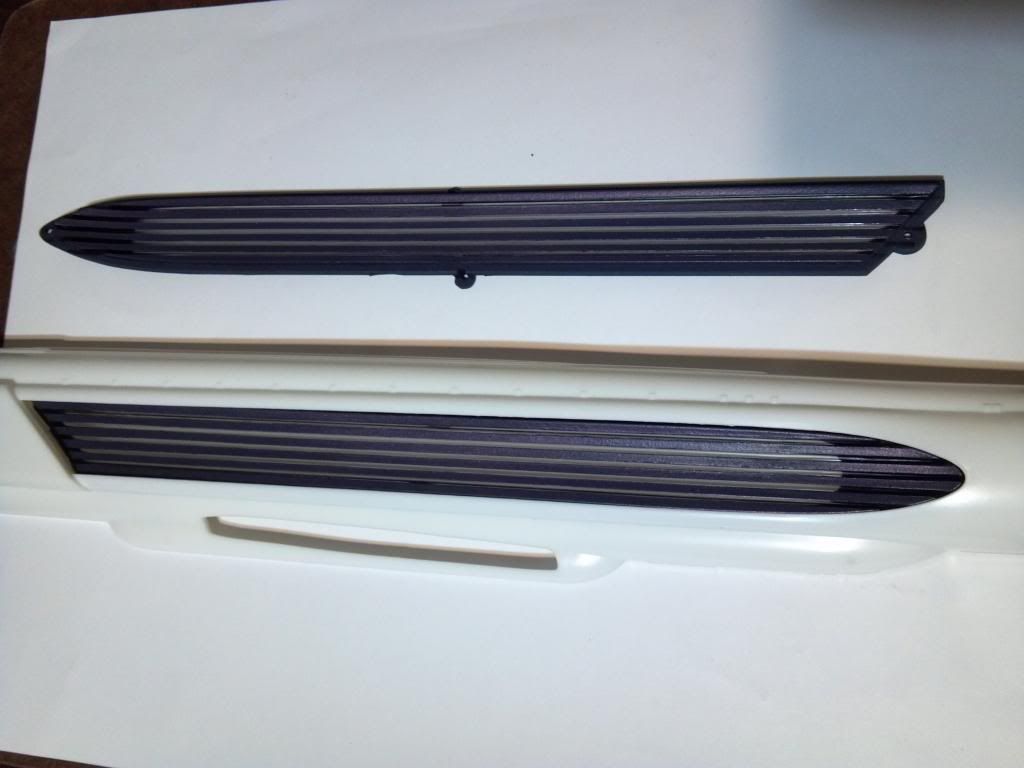
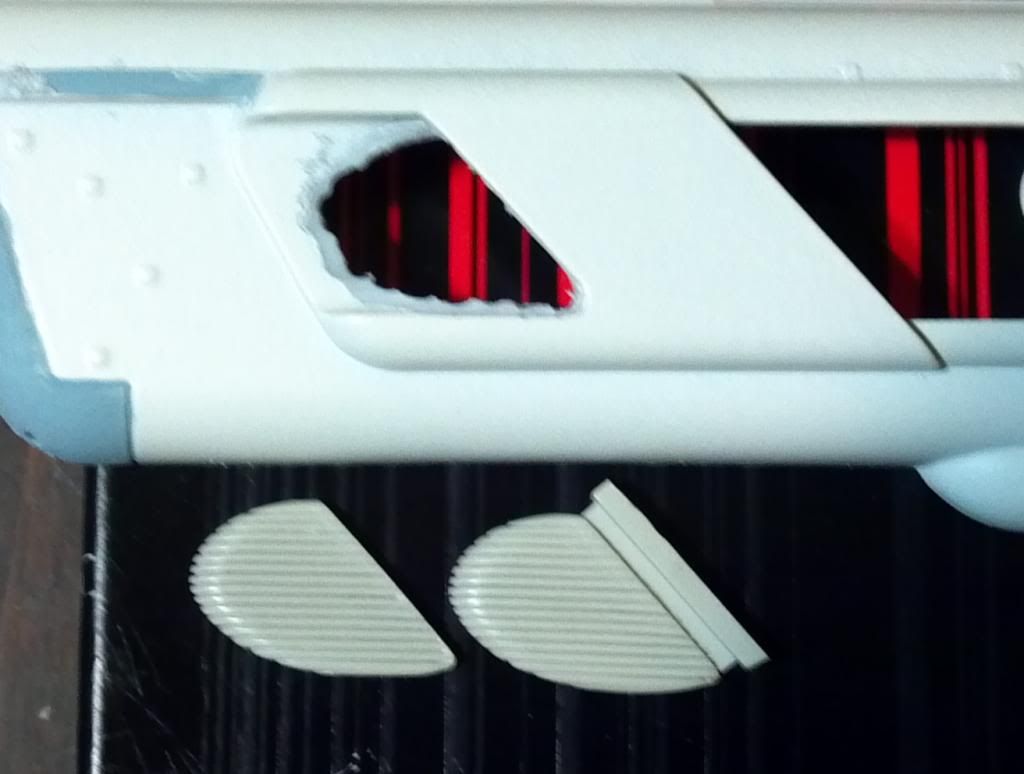
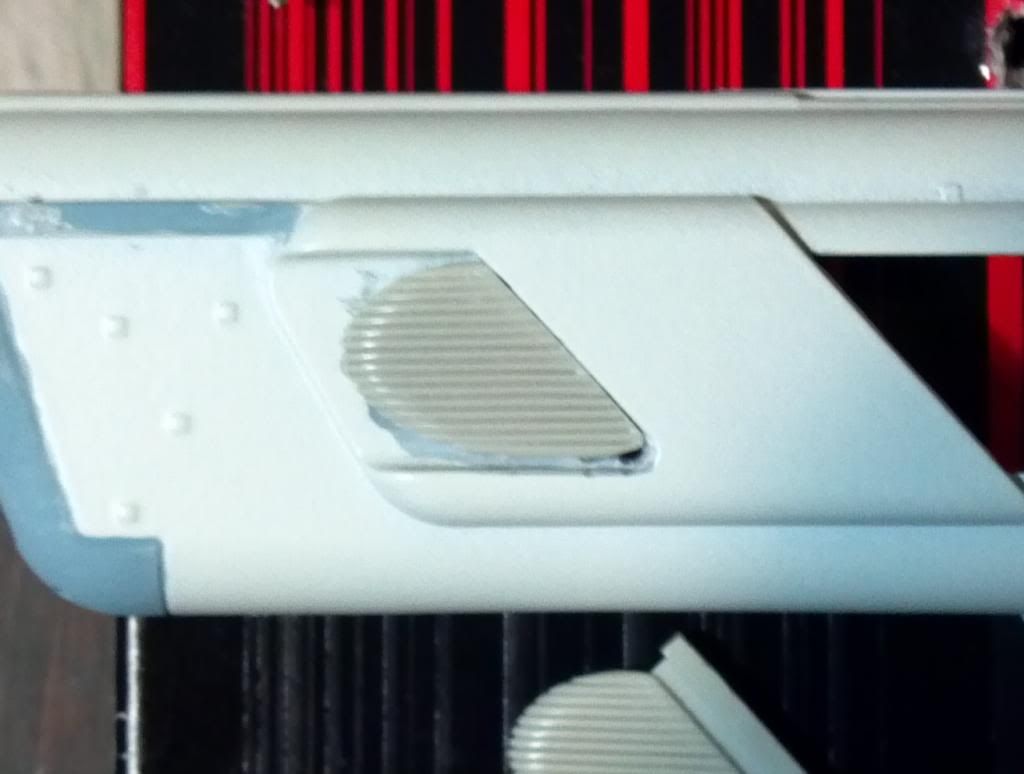
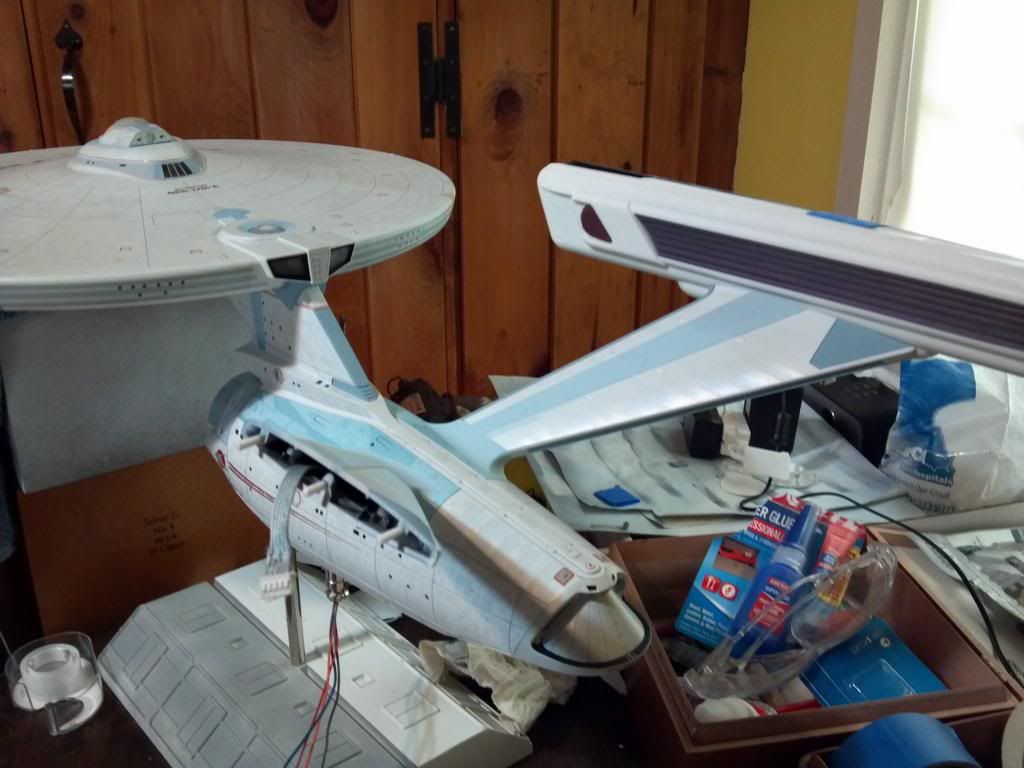
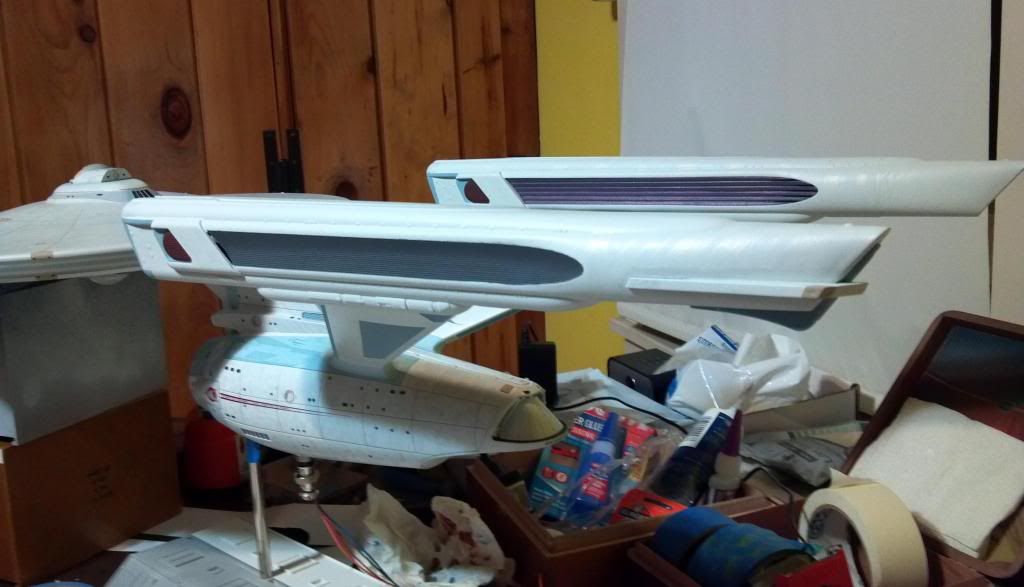
Hey Michael, good question and thanks for the kind words. Actually I ordered the Flux Grilles alone. I had already modified the Shuttlebay door at that point. And I didnt want to have to cut the desk of the Saucer to implant the Impulse deck - part fear, part lazy on my part. I also figured i could get away with the mod that I did on the impulse engines which was to shave the upper edges thinner. Looks good but part of me still thinks I should have gone with the DLM Impulse just to get that more accurate thin look. Especially since I went through the trouble of modifying the "runners" on the sides of the Deflector housing in front of the clamps. And, I modified the Lower sensor array to the accurate shape. All that work to accurize and the Impulse deck is now somewhat of a sore thumb!
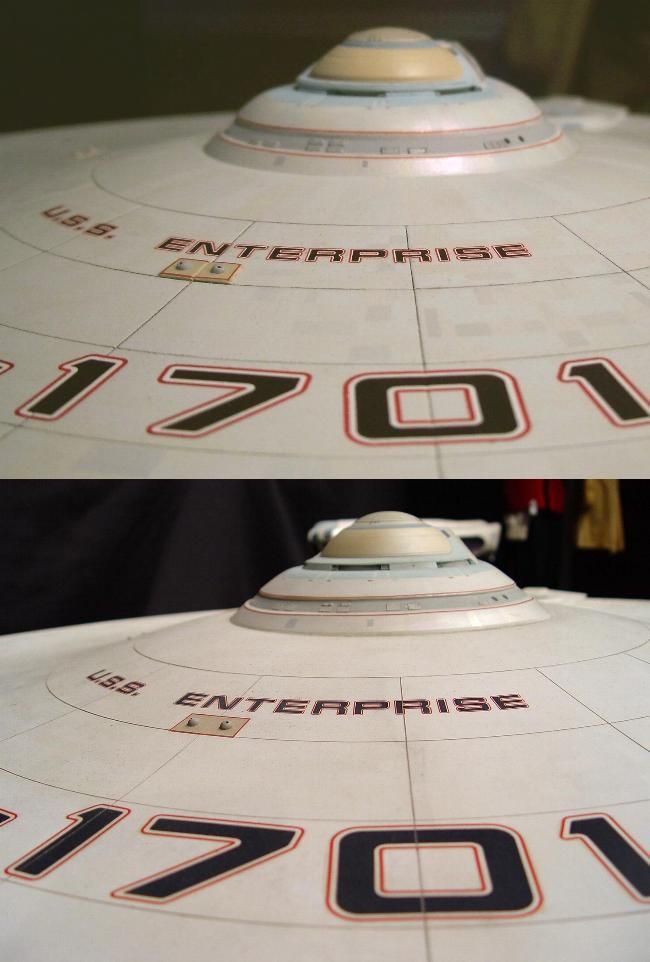
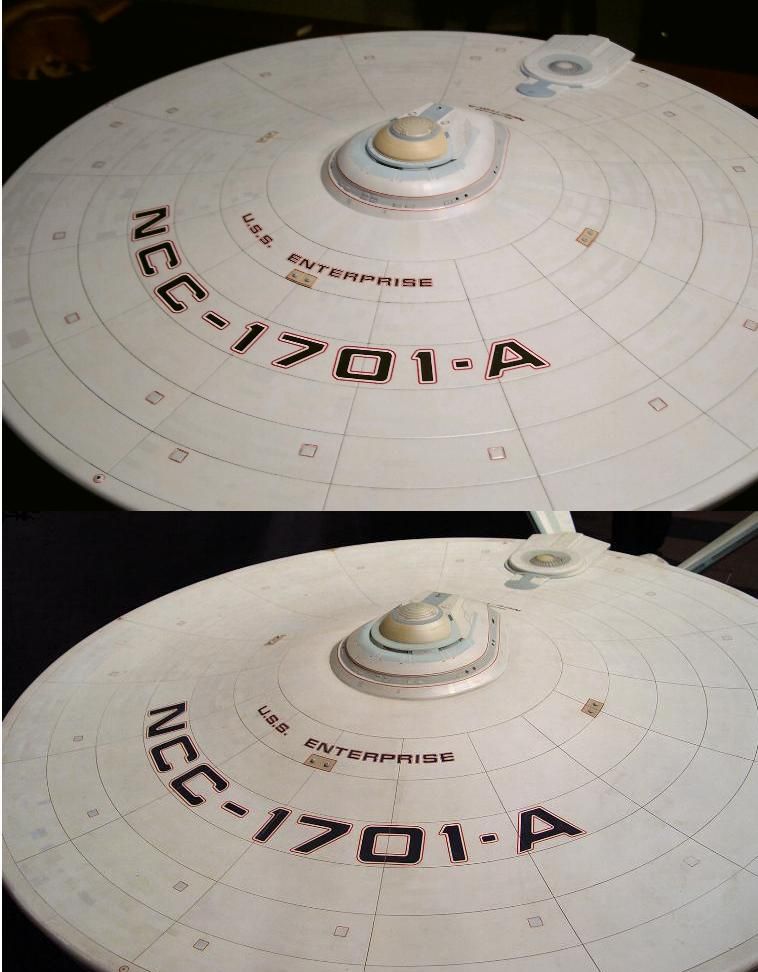
 I can deffinitly understand that! but you dont really have to cut the saucer or the neck to install the DLM impulse. It comes basically as a solid piece of resin pre-shaped in the correct size and shape, and not quite clear, so great for diffusion. All you have to do is install into the upper saucer, after sanding down the top edges to match the rest of the Impulse deck. then get some small strips of sytrene and sand them into shape until they fit flush in the gaps between the deck and sides, and deck and dorsal neck created by the shorter impulse deck. Other than that, there really isnt any mods required on the saucer top, bottom, or sides. But I do like what you did with the stock deck, I think thats the best I've seen with the stock part used, no joke. If I can make a small confession, I felt that the flux grilles would be too ardous of a task and I honestly could not tell the difference between the DLM replacements and the molded ones in the nacelles... hahahahahaha *shrugs But I like how youre doing yours, and I stil have mne to use later on if, or actually when, I start another 1/350 project.
  the addiction is real... haha cheers!!