Wayne Bakken
Well-Known Member
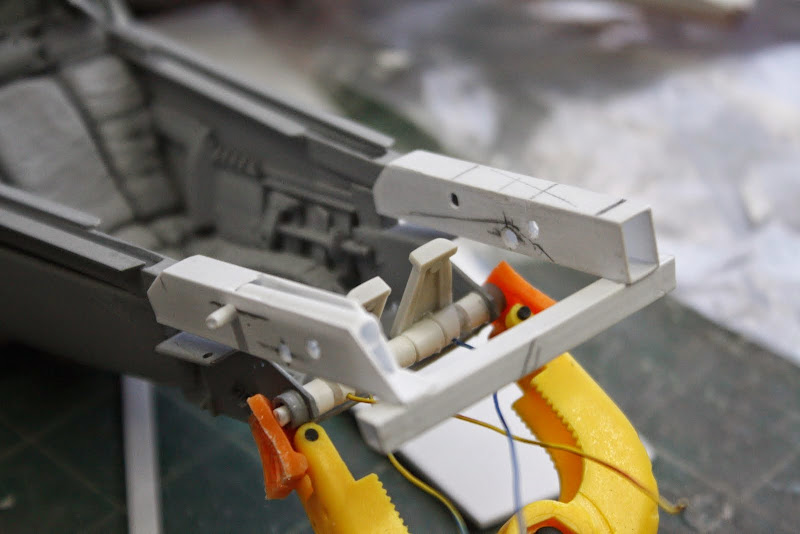
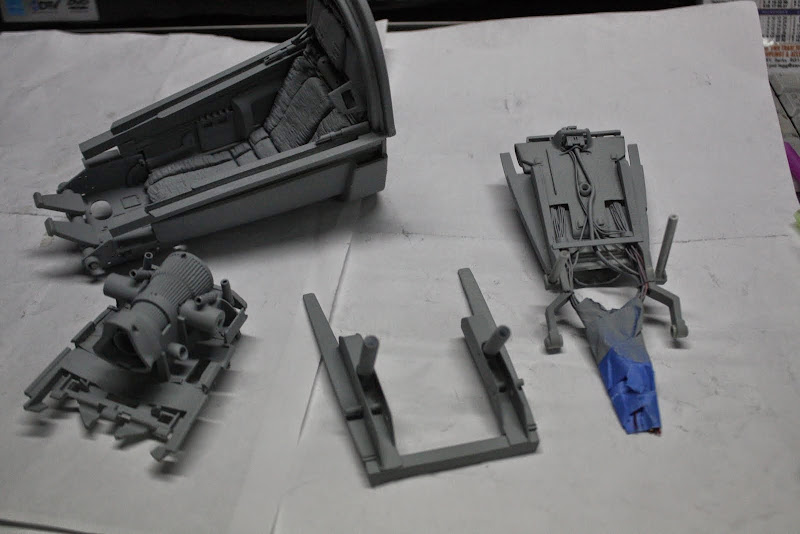
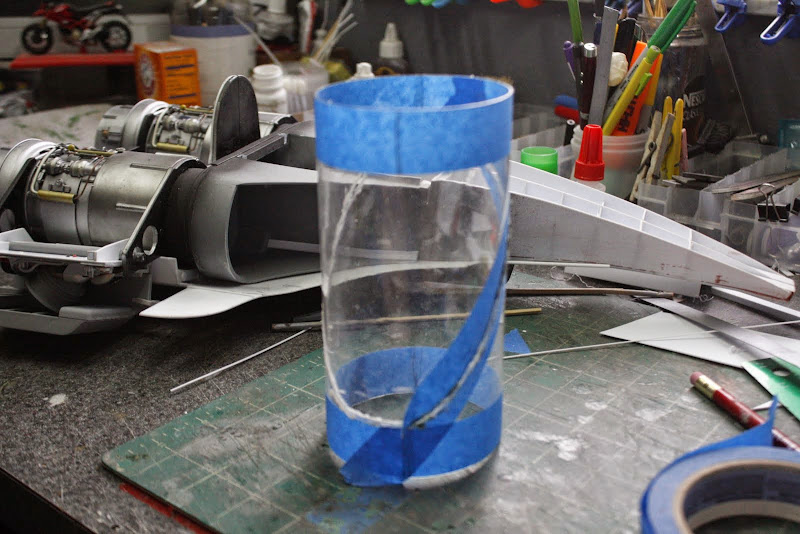
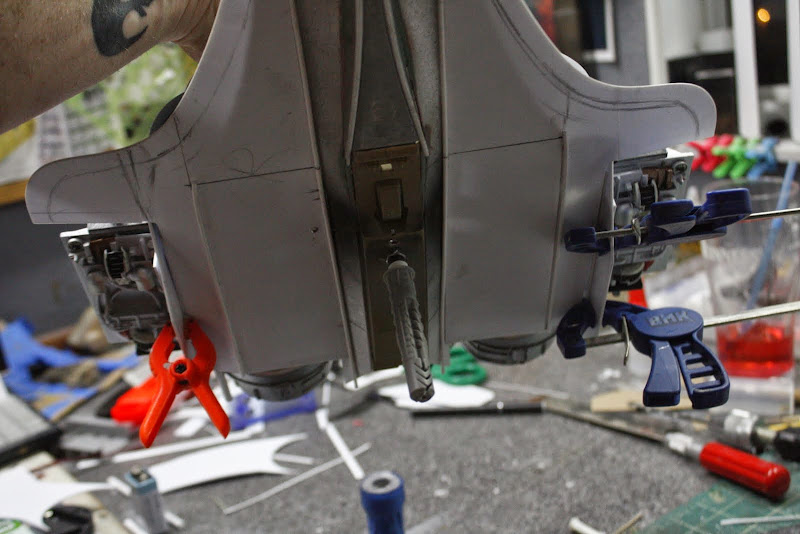
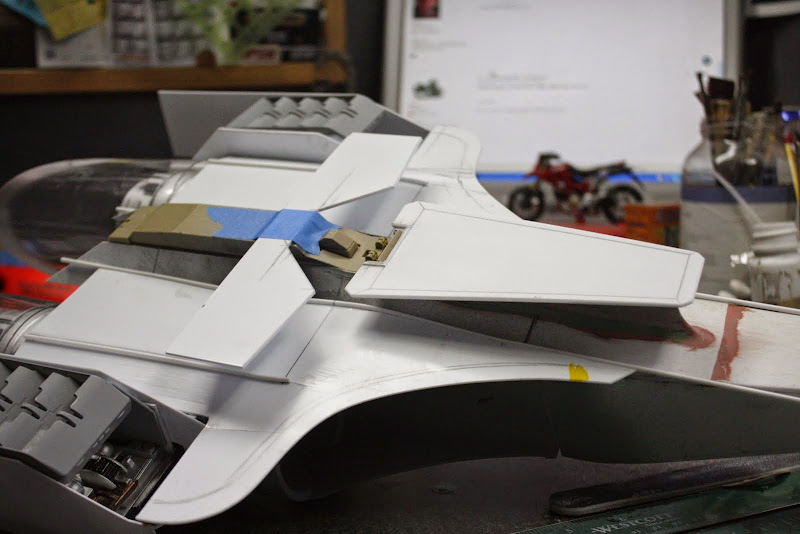
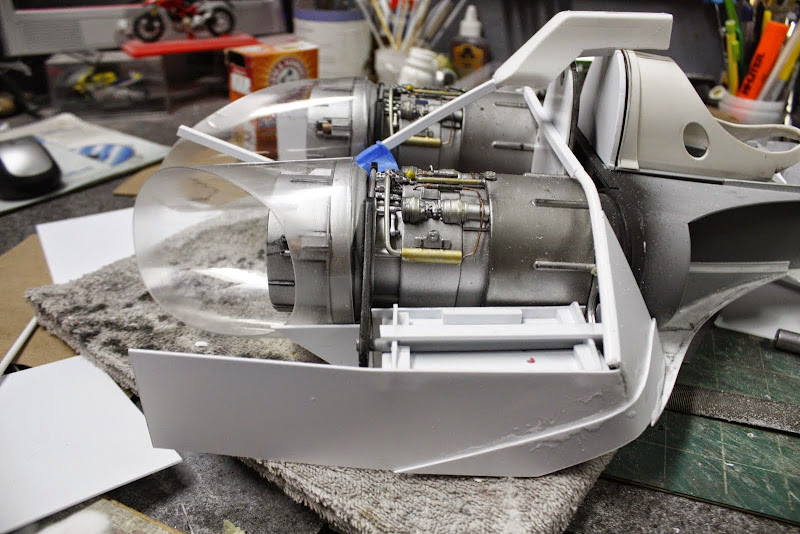
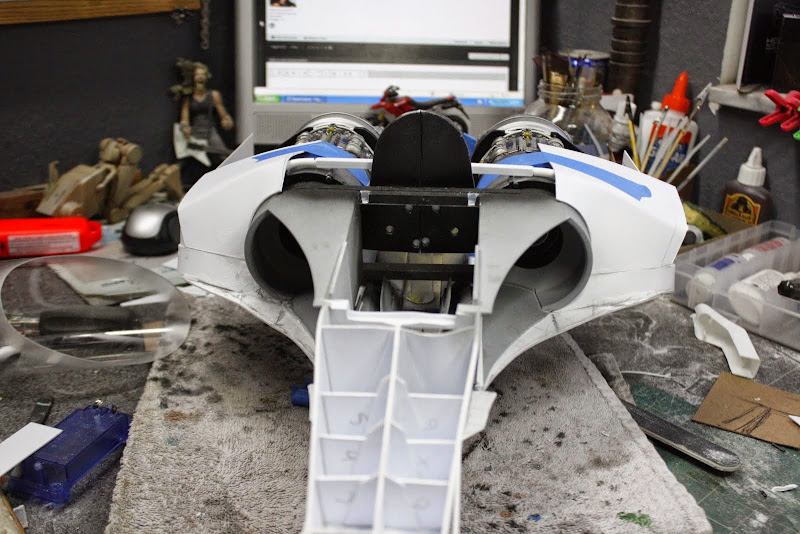
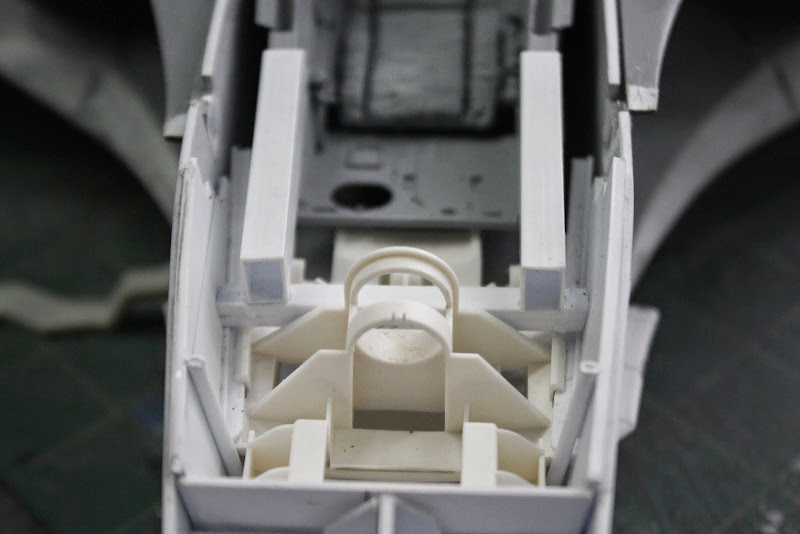
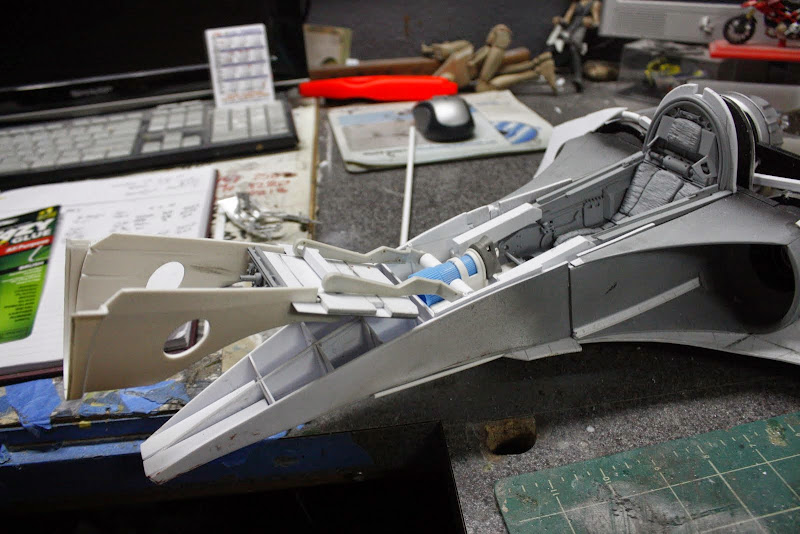
starting to look swooshable.
 I can't tell you how siked I am to see this. You are a wizard! Subscribed?!? DUH!!!!!! Keep up the great work, my friend. One of these days you will have to make a kit of one of your scratch-builds so you can retire... but I hope you never stop building models.


You are mad.
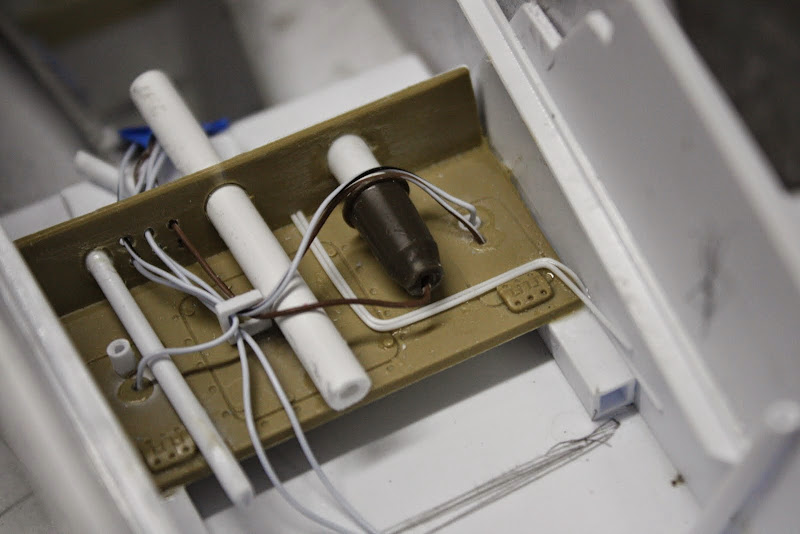
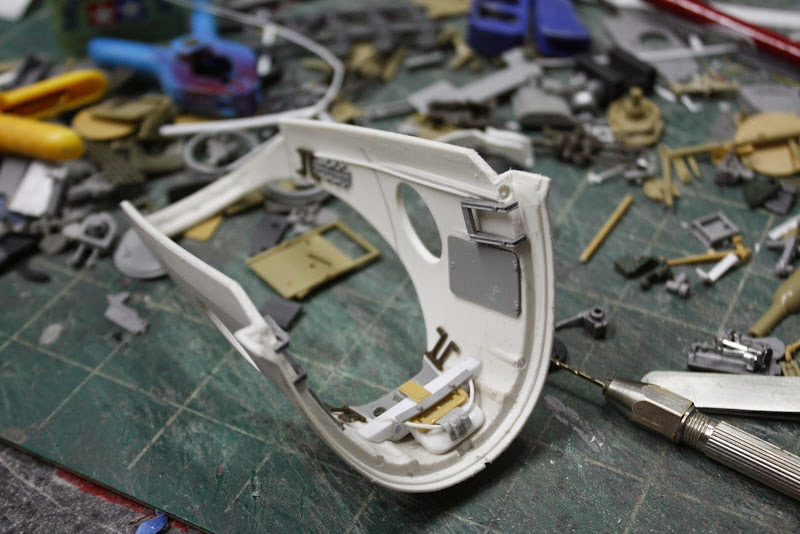
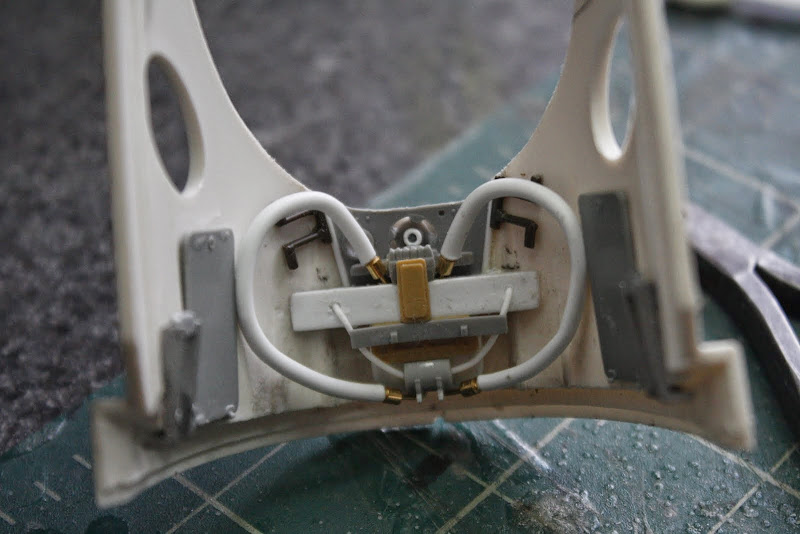
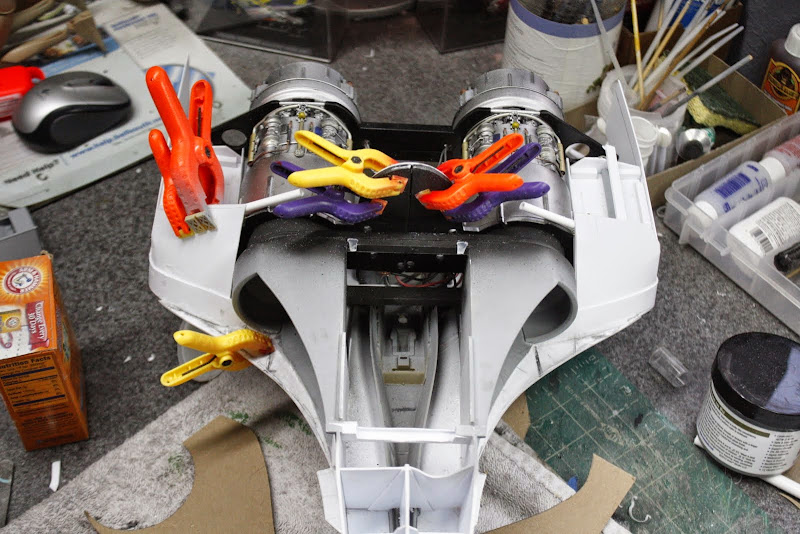
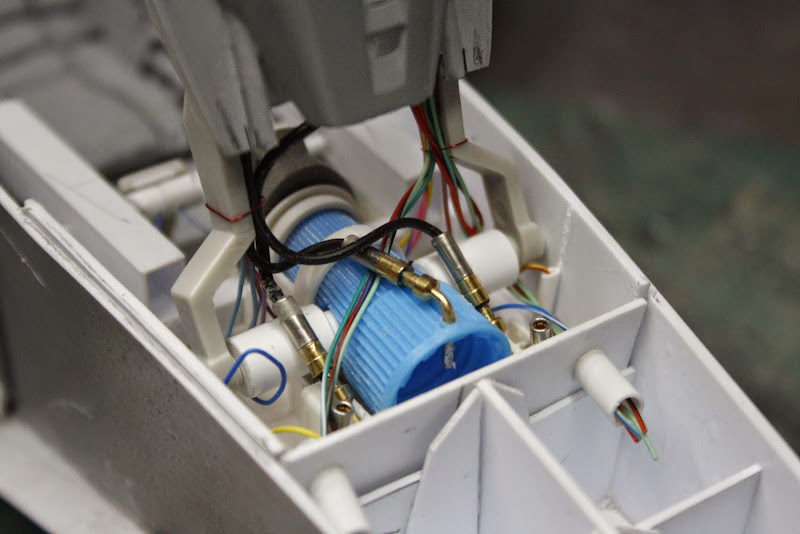
Great post, clear pictures!
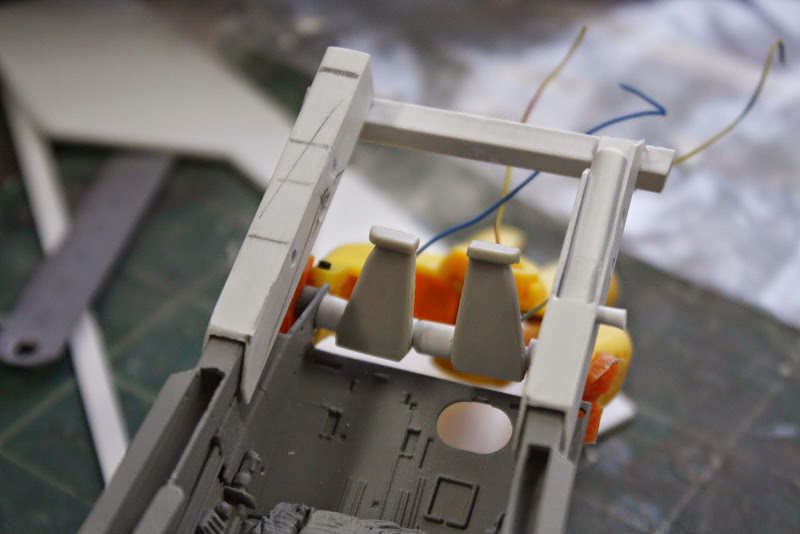
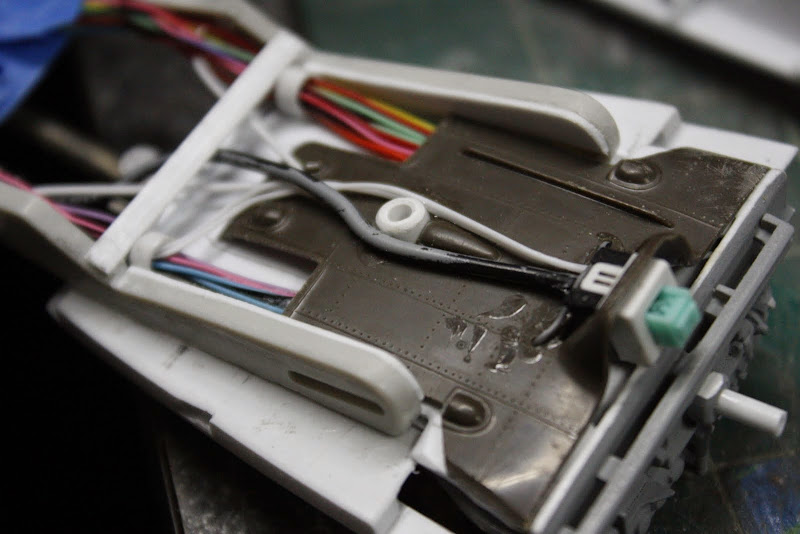
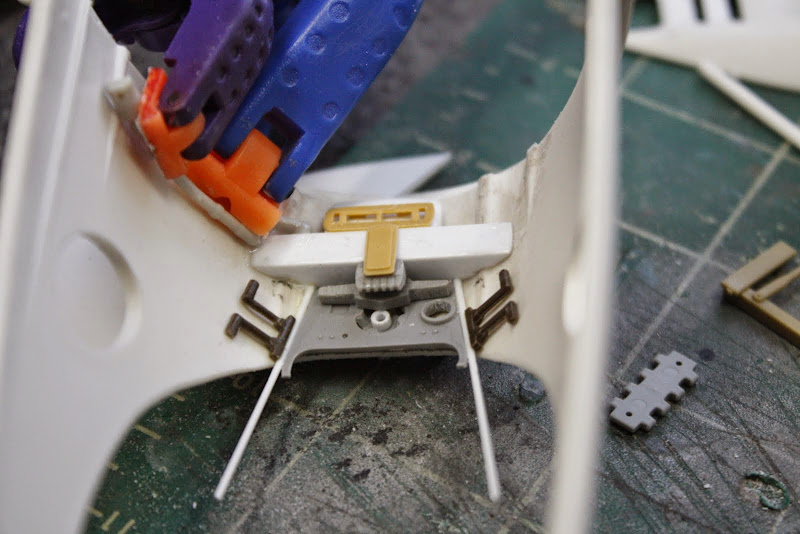
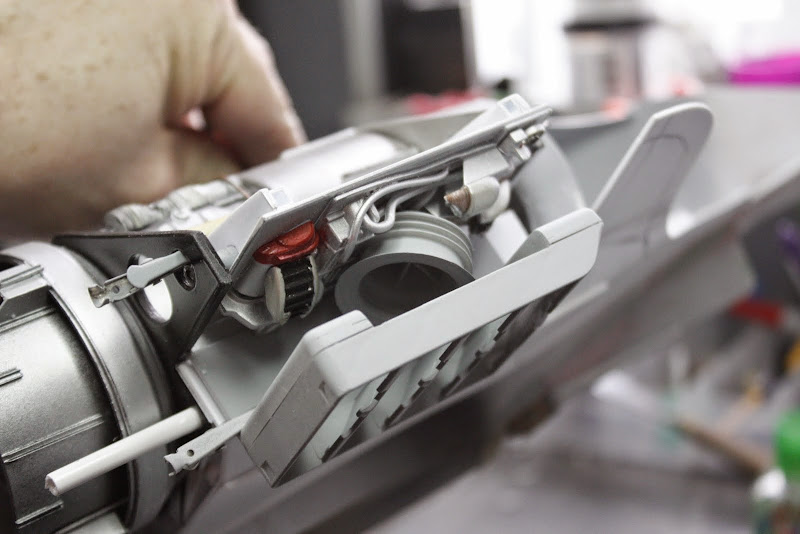
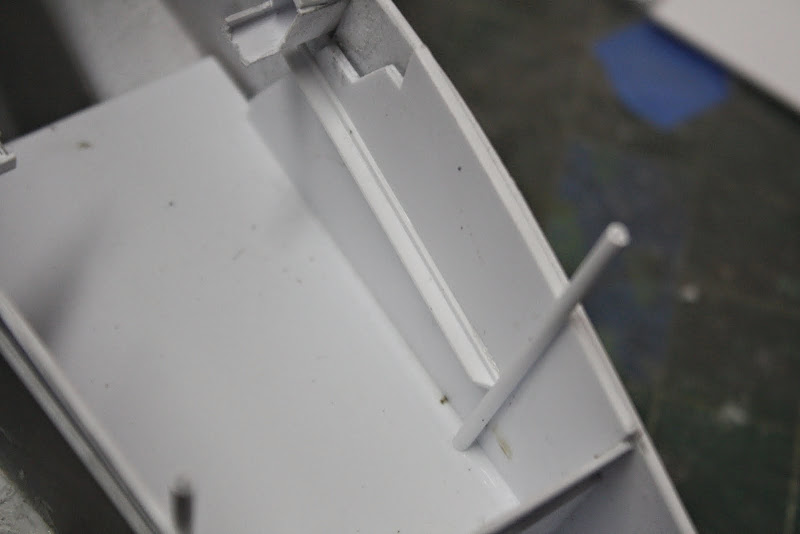
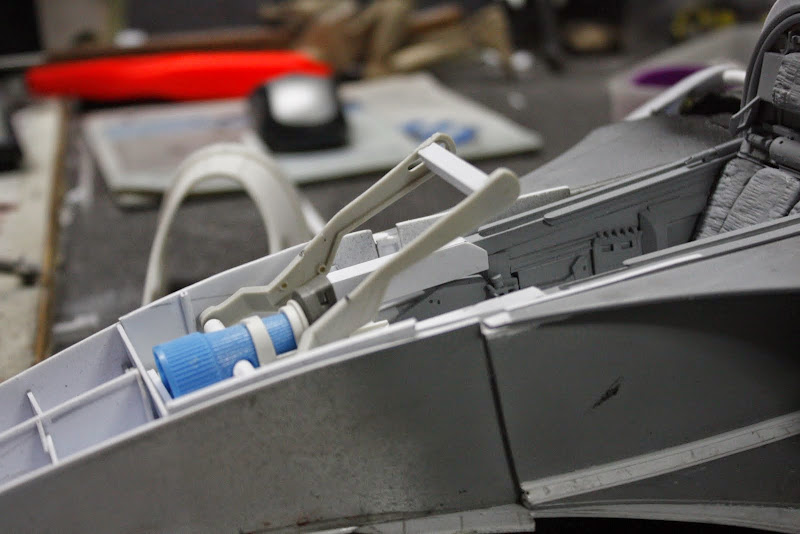
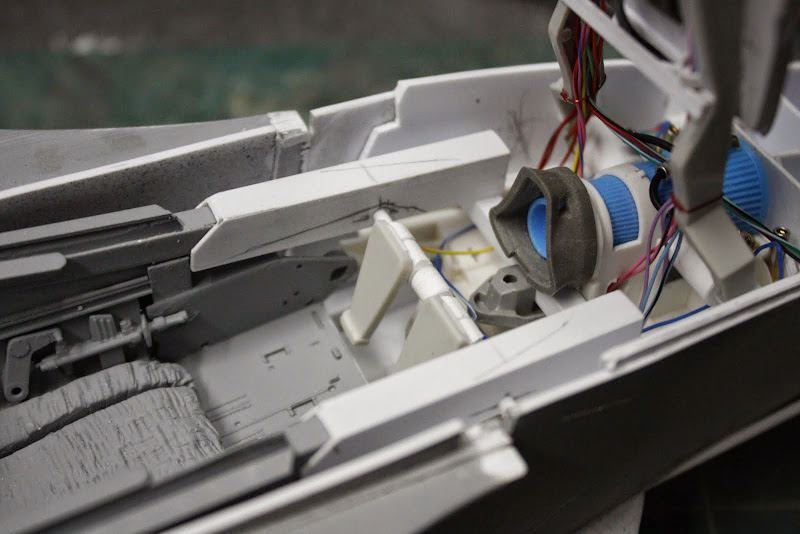
Your pedals are upside down!
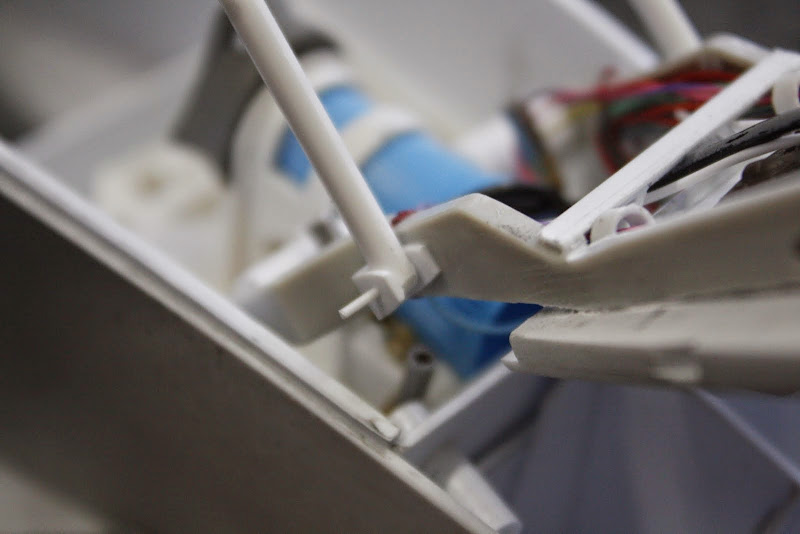
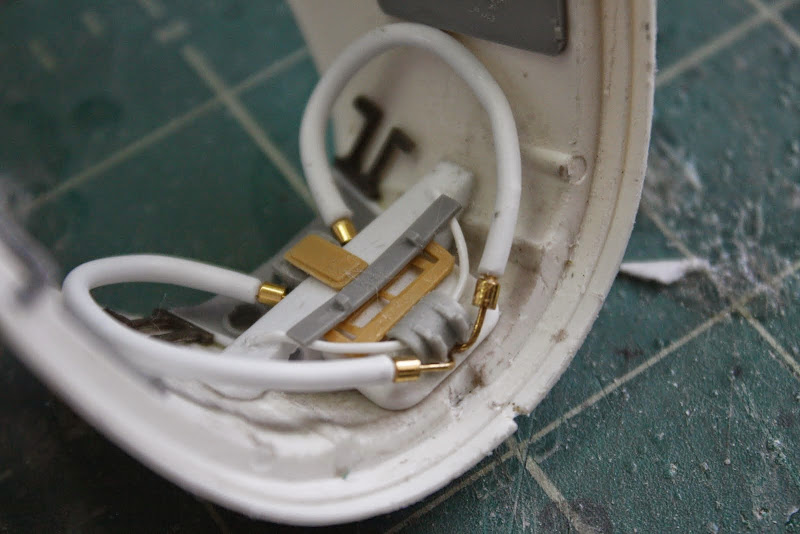
Fantastic work and great attention to detail.