You are using an out of date browser. It may not display this or other websites correctly.
You should upgrade or use an alternative browser.
You should upgrade or use an alternative browser.
The Nylon Gag MK2 F1 Magneto Skimmer
- Thread starter TheNylonGag
- Start date
LukaFilm
Sr Member
Hi Nylon Gag! I really love your build!!!
I have a question. I noticed you used bottle caps for engines.. Those things are always made from PE or PP plastic and I never found a glue that would glue them. Could you please say what are you using to glue them, as well as what will you paint them with? Everything I use always peels off !!!:behave
Keep up the good work!
Hi Nylon Gag! I really love your build!!!
I have a question. I noticed you used bottle caps for engines.. Those things are always made from PE or PP plastic and I never found a glue that would glue them. Could you please say what are you using to glue them, as well as what will you paint them with? Everything I use always peels off !!!:behave
Keep up the good work!
Thanks LukaF,
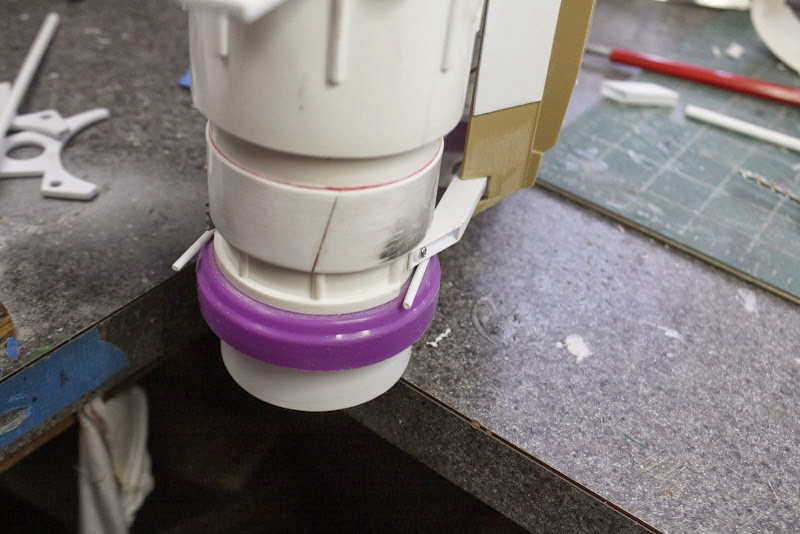
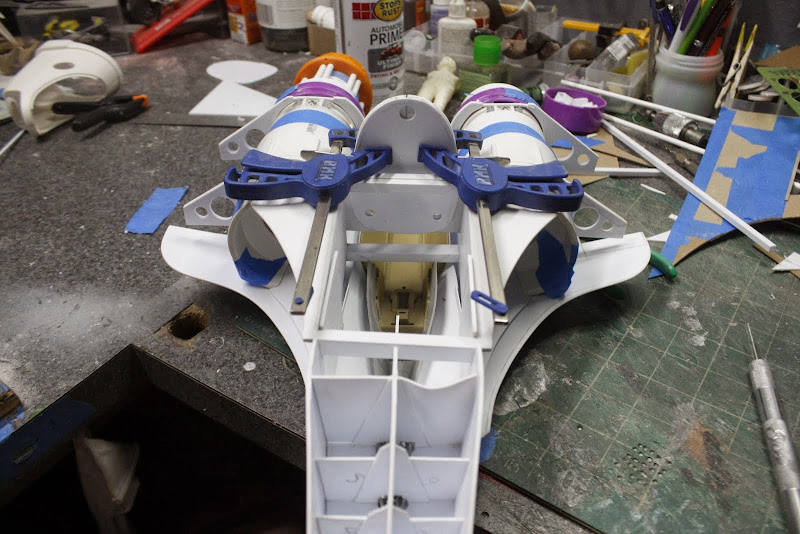
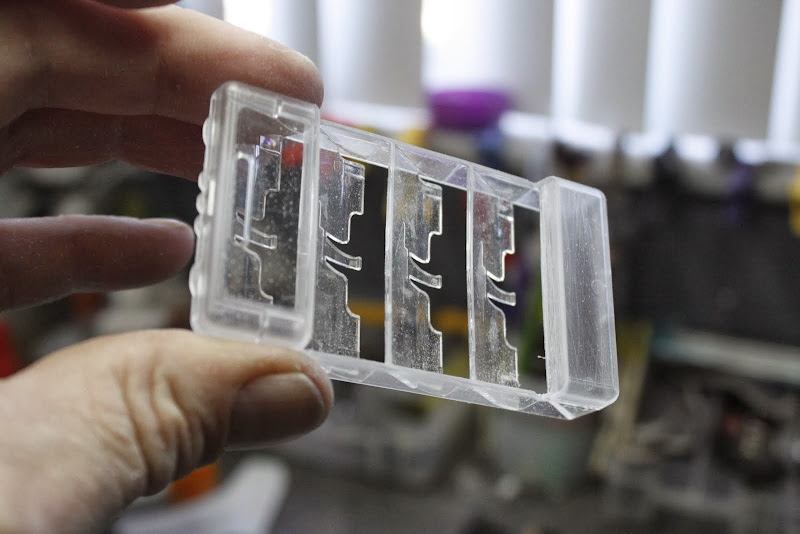
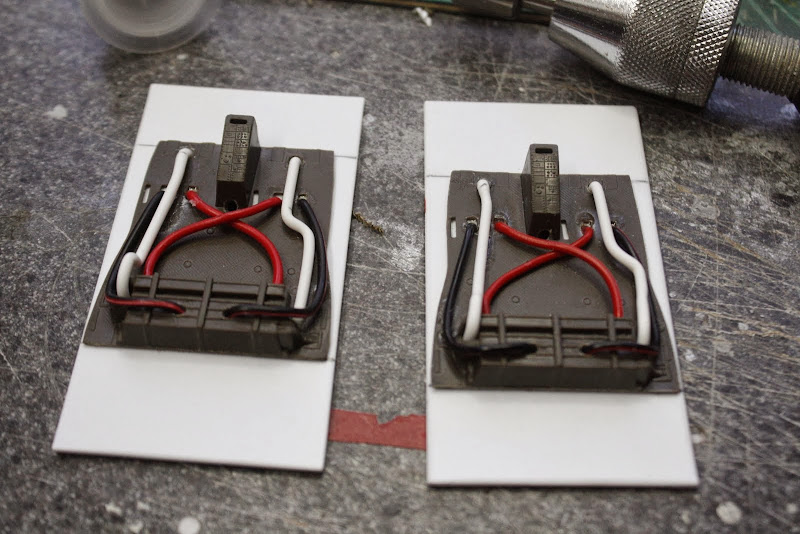
I try to make everything with a really snug fit or an overlapping seam so, i don't need glue in some parts but when i do i use what everworks , CA, hot glue gun, epoxie, gorilla glue or even screws when possible.
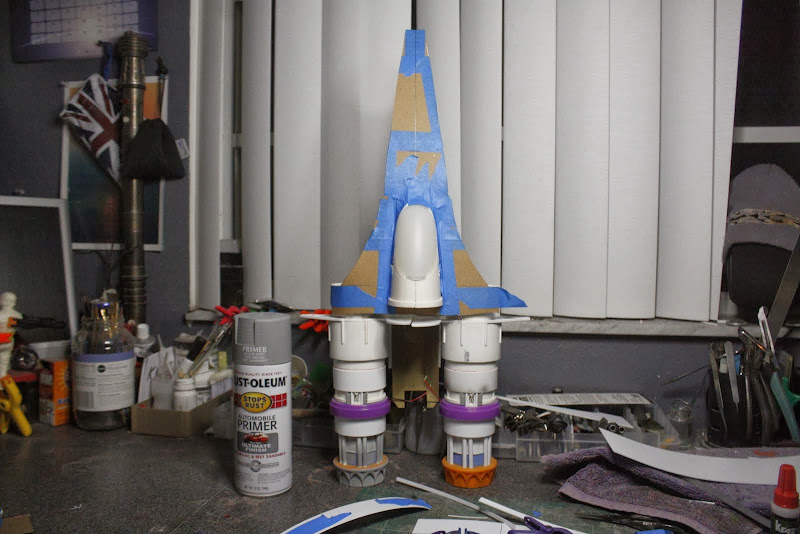
Nothing in this picture is glued, only the bottom piece is screwed on, everything else is a push fit.
As for paint i just use an Ultimate finish Rust-oleum automobile primer with Tamiya acrylics and Model Air from Vallejo. I some times use Tamiya super fine primer from the can. Some people spray future over the primer to sort of seal it in, but i've never tried this, main thing is, don't mess with it to much once you get the primer and final colour on.
Gag
Love the look of it - I think a front spoiler would be good though, yeah.
I second the question about what glue/paint you've found that will work with those bottle caps!
Scapey
Front spoiler is deffinately on the cards but as its free style, i haven't thought about it to much yet.
Gag
I think the nose look fine, it captures that early 2000's F1 nose profile, and i love the F1 feel of this, genius, and some amazing vision in using the items you have thus far!
lee
Thanks Lee,
I was inspired by Schumachers car from 2000, beautiful looking car, unlike this years dogs dinner offerings.
Hi Gag,
if it is still possible - extend the nose significantly. Then the Skimmer will look much slender and not so A-Wing like.
Cheers, Hermann
Thanks Lynx
It would look to large, scale wise, if the nose was too long i feel, i think a front spoiler might take the A-wing-ish-ness away.
Thanks for the comment though and I listen to all ideas so, keep em coming mate.
Looking good! I second the idea of mocking up up a front spoiler. Depending on which style you go with the "A-Wing" feel might go away pretty quick. That rake on the front is pretty drastic though!!
If the A-wing thing is a problem, then by all means change it, but I really like the look thus far.
Sent from my SM-N900W8 using Tapatalk
Mock up a front spoiler to take away from that A-wingy look
She's looking fast now.
-MJ
")
I agree with you all, that a front spoiler will take the A-wing-ish-ness away but i'm glad she looks fast because i imagine they would be quick quick with these size engines onboard.
Thanks guys
Nice progress! That also, by the way, is a sweet TruPunch ya got there. :thumbsup
Mine is actually a Precision brand TruPunch, cuz I'm fancy, see.
Gag
3d-builder
Sr Member
I think the nose look fine, it captures that early 2000's F1 nose profile, and i love the F1 feel of this, genius, and some amazing vision in using the items you have thus far!
lee
I agree when I looked at it it Gag I didn't think A-wing at all......looking good!
3d-builder
Sr Member
I think the nose look fine, it captures that early 2000's F1 nose profile, and i love the F1 feel of this, genius, and some amazing vision in using the items you have thus far!
lee
I agree when I looked at it it Gag I didn't think A-wing at all......looking good!
yuumi2891103
Master Member
A-wing? naa, G -wing.
Great progress!
Great progress!
NakedMoleRat
Master Member
Impressive work, Gag. I love seeing how your items all come together to make such wonderful designs!
Helllllllo Good Evening and Welcome,
Lots and of giggery pokery,
Look, pix
Pilot,.............Driver.......................bloke inside,
Name?
Colin

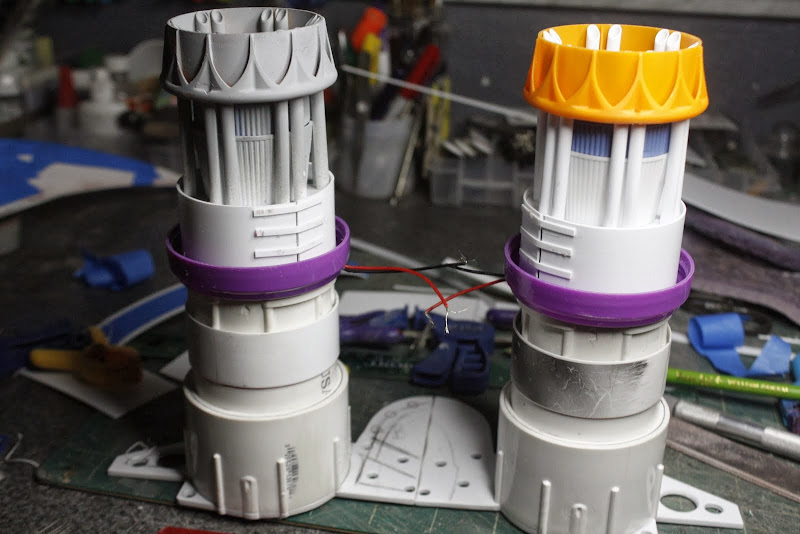
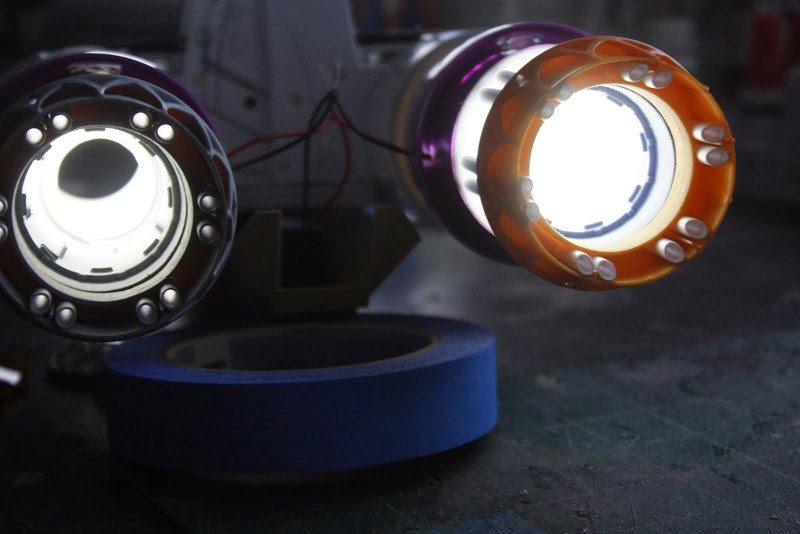
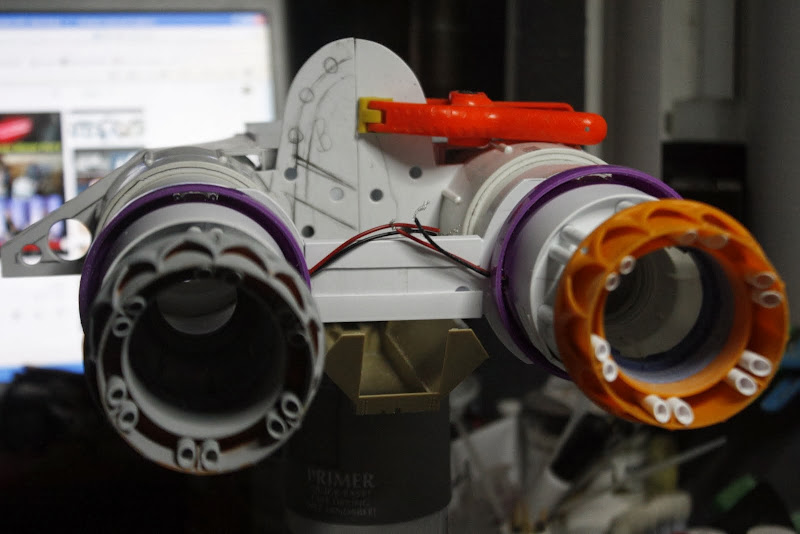
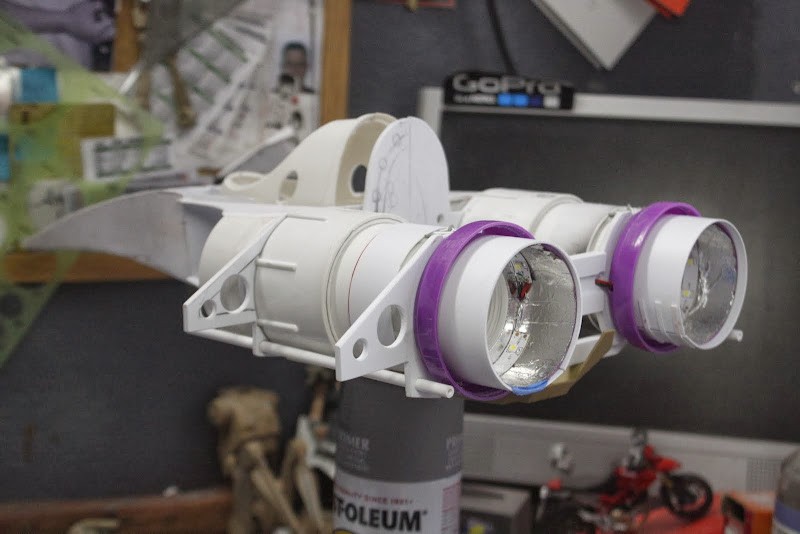
Playing with the lights
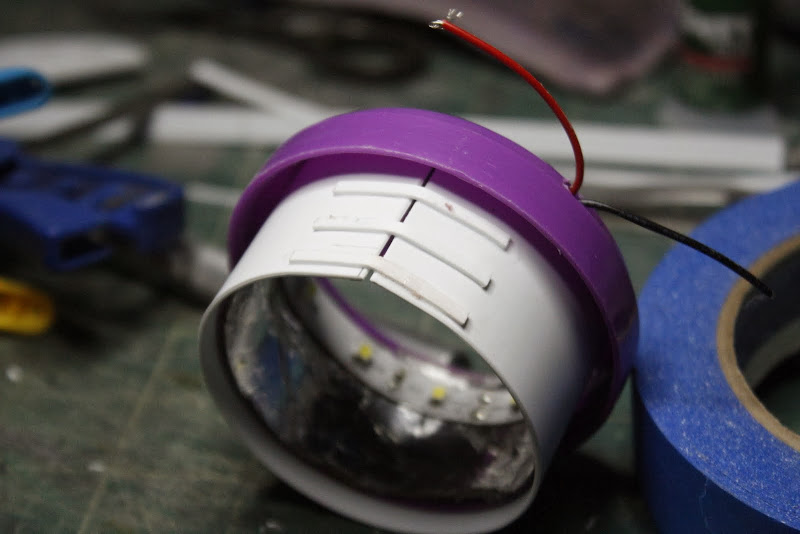
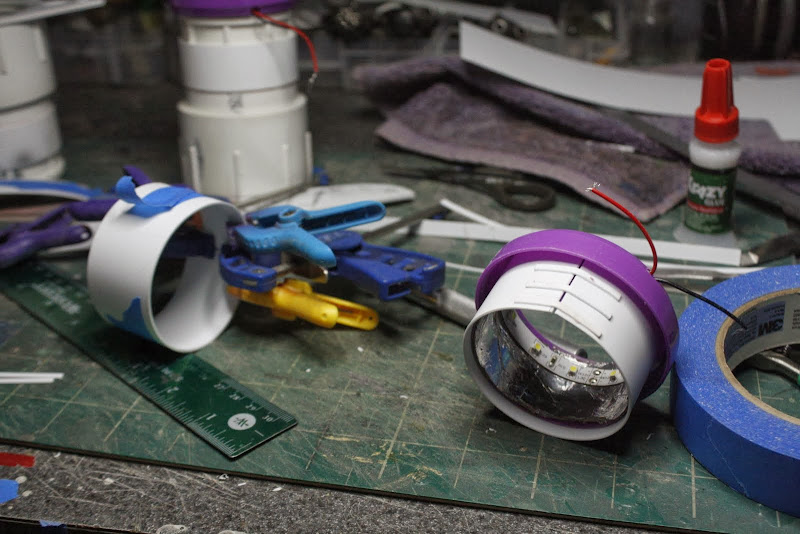
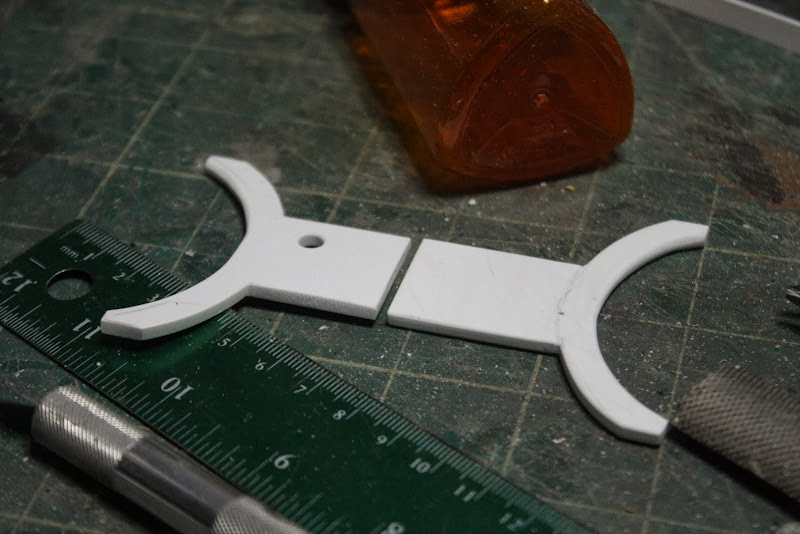
Made two simple sleeves with banding to add character
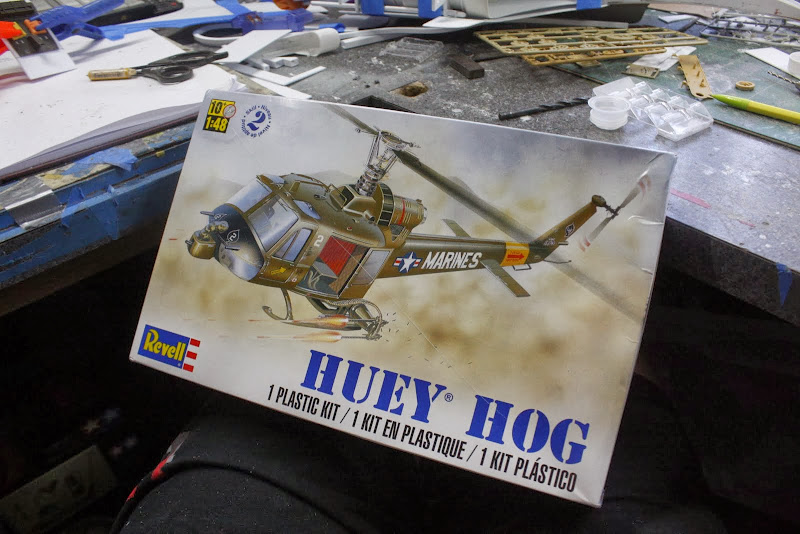
Scale shot with spray can
Another scale shot with colin, 1/12th driver bloke pilot

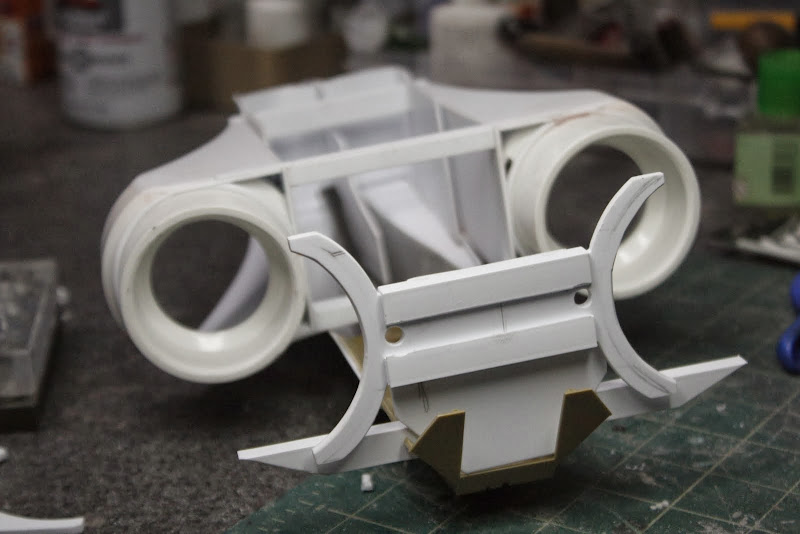
Cut and fitted more internal bracing

After lots of false starts and farting around this is the basic frame I ended up with.
Cut the rear profile braces
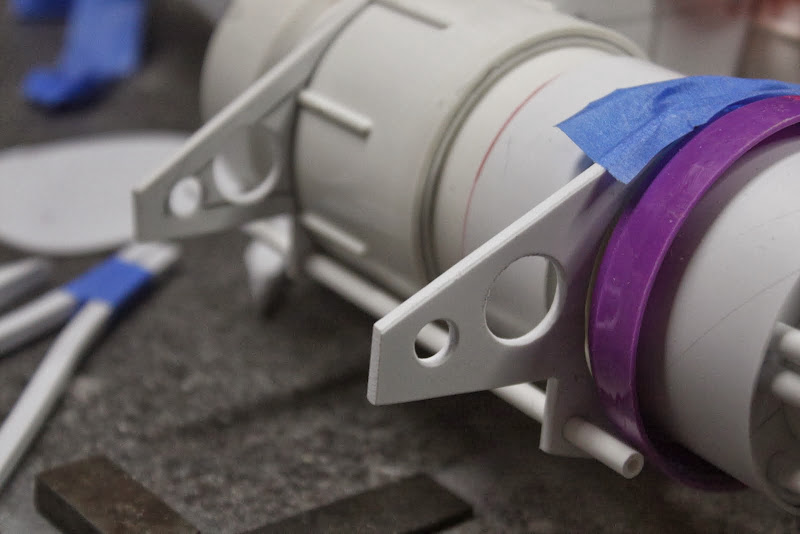
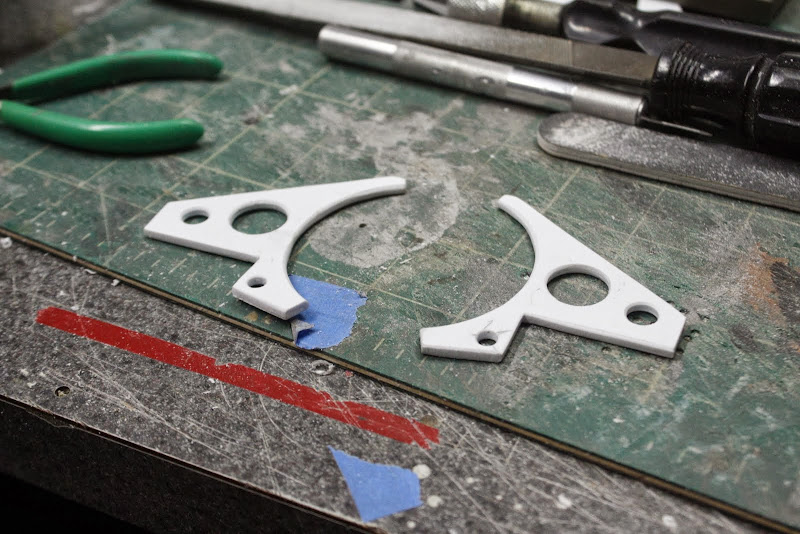
Drilled some connecting holes
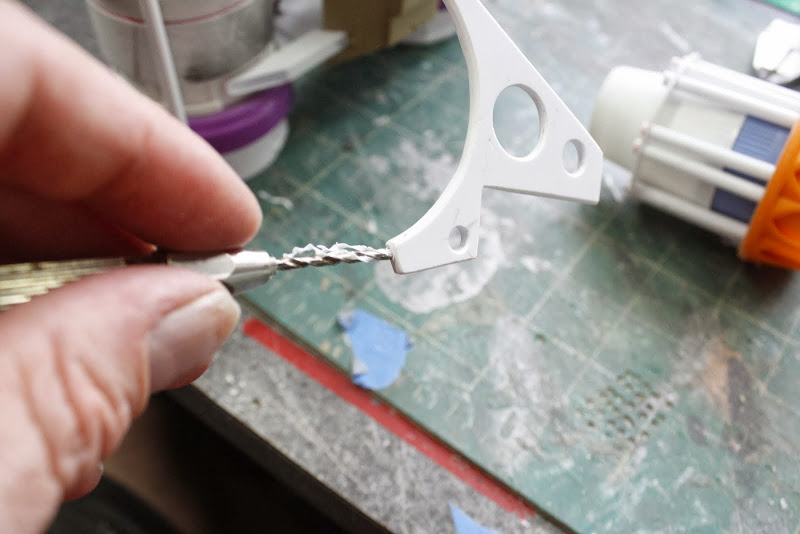
Drill
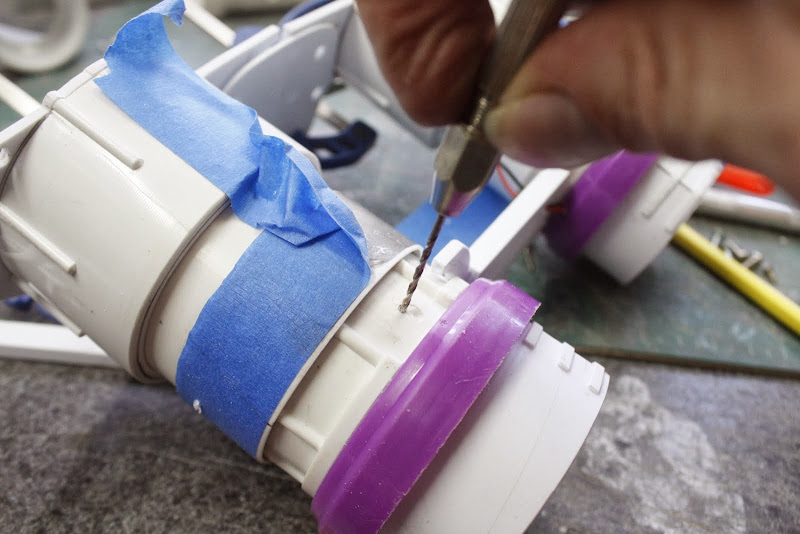
And screwed main brace

Inserted dowels into drilled holes
Fitted outer profile braces

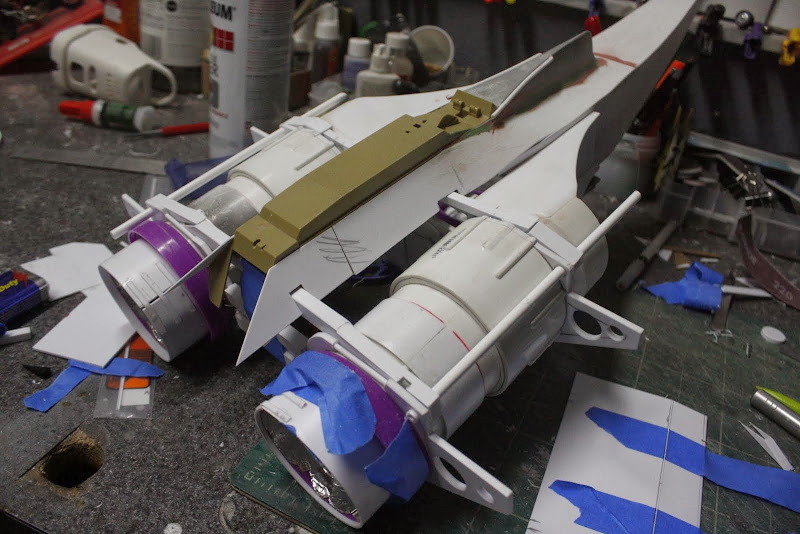
Beauty shots
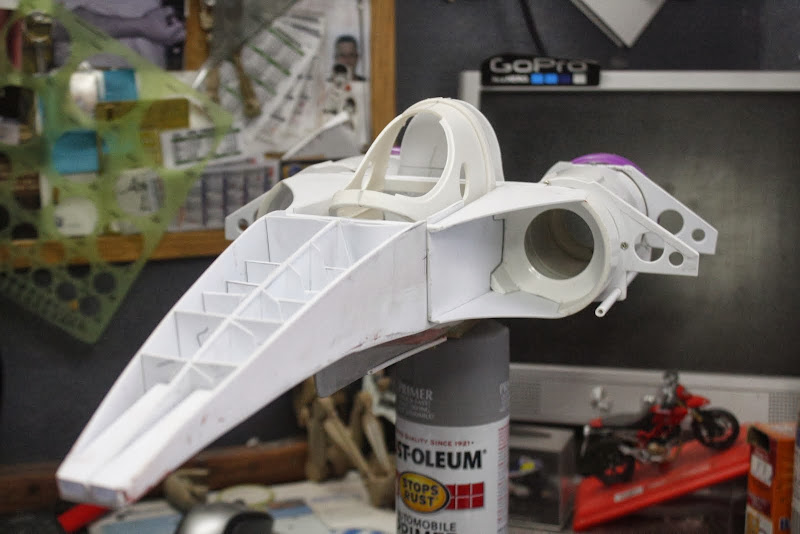
Started work on the floor and rear end
Cardboard floor

Plastic floor
I have no real plan for the back end, maybe flaps, stearing vanes, no idea.
Rear wing, no idea
But...........it's free style baby
Take care
Gagsterman
Lots and of giggery pokery,
Look, pix
Pilot,.............Driver.......................bloke inside,
Name?
Colin
Playing with the lights
Made two simple sleeves with banding to add character
Scale shot with spray can
Another scale shot with colin, 1/12th driver bloke pilot
Cut and fitted more internal bracing
After lots of false starts and farting around this is the basic frame I ended up with.
Cut the rear profile braces
Drilled some connecting holes
Drill
And screwed main brace
Inserted dowels into drilled holes
Fitted outer profile braces
Beauty shots
Started work on the floor and rear end
Cardboard floor
Plastic floor
I have no real plan for the back end, maybe flaps, stearing vanes, no idea.
Rear wing, no idea
But...........it's free style baby
Take care
Gagsterman
Last edited:
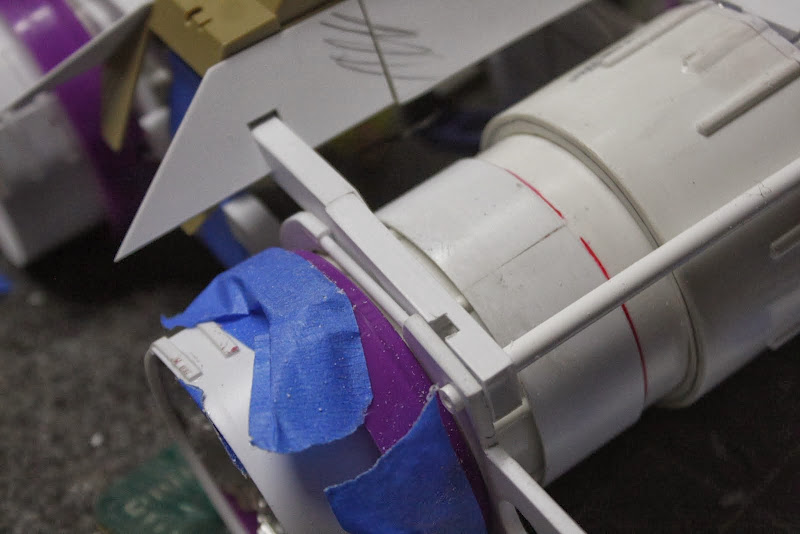
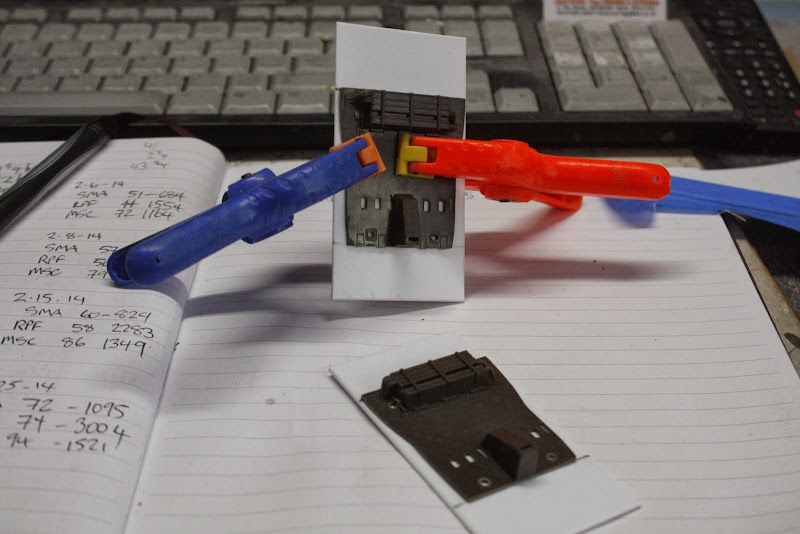
So, tell me about these screws... Are they just little machine screws? Do you do anything to thread the plastic or do you just screw it into a slightly smaller hole and the metal, being harder than the plastic, sort of burrows its own threads?
I guess I had assumed you were using some sort of nut on the other side, but from these pics it looks like it's just biting into the plastic itself...
Thanks for the pics! I love following your progress on this!
--Alex
I guess I had assumed you were using some sort of nut on the other side, but from these pics it looks like it's just biting into the plastic itself...
Thanks for the pics! I love following your progress on this!
--Alex
So, tell me about these screws... Are they just little machine screws? Do you do anything to thread the plastic or do you just screw it into a slightly smaller hole and the metal, being harder than the plastic, sort of burrows its own threads?
I guess I had assumed you were using some sort of nut on the other side, but from these pics it looks like it's just biting into the plastic itself...
Thanks for the pics! I love following your progress on this!
--Alex
Thanks Lex,
You are exactly correct, they are little lag screws/machine screws/self tappers or whatever you want to call them, not sure where i got them from but maybe frame hanging sets have small lag screws in them so maybe thats where i got them from
Gag
Looking great Nylon. Shouldn't the driver be Carlos?
Thanks, why Carlos?
What an incredible build! The design and attention to detail is awesome. You're a very talented builder.
Thanks Weezer
Well, evenin all,
Hope everyone has been having a good weekend,
Me, I got 3,1/2 hours in yesterday and about 6 hours today, I've been keeping track and I've reached 100 hours on this project as of 1;15 pm today.
I think progress is going quite well, problems seem to be solving themselves as I go. Gotta love freestyle baby.
It's also inspiring to have you guys along for the ride, not sure where we are going to end up but it should be fun.
Thanks for your comments, greatly appreciated
So...................
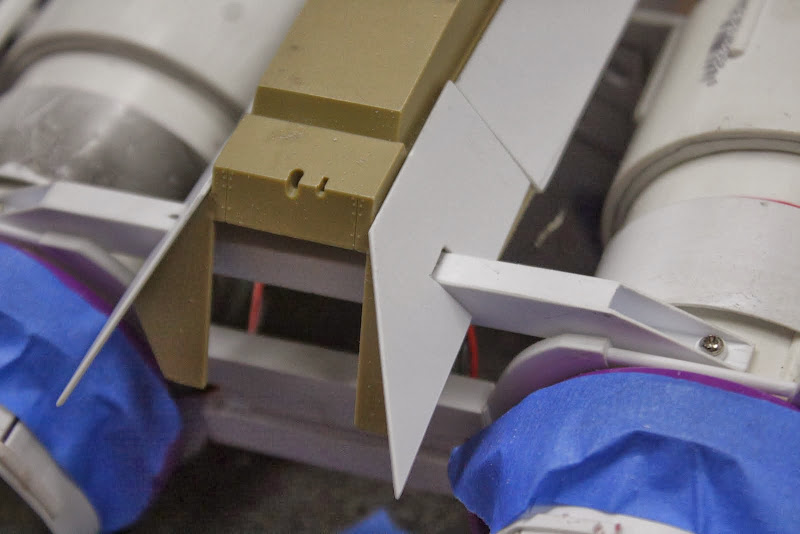
Added some more bracing under the front section off the engines

Did the same for the rear basic frame work
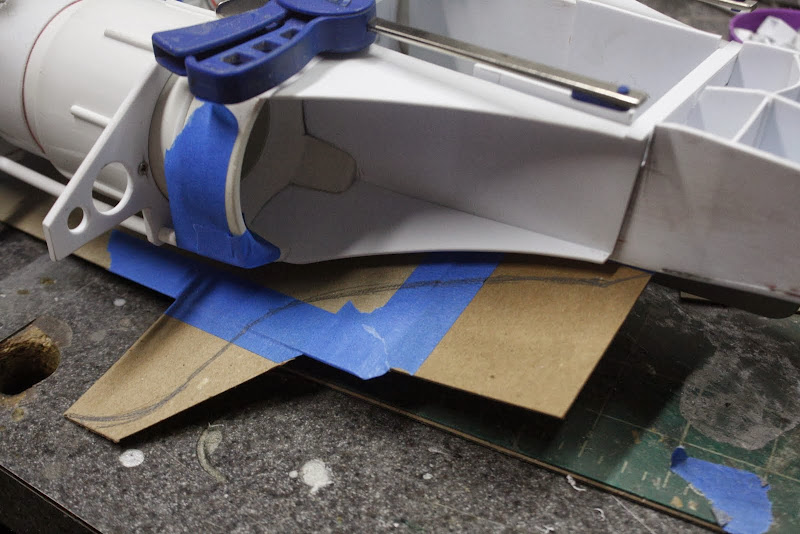
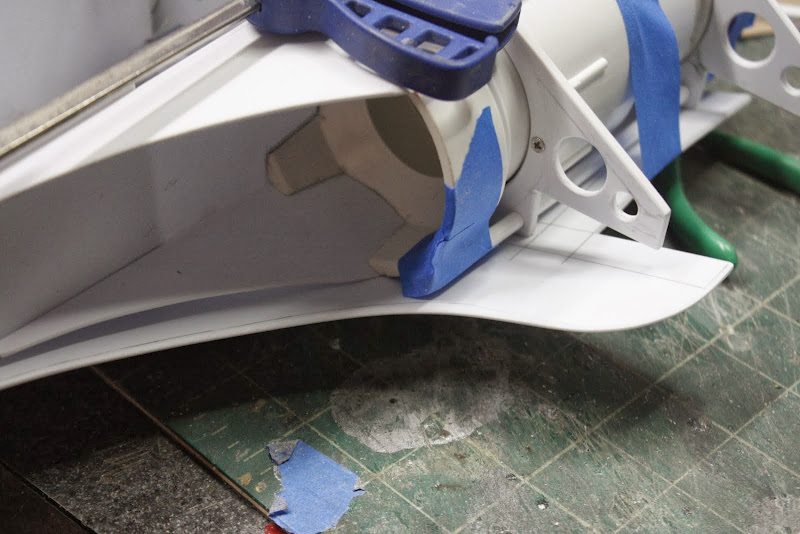
This is all to support the undertray
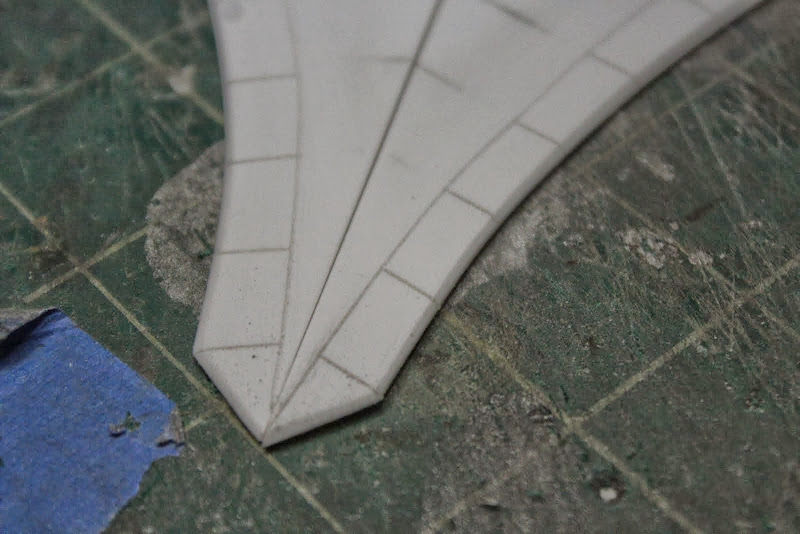
Which was scored and folded and will be fixed in position later
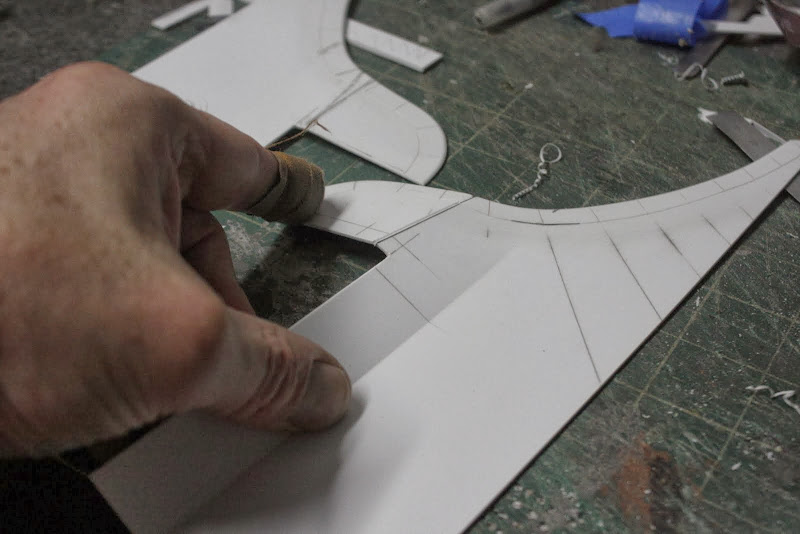
Undertray taped in position

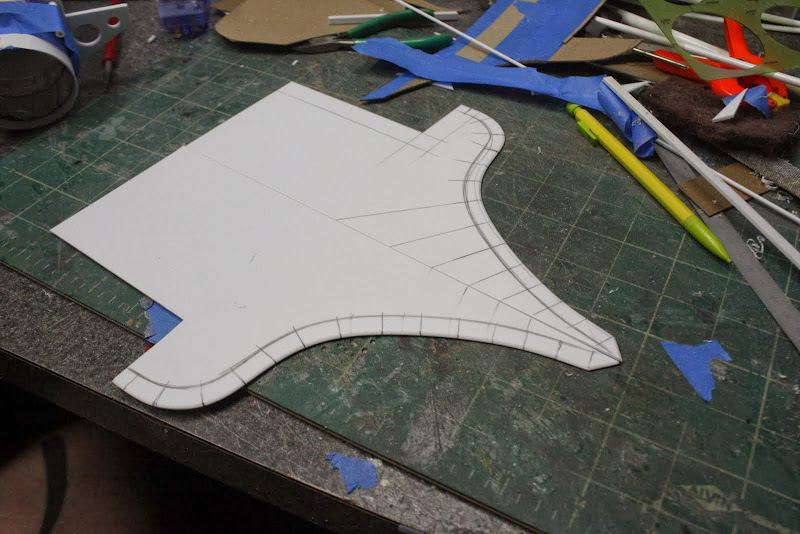
Cut out and ready to be fitted the front section of the side pod

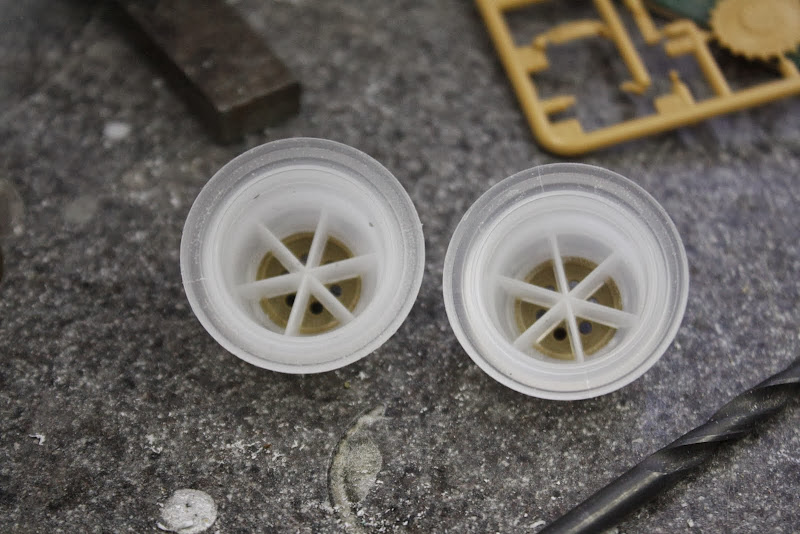
Removed the bottom of a razor packaging piece, this is my directional underside magneto power neon pulse vent.
Wanted to do some greeblie work on the internals of the underside vent assembly's, so, I got two of these from the local supermarket for $12 each.
Cockpit floor,
My old faithful vodka pouring spout and a tank wheel
Plumbing,
Details,


Mmmmmmmmmm Primer

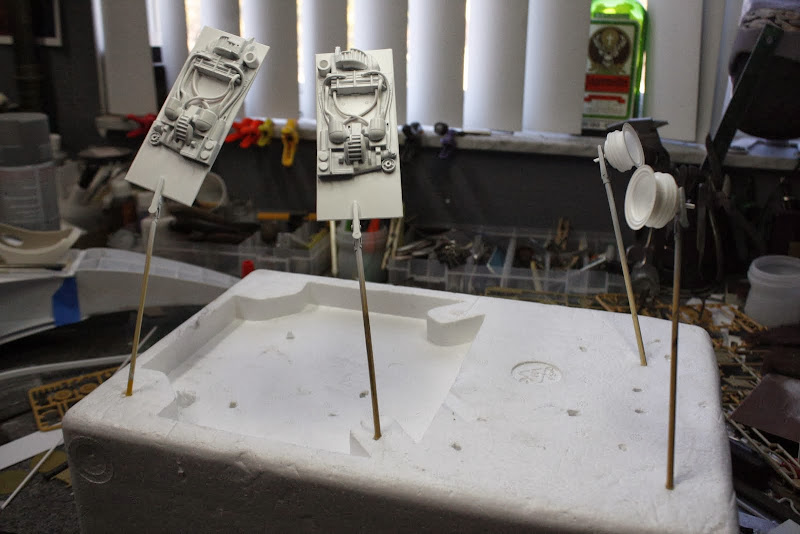
And that's the story so far.
Stay tuned
Take care my friends
Gag
Archive&Future
Sr Member
You resourcefulness is a constant inspiration my friend
Similar threads
- Replies
- 5
- Views
- 458
- Replies
- 3
- Views
- 130