Hasbro Hero Millennium Falcon Modification

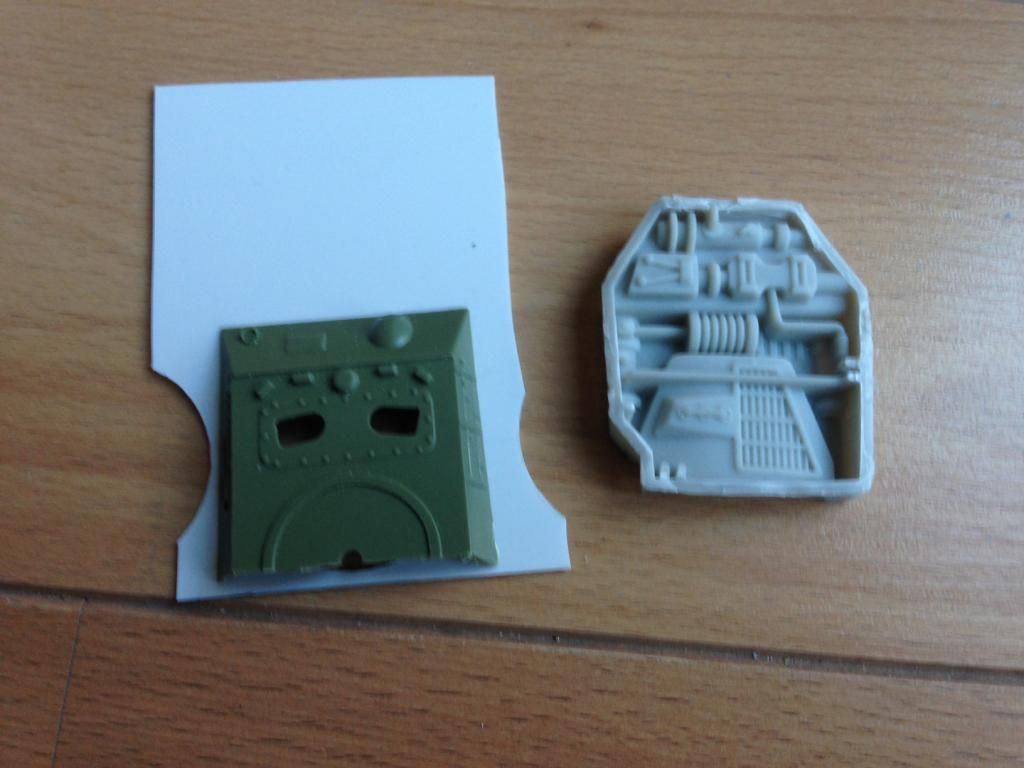
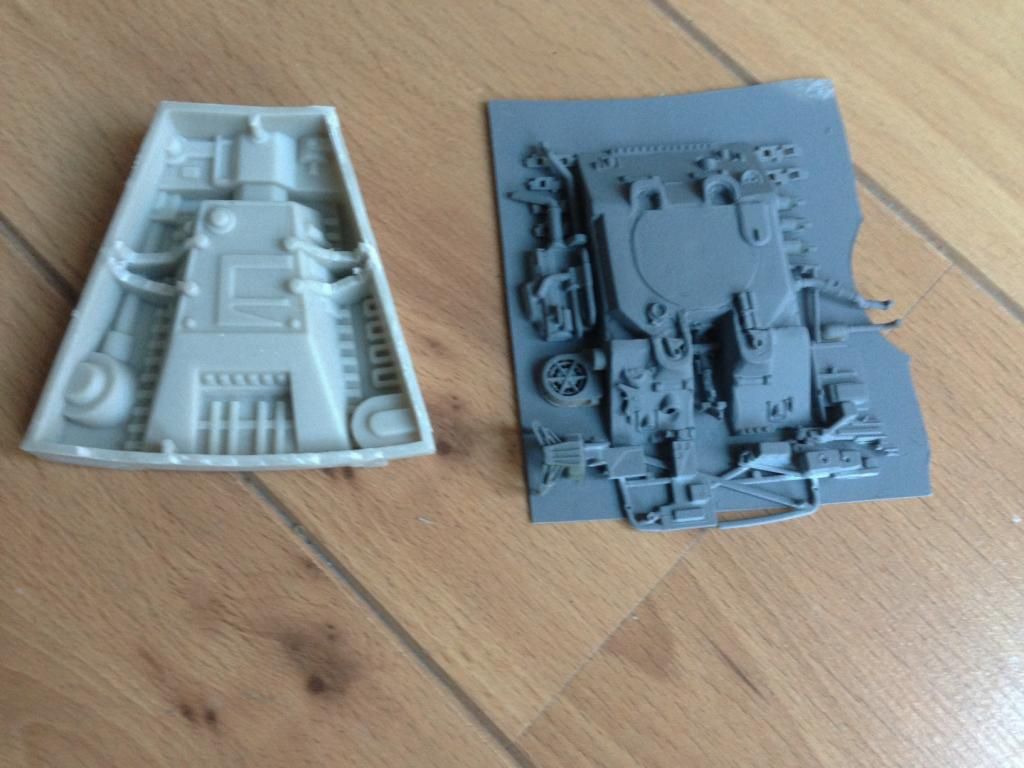
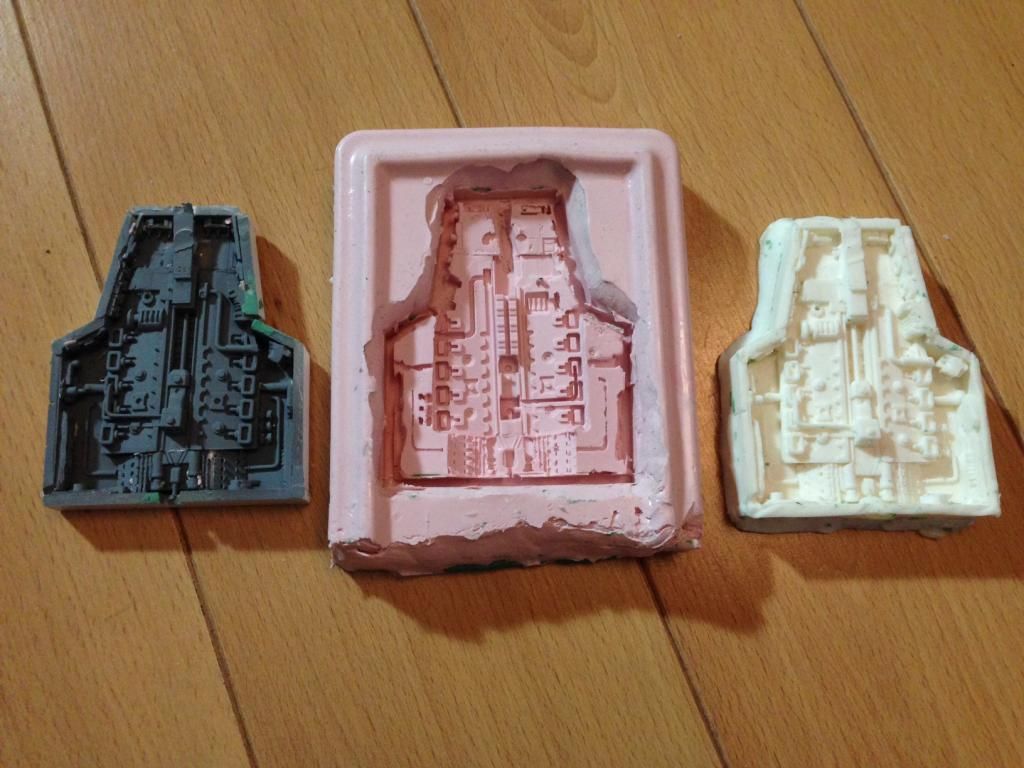
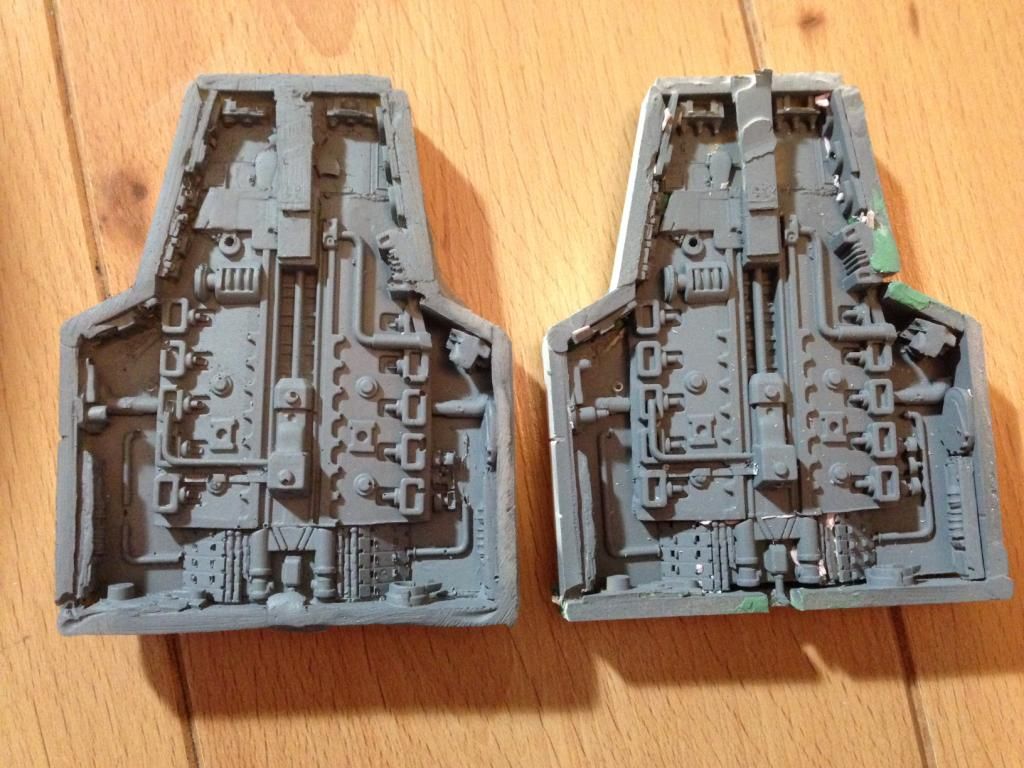
I can cast the vents, no problem....although there are PE sets coming from Johnny Crash

....the same goes for any of the other areas I've replaced

J


Two questions:

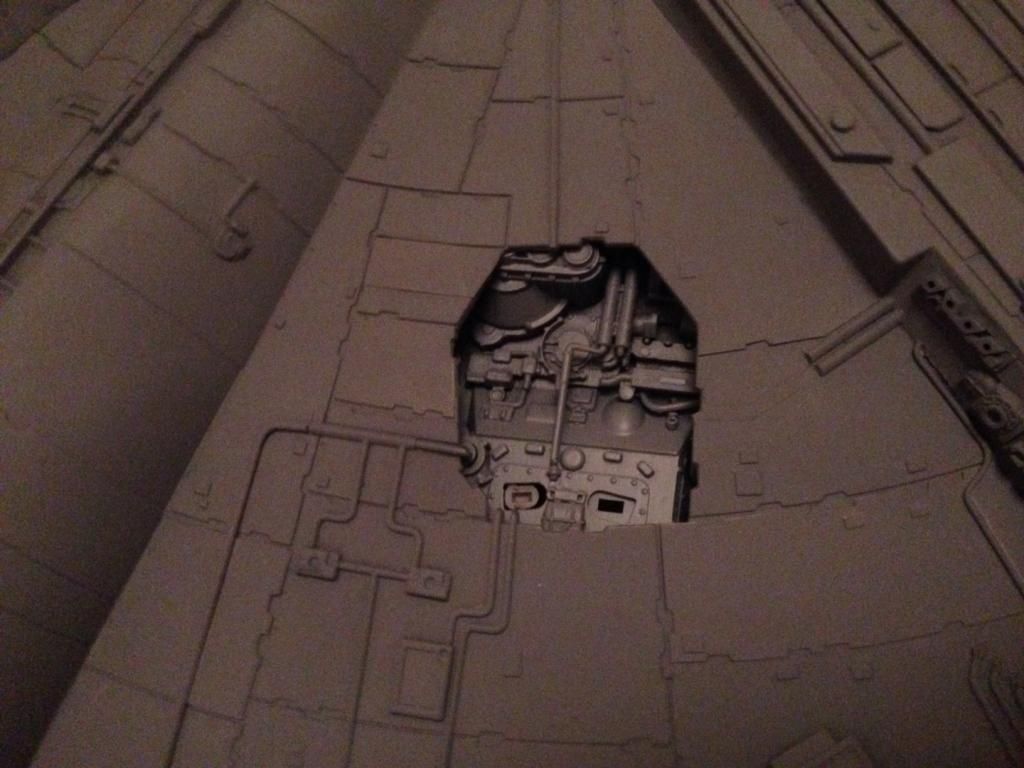
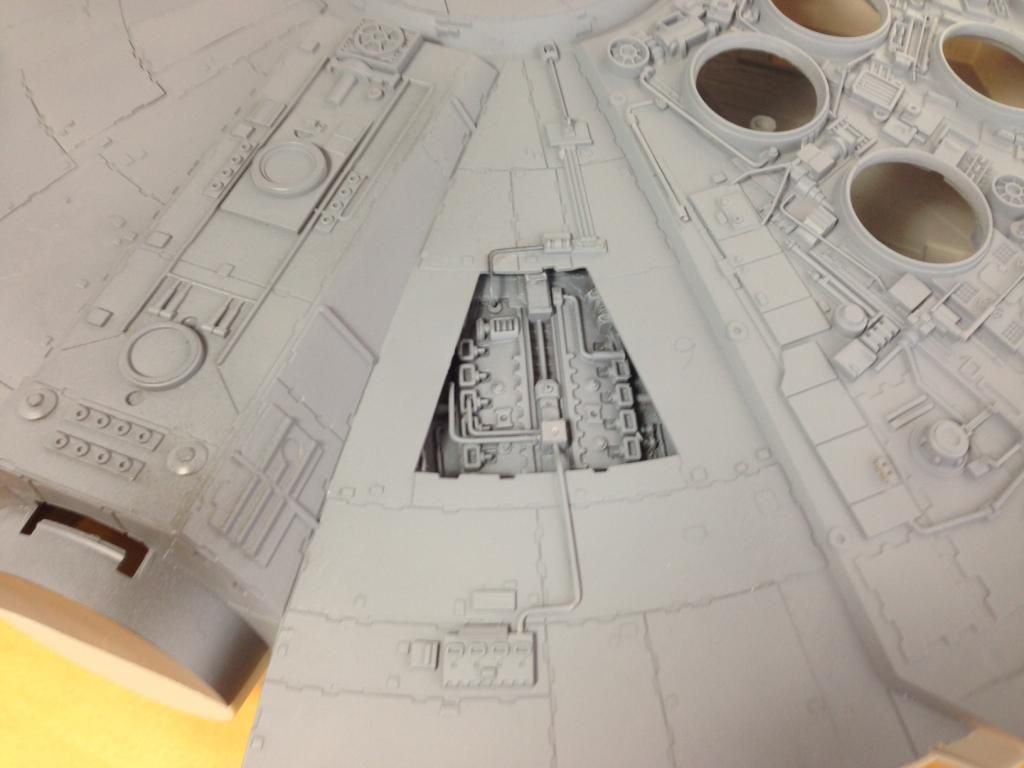
With the parts that go under the holes, I have no idea what to call them, that you are cutting out and replacing/modifying them how accurate are they?? What are you basing them on???

Second, on all the little add on pipes and stuff along with the recessed hole detail things mentioned in the first question would it be possible for you to wait on priming until all that is done and then take some pics before priming of the whole top and bottom, maybe then some close ups, to show where all these wonderful mods go???

I know that is asking a lot but your work on this so awesome.

And yes I would love to buy a set of the modes you are doing, as I am sure others would as well.


Tom

- - - Updated - - -

Photo Etch.....to allow you to see through them

J

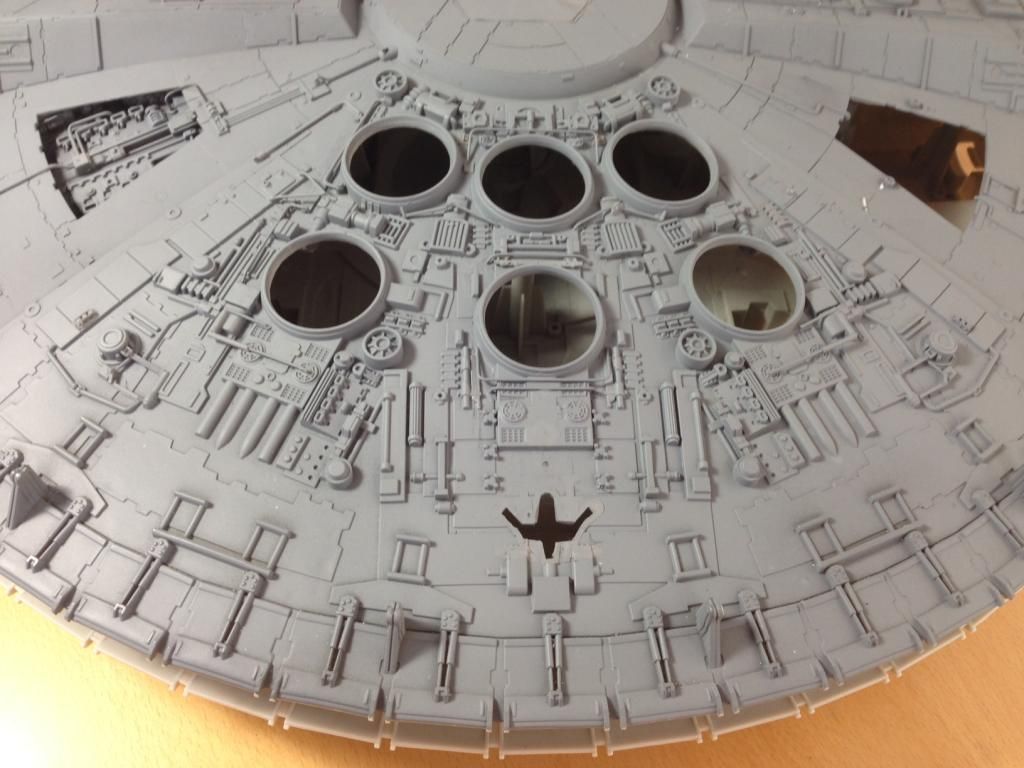
Sweet. Well if has has the vents taken care of and the walls and what not are covered, as I mentioned above, maybe you can be our recessed holes detail guy :) :) :)

- - - Updated - - -

Thanks very much Shingouki28,......my MPC still isn't finished

astroboy.....dunno what way I'll do this,....maybe just wing it

Heres some comparisons with the FineMolds kits:
http://i1119.photobucket.com/albums/k637/jaiteastu/Hasbro Hero Millennium Falcon/HHMFampFMFMs.jpg
http://i1119.photobucket.com/albums/k637/jaiteastu/Hasbro Hero Millennium Falcon/HHMFampFMMF2.jpg
http://i1119.photobucket.com/albums/k637/jaiteastu/Hasbro Hero Millennium Falcon/cockpits.jpg
http://i1119.photobucket.com/albums/k637/jaiteastu/Hasbro Hero Millennium Falcon/Gears.jpg

Honestly cant get over the size & the possibility of this thing

The usual measurement that should be the same is the outermost diameter of the docking rings, the front of the jaw, the diameter of the cockpit tube & the dish.....

.....the dish is slightly larger than the others.....slightly,....I dont think I will reduce the size of the dish:
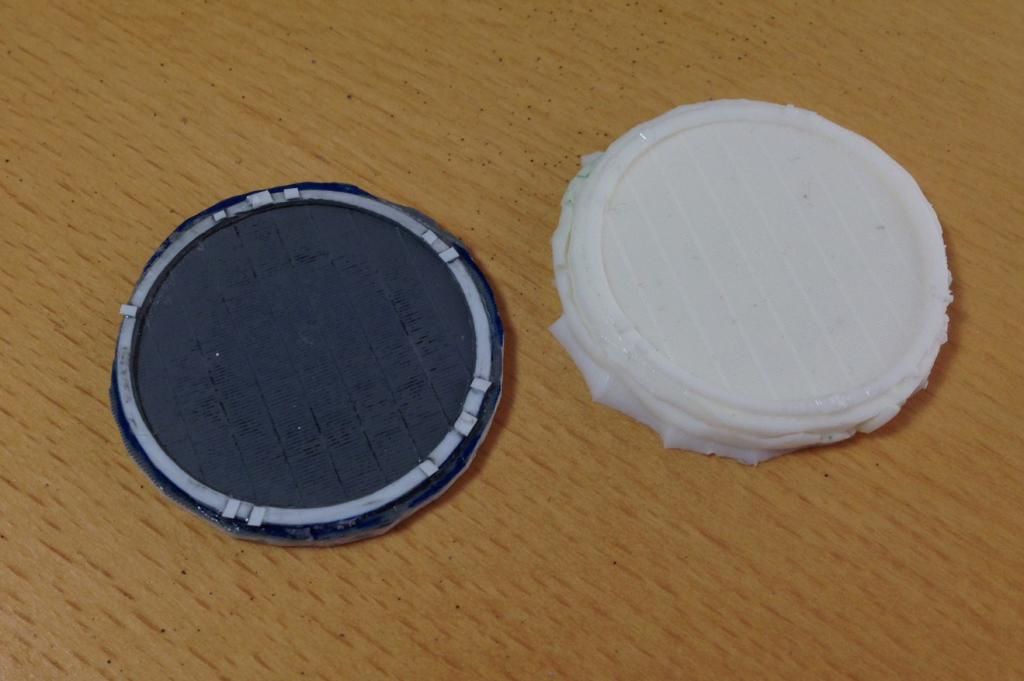
http://i1119.photobucket.com/albums/k637/jaiteastu/Hasbro Hero Millennium Falcon/Sizes.jpg

This is very exciting.....I ordered a Revell TIE large scale today to use the detail of the solar panels for the engine vents...(I'll hopefully just mould & cast the details)

Thanks very much for looking

John


John, what is the smaller model to the left?
 
Im trying to use the original type of parts that ILM used for the main bits, all the small greeblies are my own ideas from my spares box,.....so this part:
IMG_1435.jpg

is made up from this part:
IMG_1397.jpg

Which is from an Airfix King Tiger 1-76

This part:
IMG_1396.jpg

is made up of 2 Shermans & a Matilda Tank

The wee Falcon is the FM 1-144

J
 
Likewise inspired by this thread, I ordered and have just picked up from Argos, the Hasbro FM......big box. I had seen long ago, the pics of the kid holding the Falcon and thought they either used the worlds smallest 12 year old or photoshopped the kid smaller to exaggerate the size of it...but when i opened the bow...wow it is HUGE, one massive hunk of Little Tikes plastic ( now I understand the bumper paint and primer ).

Will be following this thread and working on the Hasbro at the same time as building the Fine Molds 1/72.

Keep up the great work Jaitea and show me the way to a better Falcon. Think I will hit the Shapeways site and see what goodies are there.

Its amazing that Hasbro have hit the dimensions and toe in whilst Fine Molds missed it....How the heck did they get it wrong?

Anyhoooo great build dude....loving it
 
Haystack, you still doing the PE sheet?

The new MPC photoetch is getting manufactured this week, should be with me by next week. I'm only selling it as part of the full upgrade kit tho, and I'm not doing PE for the Hasbro Falcon as somebody is already catering to that and I don't have the funds to do PE for it as well as the MPC
 
Jaitea, are you doing a flight version, landed version or both?

Well done so far, will be great to see the sidewalls go in with all that scratch detail. Are you building the ANH,ESB or ROTJ version?
 
Thanks very much for the comments guys,

samster, yeah the TIE was the big easy kit.....not too expensive,.....theres guys buying them & cutting the part out, but I did a cast of the detail

I bought another one of these Hasbro Falcons, my plan was to use its good turret & gun to use as a replacement for the crappy one on the original,......this might still happen,....I might just cast it......but anyway the good gun will be there when she's landed,.....take it off and attach the original one, which is epoxied to a stand....probably one of those adjustable camera stands......I'm planning on lighting the ship,.....two settings,.....one when she's on her gears,....one when she' flying......

Shes going to be powered in 2 different ways,.....when she's landed I'm going to have a few canisters sitting around her base and a refueling tube going into one of the open areas on her underside......when she is flying the power will be in the stand,......this is the way I am intending to power my MPC also

John
 
J, Wow sounds like a major project.Will be amazing when she's finished.

BTW, How did you cut the circles or cast koolshade out? Sorry if this is a daft question!

Is there any good reference photos of the 32 inch falcon? There are tons of the 5 footer, but can find few of the 32 inch which is my favourite version as well...more svelte.

I have some from the studioscale site but that's all I can find. I have the Chronicle, galaxy and Archive books but for all round reference they aren't that great.
 
I cut the original circles out of the hasbro and put the casts of the vents on the underside of the hole in the hasbro & marked the size on the resin of what it need to be to fit nice in the Engine deck,.....then cut to size

On the main BMF thread there were some good links to images,.....this probably the best....#1118

My advice,.....try & save some of the images,.....in time links die

Good luck mate,.....& post some images

John
 
Jaitea, thanks for the links, great detail ref.

Will get some pics up soon on a new thread. Might use some Shapeways but the total cost for all the bits is high this close to Christmas.....maybe I can get the kids Falcon bits :lol
 
I cut the original circles out of the hasbro and put the casts of the vents on the underside of the hole in the hasbro & marked the size on the resin of what it need to be to fit nice in the Engine deck,.....then cut to size


John

John meant more what tool you used to cut the circles but I have since found a cutter which is a school compass type arrangement with a scalpel blade..should do the trick.


If you cut out all those things, fix them and cast them so all I have to do its cut out the originals I will name my next child after you.

Actually I am not having anymore so I will change my Son's name to John. He won't mind, he is a sweet kid.

Tom
 
Hey all,

With all the new stuff for the Hasbro Falcon already out there, here is yet another add-on.

This upgrade consists of 18 resin (6x 3), and 9 PE (6x + 3) parts. You get 6x resin exhaust fan inserts (2 parts each), plus 6x PE grilles, then another 6x retainer rings. As well, you get three smaller grilles for atop the docking tubes.

This will be available from the SSM store sooner than later (but not before Xmas): They will (as of now) sell for $48.00 USD.

MMI-7781 - 01
MMI-7781 - 02
MMI-7781 - 03
MMI-7781 - 04
MMI-7781 - 05

NOTE: The PE in the images is in fact a custom piece for the SMT 1/48 Falcon. The 7781 PE will have a smaller outer diameter as to not be seen when the retainer ring is added. Hopefully that makes sense.
 
Last edited by a moderator:
Thanks very much for the comments guys, I started work on the starboard sidewall but I ended up scrapping it,....it didn't look right

I was in the middle of re-doing the engine vents

This is the Ertl TIE pattern which ended up with 8 ribs & its pull:
IMG_1470.jpg


This is the 8 & the 6 compared......still to make a ring around the 6 rib one
8amp6.jpg


....I still like the 6 better.....well that was until Johnnycrash posted images of the PE set
IMG_1471.jpg


This is a new cast of the insert,....so really I can reuse any parts I used to make the original
IMG_1469.jpg


I've popped out the vents I'd made......I'm going to remake that central part thats rremoved
IMG_1468.jpg


Thats me at the minute

John
 
This thread is more than 4 years old.

Your message may be considered spam for the following reasons:

  1. This thread hasn't been active in some time. A new post in this thread might not contribute constructively to this discussion after so long.
If you wish to reply despite these issues, check the box below before replying.
Be aware that malicious compliance may result in more severe penalties.
Back
Top