Gold Leader (Revell Y-Wing Conversion)

Archive&Future

Sr Member
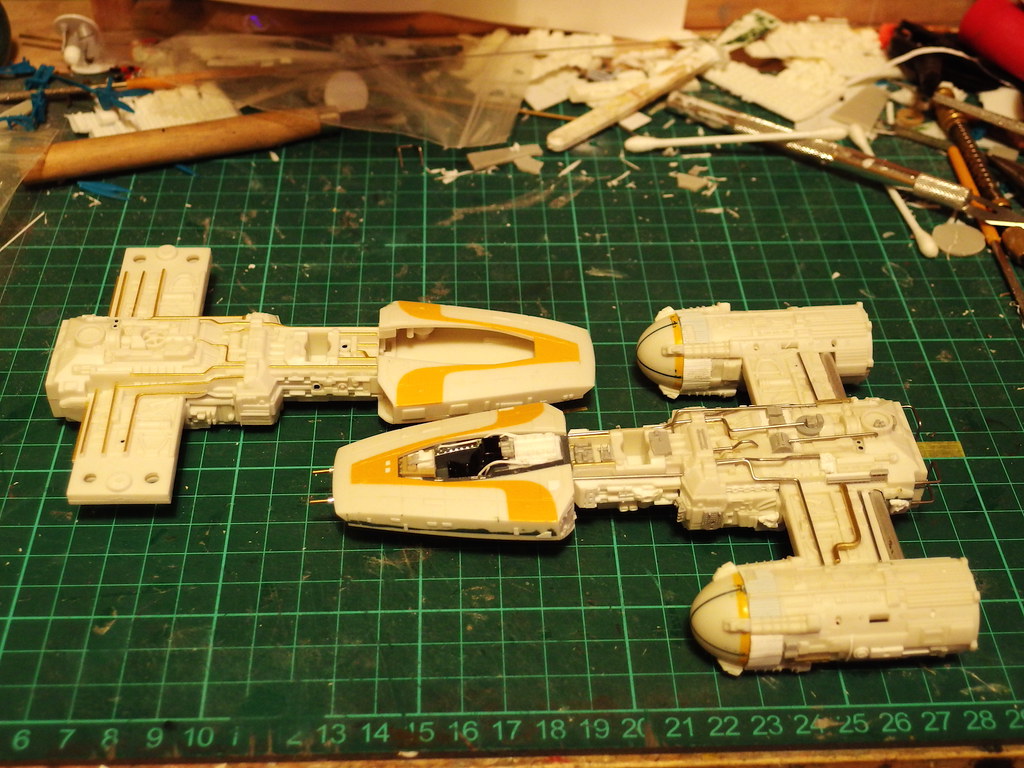
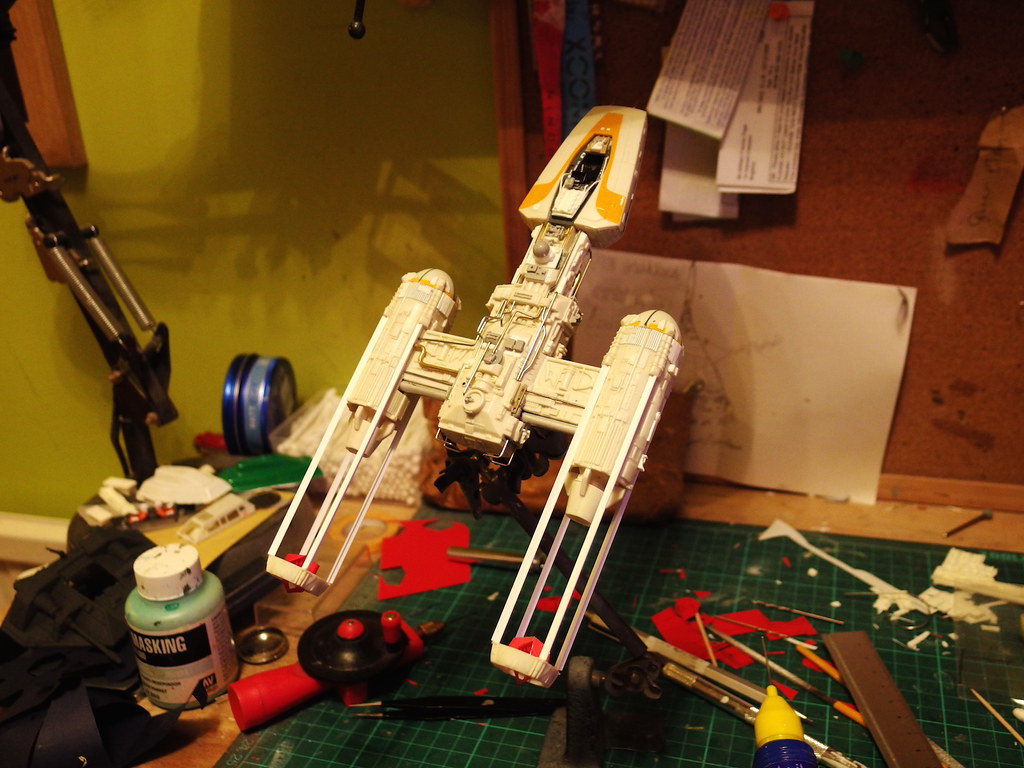
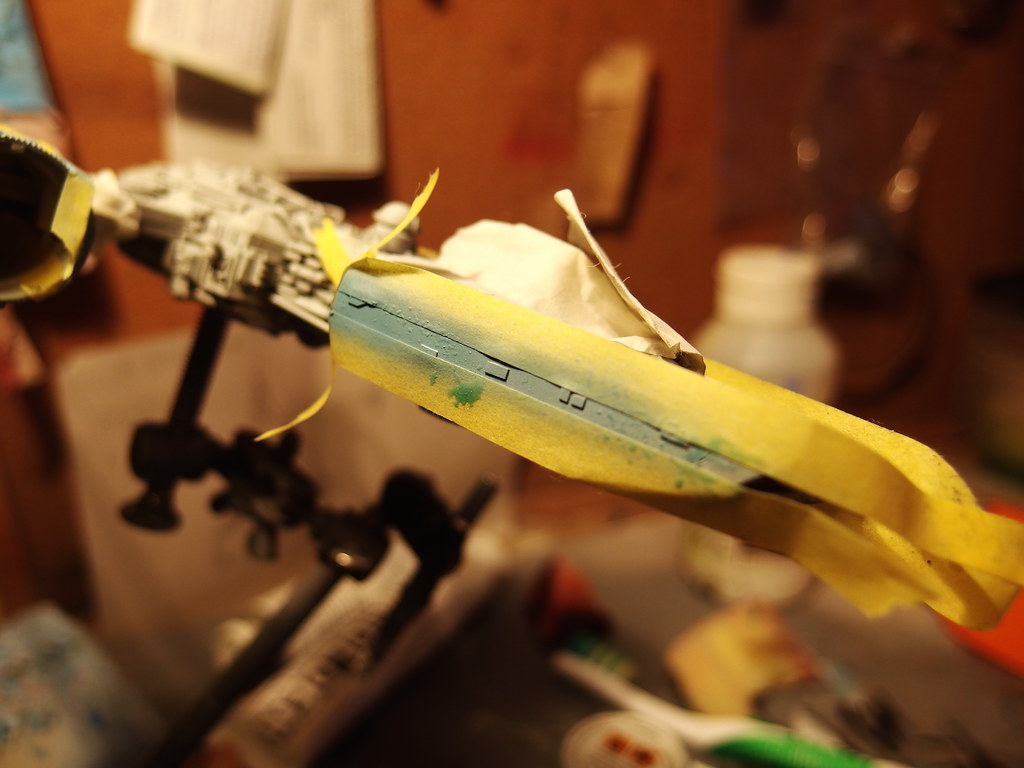
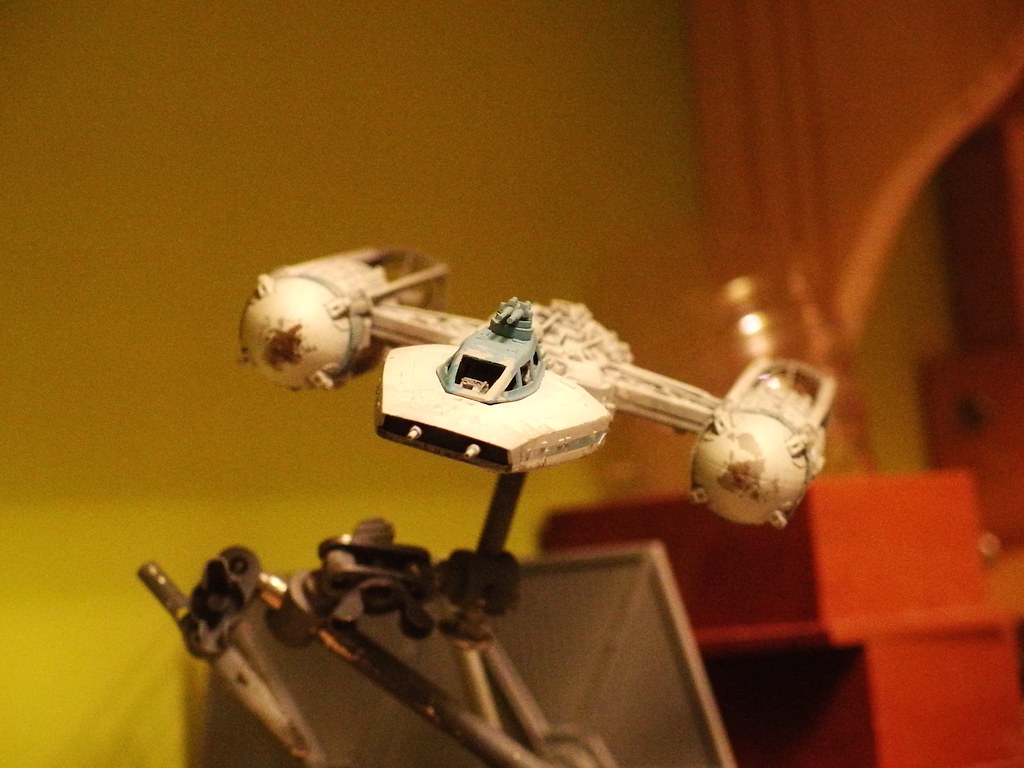
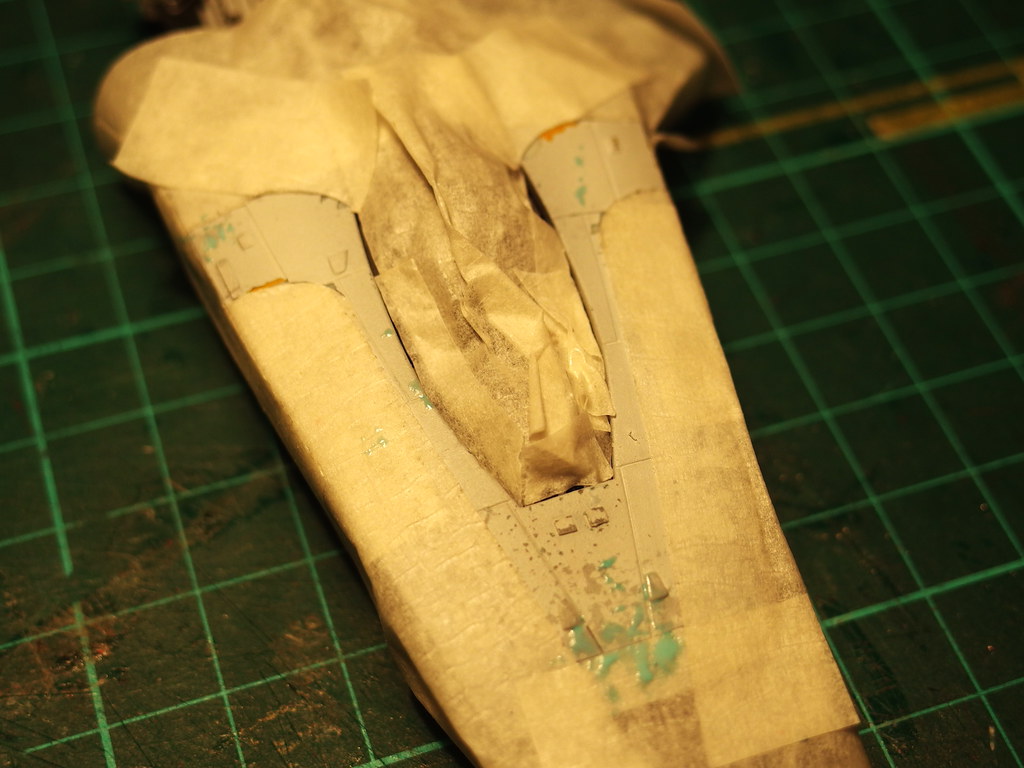
So while I'm waiting for the silicone sealant to cure on my Falcon sidewalls, I've decided to get to work on Gold Leader. Can't afford the Finemolds kit but the Revell is a great little ship with lots of potential

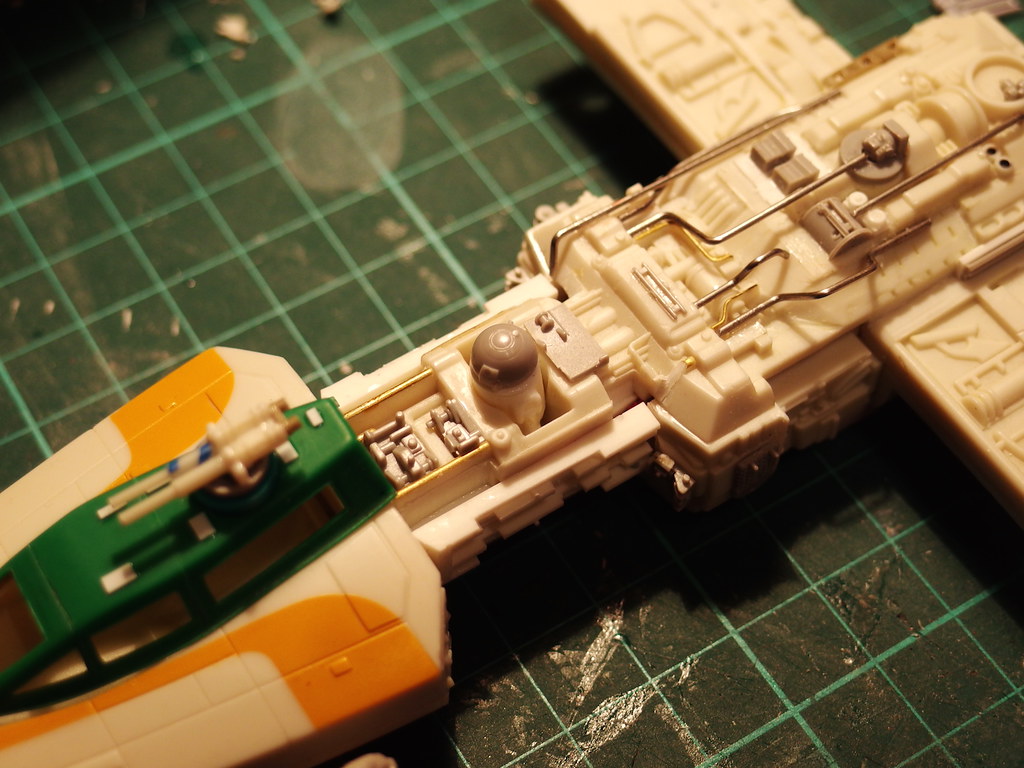
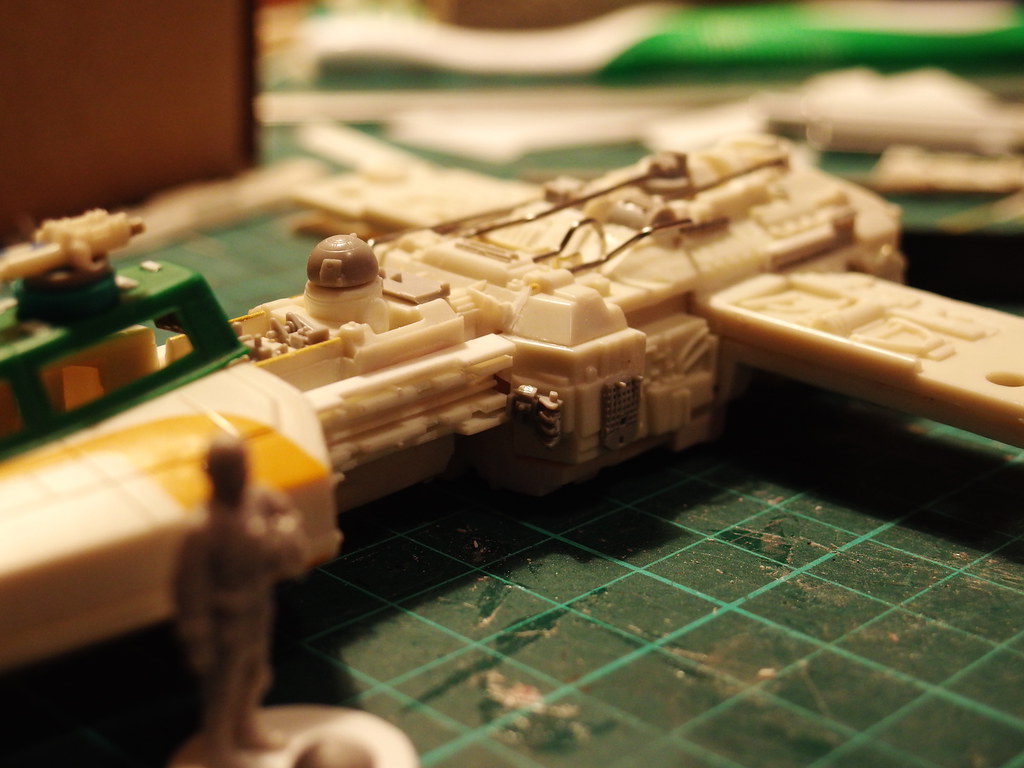
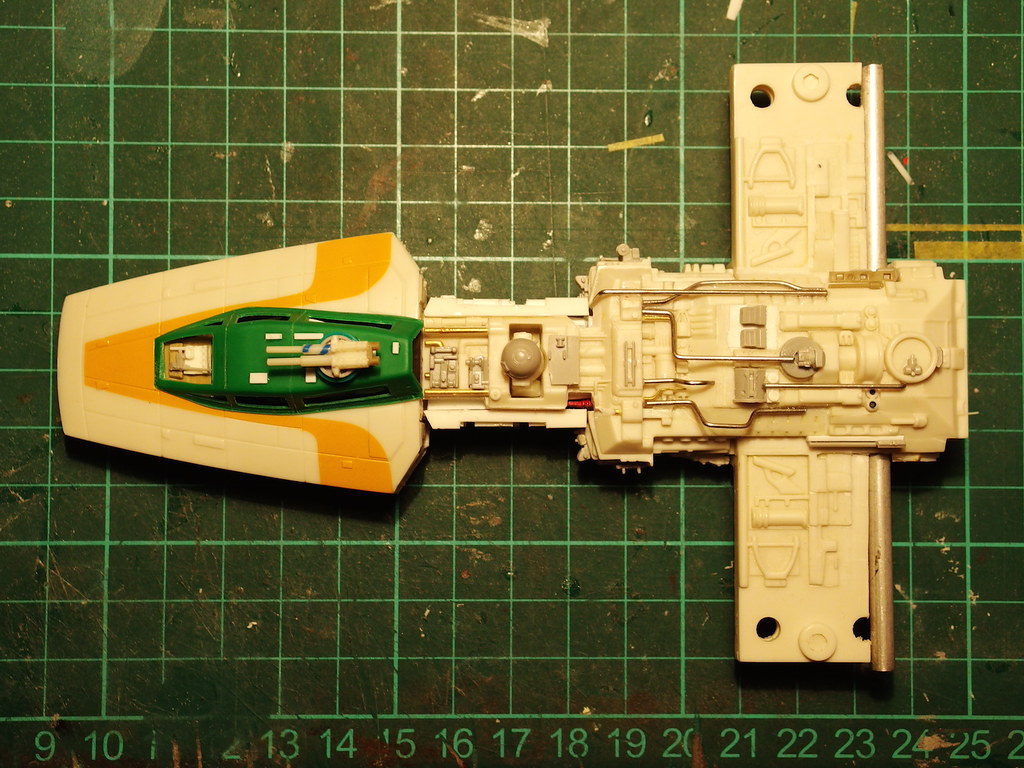
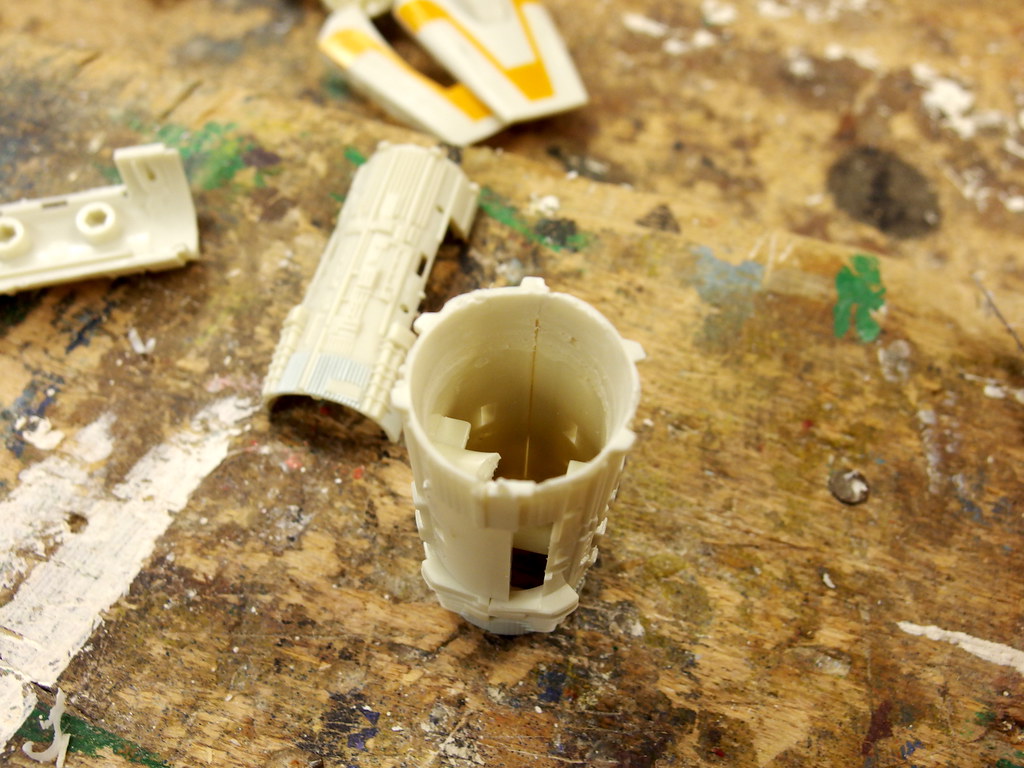
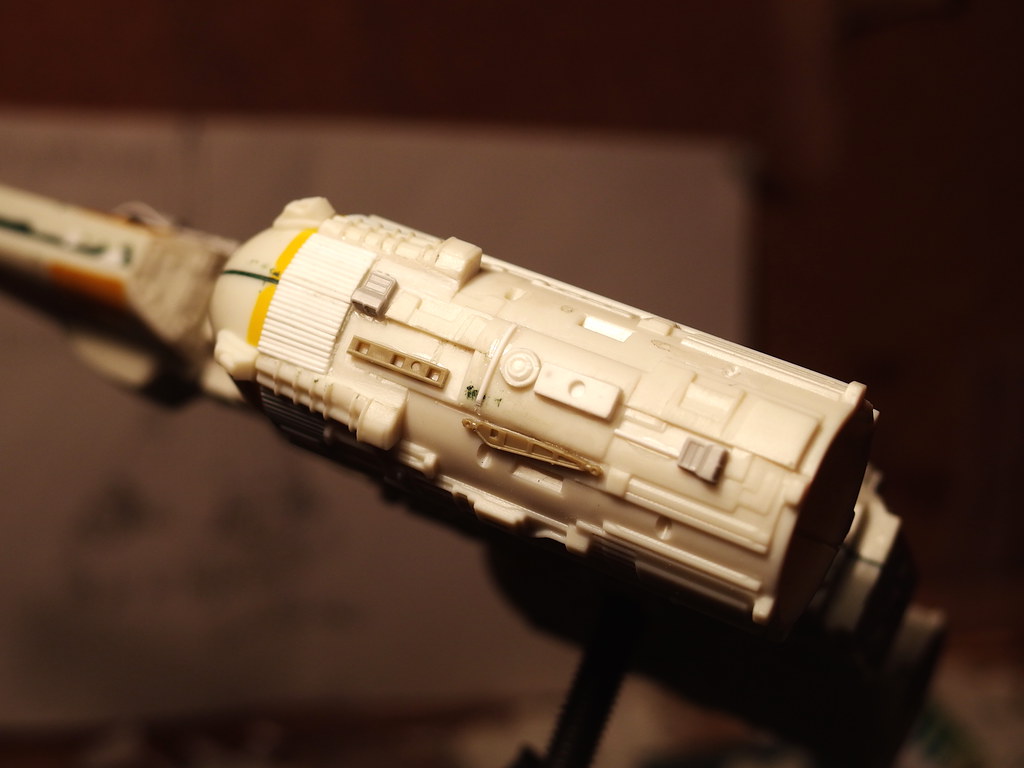
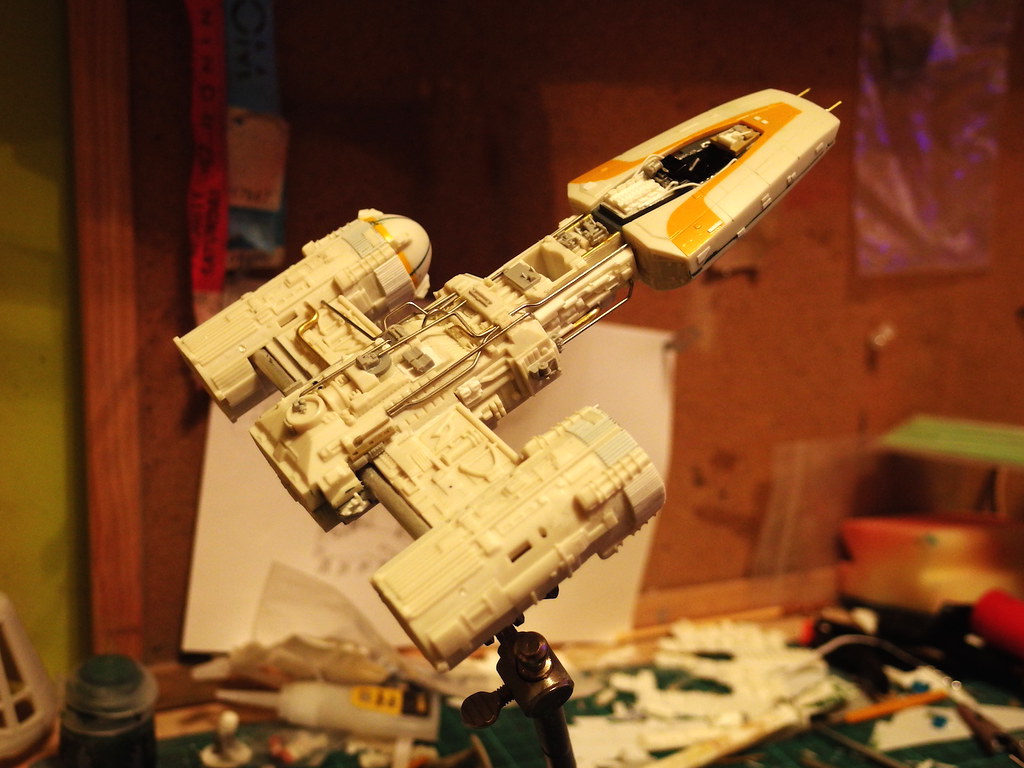
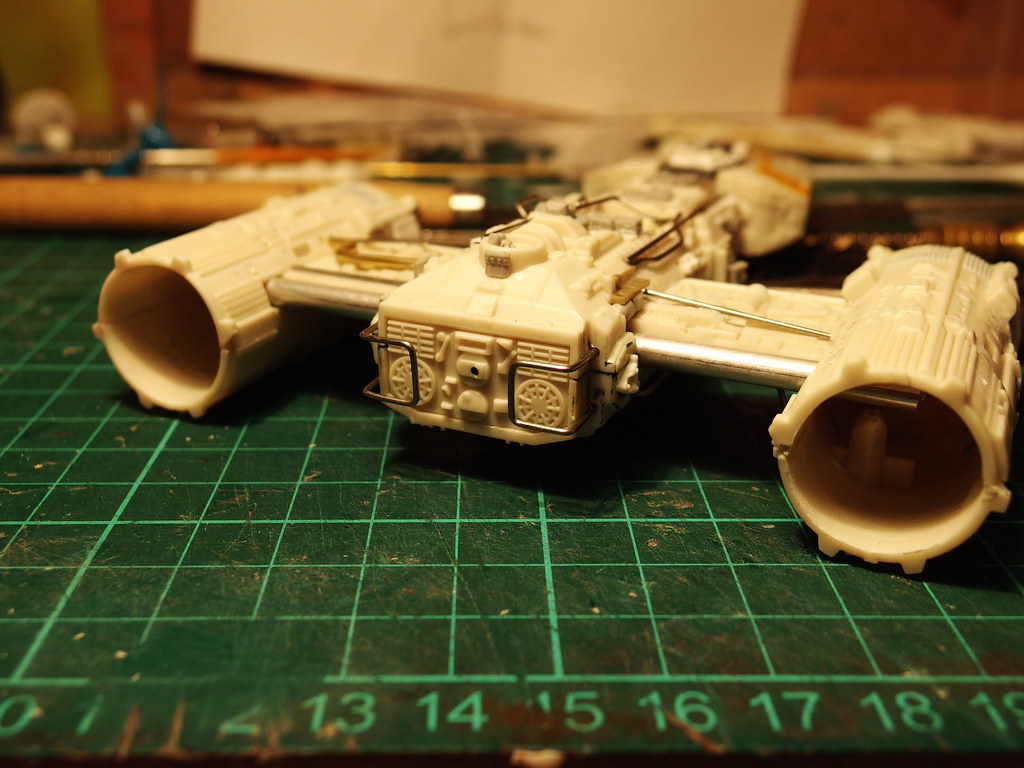
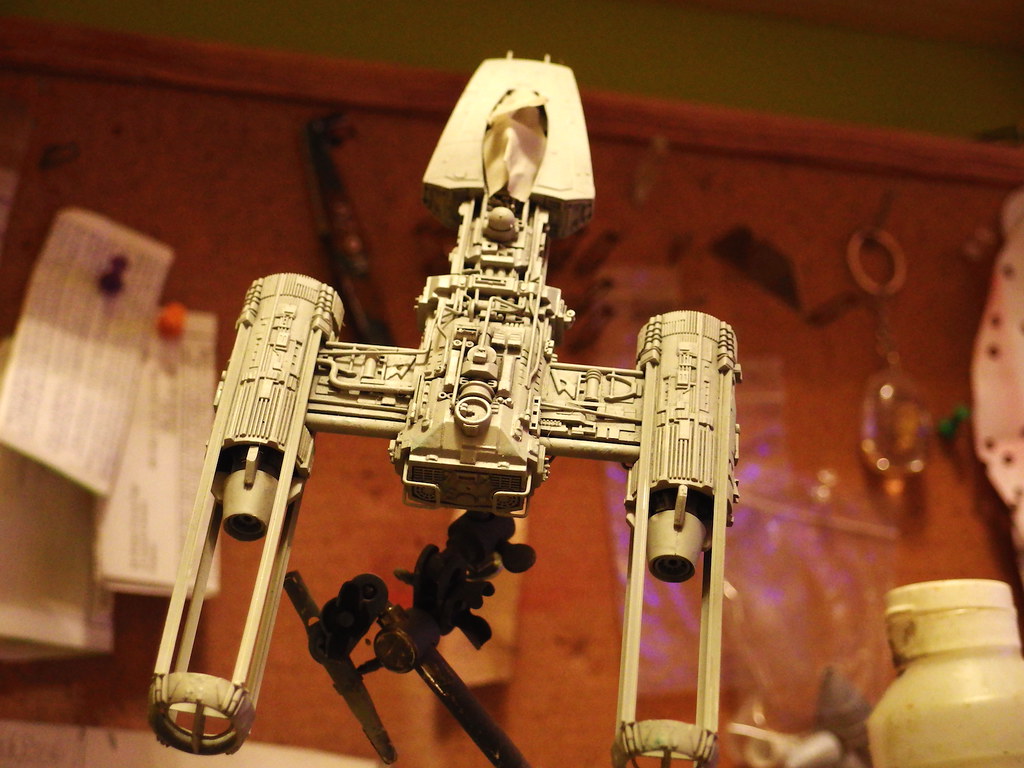
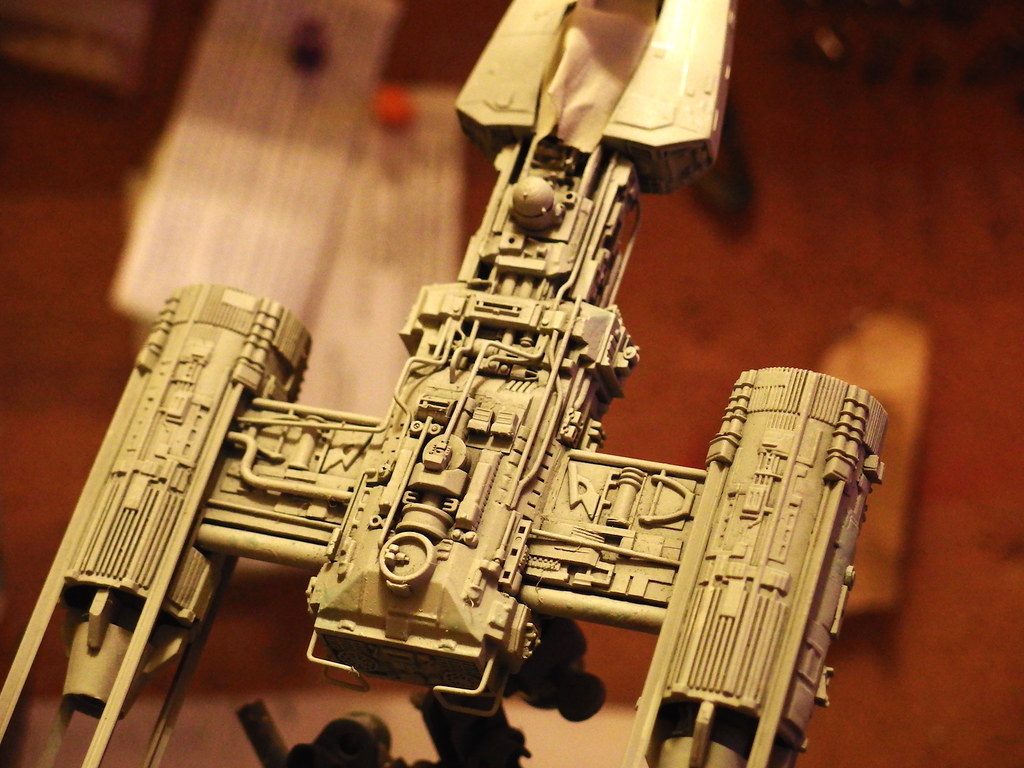
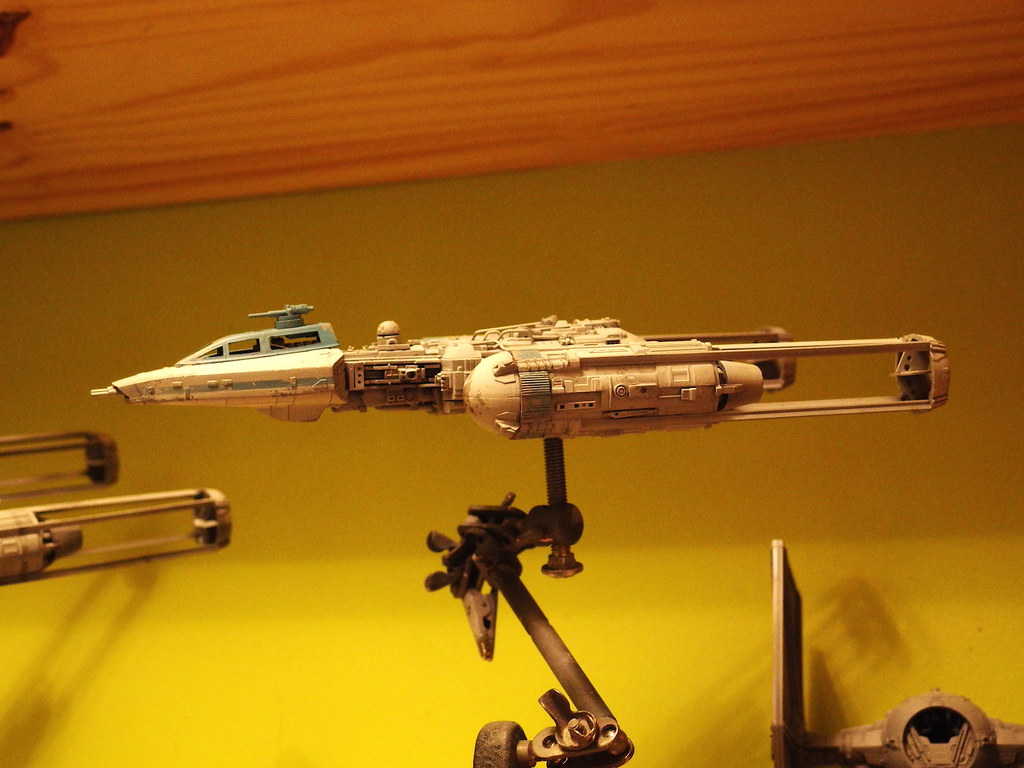
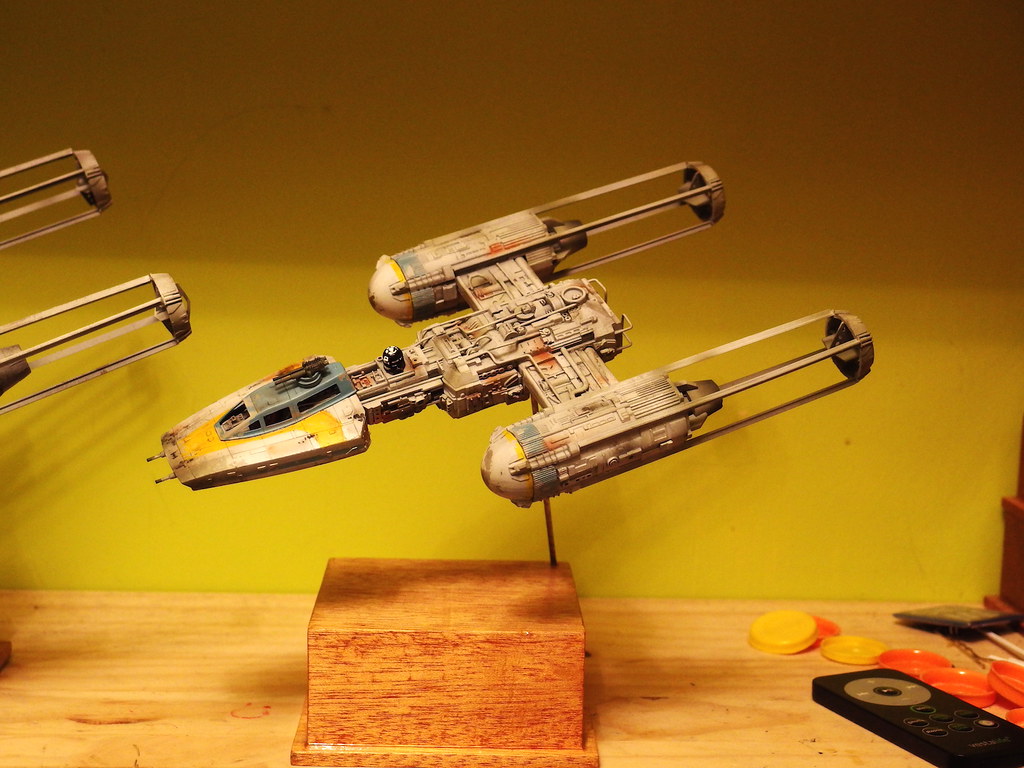
I started by I carving and planing all the moulded pipework off


tumblr_ndpmhlVh7H1sf4tb1o1_1280.jpg


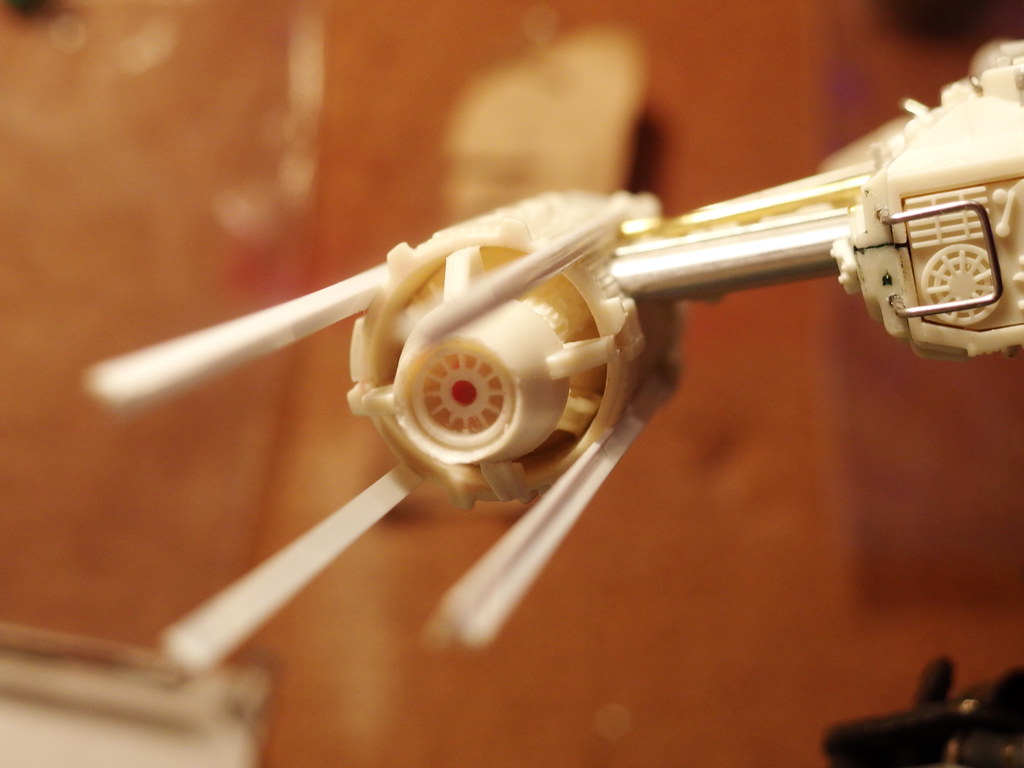
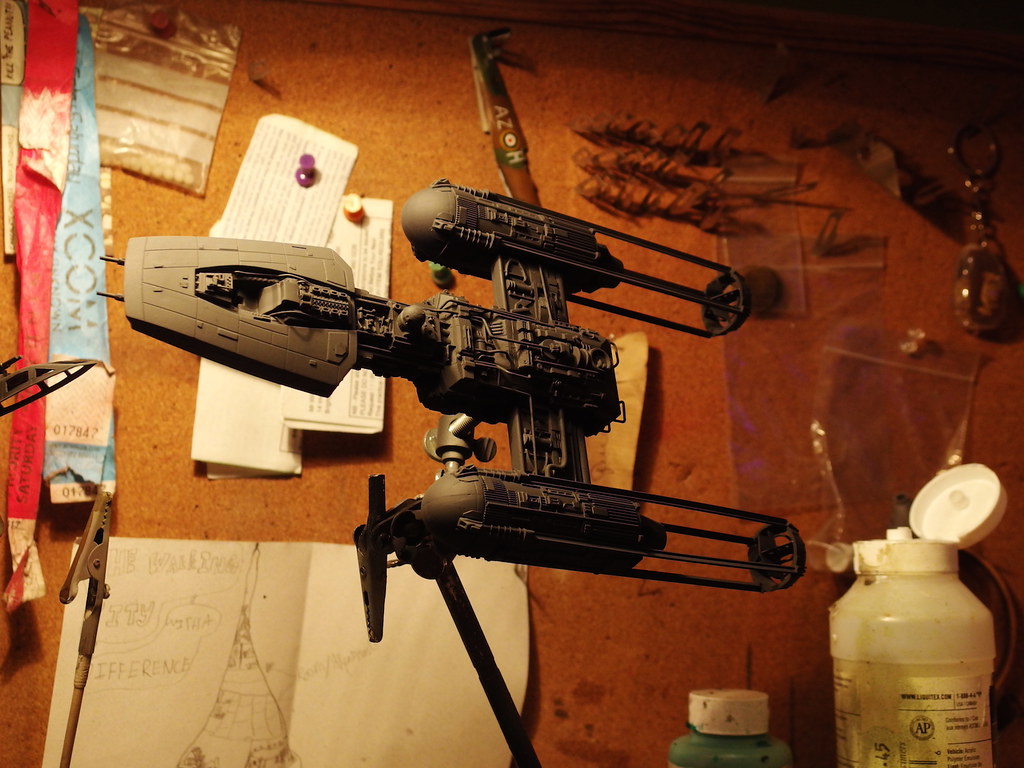
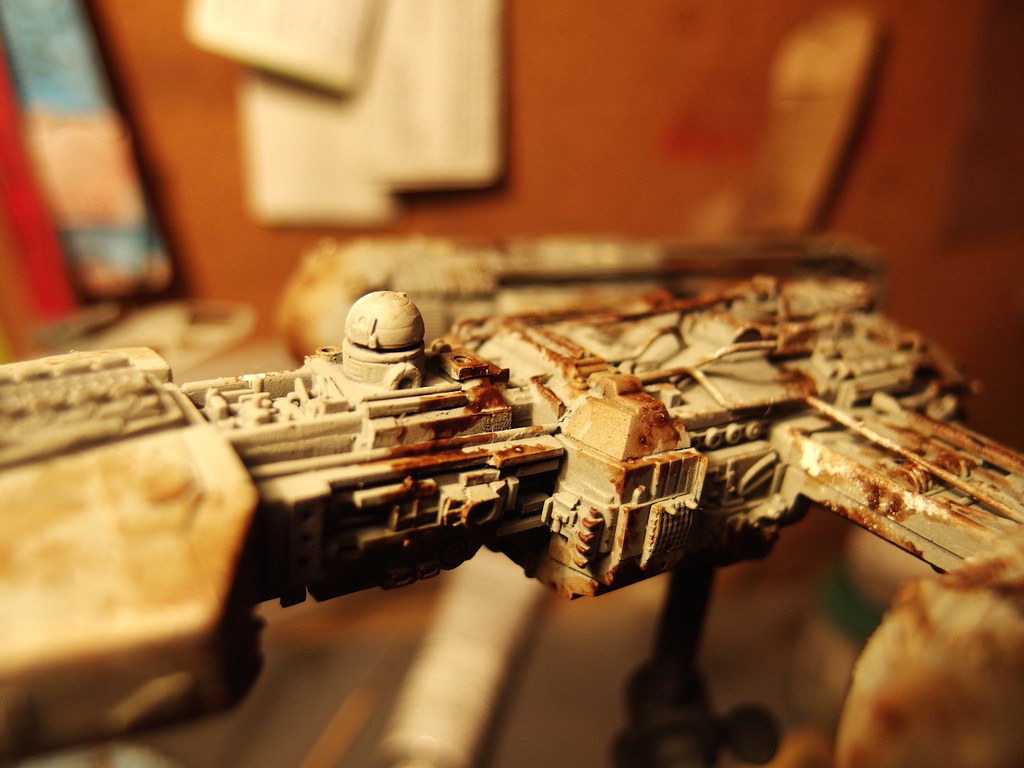
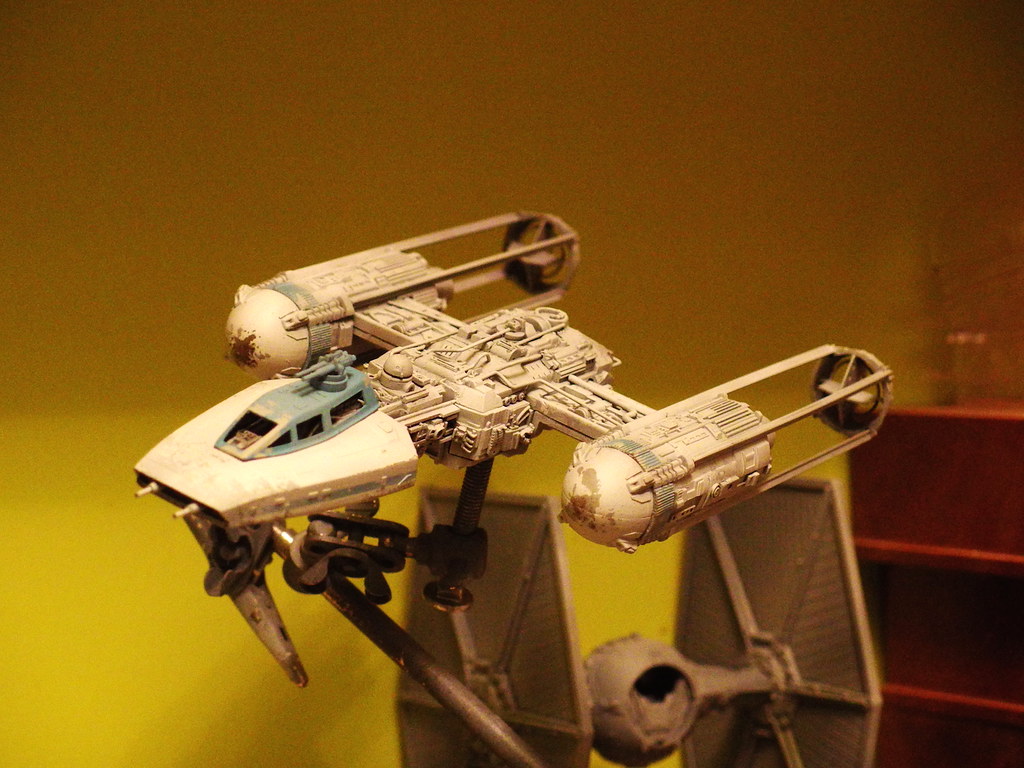
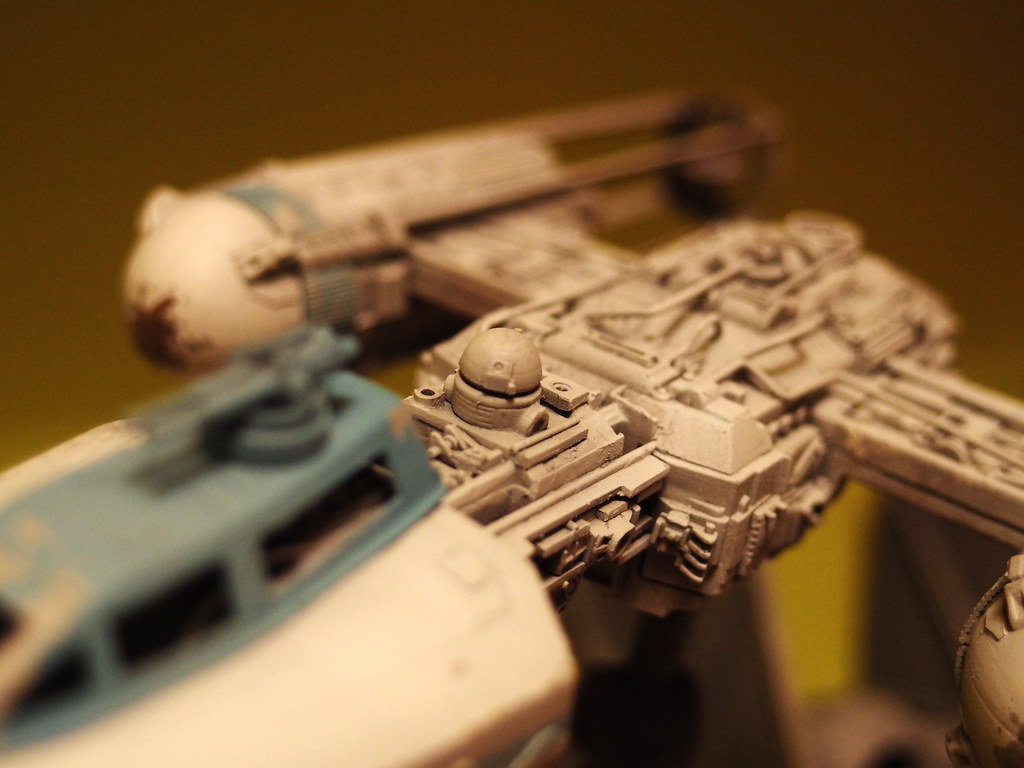
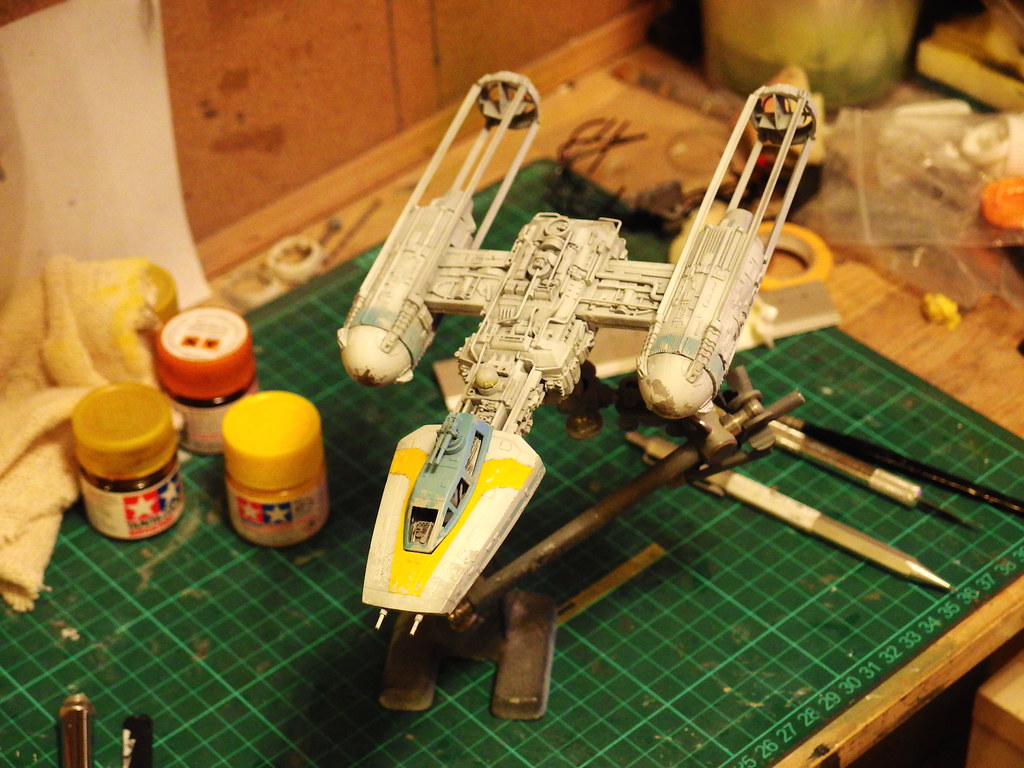
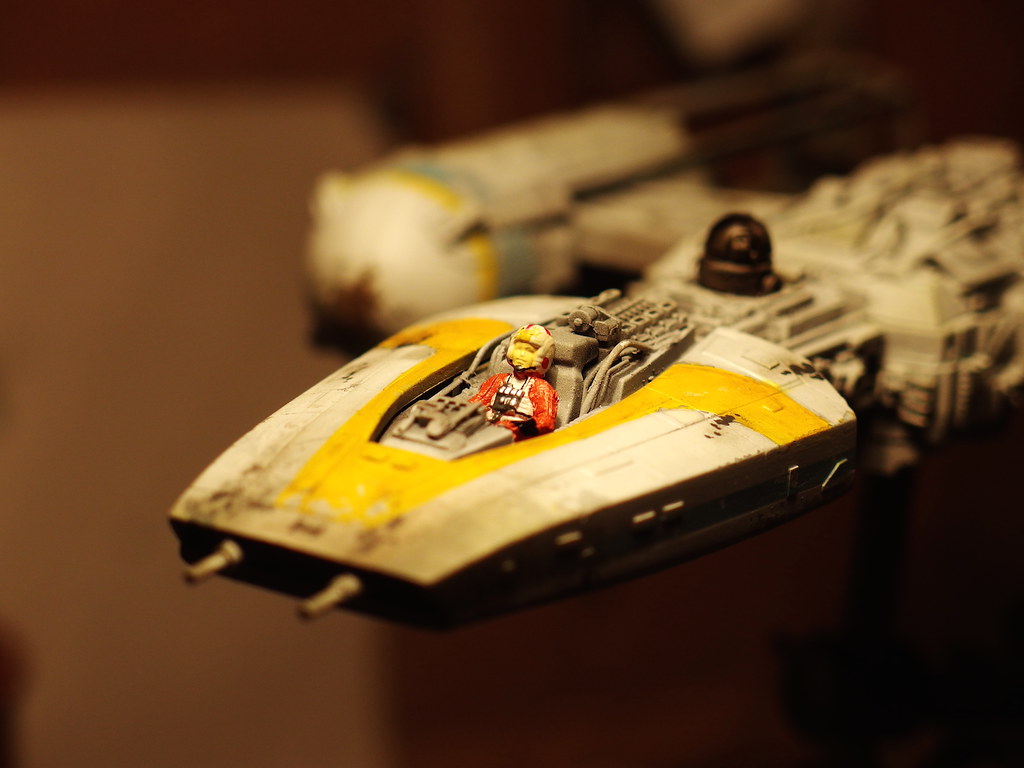
I made a replacement astromech droid by moulding and casting the original droid (which is a rubbery kind of plastic), I then cut the cone head away and used the spare R2 head from the Finemolds X-Wing kit. The Revell droid body is nice because it has the details embossed

tumblr_ndpmhlVh7H1sf4tb1o9_1280.jpg


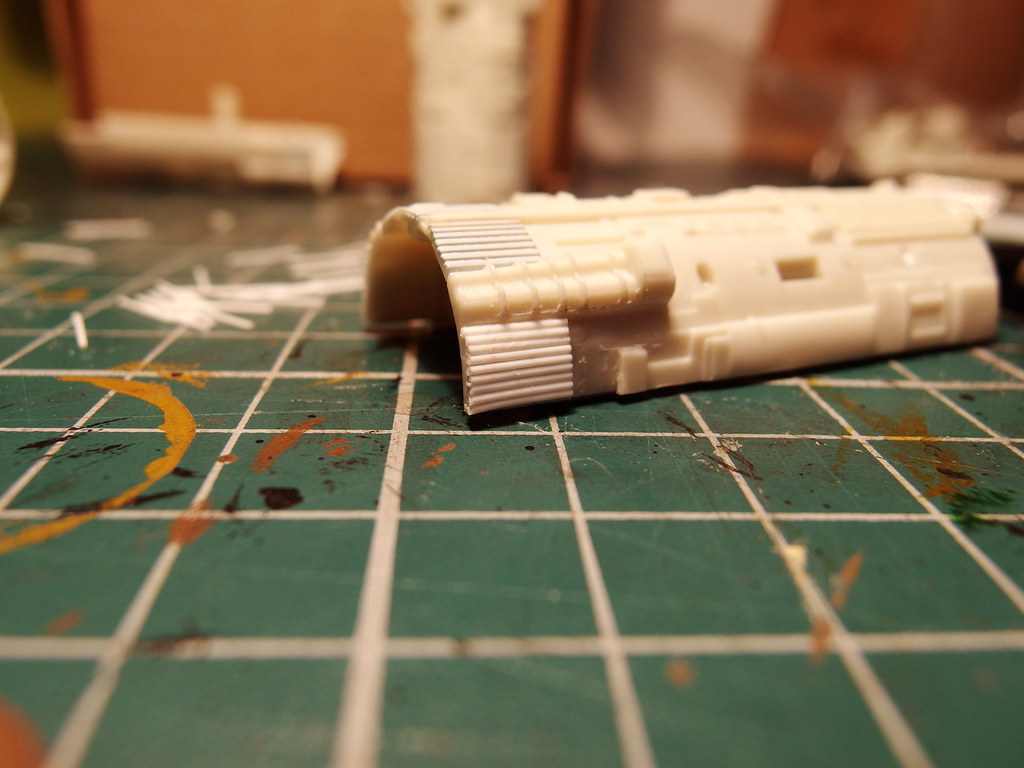
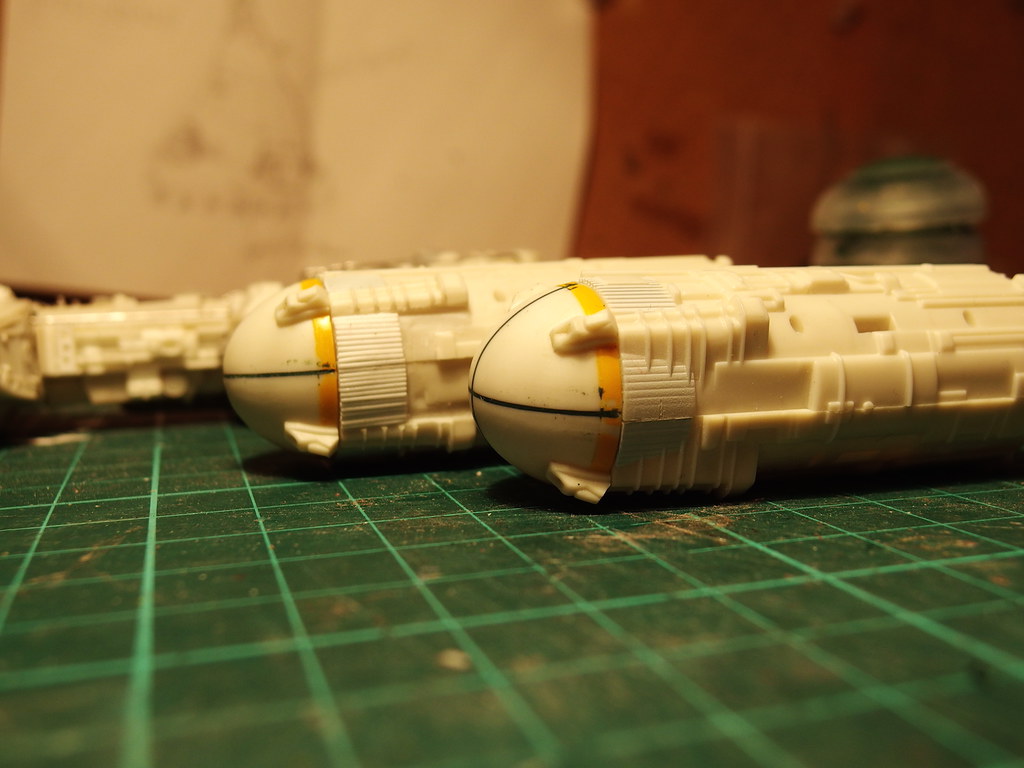
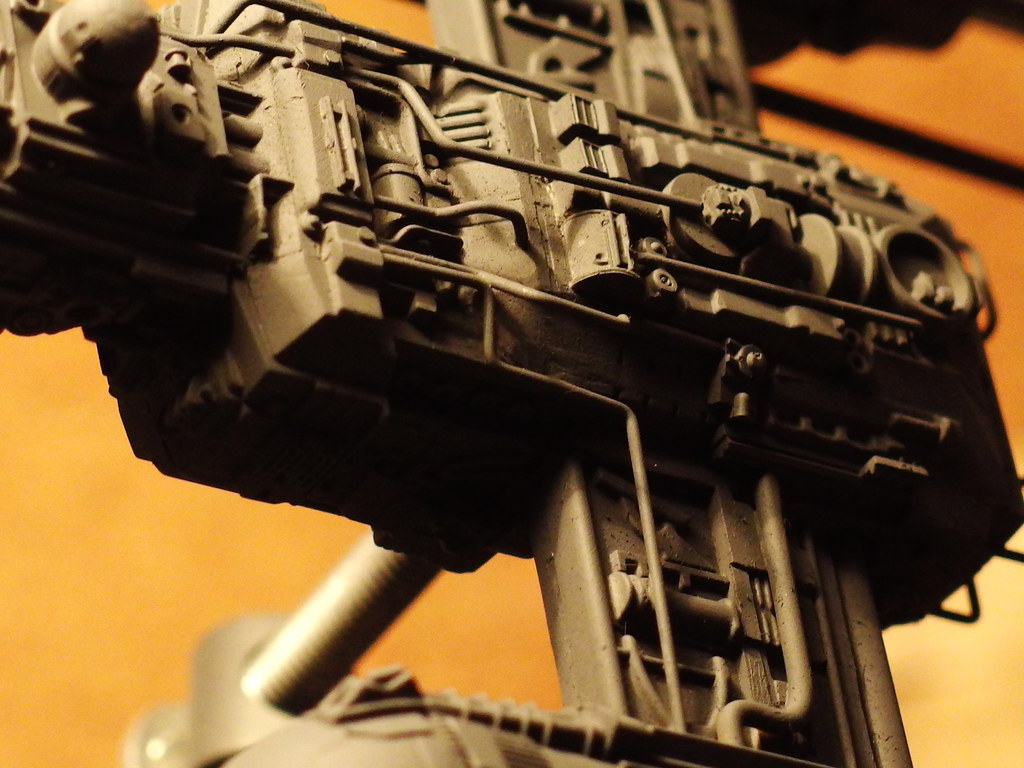
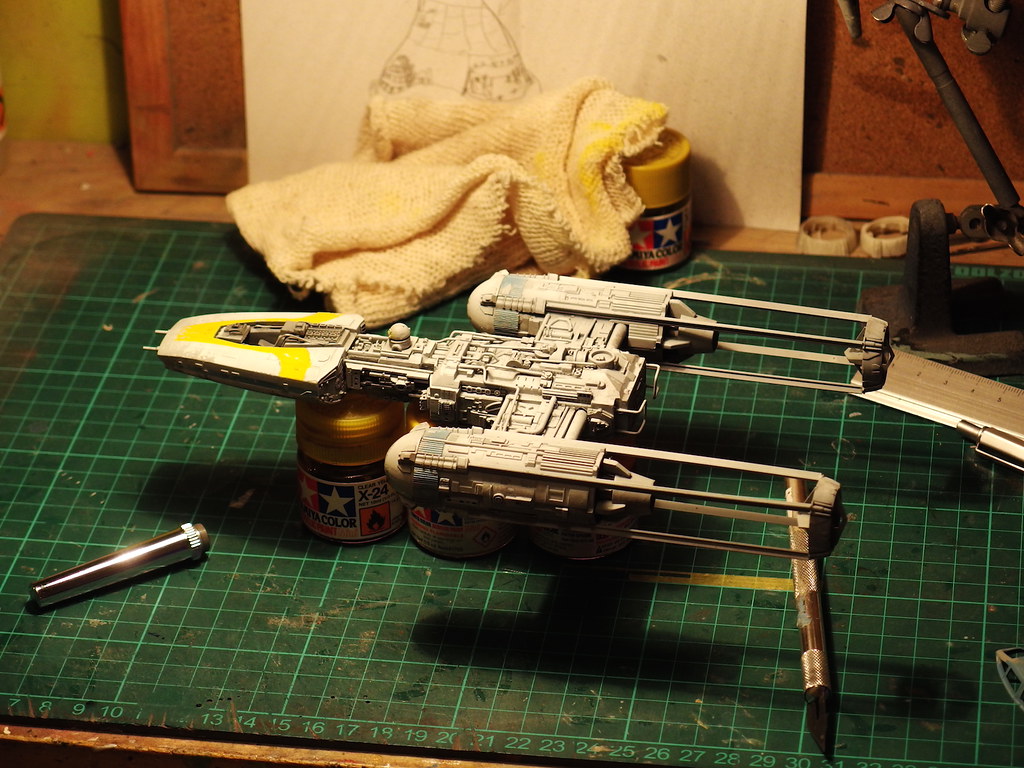
Most of the new details are from 1:700 scale ships

tumblr_ndpmhlVh7H1sf4tb1o2_1280.jpg


tumblr_ndpmhlVh7H1sf4tb1o4_1280.jpg


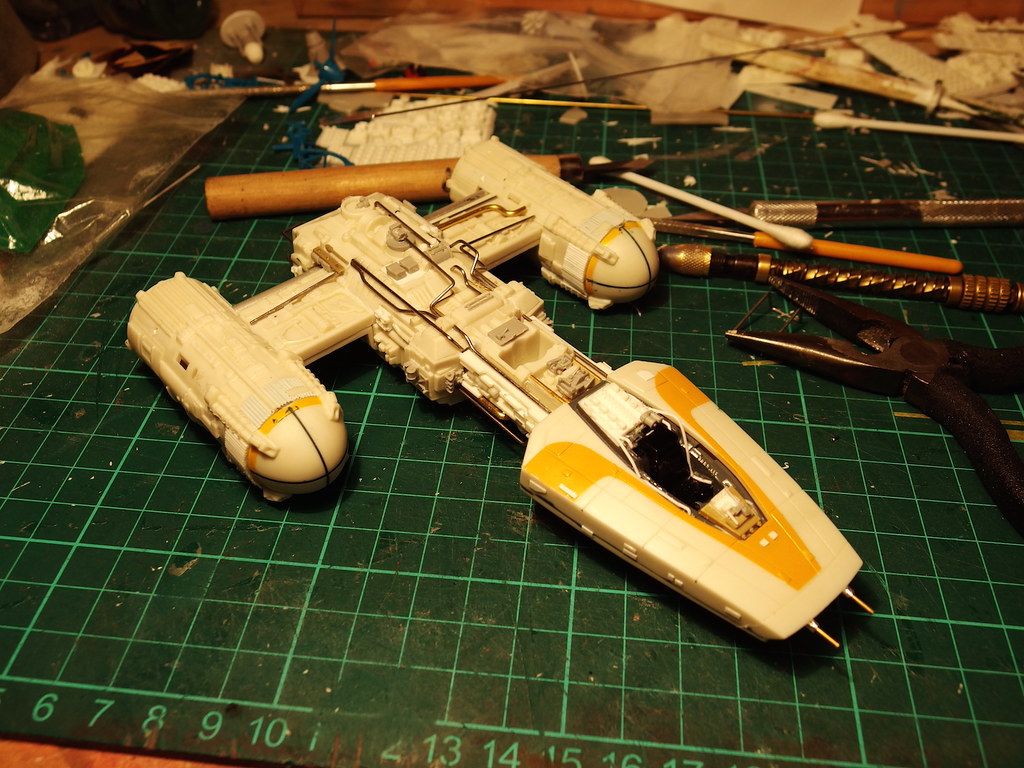
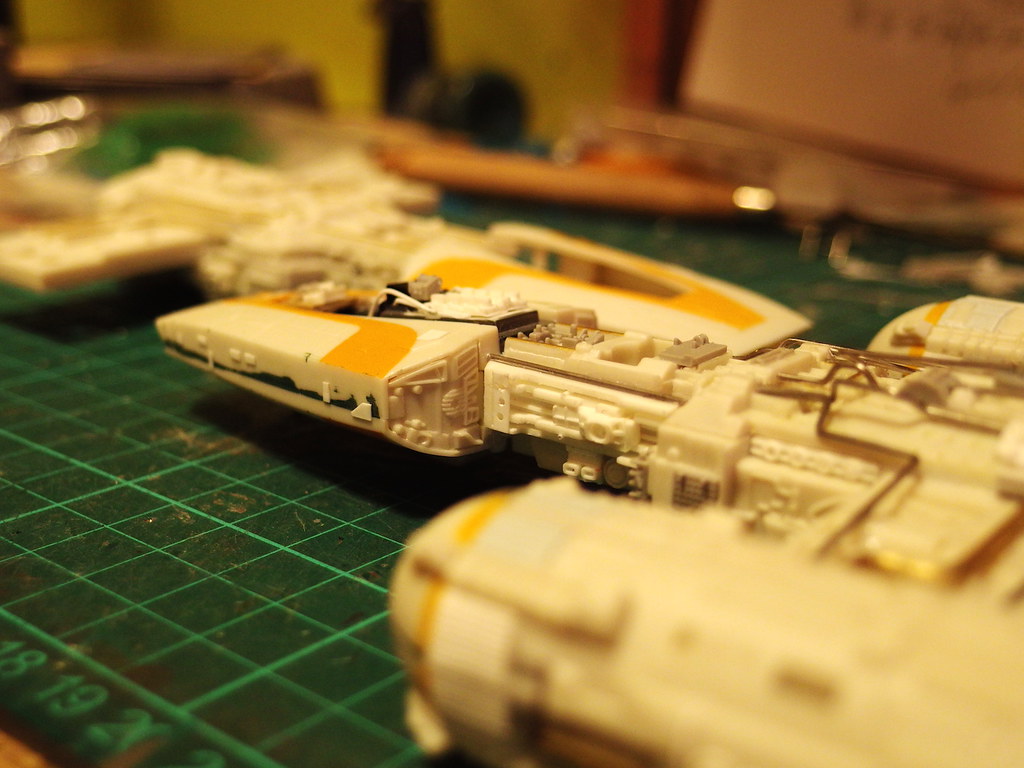
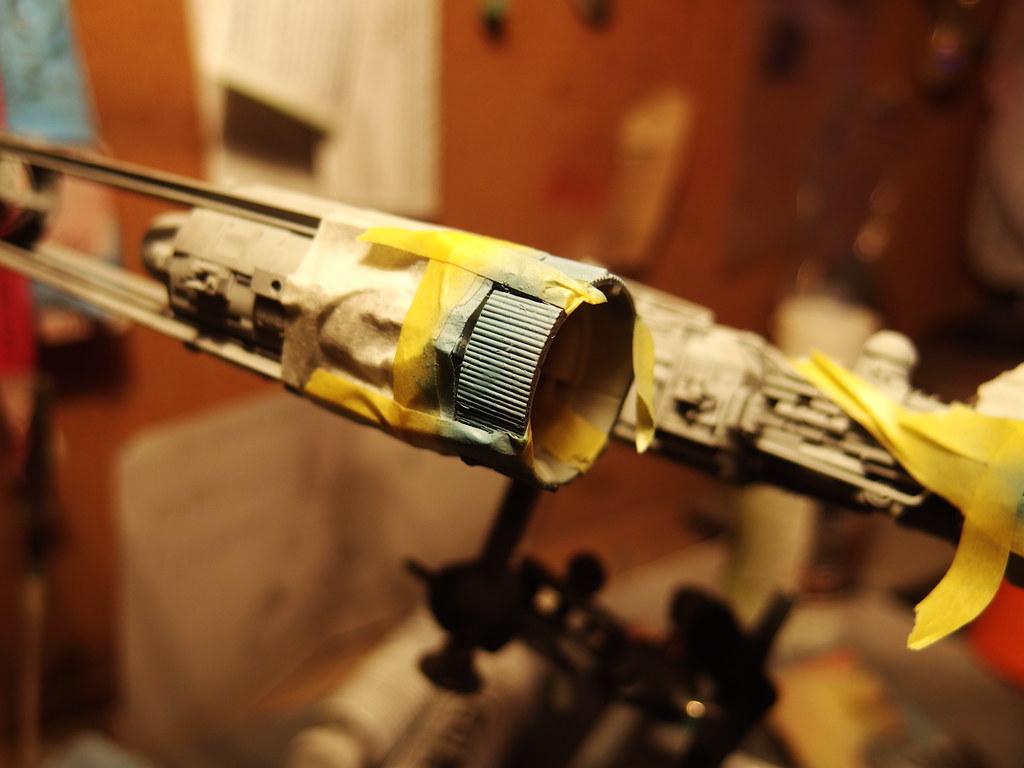
The pipework on Gold Leader is crazy!! But pretty fun to make

tumblr_ndpmhlVh7H1sf4tb1o3_1280.jpg


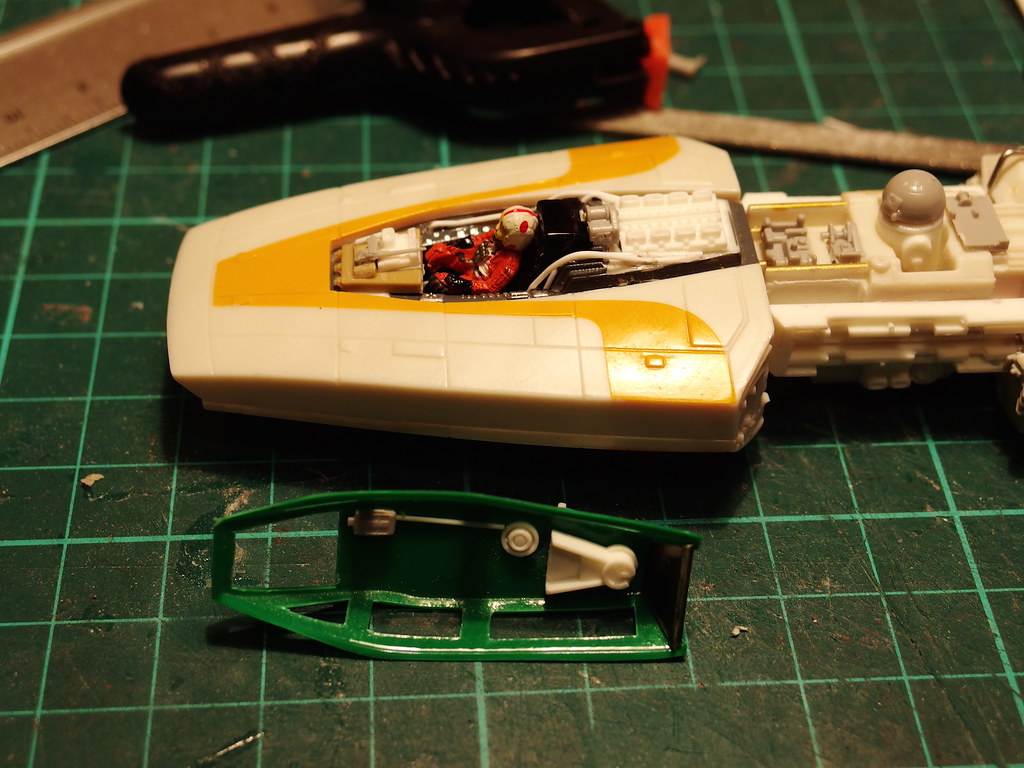
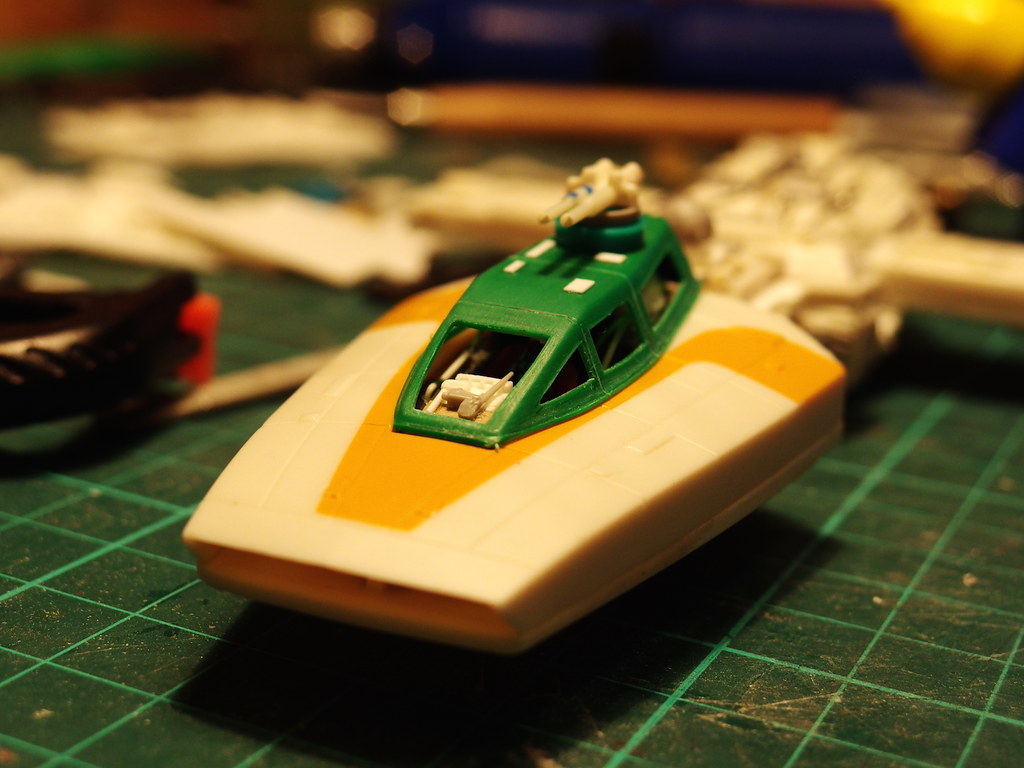
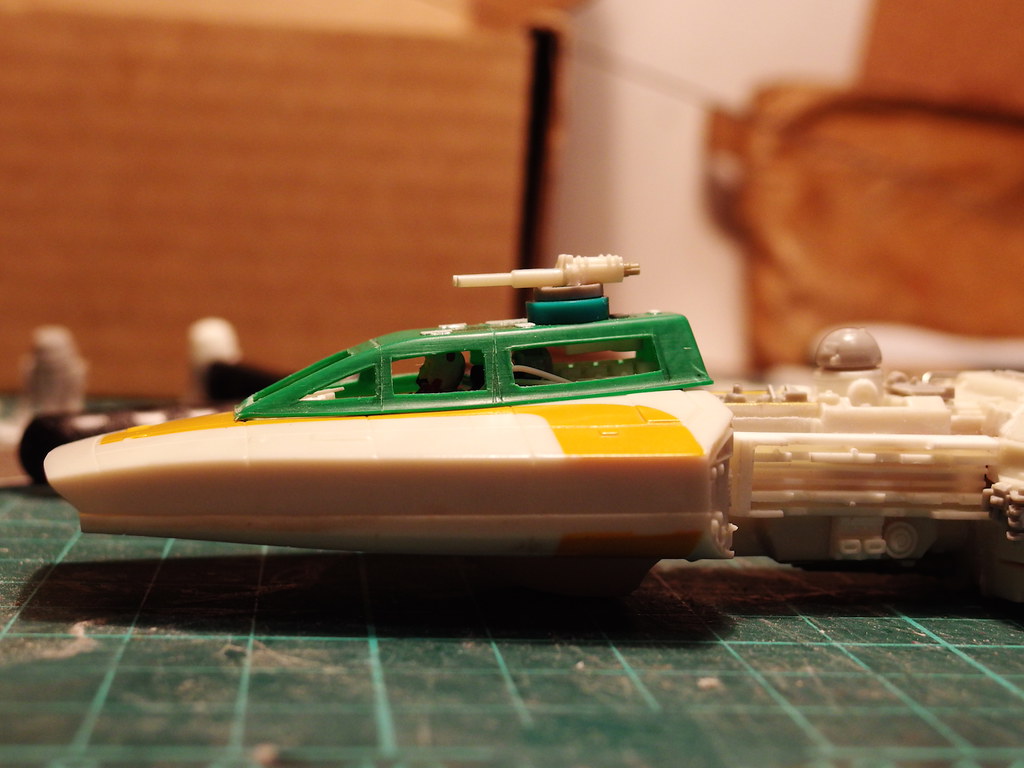
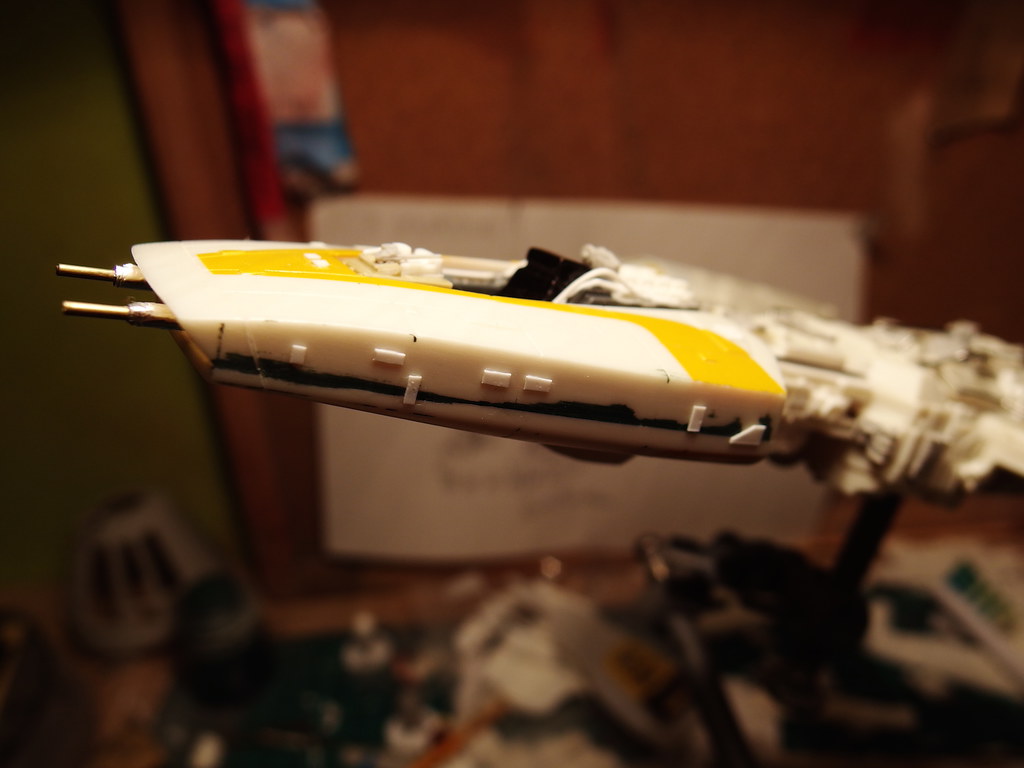
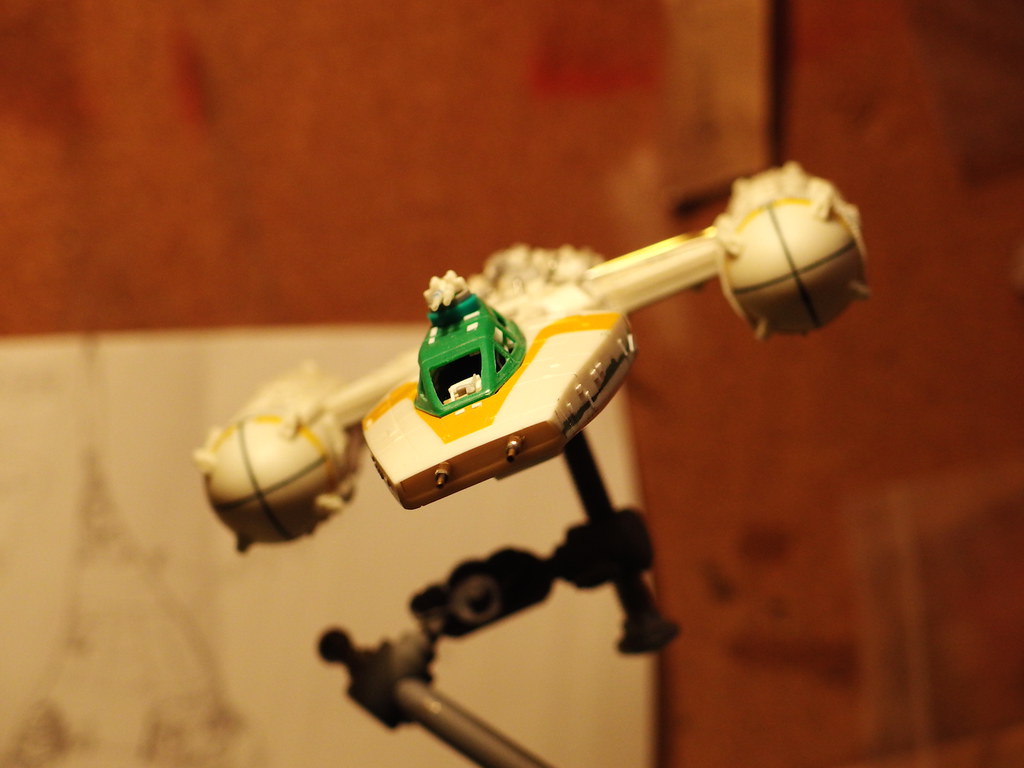
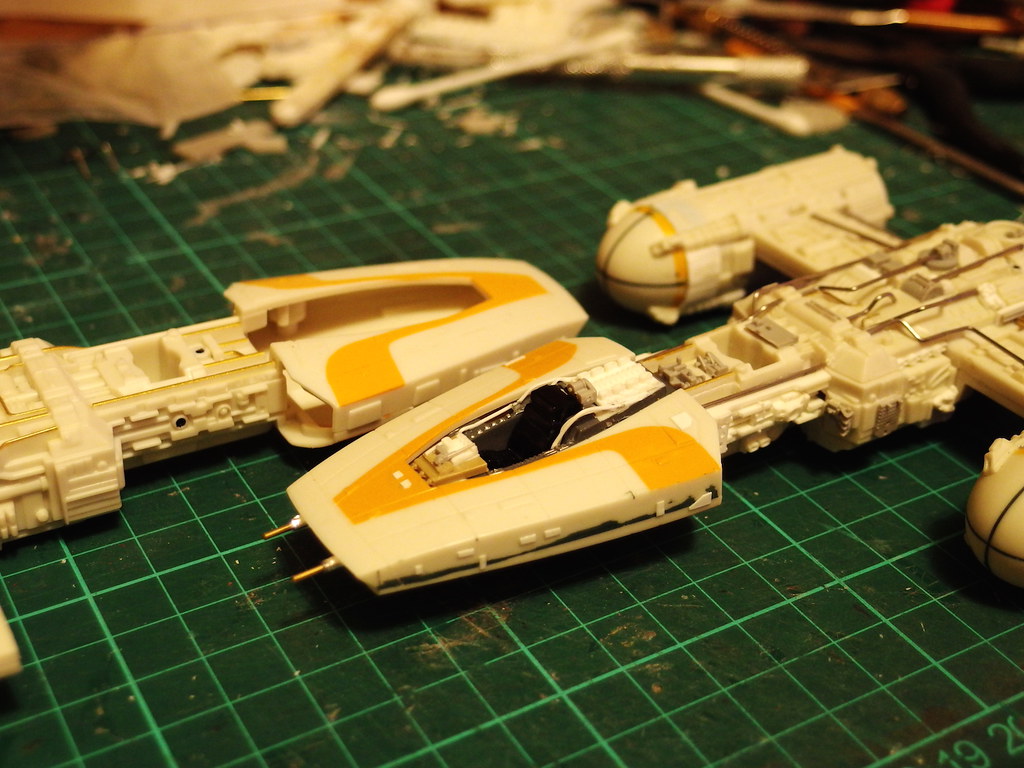
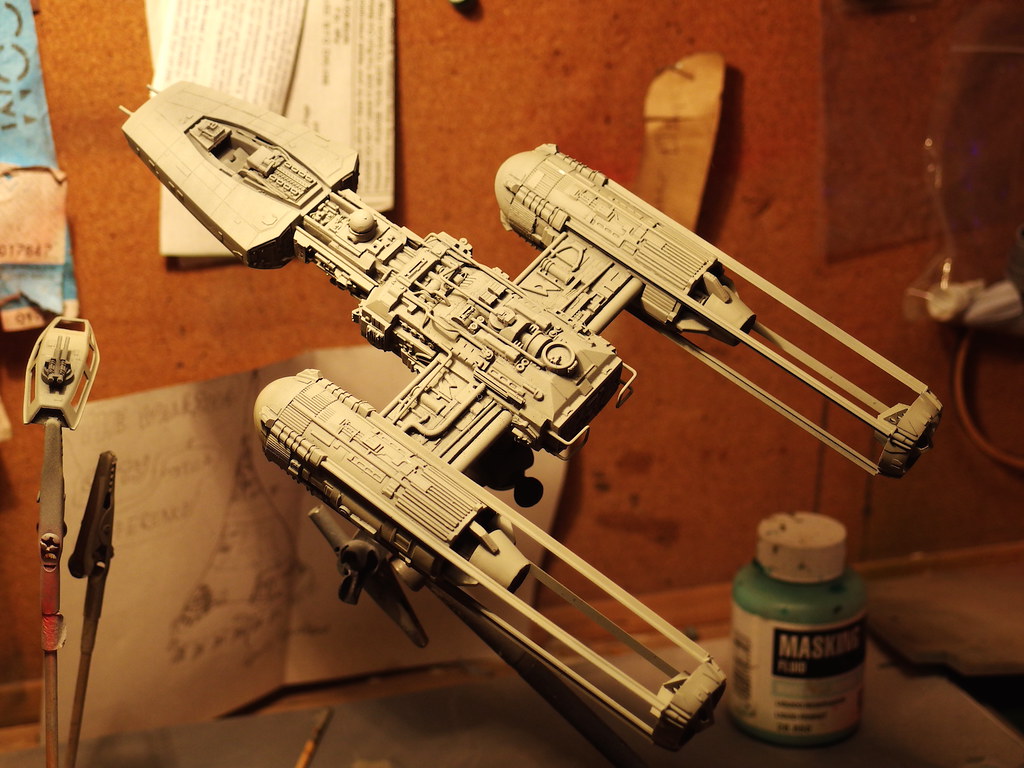
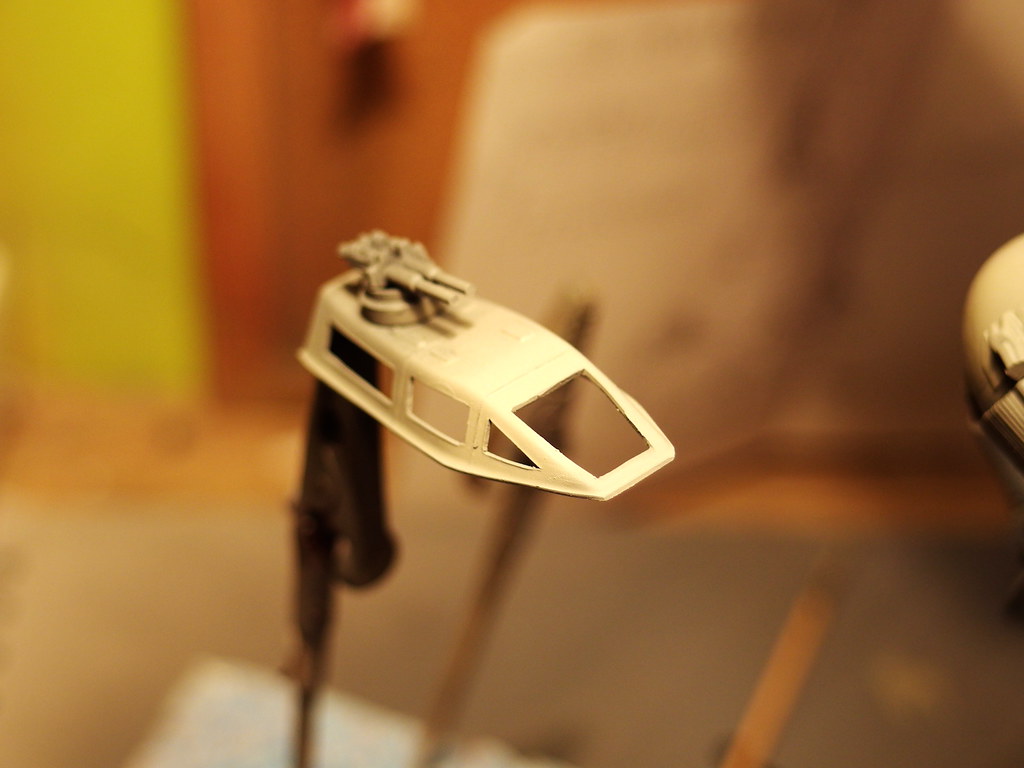
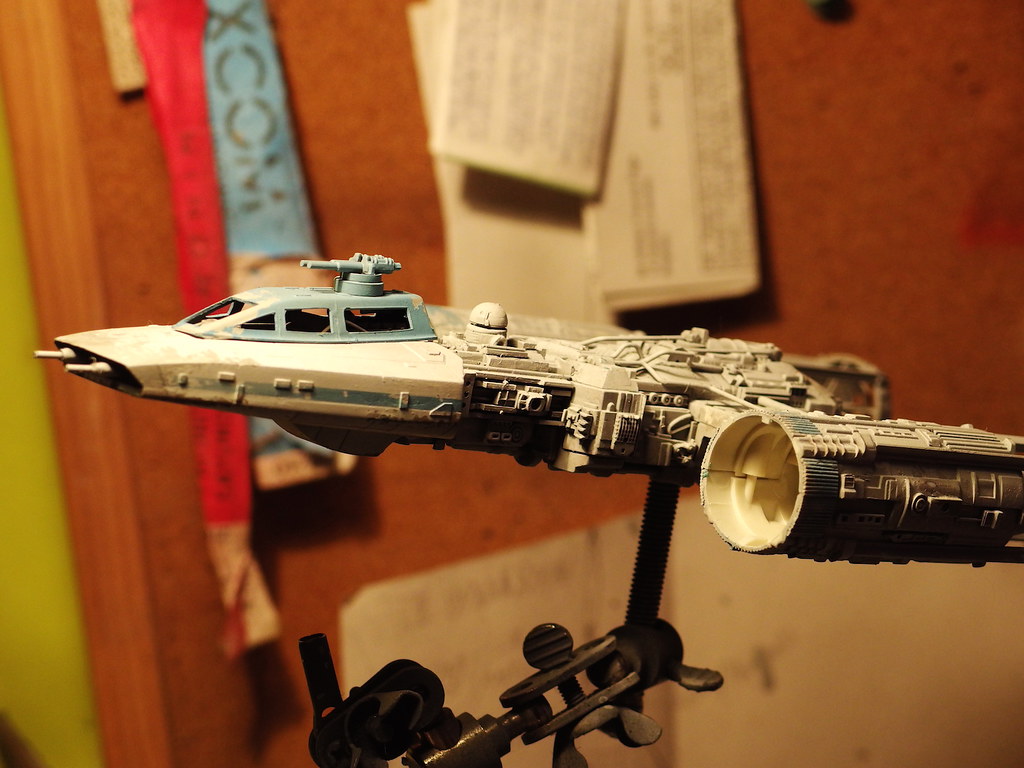
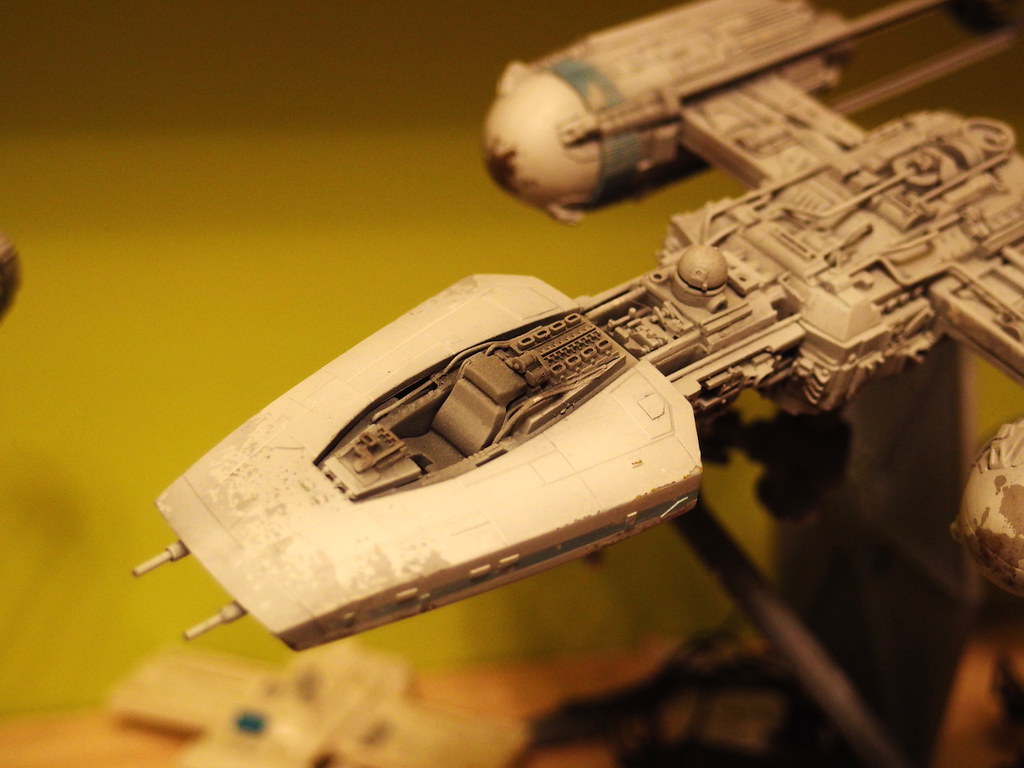
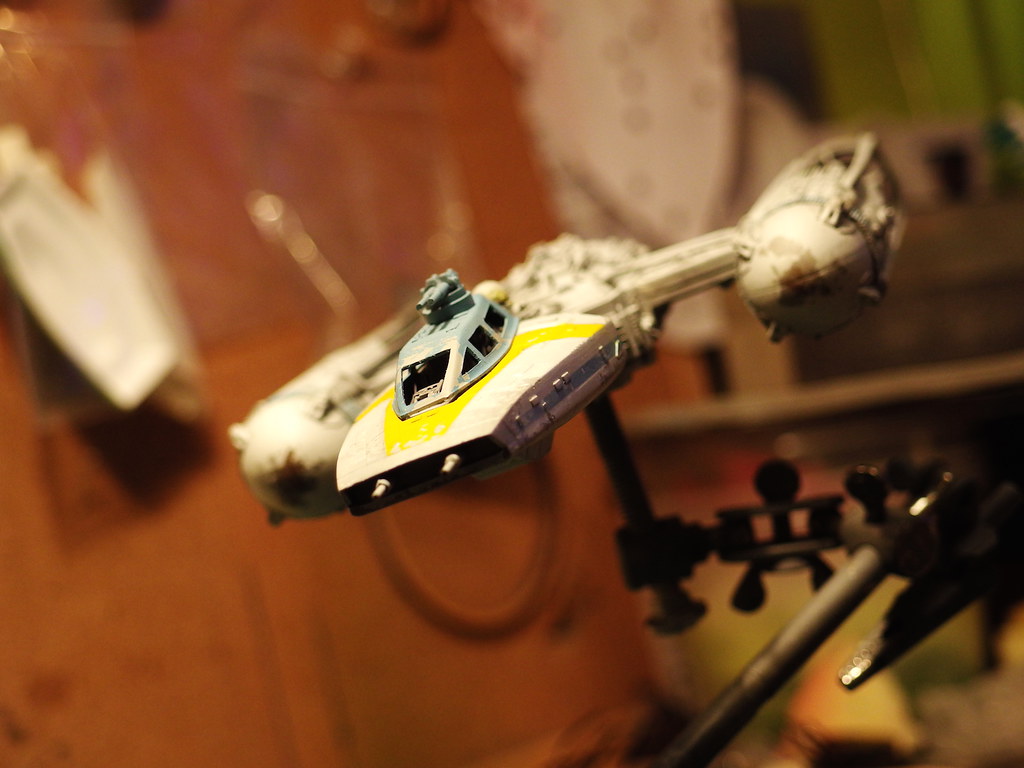
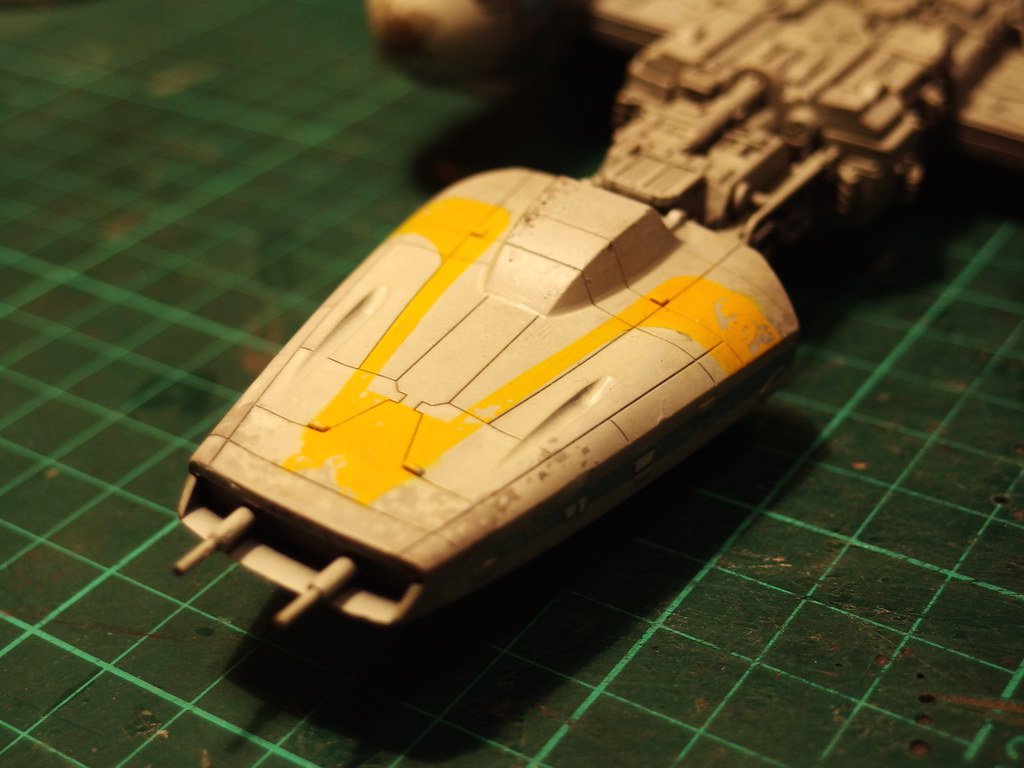
I had already vac-formed 4 spare cockpits while I was building Red Jammer so making a new cockpit was an easy task


tumblr_ndpmhlVh7H1sf4tb1o5_1280.jpg


Although both pieces are from the exact same forming buck, the difference lies in how I cut the piece. You can see that the front windshield on Red Jammer is far too square, and it continues to bug me.


tumblr_ndpmhlVh7H1sf4tb1o8_1280.jpg


tumblr_ndpmhlVh7H1sf4tb1o10_1280.jpg


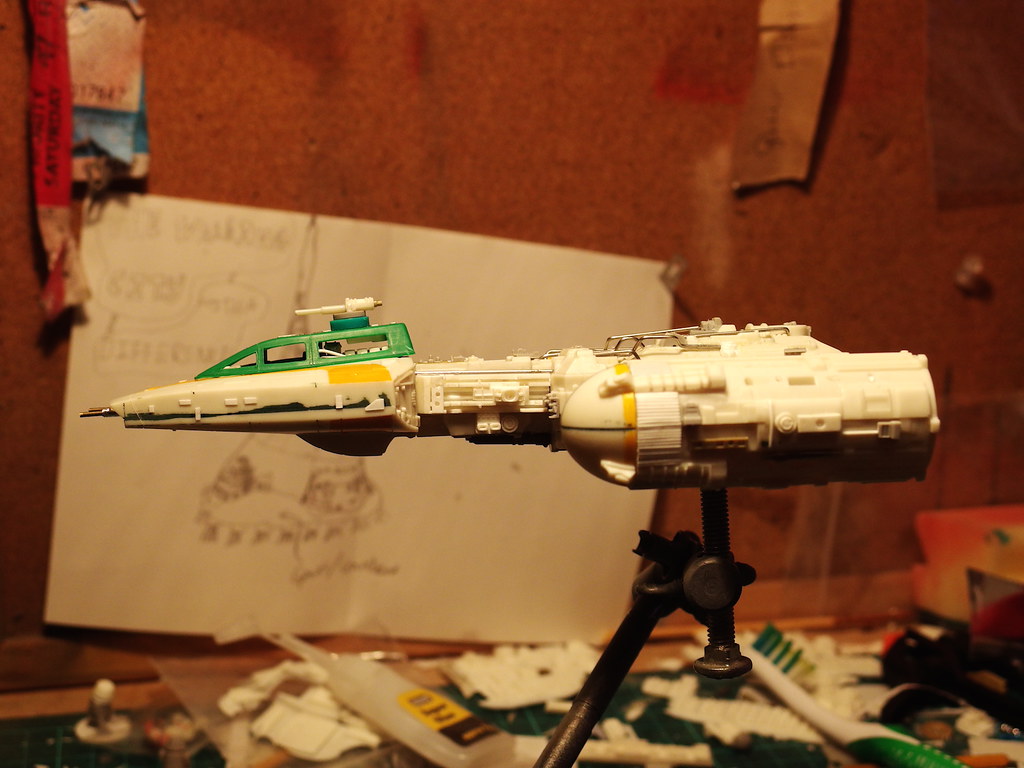
The new cockpit guns are made from the original kit part (modified) and the guns from a Revell pocket X-Wing. They're a little bit misaligned in these photos but I have since corrected them

tumblr_ndpmhlVh7H1sf4tb1o6_1280.jpg


tumblr_ndpmhlVh7H1sf4tb1o7_1280.jpg


All in a day's work eh?? I'm hoping this will be a relatively fast build because of how much i've learnt on and since Red Jammer


tumblr_ndpmhlVh7H1sf4tb1o1_1280.jpg


tumblr_ndpmhlVh7H1sf4tb1o9_1280.jpg


tumblr_ndpmhlVh7H1sf4tb1o2_1280.jpg


tumblr_ndpmhlVh7H1sf4tb1o4_1280.jpg


tumblr_ndpmhlVh7H1sf4tb1o3_1280.jpg


tumblr_ndpmhlVh7H1sf4tb1o5_1280.jpg


tumblr_ndpmhlVh7H1sf4tb1o8_1280.jpg


tumblr_ndpmhlVh7H1sf4tb1o10_1280.jpg


tumblr_ndpmhlVh7H1sf4tb1o6_1280.jpg


tumblr_ndpmhlVh7H1sf4tb1o7_1280.jpg
 
Last edited by a moderator:
This evening I worked on creating more Y-Wing cockpits ready for my future conversions. I also scratchbuilt a scaled copy of the 8-rad underside which is so ubiquitous on Star Wars models. I built it as a complete piece which I'll mould and cast, as the Y-Wings use an 8-rad underside cut in half

Replacement Red Jammer cockpit, Gold Leader, and an incomplete Gold 3 (Mom Tour) cockpit.

tumblr_ndv60ha0aa1sf4tb1o3_1280.jpg


You can see I even added the alignment pegs in with 0.2mm styrene rod


tumblr_ndv60ha0aa1sf4tb1o1_1280.jpg


I only detailed one side of the part as leaving the other side free gives more freedom with the cast copies


tumblr_ndv60ha0aa1sf4tb1o3_1280.jpg


tumblr_ndv60ha0aa1sf4tb1o1_1280.jpg
 
Last edited by a moderator:
I casted up some 8-Rad parts and fitted the portside one on. I also cut away part of the kit so that it has the correct spacing...not sure how to describe it but a picture speaks a thousand words !

10644545_1485032391777134_4464889700577801136_n.jpg


1459326_1485032388443801_4142916581433676460_n.jpg


10731063_1485032398443800_4343539107417997518_n.jpg


1509767_1485032401777133_71419132467654790_n.jpg


10377348_1485032378443802_4142890076006009266_n.jpg


I also have Gold 5 (MOM Tour) Revell Y-Wing to be started soon......
 
Further progress on Gold Leader, primarily cockpit detailing and the 8-Rad neck parts. I actually did some work on the underside as well but I forgot to take pictures, I think this is turning out even better than my last Revell conversion, Red Jammer


15123052453_e3c9bf9245_b.jpg


15557021578_8b260a7c59_b.jpg


Most of the details I'm using are from 1:700 American boats, or casts from the Finemolds 1/72 Falcon and some other kits like that


15742455965_75b8427054_b.jpg


15122505214_7befcd5711_b.jpg


15557020688_0bc633c608_b.jpg


15556575099_4ec9f8c5fe_b.jpg
 
Today I began working on the engine nacelles for both Gold Leader and Gold 5, I used a dremel to thin the walls out on the back end, they were previously completely solid; and then I used 0.25mm styrene rods to make a better ribbed effect on the edge

15148923693_def6062840_b.jpg


15148386324_271816d92a_b.jpg


15768333055_9a8d5a9a5b_b.jpg


15148922853_d984b4fea2_b.jpg


Nice n easy
 
Fantastic

Would you consider selling those cockpit canopies?

If you pay for shipping you can have a bunch of vacuum formed pulls for free, they cost pretty much nothing to make. But i won't be cutting out the windows for you!!!

I carried on more work on this today, I'll start Gold 5 soon as well. I need to invest in a dremel and also I need to get hold of some 2.4mm T bars but i'm broke as hell :facepalm

Here's a direct comparison of my modified nacelle braces vs the kit part

15798658142_01674dd803_b.jpg


I filled in the sink marks and seams and started adding the correct scab panels

15773414726_01b70bbe2c_b.jpg


15798656382_61cf667d97_b.jpg


15611679968_a7be721182_b.jpg


The Revell kit is inherently chubbier than the filming models, but not by a noticeable amount. I'm just bein fussy

15798655602_888745960d_b.jpg


15611928197_d2389bc139_b.jpg


15611262709_5188cdc093_b.jpg


15177139964_aa0edde951_b.jpg


15773411226_c7aecf8878_b.jpg


15798653202_d5778bf4ce_b.jpg


15612245860_f83cc2238c_b.jpg


15177137104_9102593796_b.jpg
 
WELL I finished the build and I've started the paint! I find paintjobs the easiest part so I'm about 70% of the way through already. I didn't have any primer so I just went straight onto the plastic. Silly idea!! As soon as I tried to mask off the yellow markings, the paint lifted off in certain places.....:facepalm
so I applied a coat of matte varnish and I'll paint on top of that and repair the damaged areas later.

16071438092_5896239b4e_b.jpg


16070214341_8473e1c716_b.jpg


First coat on, Tamiya German Grey with a little bit of black mixed in. I use these threads as painting reference for myself to jog my memory so sorry if it seems a little detailed.

15449839434_6d92c8ff18_b.jpg


15884863040_d03ea5a50e_b.jpg


Then Tamiya Medium Grey

15449840364_54b724ca21_b.jpg


16046343906_bda9554fcc_b.jpg


Burnt Umber mixed with spirit thinners, sponged on. The thinner breaks the thick acrylic paint down and when applied to the surface, evaporates to an interesting effect. This is what I discovered on my Finemolds X-Wing builds

16072143725_df484039c1_b.jpg


Tamiya Medium Sea Grey next

15884866380_c98fafa23a_b.jpg


15884867580_1bf67f2518_b.jpg


After that, I used masking fluid in certain areas but the nose specifically. Then I applied very thin, successive coats of Tamiya Flat White and removed the fluid

15884714878_2c586b5580_b.jpg


I then started doing the blue markings. I used a mix of 70% Tamiya Light Blue to 10% acrylic light ultramarine to 20% thinner. To get a nice gradient, I added pure ultramarine into the mix and carefully shaded the markings.

15886061379_a89c156ddc_b.jpg


15886061029_108ff9d086_b.jpg


15884716918_73cb7c244c_b.jpg


15449852134_c6f7bbdaaf_b.jpg


15886065429_2128d2864c_b.jpg


15449851504_5e69487434_b.jpg


16072151425_9dfa051337_b.jpg


I like this profile. It feels just like the trench run........

15884874390_7b71e08f7d_b.jpg
 
Looking very nice! I might need to get one of these after all. My only suggestion would be that a few swiped of sandpaper around the window cutouts would remove that little lip you get from cutting and would improve the scale look.

How are you applying masking film for the chipped paint? I always have trouble getting a good look (and getting the damn stuff to peel off!).

Thanks Pedro! I did actually sand the cockpit a fair bit to the point where i was tentative to do any more for fear of damaging it....but I will give it another shot on my Gold 5 build.

I apply the masking fluid with a sponge, I usually buy washing up sponges and then cut wedges off....the key is variation when applying it. I use cotton buds and an eraser to take the fluid off. Hope this helps!!
 
I actually finished the paintwork on Gold Leader the day after my last post but I'm lazy so here are the photos now. I still need to complete the base, glue grey felt to the underside, order an engraved plaque and then make the death star surface. THEN I'll do the final photos hehe

Even with several coats of varnish I had issues with peeling paint....I covered the problem areas with more varnish than the rest and also disguised them with weathering

15954427917_eeccb16a24_b.jpg


15520462343_5117f02fb2_b.jpg


15952739738_719be458ee_b.jpg


16114399796_2337e88333_b.jpg


Same story with the underside but not quite as bad

15954099339_7a138f557d_b.jpg


You can faintly see the TIE killer marking on the nose...I also went with the black astromech, despite Gold Leader not having any astro in the socket in ANH

16138281451_8e8a234cc2_b.jpg


On the shelf with Red Jammer and Red 3! Soon Gold 5 and Red 5 will join it.....and Gold 3 and another Red squad. vehicle.......good fun!

16114396366_40d282e5a8_b.jpg


16139434752_14ce3b0864_b.jpg


I skipped a few details in the painting but it's essentially just a lot of pinwashes, airbrushing and pastel weathering

16140199655_1a54cc9769_b.jpg


More photos to come!
 
This thread is more than 9 years old.

Your message may be considered spam for the following reasons:

  1. This thread hasn't been active in some time. A new post in this thread might not contribute constructively to this discussion after so long.
If you wish to reply despite these issues, check the box below before replying.
Be aware that malicious compliance may result in more severe penalties.
Back
Top