crackerjazz
Sr Member
Re: Cetacean - The Man From Atlantis submarine - Help
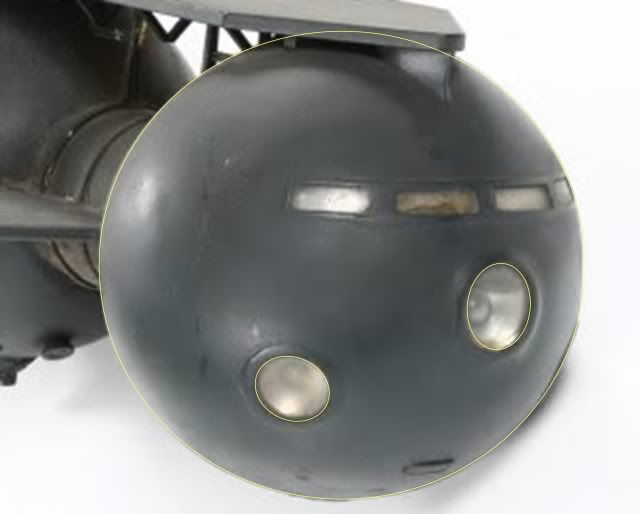
Thanks, Alan.") I hope I do justice to the 38-inch prop.
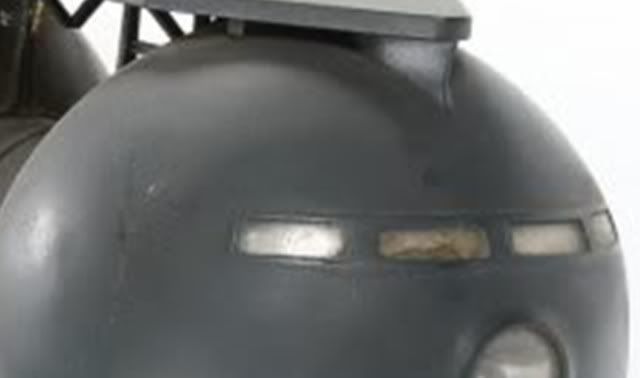
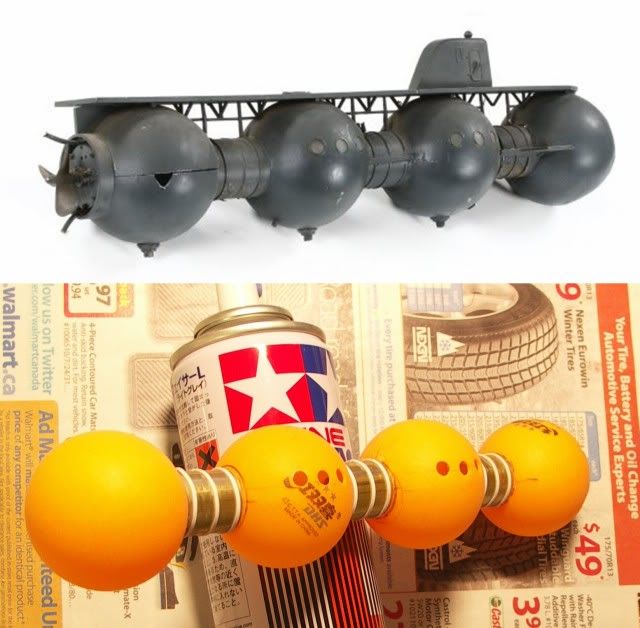
I hope I do justice to the 38-inch prop.
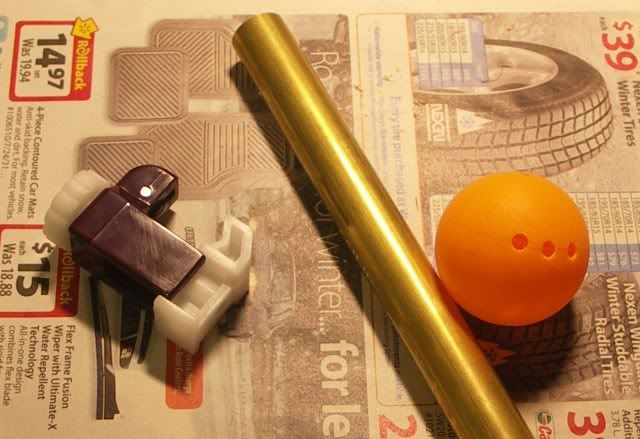
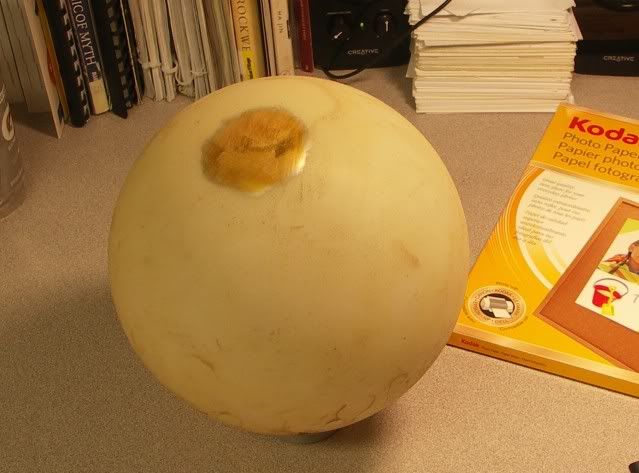
This gold Christmas ball gets my respect. It put up a good fight, long and hard, to the last round, that I just had to take a photo of that last patch of gold paint. My fight with the red ones were easy - I'm glad I had two of those. The green one was a TKO. But this gold one was a valiant warrior to the end. I think its paint had twice the thickness of the red ones and kind of harder too.
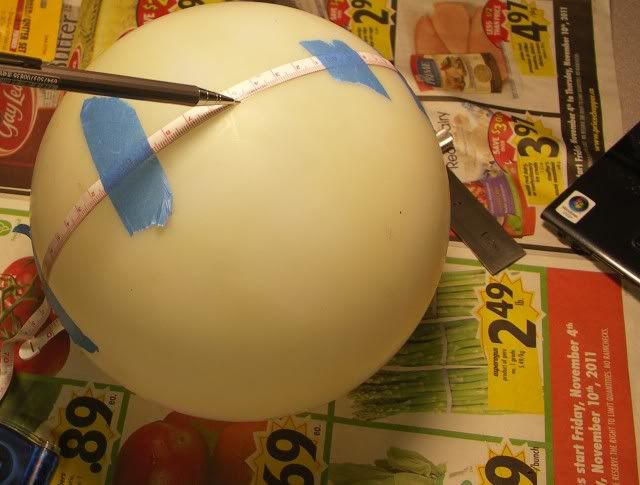
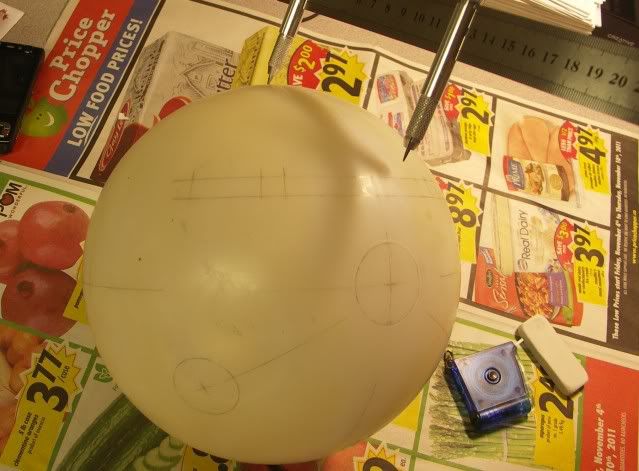
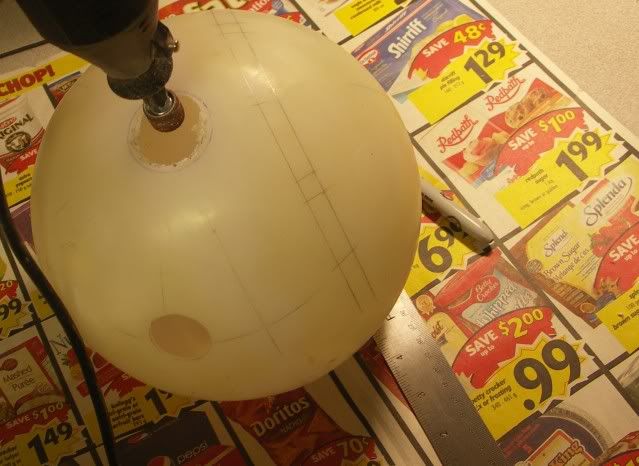
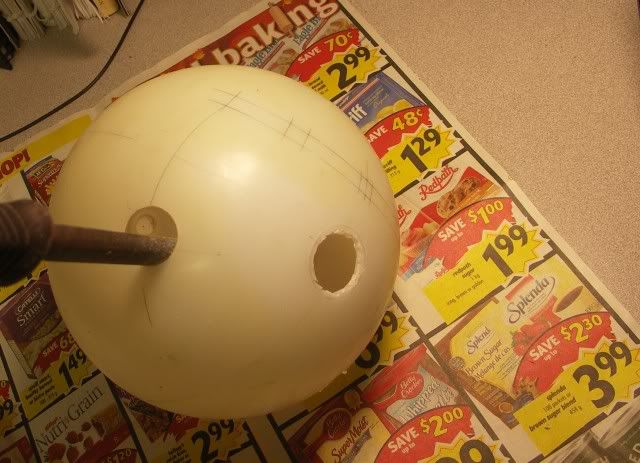
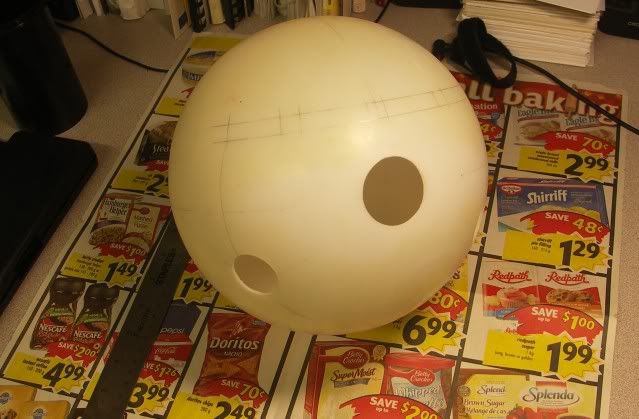
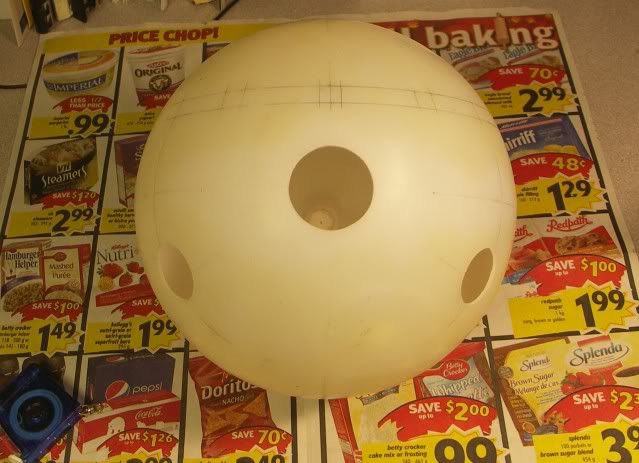
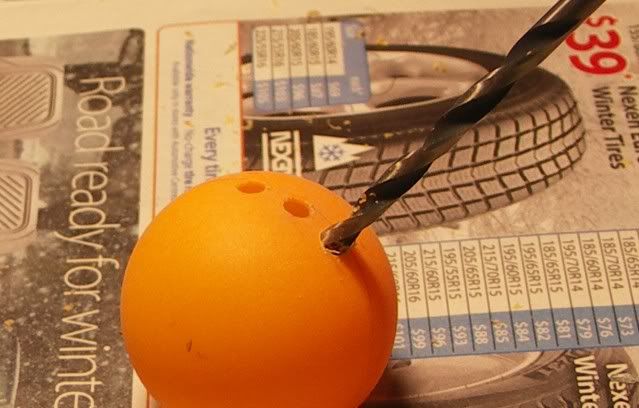
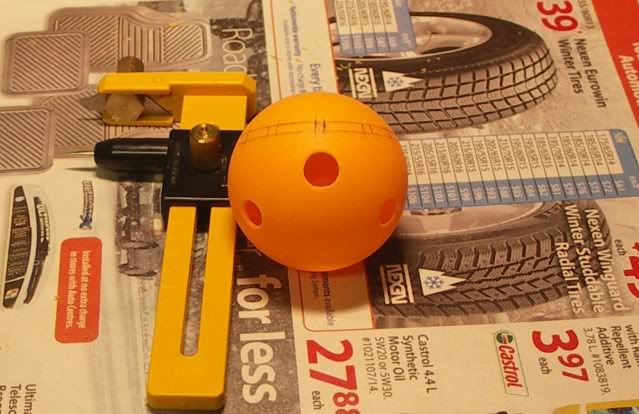
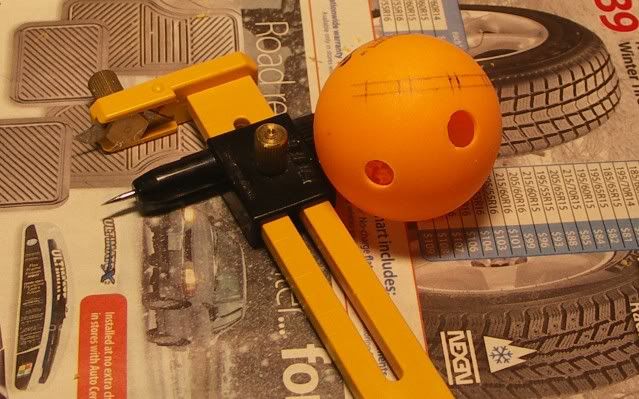
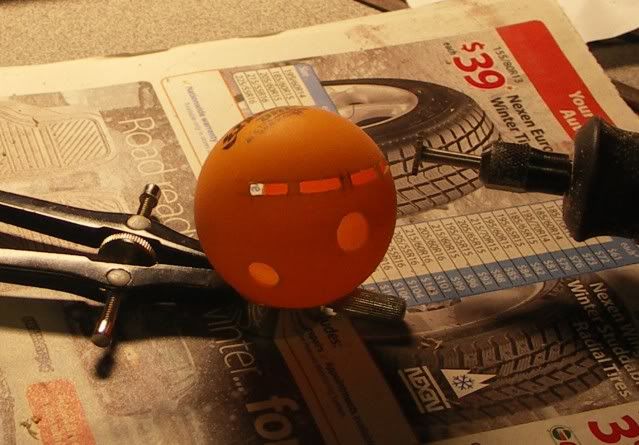
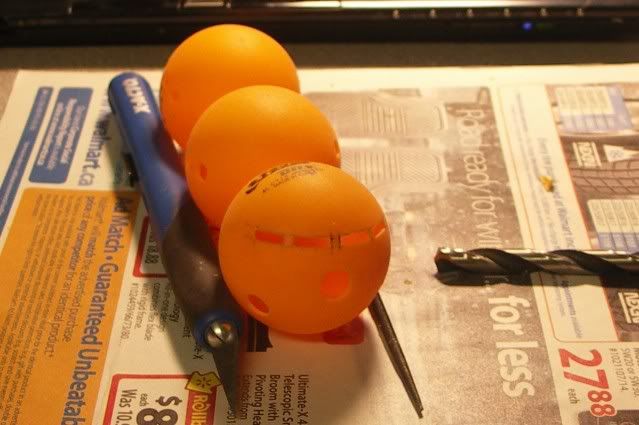
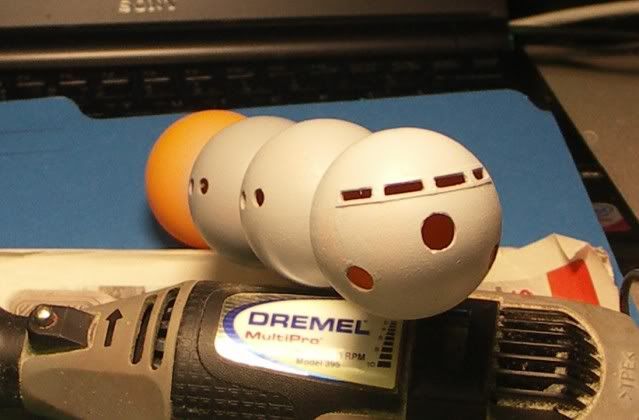
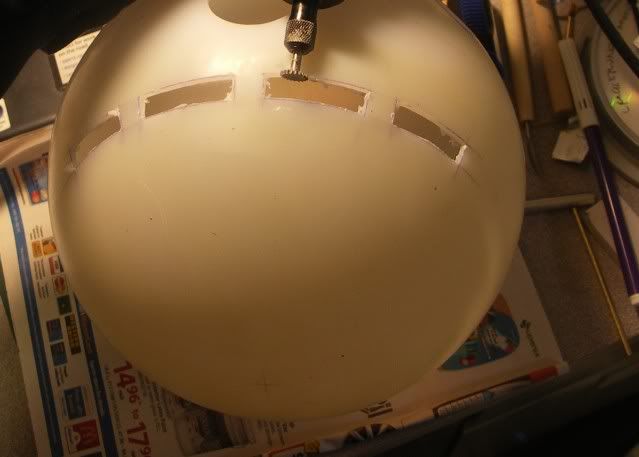
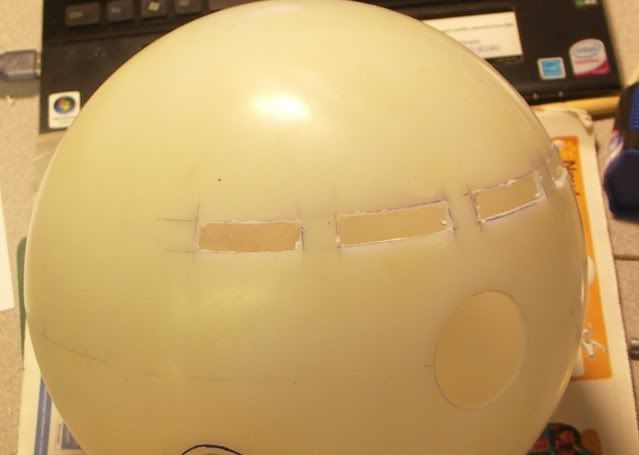
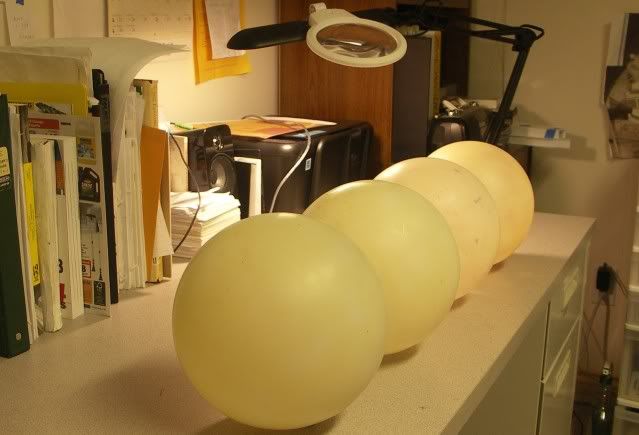
Now that that's over I can work on the spheres in earnest. With good "tooth" they're ready for the primer. But first, the holes and windows.
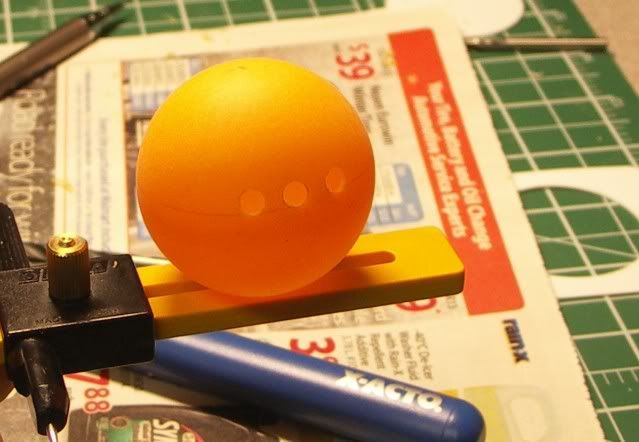
Freshly washed and squeaky clean:
Thanks, Alan.
I hope I do justice to the 38-inch prop.This gold Christmas ball gets my respect. It put up a good fight, long and hard, to the last round, that I just had to take a photo of that last patch of gold paint. My fight with the red ones were easy - I'm glad I had two of those. The green one was a TKO. But this gold one was a valiant warrior to the end. I think its paint had twice the thickness of the red ones and kind of harder too.
Now that that's over I can work on the spheres in earnest. With good "tooth" they're ready for the primer. But first, the holes and windows.
Freshly washed and squeaky clean: