Another MPC Millennium Falcon Modification

Thanks crackerjazz, (love the 1/144 falcon & asteroid build)

Some images of where I'm at:
re1k.jpg

re2vu.jpg

re3m.jpg

re4y.jpg


The cockpit cone & walkway are temporary attached

J
 
Thanks sqbiedoo, It's still not finished, some tweaks to do:

I reduced the diameter of the base
dishbase.jpg

undersidep.jpg


The gap in the hull needed reduced also, some false panels were placed:
newgap.jpg


I had to create a new platform for the dish to sit on
turntablet.jpg


J
 
Thanks Jaitea, got to have this on mine Falcon soon. Where did you dig up all of those details info? It's overwhelming.
 
Wow thanks for the comments guys, some more progress....on the underside

newinnards.jpg


And the exterior view:
flipsidec.jpg

close1.jpg

close2y.jpg


& the with rest of the ship:
pieced.jpg


Thanks for looking
J
 
I had a little accident and dropped a part, the cockpit tube (which is quite heavy due to parts of it being made of PVC), which was only tacked on with superglue, fell off...falling only about less than 2 foot and smashed the cockpit frame.

I repaired it, but looking at posted photos, it doesn't look the way it did, gonna have to fix it

newshot.jpg


Got Radar Dish bracket made
newpic7.jpg

newpic4.jpg


newpic6.jpg

newpic8.jpg


compyc.jpg


Thanks for looking
J
 
Beautiful work... you've made yourself the most accurate hunk of junk in the galaxy!(y)thumbsup

Mind blowing detail.
 
hello,first thread for me here.great work by all,really inspiring!!! am currently tackling the problems with my falcon,and need some help.im strictly an amateur and do what i can after work.really love the fm falcon for details,but cant afford it,so am "borrowing"" some ideas to apply to my mpc kit. ineed some good focused shots of the cockpit tube details so i can scratch them to my mpc.ive already buil the cickpit,and this will be back lit,as well as the engine and gunwells.will post pics soon,need to borrow a camera. thanks
 
Wow thanks for the comments guys,

Some comparisons with the FineMolds kit:
2ofthemf.jpg

2oftheme.jpg

2ofthemd.jpg

the2a.jpg


I've repaired the frame on the cockpit....so hopefully....no more accidents
cockptframes.jpg


New Turret frame....the good thing about working on these two kits together is that I can borrow ideas from one to the other...gonna scratch a gunner station based on the FM one:
newdiskframe2.jpg


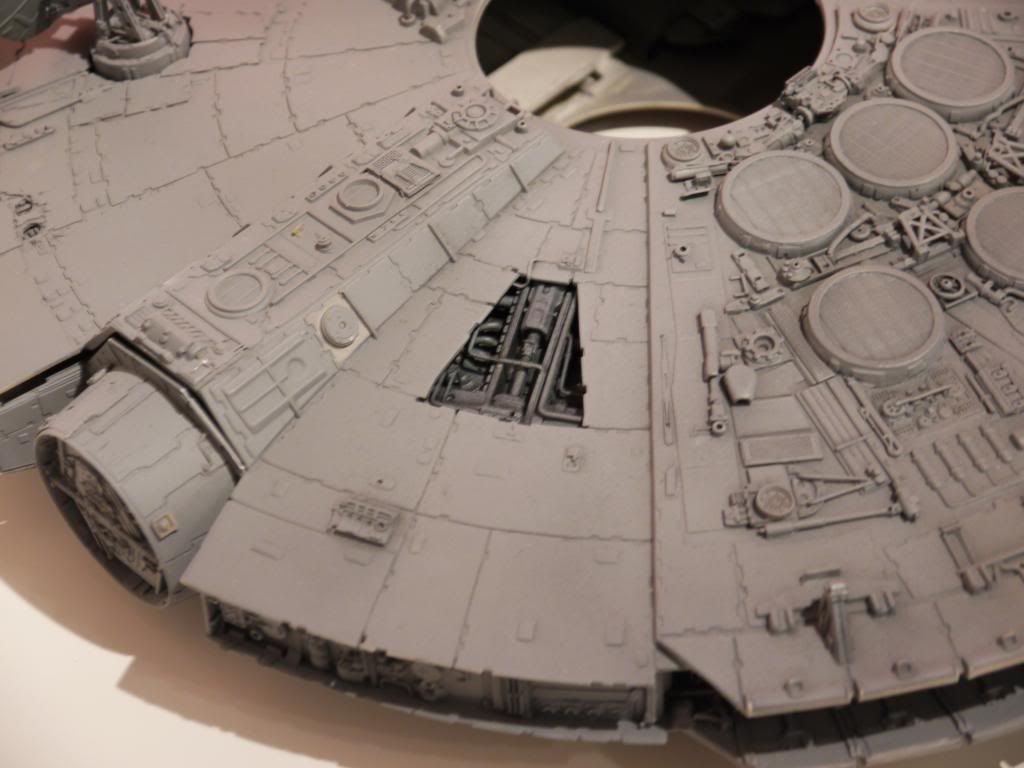
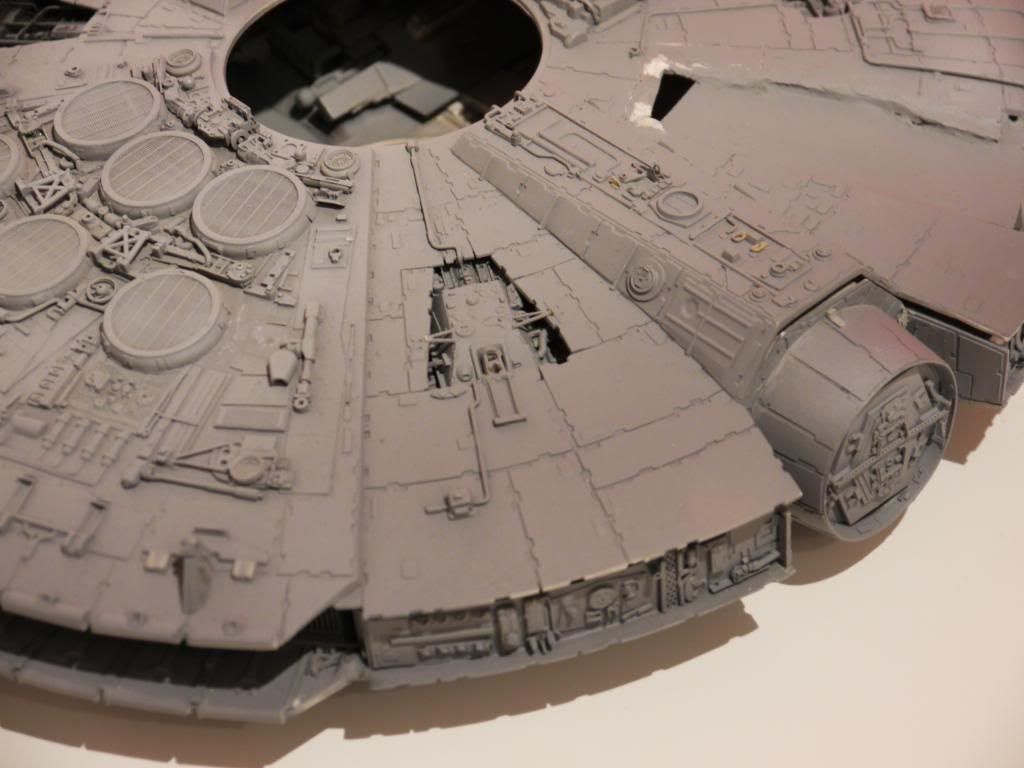
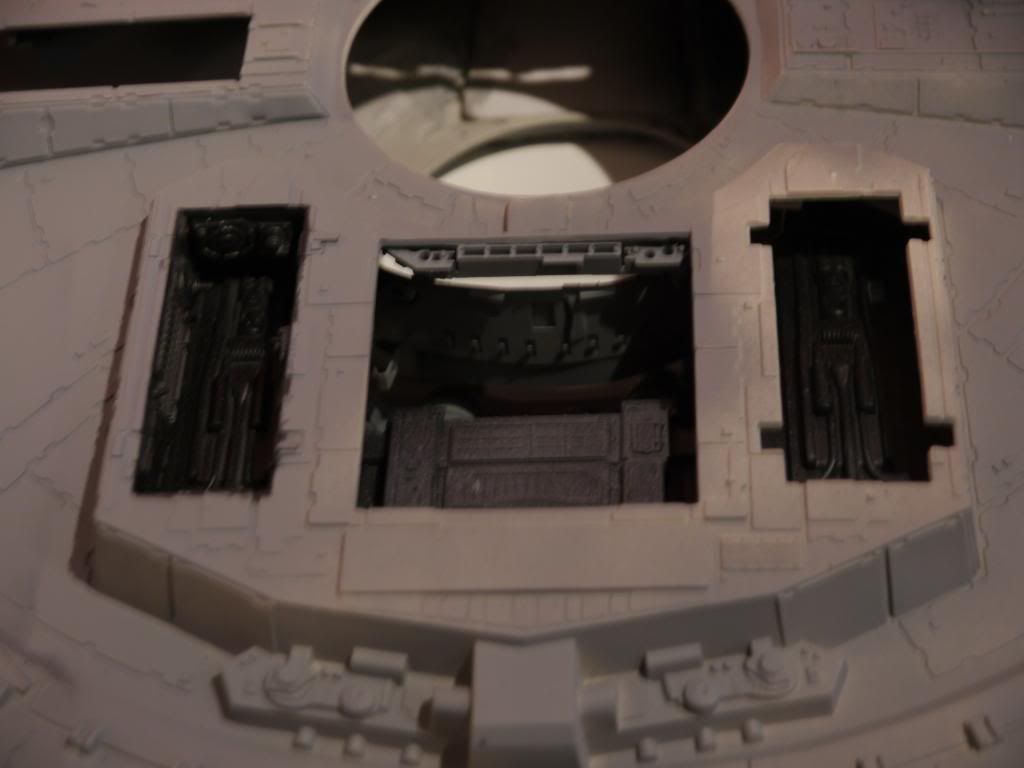
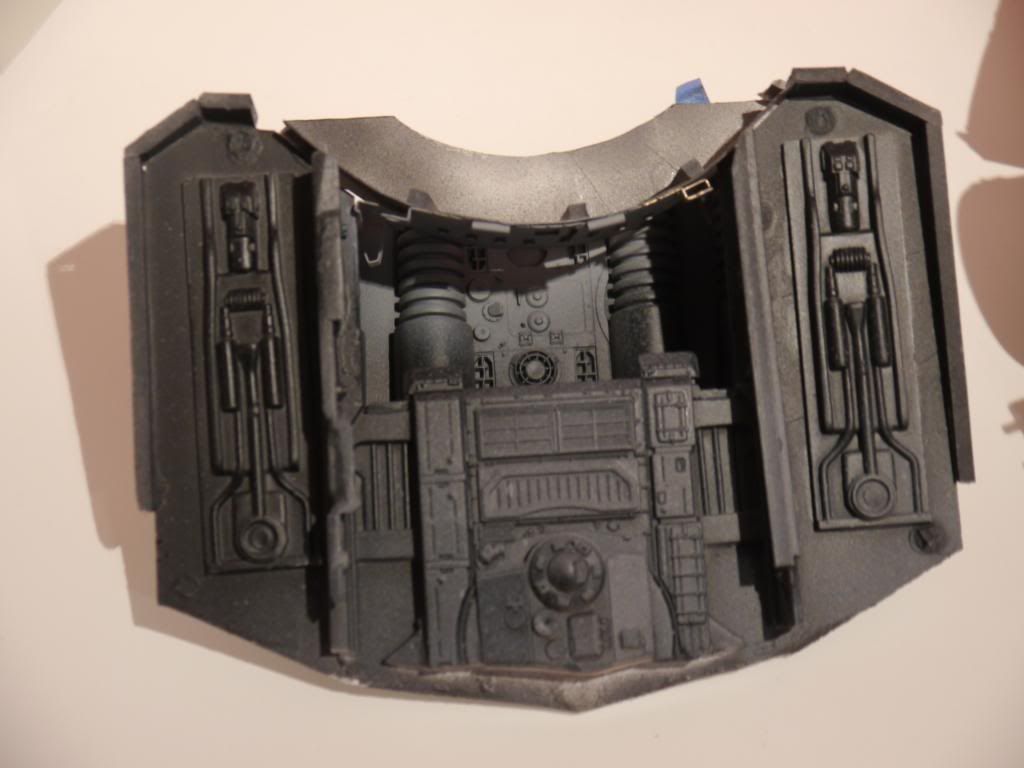
I have attached the two scratched access bays near the rear of the ship:
bits.jpg

tankbit.jpg


After fitting these parts I realised that the lighting box I had made for the engines now wouldn't fit any more...so I had to dismantle it and make it fit.

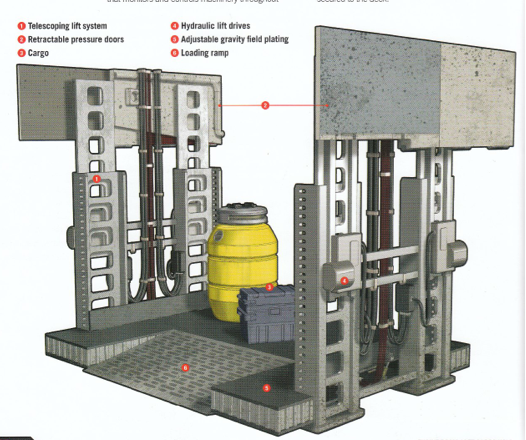
Now with a smaller lighting box I have started making an interior for a cargo hold....(the open area which was originally designed for storing batteries on the first issue of this kit)

I'll hopefully make a cargo ramp/lift like the one in the Haynes manual:
CargoLoad.png


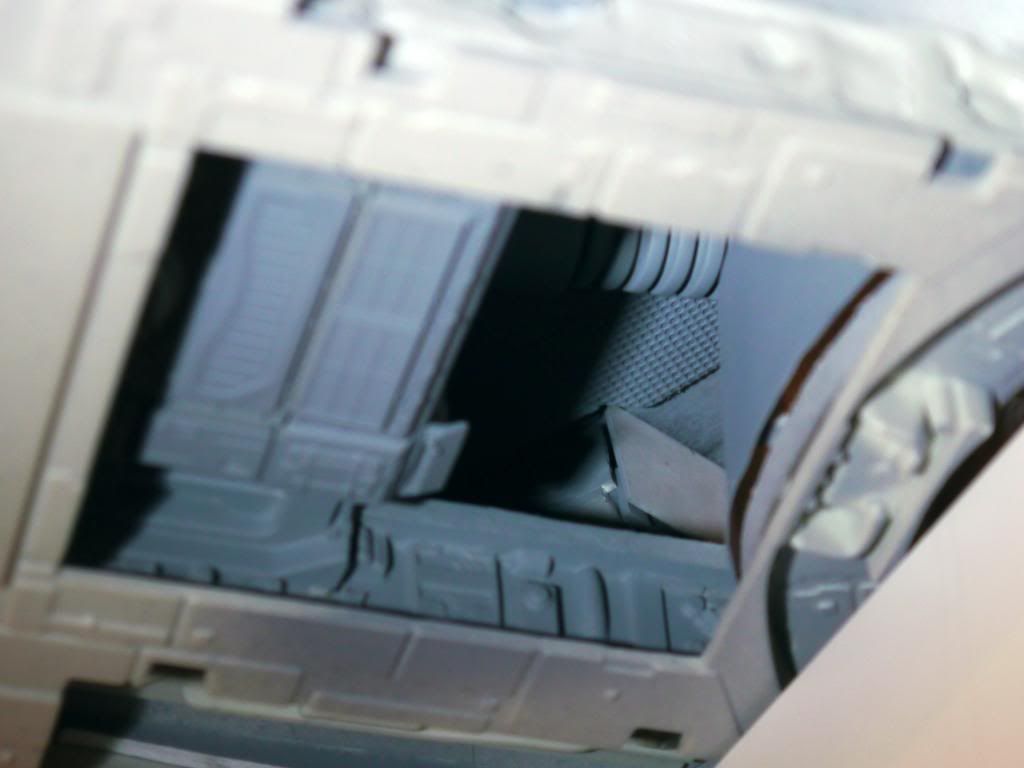
I've been able to use some parts I had discarded off this kit like the old sidewalls for the interior:
oldsidewalls.jpg


The piece doesn't look straight in this photo but its not glued in yet, to allow me to fit the lighting box:
LegBay2.jpg

LoadingBay2.jpg


Thanks for looking
J
 
Last edited:
Wow, adding that cargo/ramp lift is a great idea. I hope that works out. Everything else is looking spectacular. Keep up the wonderful work Jaitea.
 
This thread is more than 8 years old.

Your message may be considered spam for the following reasons:

  1. This thread hasn't been active in some time. A new post in this thread might not contribute constructively to this discussion after so long.
If you wish to reply despite these issues, check the box below before replying.
Be aware that malicious compliance may result in more severe penalties.
Back
Top