"Ready Room Scale" Stargazer parts ID and build

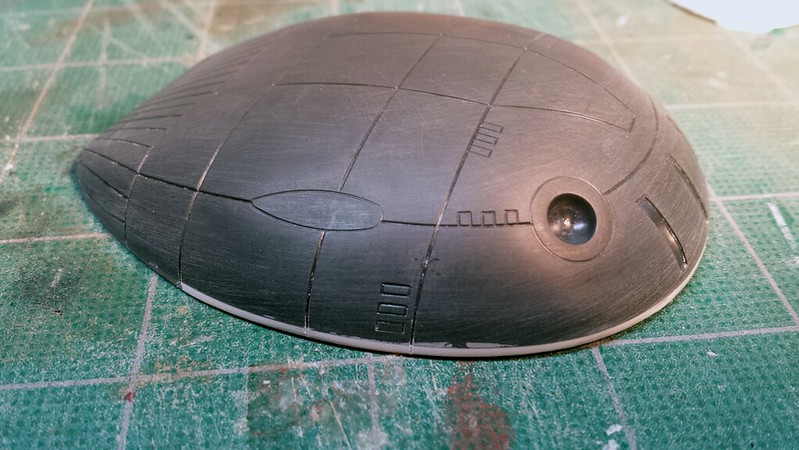
Great method for creating the bridge dome and saving those rings.

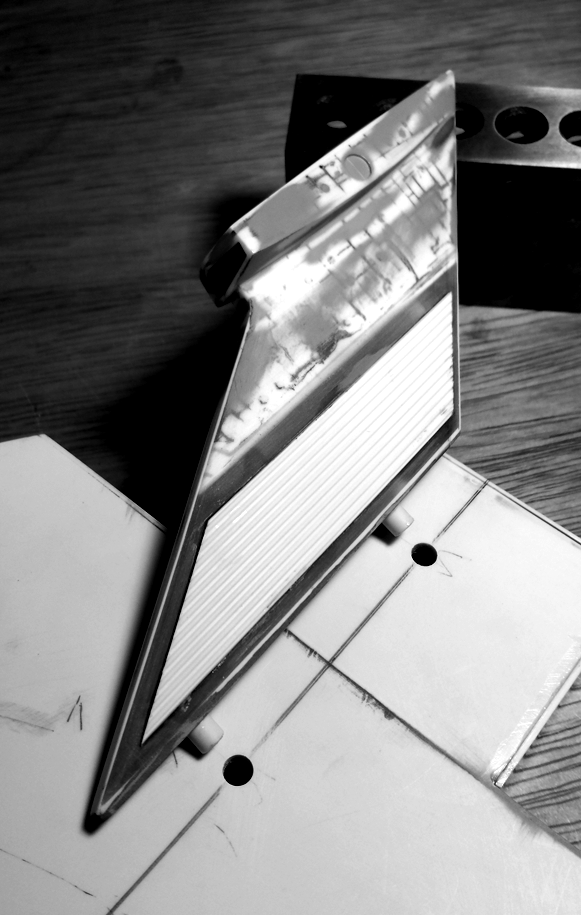
Really enjoying your take on the necks as well... enclosing the kit part on the seam has got to add some serious strength.
 
12428202313_0665838ef1_o.jpg
 
Get a load of those pylons!

What happened to stevielewis? I'm certain he would be enjoying the progress here.

I'll try to get Xabungle copy going for ya next weekend.
 
I hope stevielewis is doing well and will rejoin us soon. As they say, three's company.

Thanks again for the Xabungle, McFly. Once I prime the neck, check it for flaws, and slap on some of that ribbed siding, I'll be dropping it in rubber. Would you like a pair? If not, do let me know how I can repay your generosity.
 
Unfortunately, I must stick to my own trimmings here because of the panel detail. I really appreciate the offer!

The Xabungle figure will hardly use any material at all. You could offer a kit... or at least upgrades. Your build is way ahead in regards to accuracy compared to what's out there already. What fan wouldn't want something from the ready room?
 
Coming along nicely. What thickness of material are you using to build the pylons? I also like the sleeve mechanism you are utilizing to help slide the nacelles on when the time comes.
 
Thanks, JM. The pylons are sandwiched .060 styrene. Thrice as thick as the pylons on the Ready Room prop, but a good approximation of the ones on the studio model.
 
Hi guys! I'm somewhat back for now....and I'm loving your build-up! It's really coming along and I'm looking forward to seeing how it progresses. Since the last time I commented to this thread, I had to pack up everything I could and put it in storage. I am now residing in SE Pennsylvania, just outside of Philadelphia. Unfortunately, my Stargazer build is in storage back in Michigan, so I have no way of working on it right now. Such is life. Hopefully, before the year is out, I'll be able to return to Michigan and retrieve my stuff in storage and resume my Stargazer build as well. Until then, I'll be following this thread and wishing I was building along with the rest of you. :)
 
Welcome back, stevielewis! One of the great pleasures of the RPF is the Vicarious Build, so I'll be sure to keep everyone apprised. Speaking of which:

13293676345_51af707b1e_o.png


I still need to reprime and check for flaws, but then it's going in rubber and coming out resin.
 
Hump day! These donor parts are the two halves, top and bottom, of Bandai's "Dark Nebula Empire Tripod Tank." Essentially thin shells with very little mating surface. Also, they don't sit level, so I had to do something about that.

13316103945_f45afa7eb0_c.jpg


Hump No. 1

I glued this guy to some .060 sheet styrene, added an .040 bulkhead inside, and then filled the back with Aves. The whole thing was then sanded dead flat, and I introduced the seams to Mr. Surfacer. Scribed lines were continued with a tiny photoetch saw from Hasegawa. I love the Japanese.

13316102075_c3e867448a_c.jpg


-----------

13316264683_75a6d07f67_c.jpg


Hump no. 2

I removed a thin band of material from the front and sides of this part and now it sits perfectly level.

13316262023_254b733c3d_c.jpg


Here you can see just how thin the shell is--so little to glue with that a strong breeze might knock this part off. Not sure what to do except build in some styrene bulkheads.
 
This thread is more than 3 years old.

Your message may be considered spam for the following reasons:

  1. This thread hasn't been active in some time. A new post in this thread might not contribute constructively to this discussion after so long.
If you wish to reply despite these issues, check the box below before replying.
Be aware that malicious compliance may result in more severe penalties.
Back
Top