Go-Motion ROTJ AT-ST full scratch

Re: Studio Scale ROTJ AT-ST full scratch

A tease :

atstarmaturewip.jpg


The middle leg parts are wrong though and have to be remachined.
 
Re: Studio Scale ROTJ AT-ST full scratch

You sir are a wild man. Awesome buildup on the head. Looking forward to seeing the completed thing.

Isel
 
Re: Studio Scale ROTJ AT-ST full scratch

Thanks Isel ! :)

You helped me a lot on this ;)

I just miss a part on the tip of one of the cannon (from the Lang) and the 3 wheels on the back of this assembly. I'll add them later if I find them, but the problem is that the 3 wheels look to be from 3 differents airplane kits since they are all 3 different !

As you can see I tried to match the back head of the AT-ST which was touring in Asia and South America, when the whole model depicts the one touring in Europe. But I had no pics of the back of this one ! (and it's not seen on the movie, always the back of the one touring in Asia/south America !)
 
Re: Studio Scale ROTJ AT-ST full scratch

Thanks a lot :)

I havent worked on the ST for a looooooong time, so I tried to manage me some time to paint the feet (and to reshape them :)).

rotjatst114.jpg

rotjatst115.jpg

rotjatst116.jpg

rotjatst117.jpg
 
Last edited:
:lol

Thanks bro, I think I will light up a bit the grass but I'm not sure because on the one I represent it's very dark, unlike the other one which was touring in Asia and South America.
 
Awesome Julien! Love the pitting and ridges, just like the real prop! ;)

I hope I get back to mine someday, I wanted to finally show mine when I was near complete but the machinist has gone MIA.. I feel deflated. :confused I think I'll have to pony up the cash to ever get it done.
 
Those are awesome! They look like they were taken right off the actual prop piece.

How did you achieve that effect?

Thanks for sharing!

-David
 
Ummm... Wow! you metal heads are killing me! Those are great! Just had the same parts cut in acrylic and thought I was impressed... until now. Setting the standard on the jedi AT-ST as Lee has done with the ESB version..seriously.. nice job. Yet again its amazing what can be done with the right reference... good job!

Steve
 
Have to agree Steve, this project has gone on for a long, long time, but that is because Julien has turned it from an awesome scratchbuild, into something that really is ILM through and through, if this build were to be placed among the ILM Go motion models.....id really challenge anybody to distinguish them!
The metal makes it amazing sure, but its the overall passion and toil Julien has thrown into this...its just unreal, i mean, he's about on his 1000th set of drawings lol...each better and better :lol

lee
 
Many thanks for all yours comments guys, I really appreciate them all !

Lee is right, it's a long time I'm working on this one (but eh bro, that's about the same time you're working your ST :)) and I'm not in a rush to finish it ! Just want to get it right and I want it to be the master piece of my collection because the ROTJ AT-ST means a lot for me... This movie was released 2 months after my birth !

Yeah bro you're ight for the plans lol it took 20 full days, 10 hours a day to draw the first draft then I refined them again and agaim... It tooks 7 months to get them correct and ready to be given to the machinist !

And I'm still refining my parts... just built another "8 rad" assembly for the back of the chassis because mine was off (1 millimiter too long and the angles were off by 2° and I noticed than the upper and lower parts didnt share the same angles, yeah there are not symetrical ;)).

Well, I go back on the feet and some explanations :

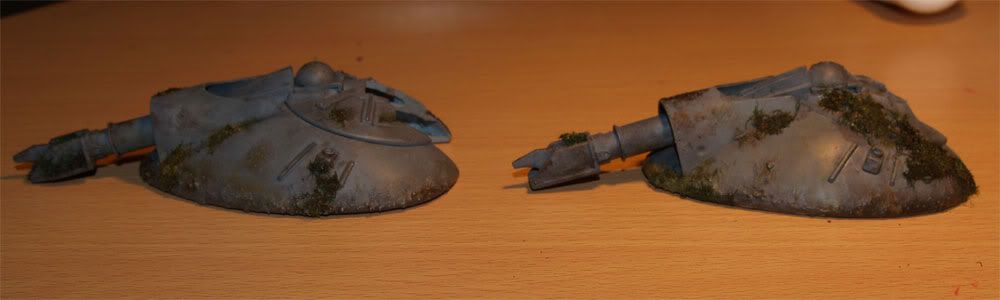
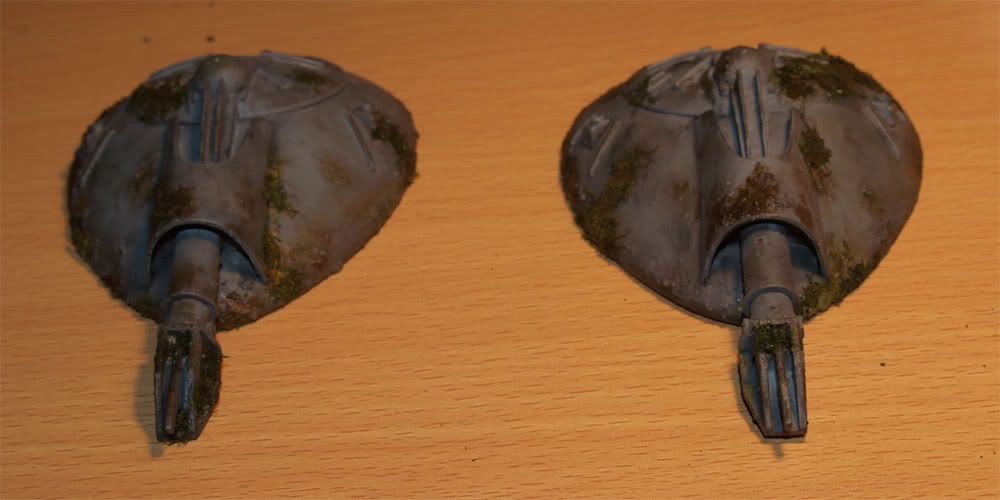
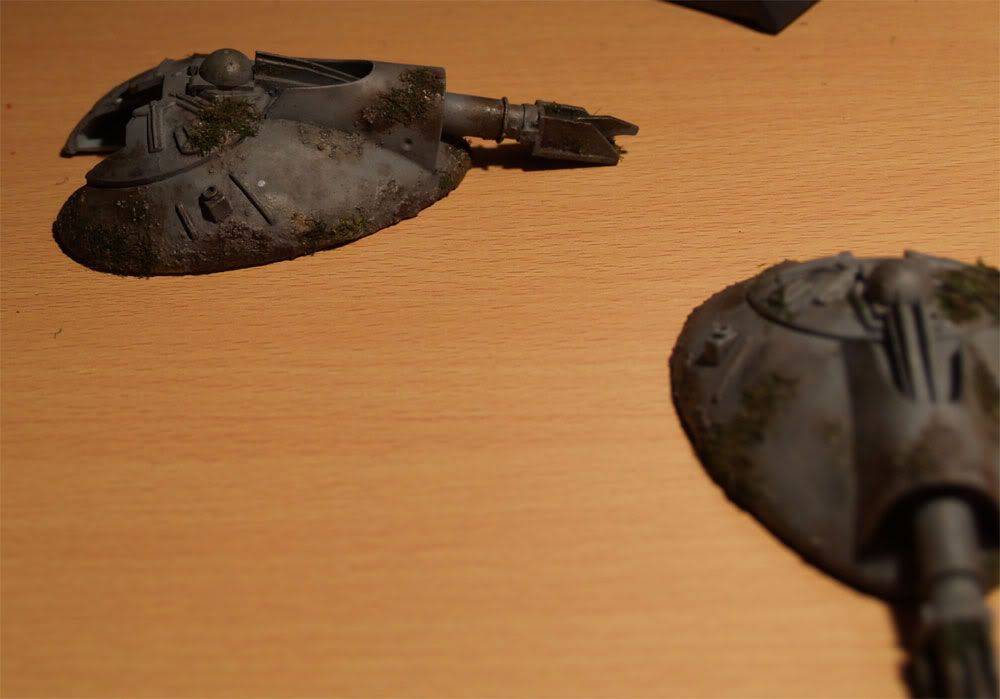
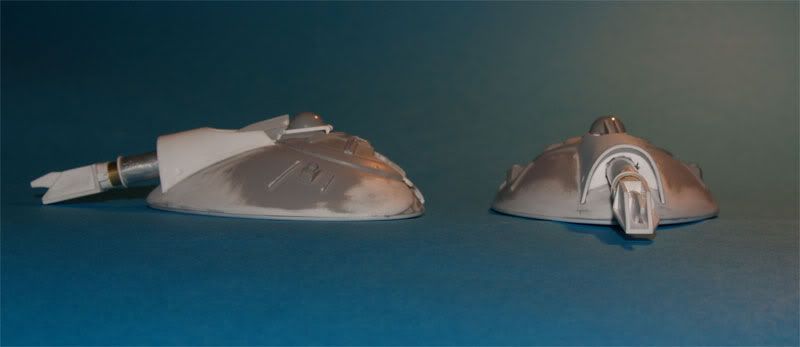
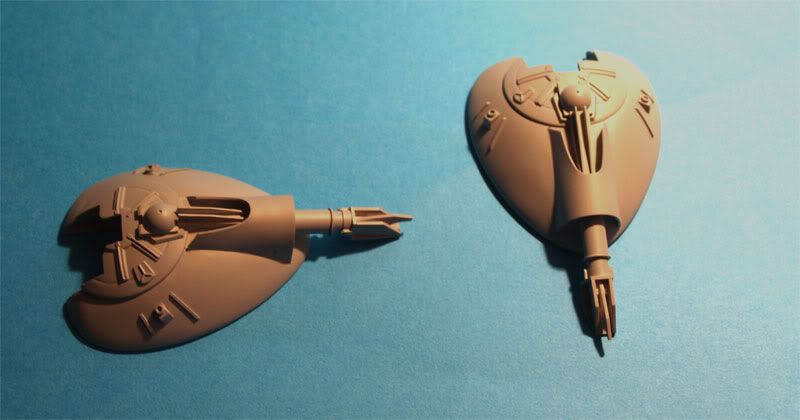
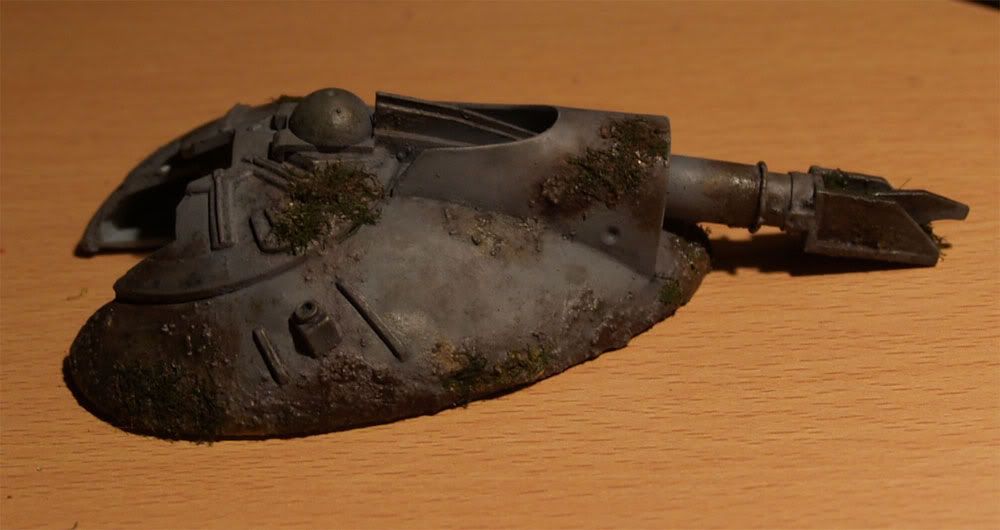
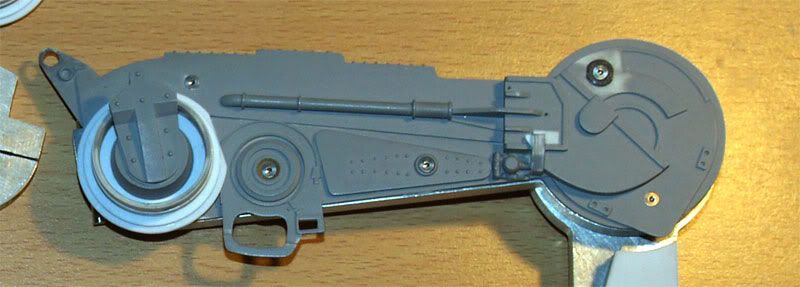
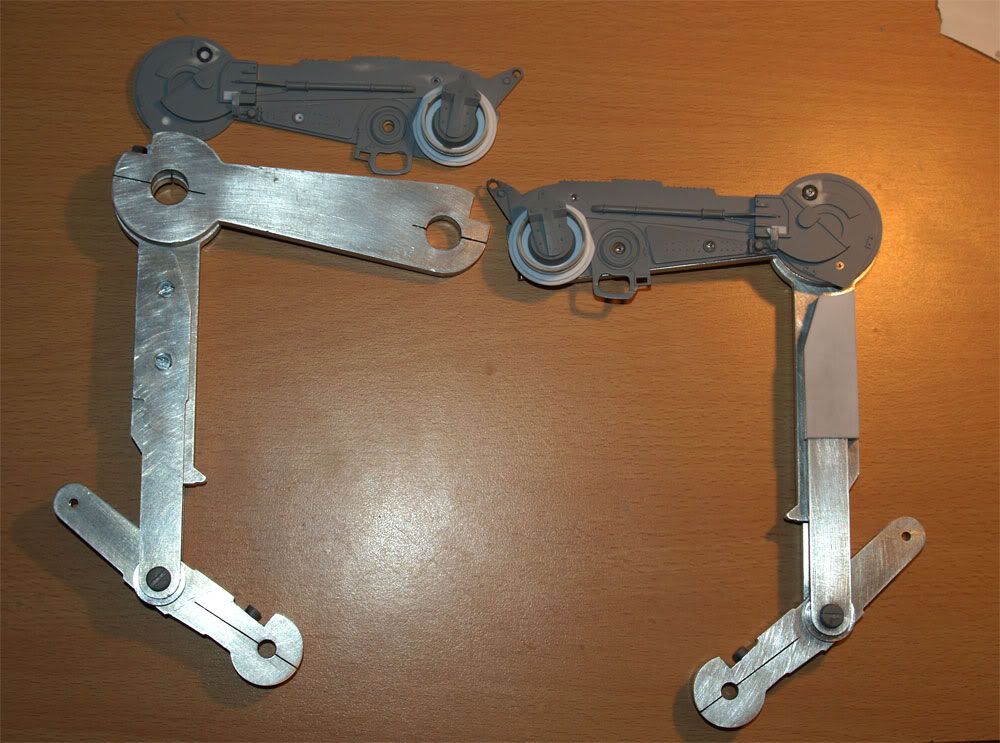
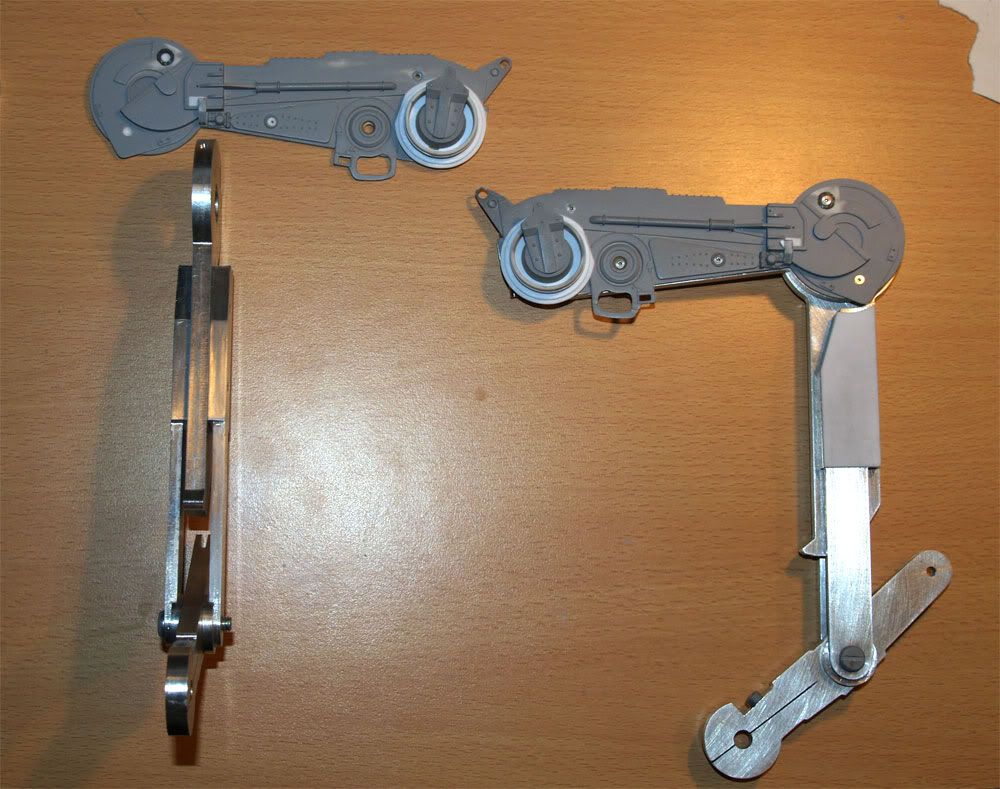
First I reworked the feet. Shortened them from the rear, reshaped the rear of them and changed the angle. I also redid the kind of rounded shields from styrene (my previous ones were from aluminium) and this time I get their shape correct. I also built the toes. The "312T parts" are scratched from brass, aluminium for strenght and styrene for details.

rotjatst119.jpg


Then I primed them

rotjatst120.jpg


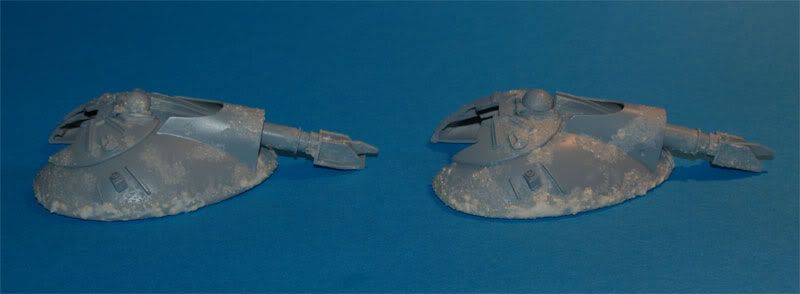
And now that's the trick.

Plaster of paris mixed with white glue, water and sand (from Maldives, very thin ;)) That was a friends gift :lol I just used a few :p).

rotjatst121.jpg


Applied this mixture BEFORE the basecoat, that's very important, it was applied before the basecoat on the ILM props.

Then the paint job can begin

rotjatst122.jpg


Basecoat from a rattlecan (the only way to get the orange peel effect that the ILM walkers have, and the only way to achieve the same weathering effect ;)).

Then weathering with the airbrush and brushes. Filters with oil and acrylic paints.

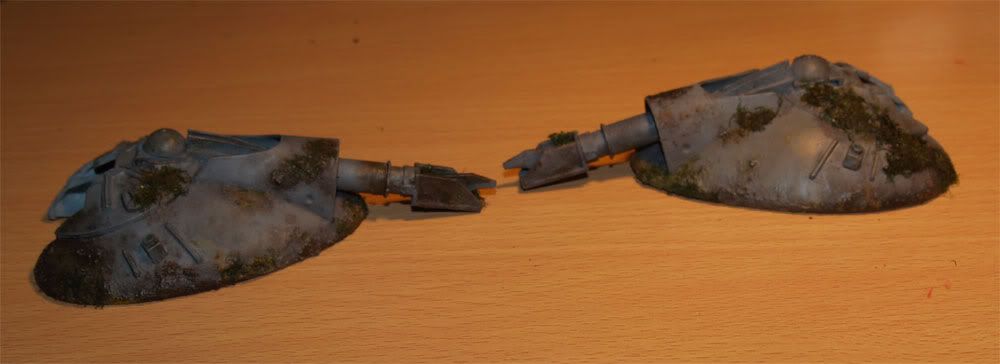
The next touch is the grass ;) Made from foam I found in my garden ;) Fixed with white glue then touched up with paints !

And voila ;)

rotjatst123.jpg
 
Last edited:
Some progress :)

rotjatst130.jpg

rotjatst131.jpg

rotjatst132.jpg


I finally found the same screws they used on the props. It was quite hard because this kind of imperial stuff is not available here.
 
Best lookin feet and legs out there mate, apart from Lee's, TESB walker that is!. Your skill and attention to detail is outstanding on this baby. Her feet look fantastic just like the real prop, I look forward to more of your updates dude.
Stu
 
Now THATS a proper ROTJ ATST bro....looks killer buddy, well worth all your patience, redesigns and efforts.
If only a certain other payed so much attention, they too would have a walker of this quality and accuracy :lol

lee
 
This thread is more than 14 years old.

Your message may be considered spam for the following reasons:

  1. This thread hasn't been active in some time. A new post in this thread might not contribute constructively to this discussion after so long.
If you wish to reply despite these issues, check the box below before replying.
Be aware that malicious compliance may result in more severe penalties.
Back
Top